
My Candy Green Valve Cover by tcpete 56k HA:5/26/08 95% done


Thread Starter
Senior Member
SL Member
Joined: Nov 2005
Posts: 13,373
From: WORLD WIDE Flossin
UPDATE PG4: took a brake from the fumes and decided to install my wideband gauge.... pls check PG 4 for pics
UPDATE PG5: candy paint is done!!!!!...now for color wet sanding with 2k grit then off to clear!
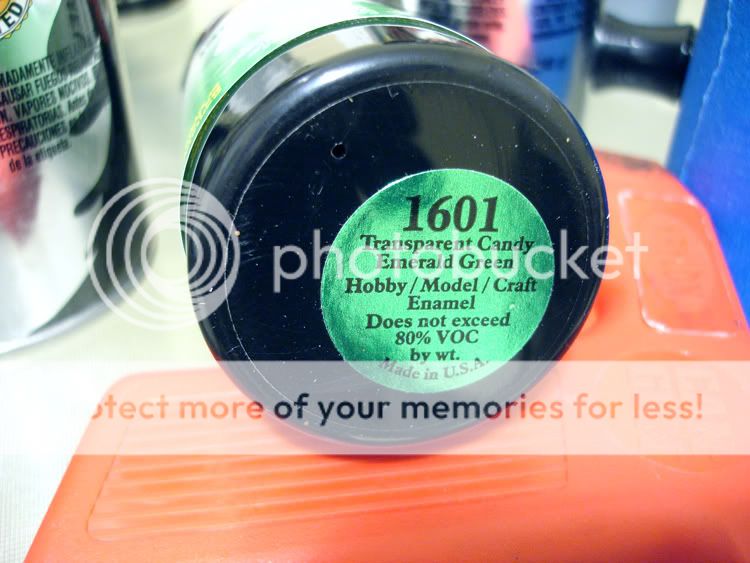
ok so here are my plans... im going to be repainting my valve cover from wrinkle red to candy green with a silver base.... just trying to break away like always from eveyone since ive been seeing alot of ppl with wrinkle red valve covers and w/e and its time to keep things fresh...
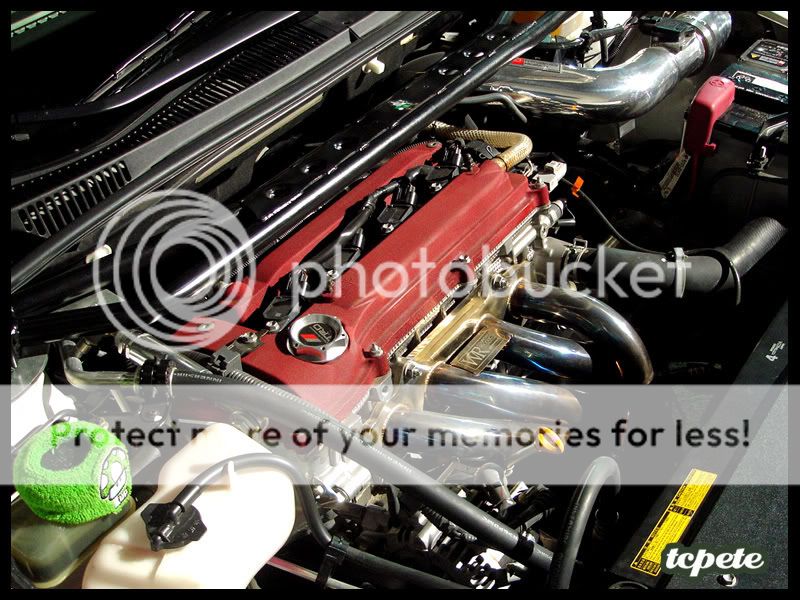
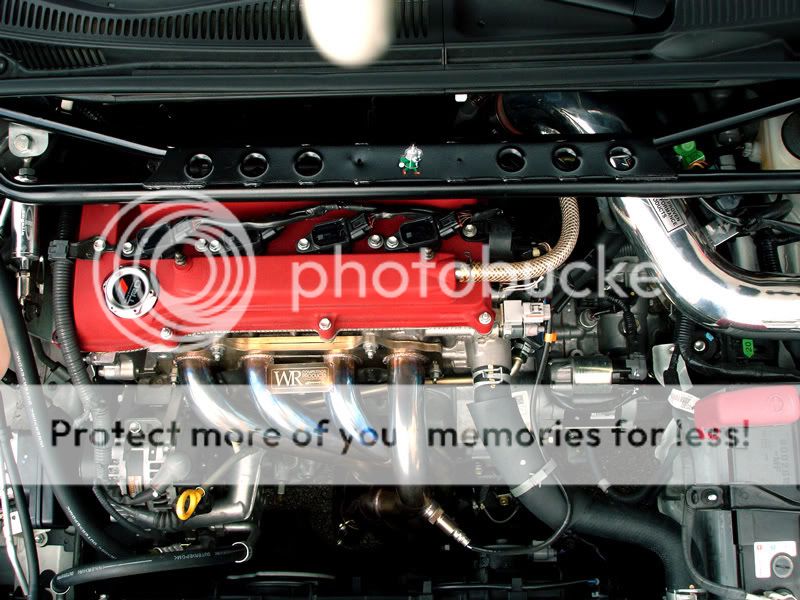
ill be documenting the process with pics as best as i can... here is how the VC looked before..
heres pics of the temporary VC... i decided to have all my friends tag it up with stuff for giggles... i scooped up the already painted VC from someone for a steal.. being as it was a temporary VC i dont care right now how it looks...

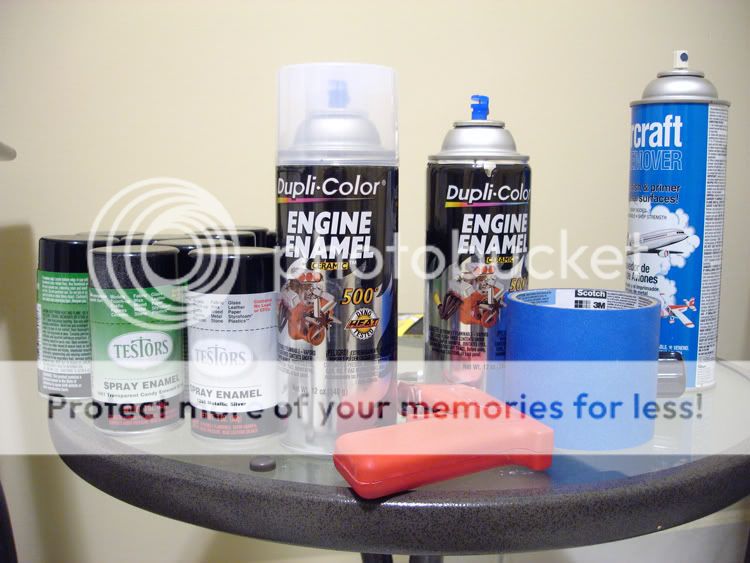
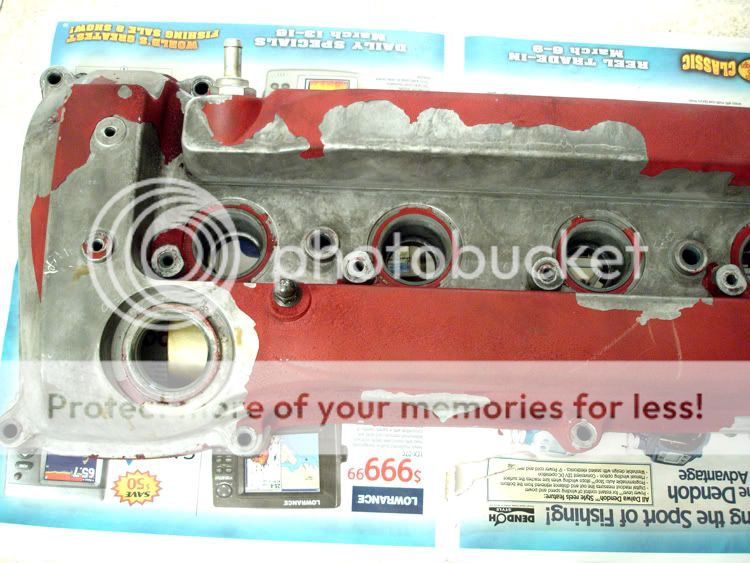
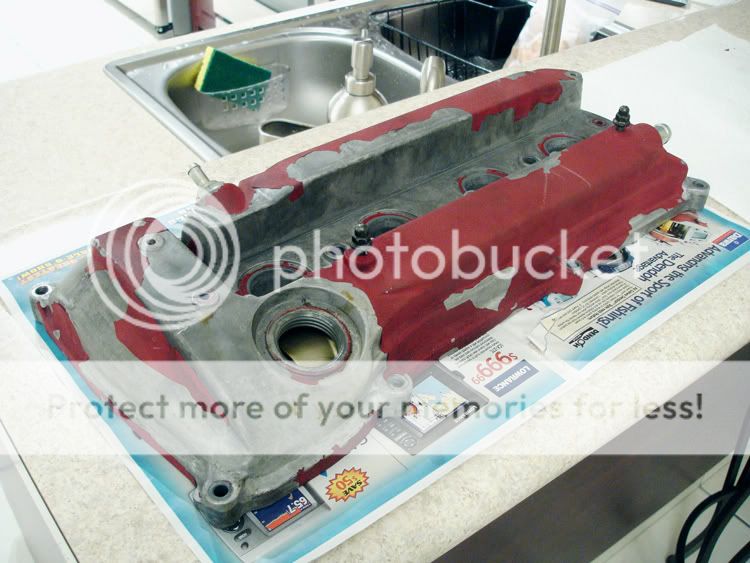
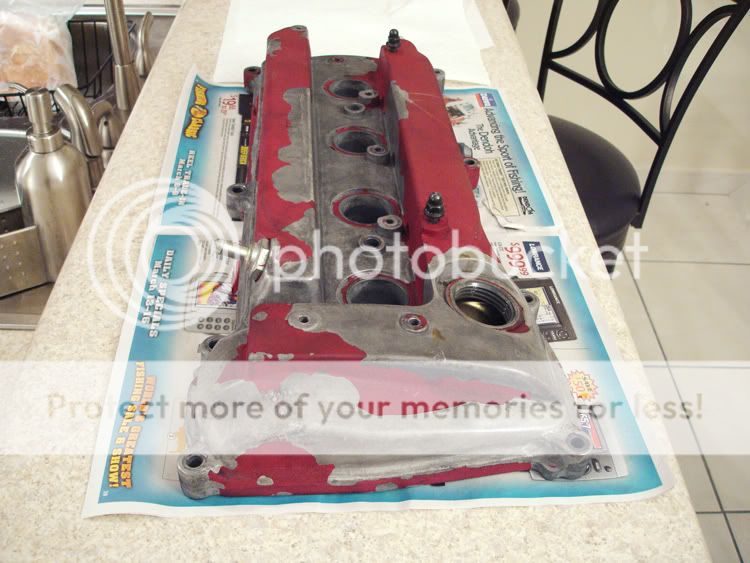
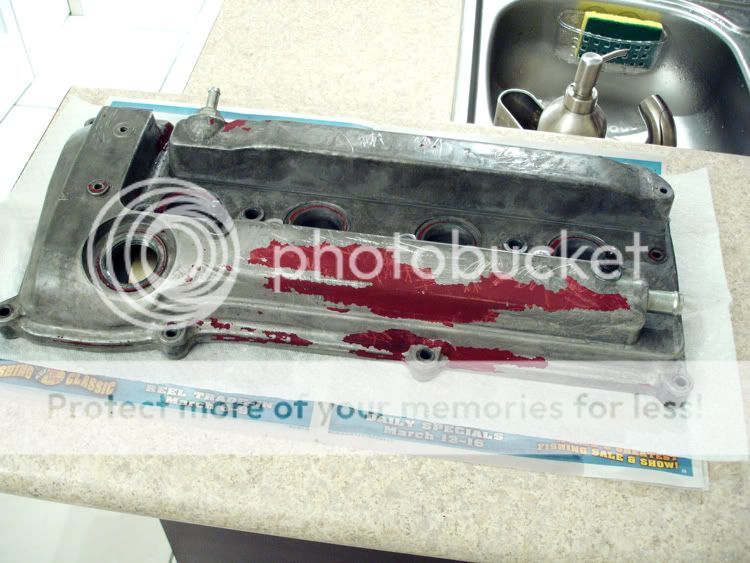
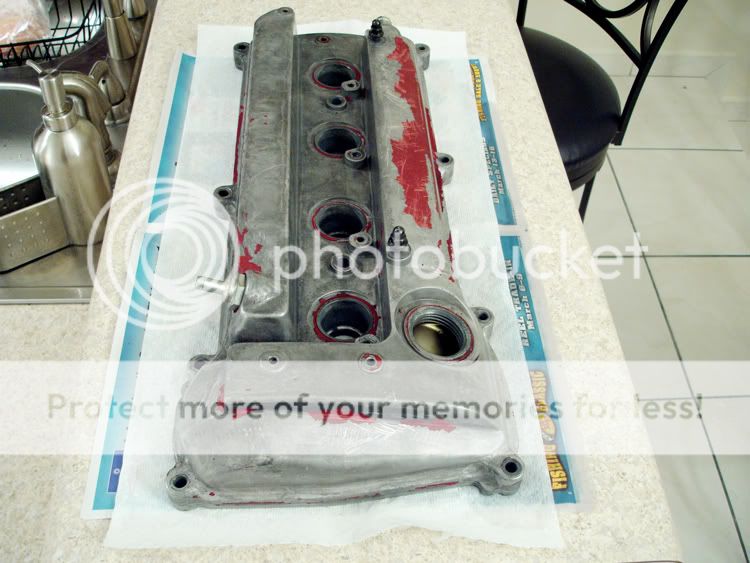
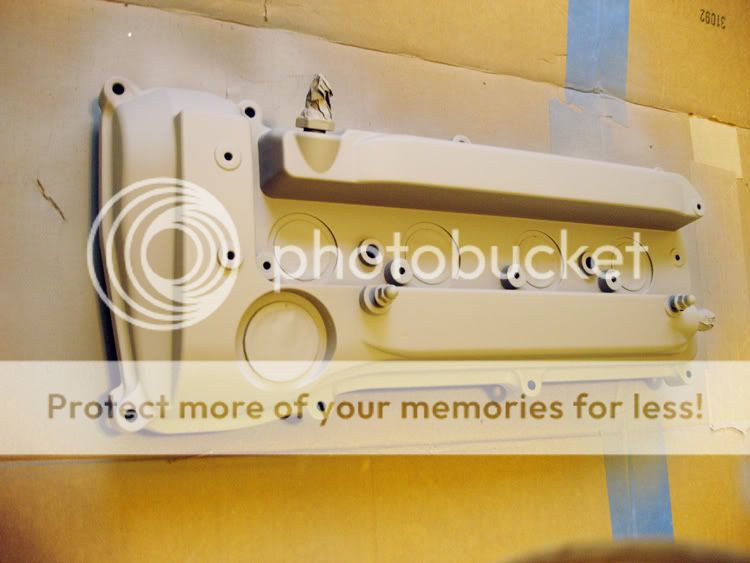
first few pics your going to see a jist of the materials im gonna use + how the valve cover was last when i took it off the car after about 7 months of wrinkle red and it started to chip... your also going to see how the valve cover started out and then how it moved into primer...
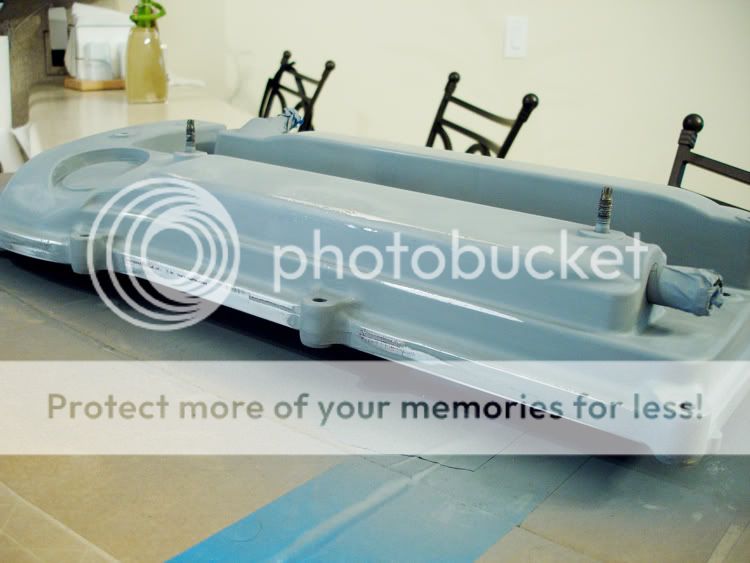
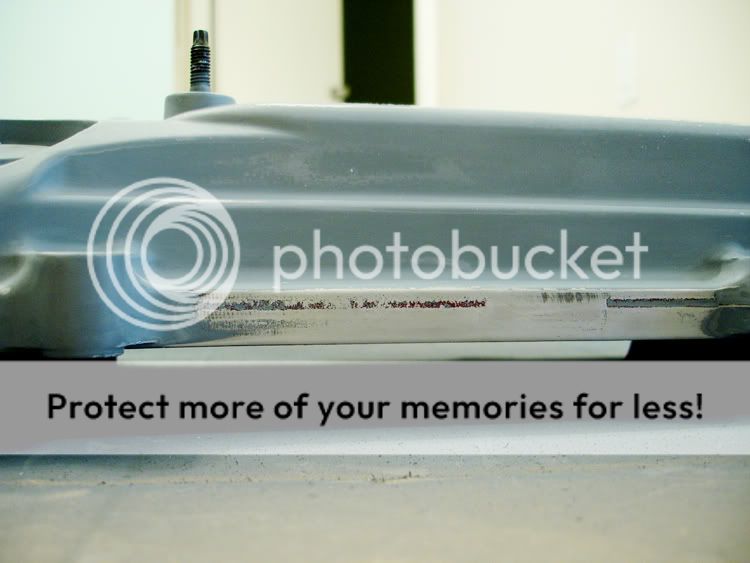
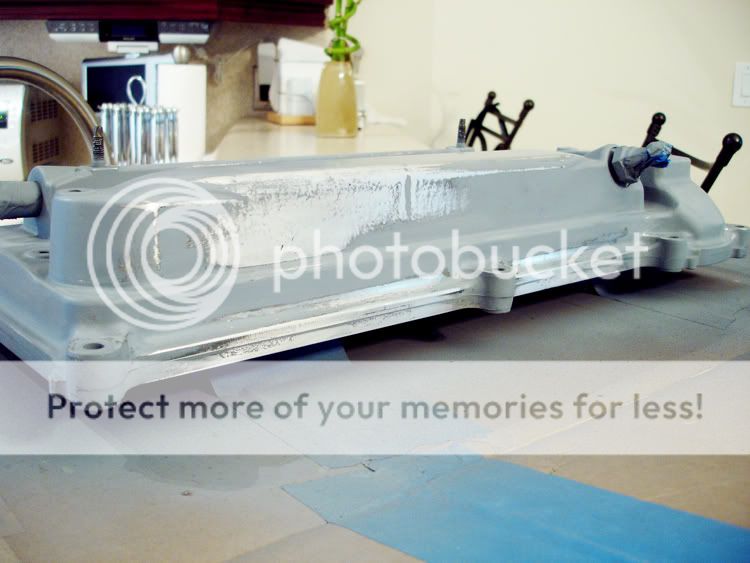
heres another update on the VC....
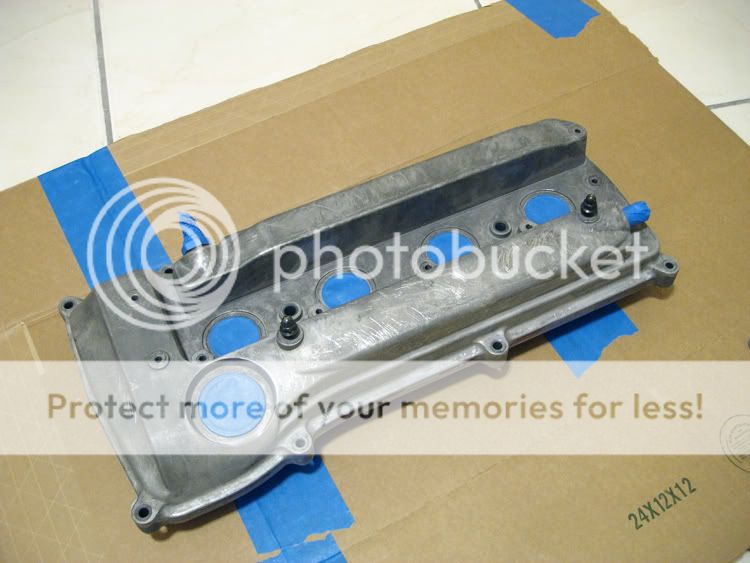
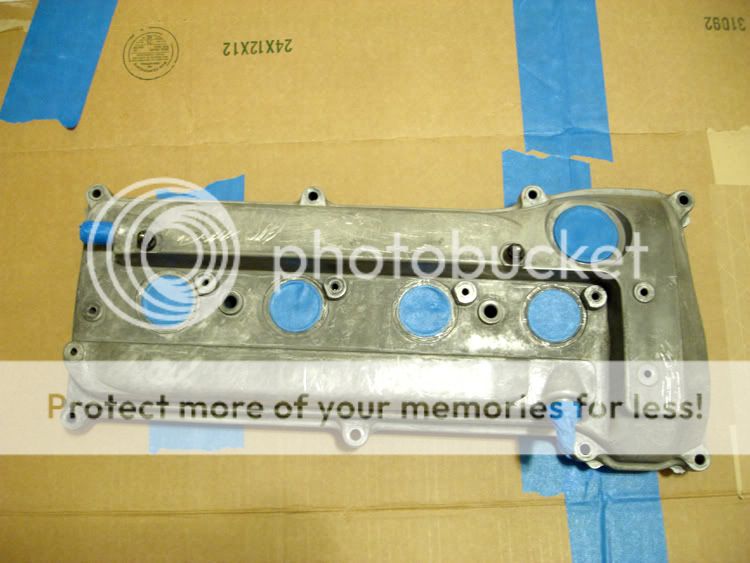
finally got around to taking some pics: these pics are the after effects of wet sanding with 400 grit on the first coat of primer on the VC... as you can see the VC is farrrrrr from perfect and has ALOT of waves, fill areas, and rough surfaces that i need to basically block sand all the way down to bare metal to fill in properly all the imperfections in the metal... you can clearly see alot of high and low spots and also deep creveces in the bottom parts of the VC were ill need to completely sand smooth before going on to primer again.. (FK)... luckily though im ok with it... i did manage to find some cracks in the primer probably from loose greese that wasnt cleaned up to well or is deeply sunk into the metal... but i sanded it all out and i just need a few more hours of wet sanding to finish the first layer... then off to primer again....
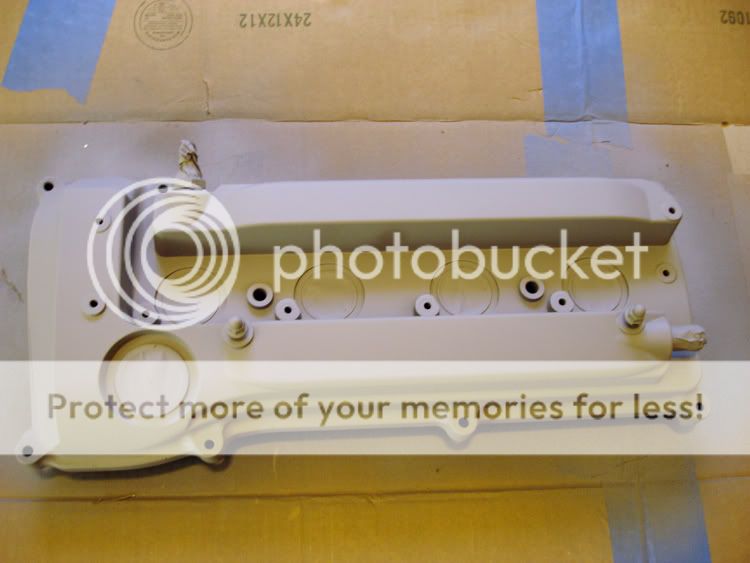
more updates with in a few days after some more wet sanding the first later of primer and smoothing out all the rough spots... i go into a 2nd coat of primer once this is done...
stay tuned..
UPDATE PG5: candy paint is done!!!!!...now for color wet sanding with 2k grit then off to clear!
ok so here are my plans... im going to be repainting my valve cover from wrinkle red to candy green with a silver base.... just trying to break away like always from eveyone since ive been seeing alot of ppl with wrinkle red valve covers and w/e and its time to keep things fresh...
ill be documenting the process with pics as best as i can... here is how the VC looked before..
heres pics of the temporary VC... i decided to have all my friends tag it up with stuff for giggles... i scooped up the already painted VC from someone for a steal.. being as it was a temporary VC i dont care right now how it looks...
first few pics your going to see a jist of the materials im gonna use + how the valve cover was last when i took it off the car after about 7 months of wrinkle red and it started to chip... your also going to see how the valve cover started out and then how it moved into primer...
heres another update on the VC....
finally got around to taking some pics: these pics are the after effects of wet sanding with 400 grit on the first coat of primer on the VC... as you can see the VC is farrrrrr from perfect and has ALOT of waves, fill areas, and rough surfaces that i need to basically block sand all the way down to bare metal to fill in properly all the imperfections in the metal... you can clearly see alot of high and low spots and also deep creveces in the bottom parts of the VC were ill need to completely sand smooth before going on to primer again.. (FK)... luckily though im ok with it... i did manage to find some cracks in the primer probably from loose greese that wasnt cleaned up to well or is deeply sunk into the metal... but i sanded it all out and i just need a few more hours of wet sanding to finish the first layer... then off to primer again....
more updates with in a few days after some more wet sanding the first later of primer and smoothing out all the rough spots... i go into a 2nd coat of primer once this is done...
stay tuned..


Thread Starter
Senior Member
SL Member
Joined: Nov 2005
Posts: 13,373
From: WORLD WIDE Flossin
lolol ^^
under your valve cover is a rubber gasket/grommet kind of piece that surrounds the VC and the spark plug holes... you want to tighten these by hand but not to tight!! as the bolts will snap if tightened to much!!... i know that from personal experience already...
ill try to answer everyones ?'s as much as i can since ive already gotten a few through PM.. lets try to keep it all here for everyone else to read..

Originally Posted by krazyqban352
what do you use to put the valve cover back on? Is it just a gasket or some silicone? How many ft lbs of torque on the bolts to reinstall?
ill try to answer everyones ?'s as much as i can since ive already gotten a few through PM.. lets try to keep it all here for everyone else to read..


Originally Posted by iKONA
Great job so far but wont that paint peal because of heat? I thought it had to be powdercoated.
FTW!
lol
and u laugh at my suggestion of the engine build write up.
but im totaly serious.
i dont know enough about motors to be able to that, but i def want to learn and do it someday.
lol
but im totaly serious.
i dont know enough about motors to be able to that, but i def want to learn and do it someday.
lol


