Sequential LED side mirror turn signal light installation
 03-21-2014, 02:26 AM
#1
Senior Member

SL Member
Thread Starter
Join Date: Nov 2005
Location: Surf City SoCal
Posts: 1,527
This DIY is to explain the installation of sequential LED side mirror turn signal lights in a Scion iQ.
As always, proceed at your own risk. I am not responsible for damage to your vehicle.
This is not a complicated modification and you should be able to complete it in less than two hours.
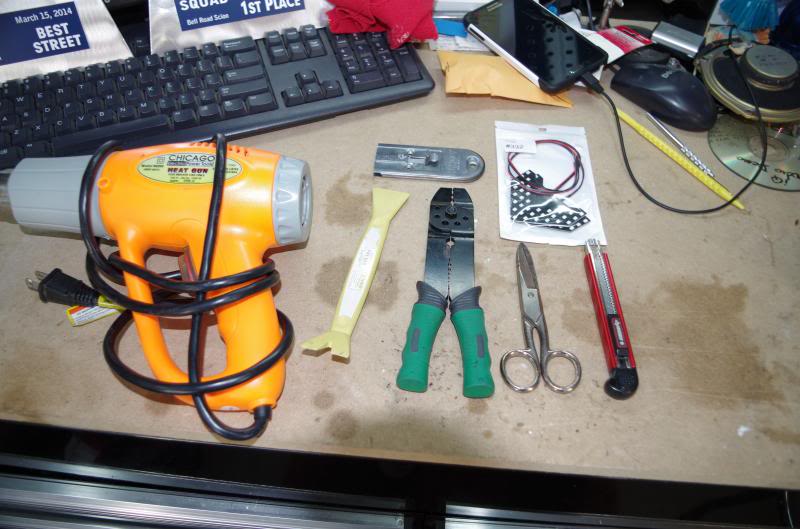
Tools you will need:
1. LED lights
2. Razor blade
3. Wire cutters
4. Wire connectors
5. Wire connector crimpers
6. Black vinyl tape
7. Adhesive remover (GooGone)
8. Towels
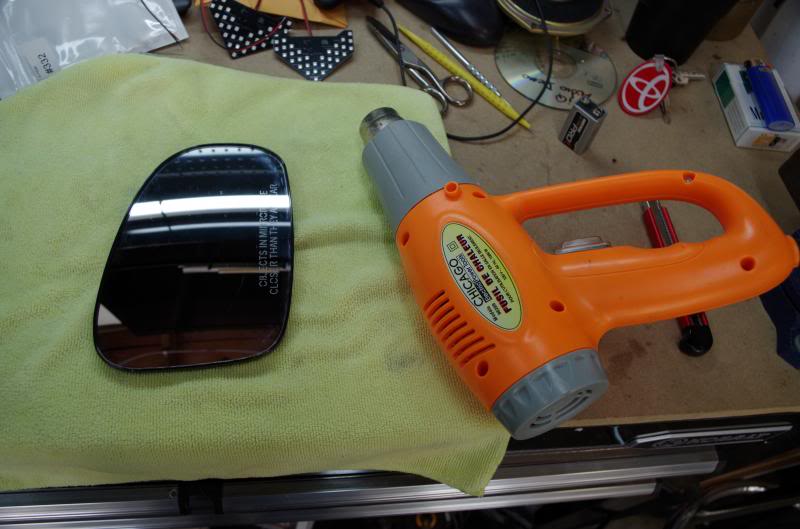
9. Heat gun (or blow dryer)
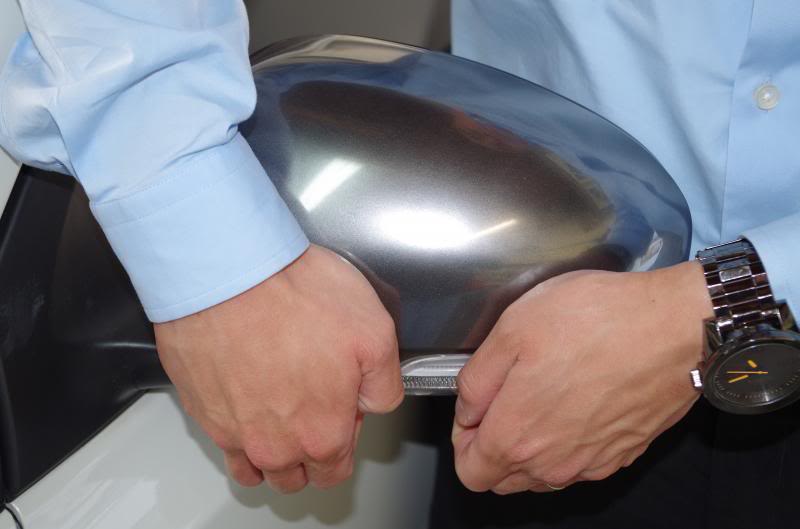
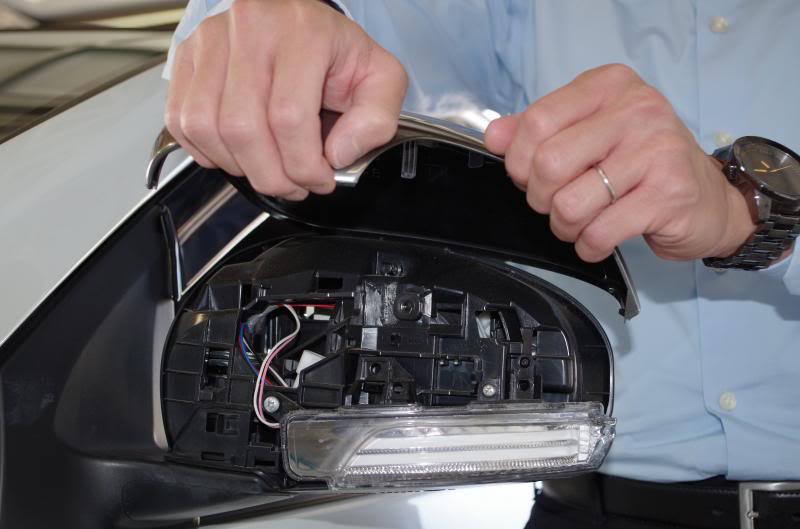
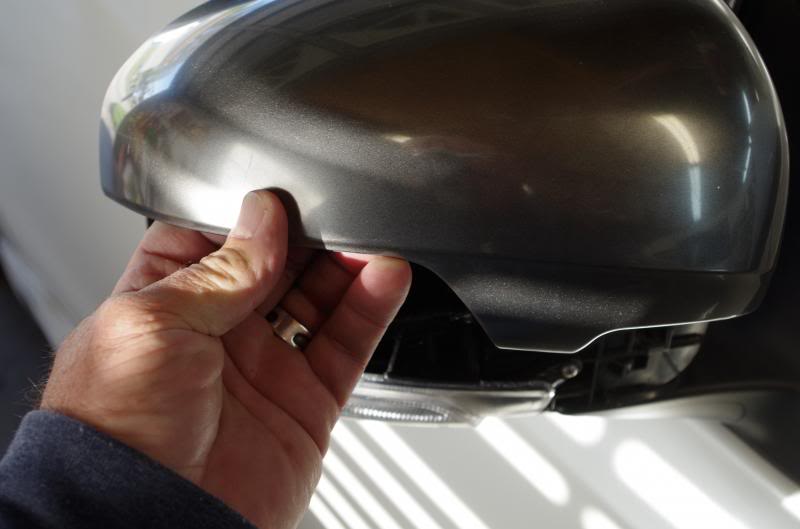
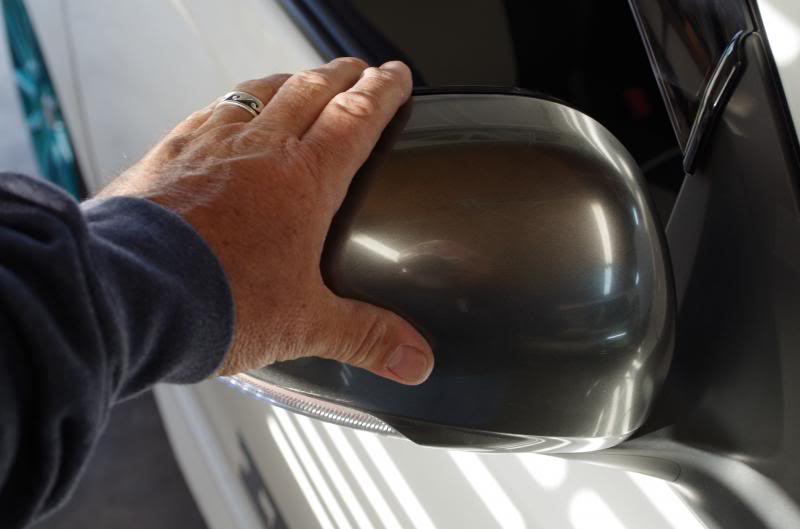
First you will need to remove the mirror housing cover...
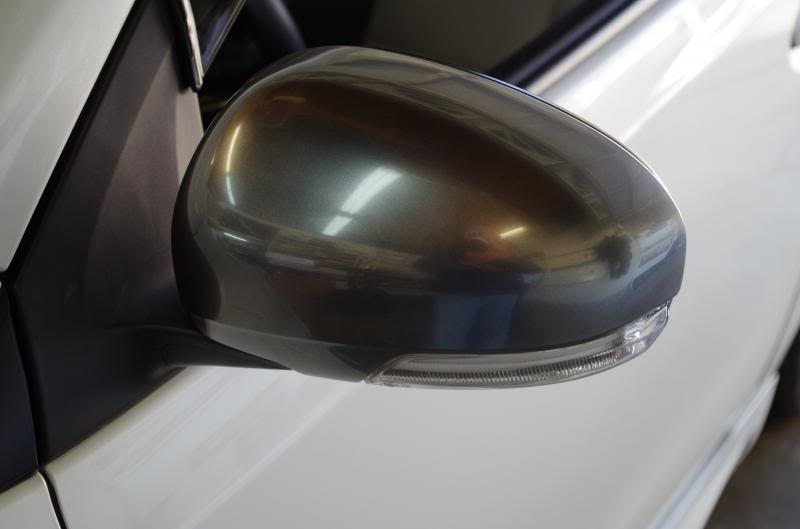
Grasp the cover firmly at the bottom edge with your fingers and apply firm even pressure. The cover is only a snap fit, there are no screws holding it in place...
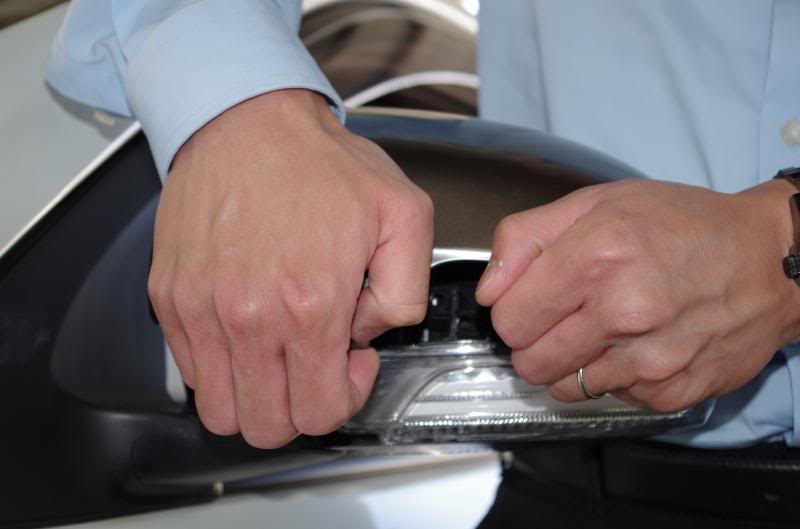
Next you will need to remove the mirror glass...
IT IS EXTREMELY EASY TO BREAK THE MIRROR GLASS AND A REPLACEMENT IS $81.00 FROM SCION. PLEASE BE CAREFUL!!!
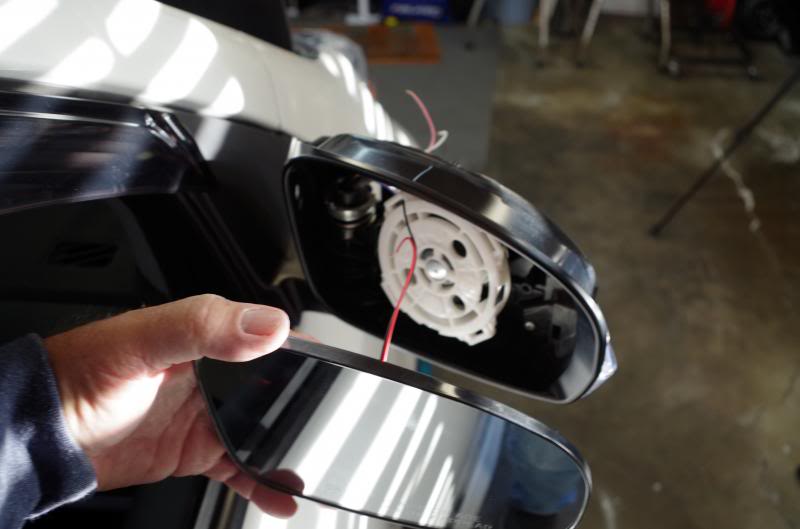
Push the mirror glass to it's farthest top position, you will hear the mechanism click while it's moving...
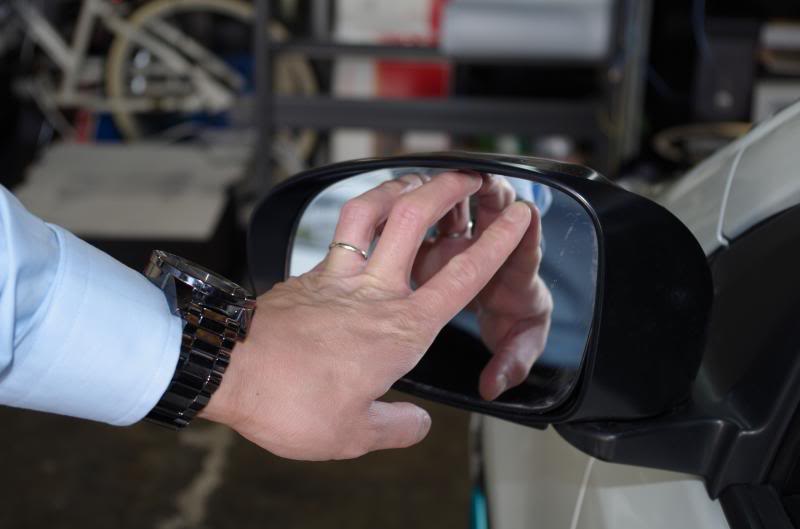
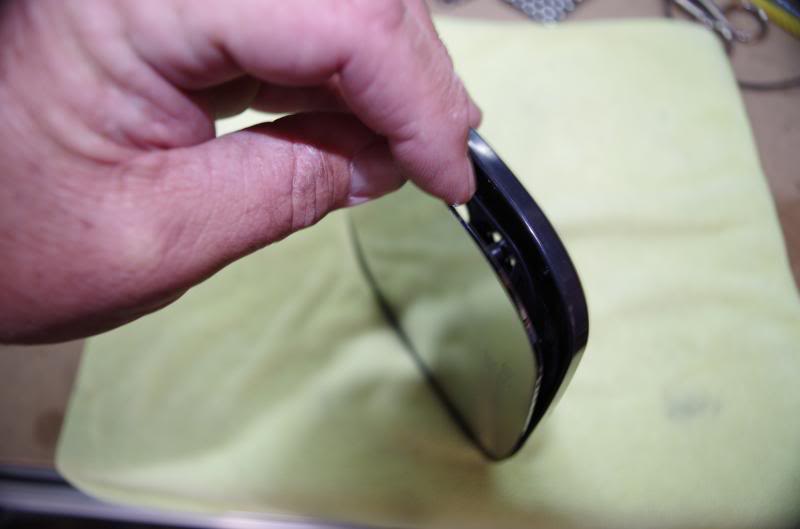
Grasp the bottom edge of the mirror glass with your finger tips and apply firm steady pressure. There are no screws holding this piece on, just four tabs that will snap loose...
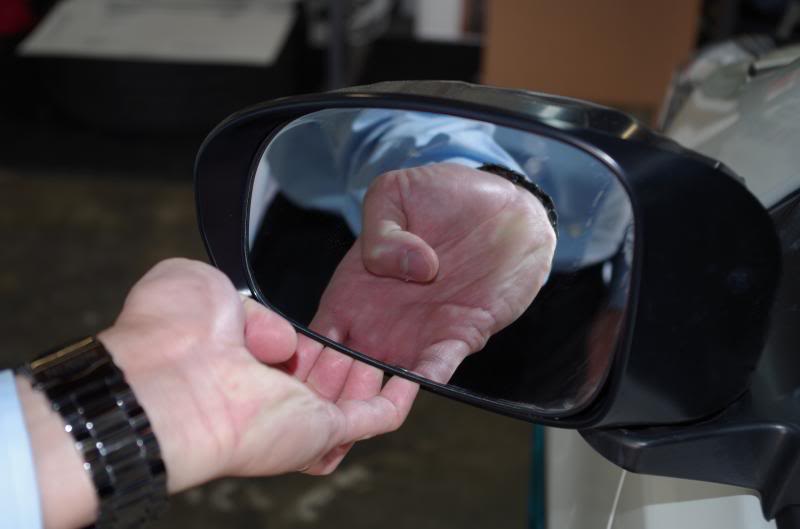
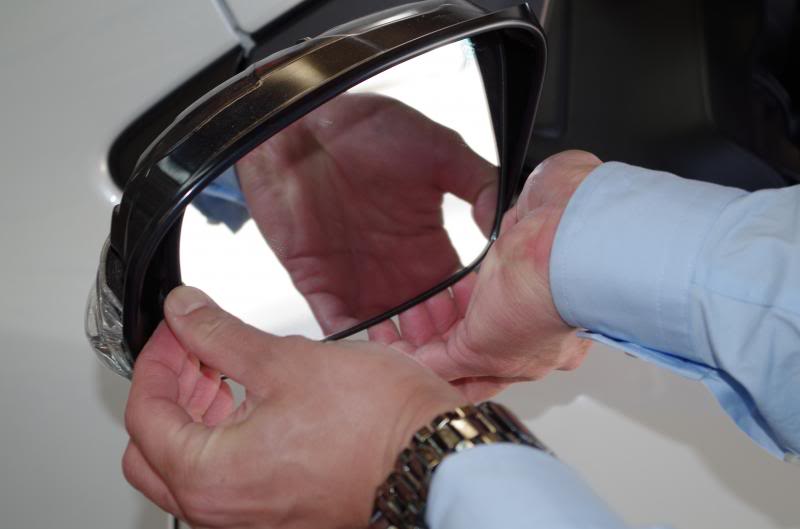
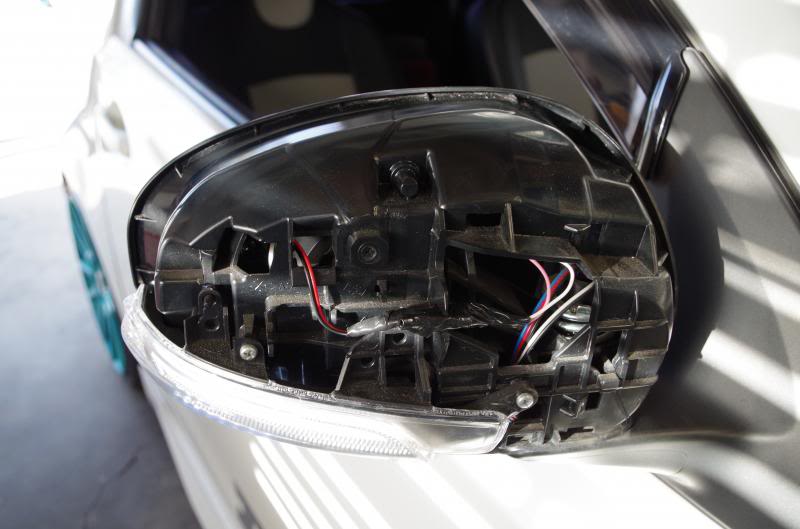
Continue to pull on the mirror slowly until all four mounting tabs are loose. Here you can see where they connect...

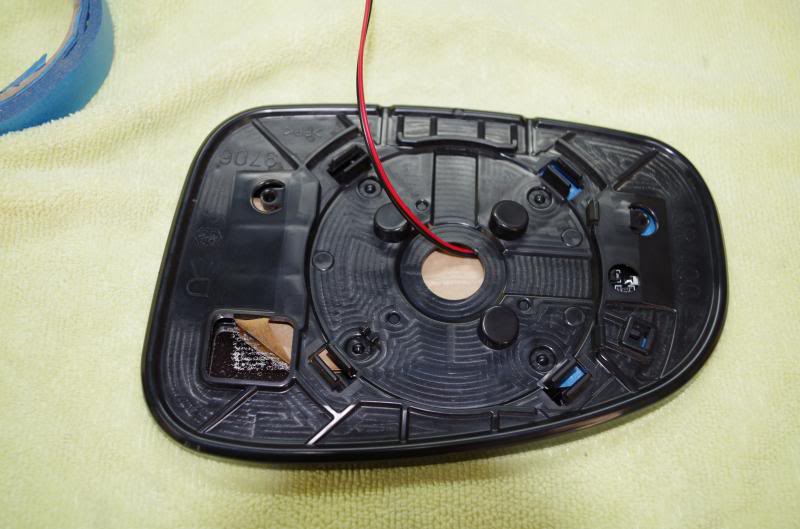
Next you will need to remove the black plastic mounting from the mirror glass. Use a heat gun, or a blow dryer if you don't have a heat gun, and warm up the edge of the black plastic to make it pliable and allow the glass to be removed without breaking. Use the heat and try to remove the edge of the plastic, if it's still too tight, use more heat...
Continue to heat the edges all the way around until the glass comes loose from the plastic housing...
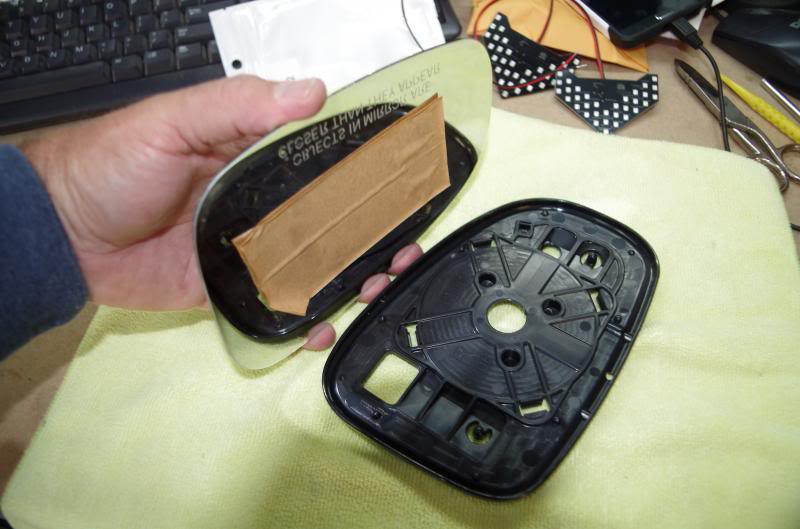
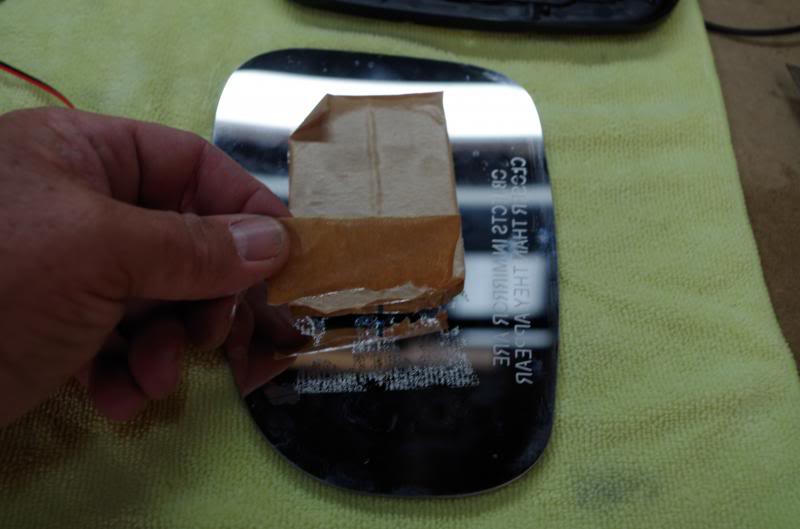
The adhesive paper will need to be removed to allow the LED's to show through...
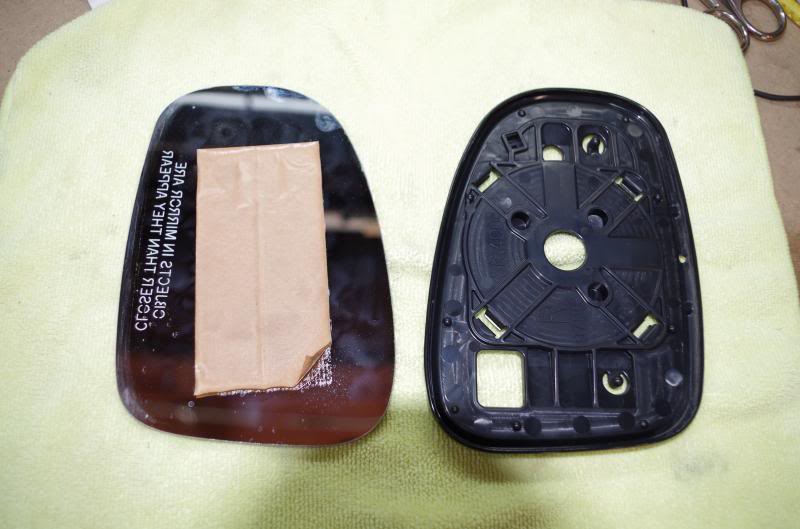
You can use adhesive remover like GooGone to clean the adhesive from the back of the mirror glass. KEEP IN MIND, ANY DAMAGE TO THE COATING ON THE BACK OF THE MIRROR GLASS WILL SHOW THROUGH ON THE FRONT SIDE. I suggest using a plastic razor blade to remove any heady residue from the mirror glass...
Fit the LED lights to the mirror so that they are centered with the top and bottom and close to the outside edge of the mirror...
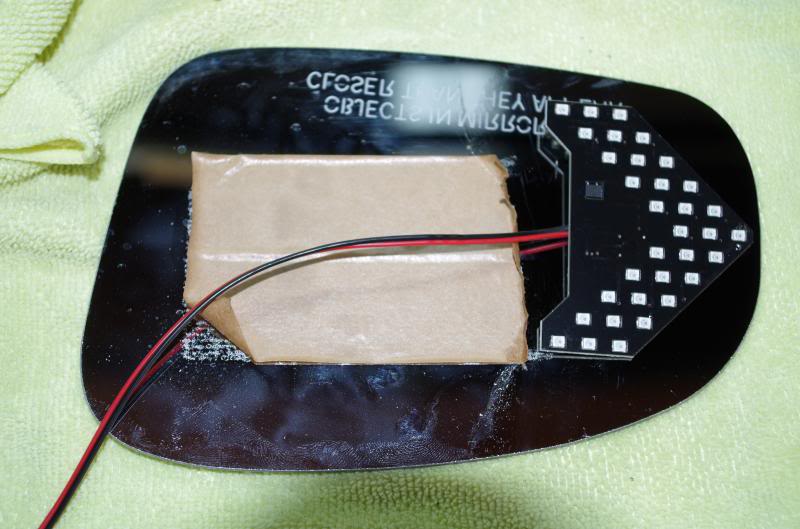
Use tape to hold the LED lights in place on the rear of the mirror glass...
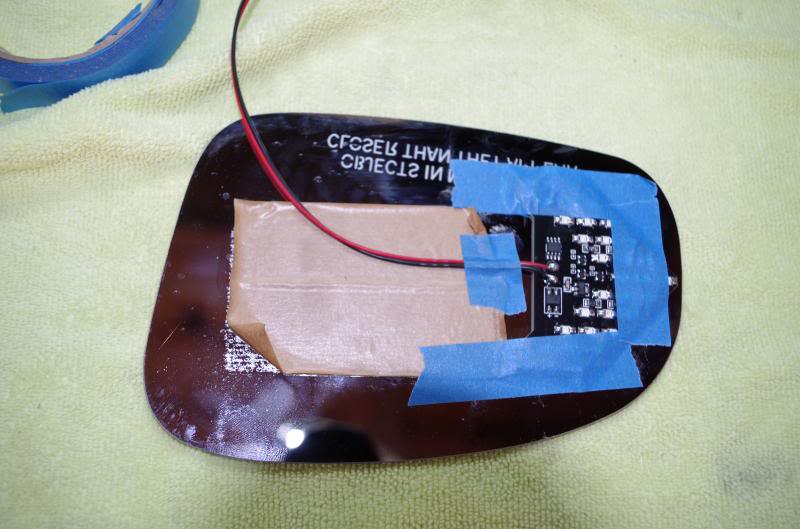
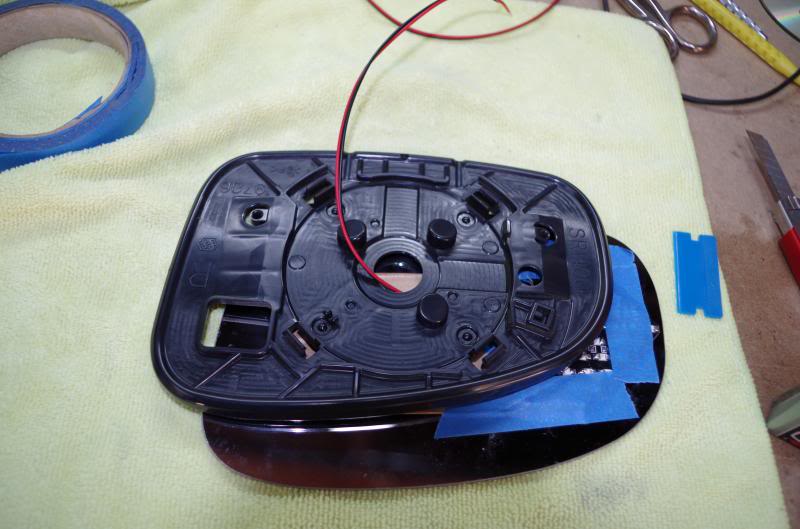
Run the wire leads for the LED's through the black plastic housing plate...
You can now reassemble the mirror glass by using the heat gun to warm the plastic and gently snap the mirror glass back into place...
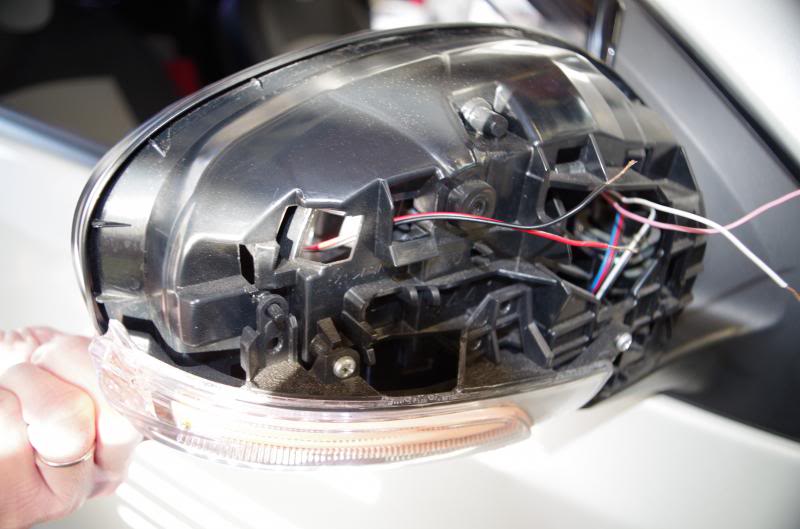
The next step is to connect the LED lights to the turn signal leads in the side mirror. The PINK wire will connect to the RED wire of the LED leads, the WHITE wire will connect to the BLACK wire of the LED leads. In this example the iQ side mirror has aftermarket mirror lights that do not require the use of the stock connector. On yours you will have the white connector attached to the turn signal inside the side mirror. In this example the wires were cut and spliced directly. On yours you can use a butt splice in line connector that will allow you to use both the mirror turn signal and the new LED's...

Feed the LED leads through the mirror housing body...
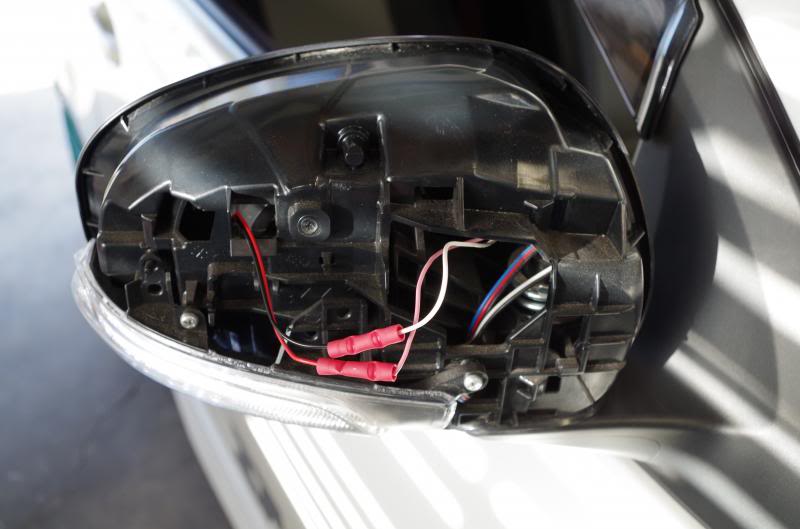
Connect the turn signal leads to the LED leads, splice and tape to protect the connection...
Replace the mirror cover...
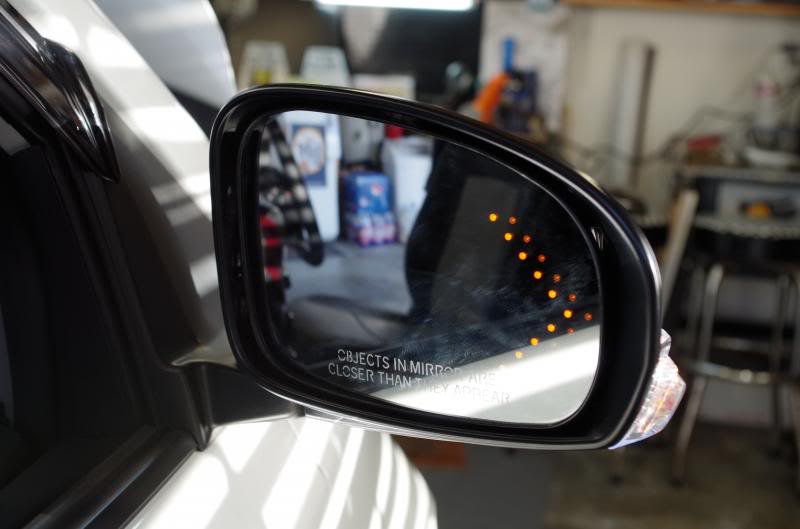
Test your new LED side mirror turn signal lights...
As always, proceed at your own risk. I am not responsible for damage to your vehicle.
This is not a complicated modification and you should be able to complete it in less than two hours.
Tools you will need:
1. LED lights
2. Razor blade
3. Wire cutters
4. Wire connectors
5. Wire connector crimpers
6. Black vinyl tape
7. Adhesive remover (GooGone)
8. Towels
9. Heat gun (or blow dryer)
First you will need to remove the mirror housing cover...
Grasp the cover firmly at the bottom edge with your fingers and apply firm even pressure. The cover is only a snap fit, there are no screws holding it in place...
Next you will need to remove the mirror glass...
IT IS EXTREMELY EASY TO BREAK THE MIRROR GLASS AND A REPLACEMENT IS $81.00 FROM SCION. PLEASE BE CAREFUL!!!
Push the mirror glass to it's farthest top position, you will hear the mechanism click while it's moving...
Grasp the bottom edge of the mirror glass with your finger tips and apply firm steady pressure. There are no screws holding this piece on, just four tabs that will snap loose...
Continue to pull on the mirror slowly until all four mounting tabs are loose. Here you can see where they connect...
Next you will need to remove the black plastic mounting from the mirror glass. Use a heat gun, or a blow dryer if you don't have a heat gun, and warm up the edge of the black plastic to make it pliable and allow the glass to be removed without breaking. Use the heat and try to remove the edge of the plastic, if it's still too tight, use more heat...
Continue to heat the edges all the way around until the glass comes loose from the plastic housing...
The adhesive paper will need to be removed to allow the LED's to show through...
You can use adhesive remover like GooGone to clean the adhesive from the back of the mirror glass. KEEP IN MIND, ANY DAMAGE TO THE COATING ON THE BACK OF THE MIRROR GLASS WILL SHOW THROUGH ON THE FRONT SIDE. I suggest using a plastic razor blade to remove any heady residue from the mirror glass...
Fit the LED lights to the mirror so that they are centered with the top and bottom and close to the outside edge of the mirror...
Use tape to hold the LED lights in place on the rear of the mirror glass...
Run the wire leads for the LED's through the black plastic housing plate...
You can now reassemble the mirror glass by using the heat gun to warm the plastic and gently snap the mirror glass back into place...
The next step is to connect the LED lights to the turn signal leads in the side mirror. The PINK wire will connect to the RED wire of the LED leads, the WHITE wire will connect to the BLACK wire of the LED leads. In this example the iQ side mirror has aftermarket mirror lights that do not require the use of the stock connector. On yours you will have the white connector attached to the turn signal inside the side mirror. In this example the wires were cut and spliced directly. On yours you can use a butt splice in line connector that will allow you to use both the mirror turn signal and the new LED's...
Feed the LED leads through the mirror housing body...
Connect the turn signal leads to the LED leads, splice and tape to protect the connection...
Replace the mirror cover...
Test your new LED side mirror turn signal lights...


Thread
Thread Starter
Forum
Replies
Last Post
TheTripleC
PPC: Vehicles
1
01-04-2015 06:46 PM