How to Remove Steering Wheel Plastic (with pix)..
 09-09-2011, 12:47 AM
#1

First off I'd like to thanks Superpickel for the original how to on this before anyone starts this it must be noted that I am or Superpickel is not responsible for any damages or the airbag being deployed.
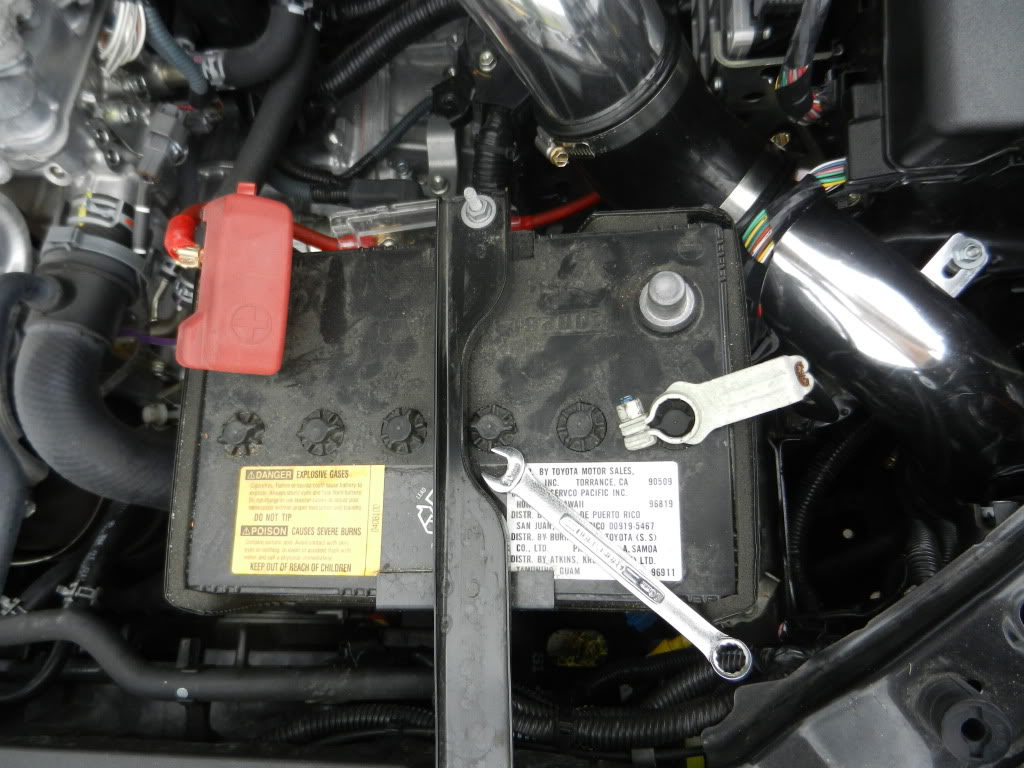
With that said first things first remove you need to disconnect the negative battery cable. this will require a 10mm wrench This will disengage the steering wheel airbag.
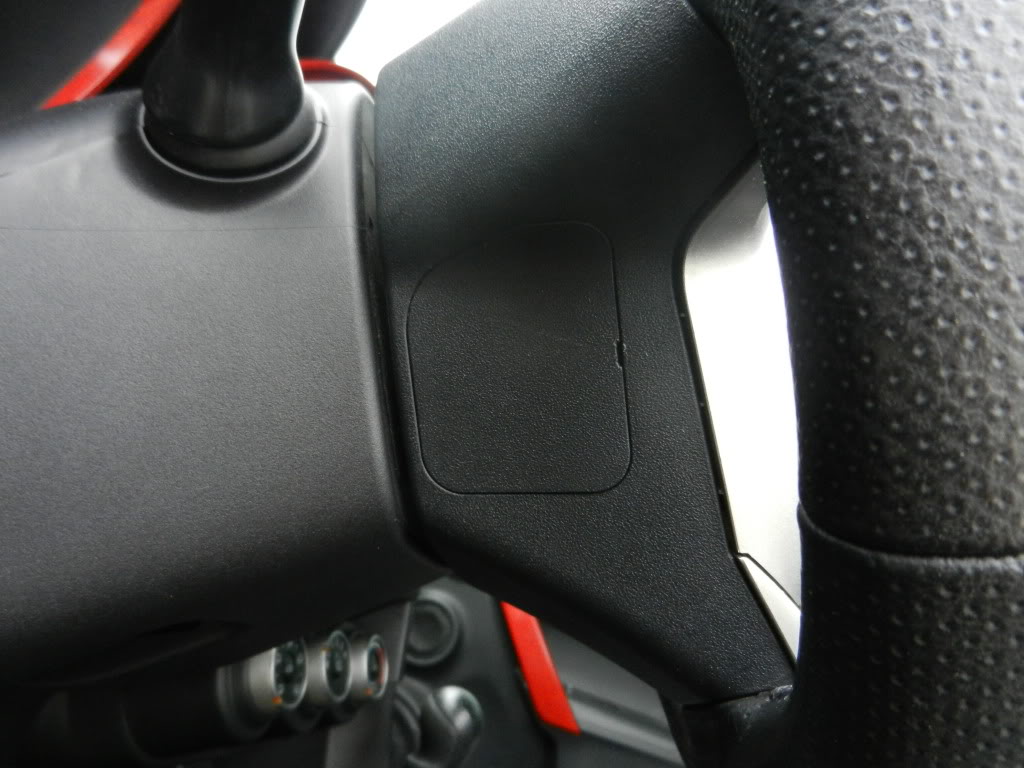
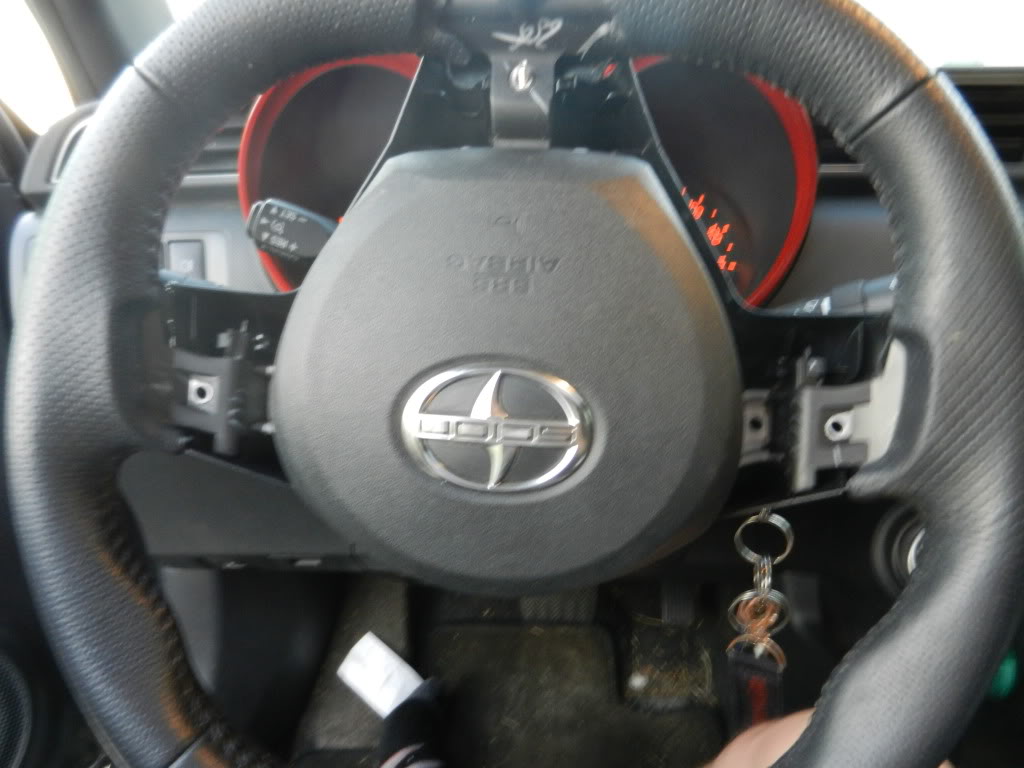
Next, remove two black square plates, from the steering column, on both sides of the steering wheel. This allows you to see behind the steering wheel itself.

After that, you will see two rods, running up and down, one on each side. These rods are spring action and set into a notch on a rod protruding beneath the horn cover to allow the cover to be pushed in (to honk the horn) and release.
Using a screw driver, push the straight up and down rods inward. This will release the horn cover and the air bag. Feel free to unplug the clip for the air bag (please see note at bottom)

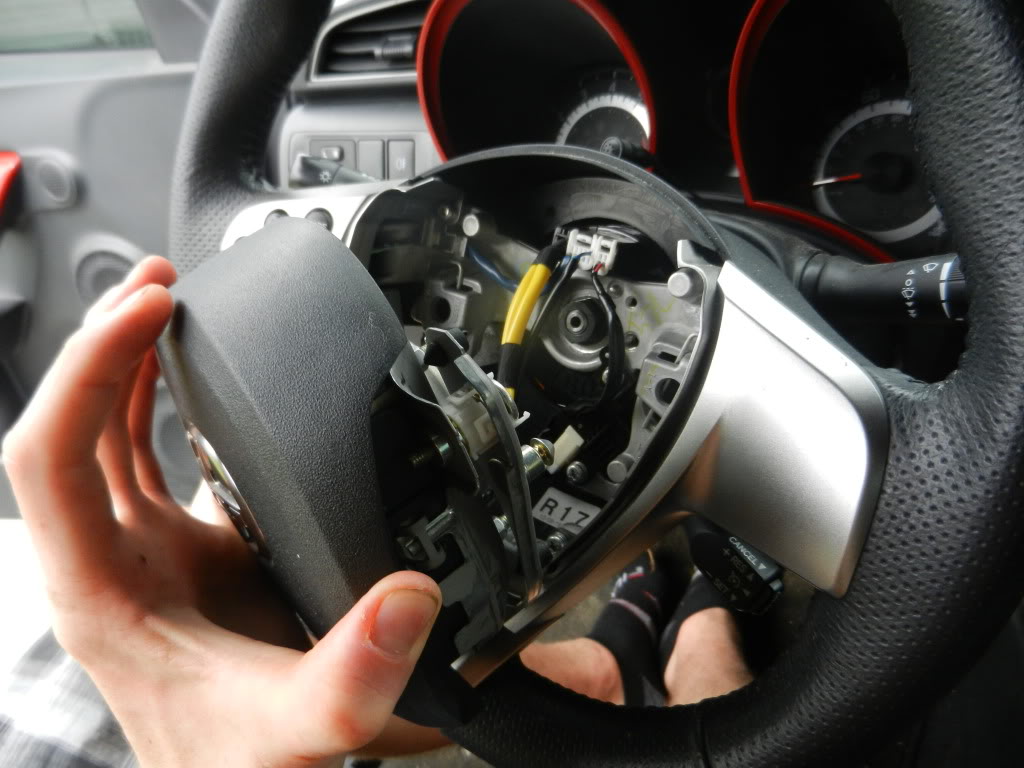
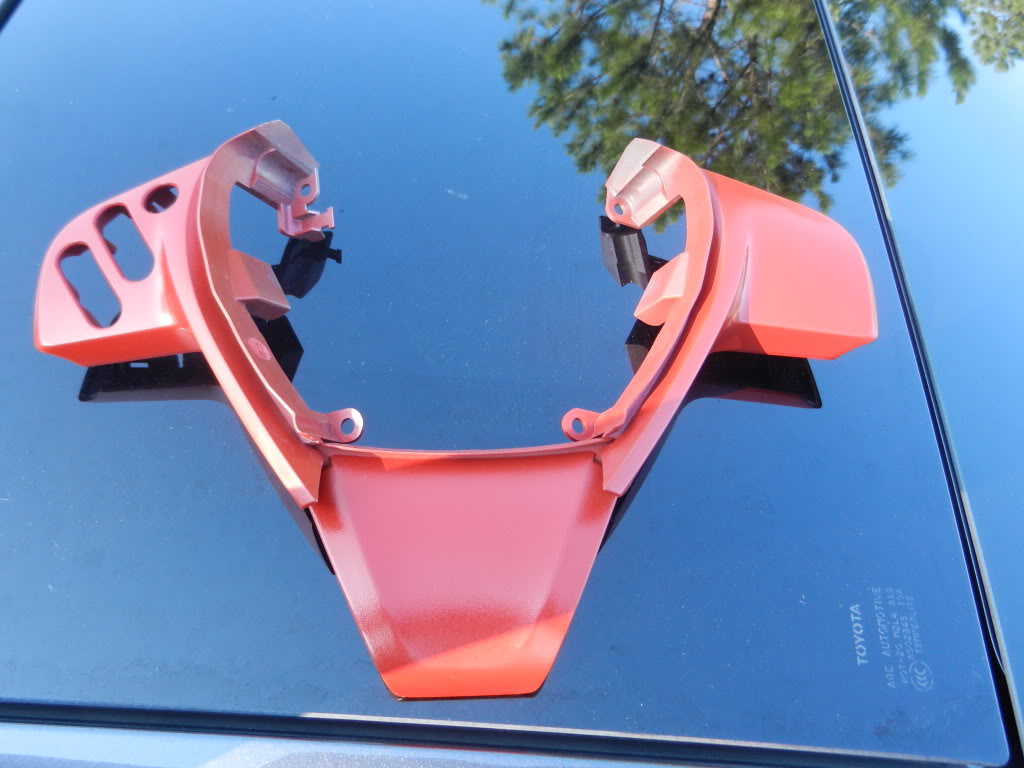
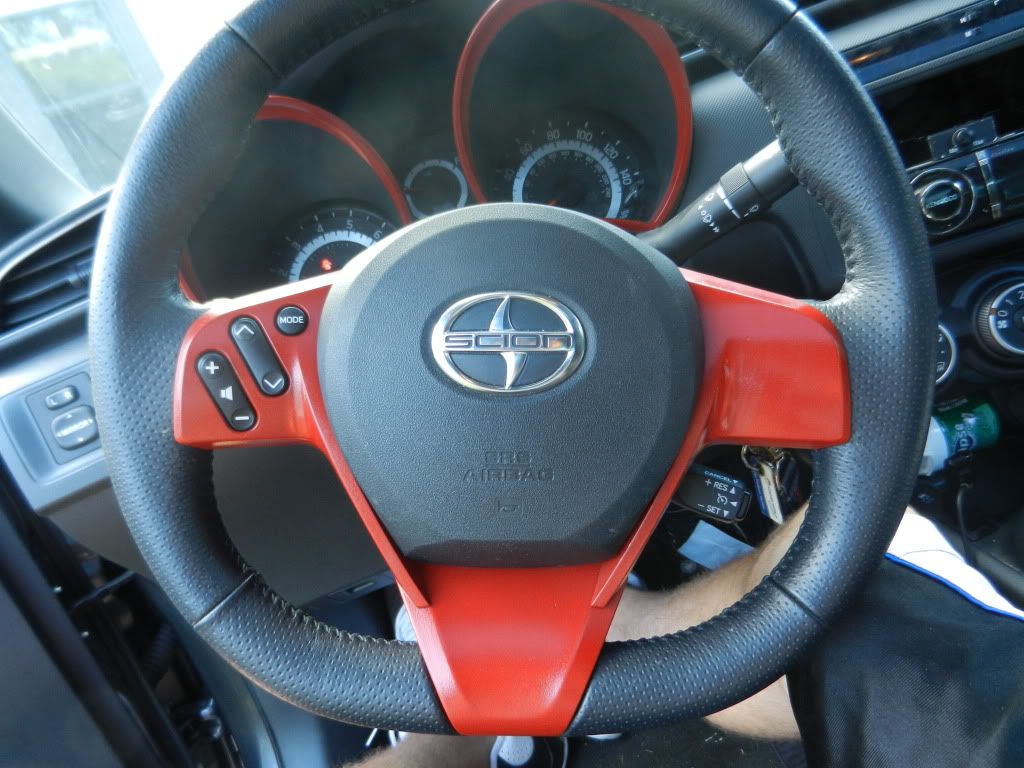
After that is out, you will see three pieces. Those coveted three pieces that you have been staring at for the past 3 weeks that are still silver while everything else has been primed, painted, and cleared to perfection.
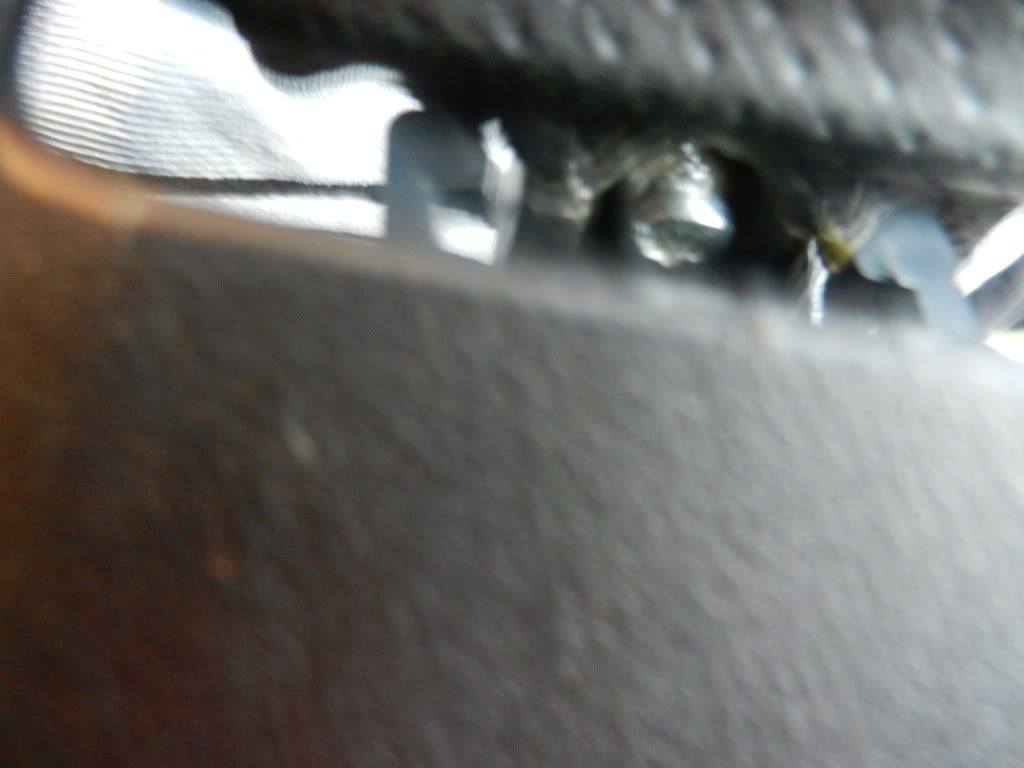
Holding these three pieces are a few Phillips head screws. there are 2 screws in the front of the steering wheel
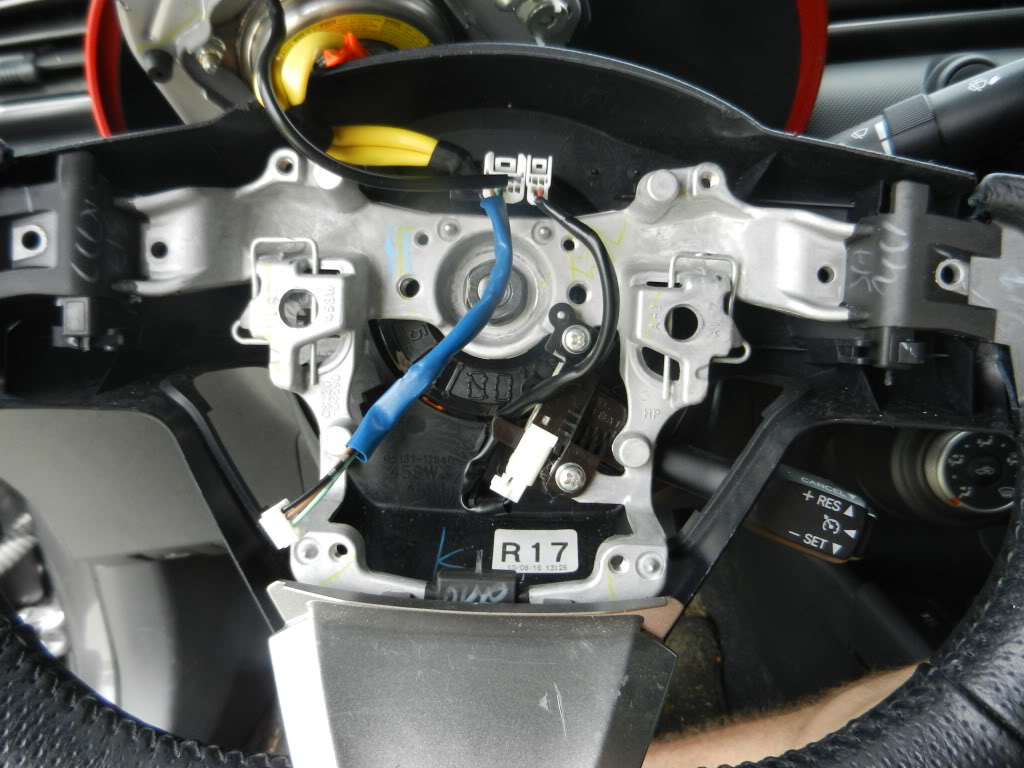
Now the difficult screw is located behind the black plastic behind the wheel itself. To remove this the easiest way I found is to put the steering wheel upside down and lower the wheel all the way down force the black plastic down and proceed to remove the screw.
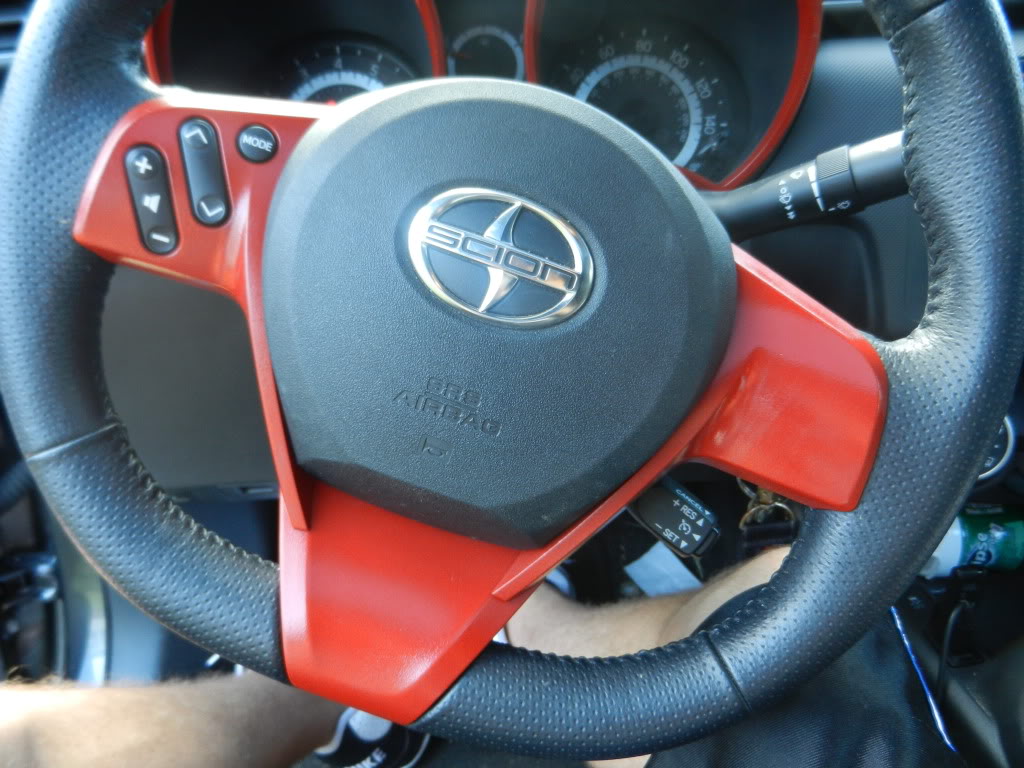
Take them out, have your way with painting and then replace the pieces.
If you're like me and cant wait the recommended dry time for the paint and not go anywhere you can replace the horn and negative battery cable
Note: I did not unclip the connector for the air bag. Reason being, and I'm not sure of the validity of this, is because I have heard of air bags not deploying later on after reassembly (later down the road in wrecks)
because they had been tampered with (unplugged before). This is the reason I left mine plugged up. But like I said, not 100% sure. Better safe than sorry.
_________
With that said first things first remove you need to disconnect the negative battery cable. this will require a 10mm wrench This will disengage the steering wheel airbag.
Next, remove two black square plates, from the steering column, on both sides of the steering wheel. This allows you to see behind the steering wheel itself.
After that, you will see two rods, running up and down, one on each side. These rods are spring action and set into a notch on a rod protruding beneath the horn cover to allow the cover to be pushed in (to honk the horn) and release.
Using a screw driver, push the straight up and down rods inward. This will release the horn cover and the air bag. Feel free to unplug the clip for the air bag (please see note at bottom)
After that is out, you will see three pieces. Those coveted three pieces that you have been staring at for the past 3 weeks that are still silver while everything else has been primed, painted, and cleared to perfection.
Holding these three pieces are a few Phillips head screws. there are 2 screws in the front of the steering wheel
Now the difficult screw is located behind the black plastic behind the wheel itself. To remove this the easiest way I found is to put the steering wheel upside down and lower the wheel all the way down force the black plastic down and proceed to remove the screw.
Take them out, have your way with painting and then replace the pieces.
If you're like me and cant wait the recommended dry time for the paint and not go anywhere you can replace the horn and negative battery cable
Note: I did not unclip the connector for the air bag. Reason being, and I'm not sure of the validity of this, is because I have heard of air bags not deploying later on after reassembly (later down the road in wrecks)
because they had been tampered with (unplugged before). This is the reason I left mine plugged up. But like I said, not 100% sure. Better safe than sorry.
_________
Last edited by MR_LUV; 04-07-2019 at 05:25 AM. Reason: Becomes a Sticky
 09-09-2011, 01:34 AM
#5
not yet i just finished the second coat of paint and am waiting on that to dry to put on a clear coat will have pics up within the next day or two
Note i forgot to mention after you remove the left side plate (the one with remote controls) there is a plug you need to unplug from the back of that i wouldnt unplug it from the actual wheel because it seems as though there is a ground wire hooked into that after the plug is unplugged there are 3 small screws that you should remove before painting unless you want to pain over the controls
Note i forgot to mention after you remove the left side plate (the one with remote controls) there is a plug you need to unplug from the back of that i wouldnt unplug it from the actual wheel because it seems as though there is a ground wire hooked into that after the plug is unplugged there are 3 small screws that you should remove before painting unless you want to pain over the controls

 09-09-2011, 02:01 PM
#8
i used rustoleum gloss red and their clear coat
everyone i talked to said spray paint inside a car will bubble up in the heat... well its been over 100 degrees and about 4 months since i sstarted and no problems yet so im hoping to prove them all wrong
everyone i talked to said spray paint inside a car will bubble up in the heat... well its been over 100 degrees and about 4 months since i sstarted and no problems yet so im hoping to prove them all wrong
09-09-2011, 03:00 PM
#9
here is a small how to on painting your interior parts for long time use and appearance
first of remove any part you want to paint and clean with some sort of cleaner i used 409
next take 320 grit sand paper and wet sand the piece till slightly ruff in appearance
then clean with alcohol and let dry for about 15 min
next you want to spray your paint in my case i liked rustoleum's paints i spray one coat that is relatively heavy. you dont want it to run but you want enough there that it doesnt easily sand back down to silver
let this dry for about 2 hours more then the recemended dry time in rustoleums case it says about 4 hours so i waited 6
after dry wet sand with 2000 grit paper until smooth this may take a min and you may rub down to silver on the edges but thats ok.
clean again with alcohol and let dry for another 15 min
now spray on a light coat. this should be a smooth coat this is for shine basically.
again let dry for 2 hours longer then recommended
once dry grab a good clear coat again i used rustoleum and apply a decent coat over the paint
this recommends waiting 15-30 min so i waited 30-45 just to be safe then applied another coat of clear.
again wait for that coat to dry you want this to be 110% dry...
wet sand once more with 2000-3000 grit sand paper and i like to apply a small amount of wet shine liquid wax i use black magic to bring the shine back 100% because wet sanding may make the piece look a little dole
 09-10-2011, 12:27 PM
#15
Banned
SL Member

Join Date: Oct 2010
Posts: 1,075
After seeing the 5-Axis show car, I intended to paint all the silver trim red�they only did the small stuff; around the vents and trim pieces, but not on the doors. Now that you�ve done it, do you like it? Is it too much red? Nice work though�
09-10-2011, 02:54 PM
#16
Wooohh!! Sexy leg shots! 
Now that you’ve done it, do you like it? Is it too much red? Nice work though…
09-10-2011, 04:27 PM
#17
Senior Member
SL Member

Join Date: Dec 2010
Posts: 251
Any chance you'd want to rename this and throw my dash removal vid in the first post? Just for sticky purposes?
I don't want to steal any thunder though... so no worries.
I hope to do a steering wheel/dash vent removal video as well as a painting video. It'd be very helpful to have them all in one!
Also, I never thought the top of the car would be such a great 'finished' display shot. I shall use that from now on! ;p
 09-10-2011, 06:28 PM
#19
Any chance you'd want to rename this and throw my dash removal vid in the first post? Just for sticky purposes?


