My last rotary project/project... 3 rotor RX-7


Thread Starter
Senior Member
SL Member
Joined: Sep 2012
Posts: 115
I've posted this on other forums so pardon me if you already saw this somewhere else.. However, I'll shorten things and post just pics of what's been happening since Nov. last year.
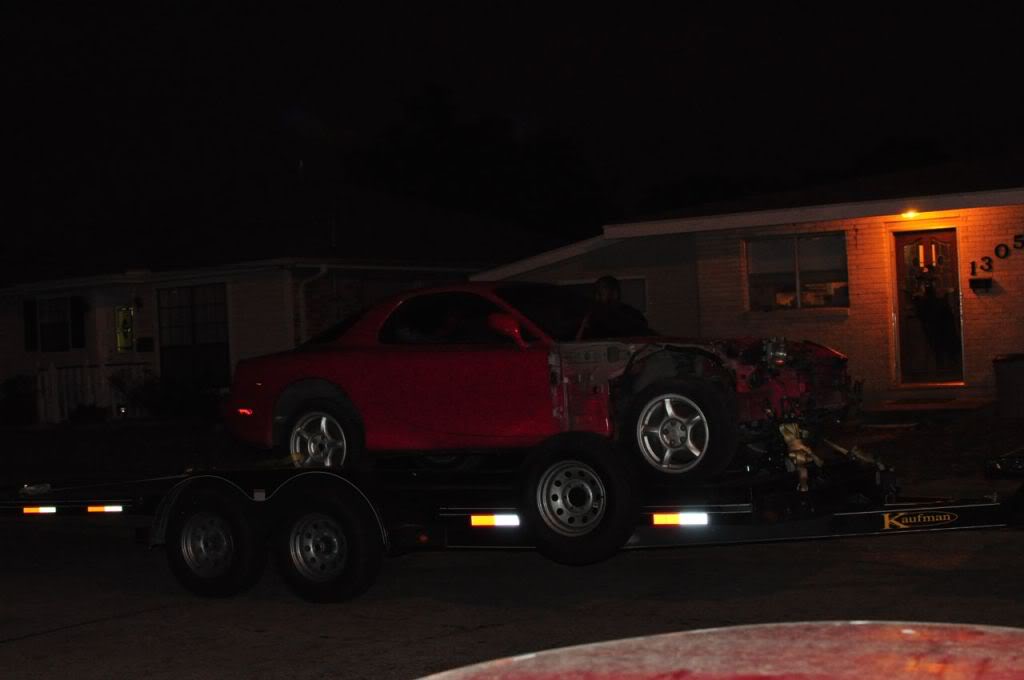
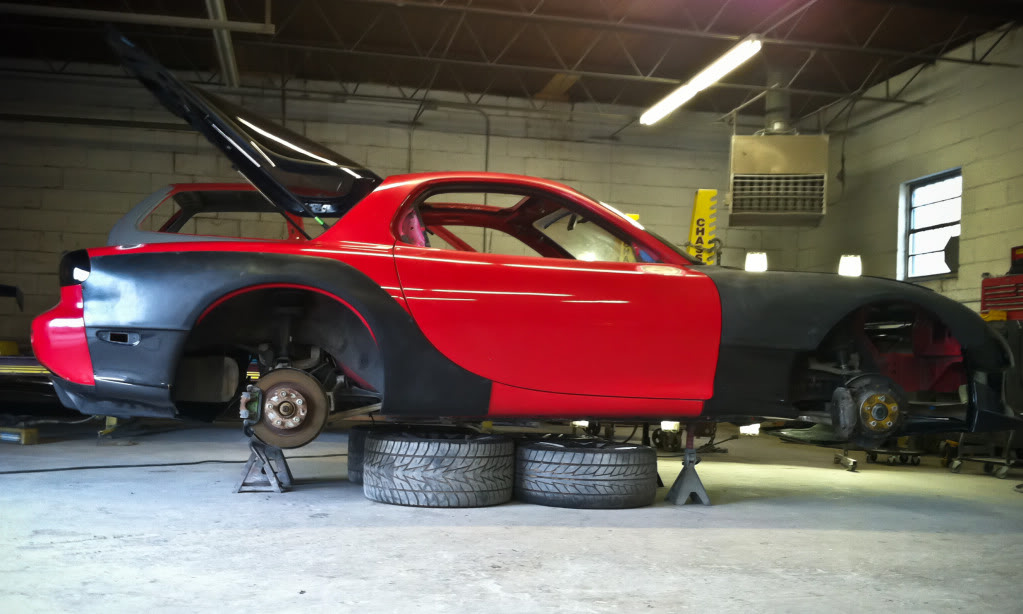
To start.. the car.. I found a guy selling a 93 VR touring FD in New Orleans. Luckily it was just a shell but didn't have a title. Seller said, it had a clean title but does not have it because the guy he bought it from never sent it. Luckily through my rotary car connections, I was able to contact the previous seller, and then the seller before that to get a clean viable title.
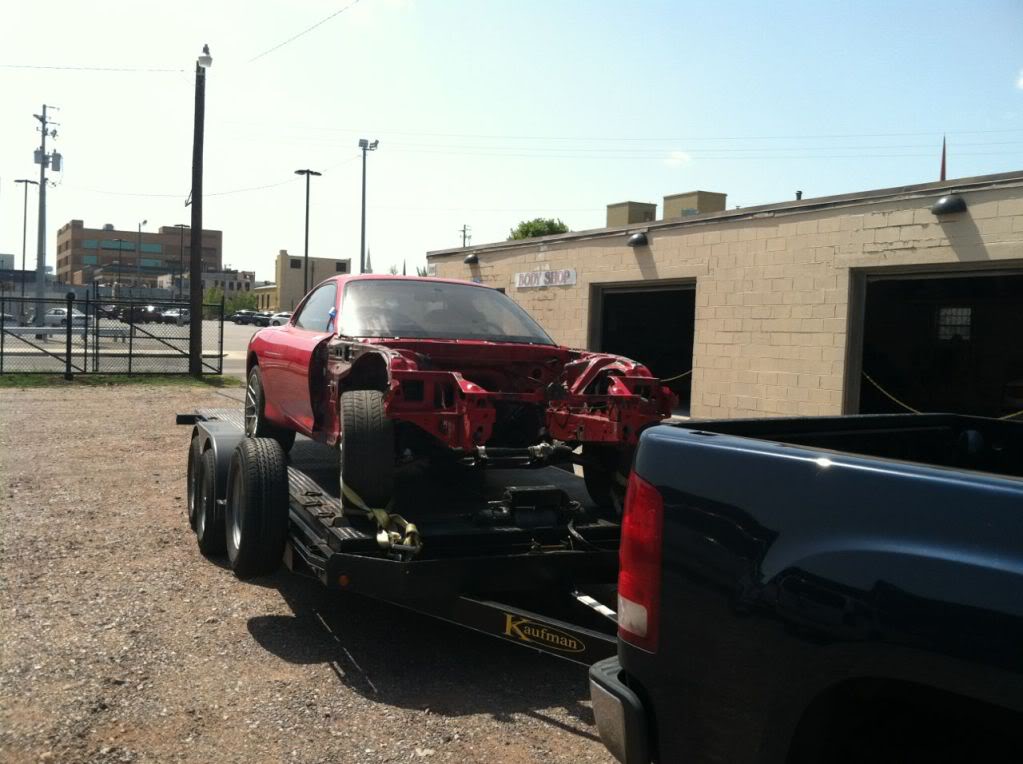
Here are some pics of the car when I was picking it up from New Orleans.
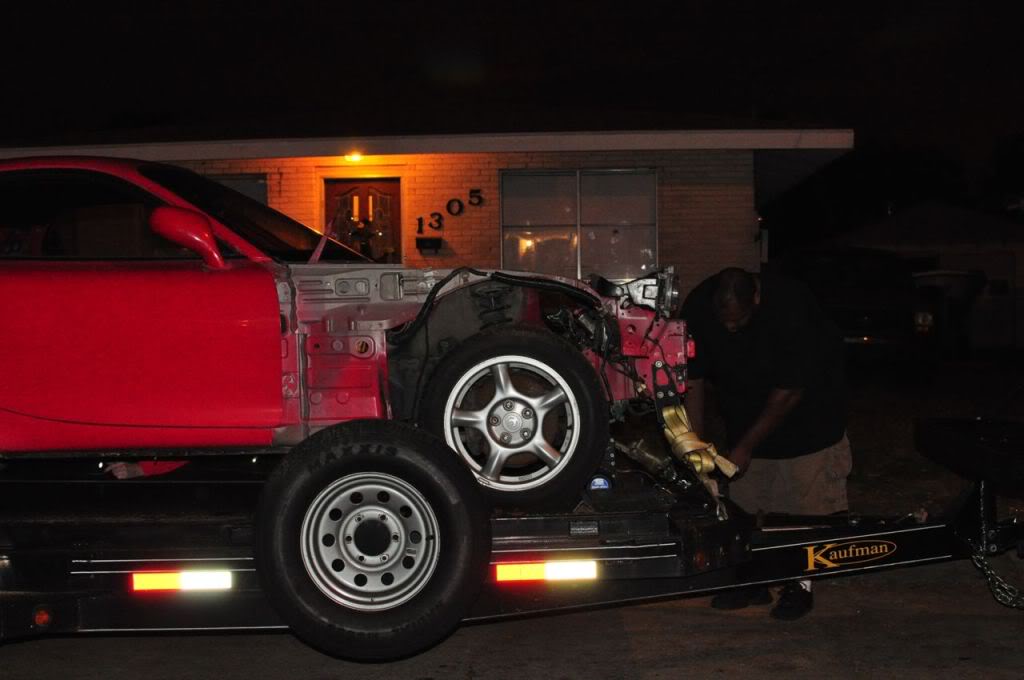
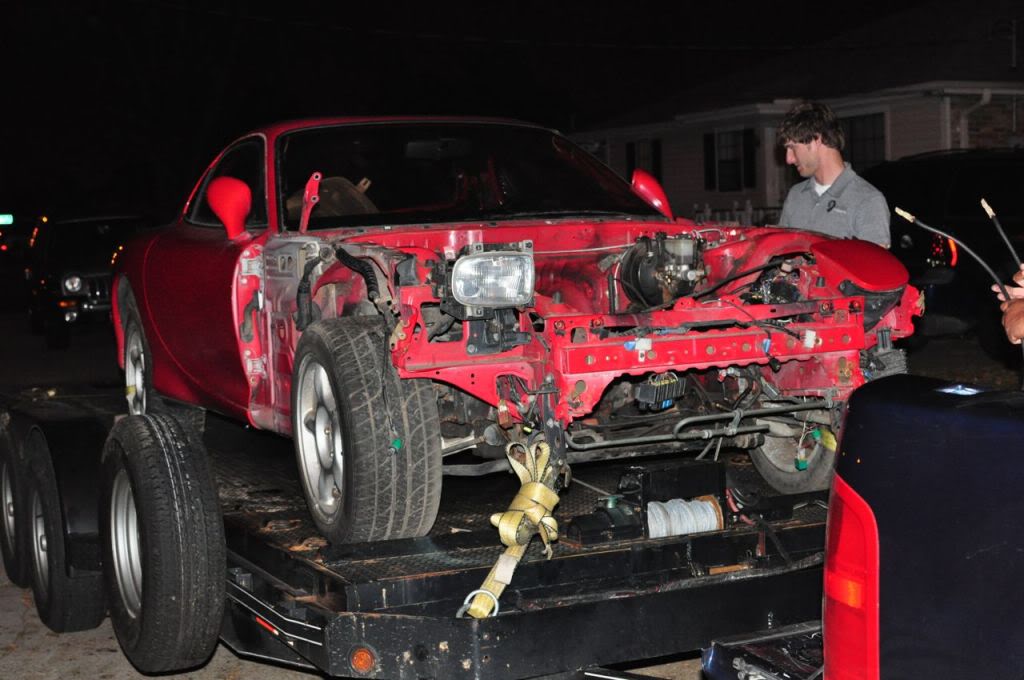
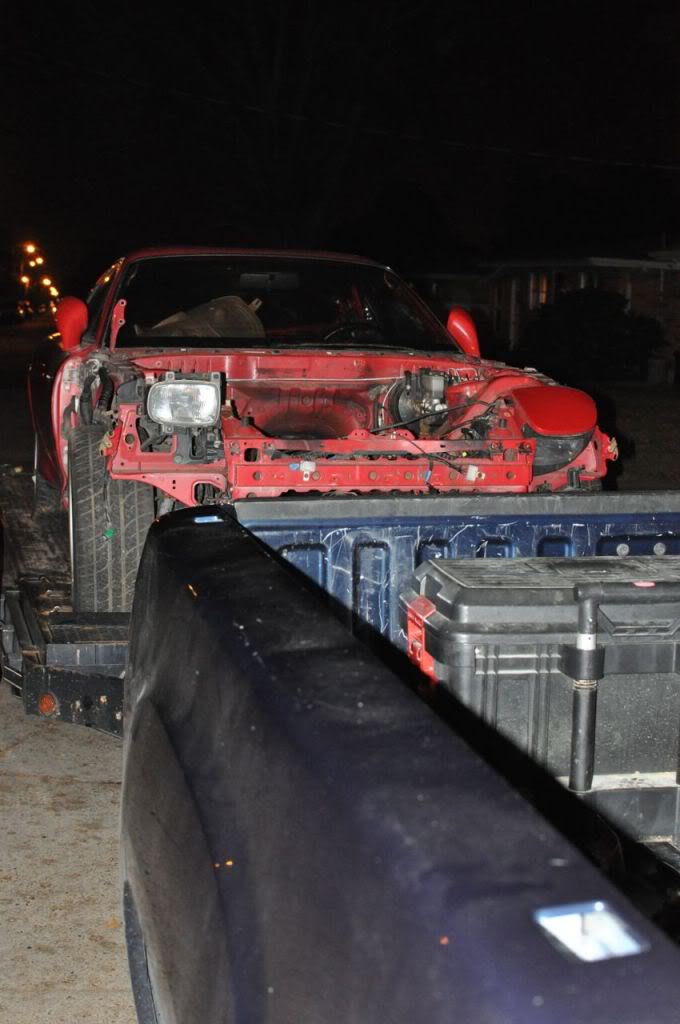

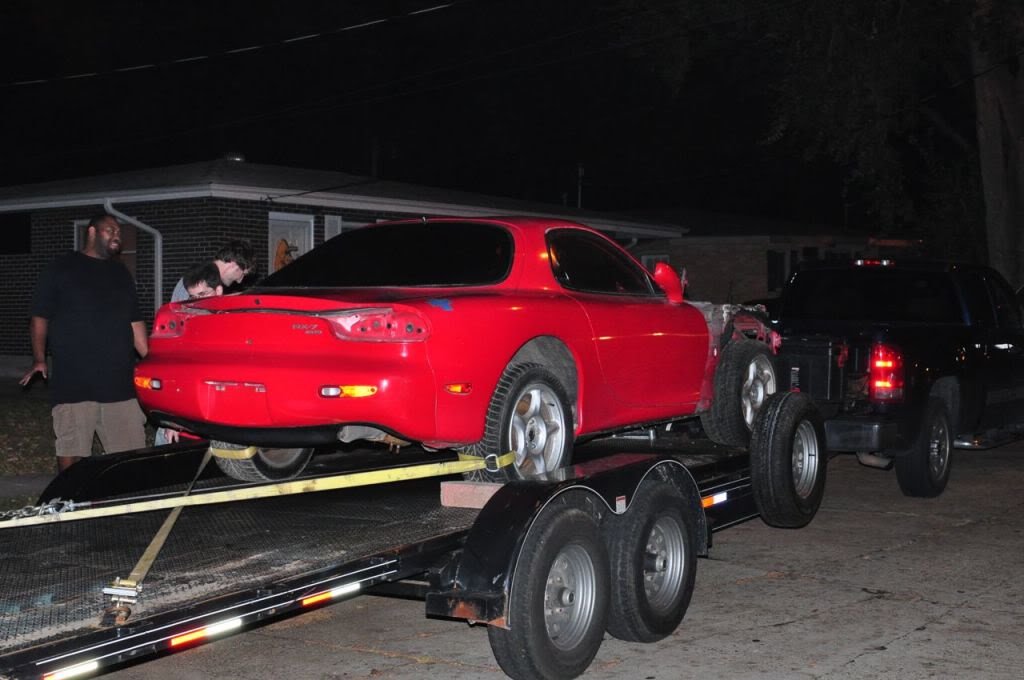
Next morning in New Orleans
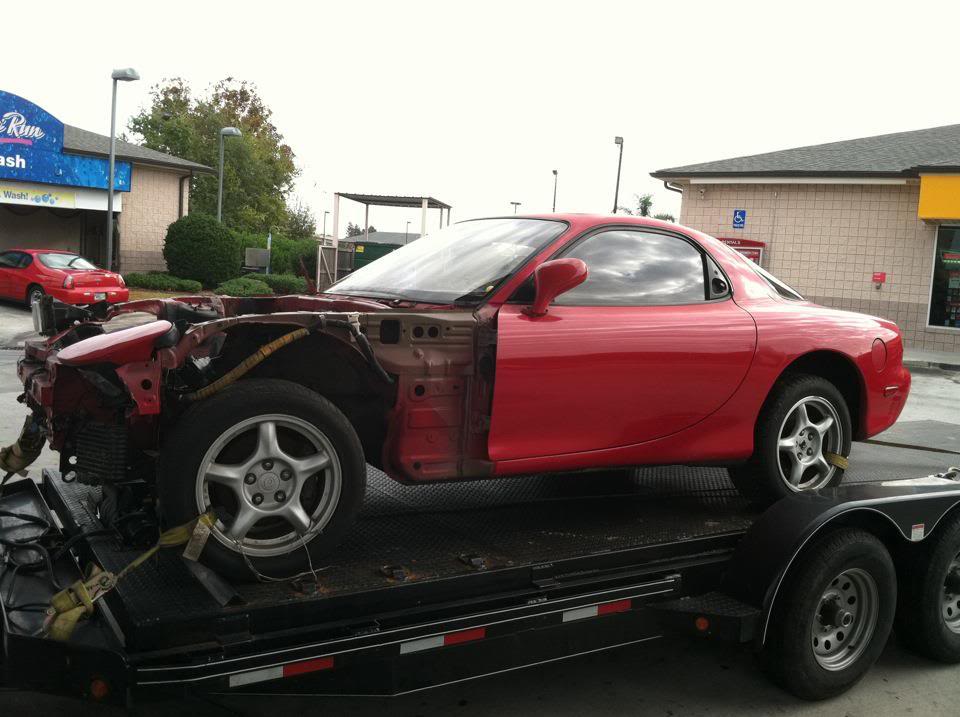
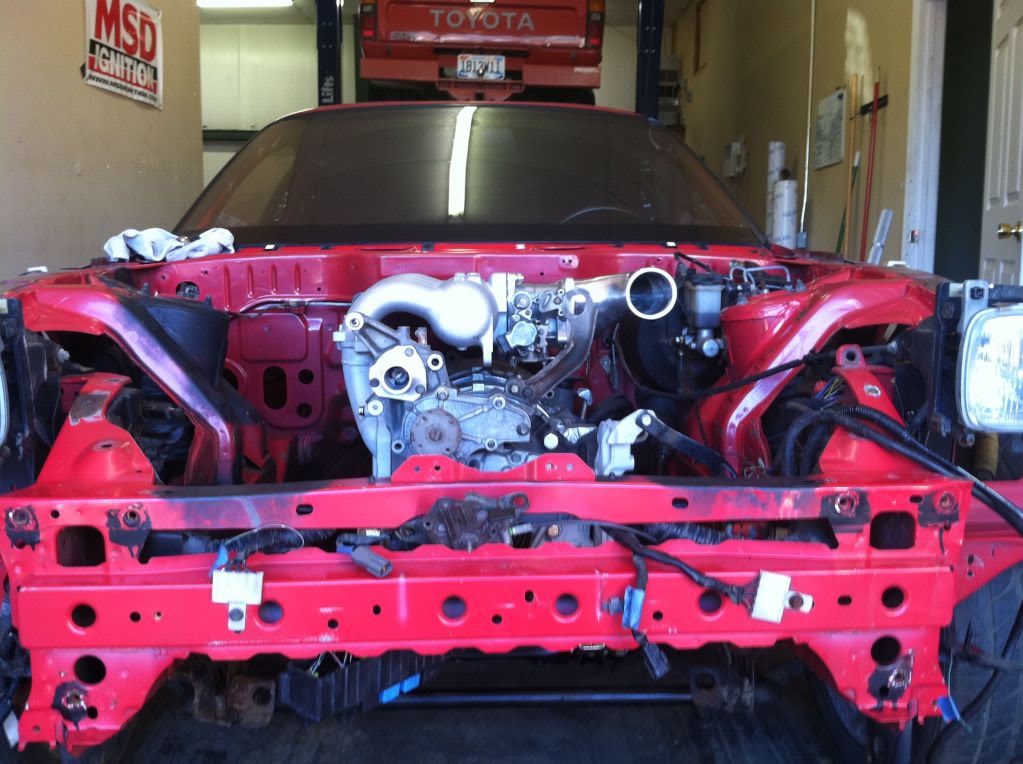
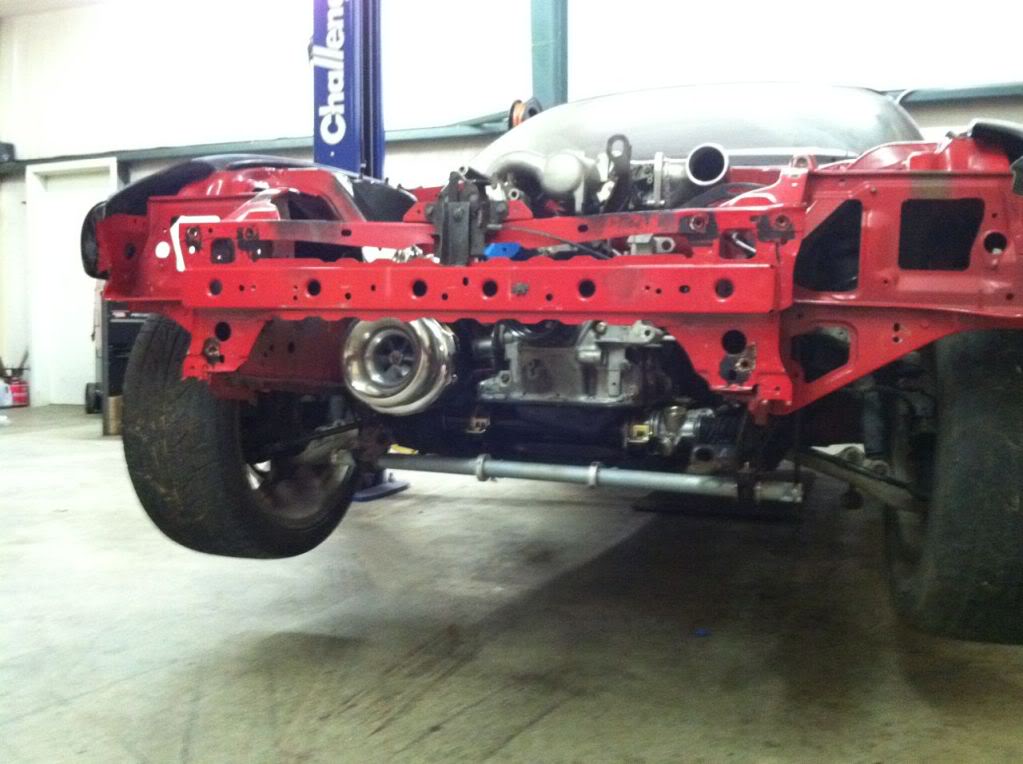
From there car went to my friend and fabricator Walker Morgan @ Morgan Performance Fabrication

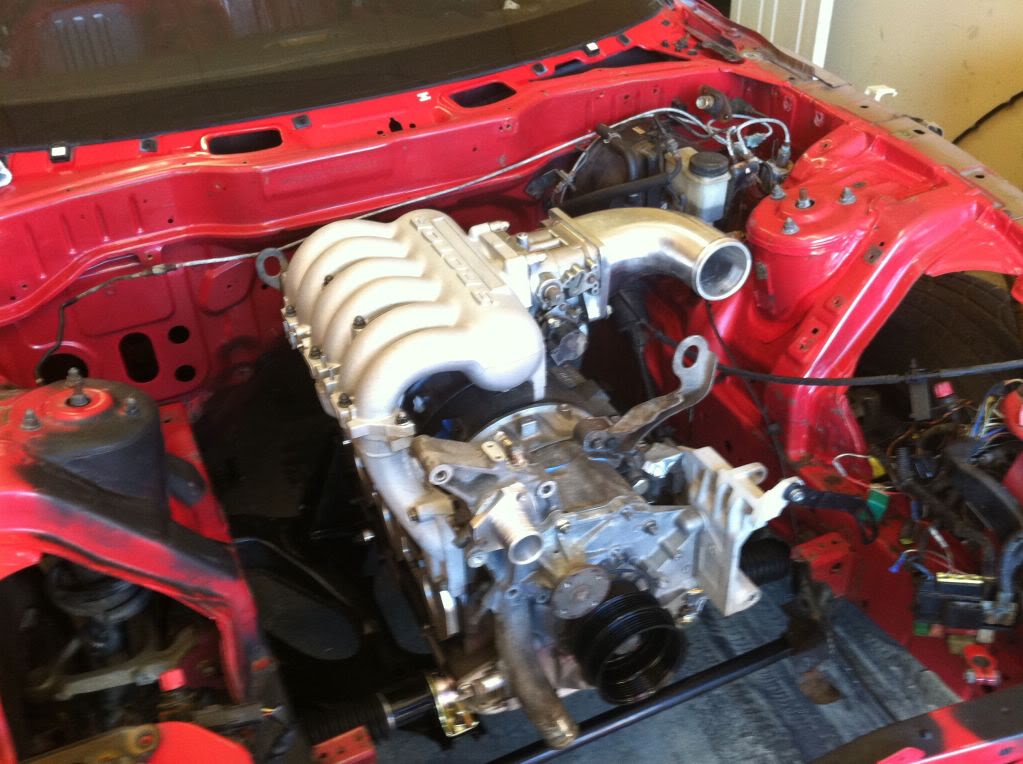
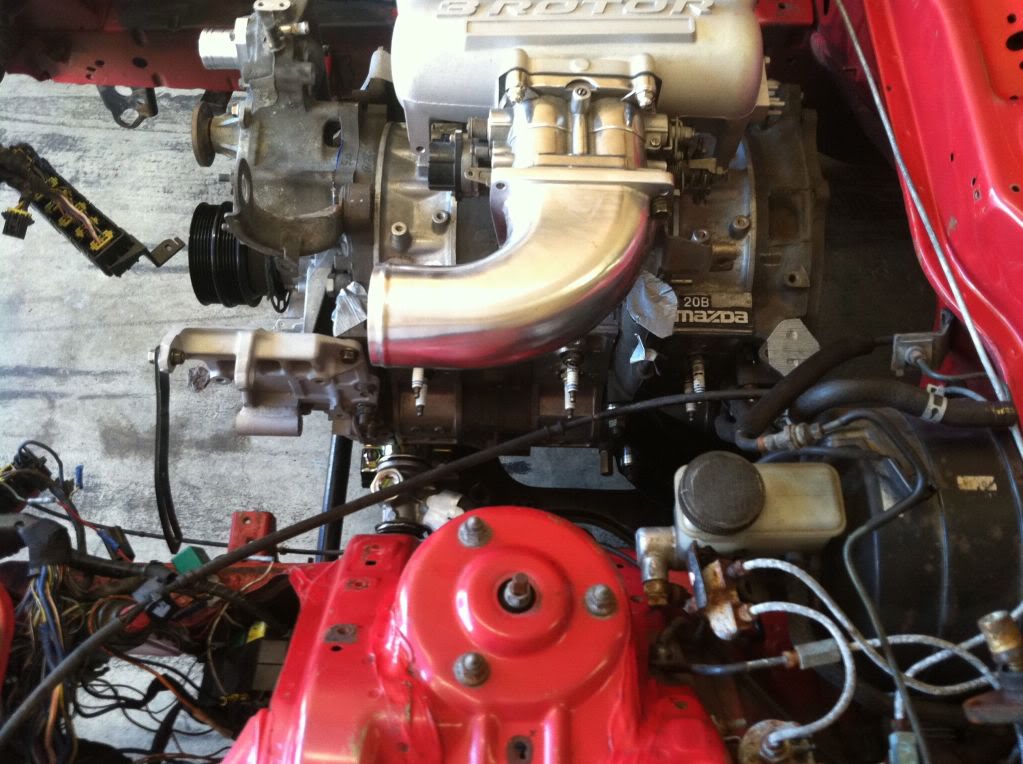
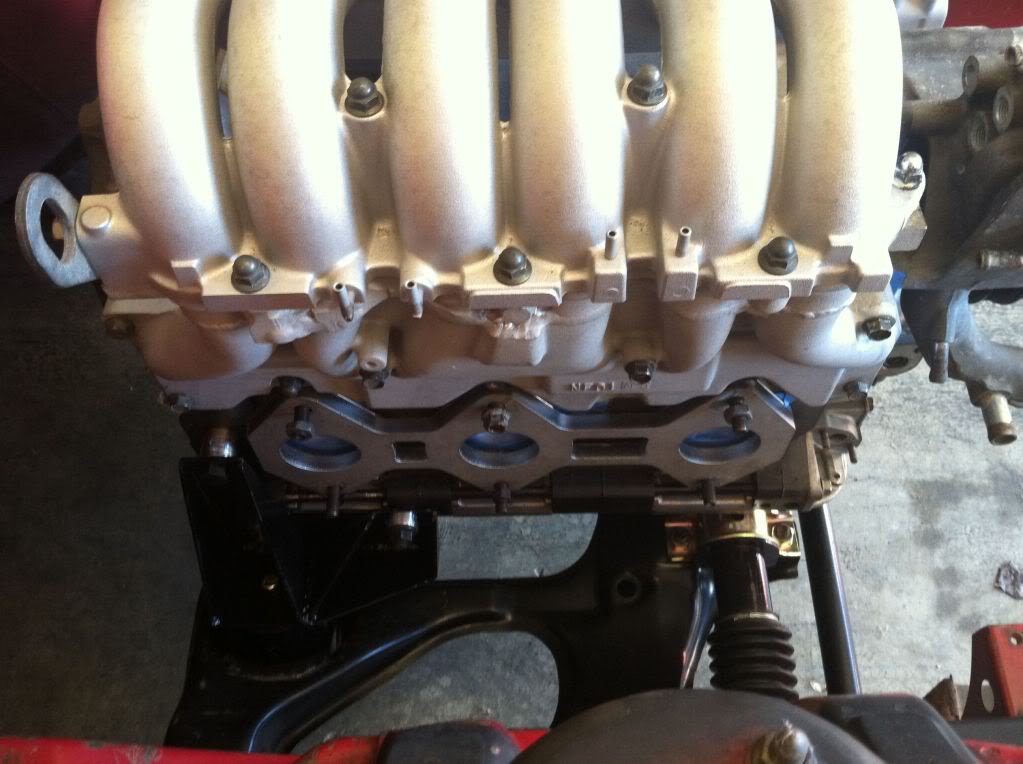
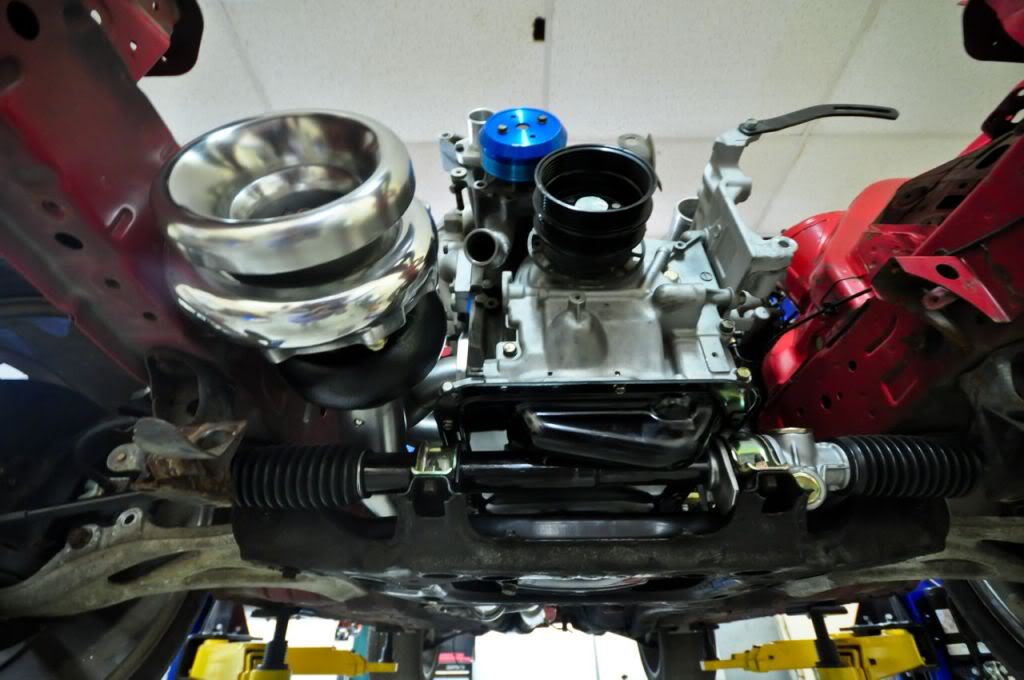
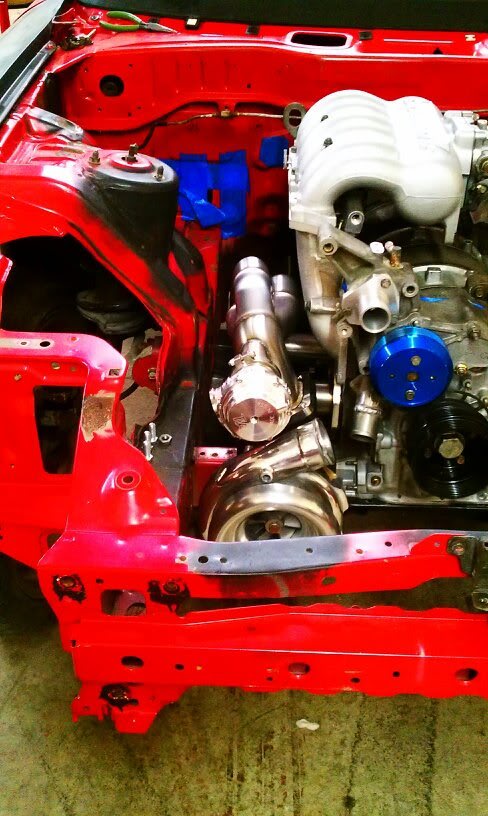
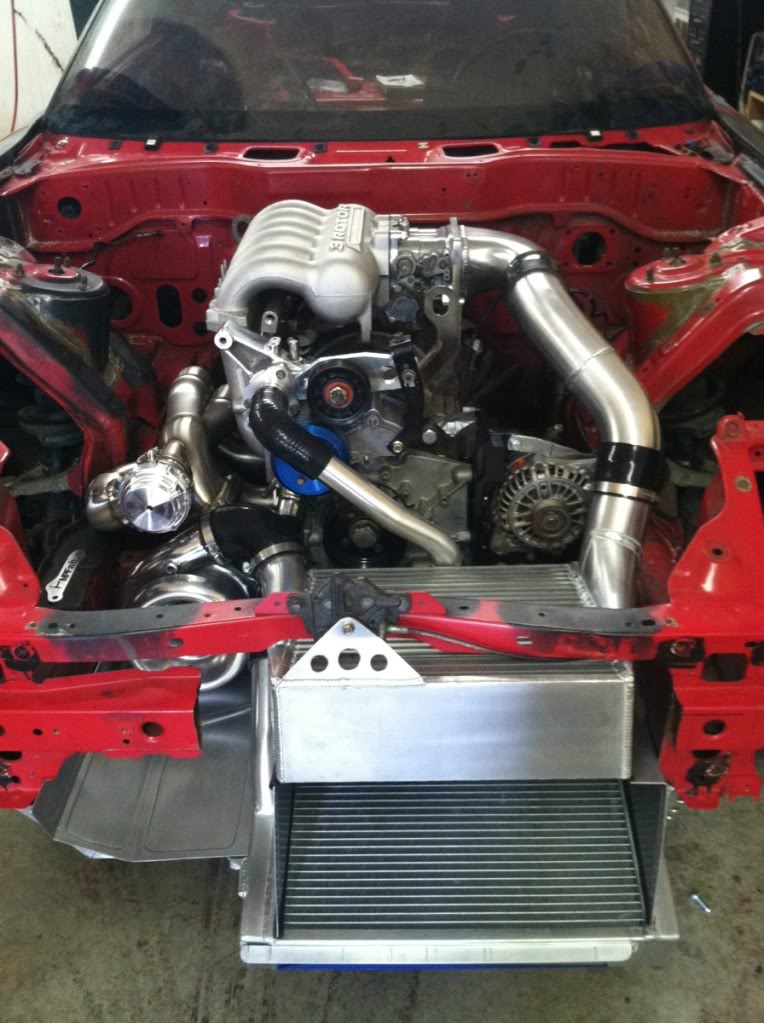
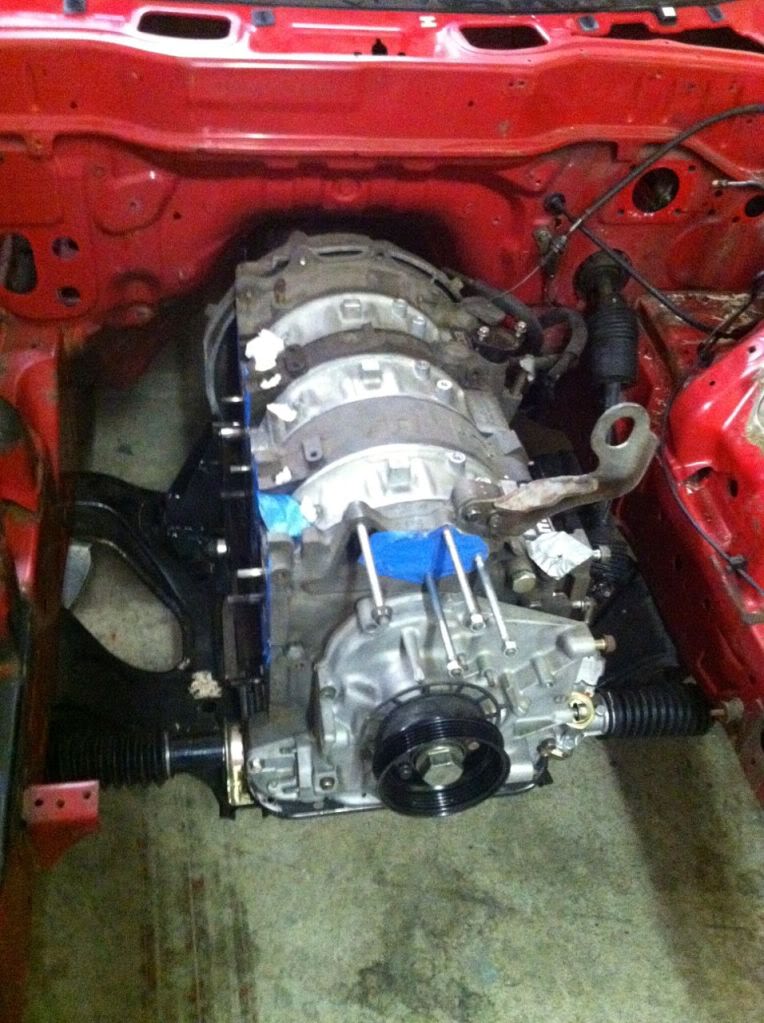
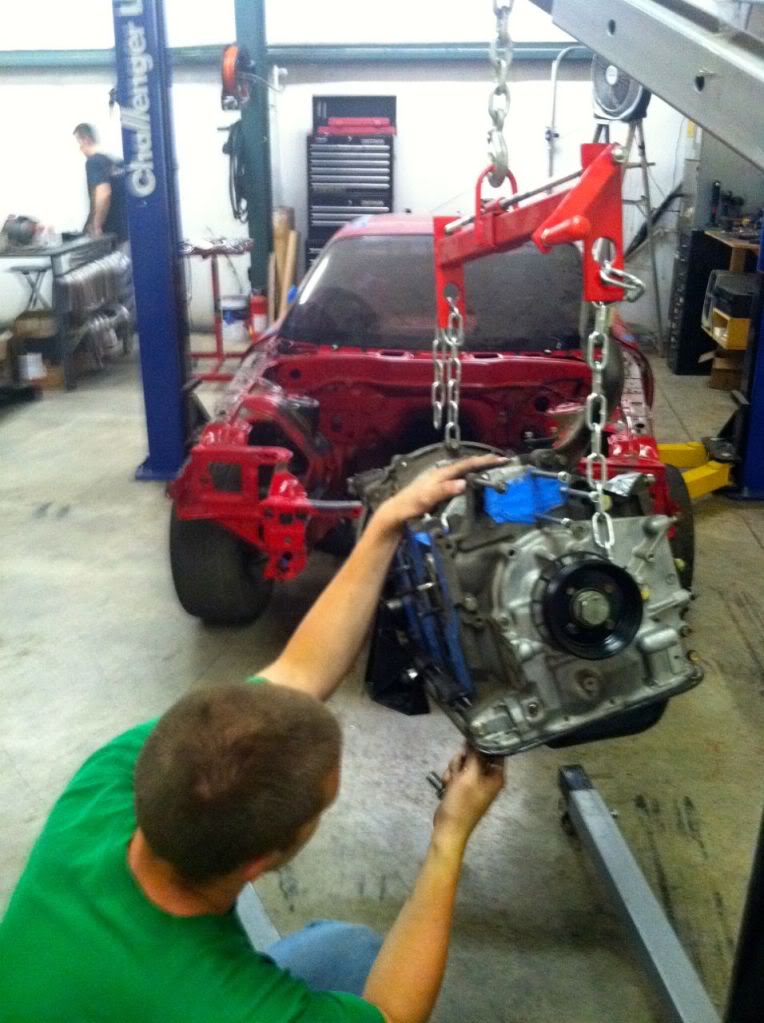
At MPFab, we installed the engine in so walker can develop a new manifold for the car.
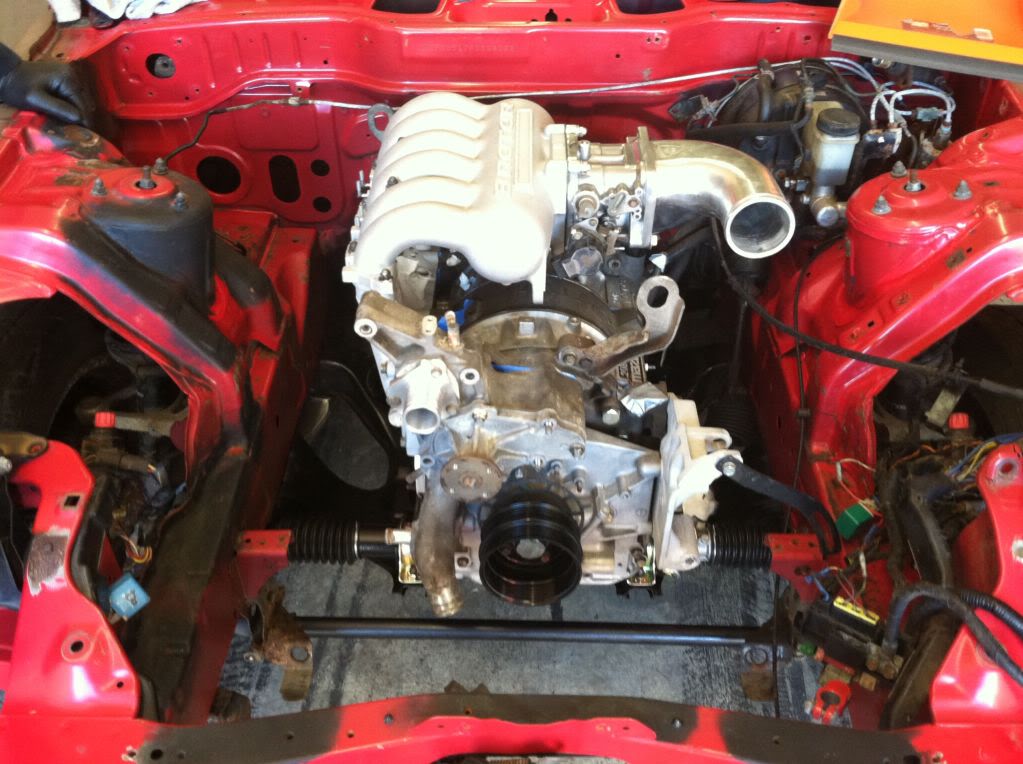
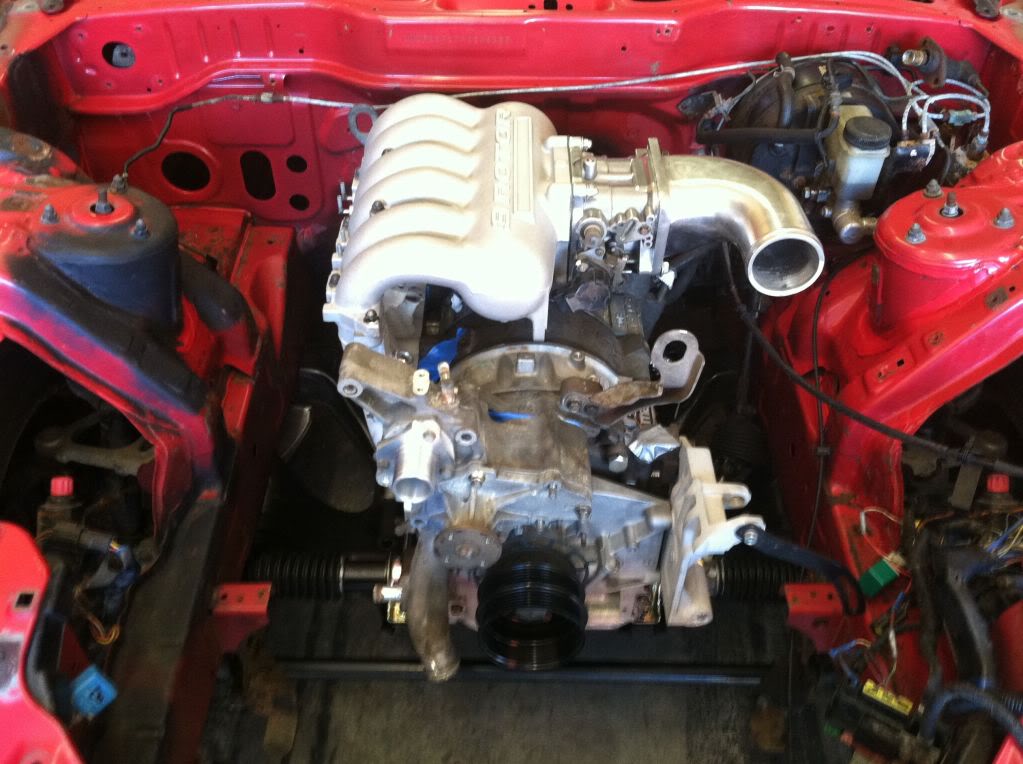
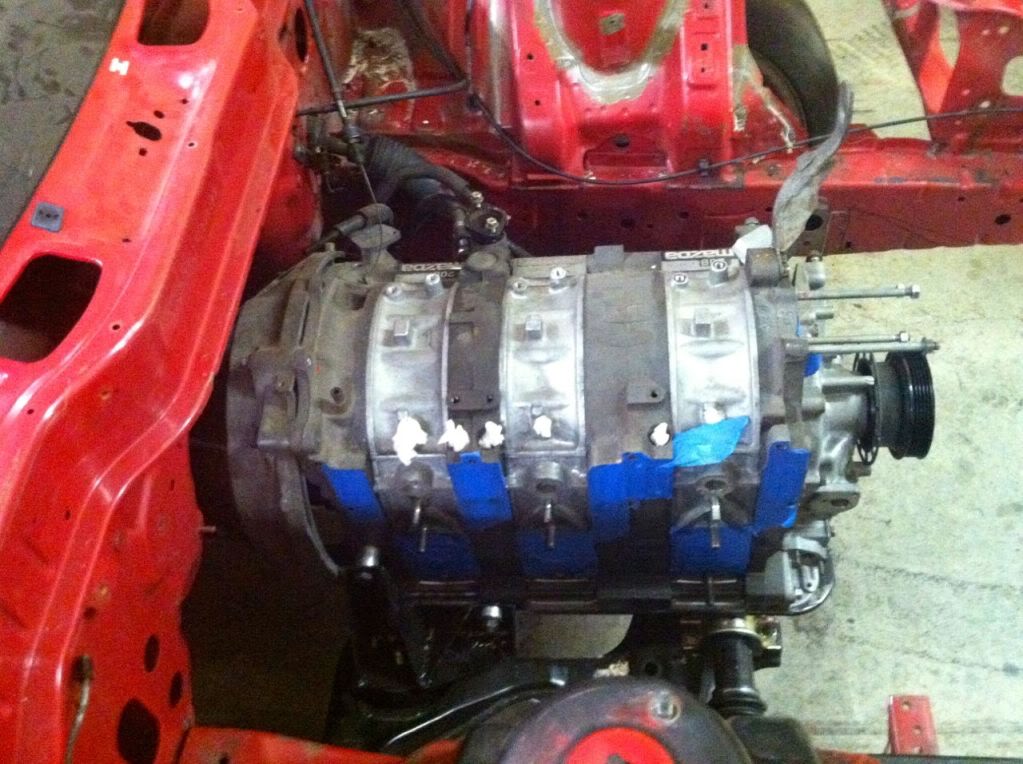
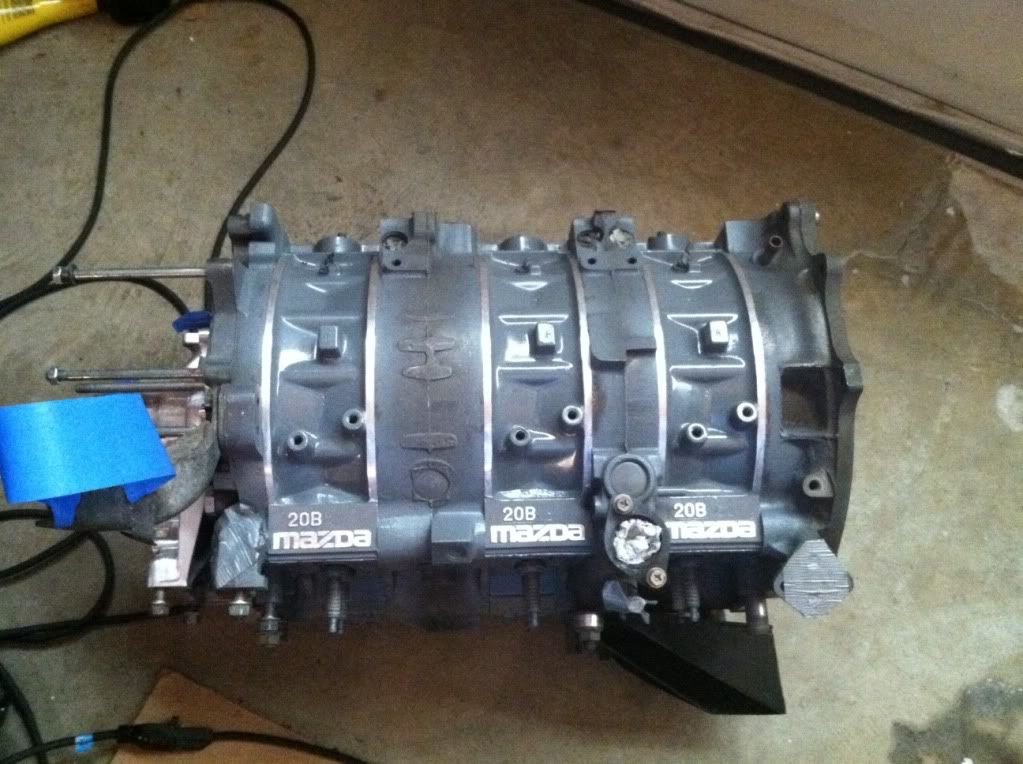
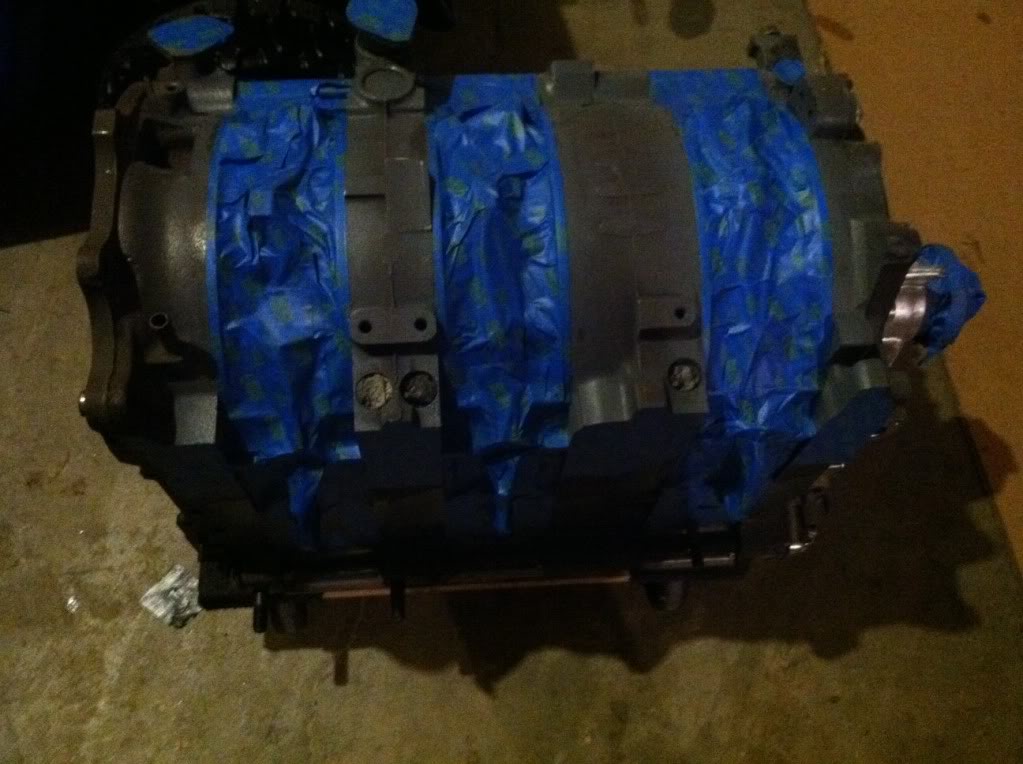
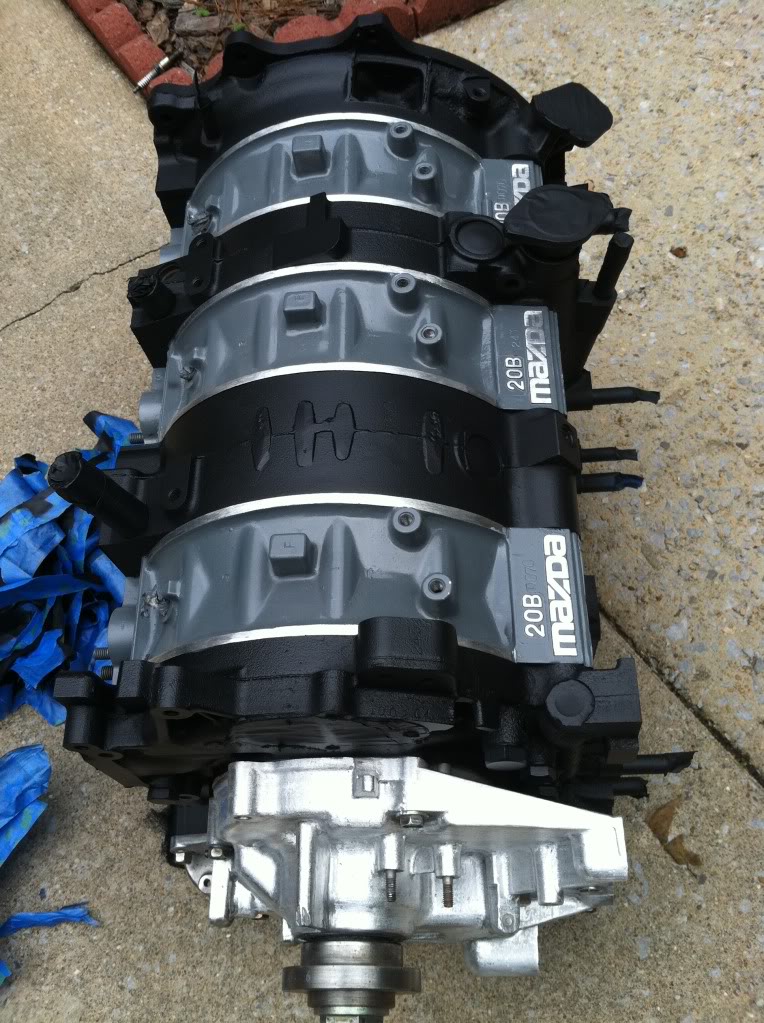
The 20B/ 3 Rotor Engine...
Here is when it was just built.

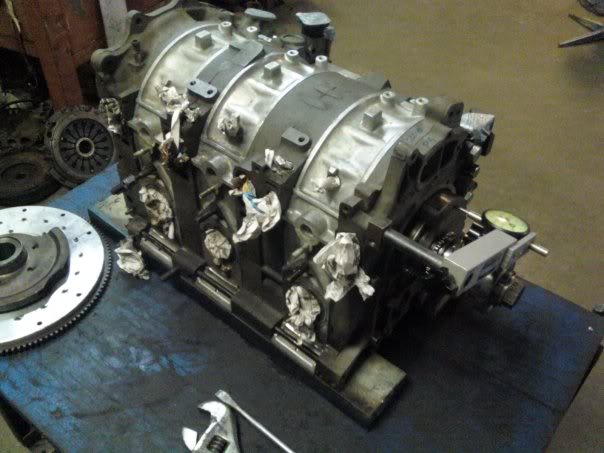
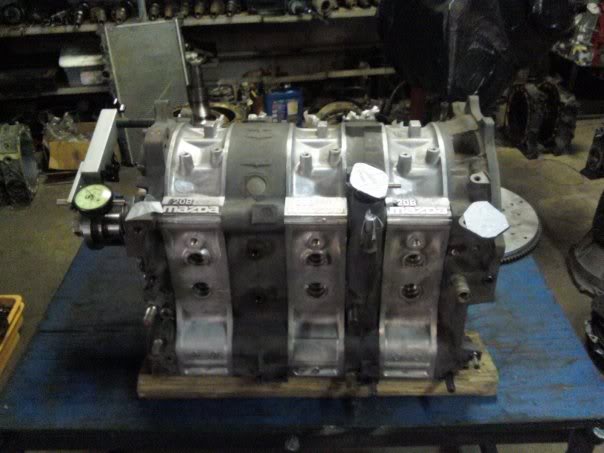
Its from the last year Eunos Cosmo 3 Rotor, "D" series motor, broken down and rebuilt with ported intake, less restrictive 13B-REW exhaust sleeves, Balanced rotating assemblies, Lapped housings, and all new seals and gaskets... And built by one of the best builder I know.. Luis Canizales.
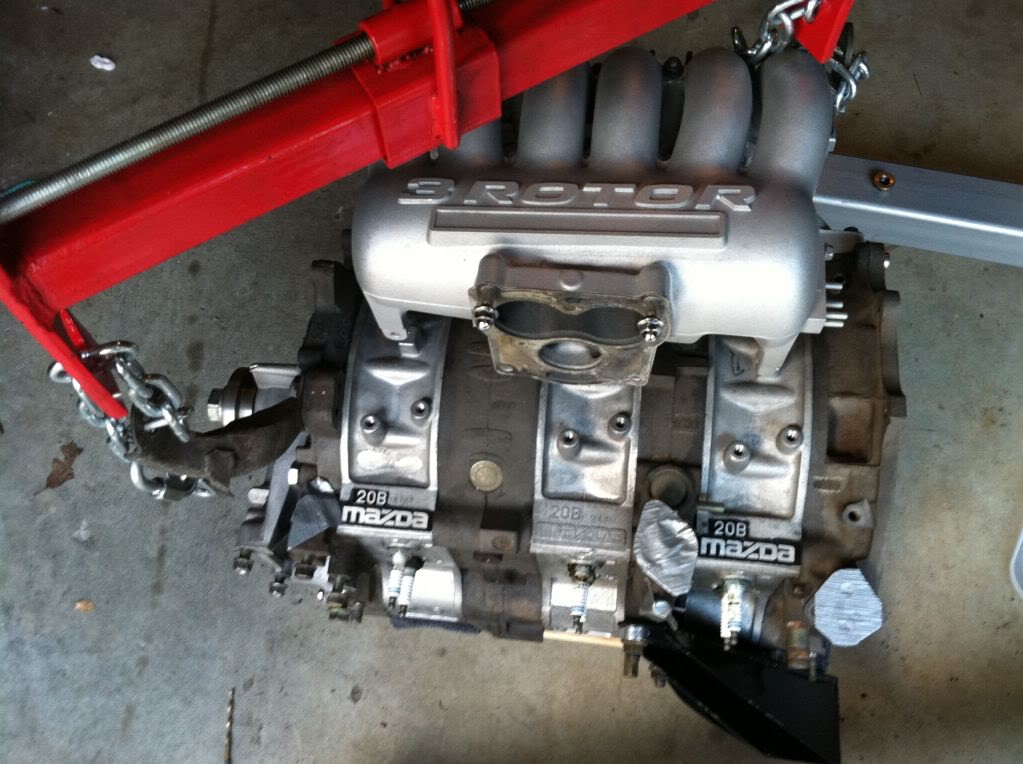

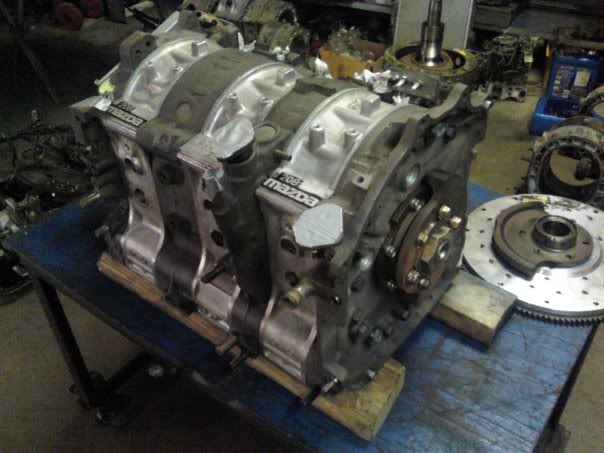
Engine in!


To start.. the car.. I found a guy selling a 93 VR touring FD in New Orleans. Luckily it was just a shell but didn't have a title. Seller said, it had a clean title but does not have it because the guy he bought it from never sent it. Luckily through my rotary car connections, I was able to contact the previous seller, and then the seller before that to get a clean viable title.
Here are some pics of the car when I was picking it up from New Orleans.
Next morning in New Orleans
From there car went to my friend and fabricator Walker Morgan @ Morgan Performance Fabrication
At MPFab, we installed the engine in so walker can develop a new manifold for the car.
The 20B/ 3 Rotor Engine...
Here is when it was just built.
Its from the last year Eunos Cosmo 3 Rotor, "D" series motor, broken down and rebuilt with ported intake, less restrictive 13B-REW exhaust sleeves, Balanced rotating assemblies, Lapped housings, and all new seals and gaskets... And built by one of the best builder I know.. Luis Canizales.
Engine in!
Thread Starter
Senior Member
SL Member
Joined: Sep 2012
Posts: 115
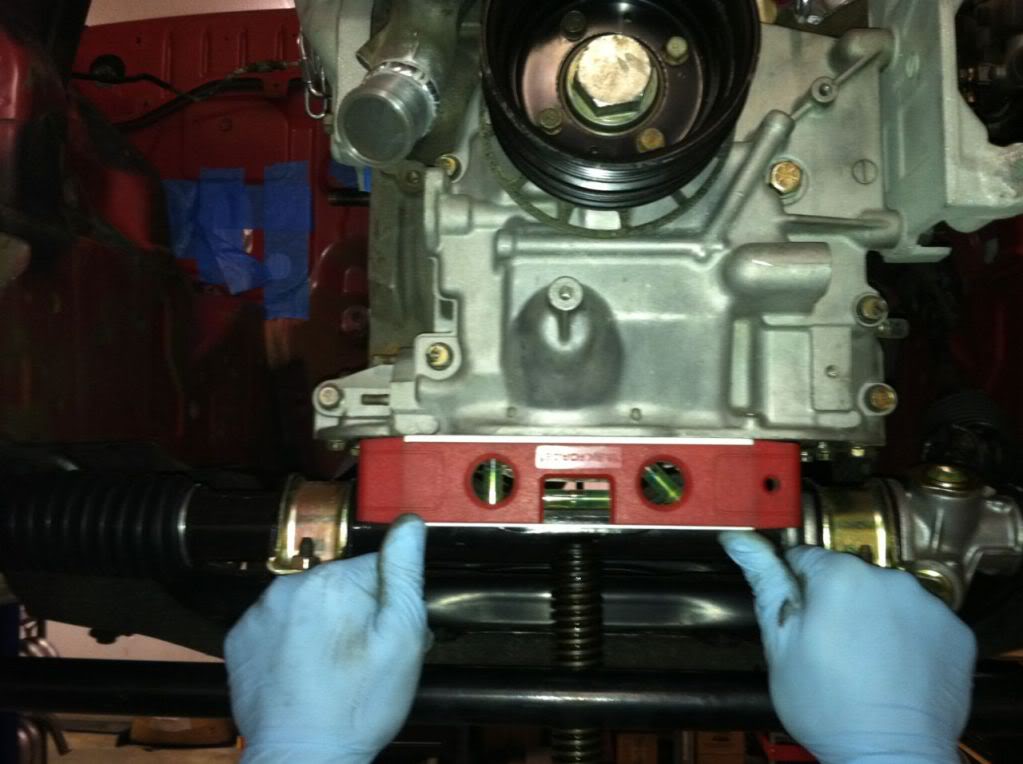
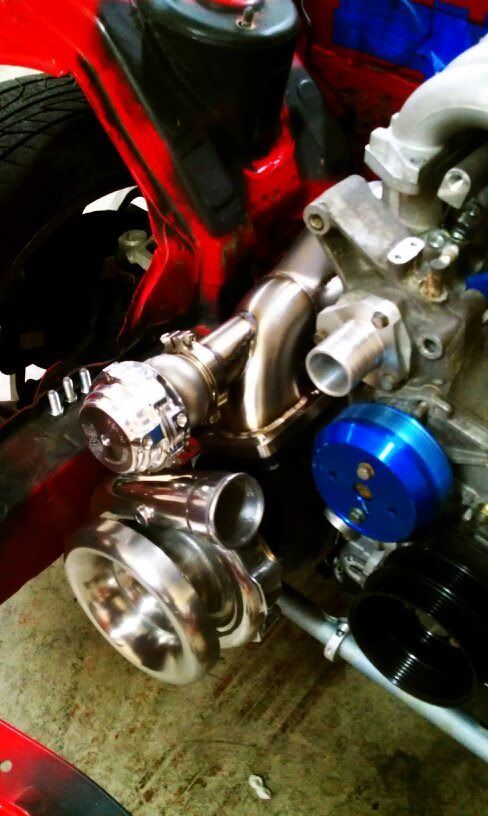
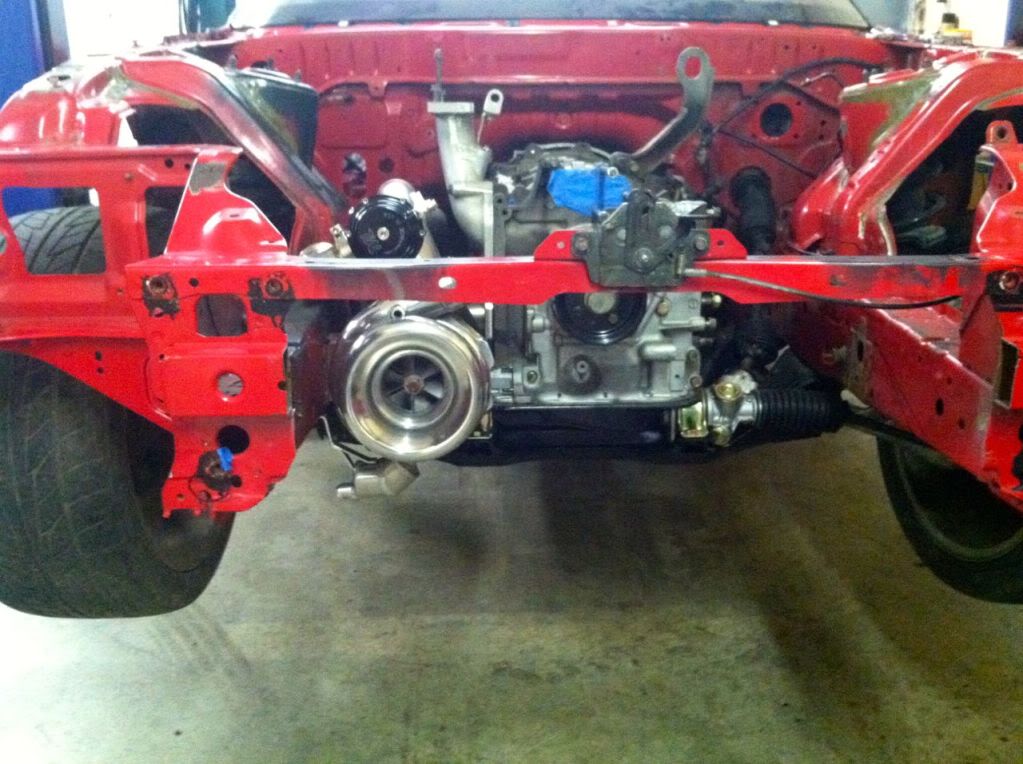
I was initially going to use my previous 3 rotor manifold I had but my friend Walker Morgan convinced me to do something different...
Old manifold
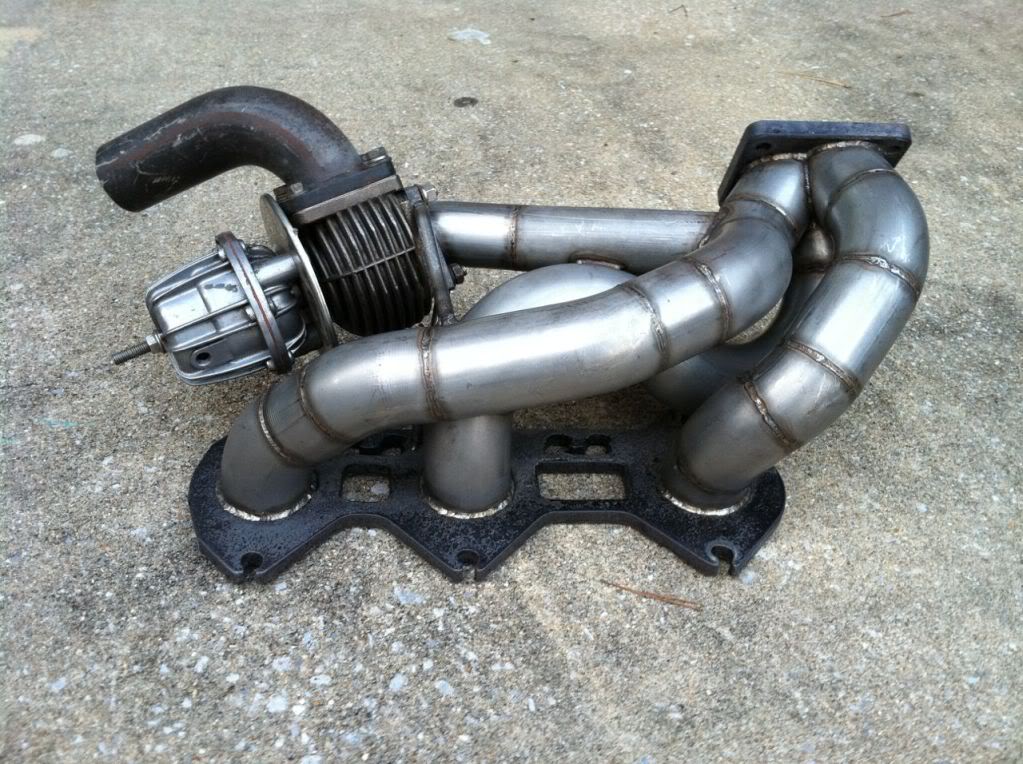
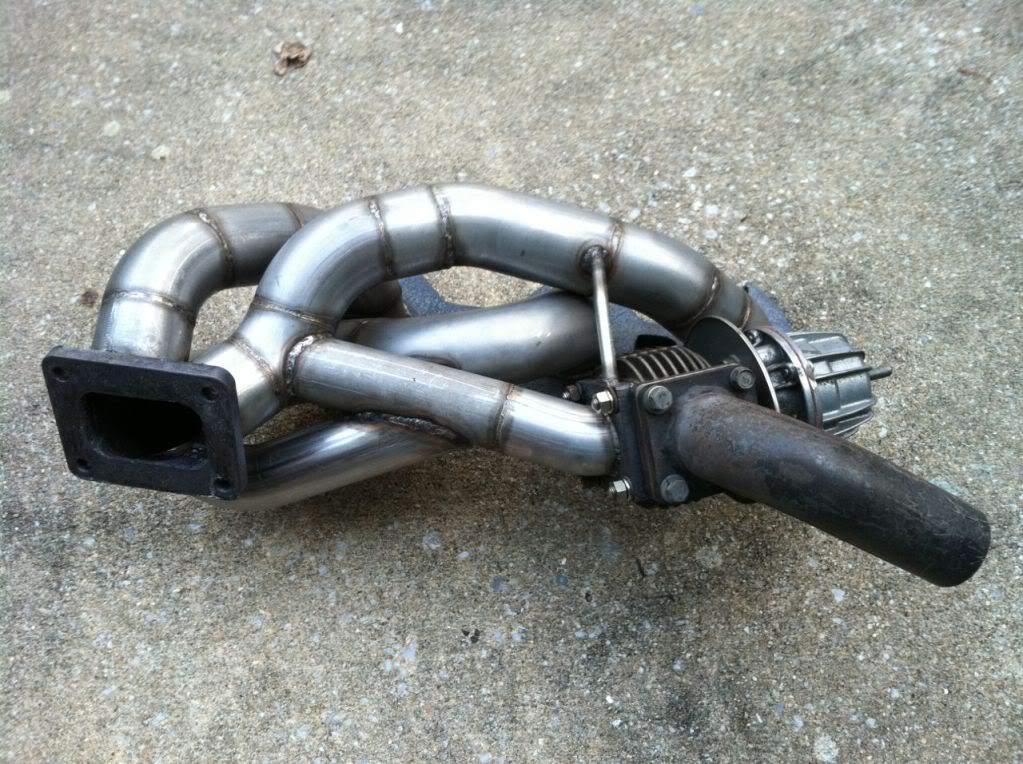
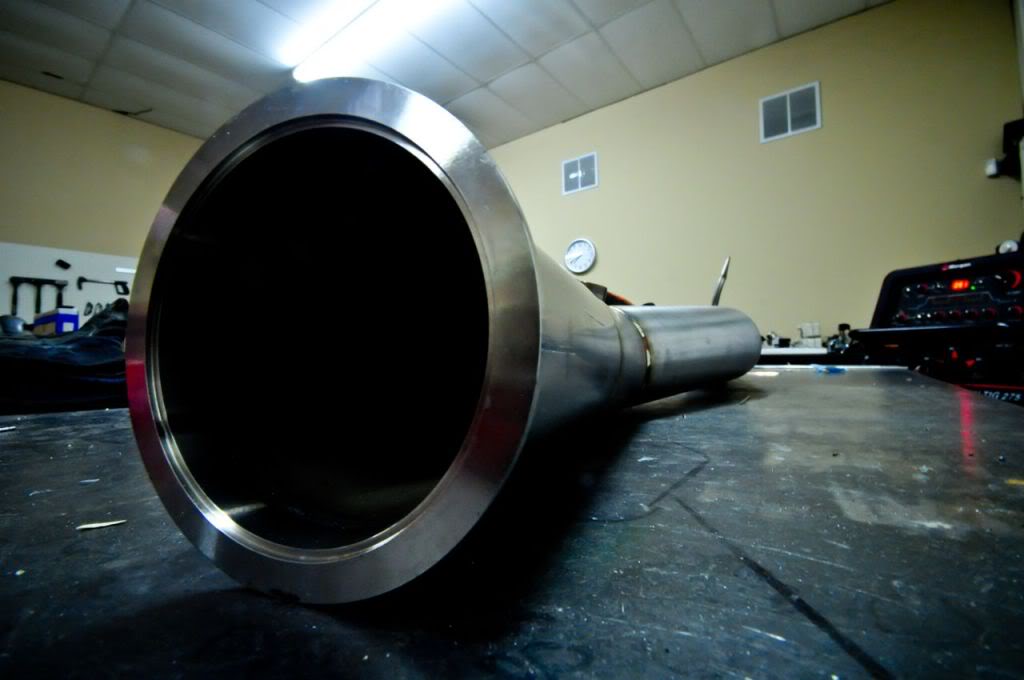
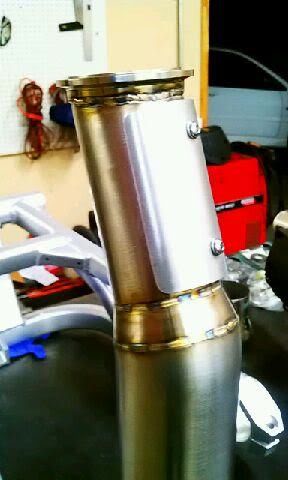
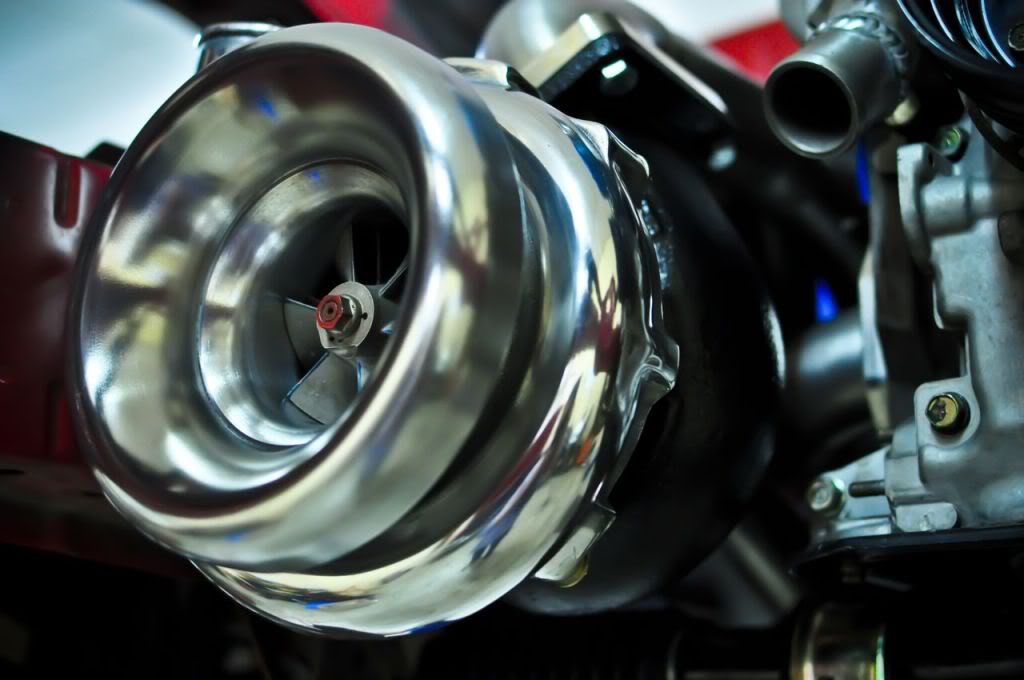
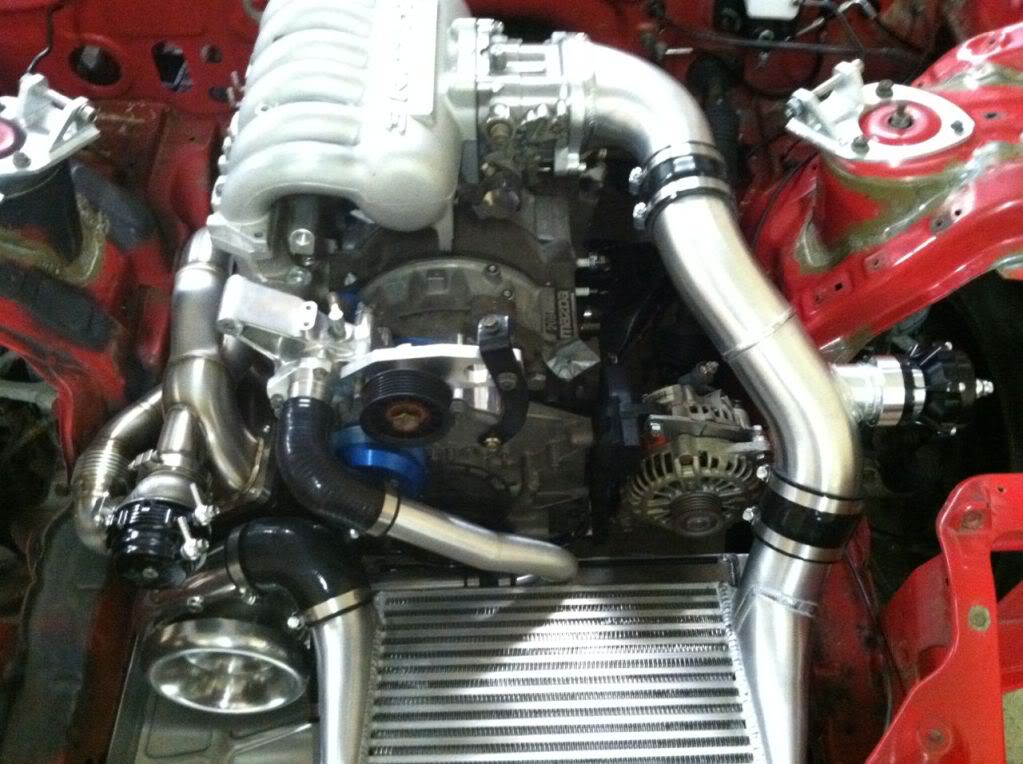
And went with 321 SS (which wasn't cheap) and went with something different... here are some pics of Walker's art work (Morgan Performance Fabrication)
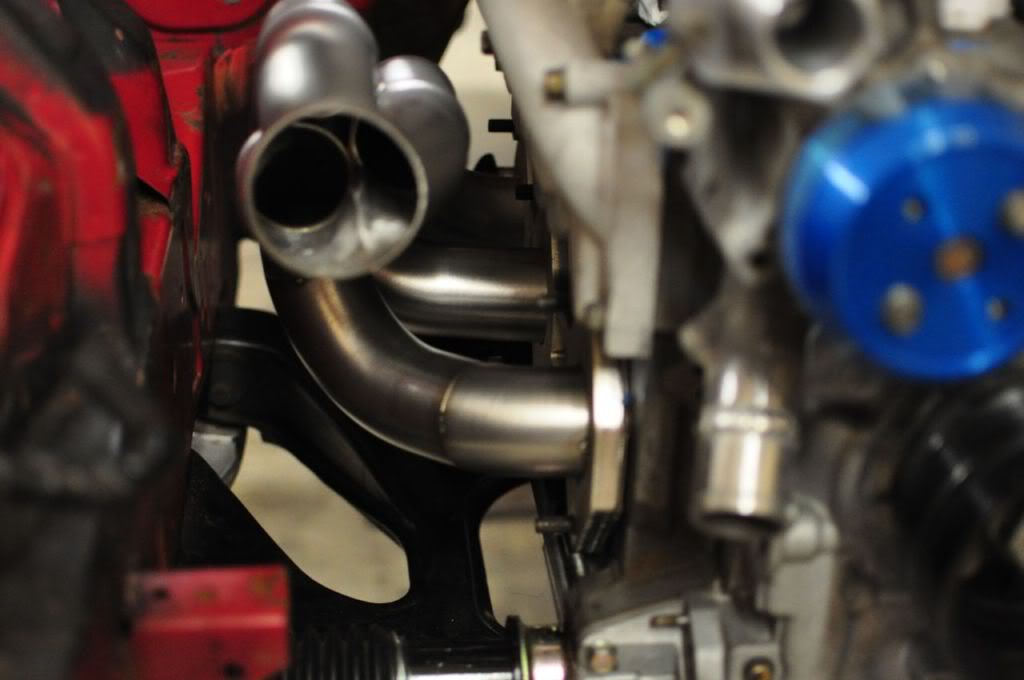
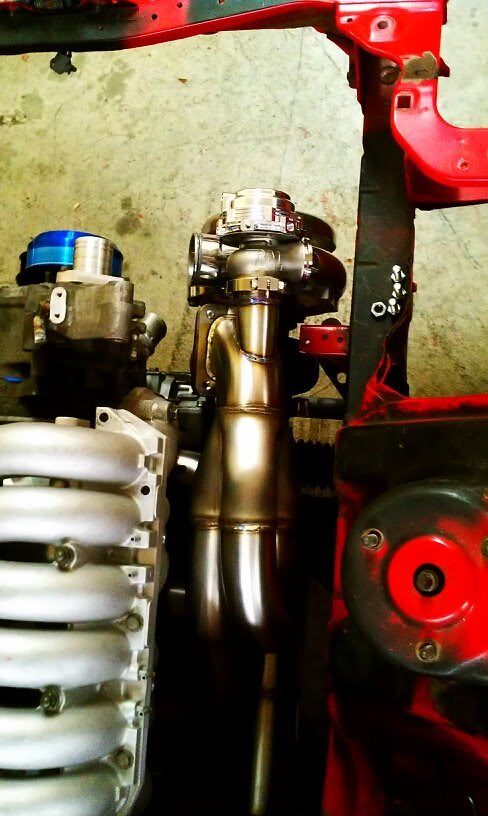
A brushed 321... equal length, bottom mount turbo (first I've seen on a 3 rotor).
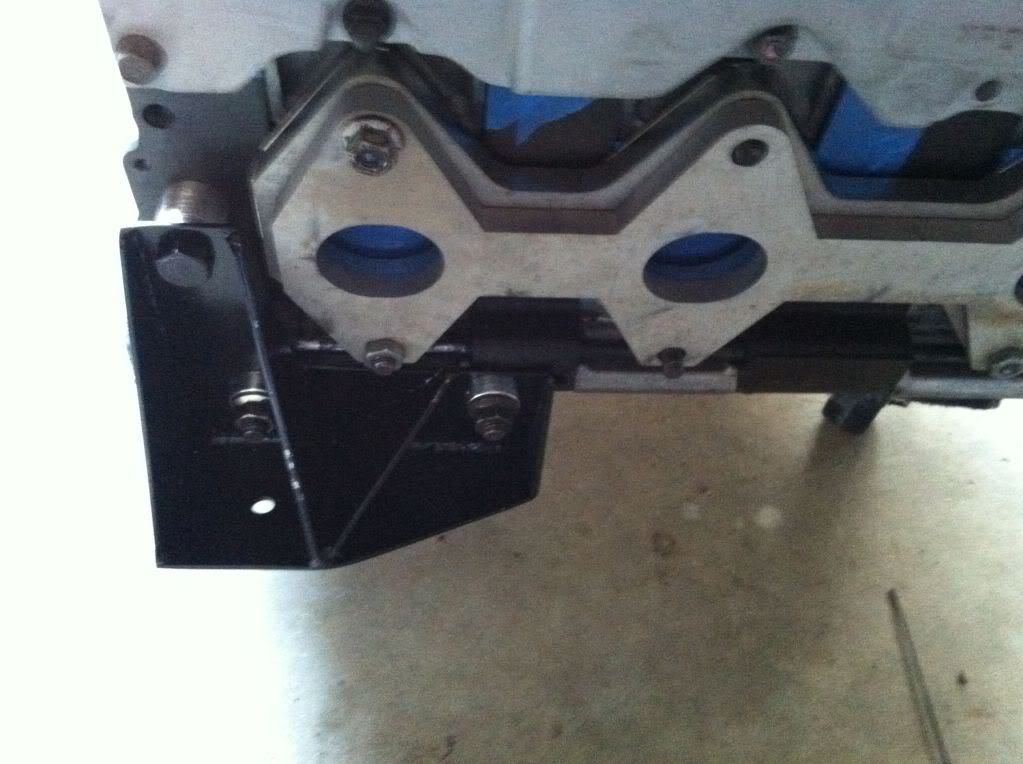
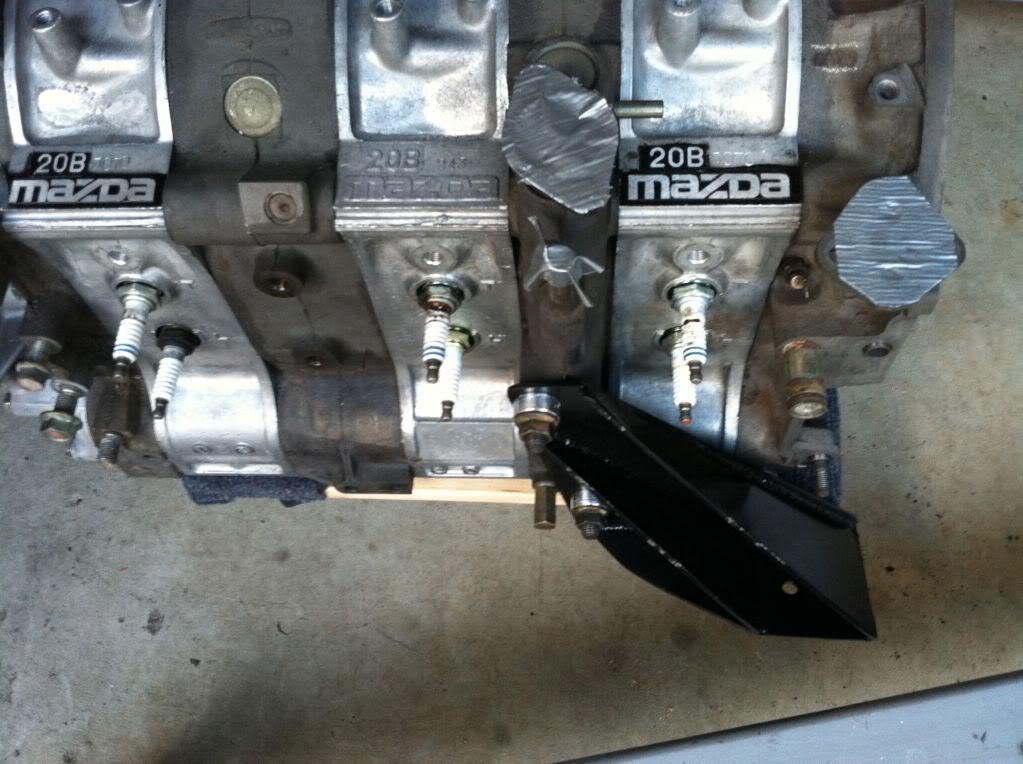
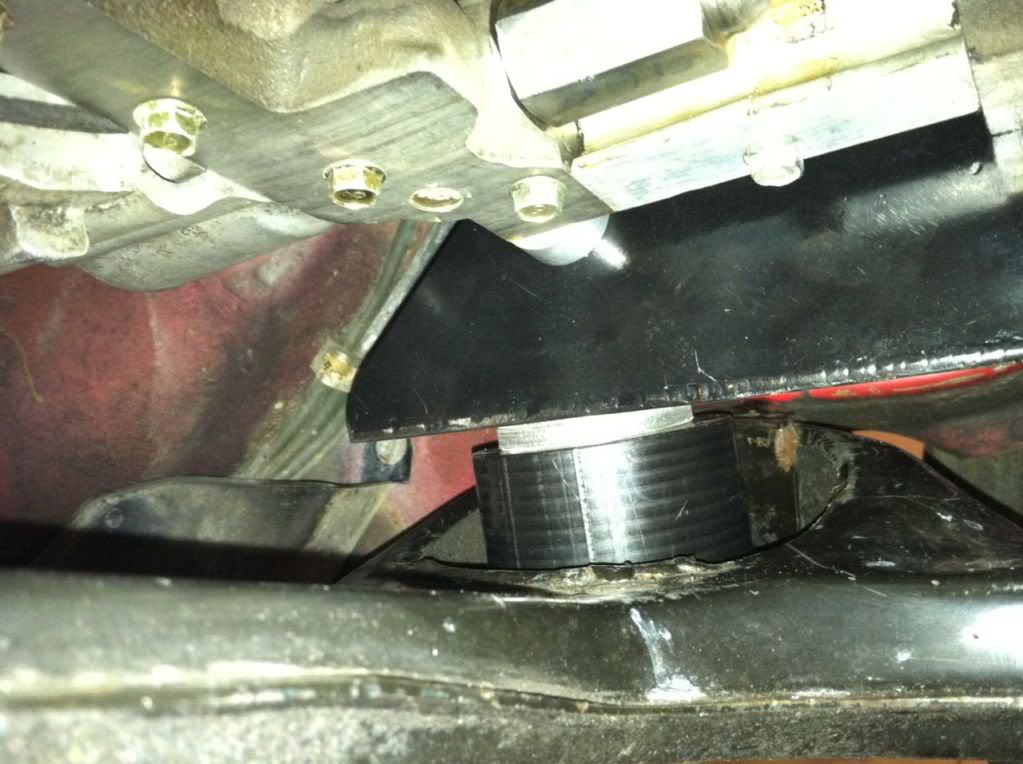
One of the issues later we found was that the motor mounting kit I purchased wasn't made that well and the engine did not sit flat. It took us a half day with 3 guys trying to make things sit flat before moving farther along..

Old manifold
And went with 321 SS (which wasn't cheap) and went with something different... here are some pics of Walker's art work (Morgan Performance Fabrication)
A brushed 321... equal length, bottom mount turbo (first I've seen on a 3 rotor).
One of the issues later we found was that the motor mounting kit I purchased wasn't made that well and the engine did not sit flat. It took us a half day with 3 guys trying to make things sit flat before moving farther along..
Thread Starter
Senior Member
SL Member
Joined: Sep 2012
Posts: 115
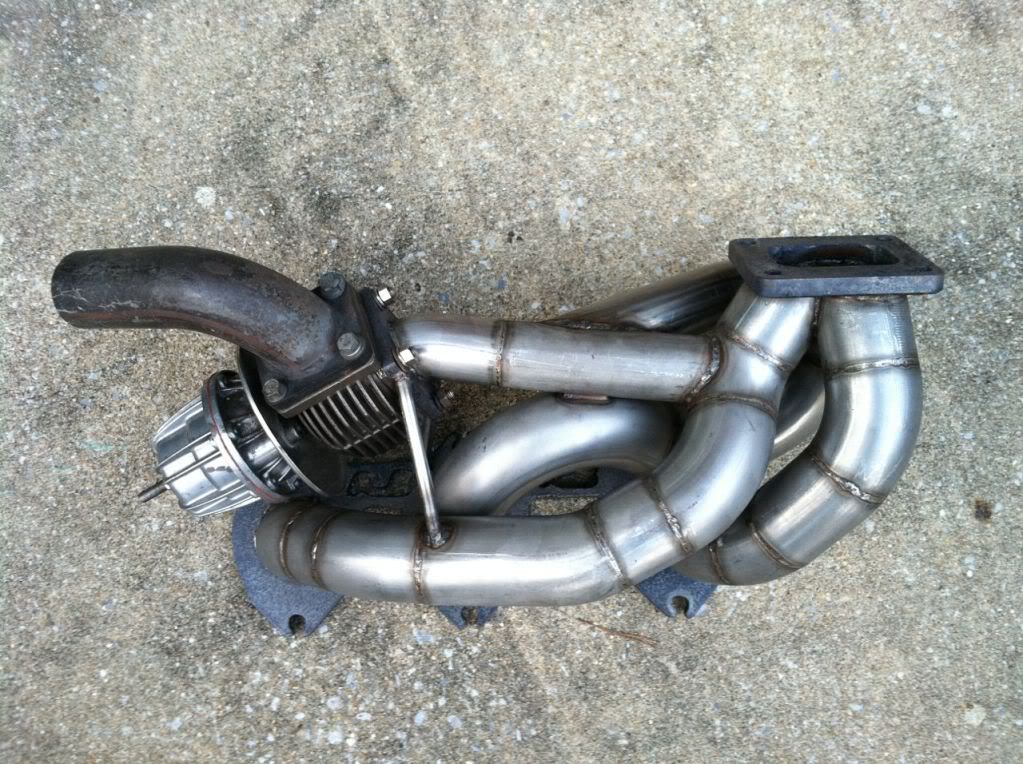
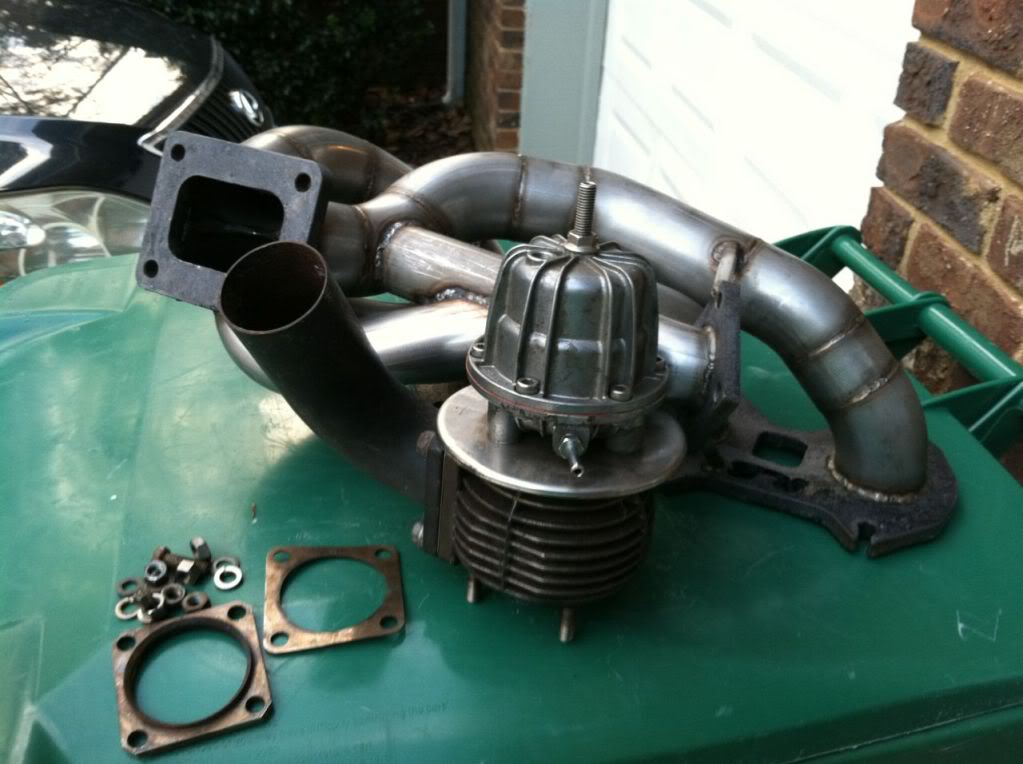
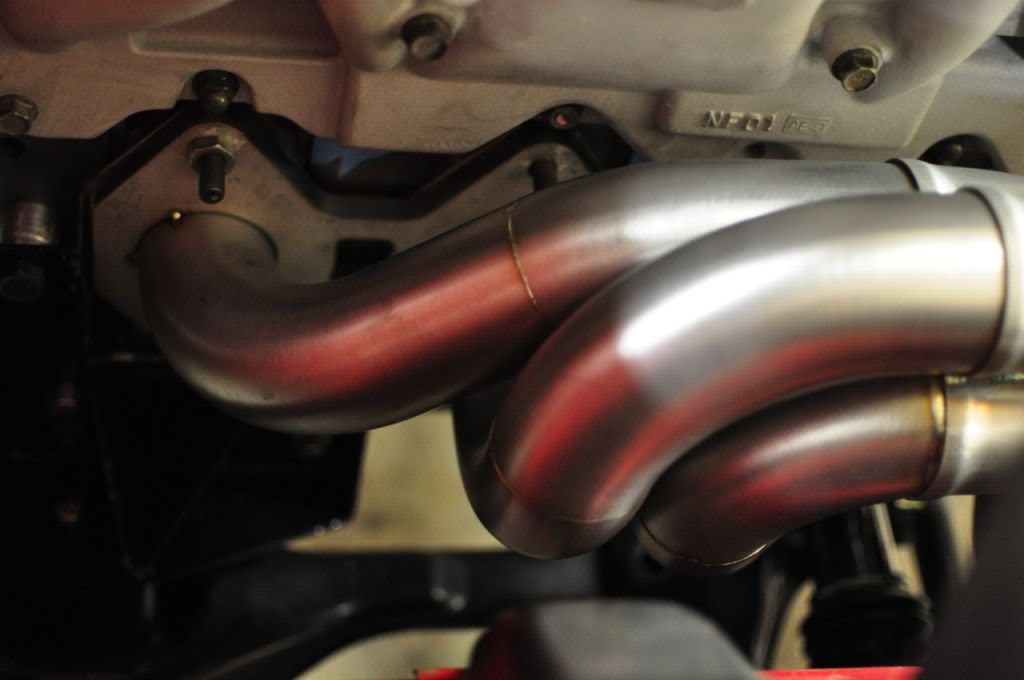
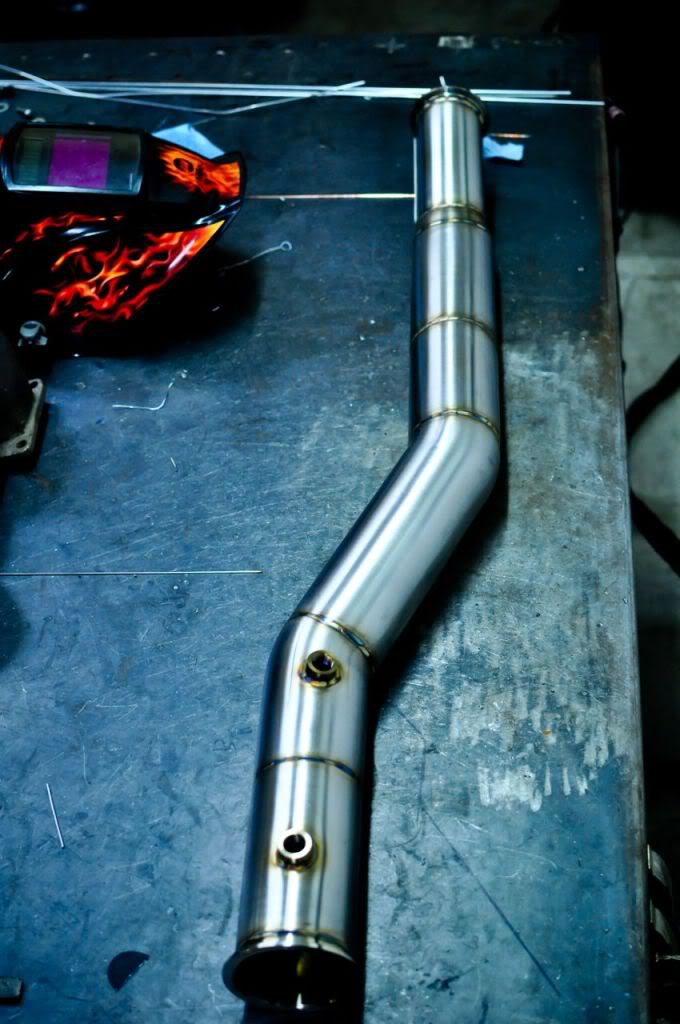
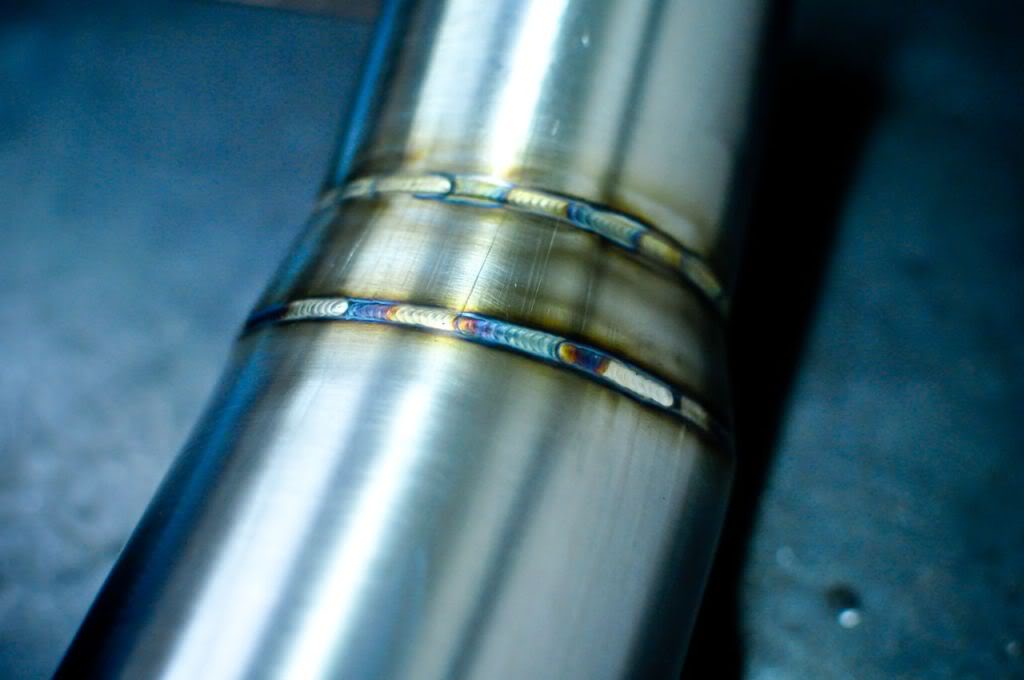
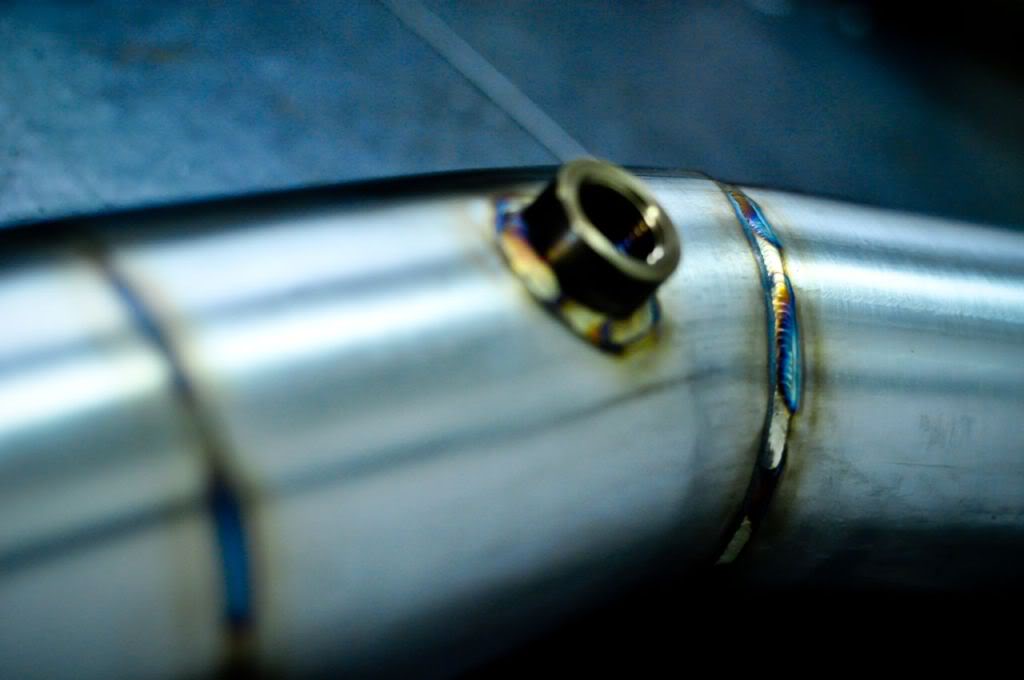
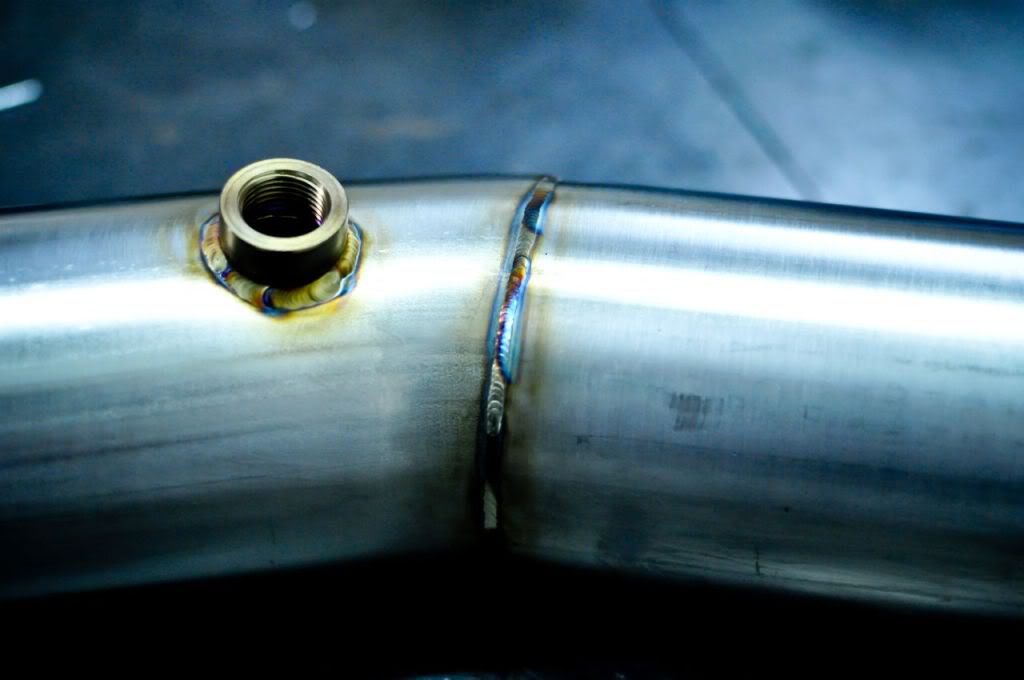
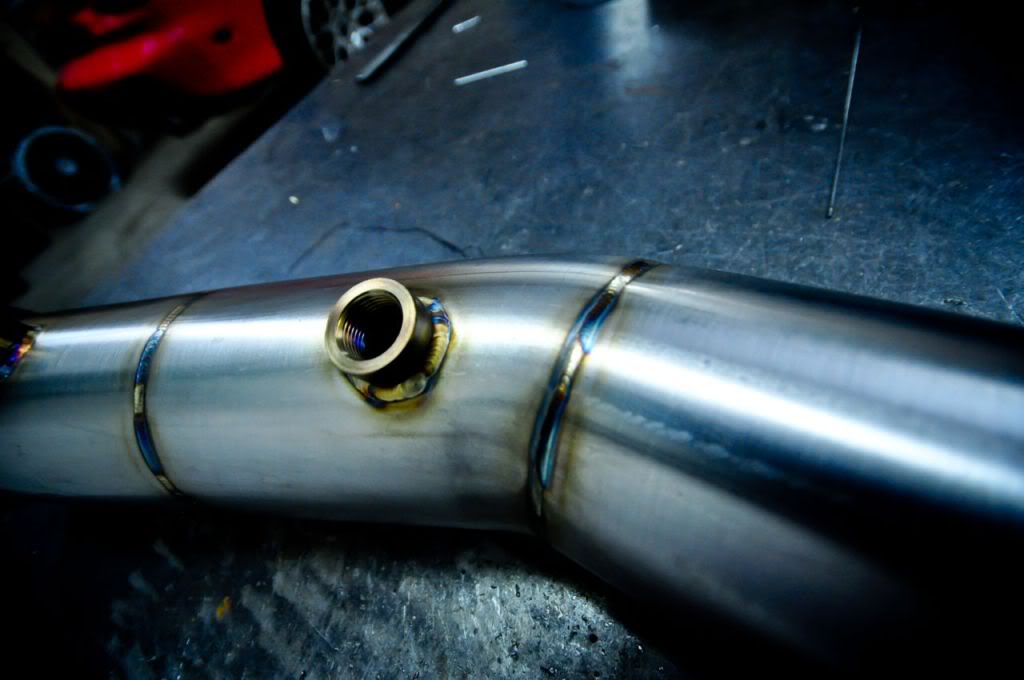
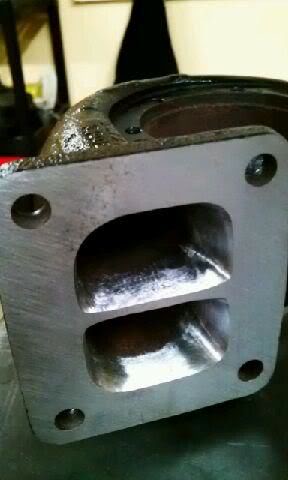
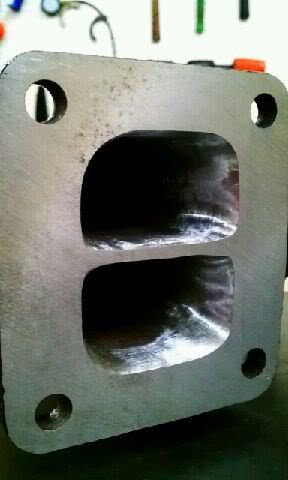
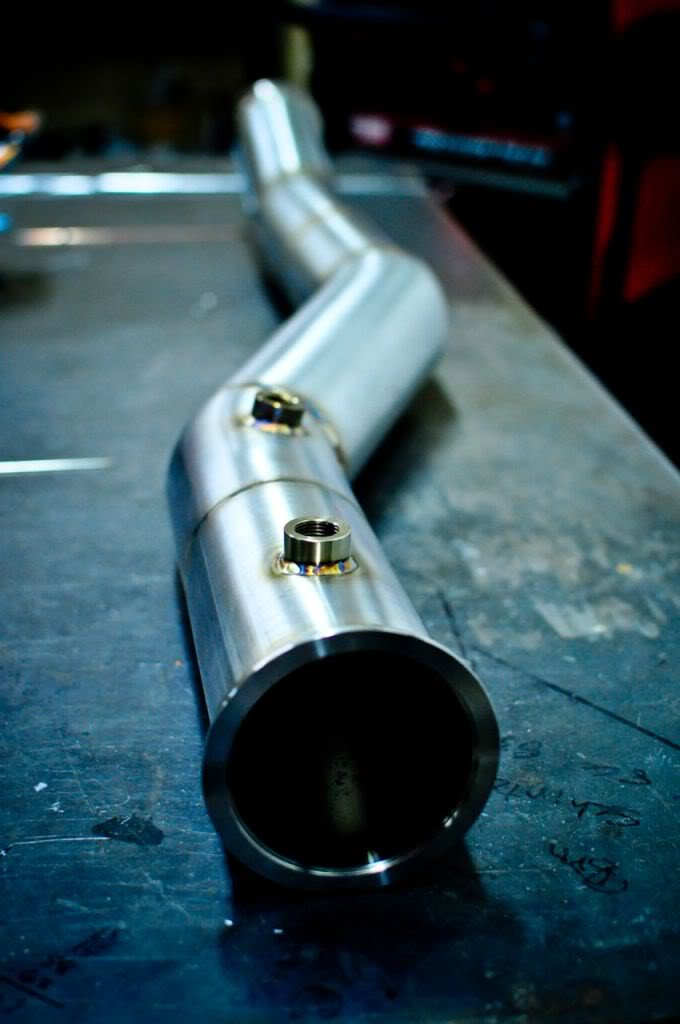
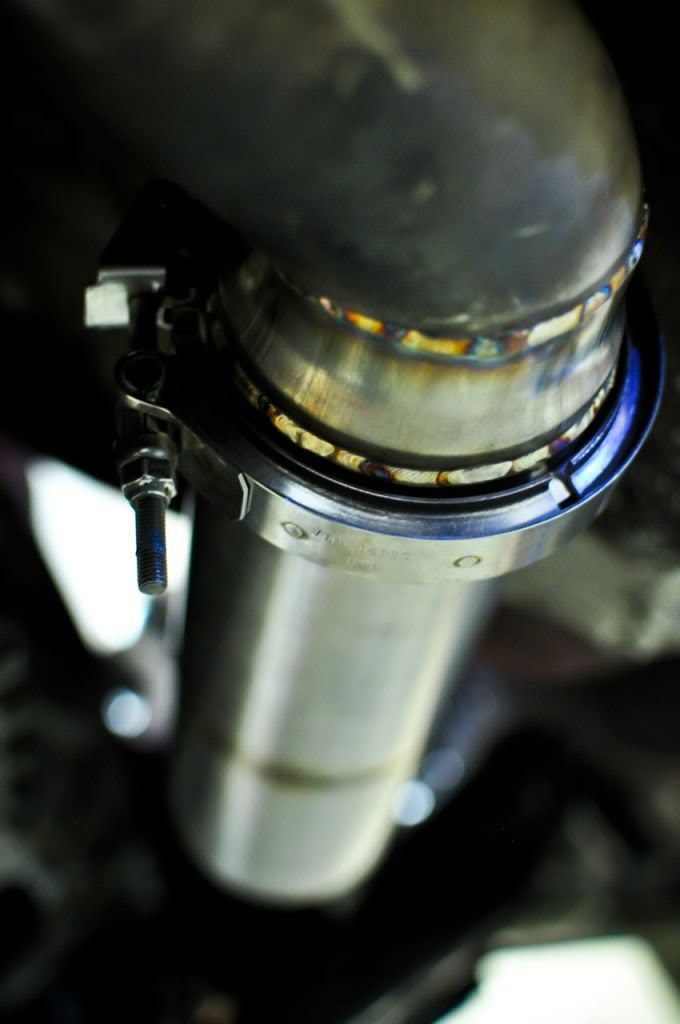
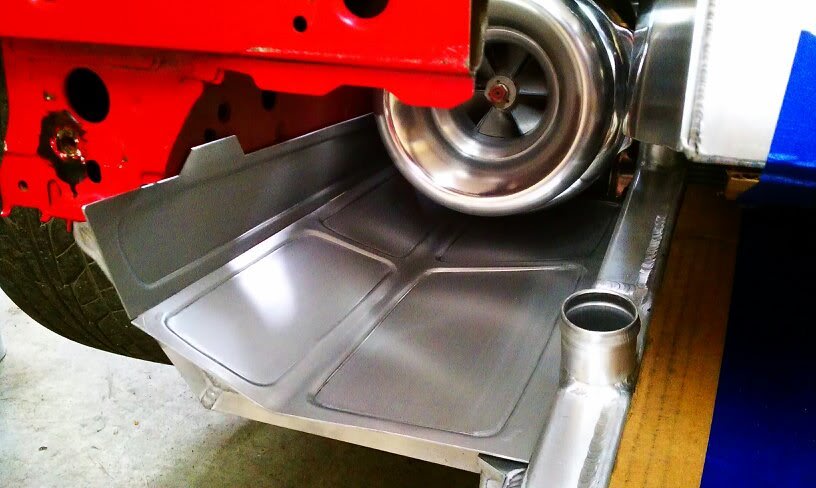
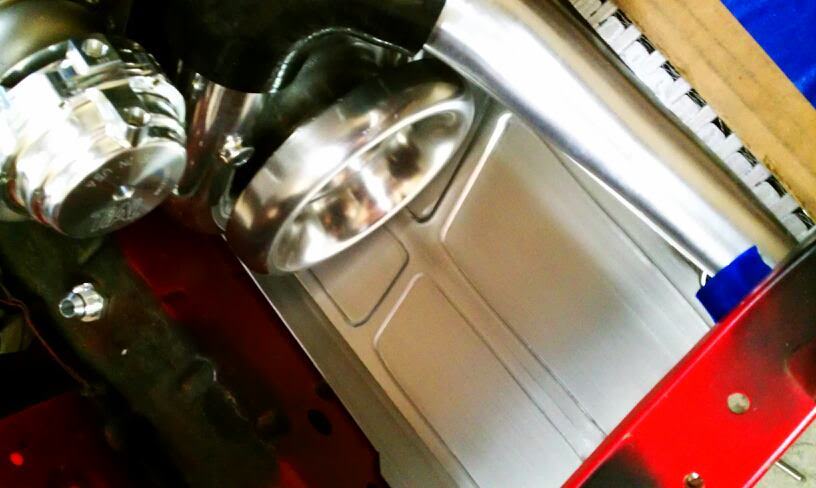
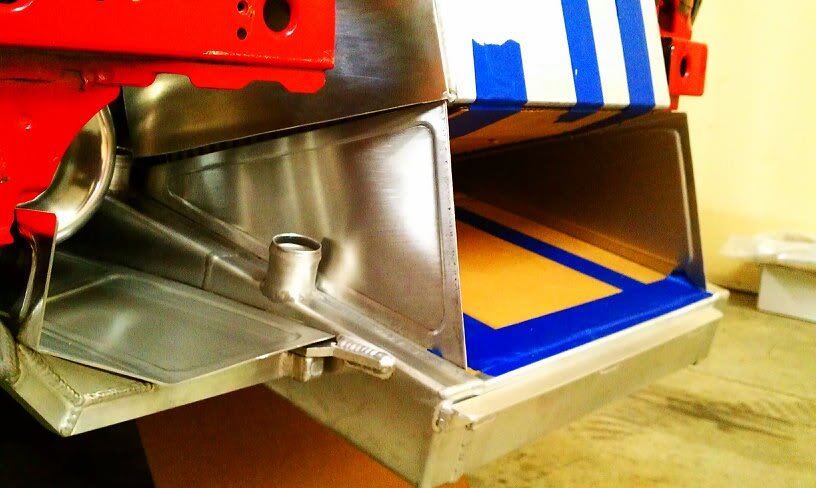
Because I was using a stainless goodies, I had to get the flange cut perfectly flat before all the tubings got welded by Walker @ MPFab.
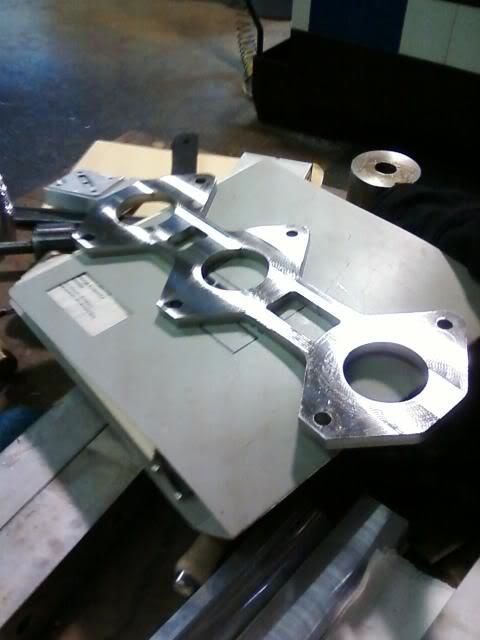
If flange is not flat and tubings are not welded correctly, the heat this engine will produce will warp the flange and will have a leak.
Here are some pics of the DP, turbo flange, heat shields, etc that MPFab.com made. The welding skill is one of the best in the country!!

If flange is not flat and tubings are not welded correctly, the heat this engine will produce will warp the flange and will have a leak.
Here are some pics of the DP, turbo flange, heat shields, etc that MPFab.com made. The welding skill is one of the best in the country!!
Thread Starter
Senior Member
SL Member
Joined: Sep 2012
Posts: 115


Thread Starter
Senior Member
SL Member
Joined: Sep 2012
Posts: 115
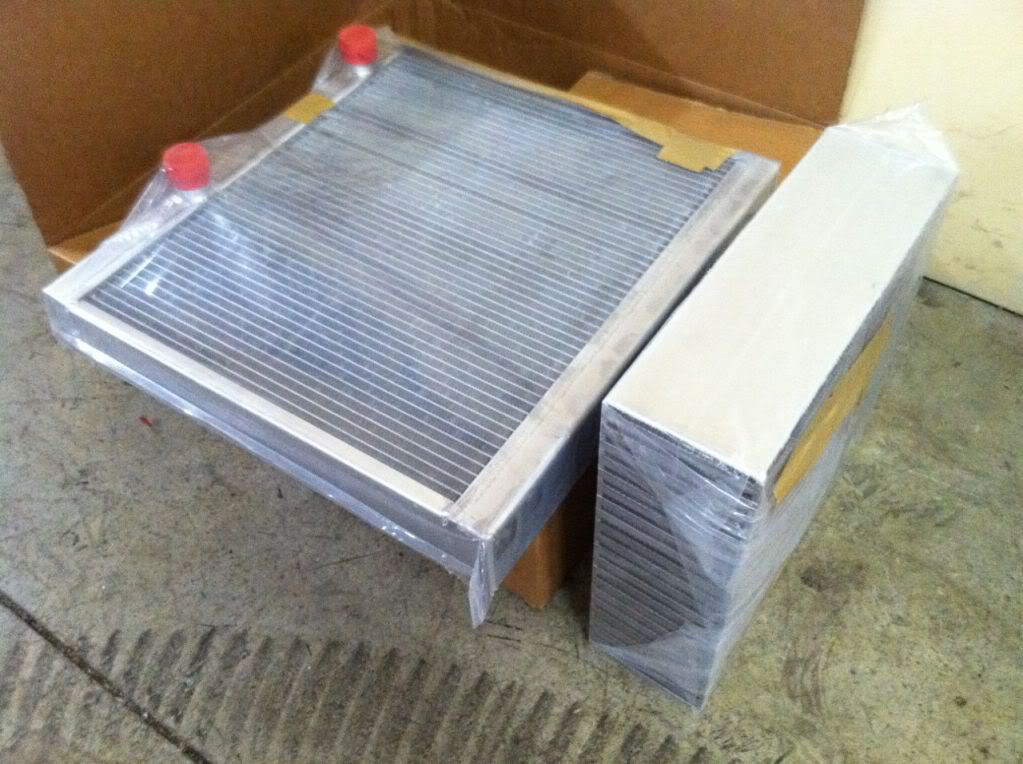
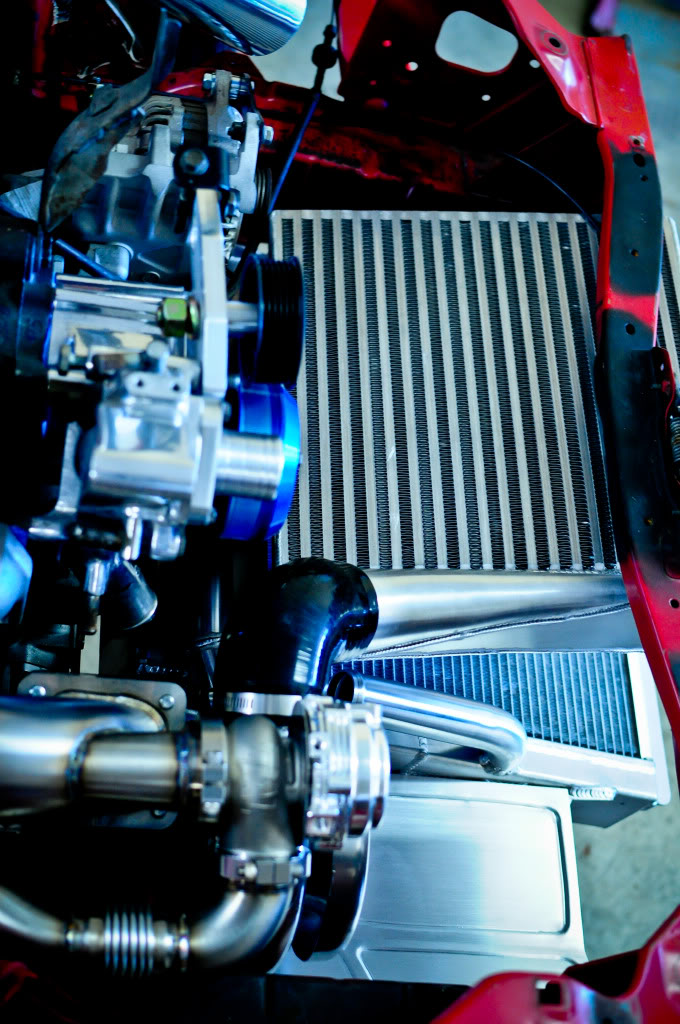
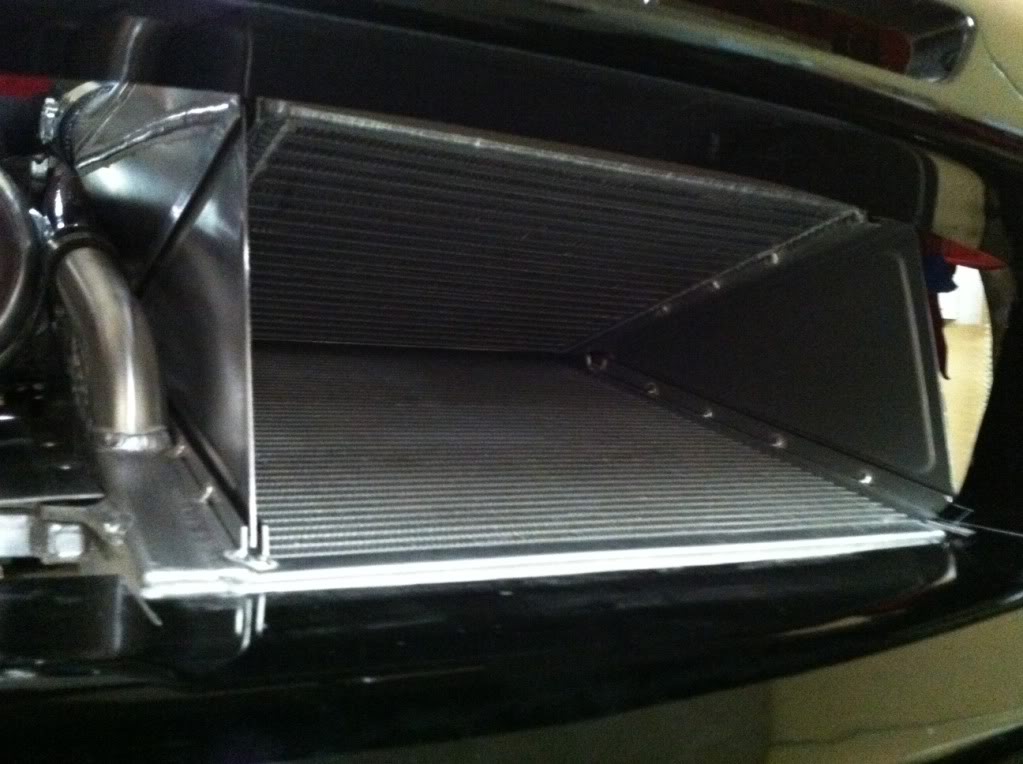
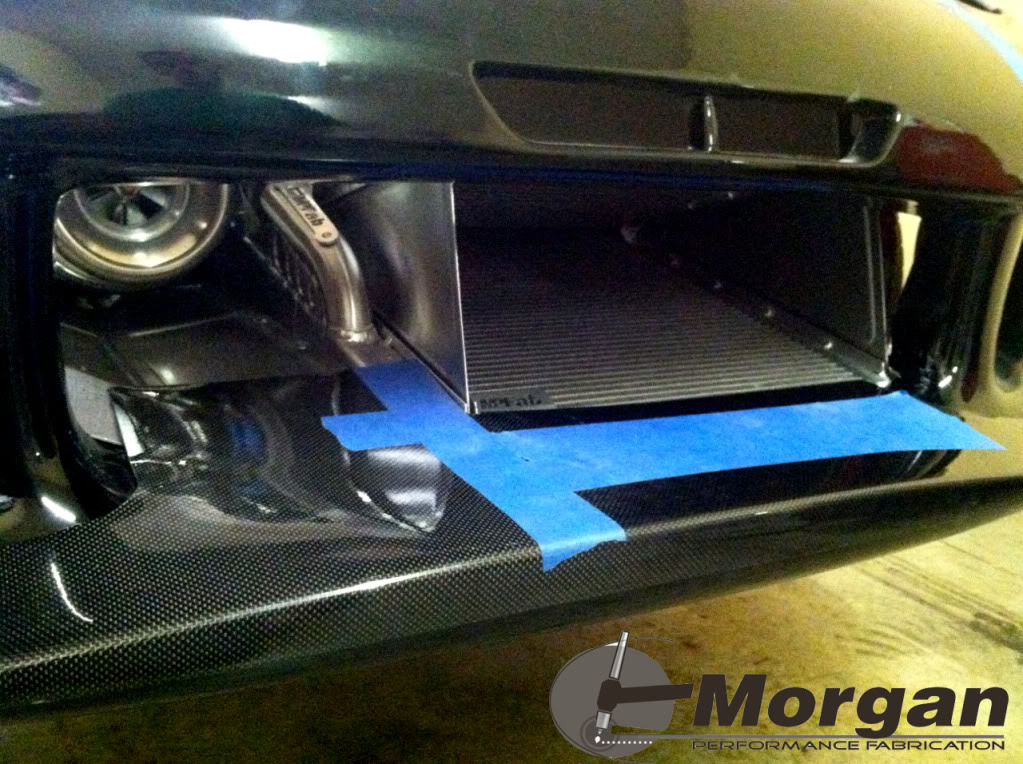
We decided to go with Bell Intercooler cores for our cooling needs. Bell Intercooler guys have been awesome to work with and shipped the parts ASAP to us.
Walker have used their product in many of his high horse power cars he had build in the past and that was good enough for me to buy Bell products.
Mocking up the V-mount set up on the 20B project..
Walker have used their product in many of his high horse power cars he had build in the past and that was good enough for me to buy Bell products.
Mocking up the V-mount set up on the 20B project..
Thread Starter
Senior Member
SL Member
Joined: Sep 2012
Posts: 115
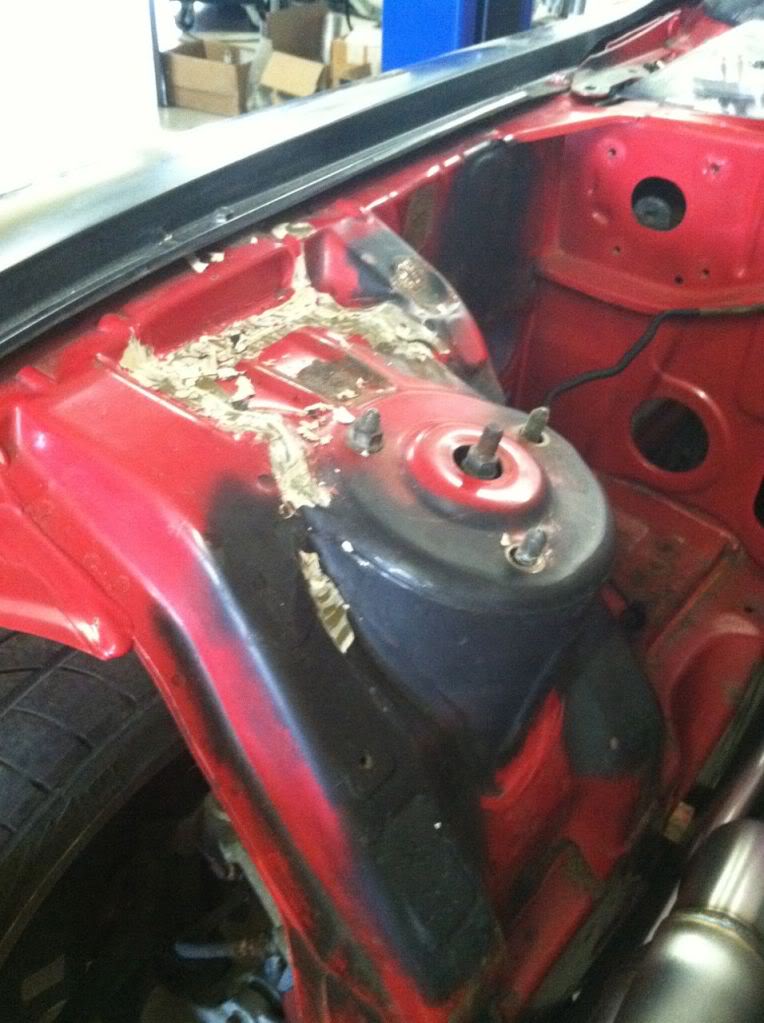
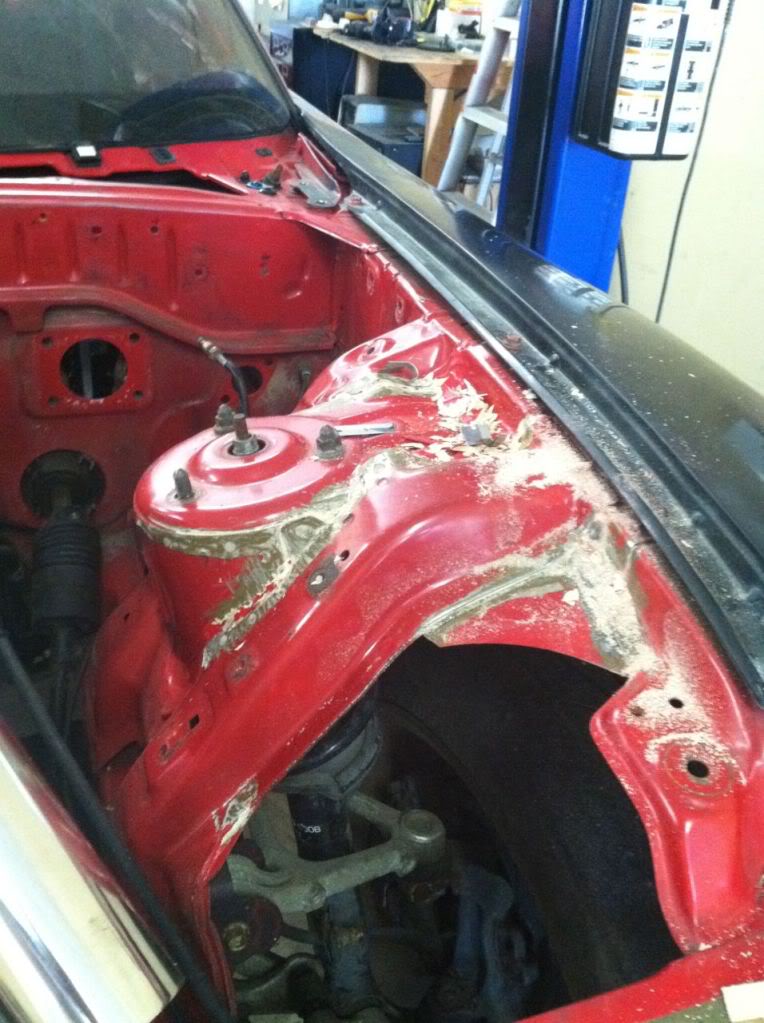
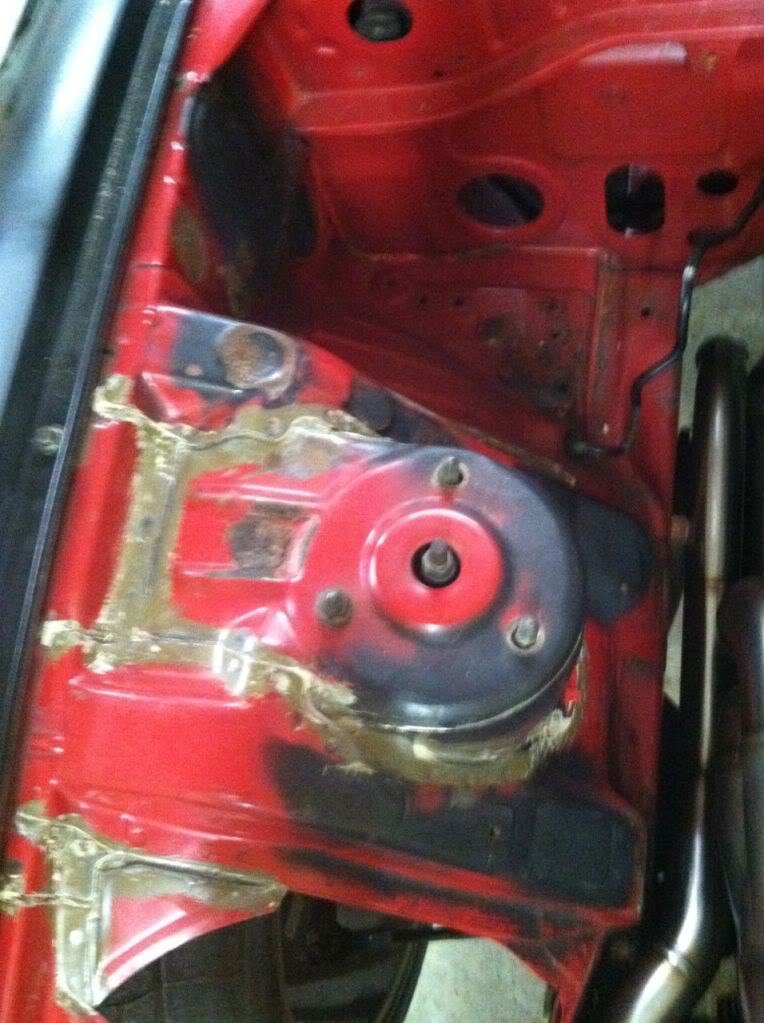
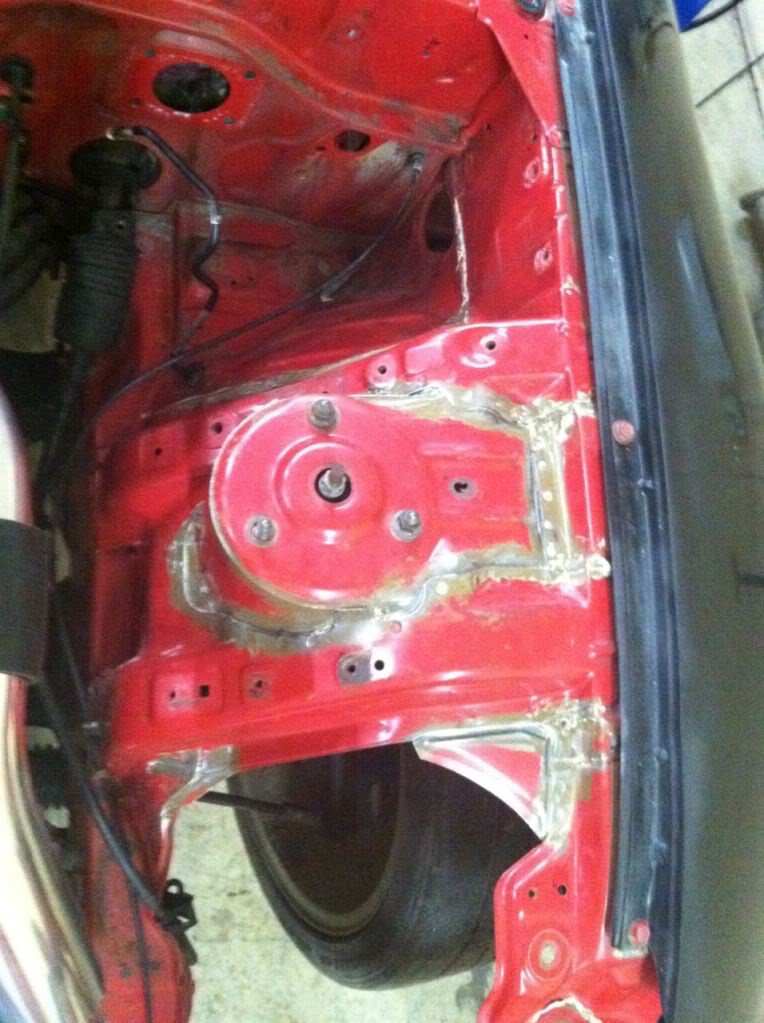
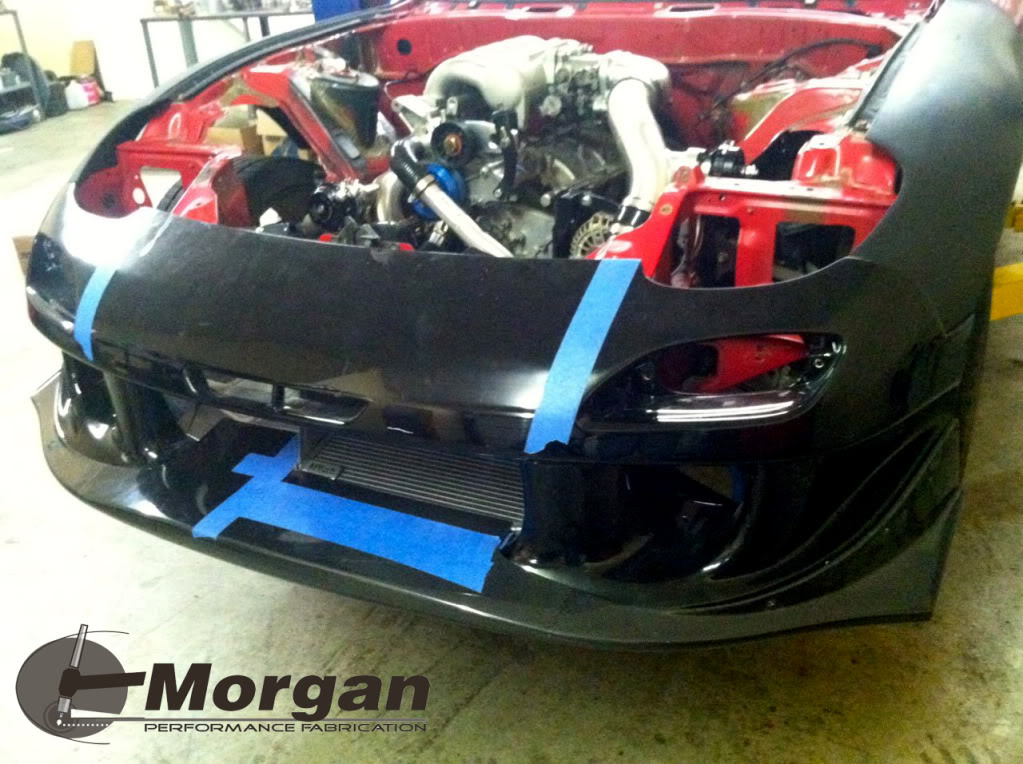
While MPfab was working on the other cars in the shop, I've decided to clean up the engine bay for cleaner look by removing the seam glue.
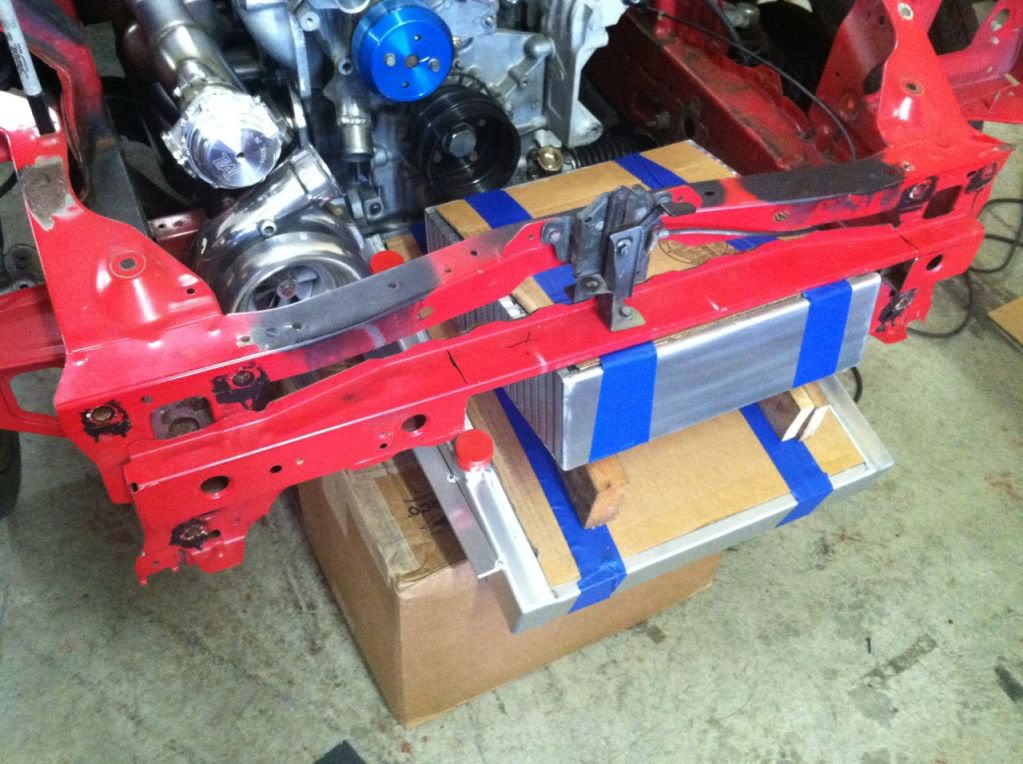
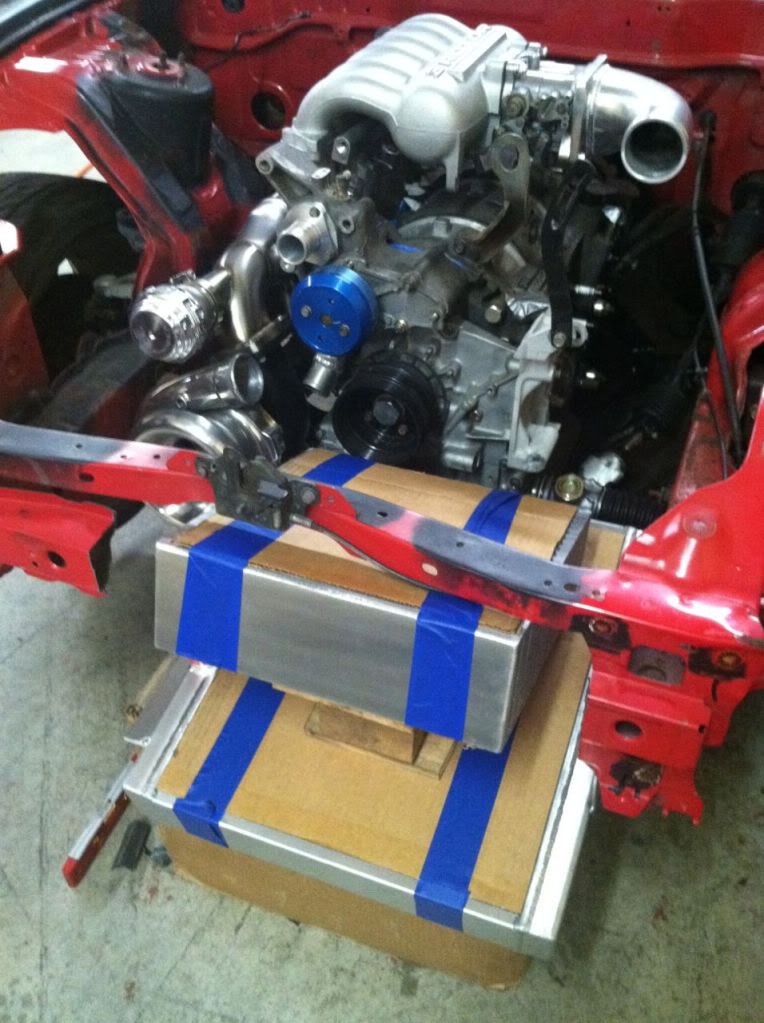
progress on the V mount
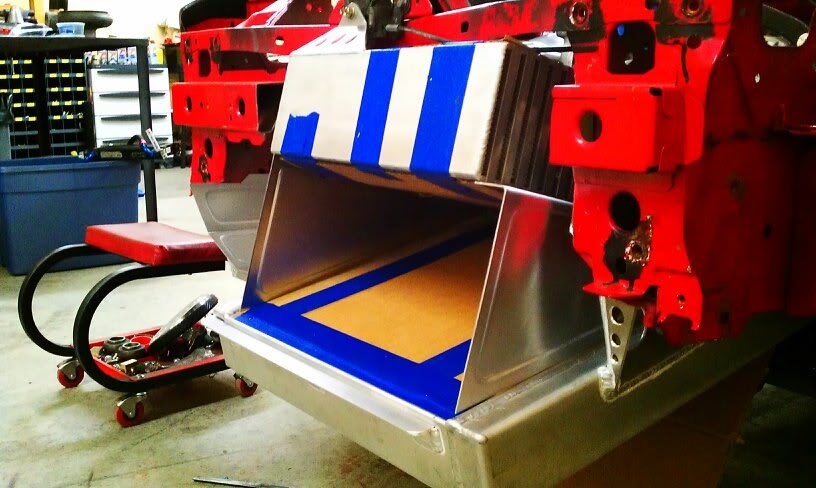
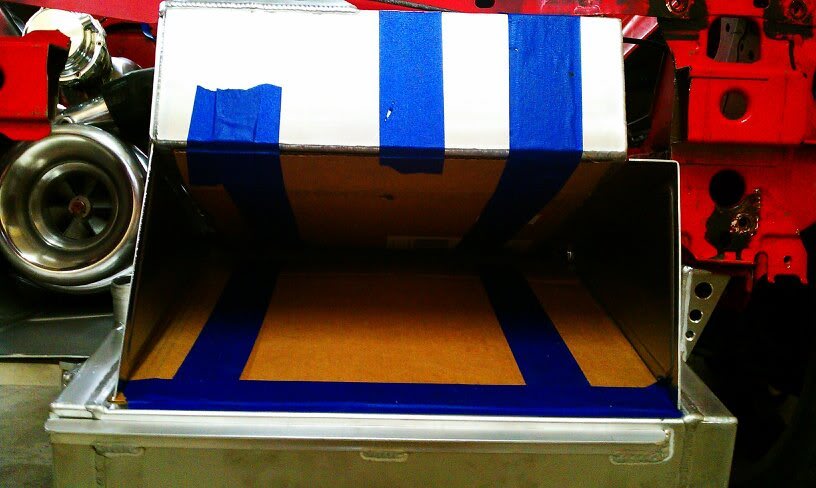
air channel plate made..
How it looks without the cardboard and radiator hose fab'd

progress on the V mount
air channel plate made..
How it looks without the cardboard and radiator hose fab'd
Thread Starter
Senior Member
SL Member
Joined: Sep 2012
Posts: 115
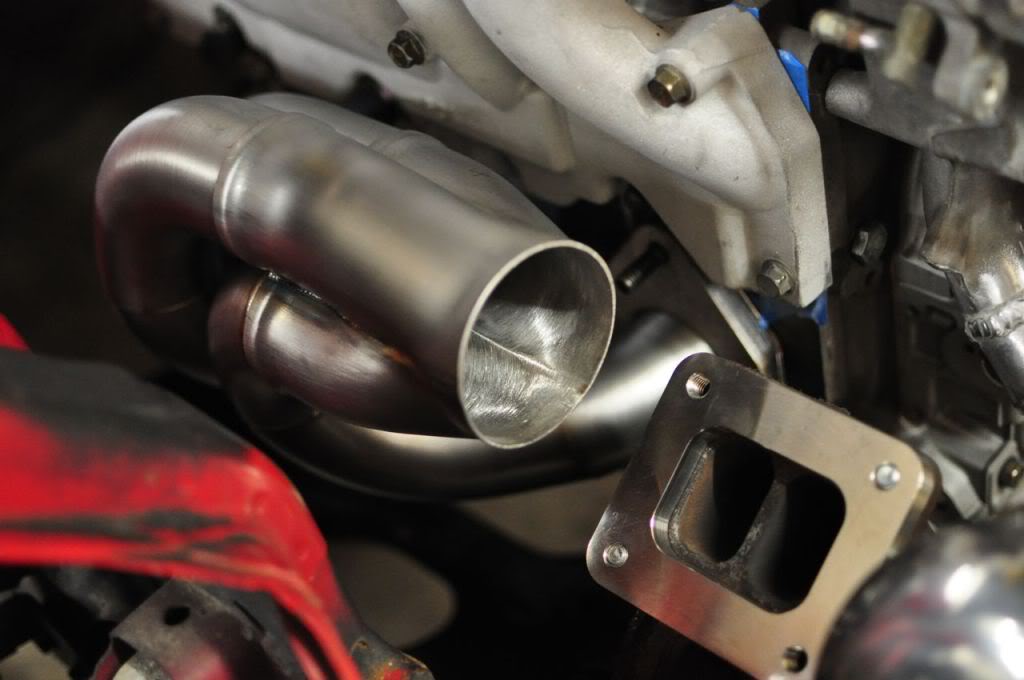
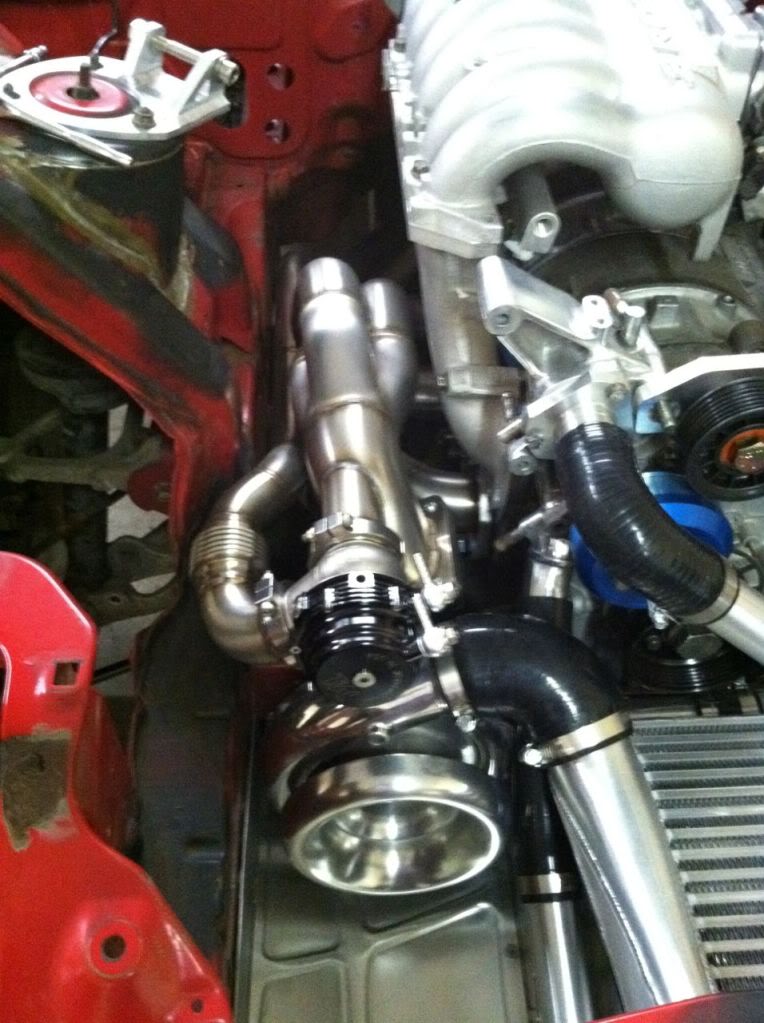
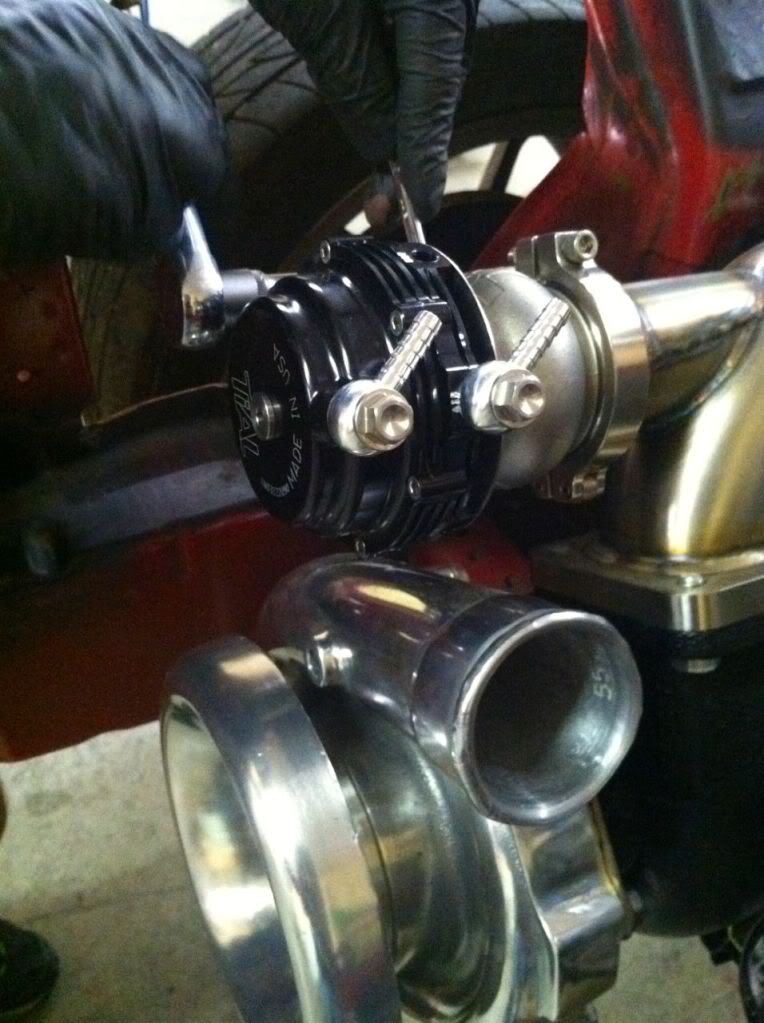
Thanks to Tial USA, I got a matching wastegate (water cooled) and BOV.
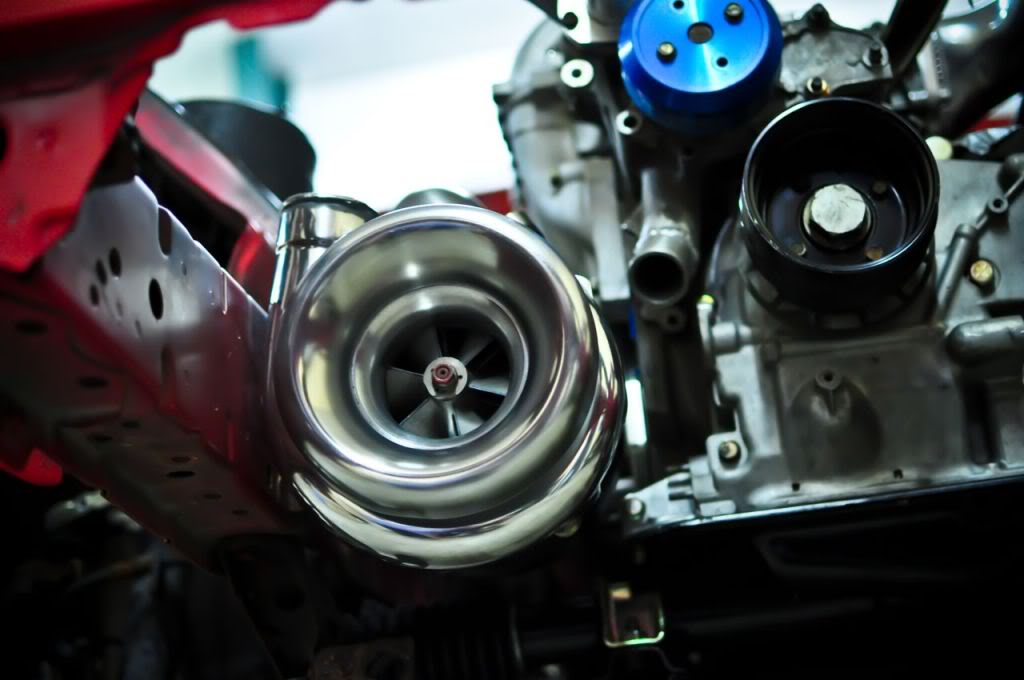
Here are updated engine pics.

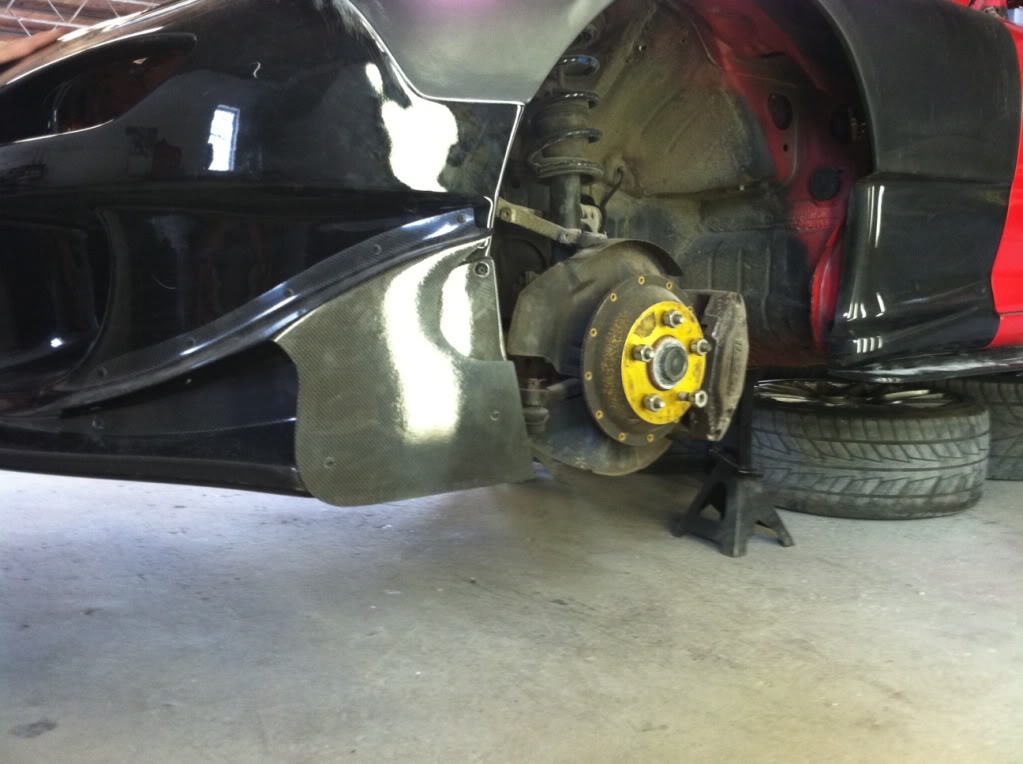
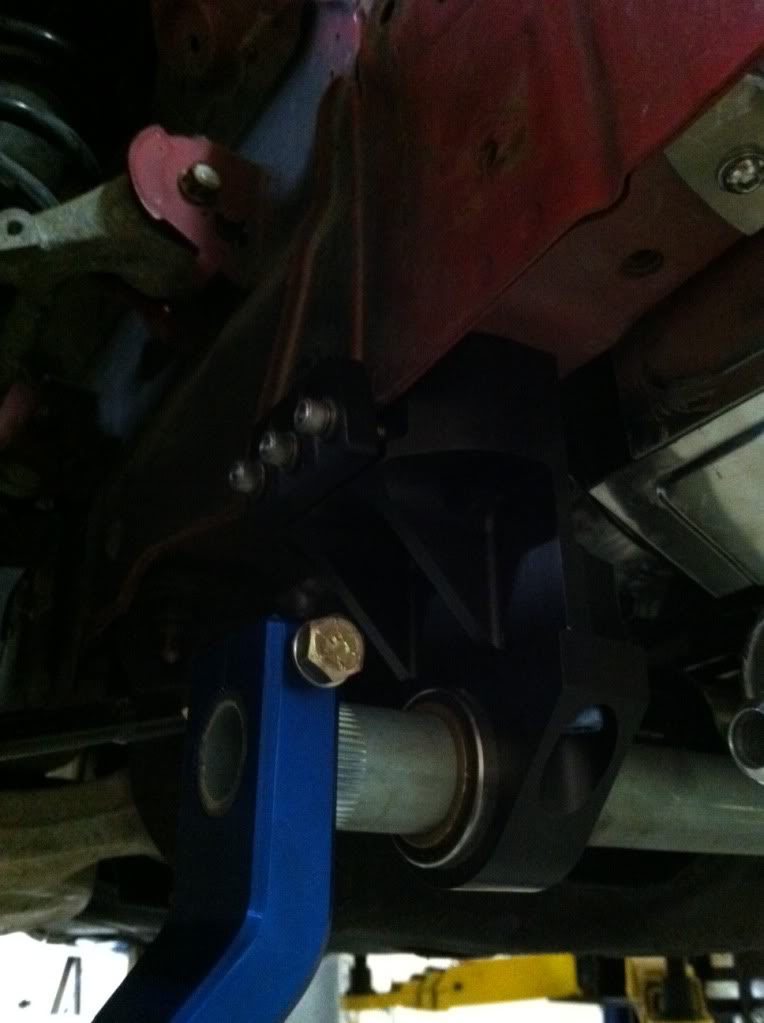
Test fitting the Widefoot sway bar mounts that I got like 5 years ago.. and Tripoint sway bar.... making sure its not interfering with anything we custom made.
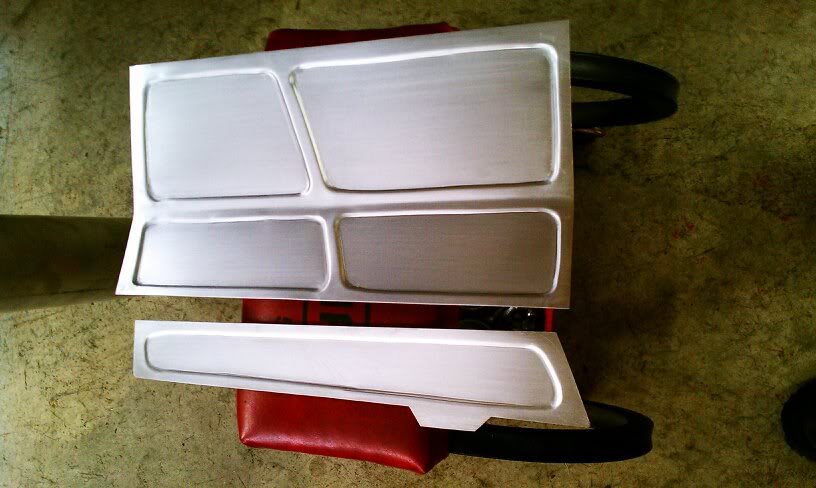
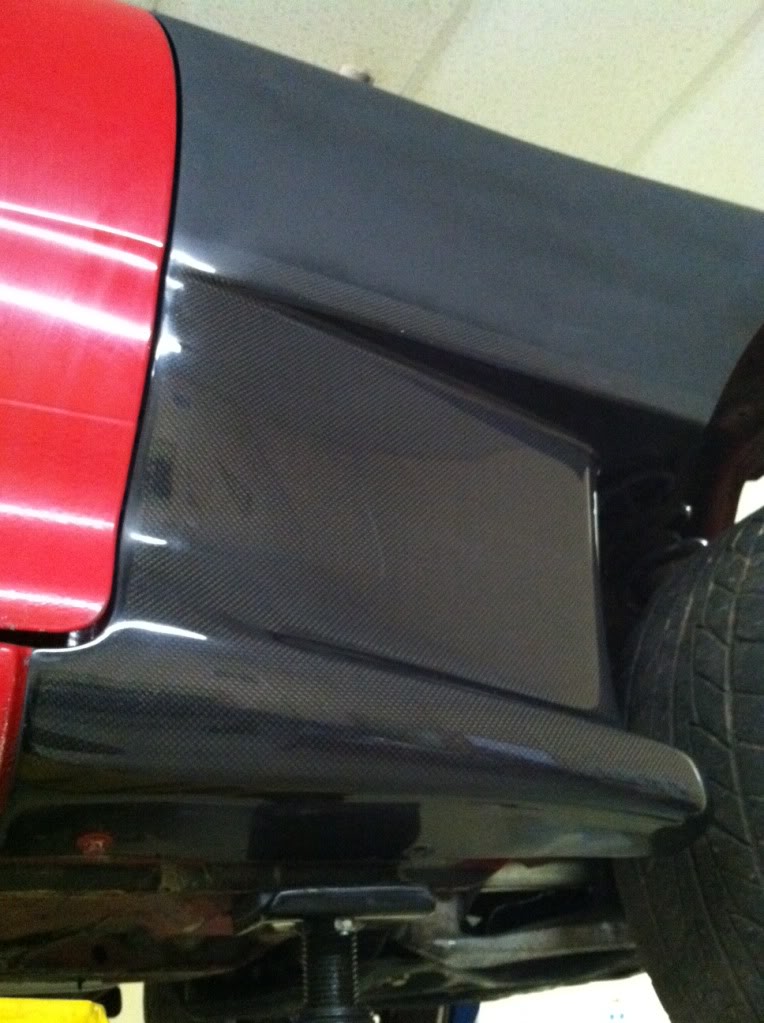
Side panels made by Walker Morgan from MPFab.com
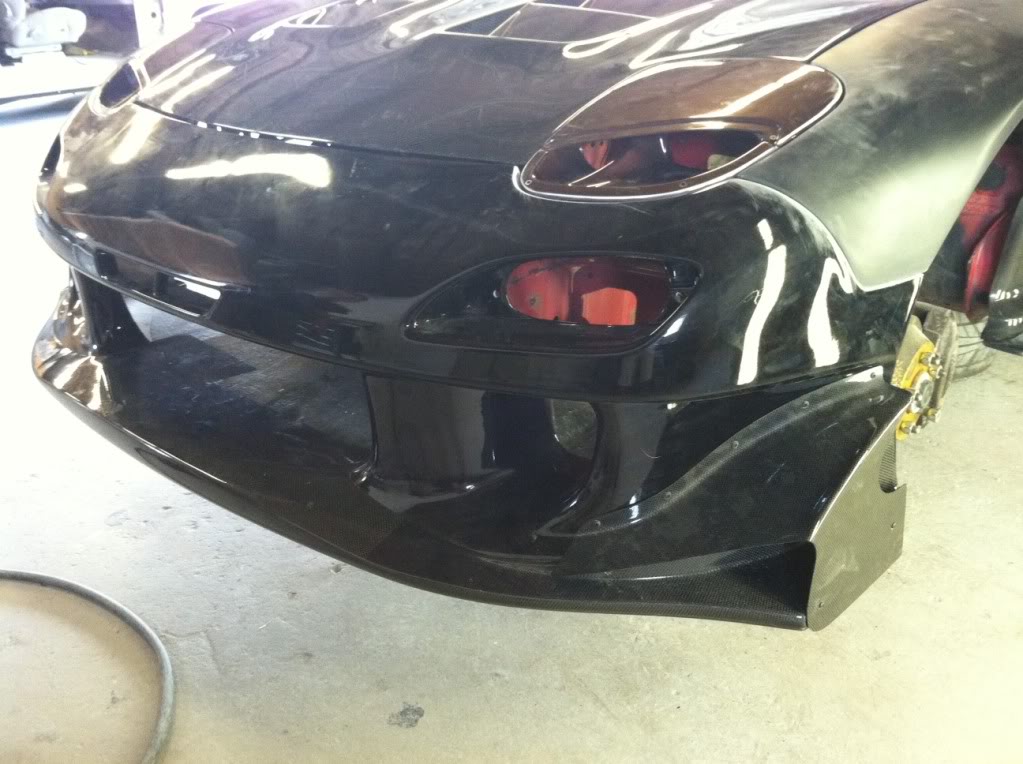
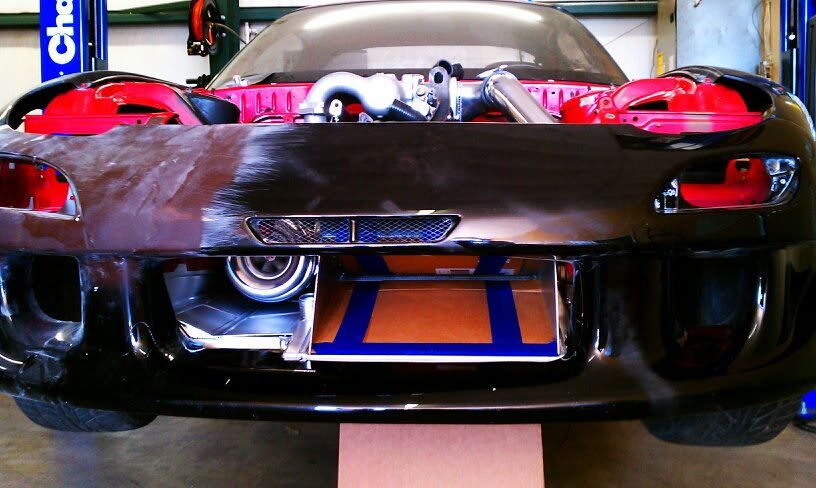
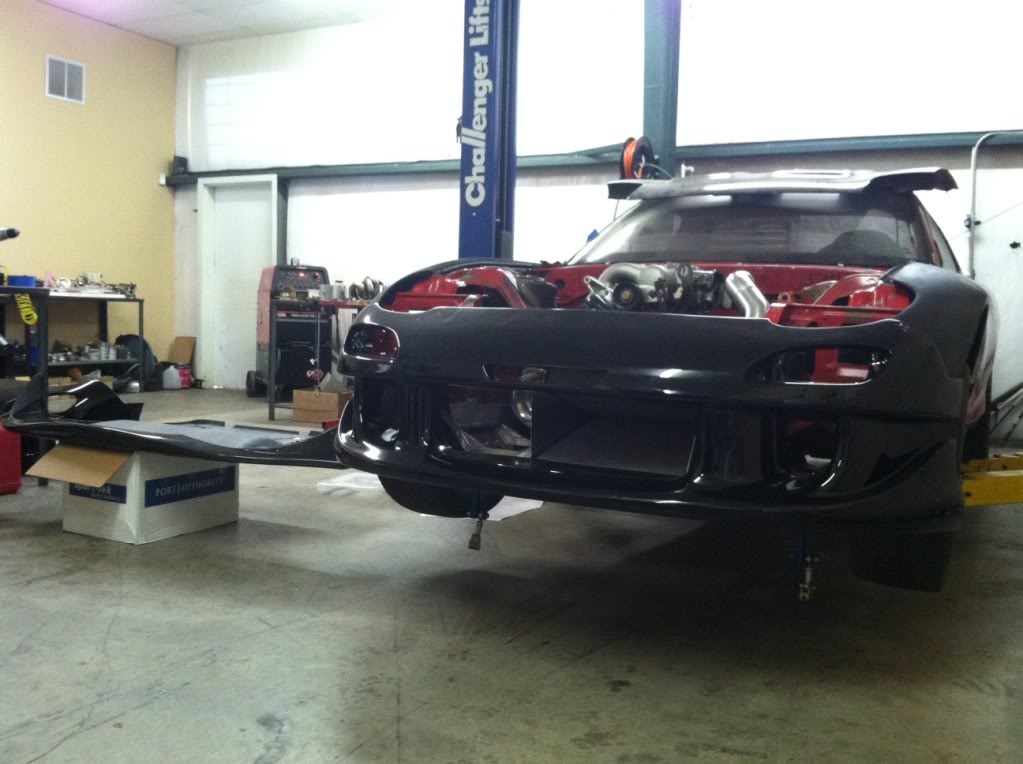
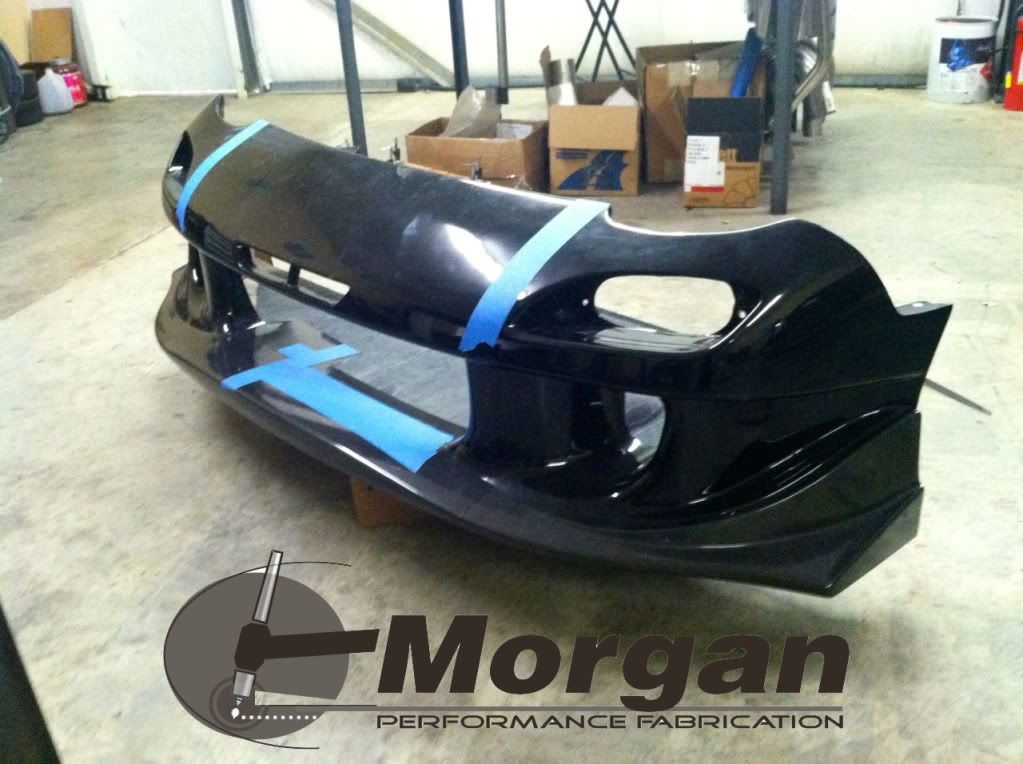
More trimming and such to the bumper... This bumper is different from the one posted earlier as my previous paint and body messed it up.
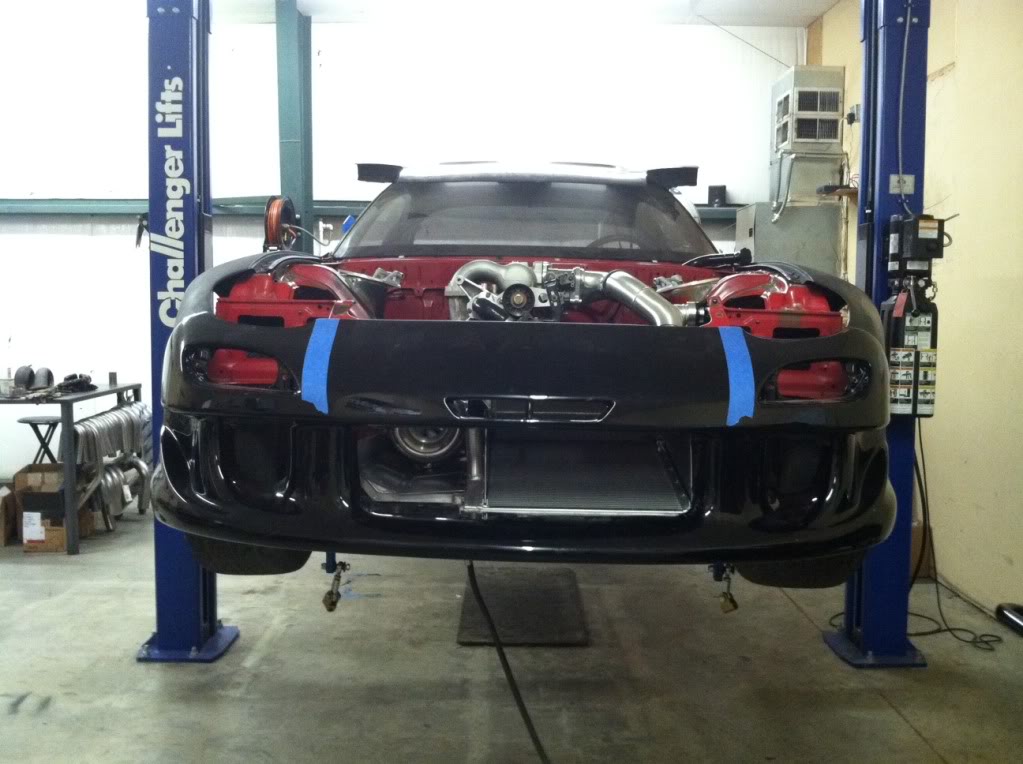
I now have a new paint and body guy.. Jonathan Goolsby from Goolsby Customs - Custom cars and collision
Goolsby won last year's SEMA GM Design award.
Here are updated engine pics.
Test fitting the Widefoot sway bar mounts that I got like 5 years ago.. and Tripoint sway bar.... making sure its not interfering with anything we custom made.
Side panels made by Walker Morgan from MPFab.com
More trimming and such to the bumper... This bumper is different from the one posted earlier as my previous paint and body messed it up.
I now have a new paint and body guy.. Jonathan Goolsby from Goolsby Customs - Custom cars and collision
Goolsby won last year's SEMA GM Design award.
Thread Starter
Senior Member
SL Member
Joined: Sep 2012
Posts: 115
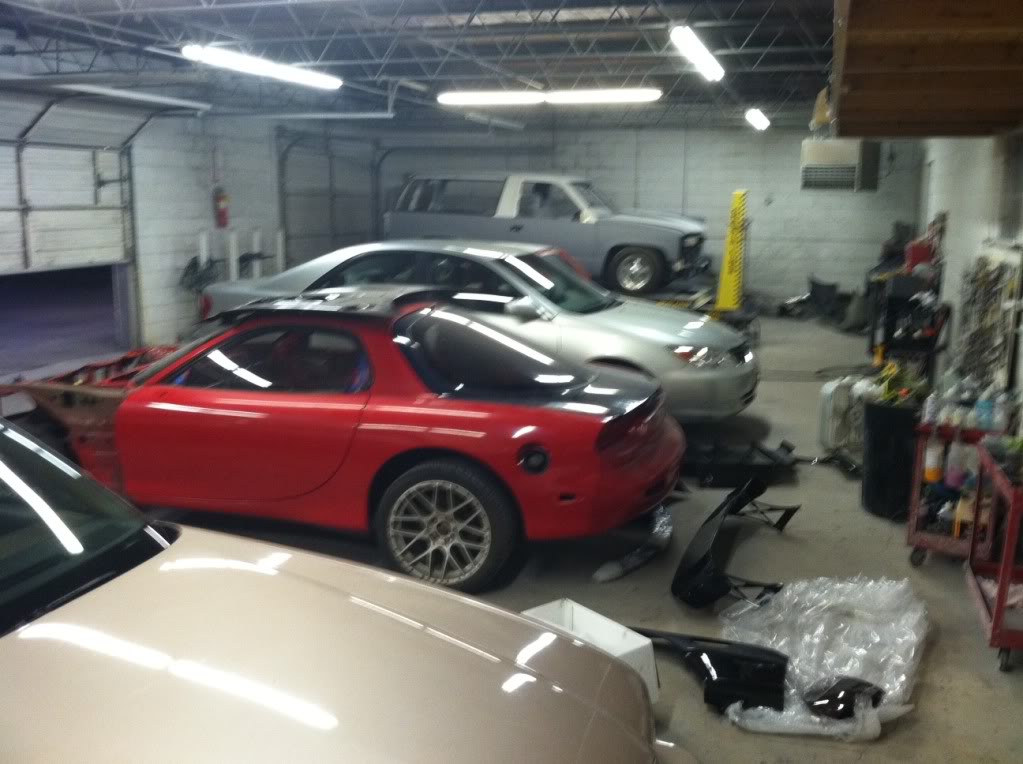
At this point, pretty much all of it has been done at Walker Morgan's place (Morgan Performance Fabrication = Morgan Performance Fabrication).
Here are couple of images before the car was once again put back to a shell to be moved to paint and body.
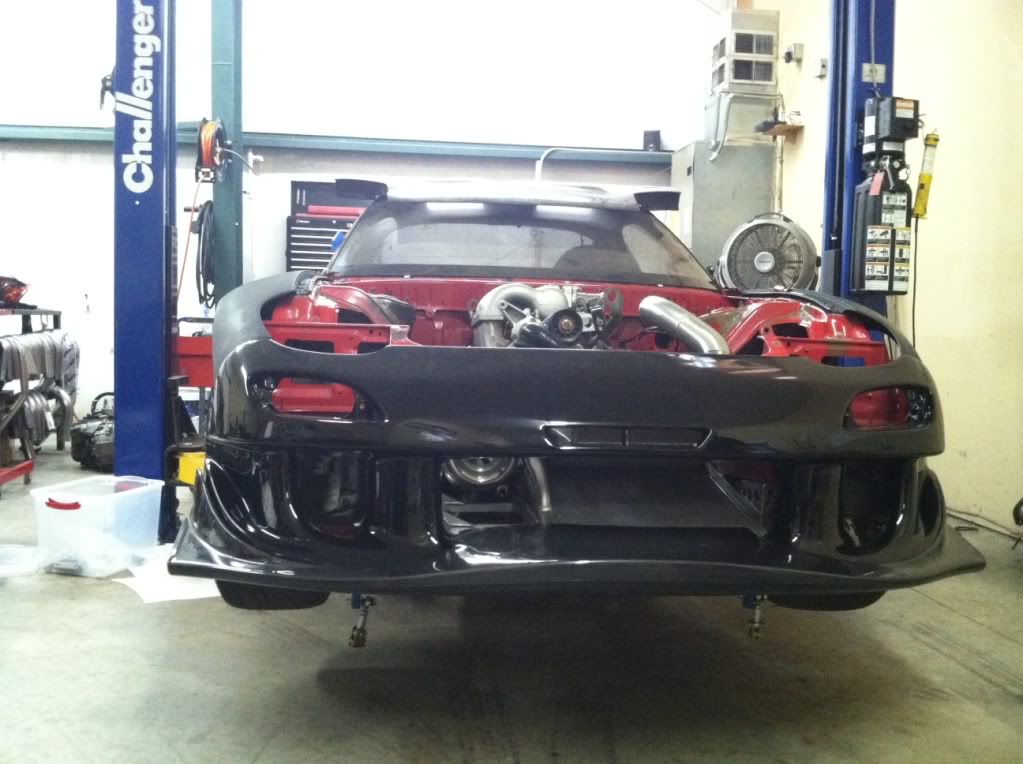
How it will look from viewing from front.
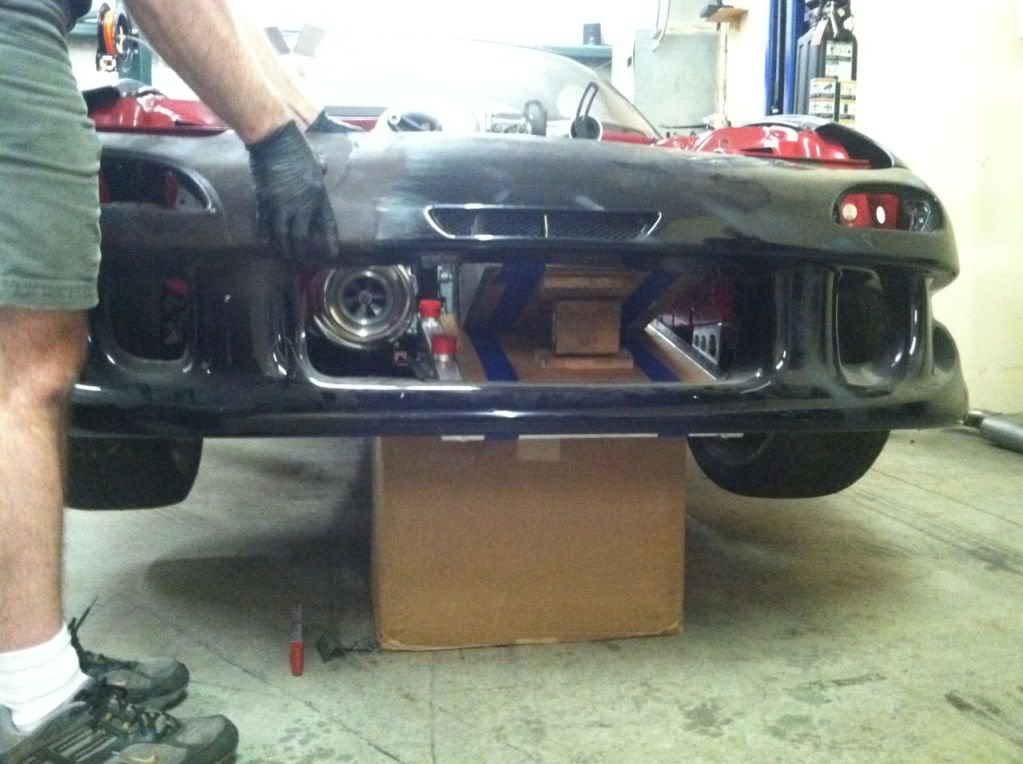
couple of days of cutting the bumpers.
new black wastegate from TIAL
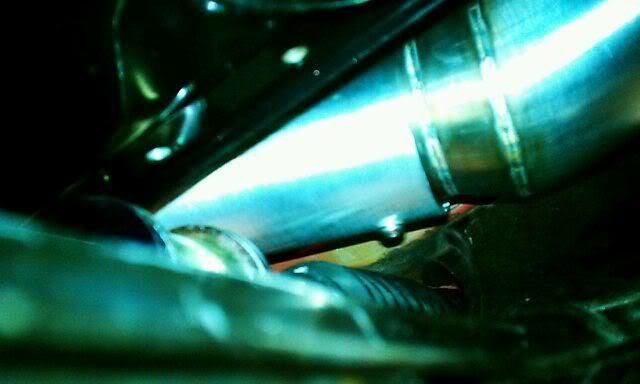
Pulled fabricated goodies..

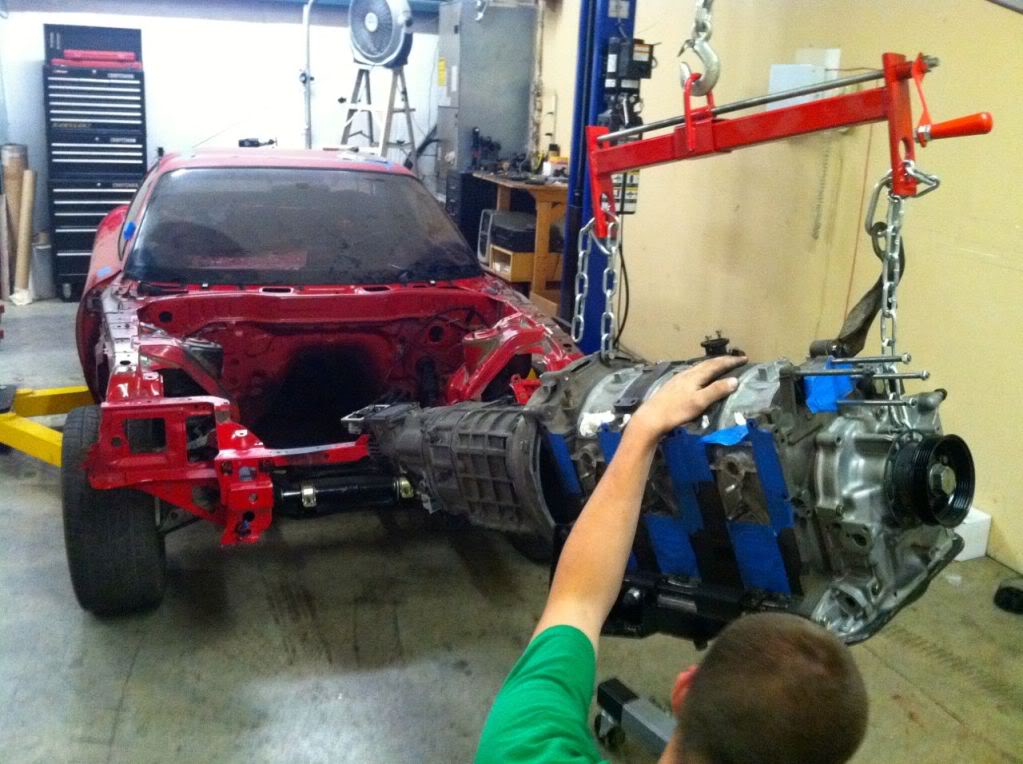
Now pulling the motor out and other stuff..
Here are couple of images before the car was once again put back to a shell to be moved to paint and body.
How it will look from viewing from front.
couple of days of cutting the bumpers.
new black wastegate from TIAL
Pulled fabricated goodies..
Now pulling the motor out and other stuff..
Thread Starter
Senior Member
SL Member
Joined: Sep 2012
Posts: 115
Picked up the car from MPFab.com and transfer to Goolsby Customs (Goolsby Customs - Custom cars and collision).
How it sat the first day..
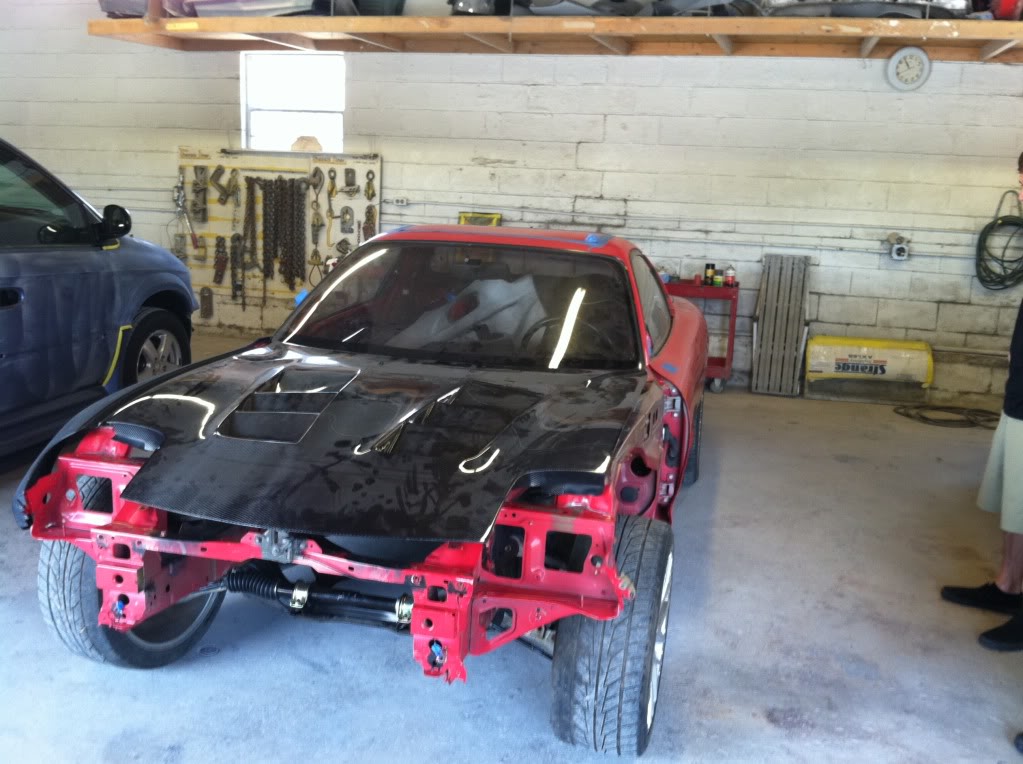
How it sat the first day..
Thread Starter
Senior Member
SL Member
Joined: Sep 2012
Posts: 115
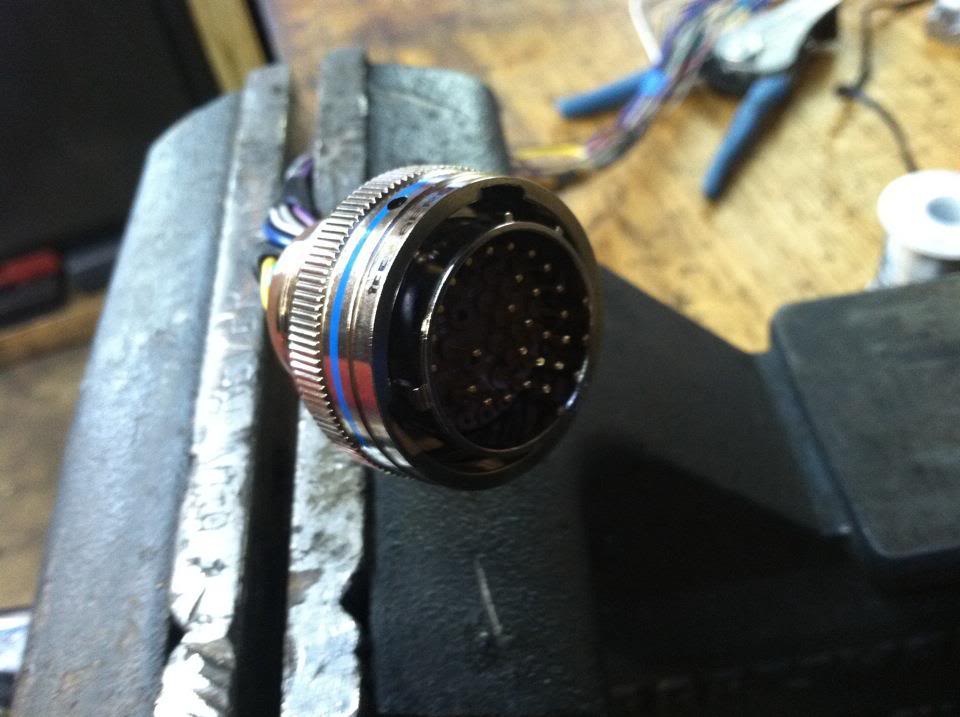
During this build, I had a chance to go visit Chris Ludwig from Ludwig Motorsport to check on the harness for the engine.
We decided to use the AEM coils with the Haltech PS2K.
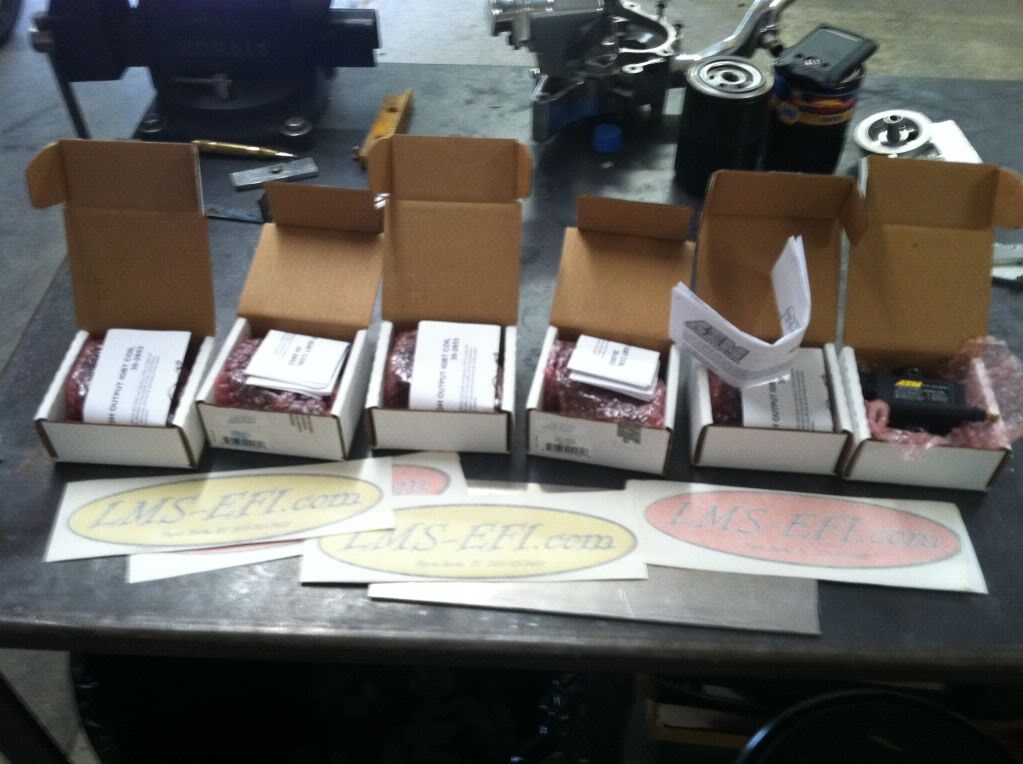
Mil-spec connector..
We decided to use the AEM coils with the Haltech PS2K.
Mil-spec connector..
Thread Starter
Senior Member
SL Member
Joined: Sep 2012
Posts: 115
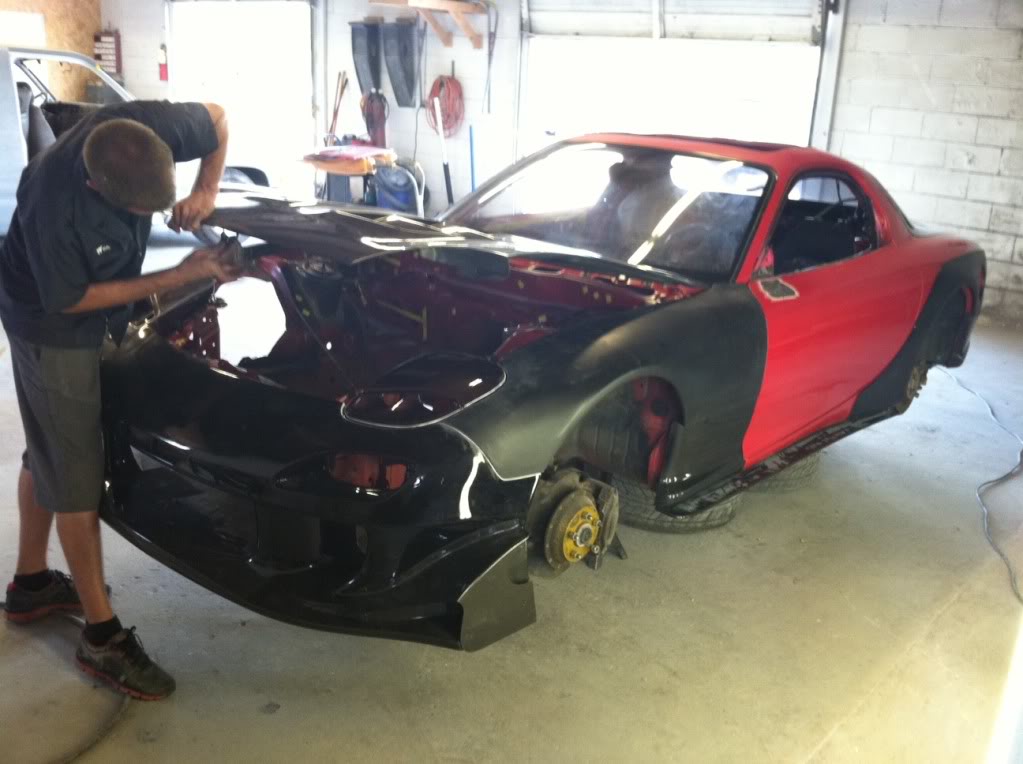
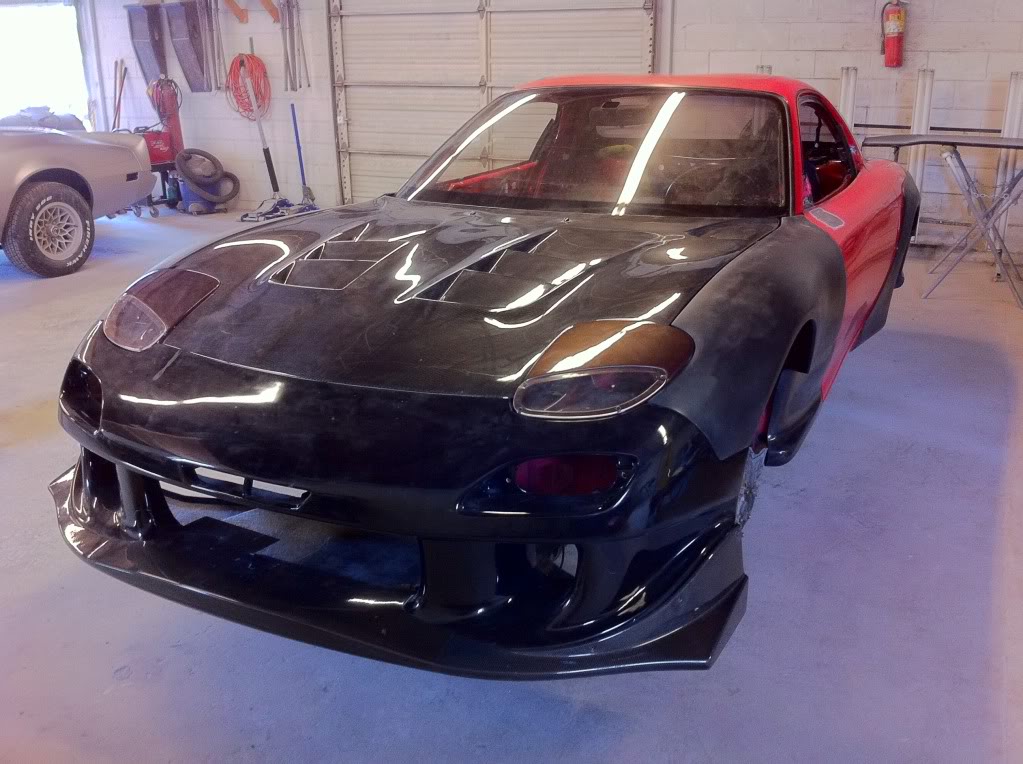
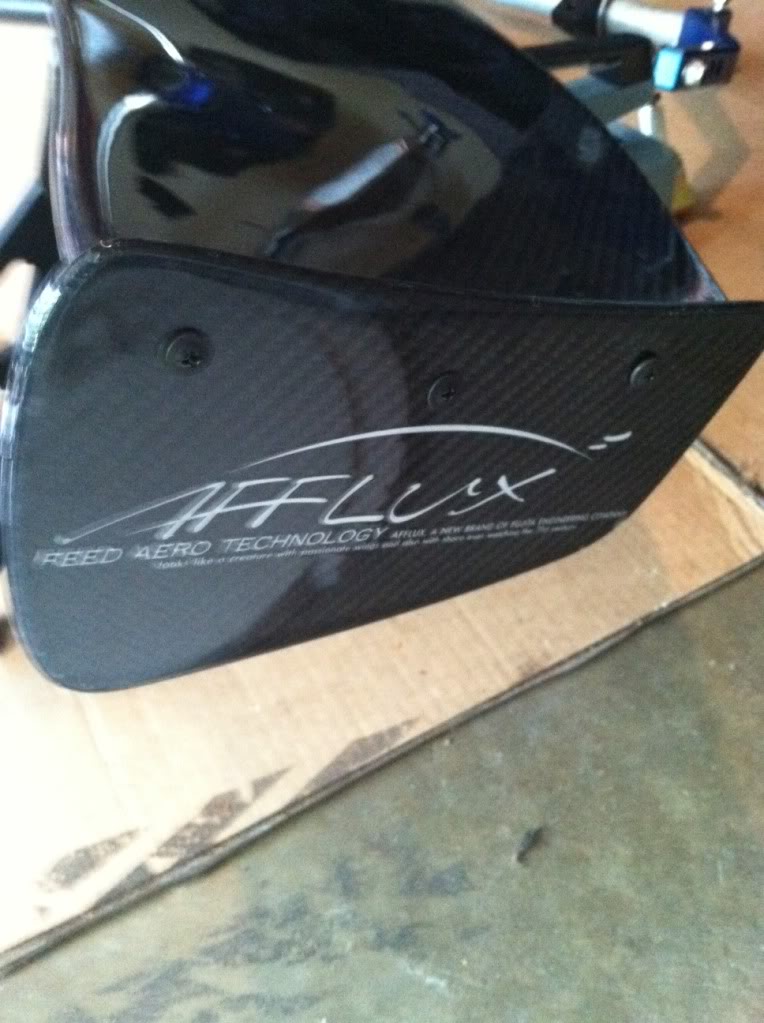
next few days, I brought all my exterior parts from my home to Goolsby's..
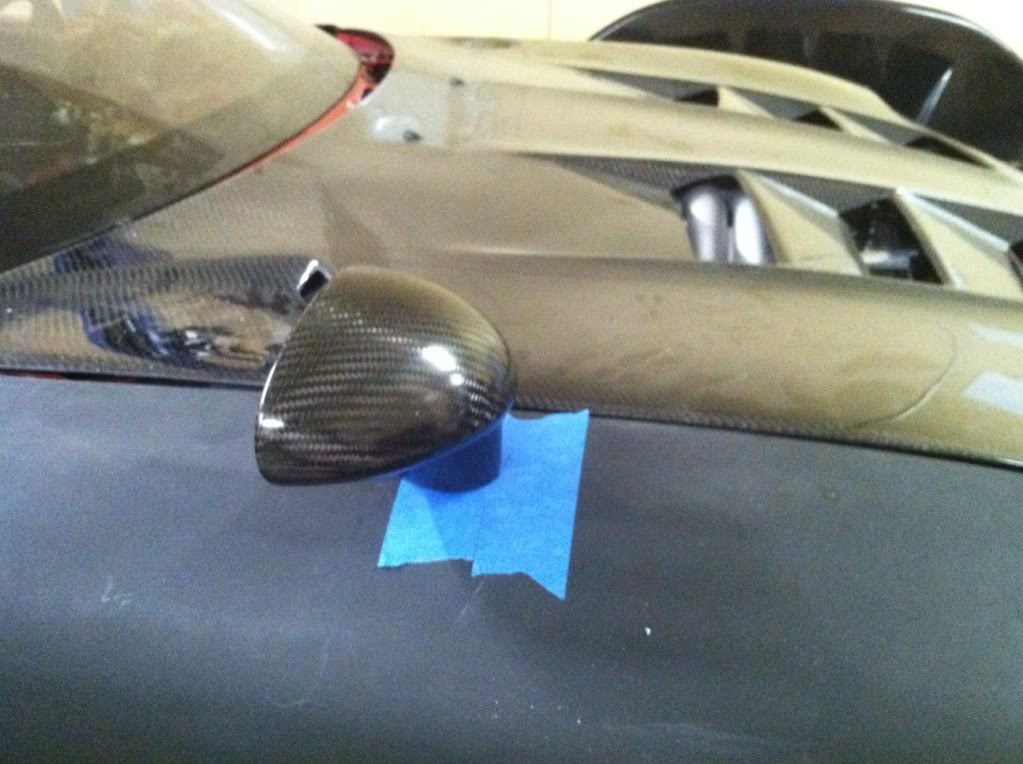
Here are some pics of the CF goodies..
A rare FEED GT II R wing that I drove to VA to pick up.
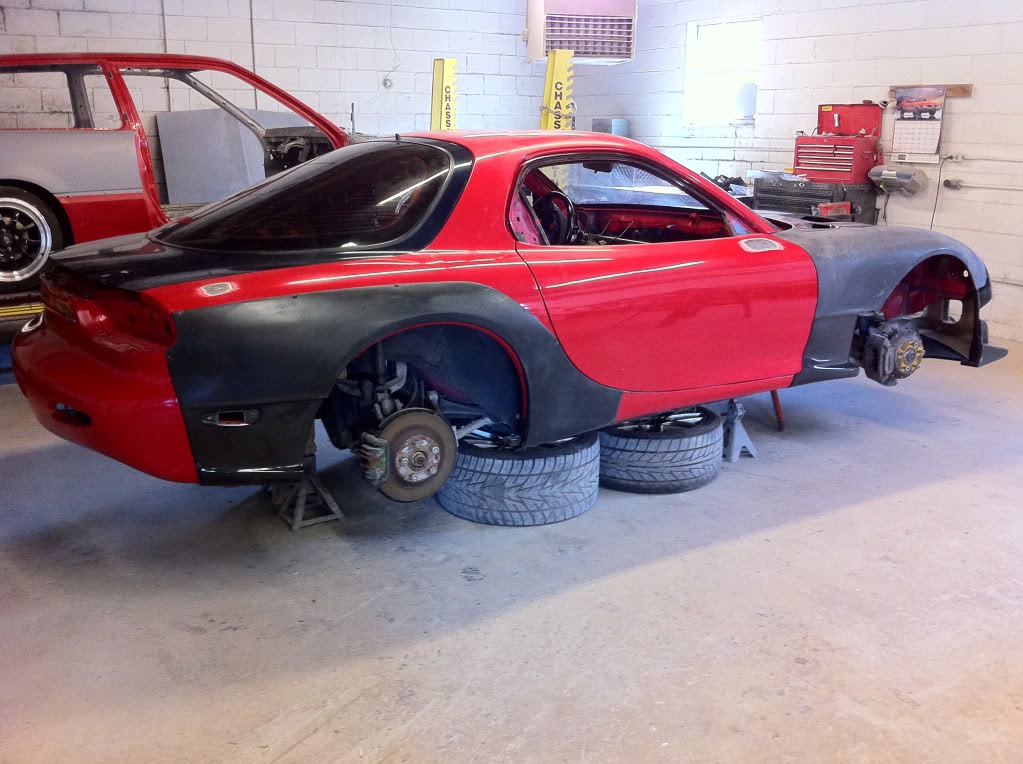
After few days at the Goolsby Customs.. car starting to look like what it will look like
Here are some pics of the CF goodies..
A rare FEED GT II R wing that I drove to VA to pick up.
After few days at the Goolsby Customs.. car starting to look like what it will look like
Thread Starter
Senior Member
SL Member
Joined: Sep 2012
Posts: 115
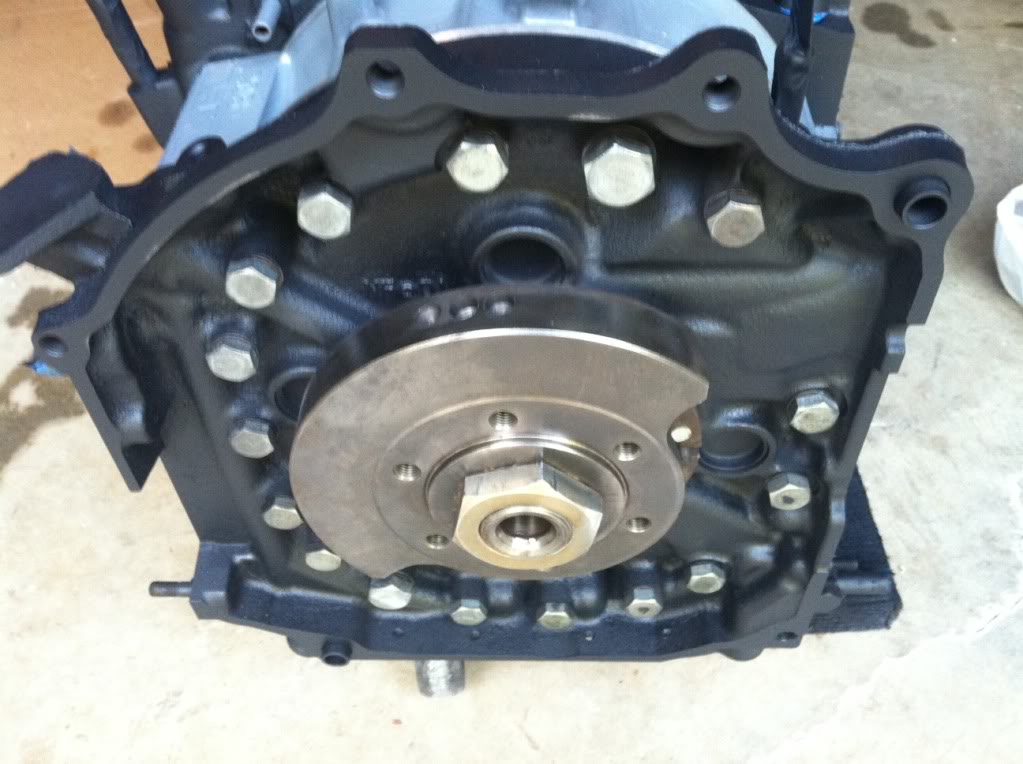
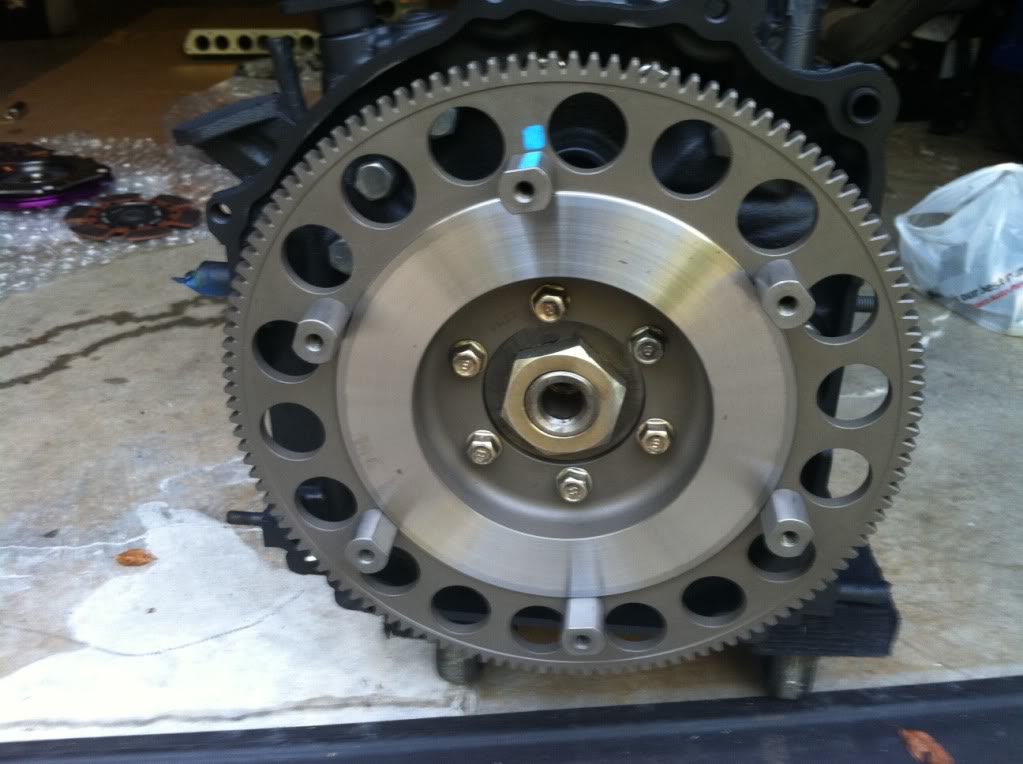
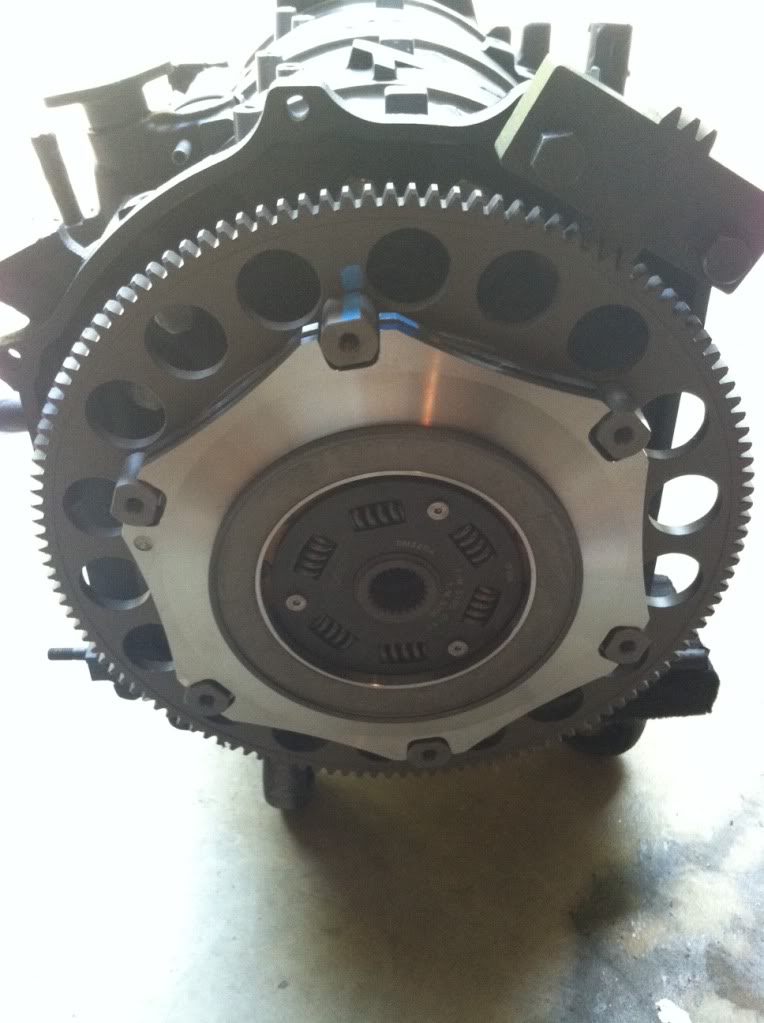
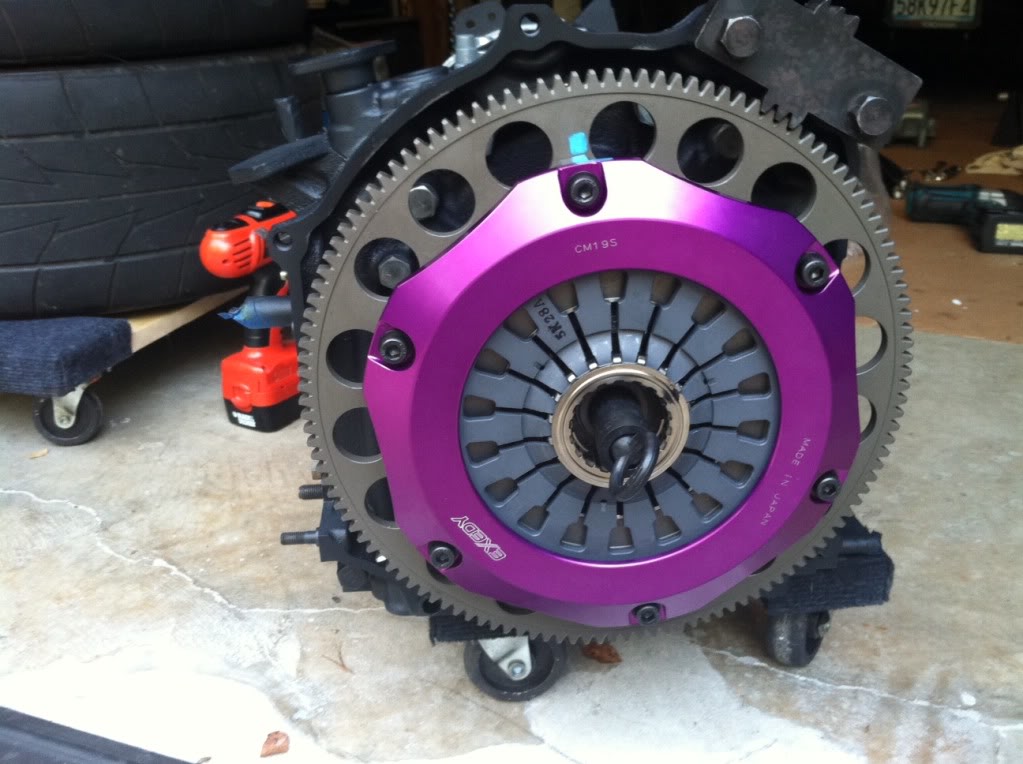
Again, while I was waiting.. I started to work on the engine..
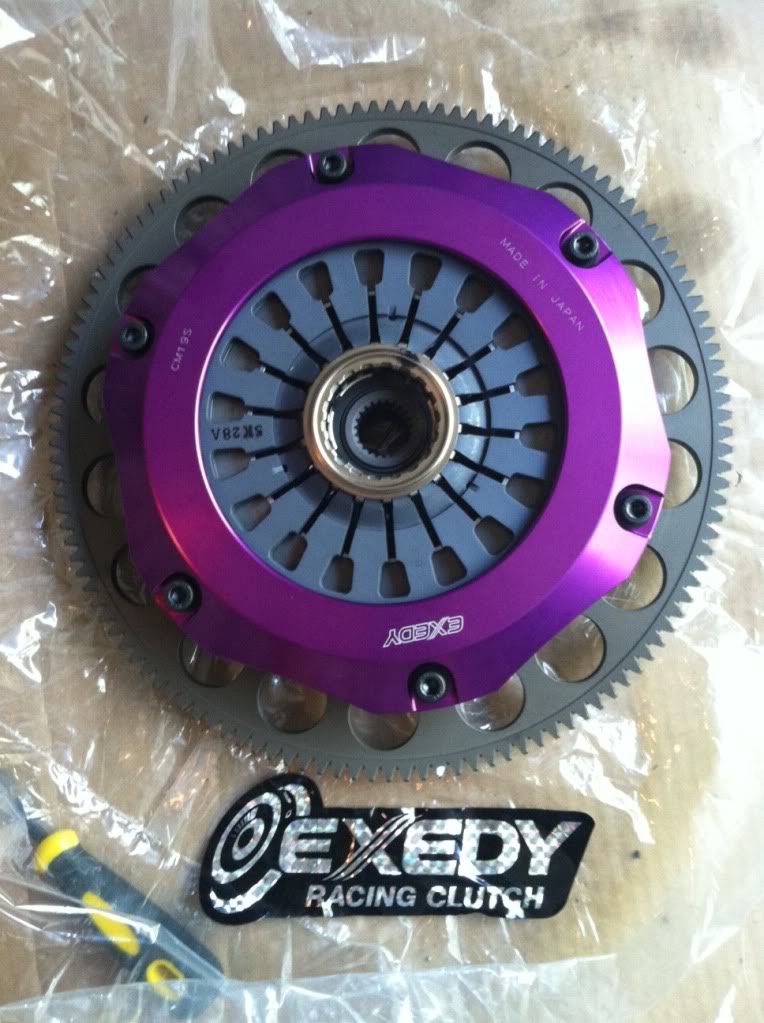
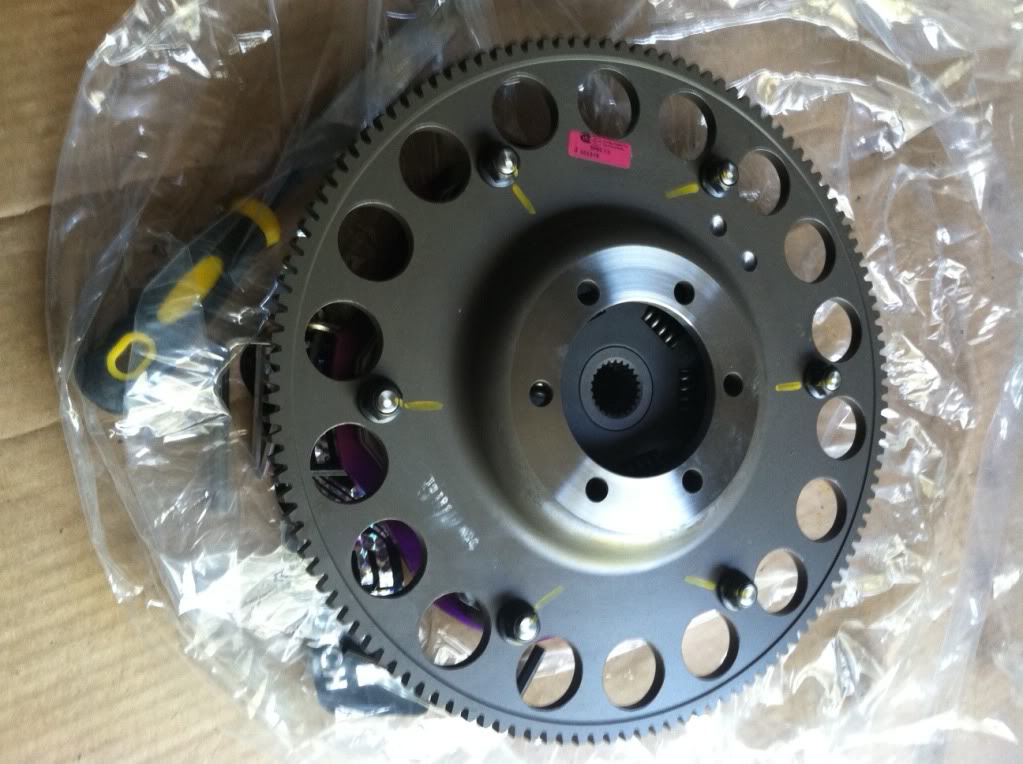
Thanks to my oldest sponsor Exedy Clutch, they sent me their lighten twin disc clutch!
Exedy USA has been the best company I have ever worked with and I really appreciate their constant support!! Thanks Exedy!! EXEDY Globalparts Corporation
If you don't know about Exedy Clutch, they are OE manufacture for almost all Japanese cars. They also produce many great racing clutches. Quality and their quality control is far superior than any other companies out there.
Anyhow.. pics..