
Five Axis Install thread


Thread Starter
Senior Member
Balliztik
SL Member
Joined: Jun 2007
Posts: 9,538
From: Washington
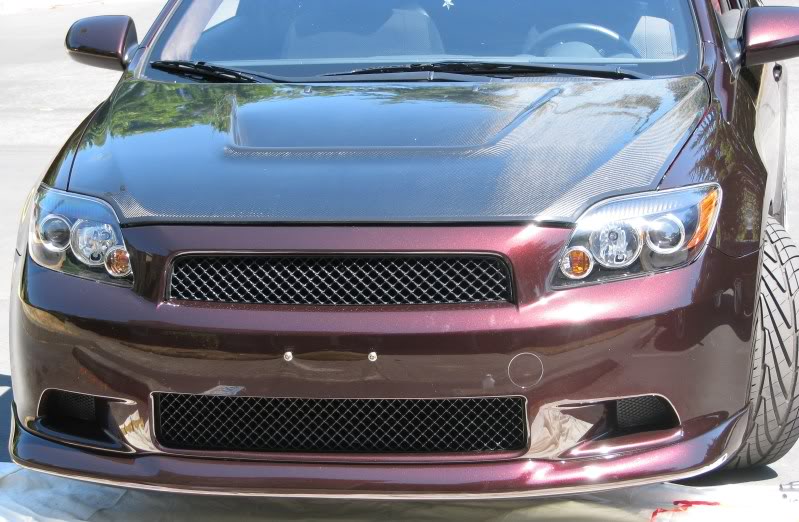
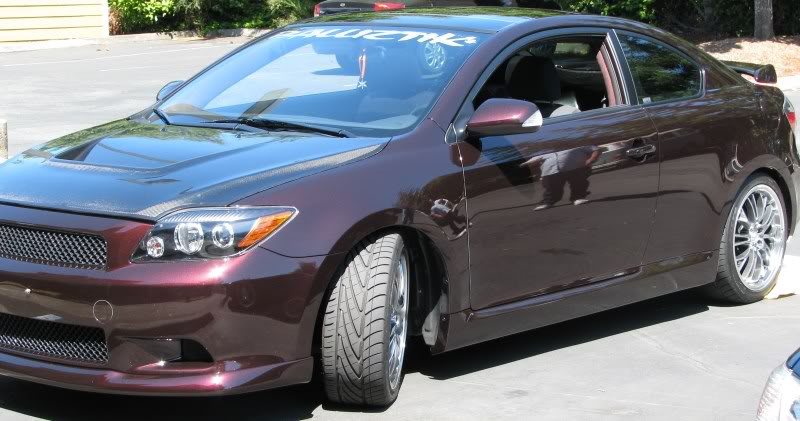
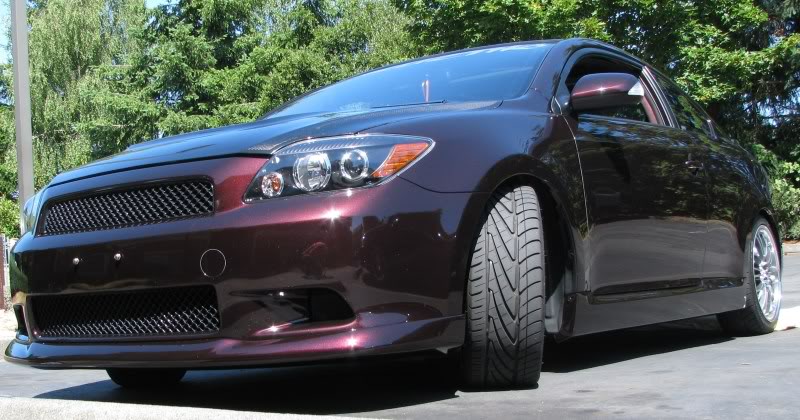
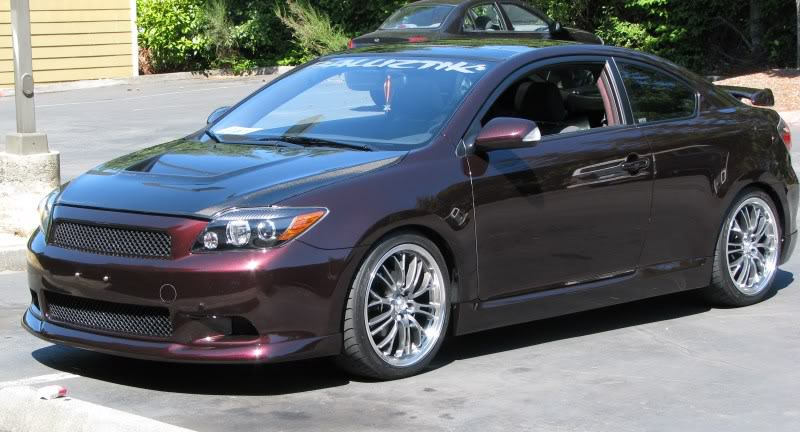
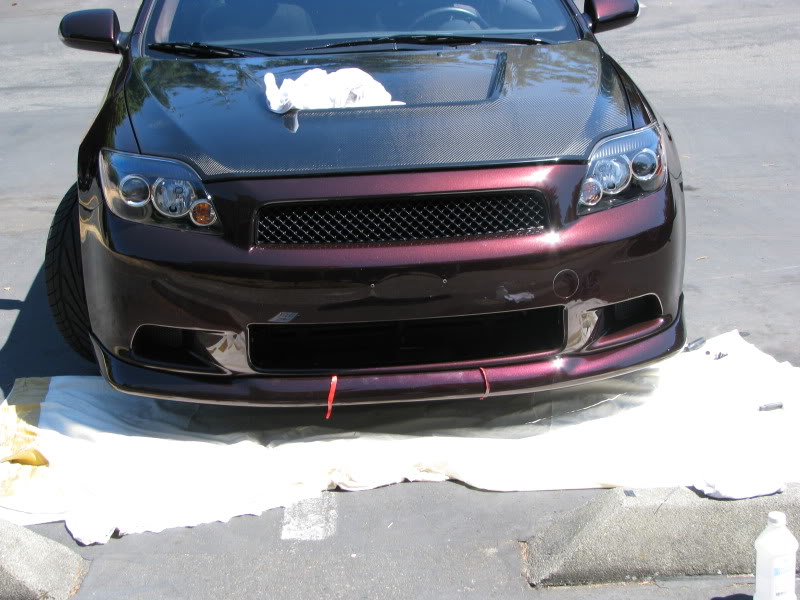
I love the way your hood came out the line is perfect where it sits for the cars grille dimensions and body line......they did agreat job.I am still working on picking up a RS3 top grille and painting to match my car,think it would be hot withthe 5 axis.

Thanks! We spend 2 hours designing the lines for it to match the glass work at the corners, working out the length of the exposed carbon, matching the OEM hood lines, and rounding off the front to match the grille radius. The paint work cost more than the hood! It's a one of a kind though and I couldn't stand a stock hood or a CF just plopped in place either. Money well spent in my book!
Thread Starter
Senior Member
Balliztik
SL Member
Joined: Jun 2007
Posts: 9,538
From: Washington
Adding more pictures to page two as page one is slammed with them...
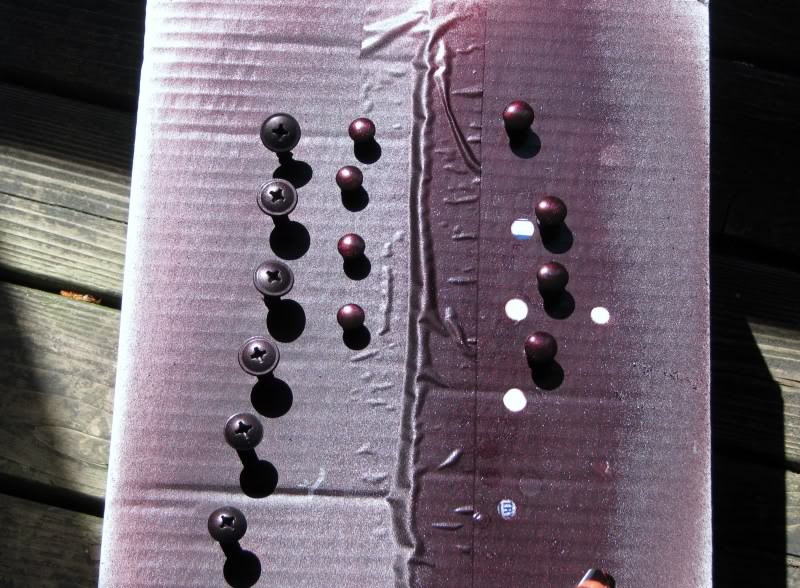
These are the screws that hold on the parts and also the plugs that go in the door jambs, there are two holes that the screws sit in to anchor the jambs on the panels and I did not think to check prior to going to paint what size they are so I got 1/4" and 5/16" plugs,
I used the touch up paint, tried my airbrush first to paint them and it is so humid they did not get a shine to them as you can see on the screws I painted, they are body color but no shine, so then I just brushed it onto the plugs and put two coats, used adhesion promoter first,
and also wet sanded with 400grit..not the best pictures, my camera is fighting me today, but you can see the plugs are nice and shiny and clean to fill the holes.
I will have more pictures tomorrow as the kit should be dine with paint and baking tonight and pick up tomorrow.
Last edited by MR_LUV; Mar 23, 2018 at 03:20 AM.


Thread Starter
Senior Member
Balliztik
SL Member
Joined: Jun 2007
Posts: 9,538
From: Washington
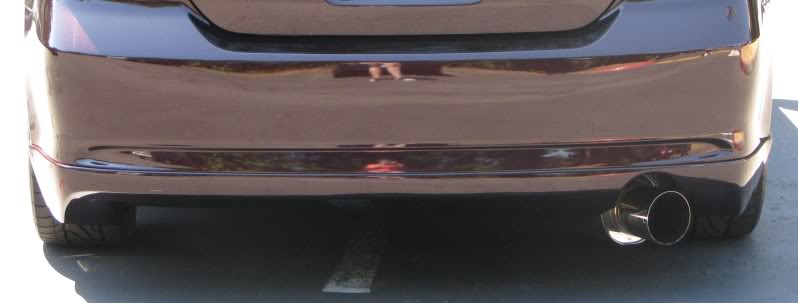
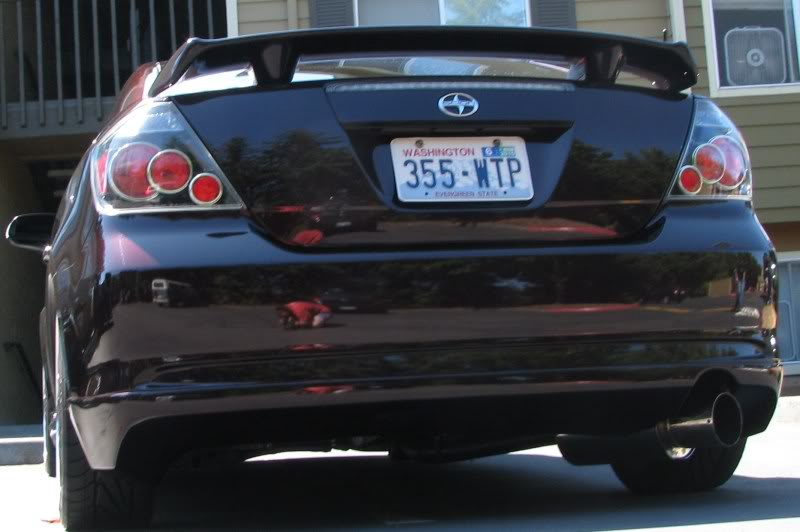
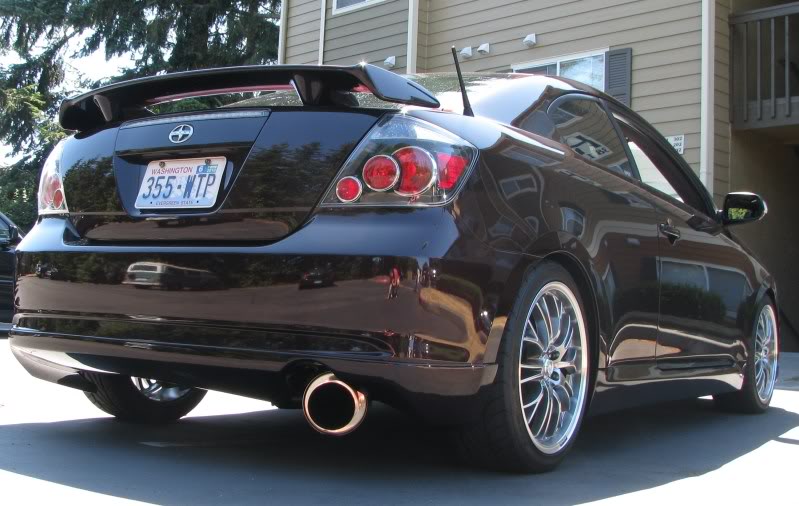
yeah I gotta monitor the exhaust,it is past the kit as far as the exit goes but it is only 5/16" away from the body,kinda close but not bad,should not burn,but I would like to goto muffler shop and get the pipe bent a little over to center the hole better,that is the one issue with HKS cans........they sit low and kinda out to the side.

Thread Starter
Senior Member
Balliztik
SL Member
Joined: Jun 2007
Posts: 9,538
From: Washington
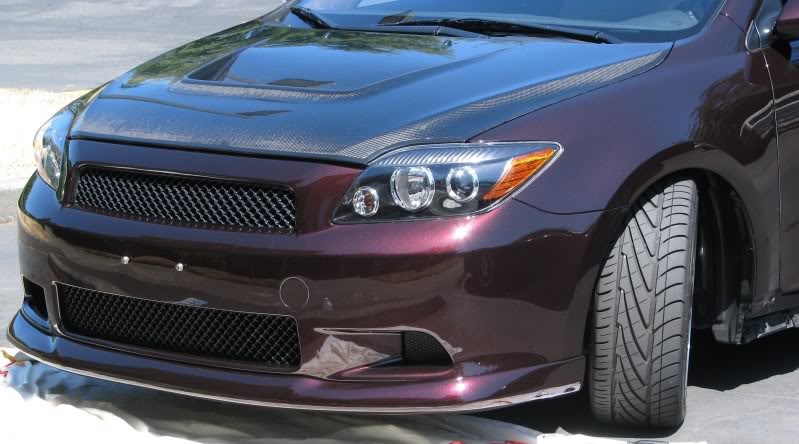
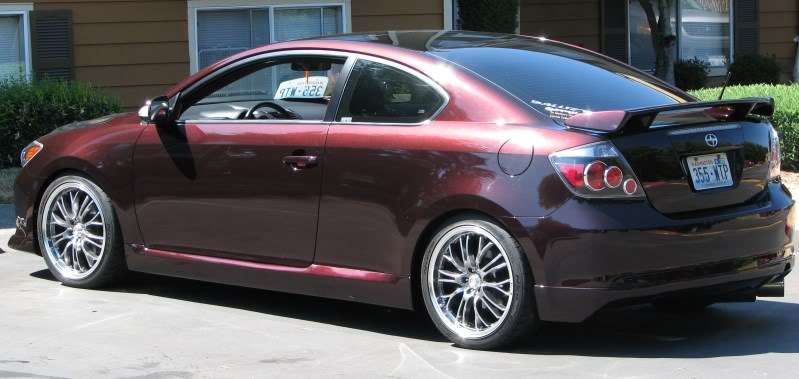
thanks........if anyone is thinking about getting this kit I have to recomend,I have done now the RS1 and it was a pain and never fit well on the car,also done a AIT kit and it was more work than it was worth......but will look great when finally done......but this kit,.........it is well done and worht the money.


Thread Starter
Senior Member
Balliztik
SL Member
Joined: Jun 2007
Posts: 9,538
From: Washington
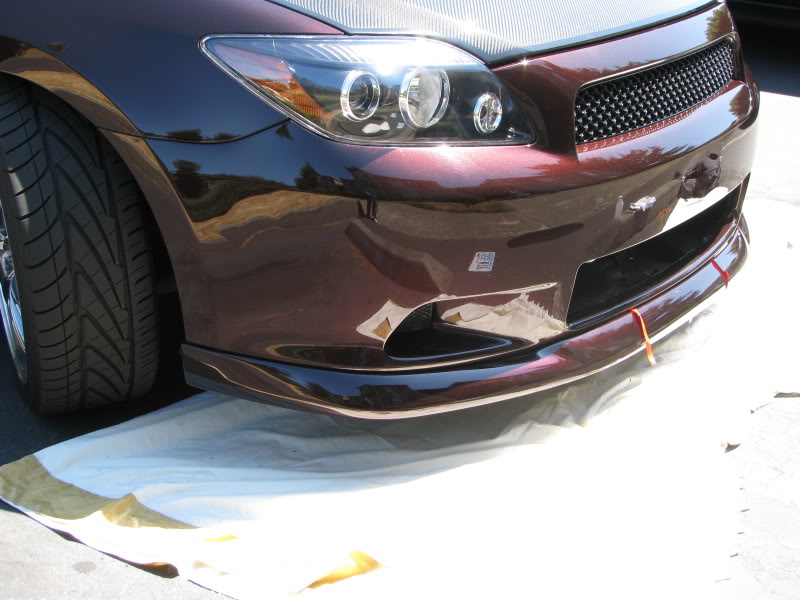
we got it painted locally at Precision Auto Body in Tacoma........the guy in Bellevue is still gone and the price they quoted was the same,minus me driving thre and back 2 times so I did itlocally.........total cost of paint was $700 with lifetime warrenty........so all in all for the kit to be on the car was $450 for the kit,$50 for reapir materials and beer,and $700 for paint..........spendy but the car look totally differant now,I am pretty happy,the paint was perfect too,my body work was ok on the repairs.......the repairs on one side of the front shrunk during baking so it is kinda visable,but only if you really look........

Thread Starter
Senior Member
Balliztik
SL Member
Joined: Jun 2007
Posts: 9,538
From: Washington
yeah I am gonna goto mike and Jens to give it a heat test real quick and see how it is holding,it is further away than it looks the pictures area deceiving as to where it is sitting.

