::diy:: Retrofit bixenon morimoto d2s 3.0 projectors & led halos
 03-13-2014, 04:27 AM
#1
Senior Member
SL Member
Thread Starter

Join Date: Mar 2013
Posts: 516
So...let me begin by saying that this retrofit requires precise alignment when mounting the MORIMOTO D2S PROJECTORS into the headlights because the brackets don't match with the OEM ones. So drilling new holes and using a dremmel will be required.
stuff i used:
*Oven pre-heat it to 210 deg. and once its ready place wet cardboard inside and place headlight on top.
*long flat head screwdriver to break headlight seal.
*Green painters FROG tape
*Dremmel
*Dupli-Color Metal specks paint code MX100 GRAPHITE TEXT MET
* 300grit sand sheets wet & dry
*automotive grey primer
*Ebay 90mm halo rings with plastic diffuser
*80mm rubber caps theretrofitsource.com
*D2S Morimoto 5,000k bulbs
*MORIMOTO D2S 3.0 Round projectors
*D2S adapters
*BUTYL sealant theretrofitsource.com
It begins with this box
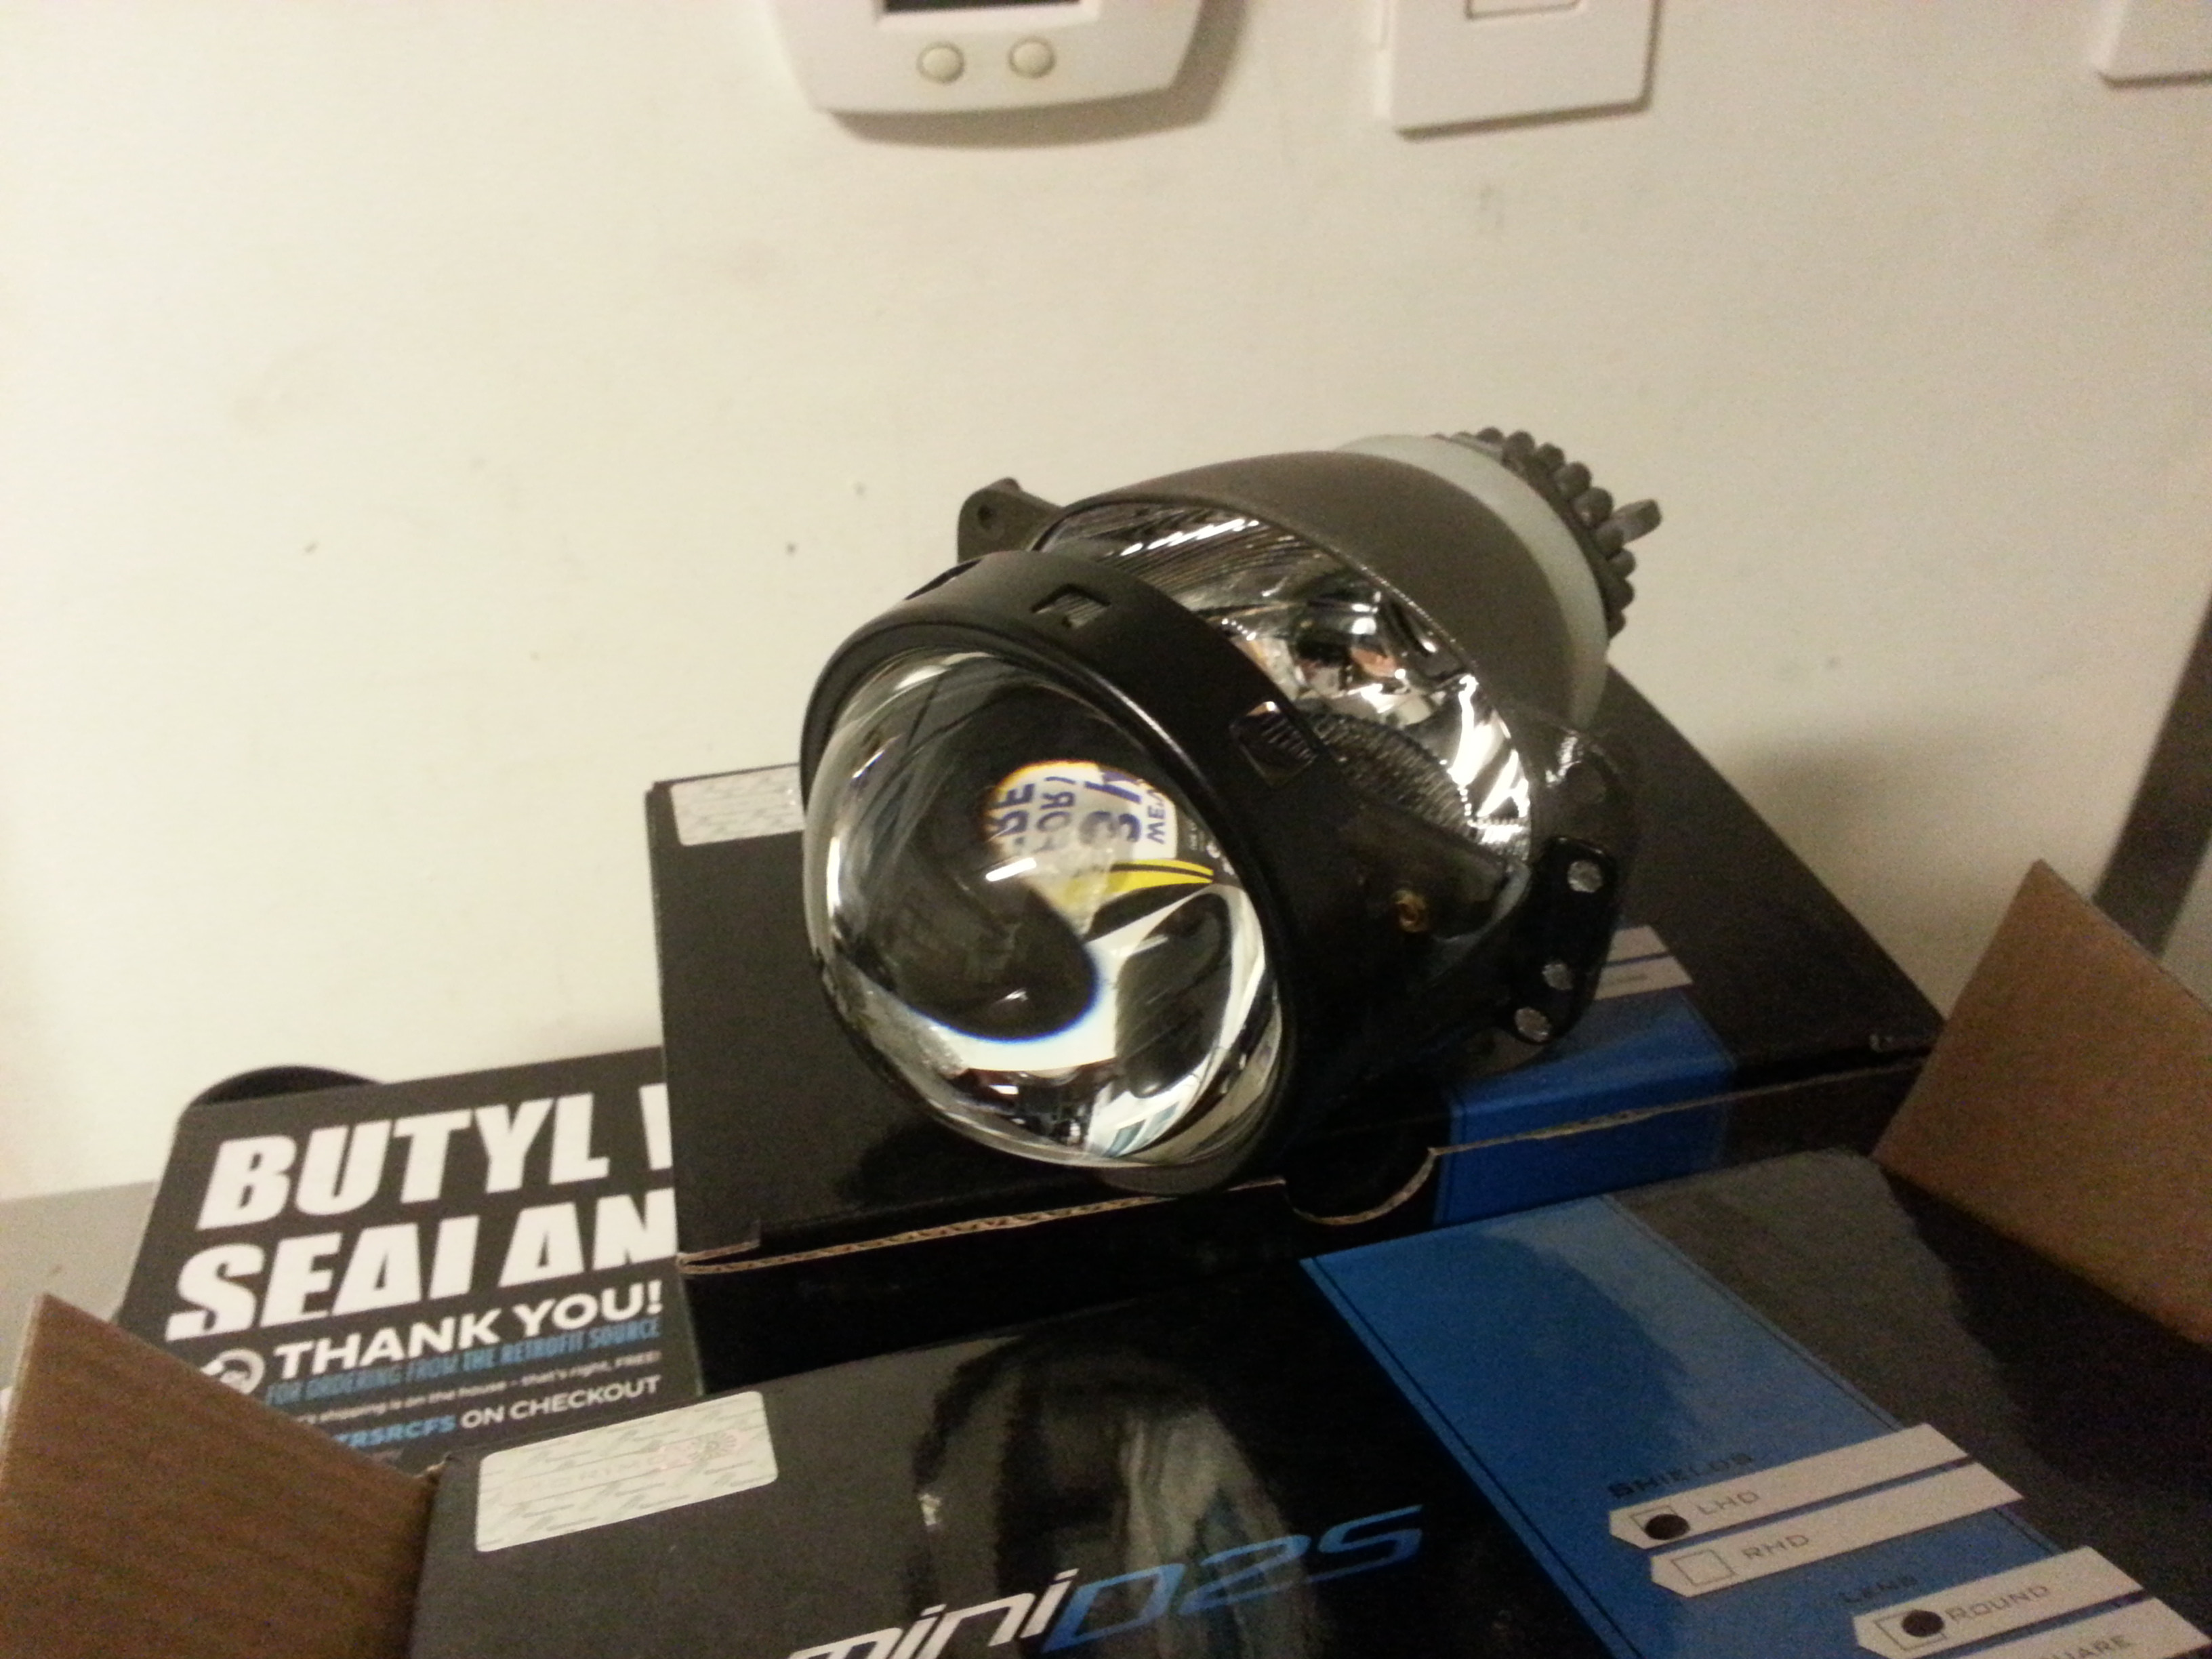
actual projector
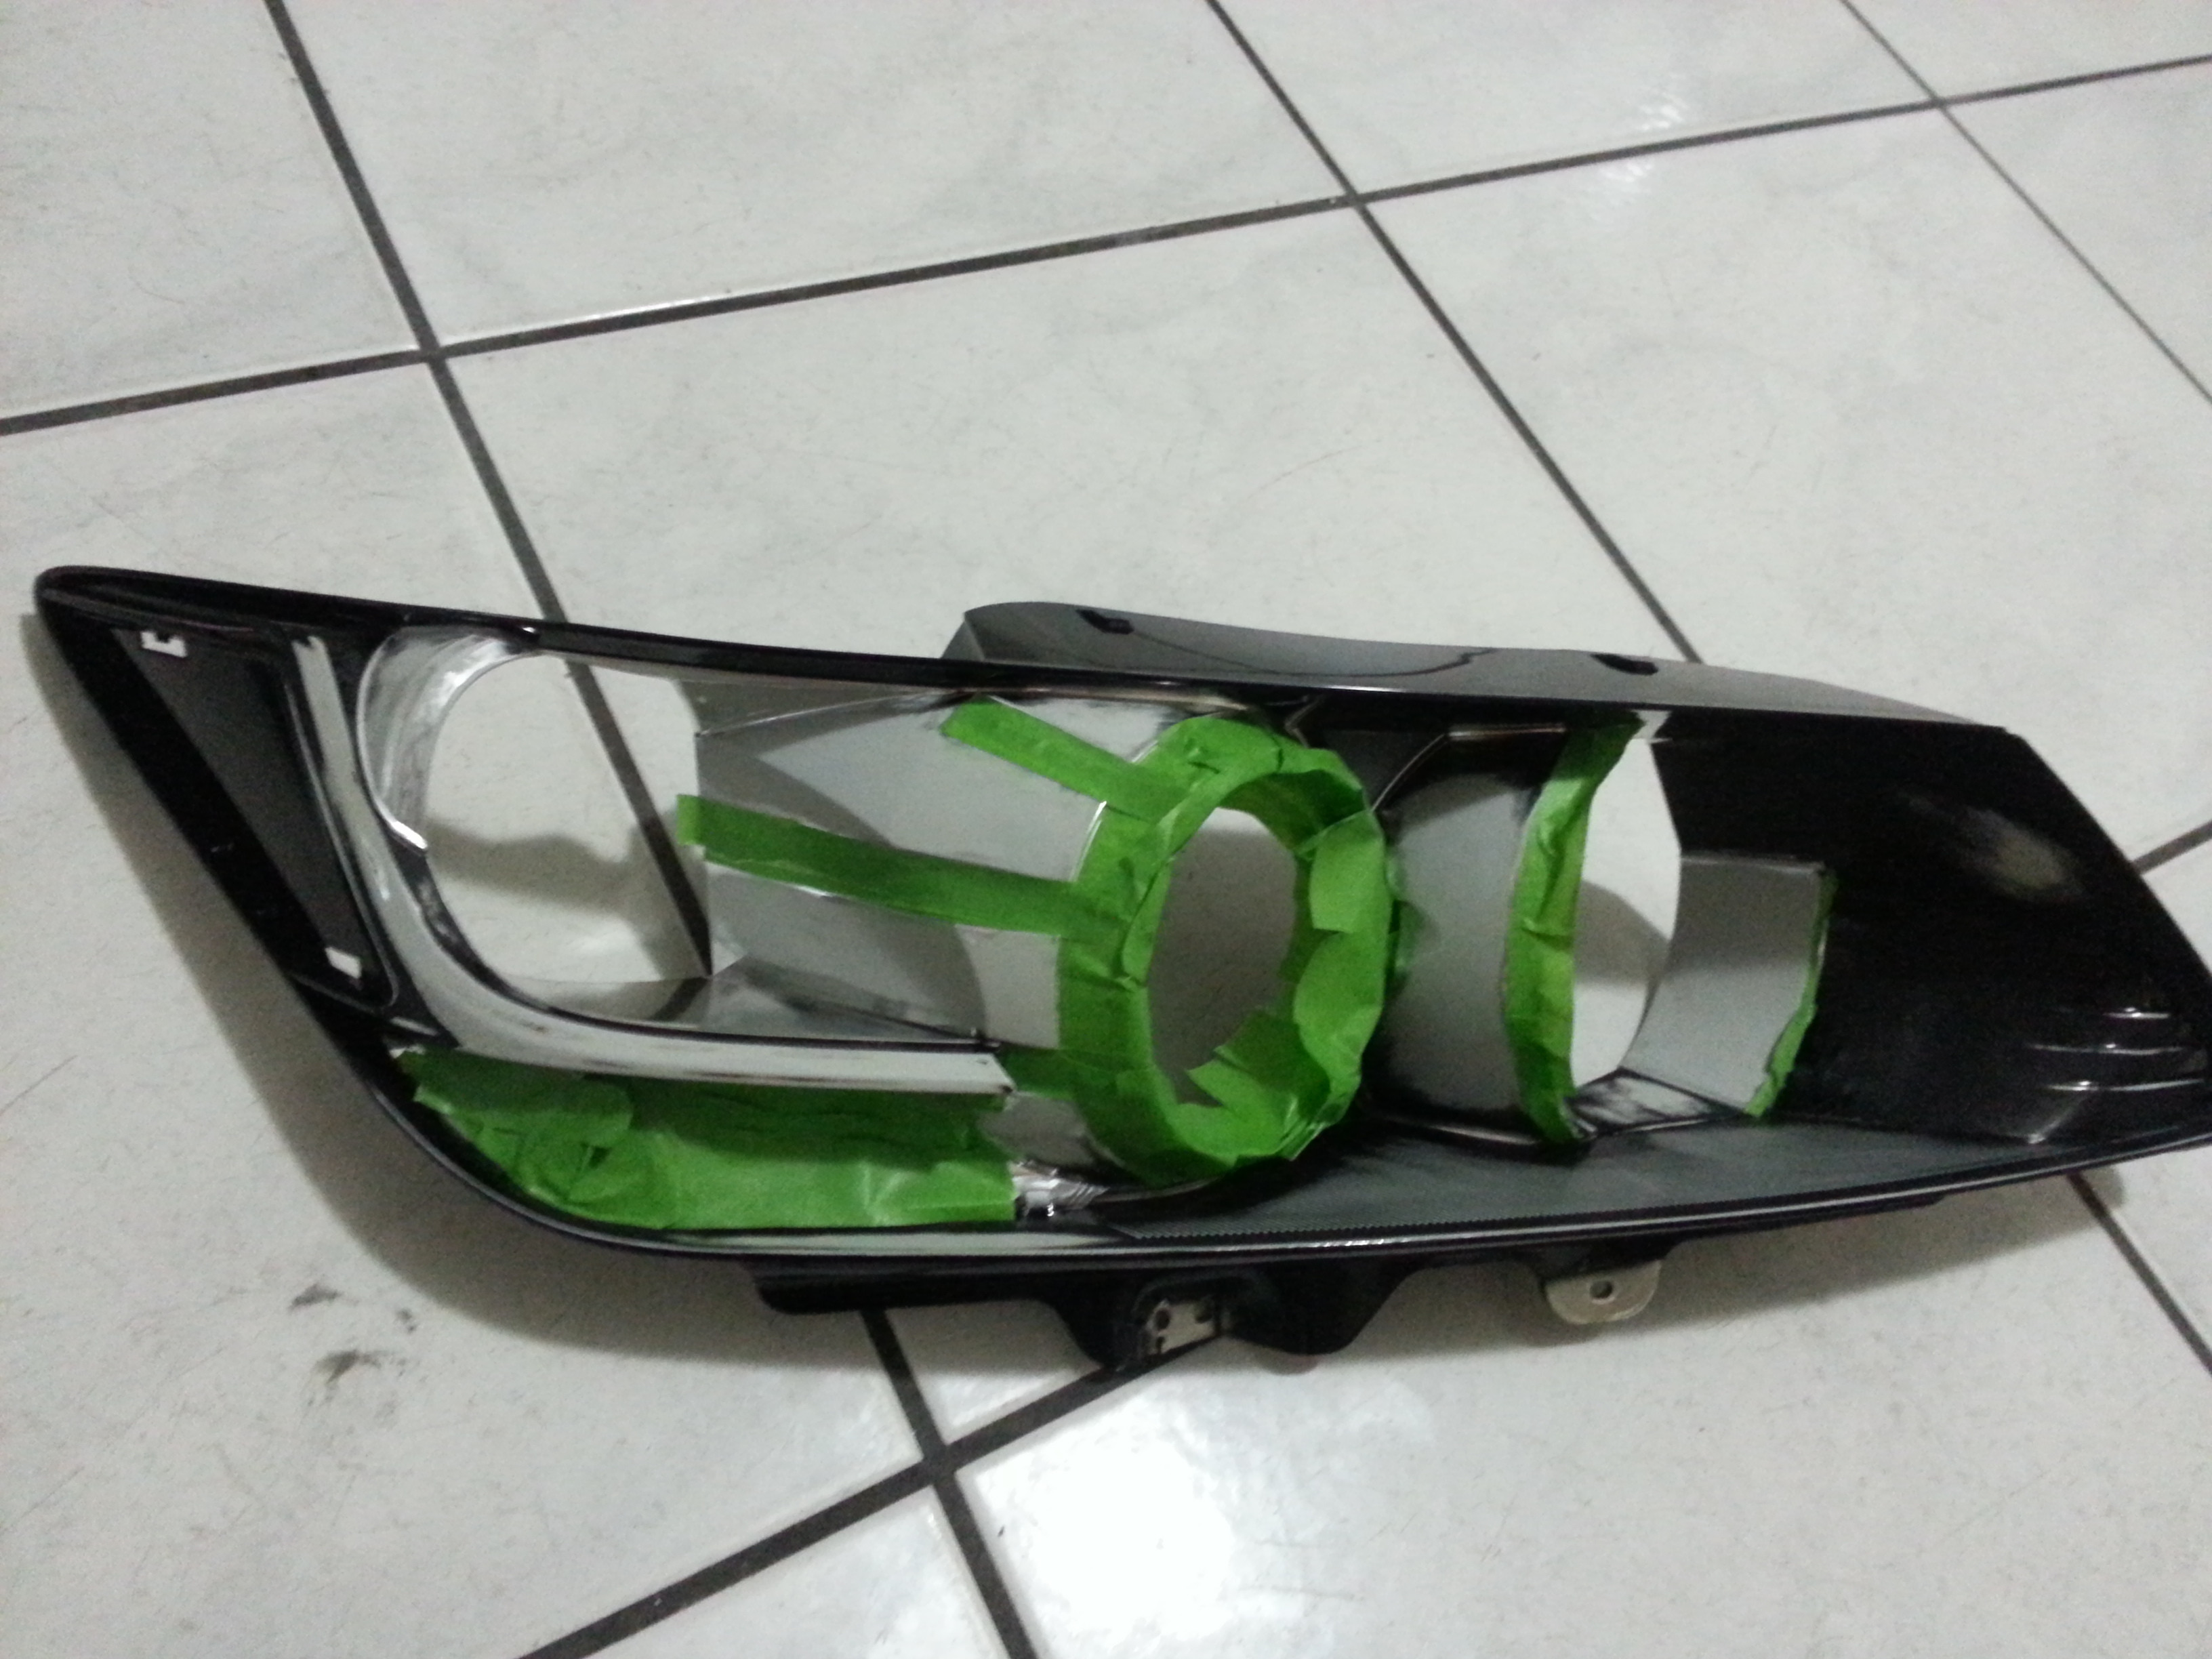
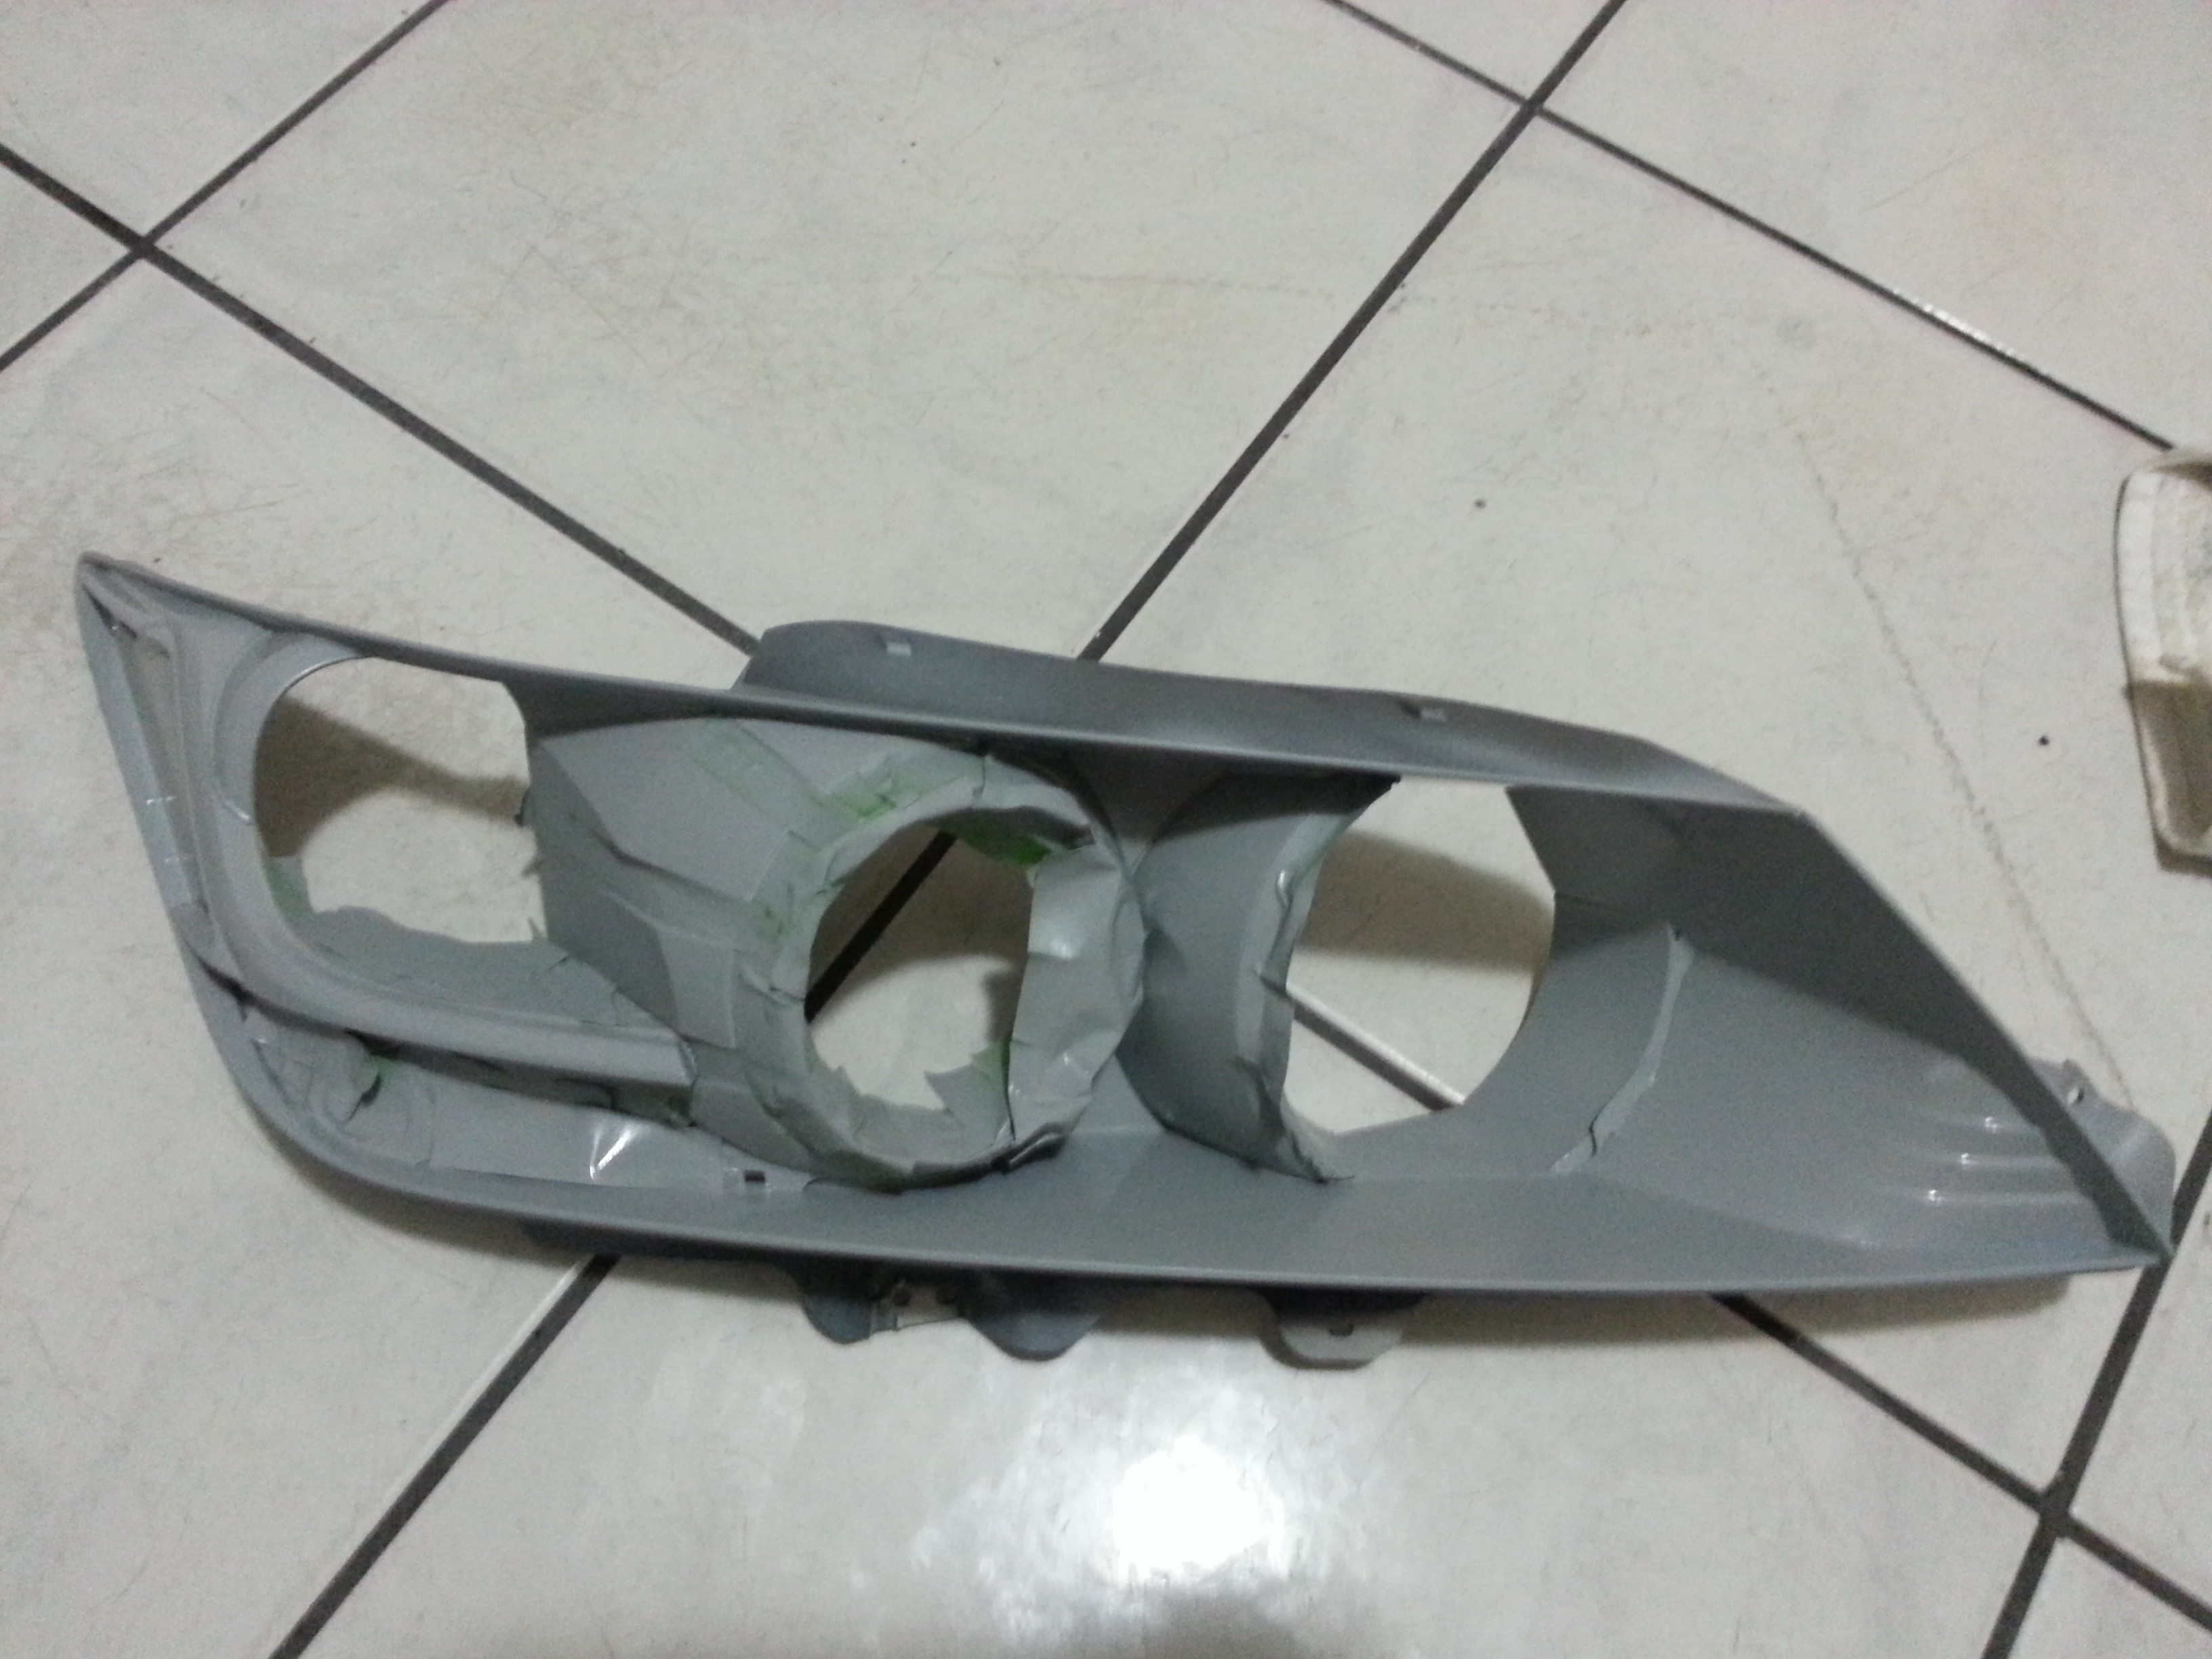
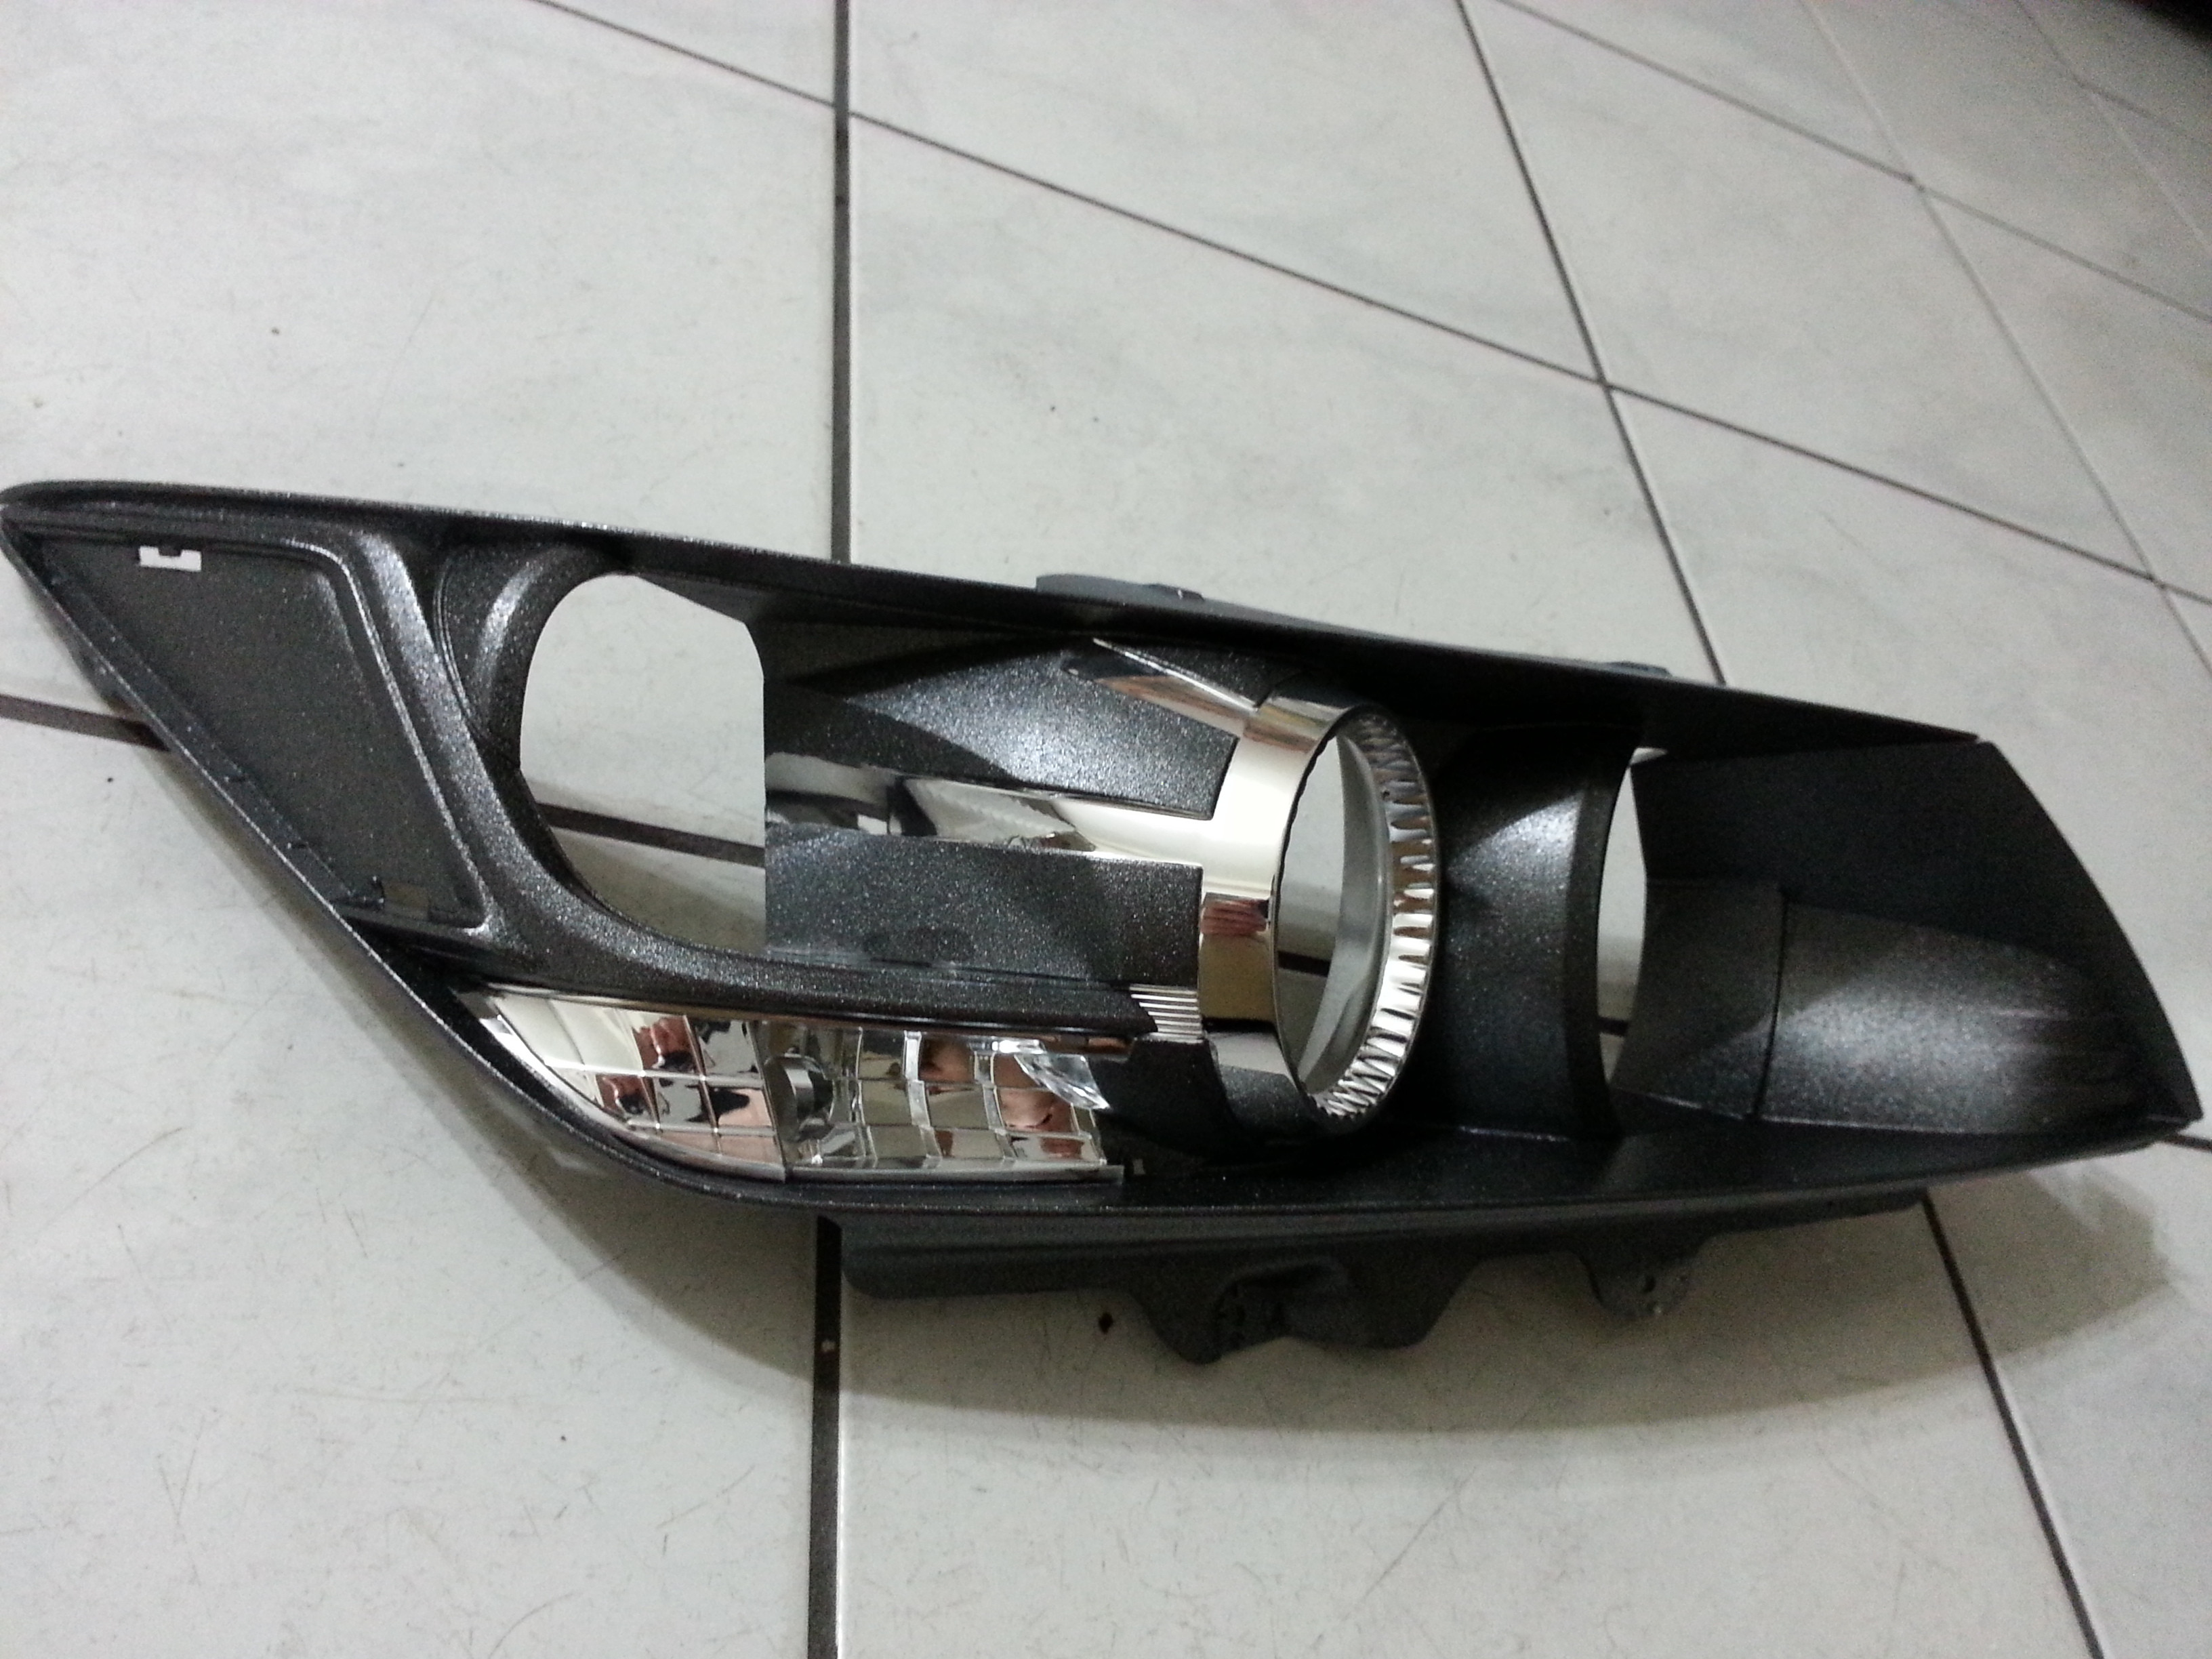
I decided to paint the housing and Sand down areas that will be painted, I used PAINTERS FROG TAPE to cover area that I wanted to leave chrome
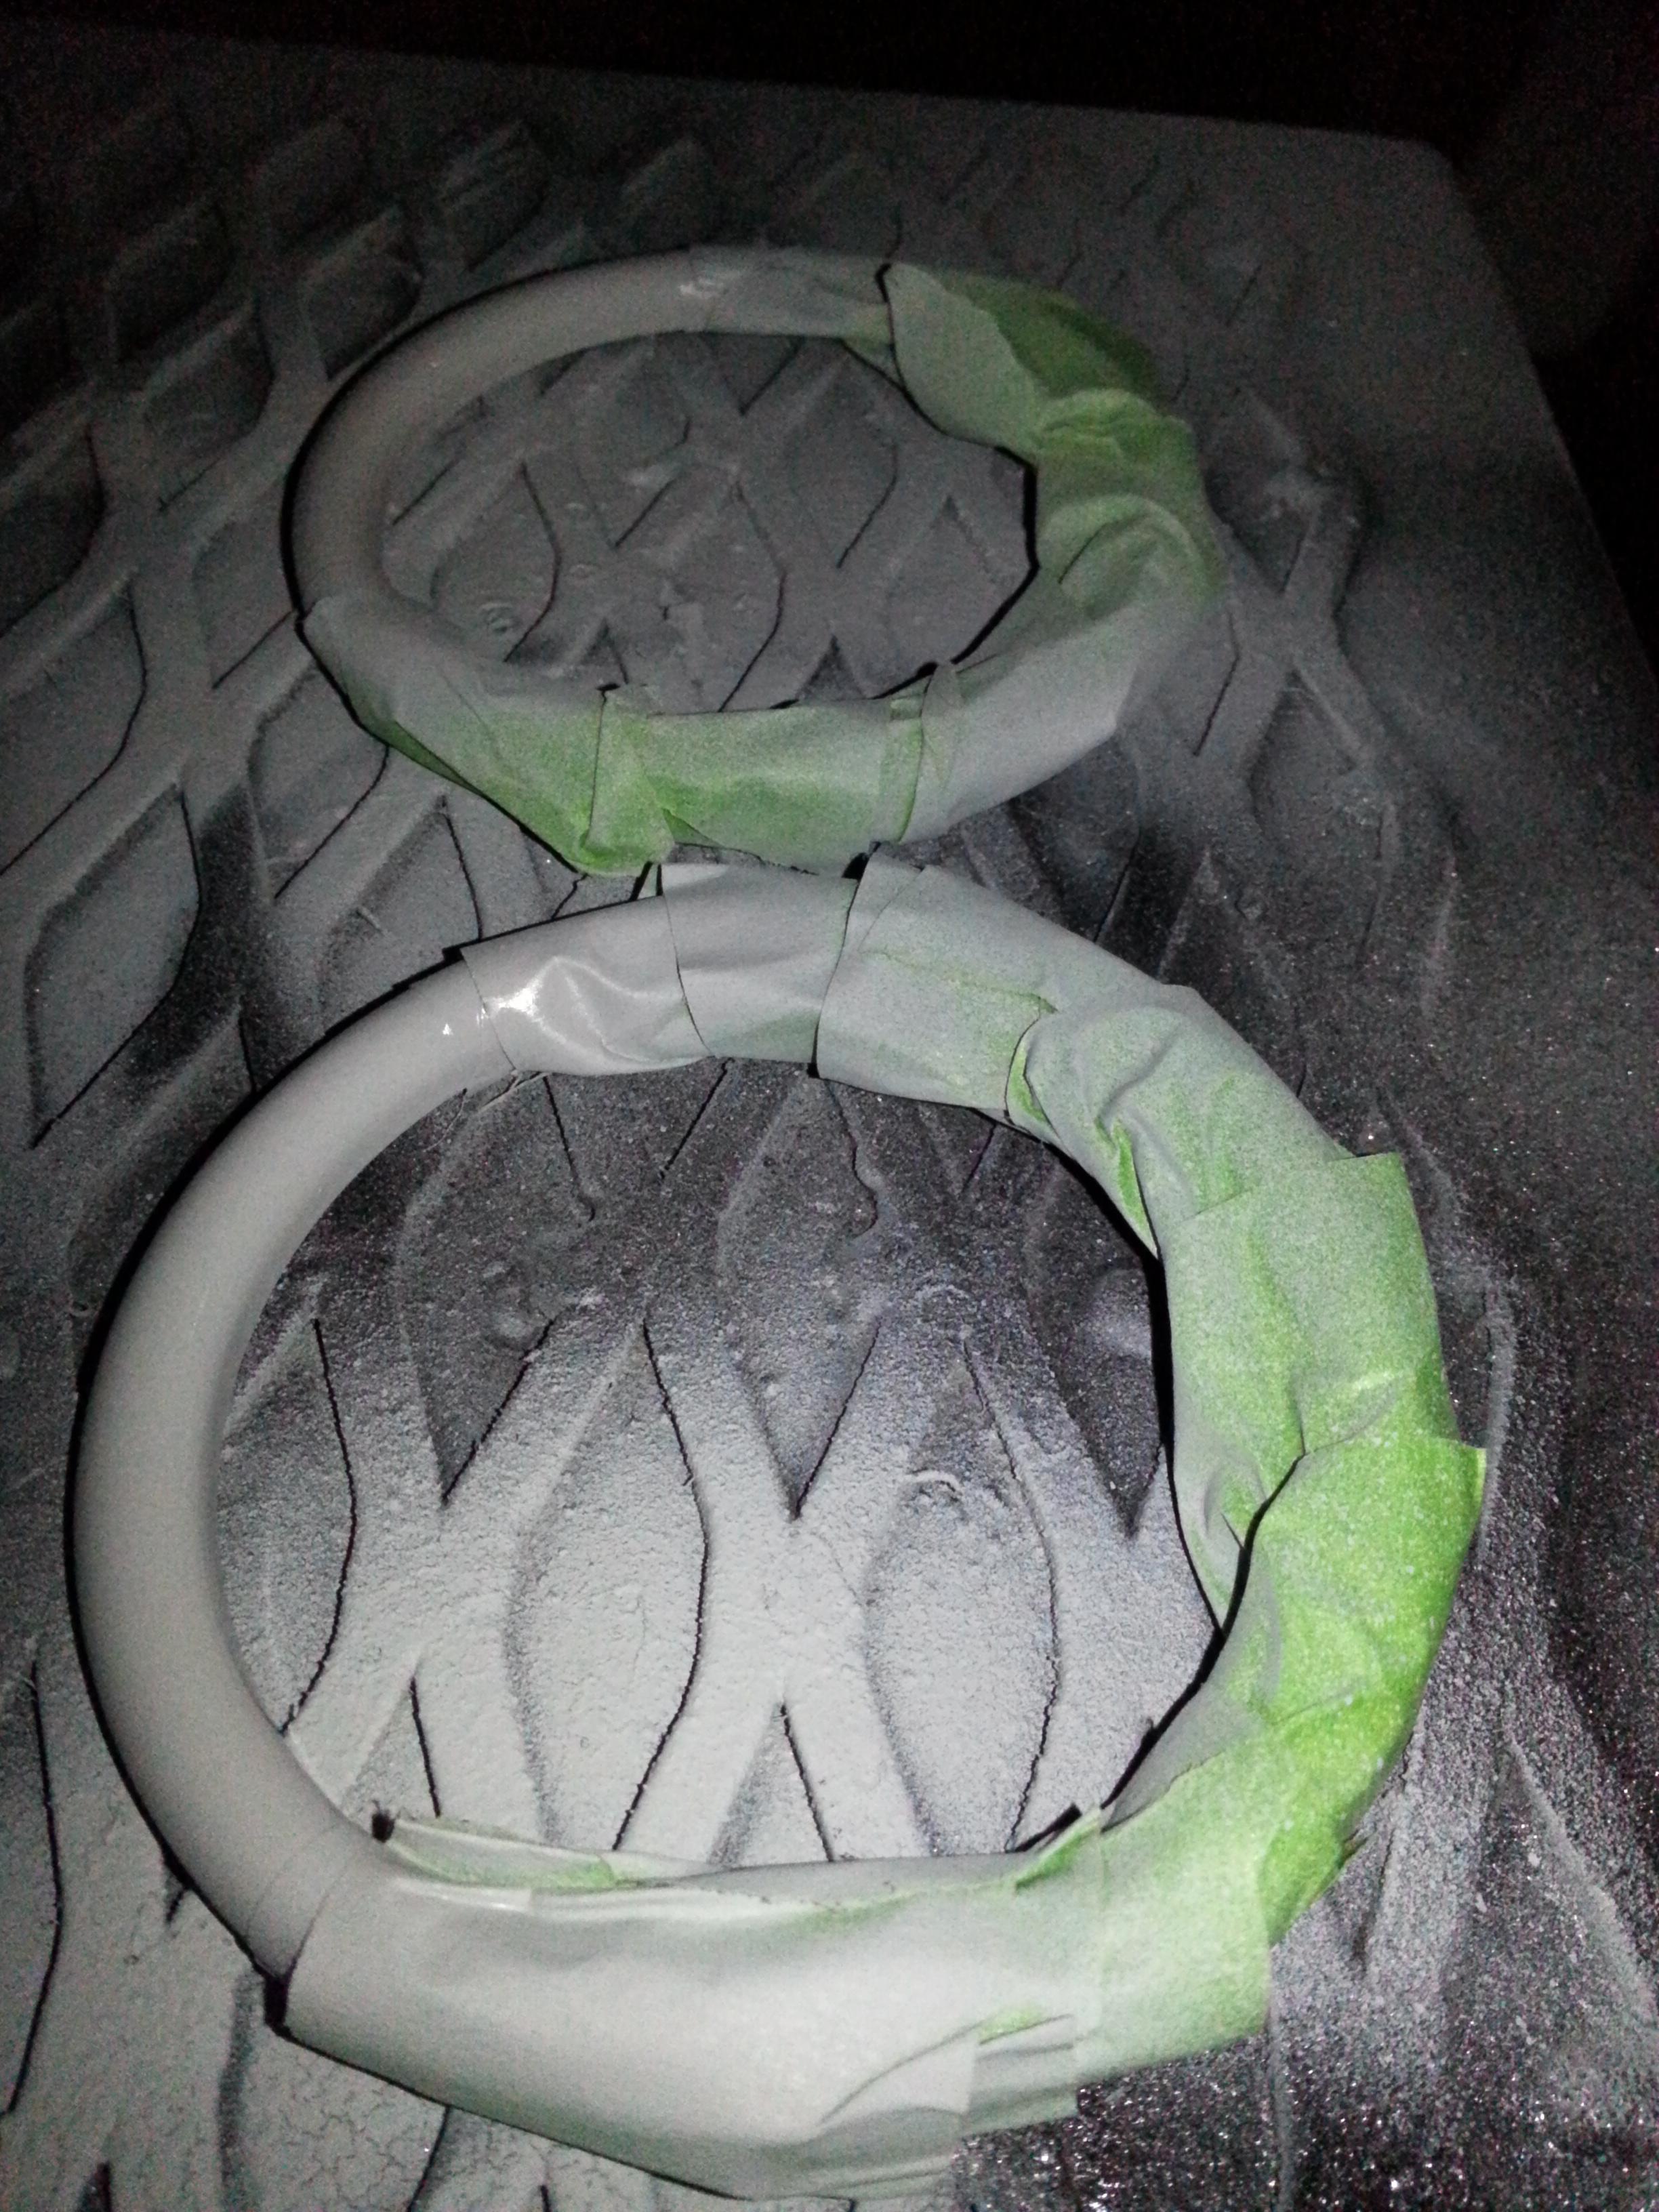
If you decide to add halos I recommend the ones with the plastic diffuser, I went with the evil look.
cover the areas of the rings that will not be painted
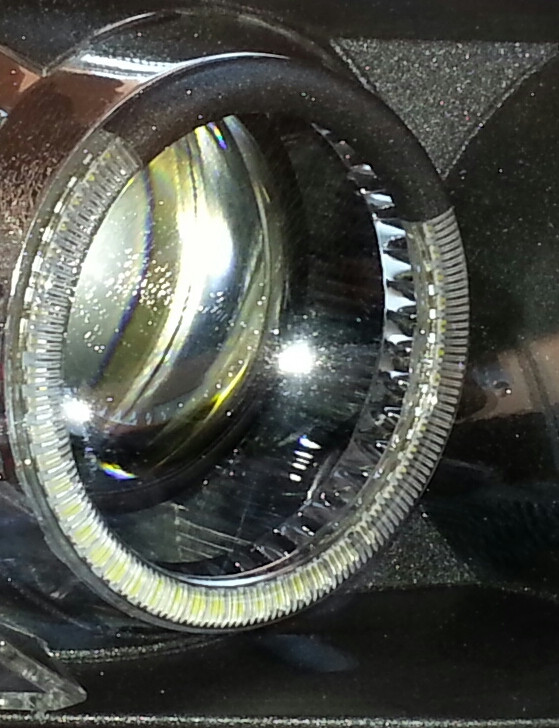
close up look
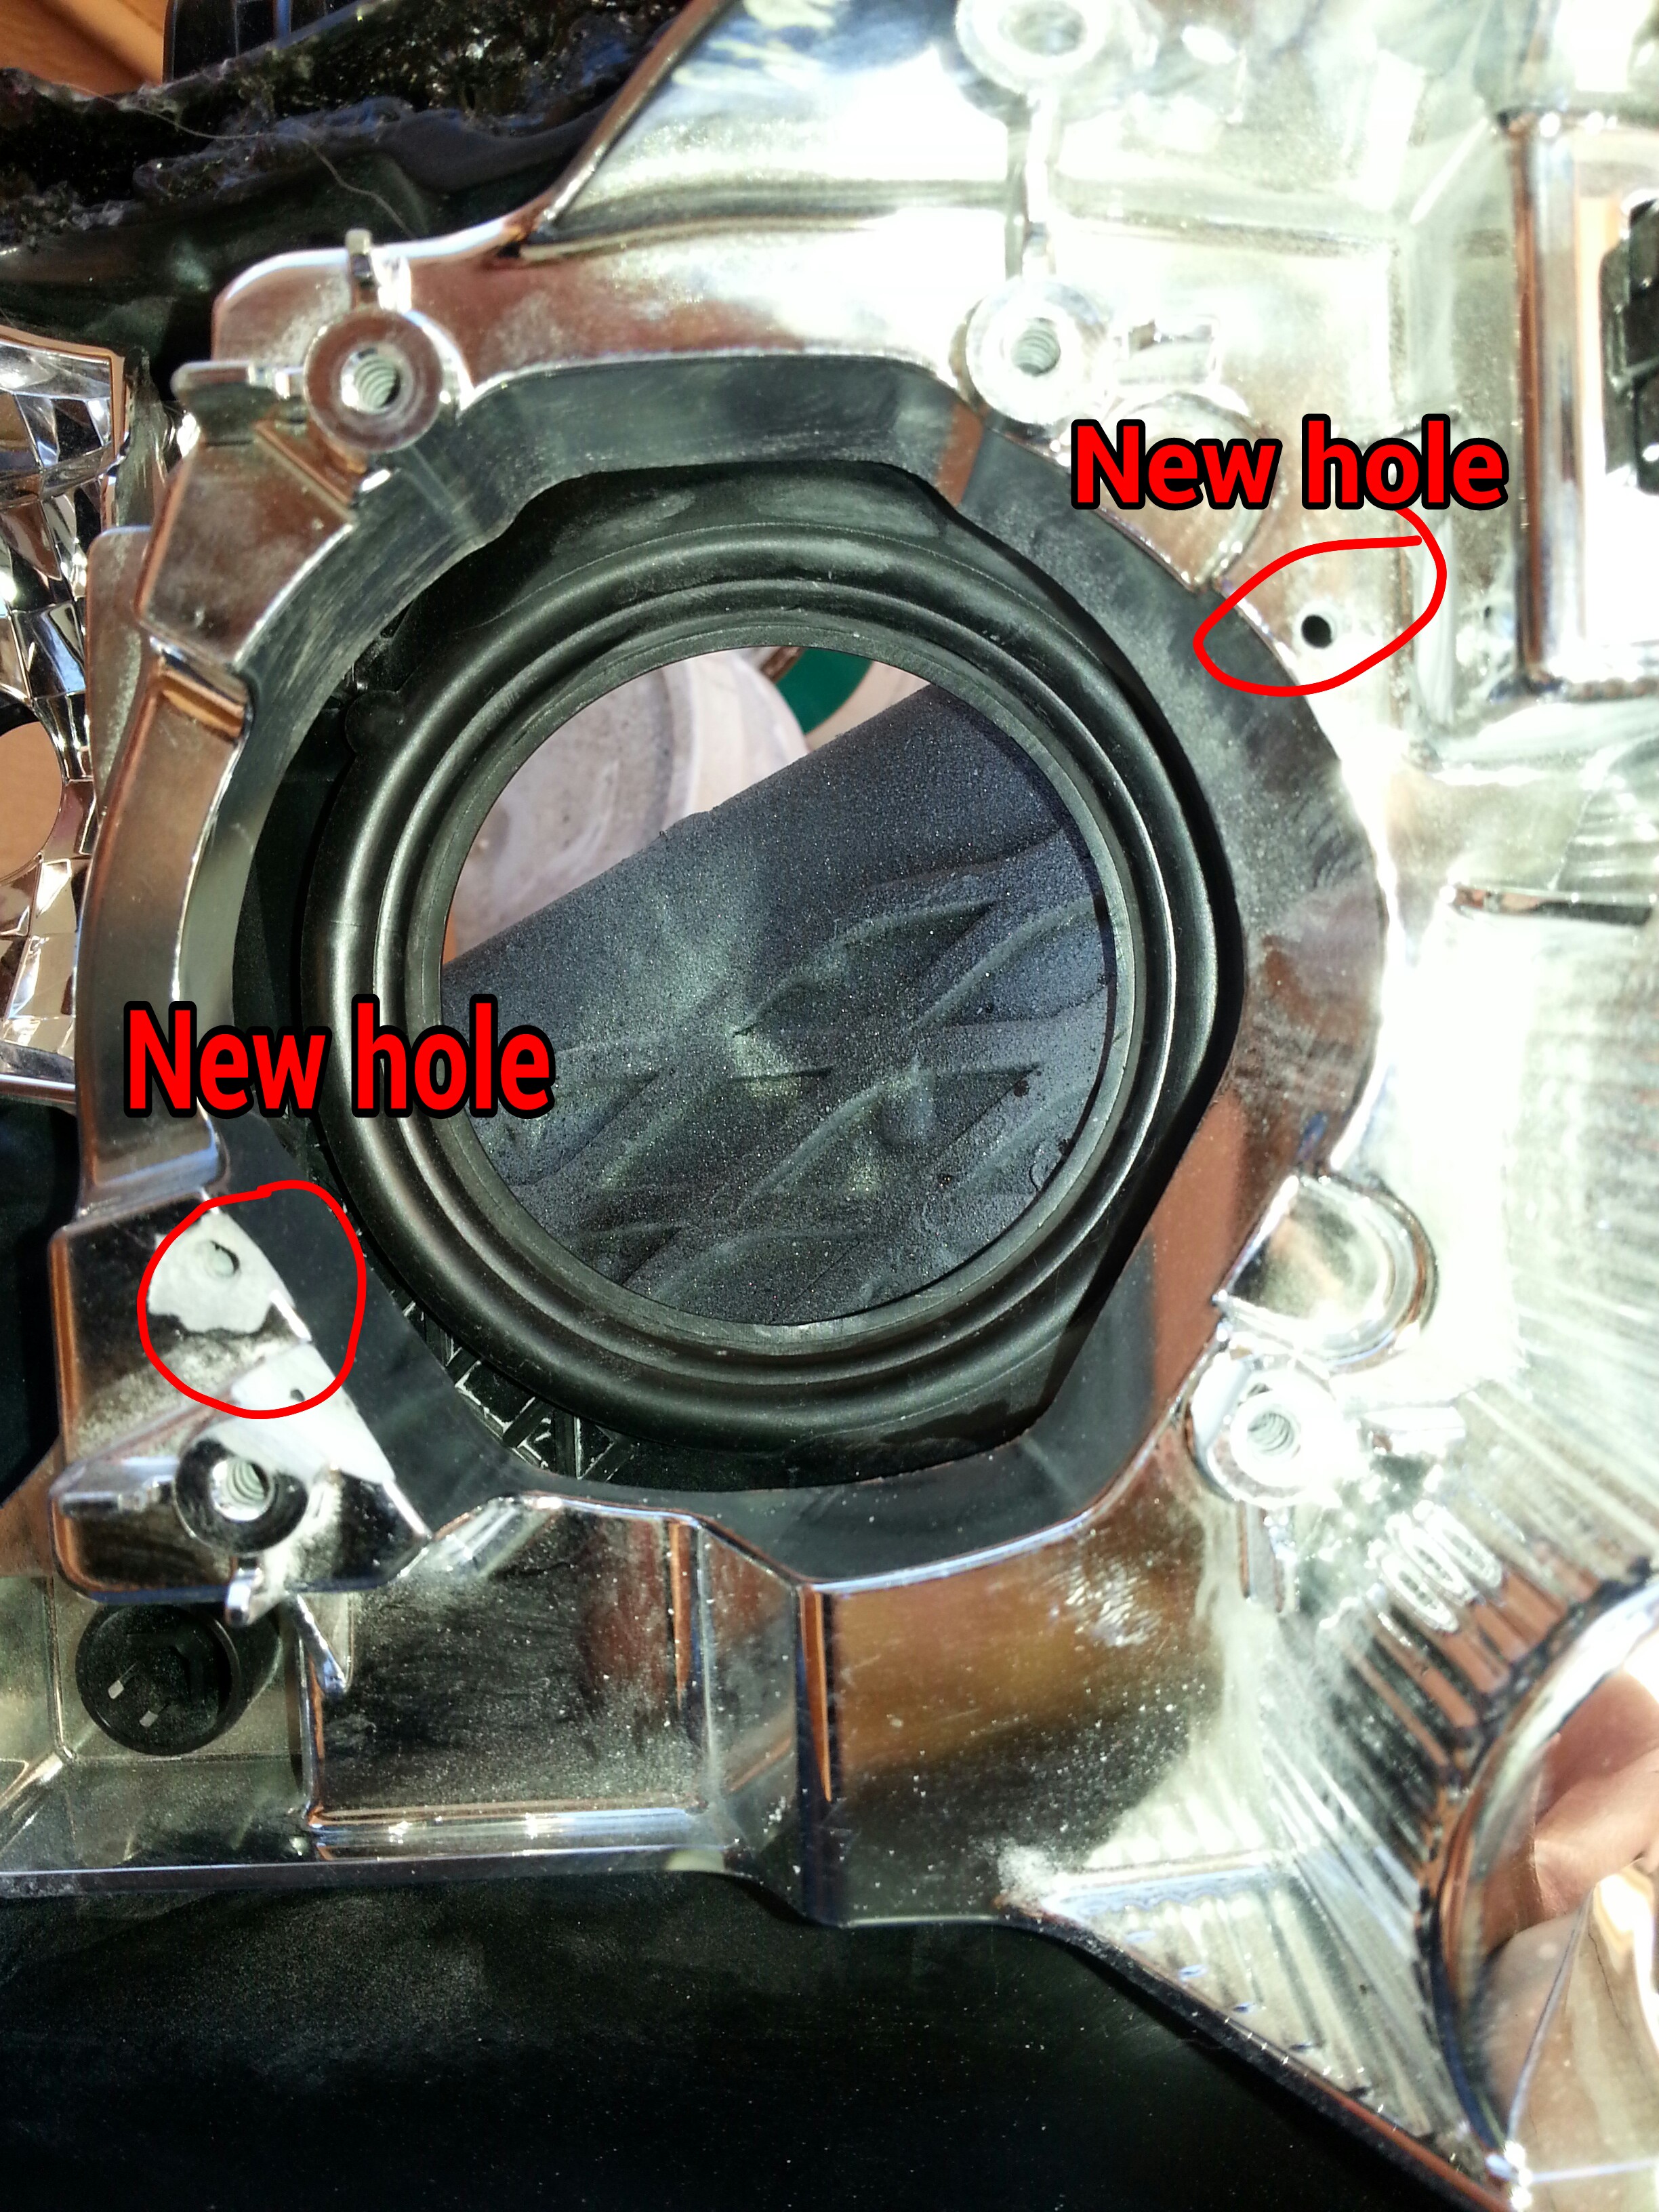
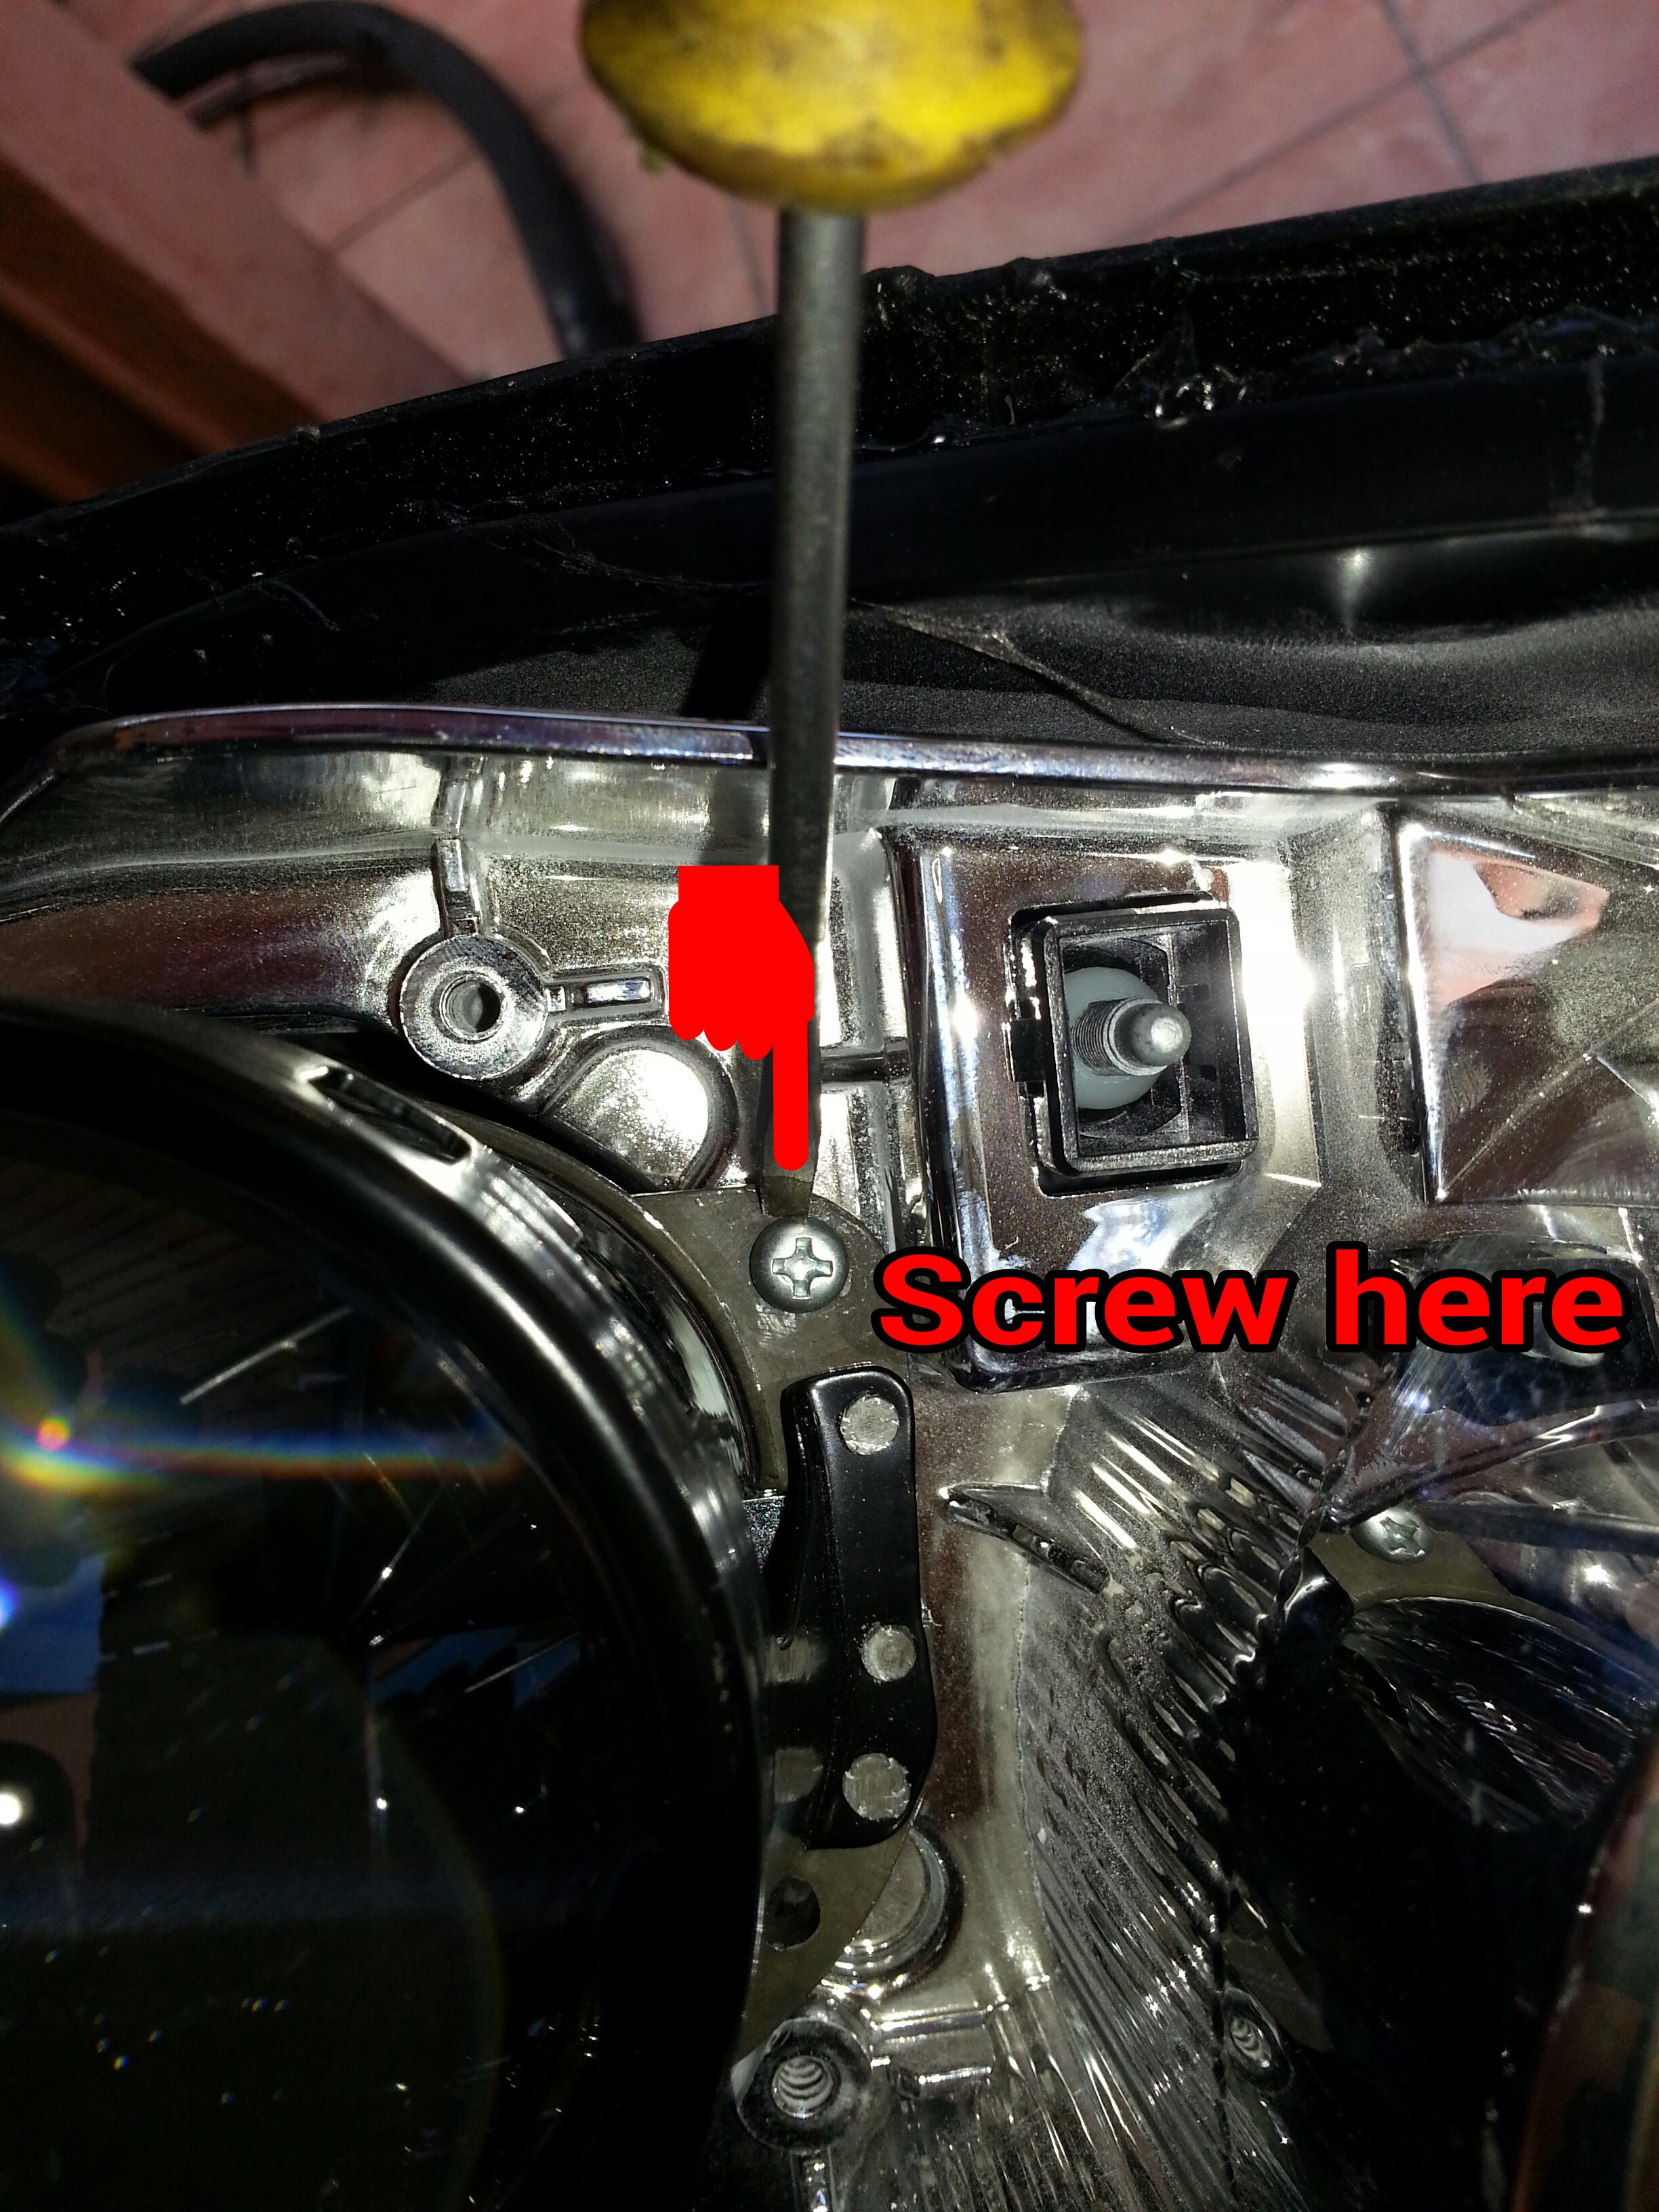
Now this is where things get messy. My best advice is to get the projector to sit as straight as possible on the bracket and follow my points listed below, this will help you align the projector. All you are doing is trimming down the existing tabs where the screws go to and making 2 small new holes so you can screw the new projector. I wanted to build a custom bracket but it required a lot of work and time so this method turned out quite perfect for me. The projectors sit a bit higher but it does not affect anything such as light output or obstruct other parts of the headlight housing.
drill 2 new holes using the dremmel bit, go easy on the dremmel.
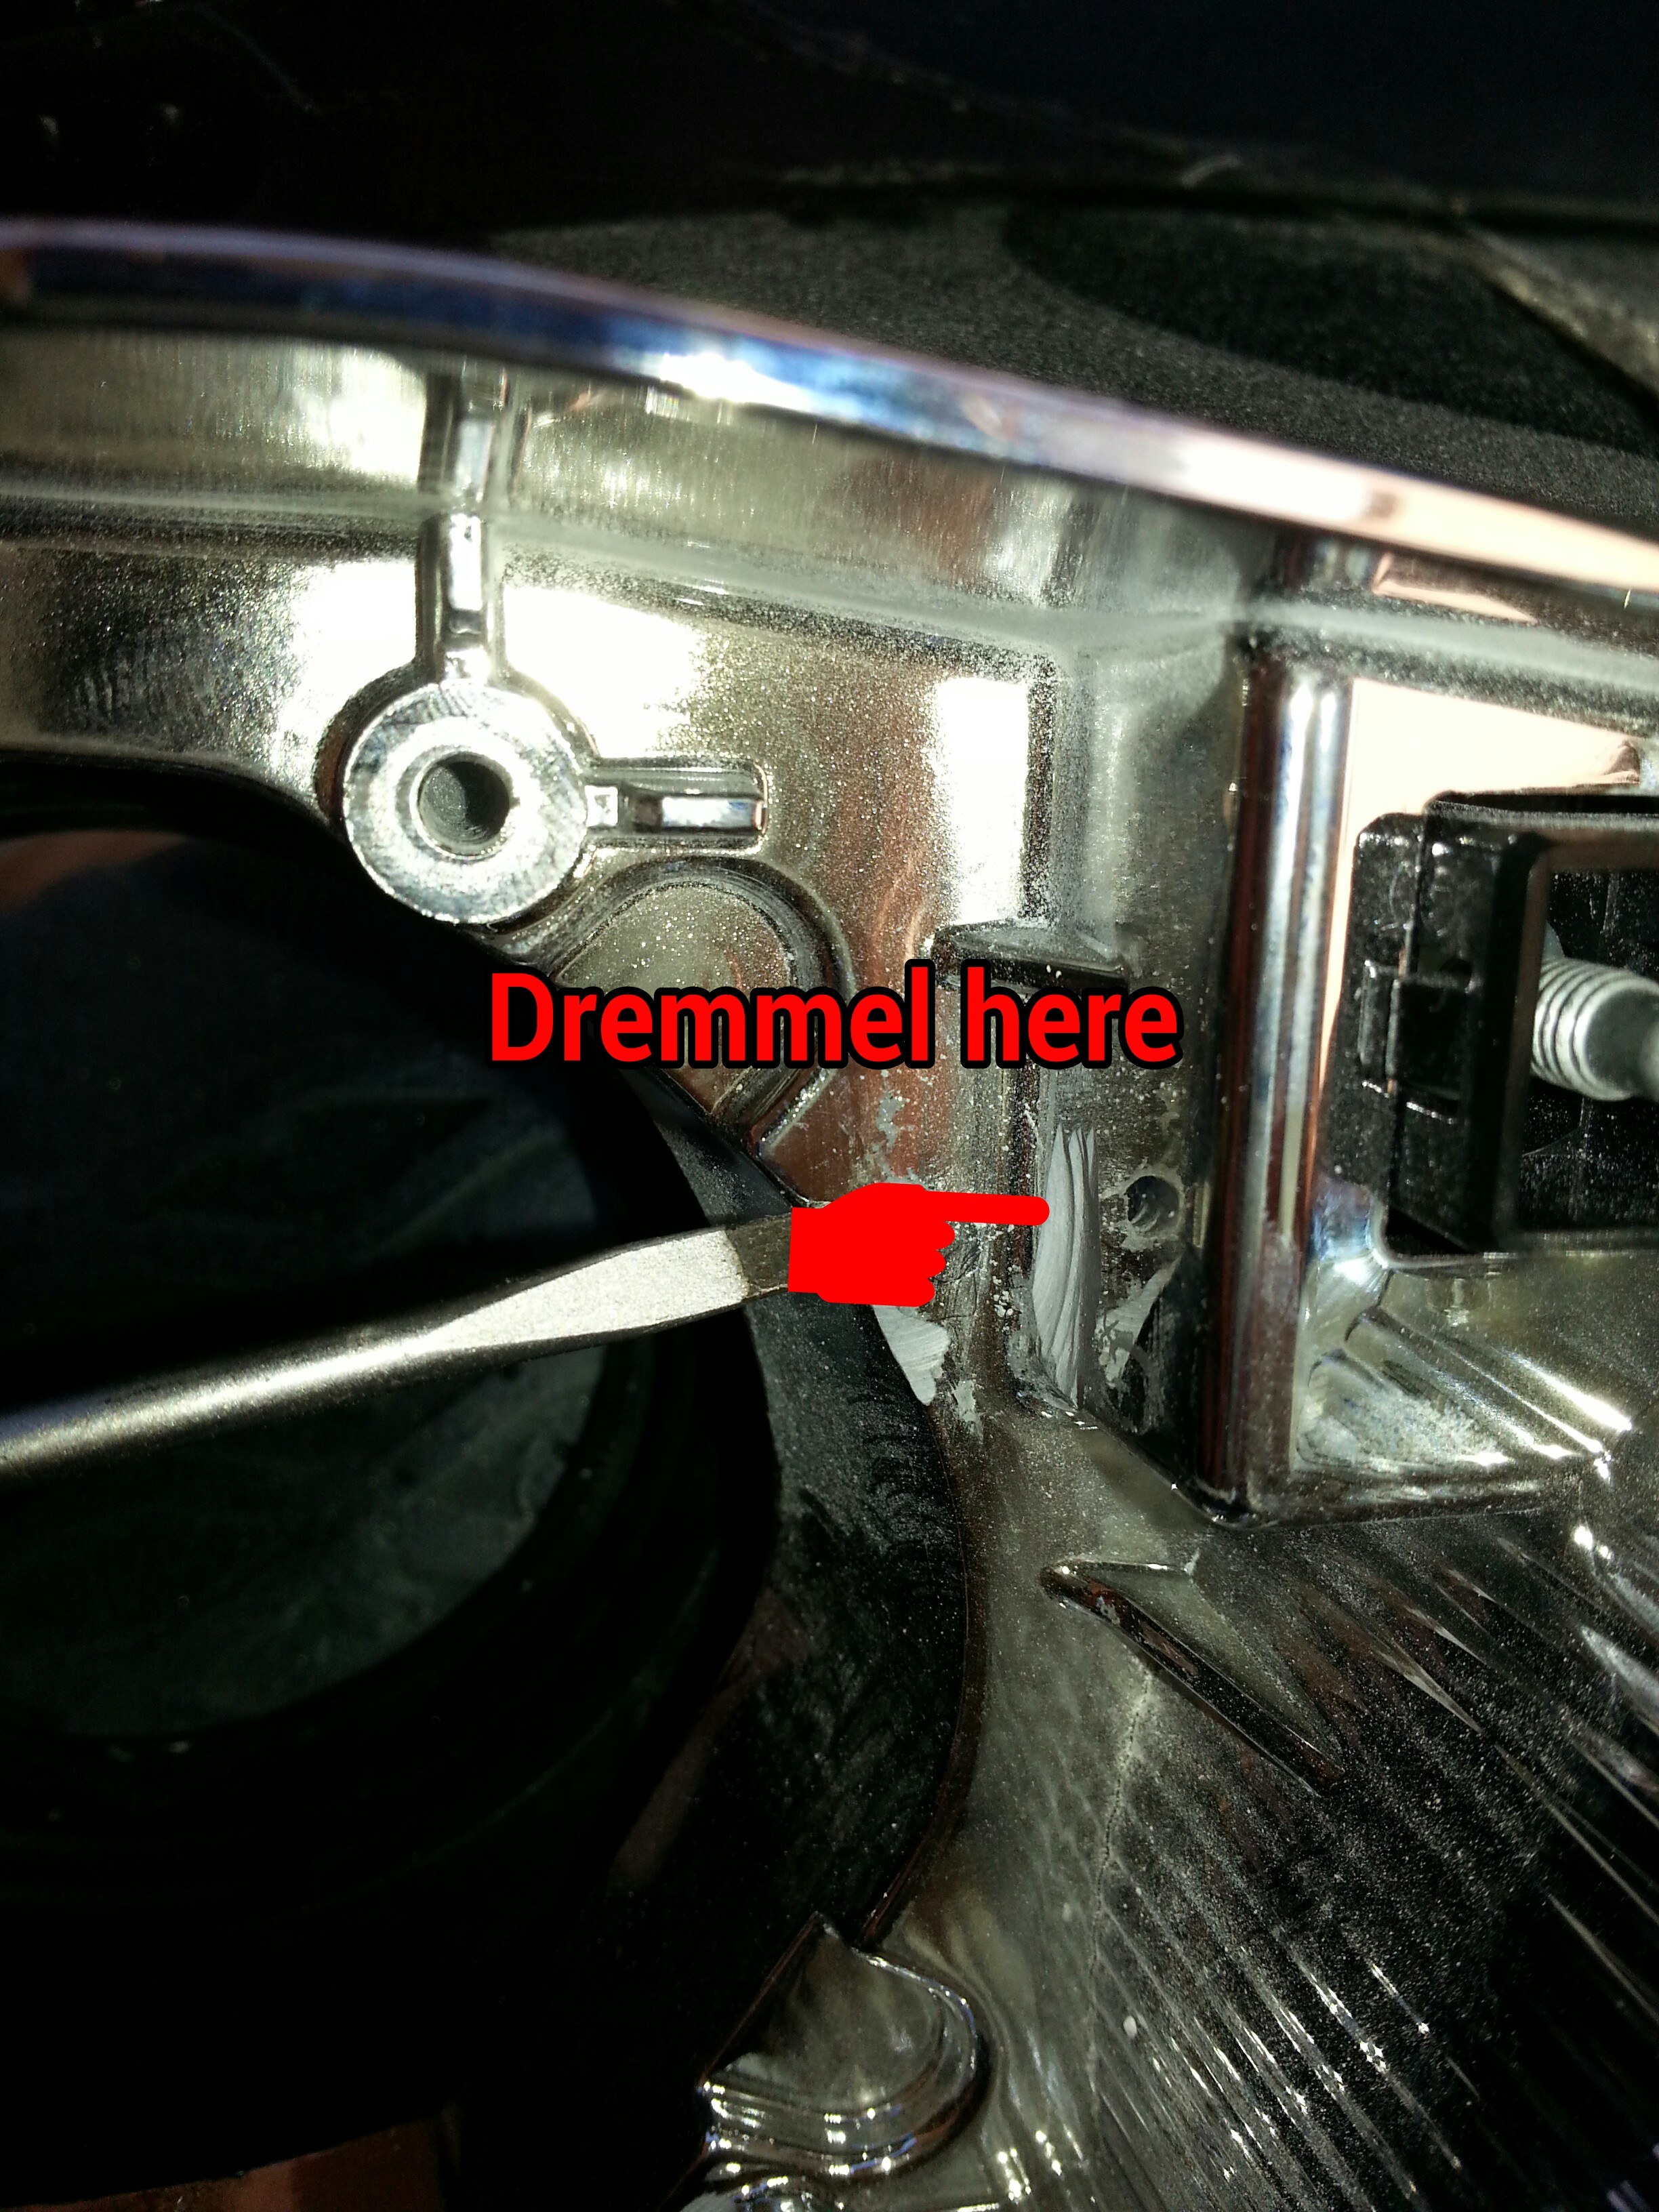
trim down here until the new projector sits flush on the bracket
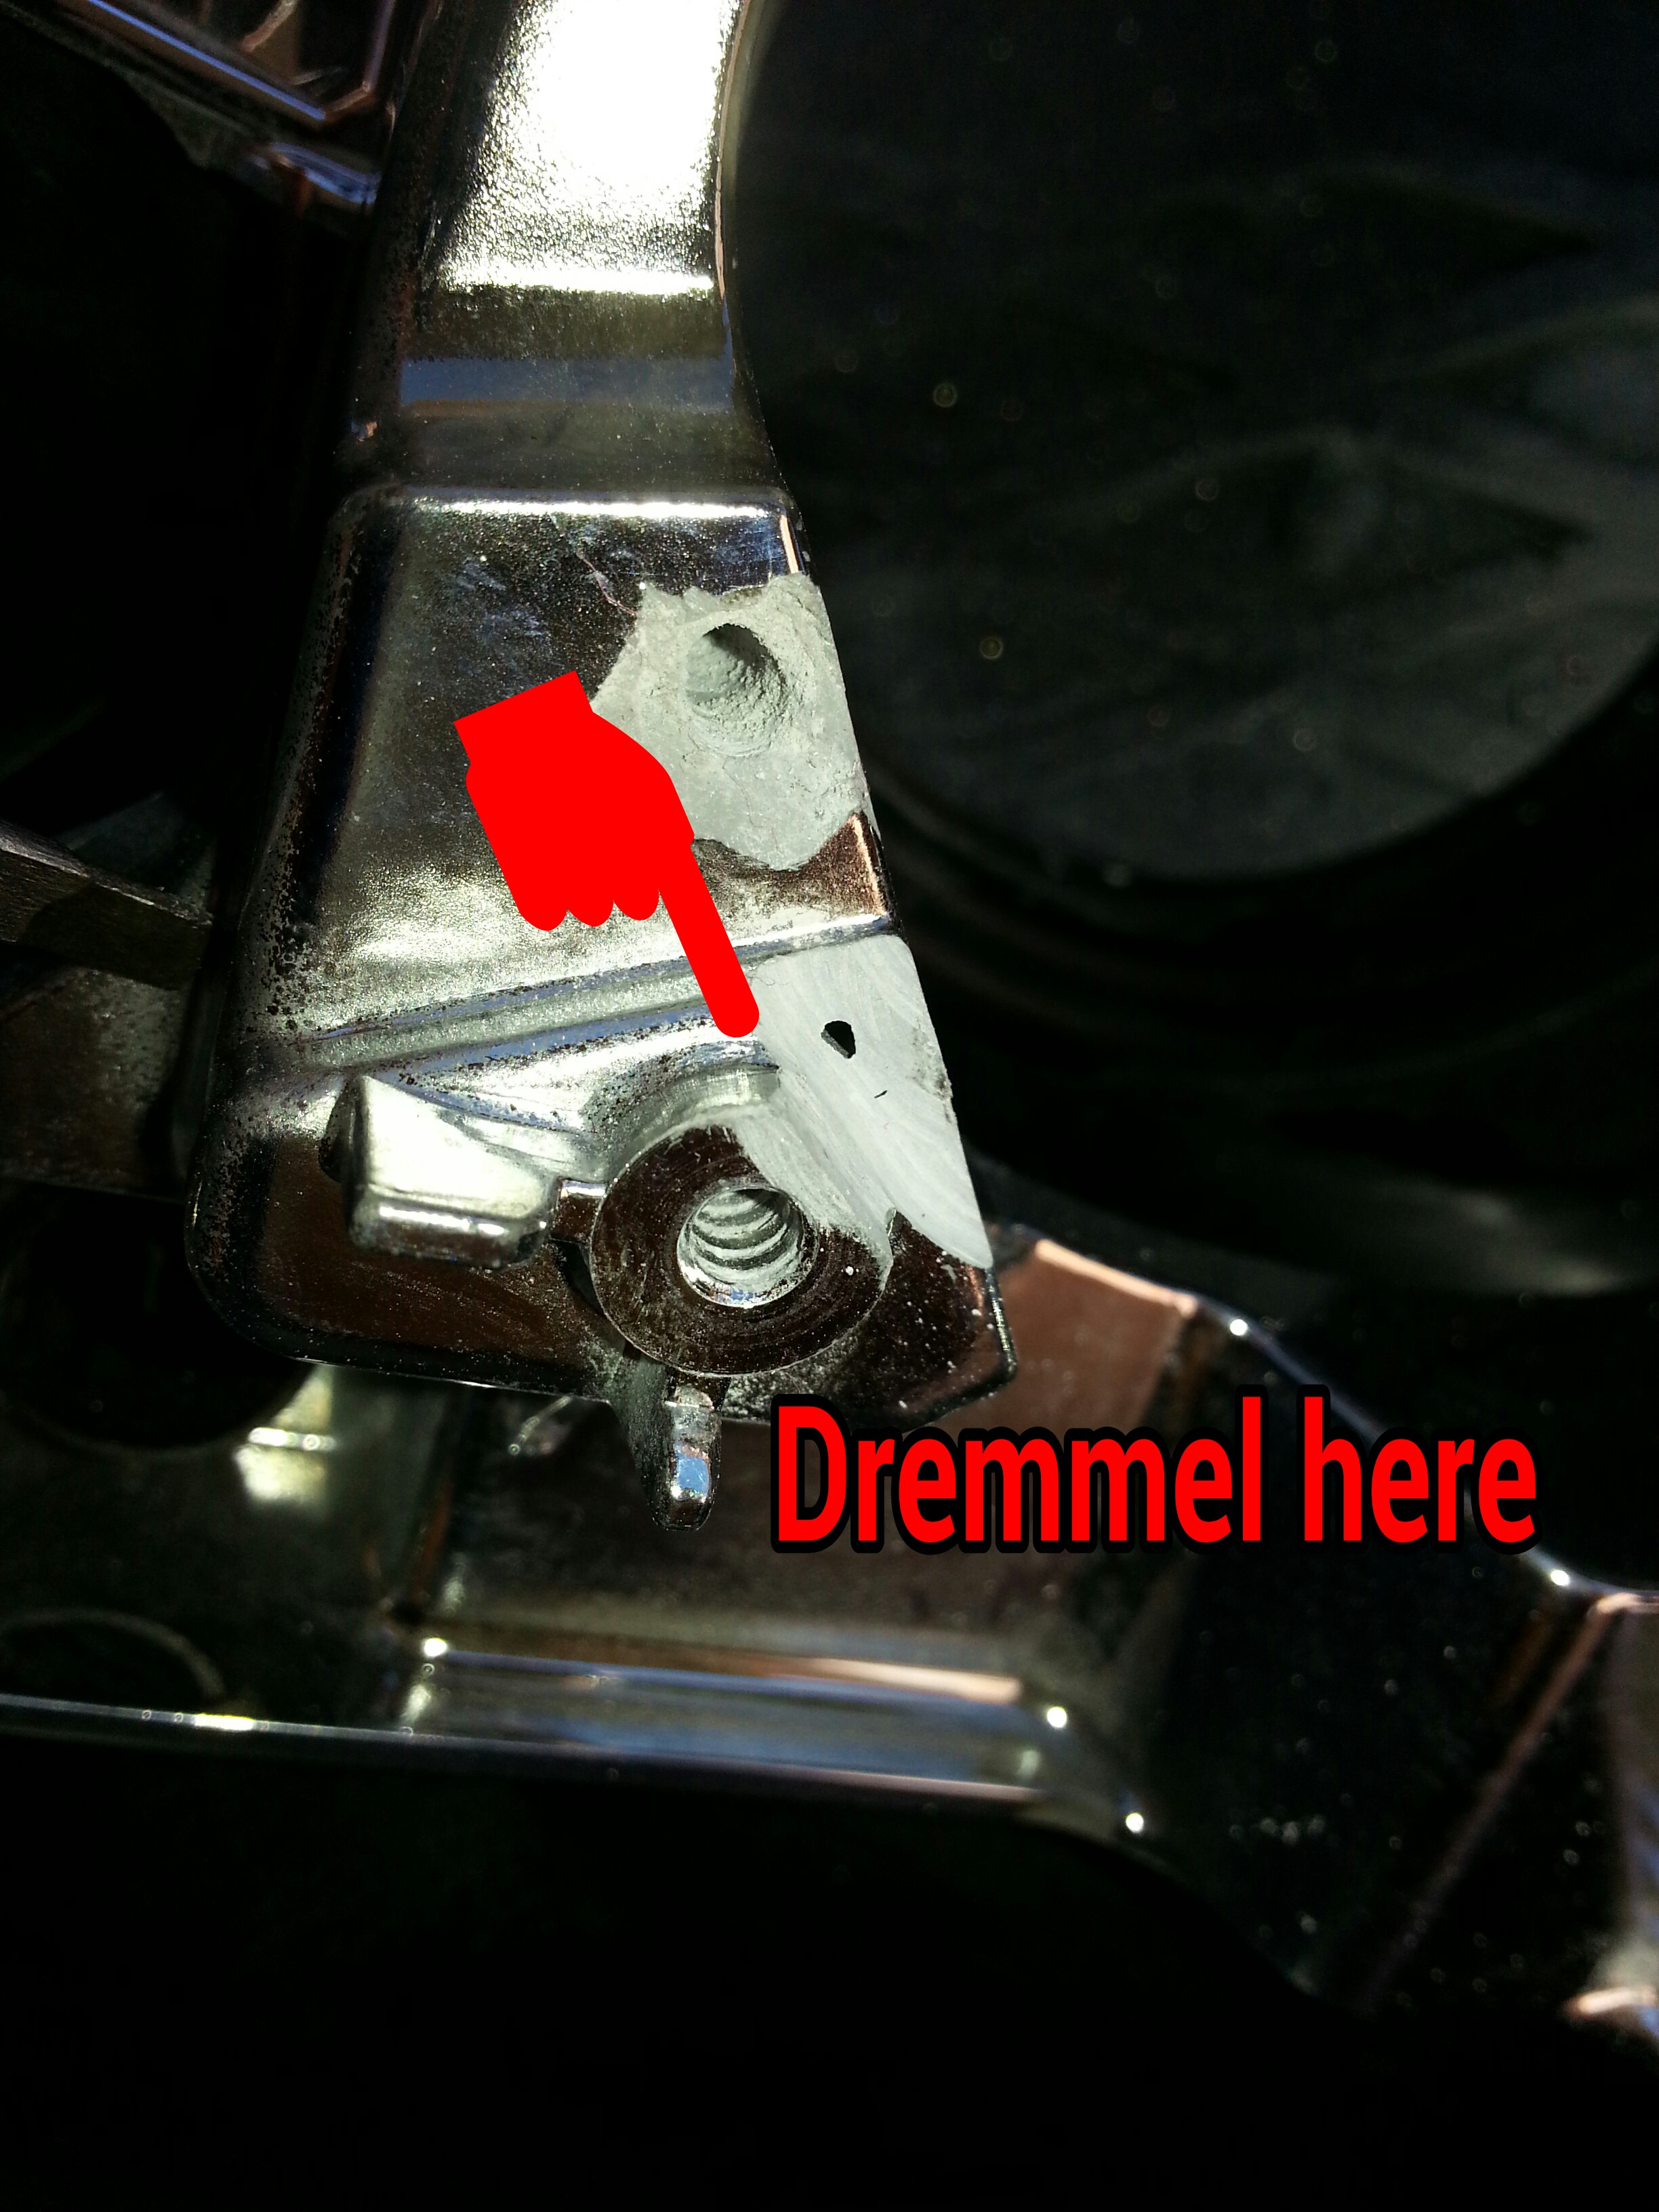
trim on the upper corner to make the projector sit flush
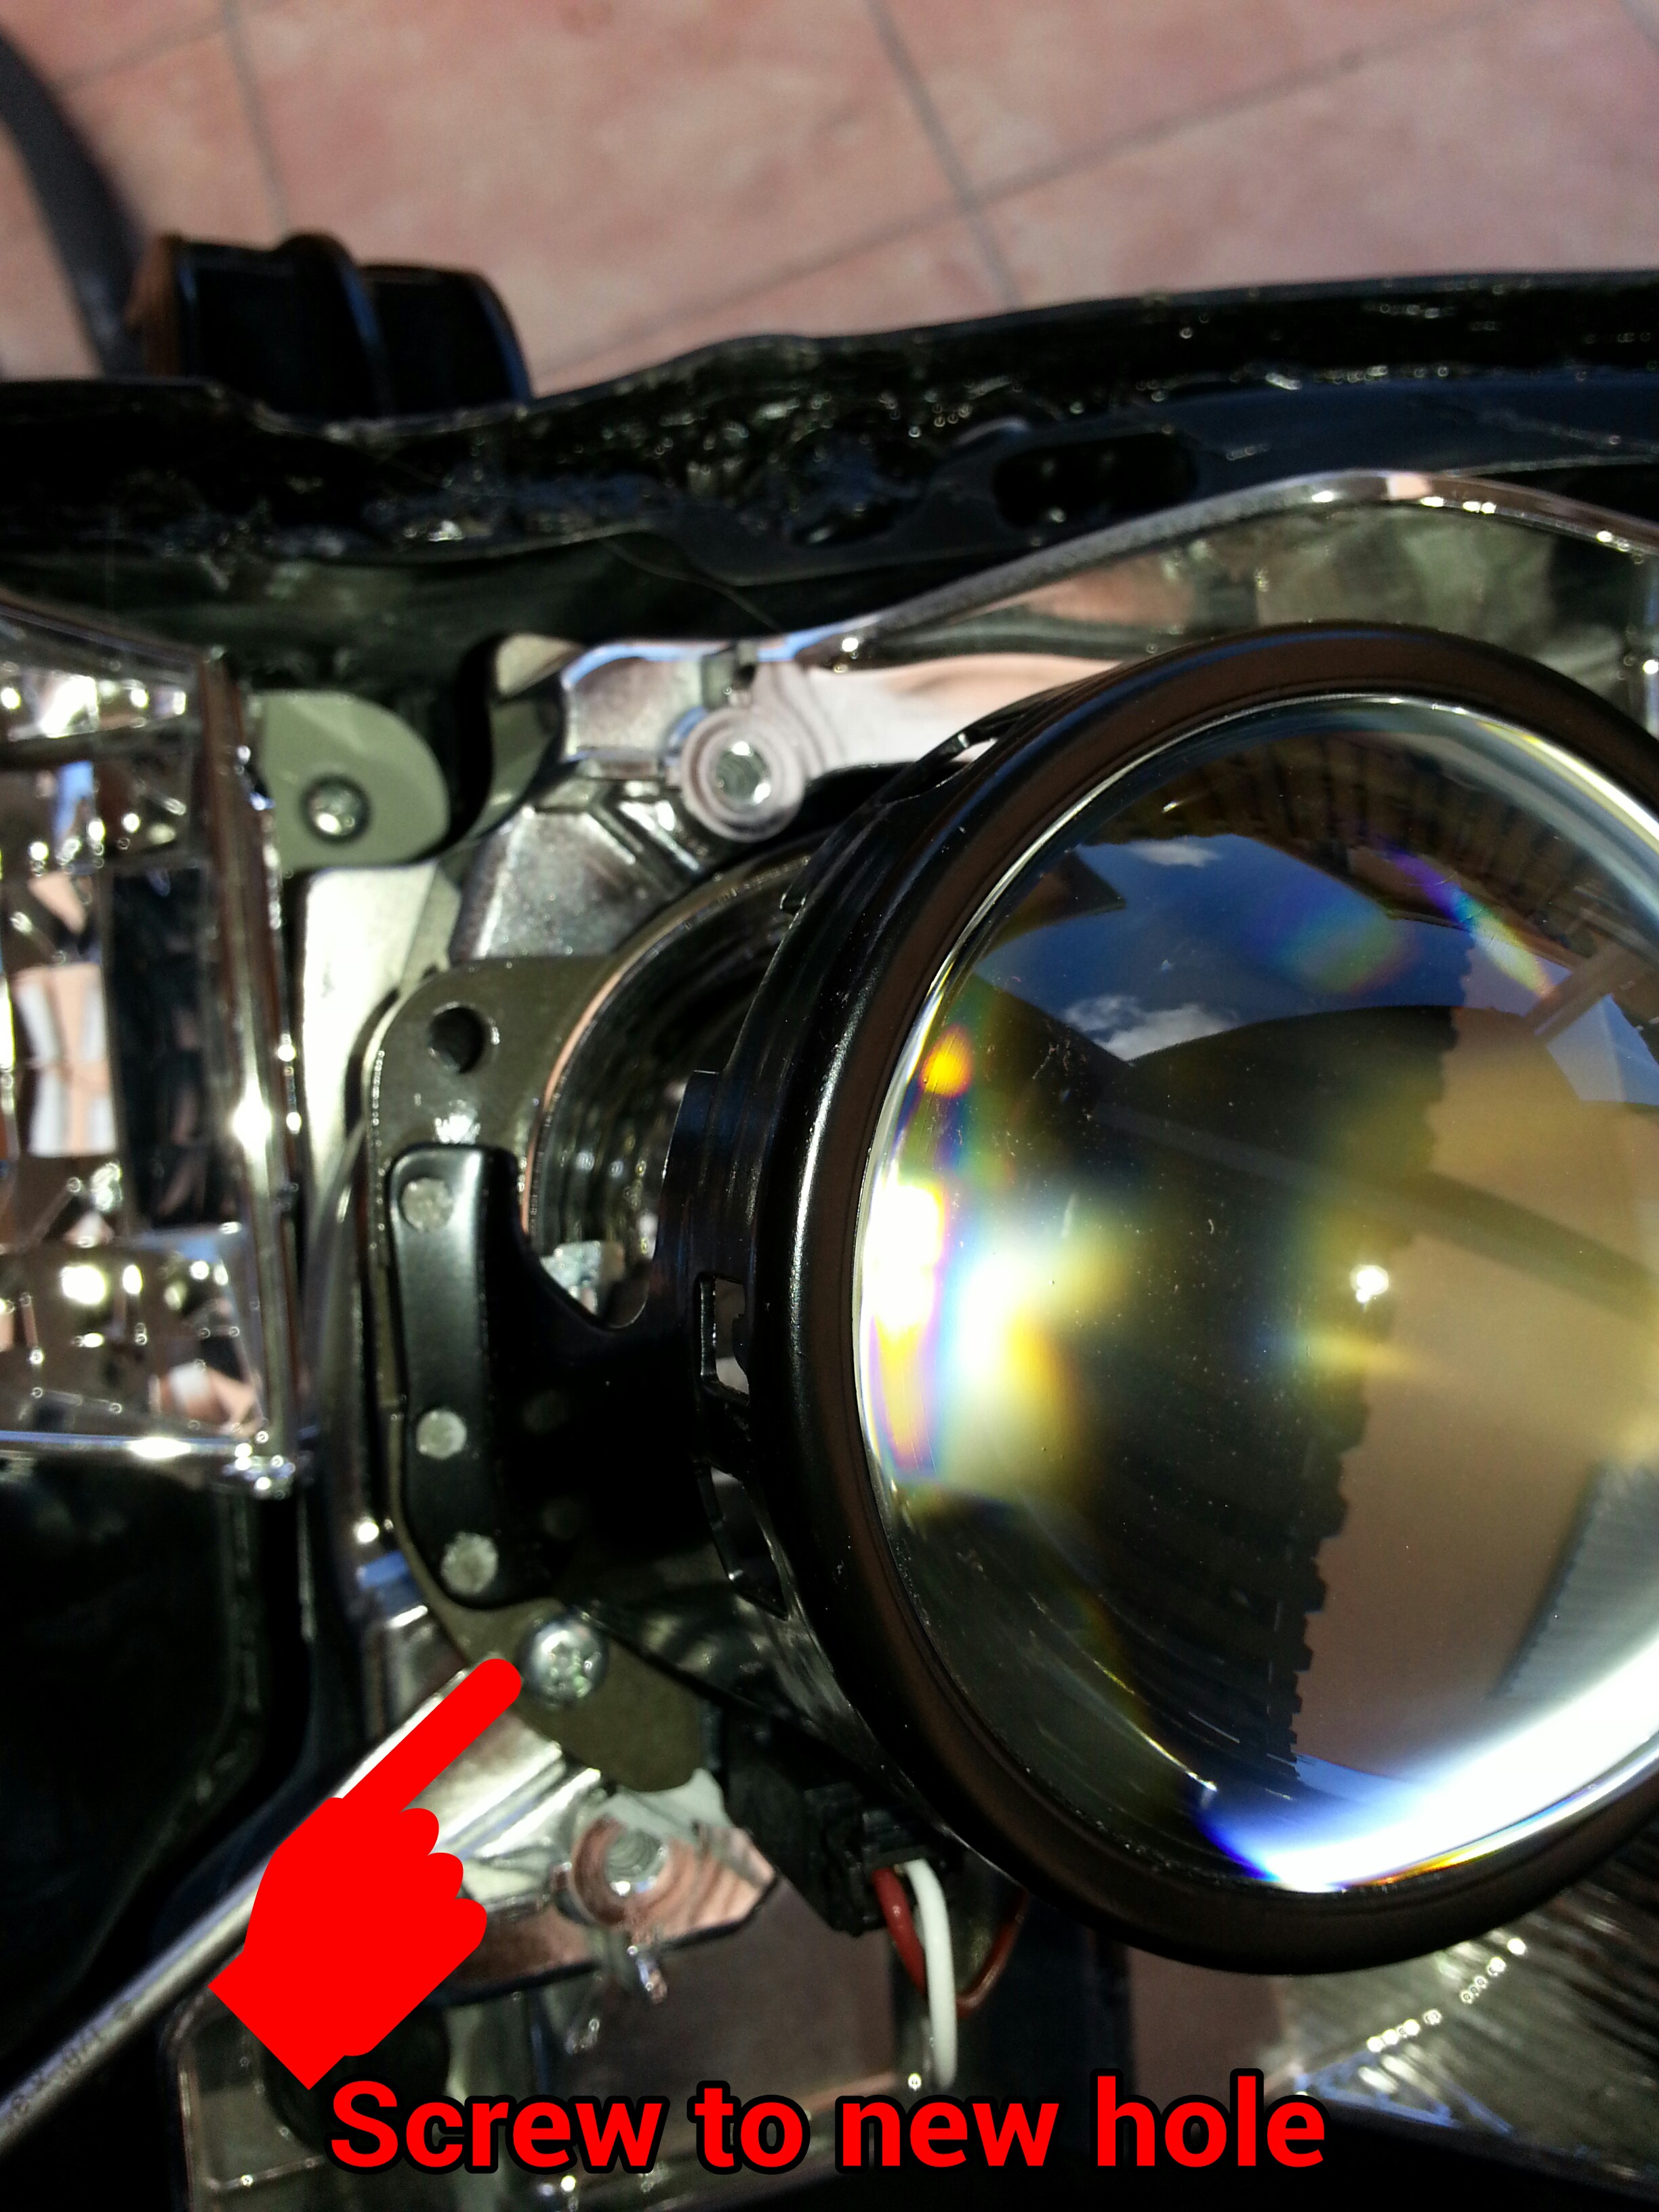
finally mount the projector using the existing screws (YOU WILL ONLY USE 2 SCREWS, ONE ON EACH END IT IS ENOUGH TO SUPPORT THE PROJECTOR)
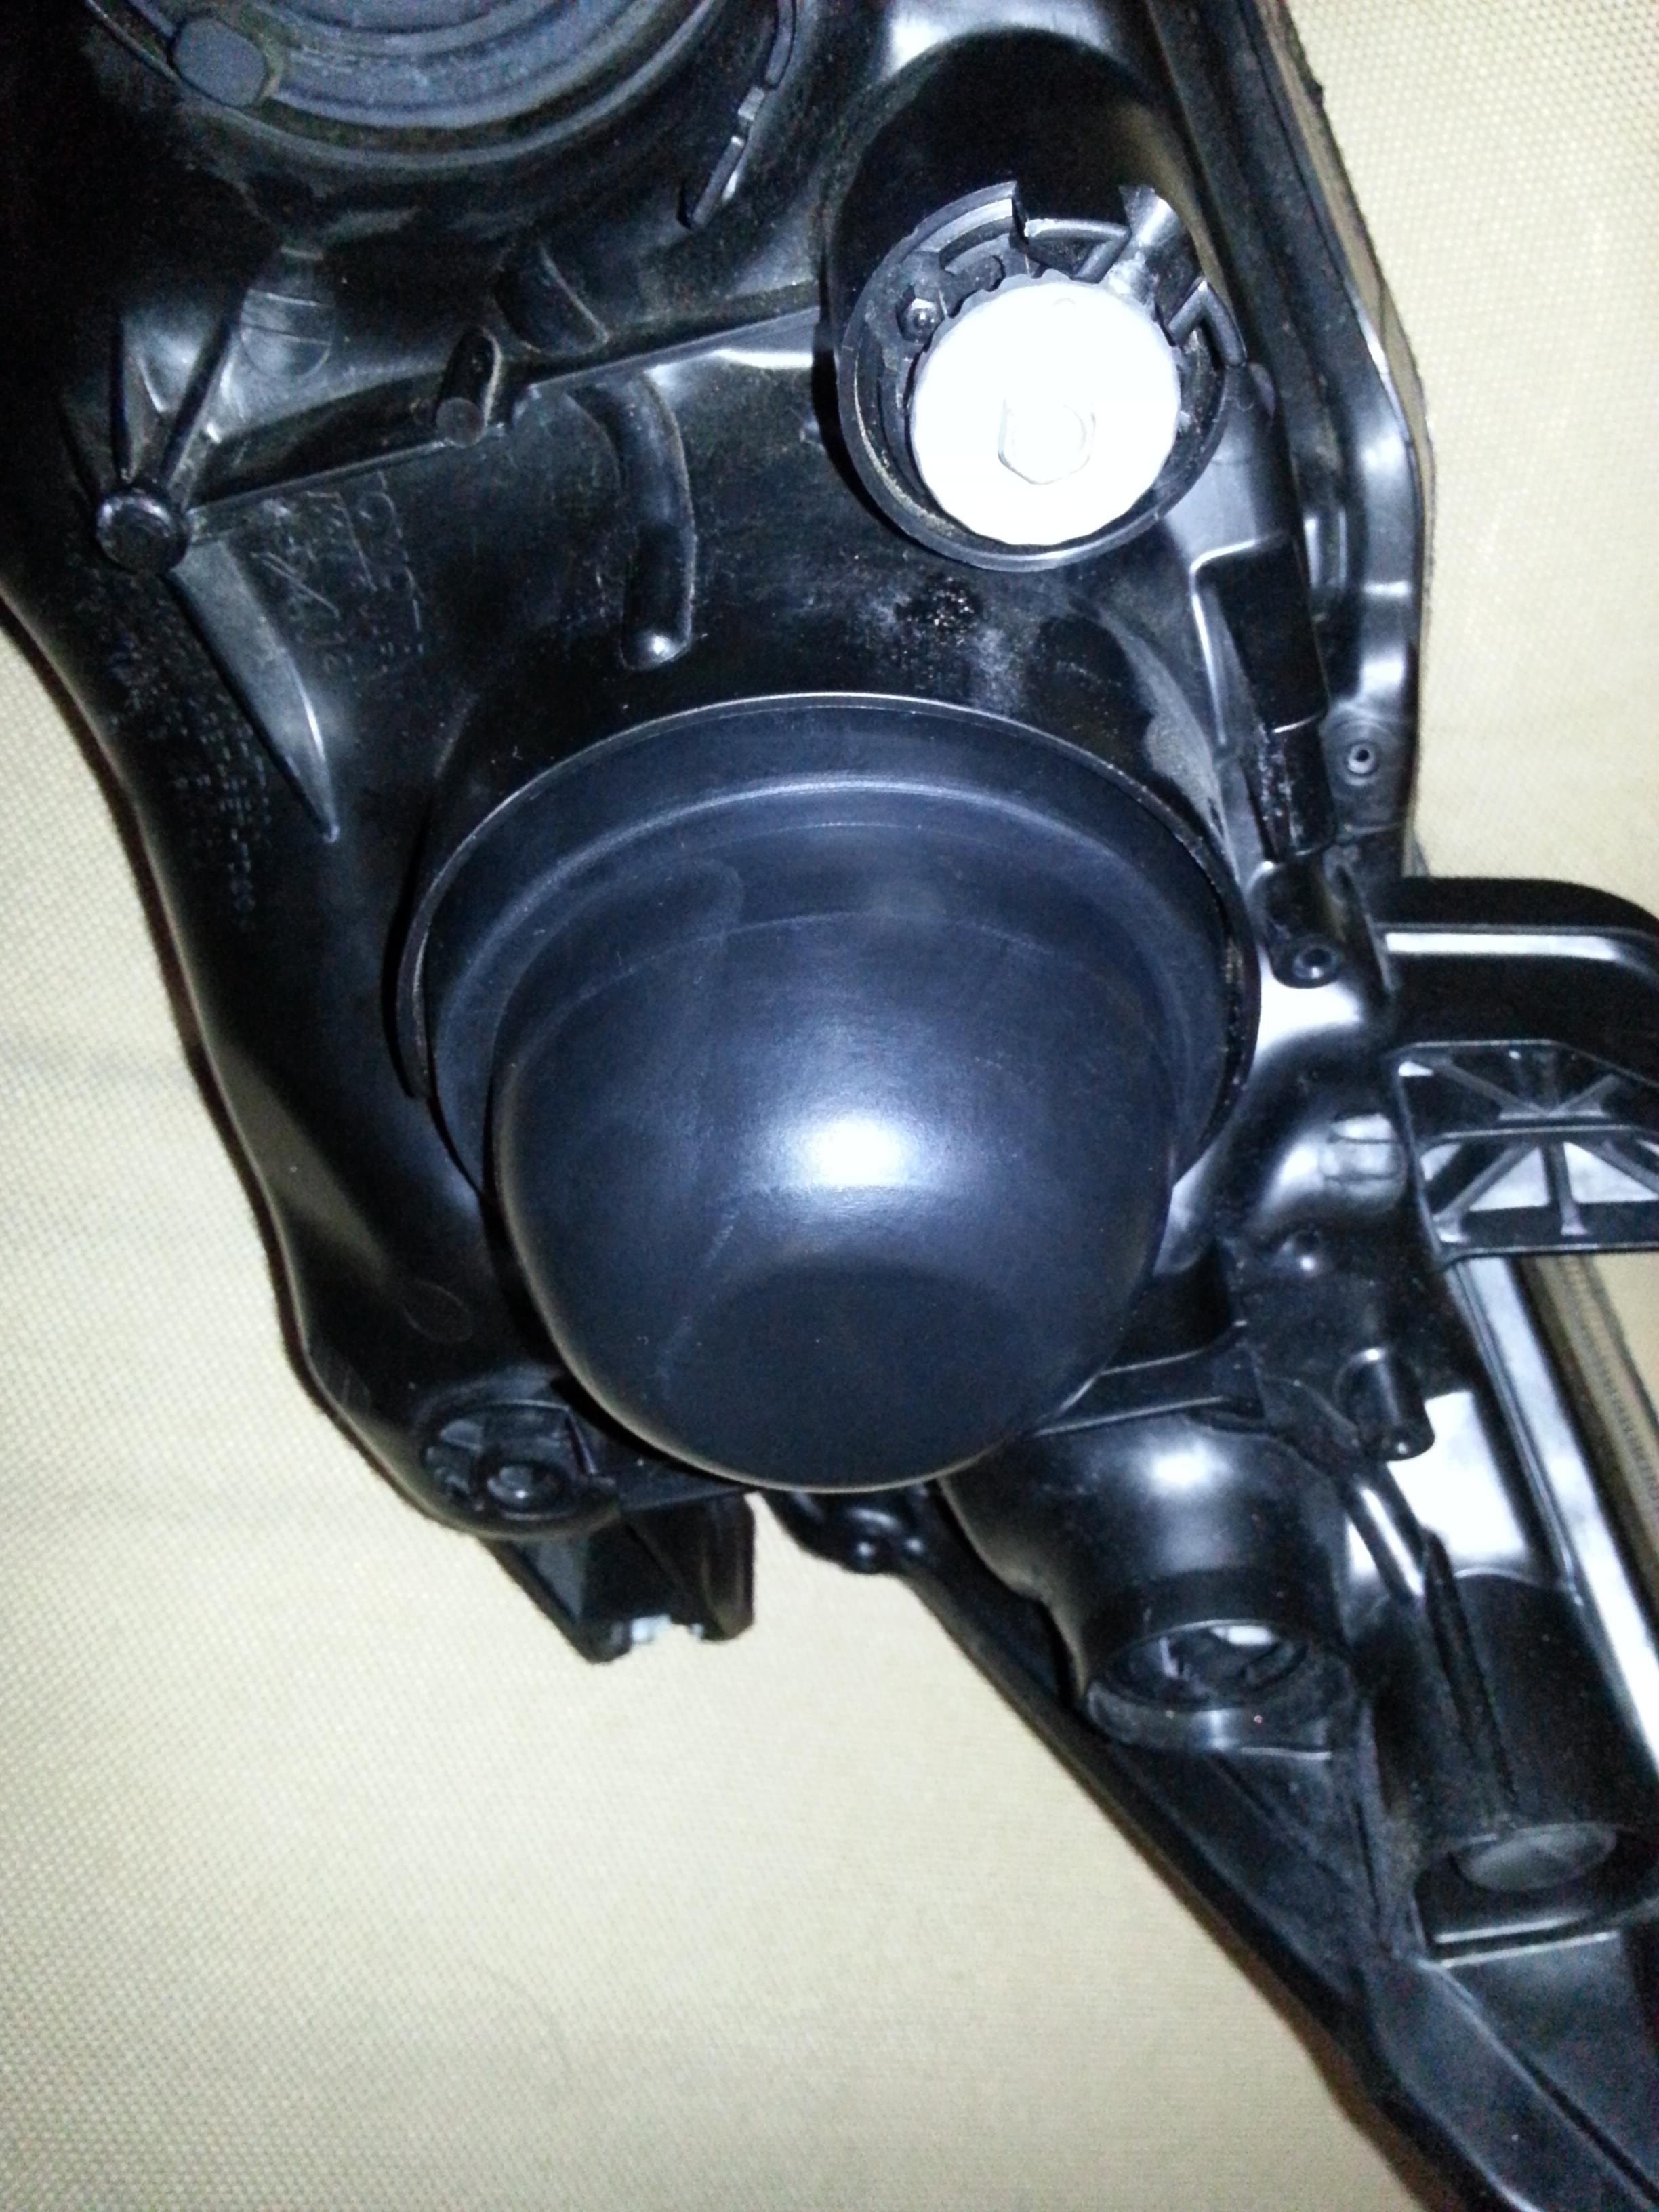
Here is where the plug to activate the high beams plugs into, right under the projector.
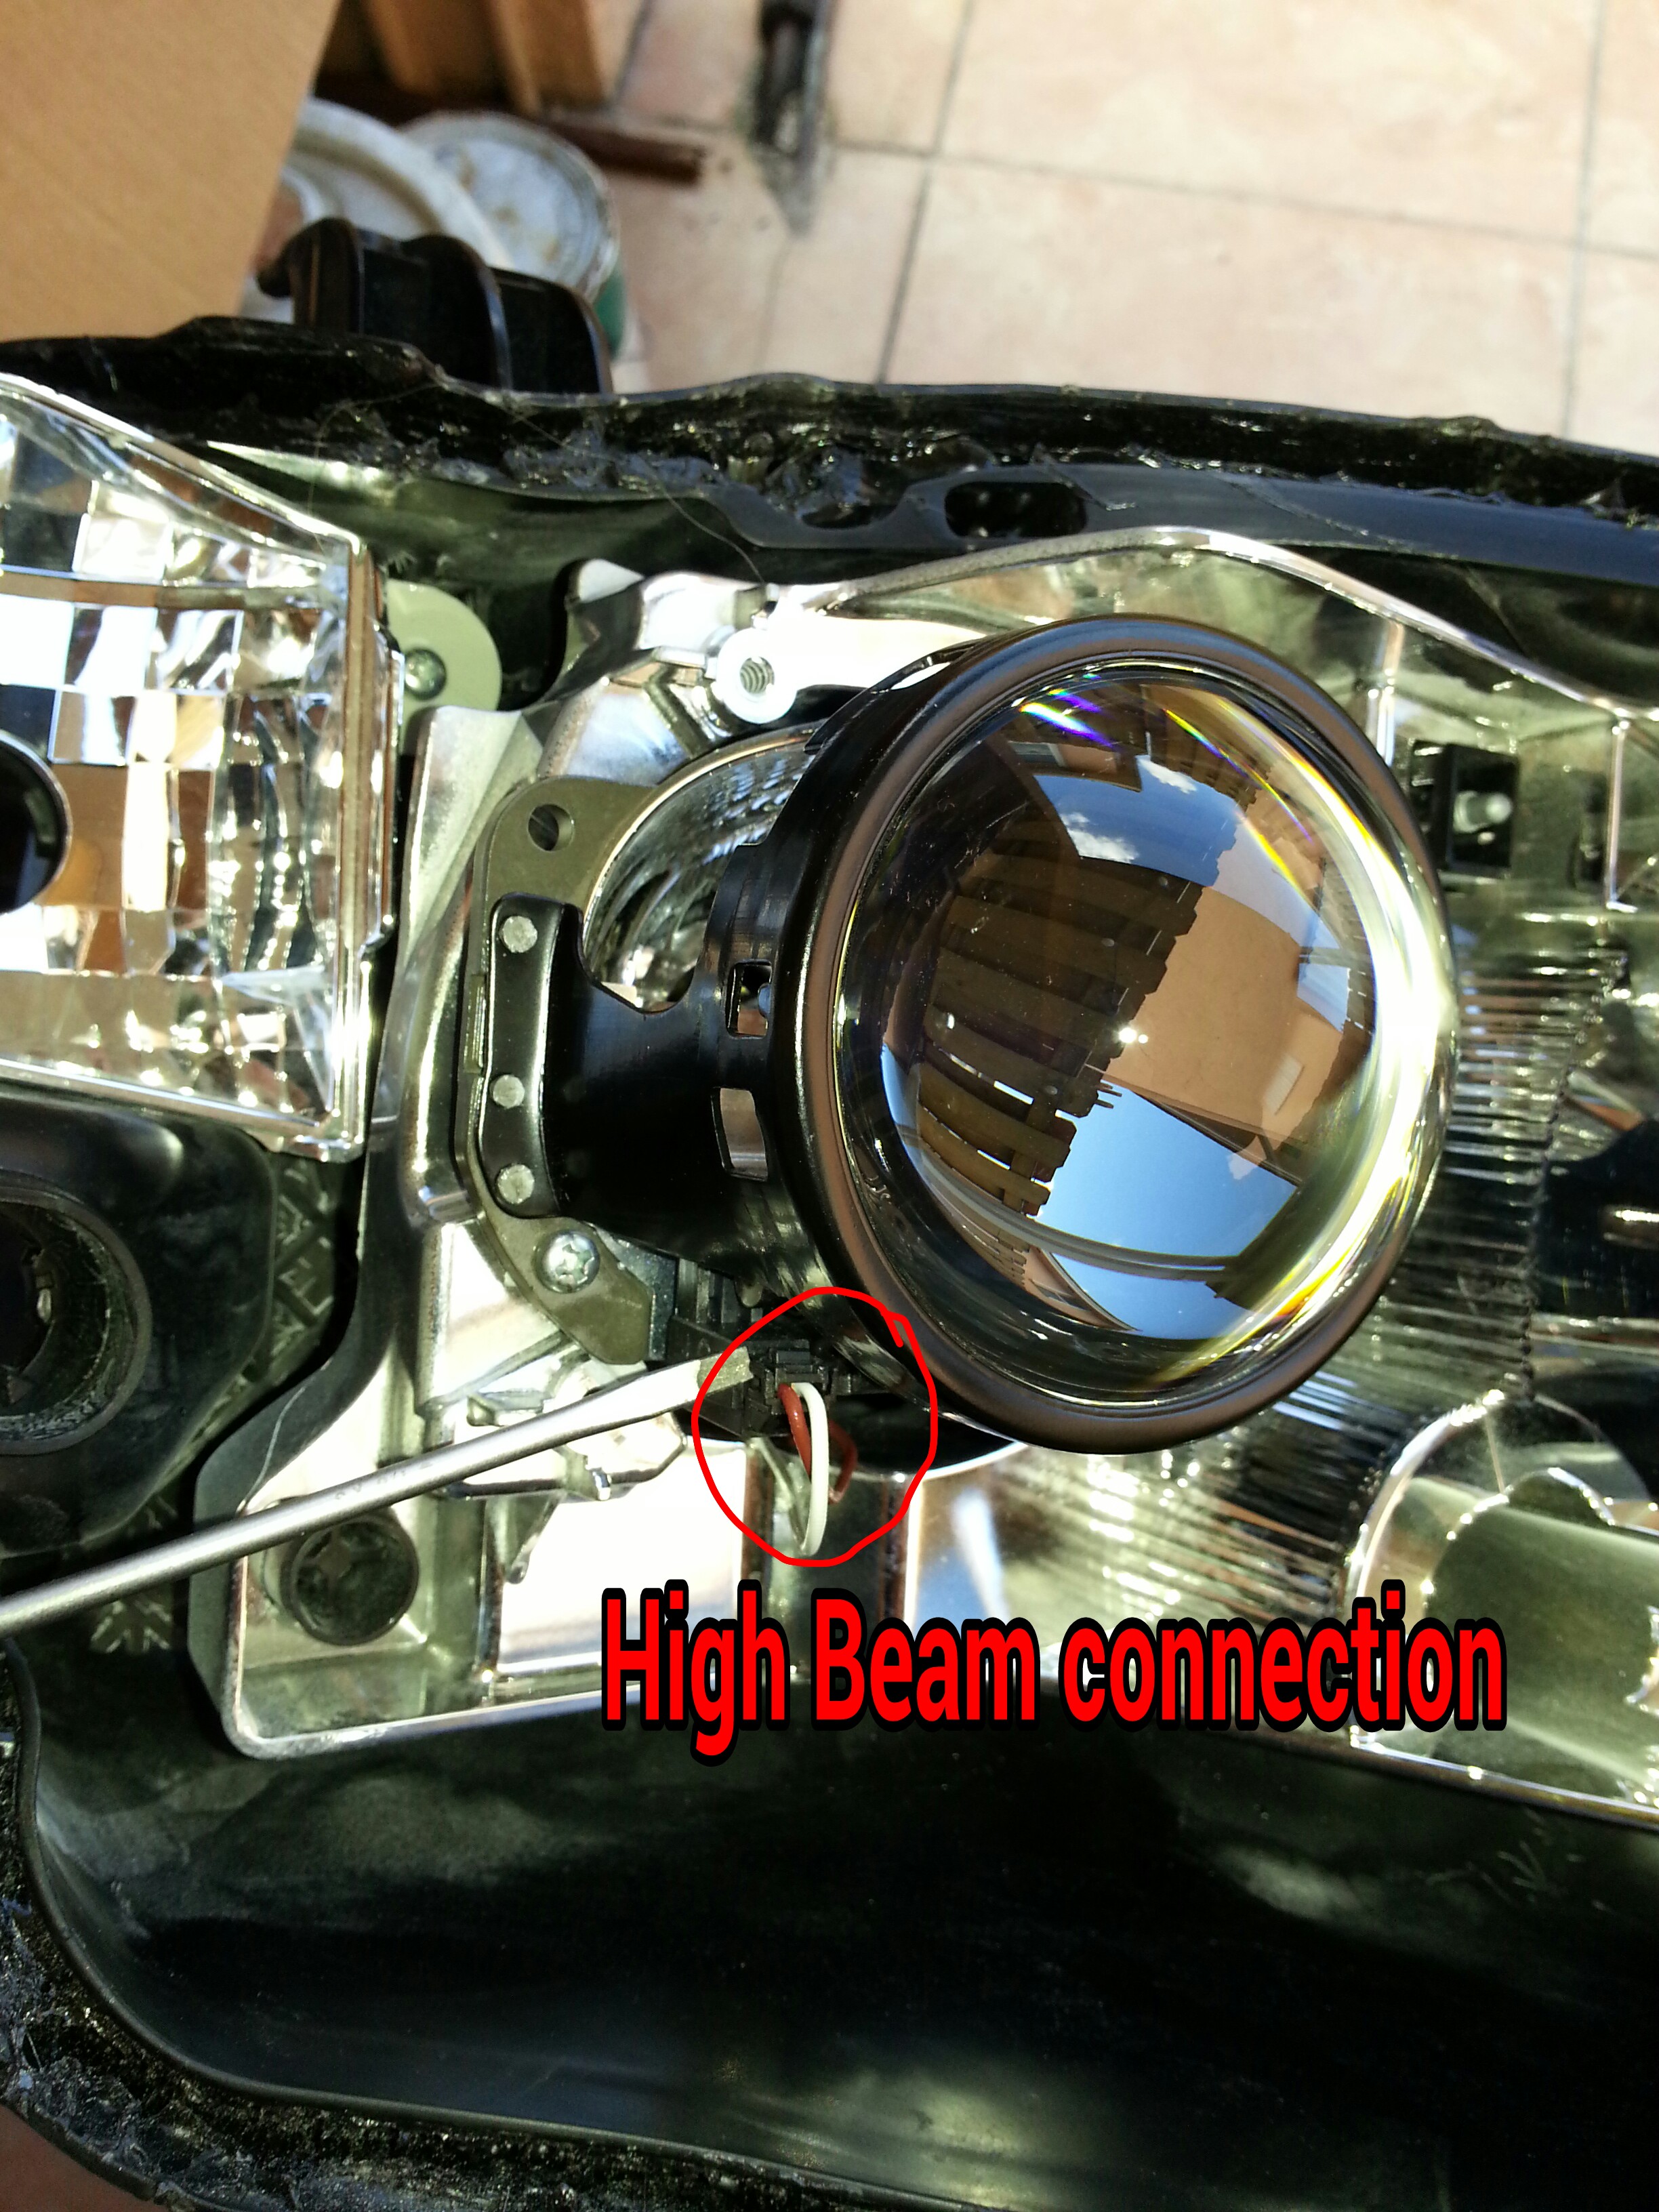
run the wires through the back of the headlight.
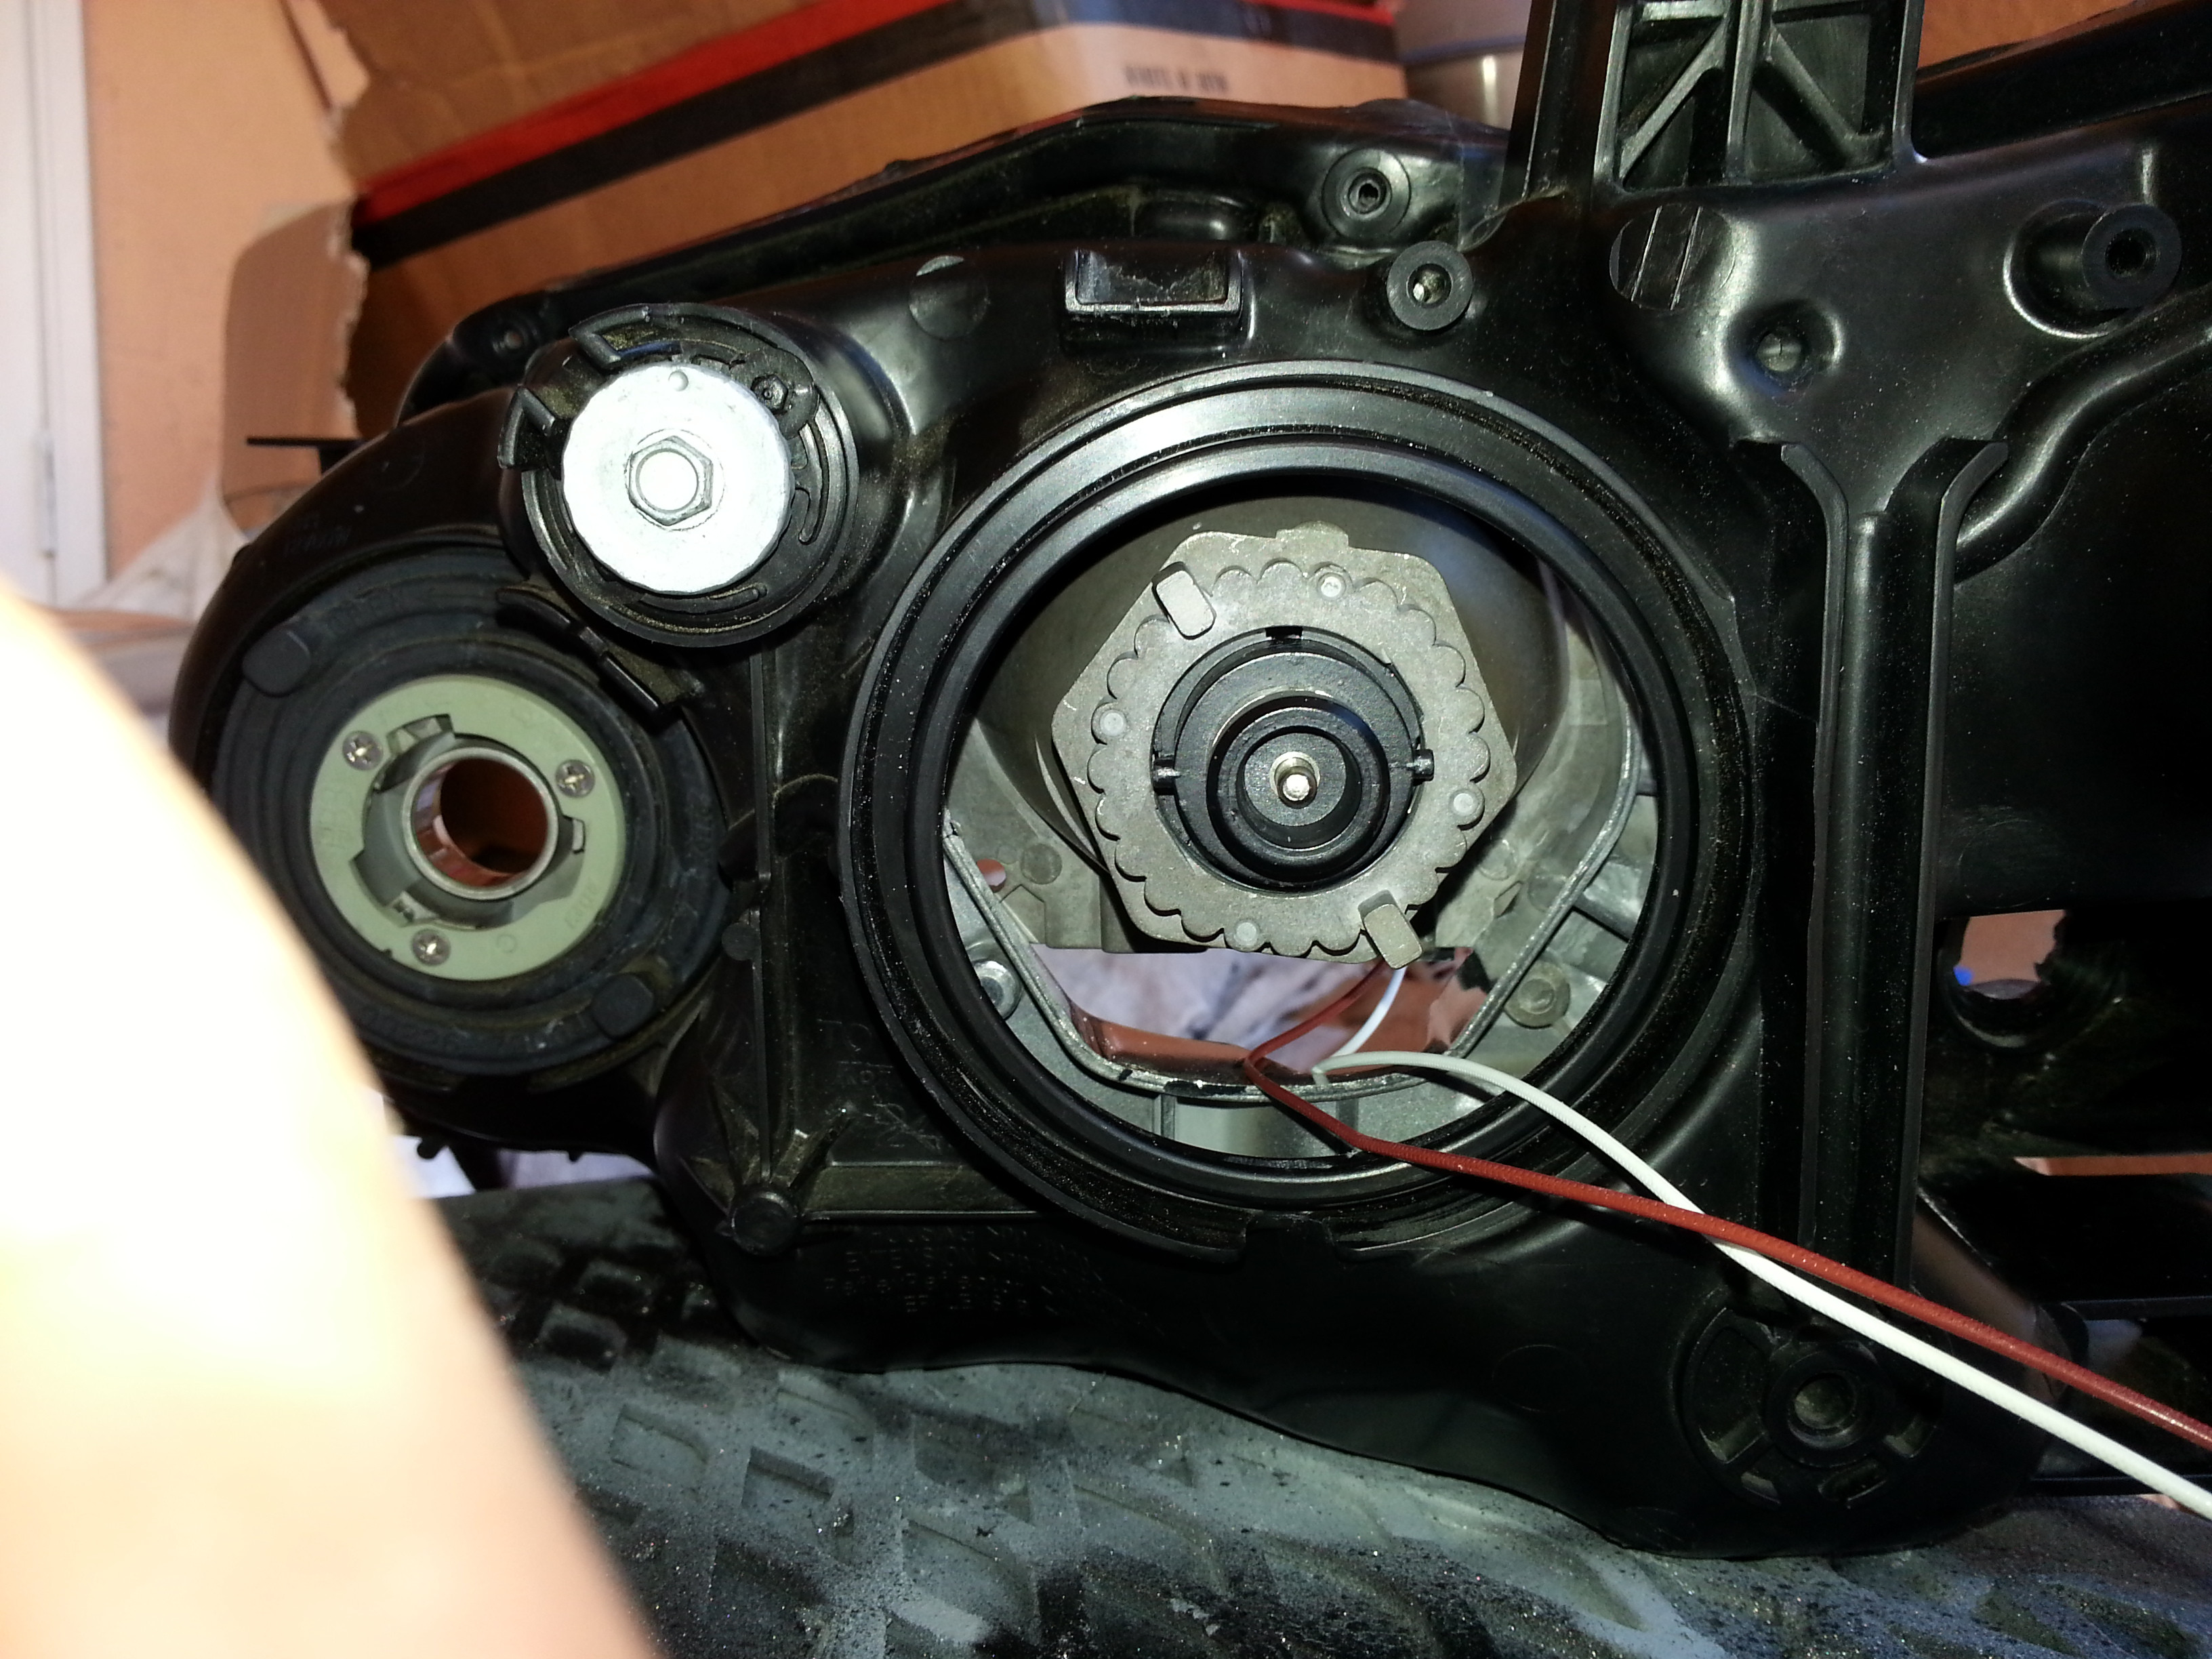
you will now need D2S adapters that plug into the new bulbs and 80mm rubber caps. what i did was cut a small opening on the back of the caps to run the wires through and apply silicone to seal it up.

BEFORE CLOSING THE HEADLIGHT BACK UP CLEAN THE PLASTIC LENS WITH SOAP AND WARM WATER, BE SURE THERE ARE NO FINGER PRINTS, DUST, STAINS OR HAIR INSIDE THE HEADLIGHT HOUSING!
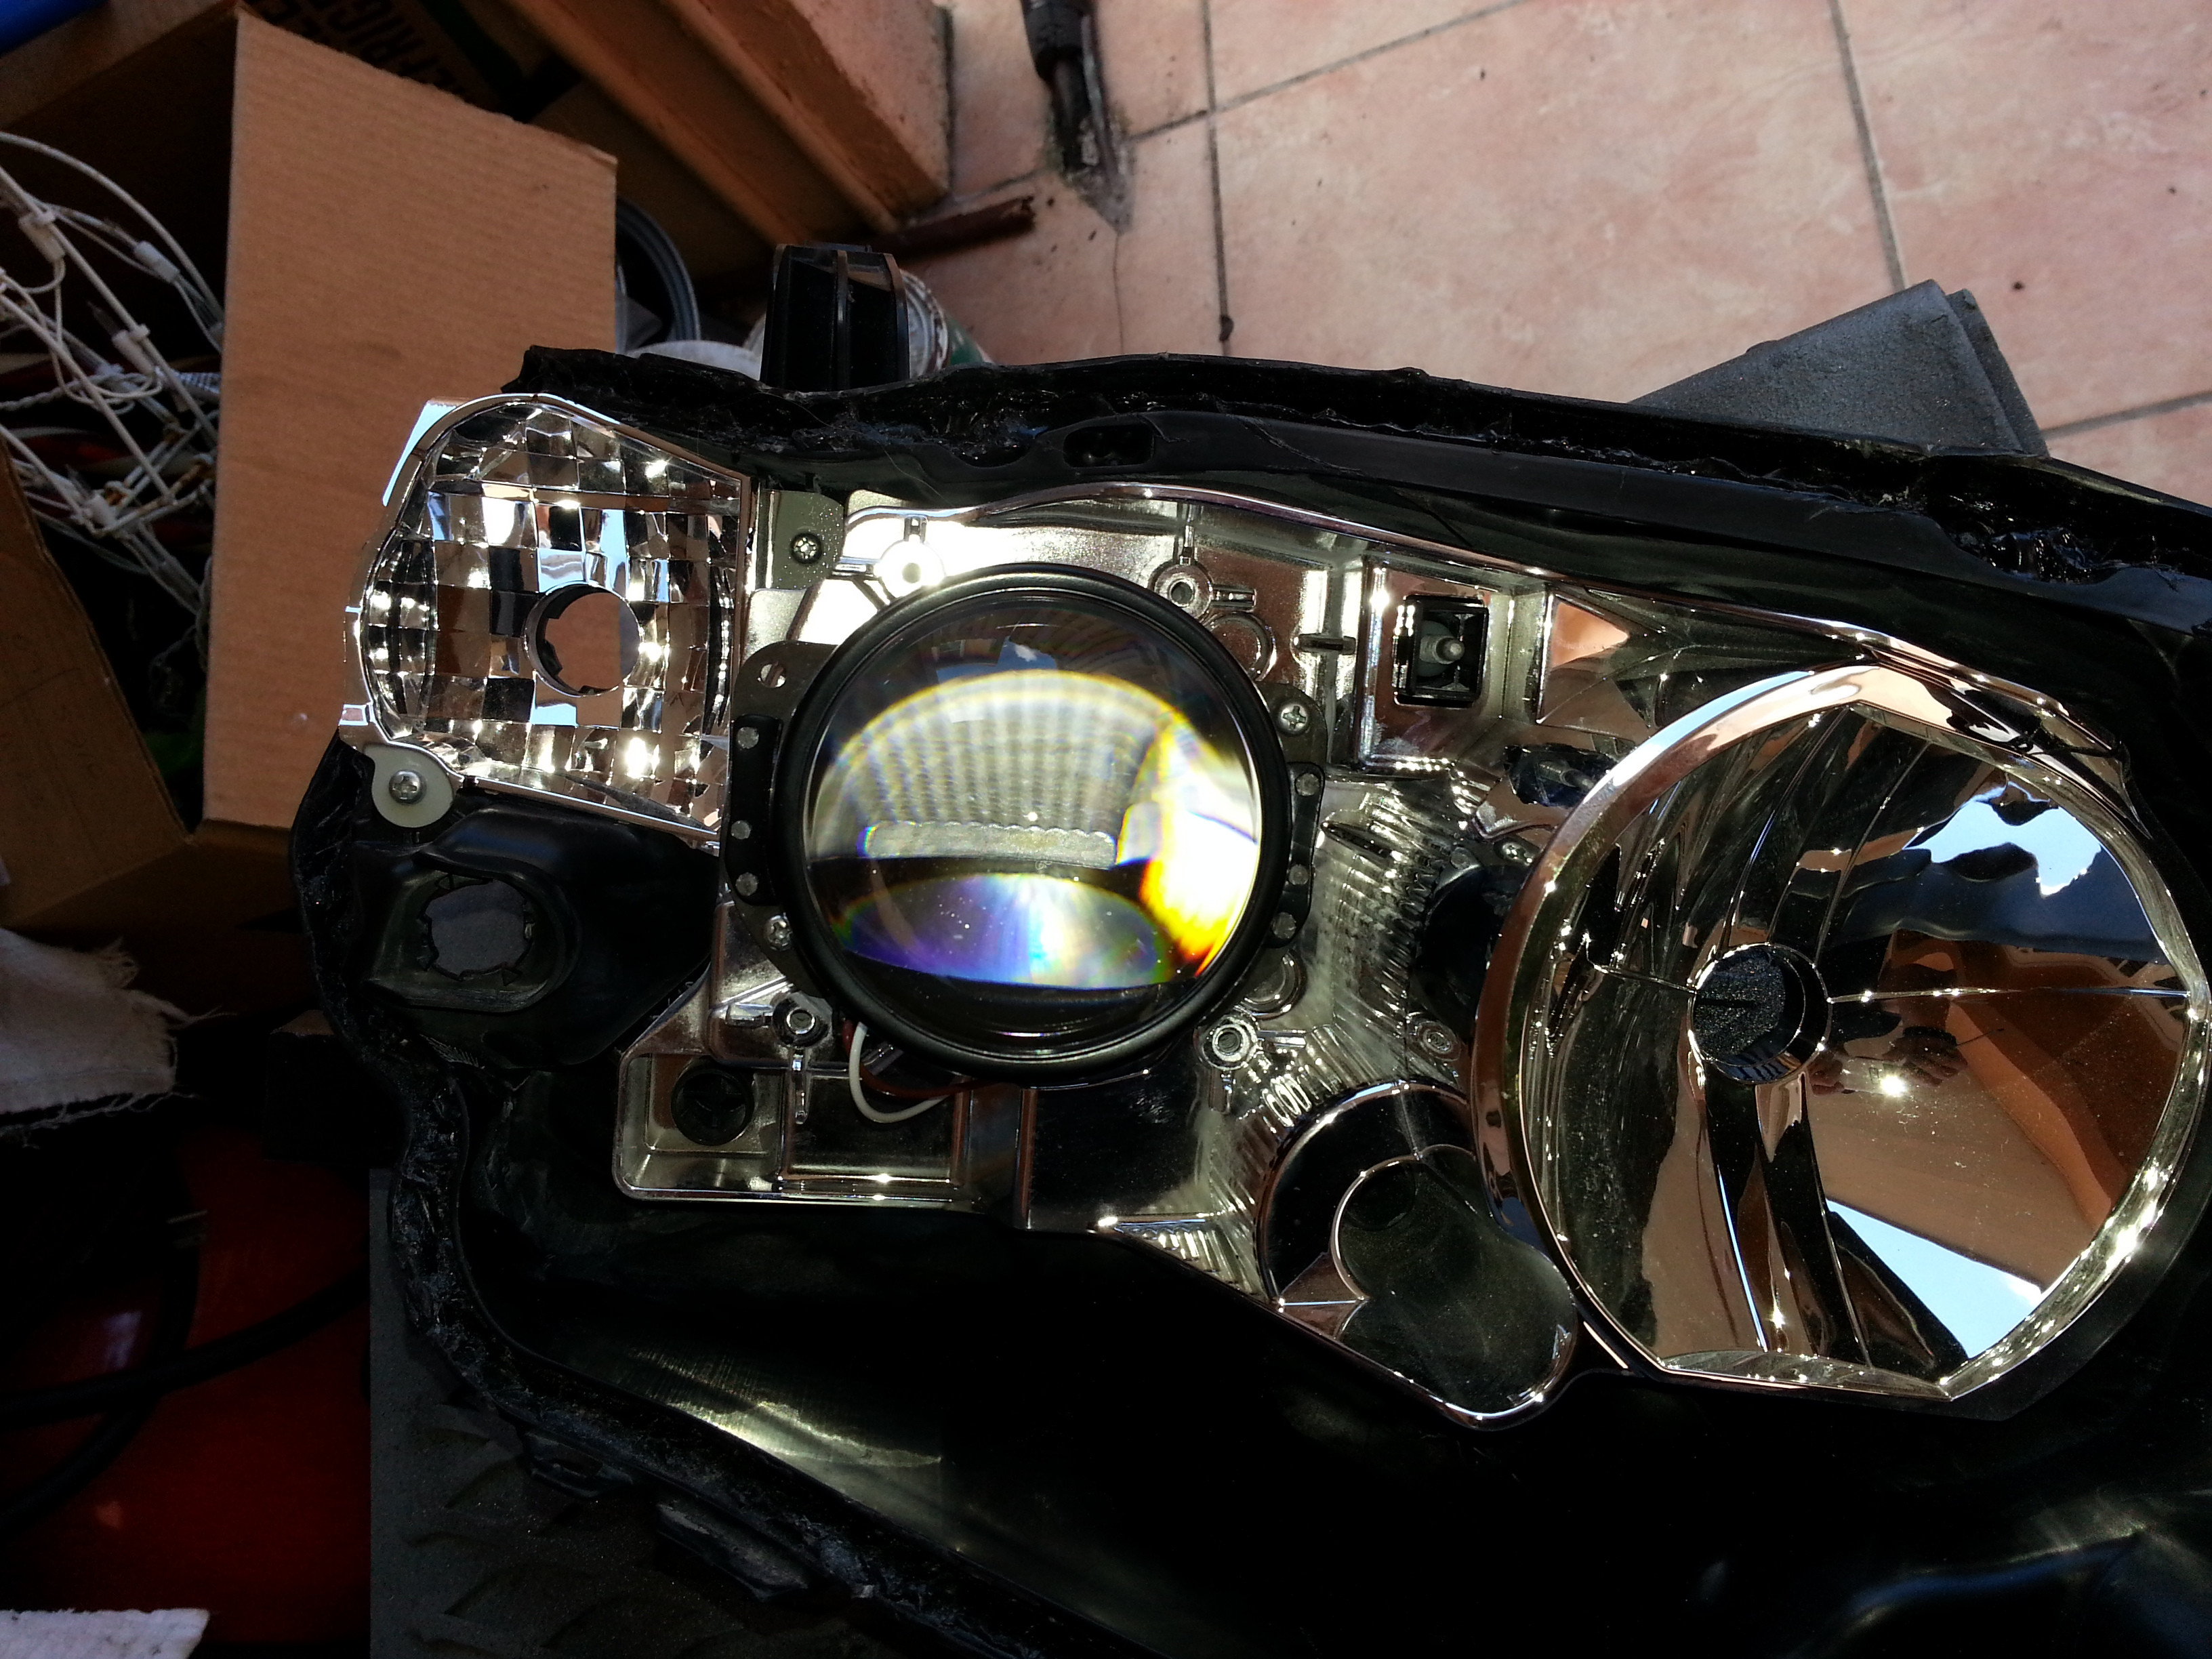
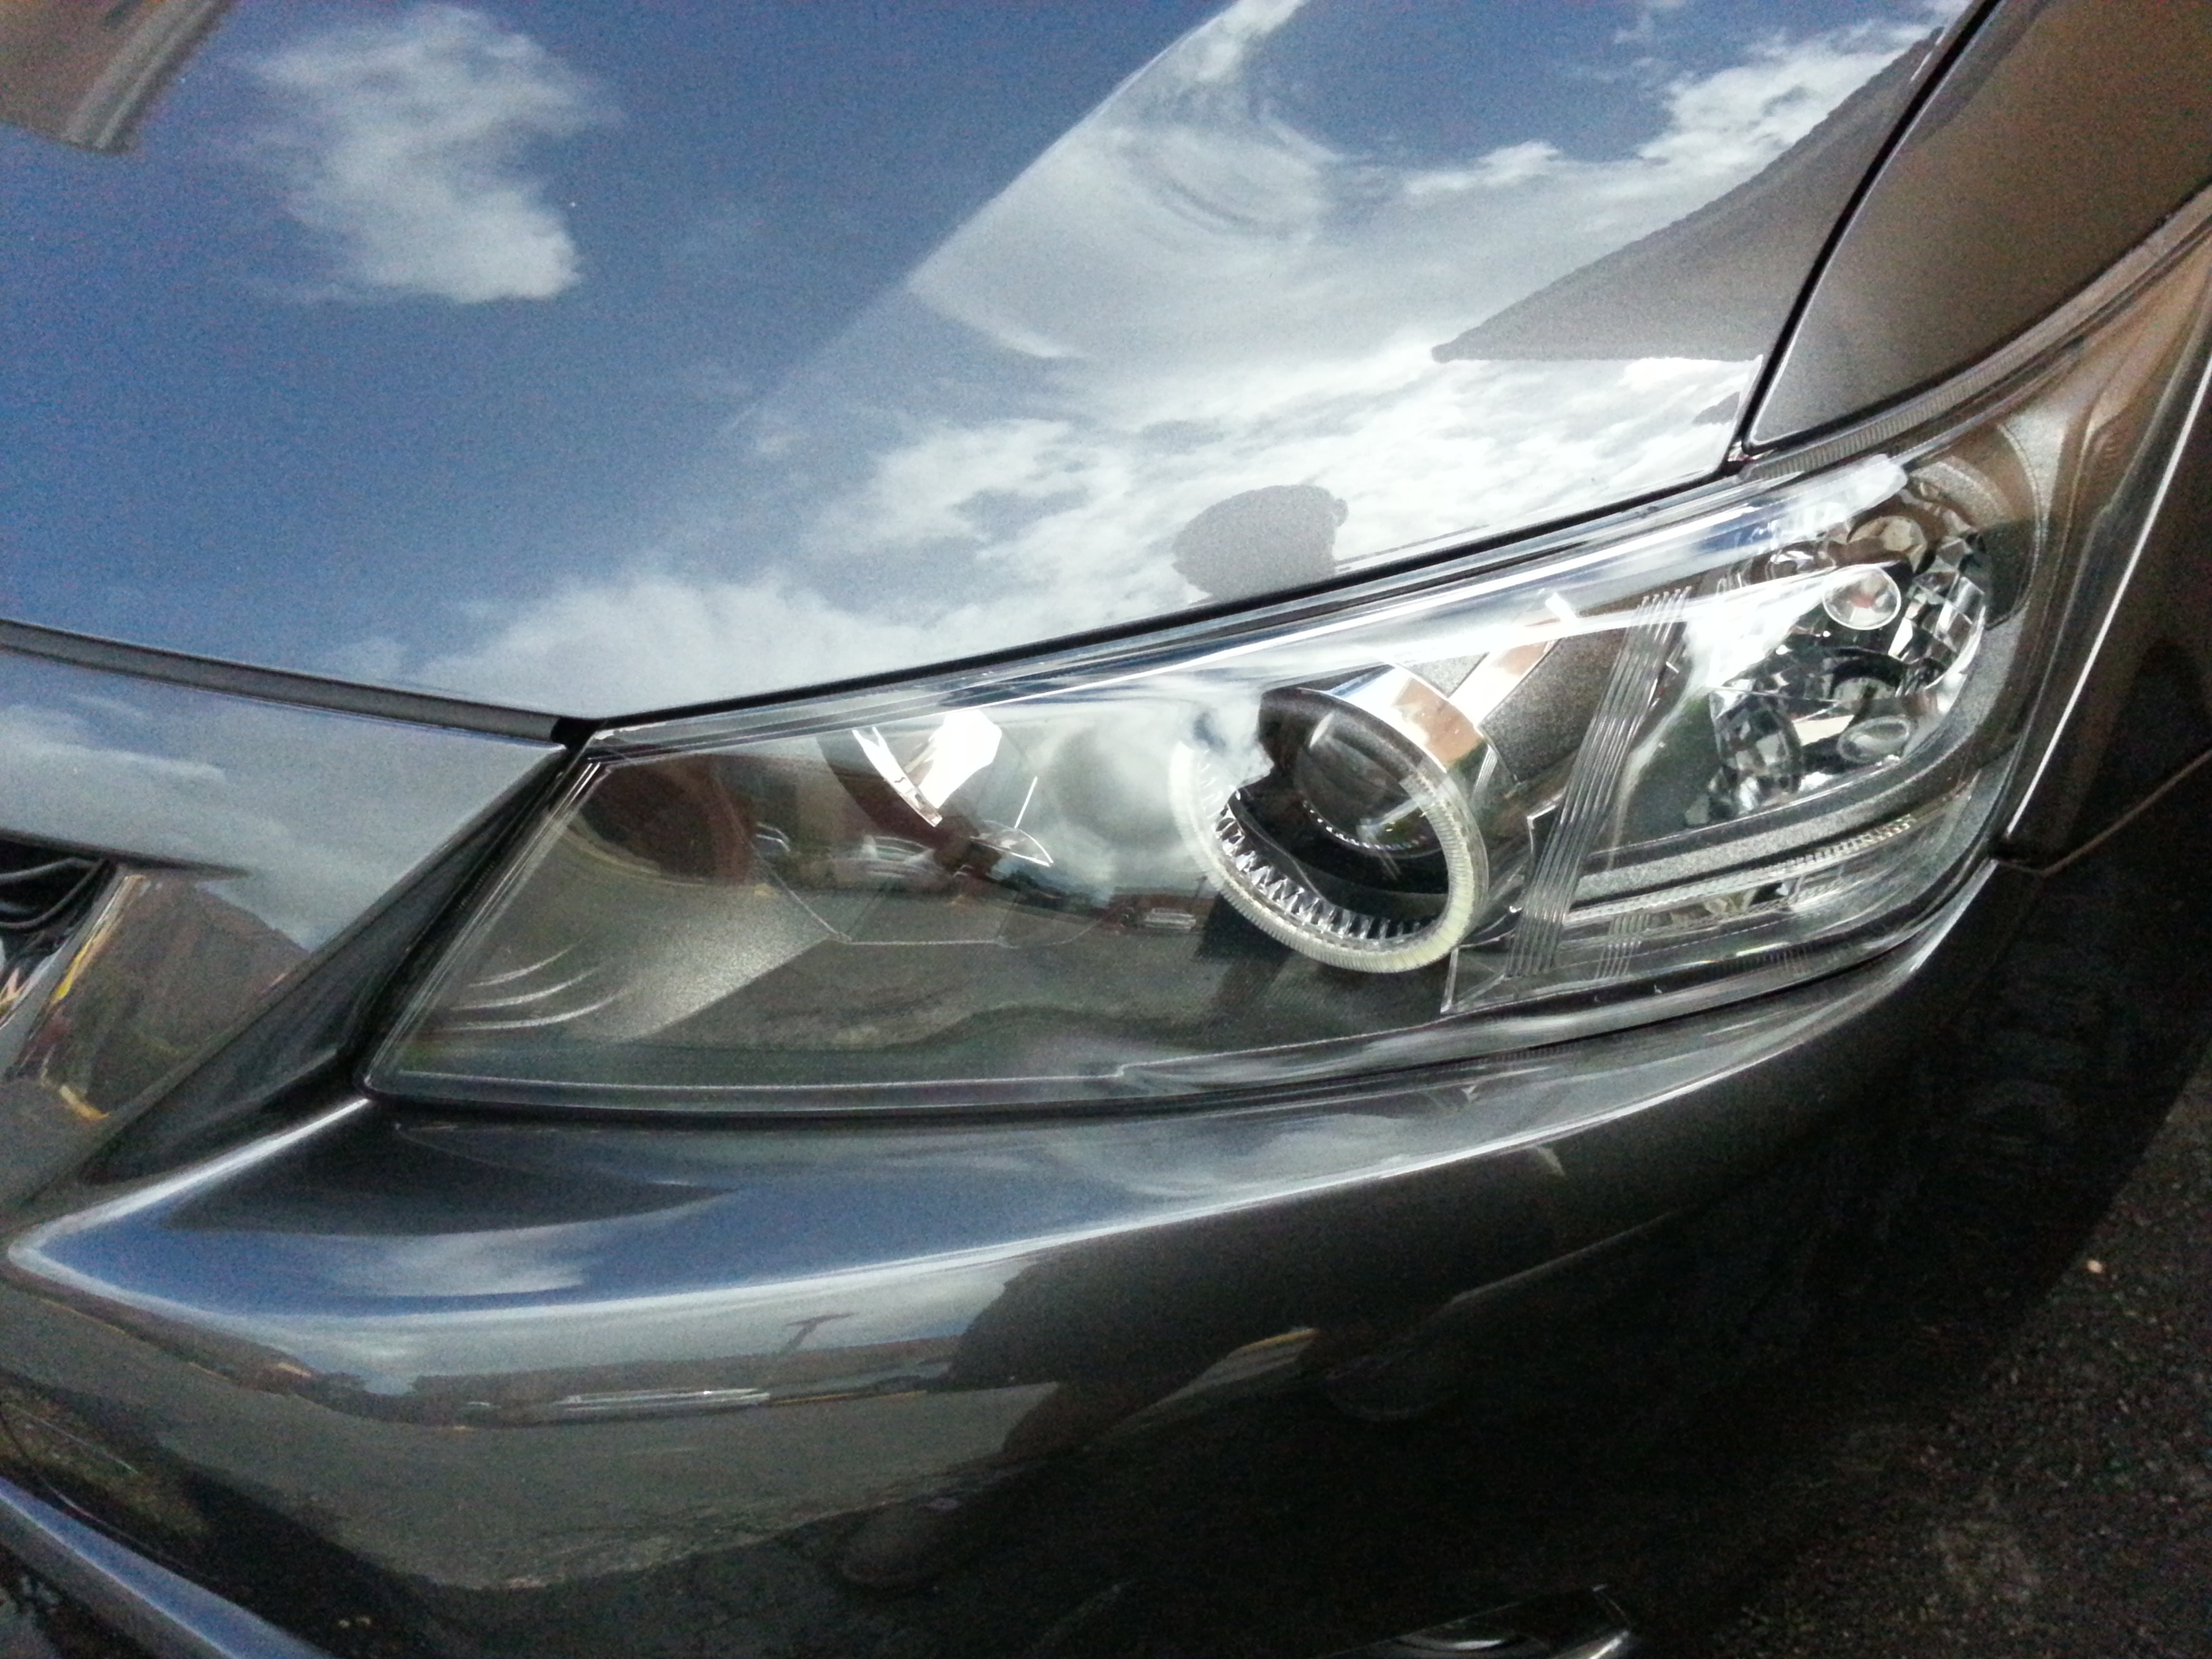
final result using gunmetal Dupli-Color Metal specks paint
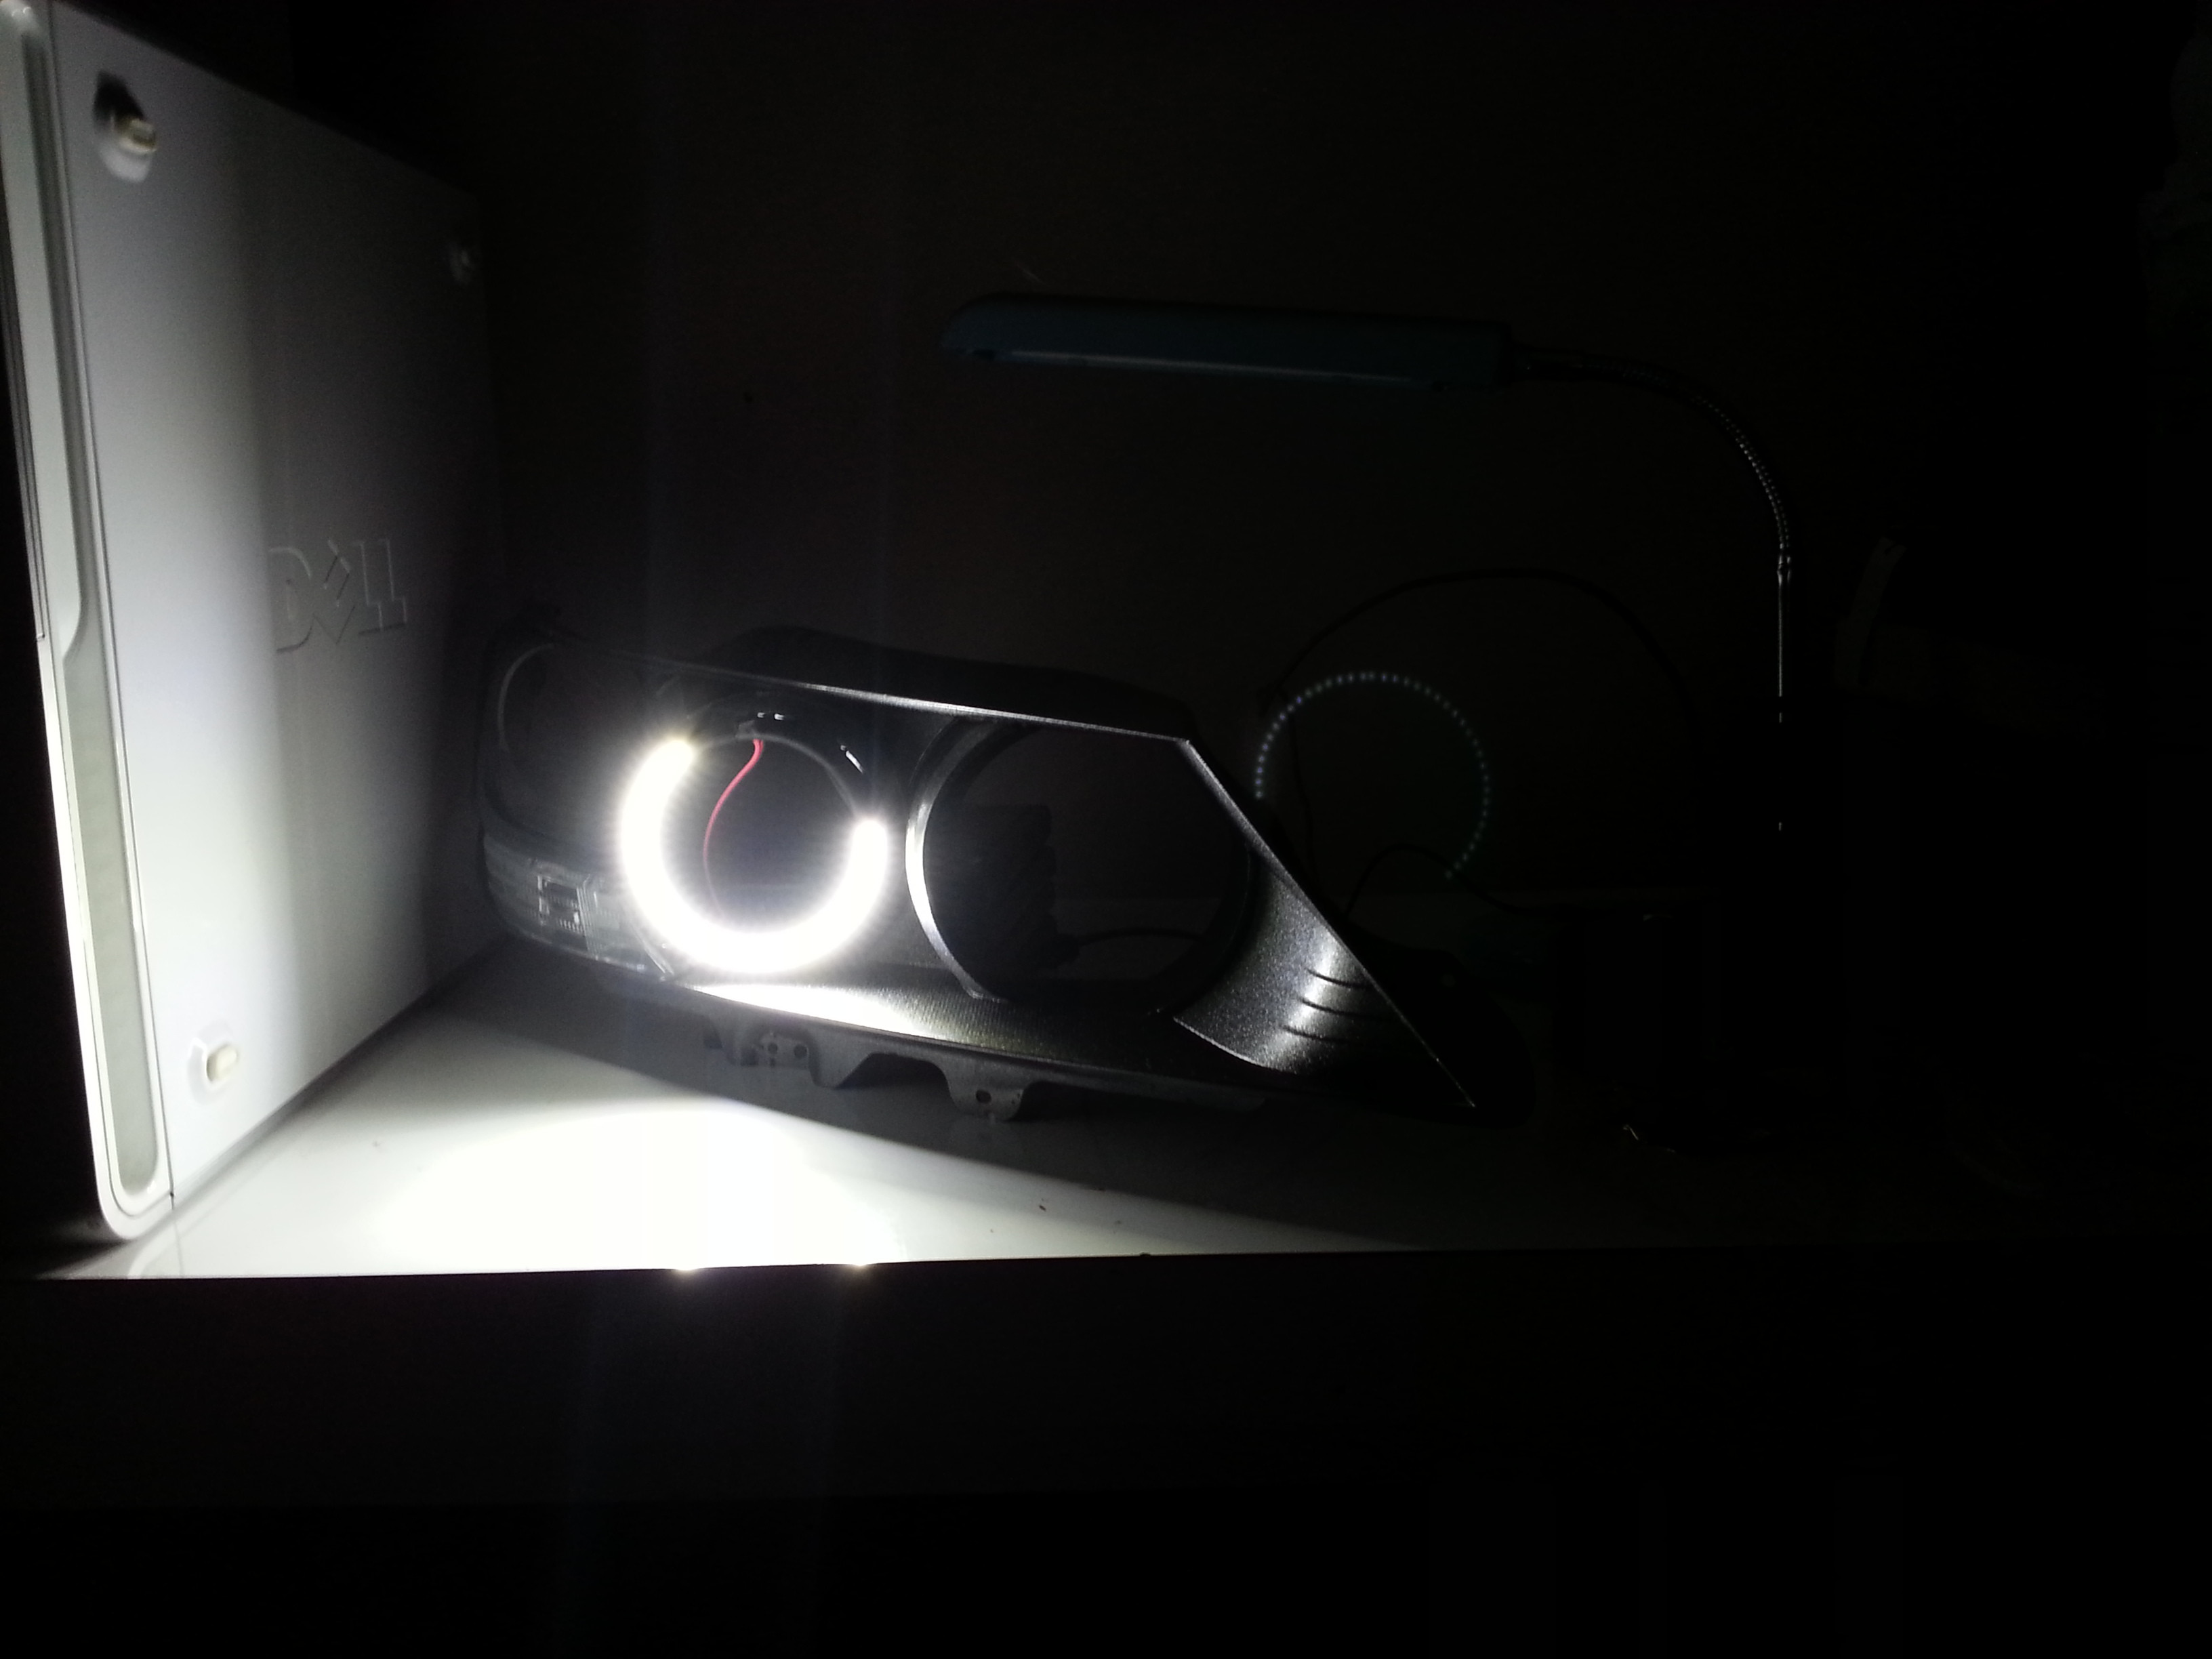
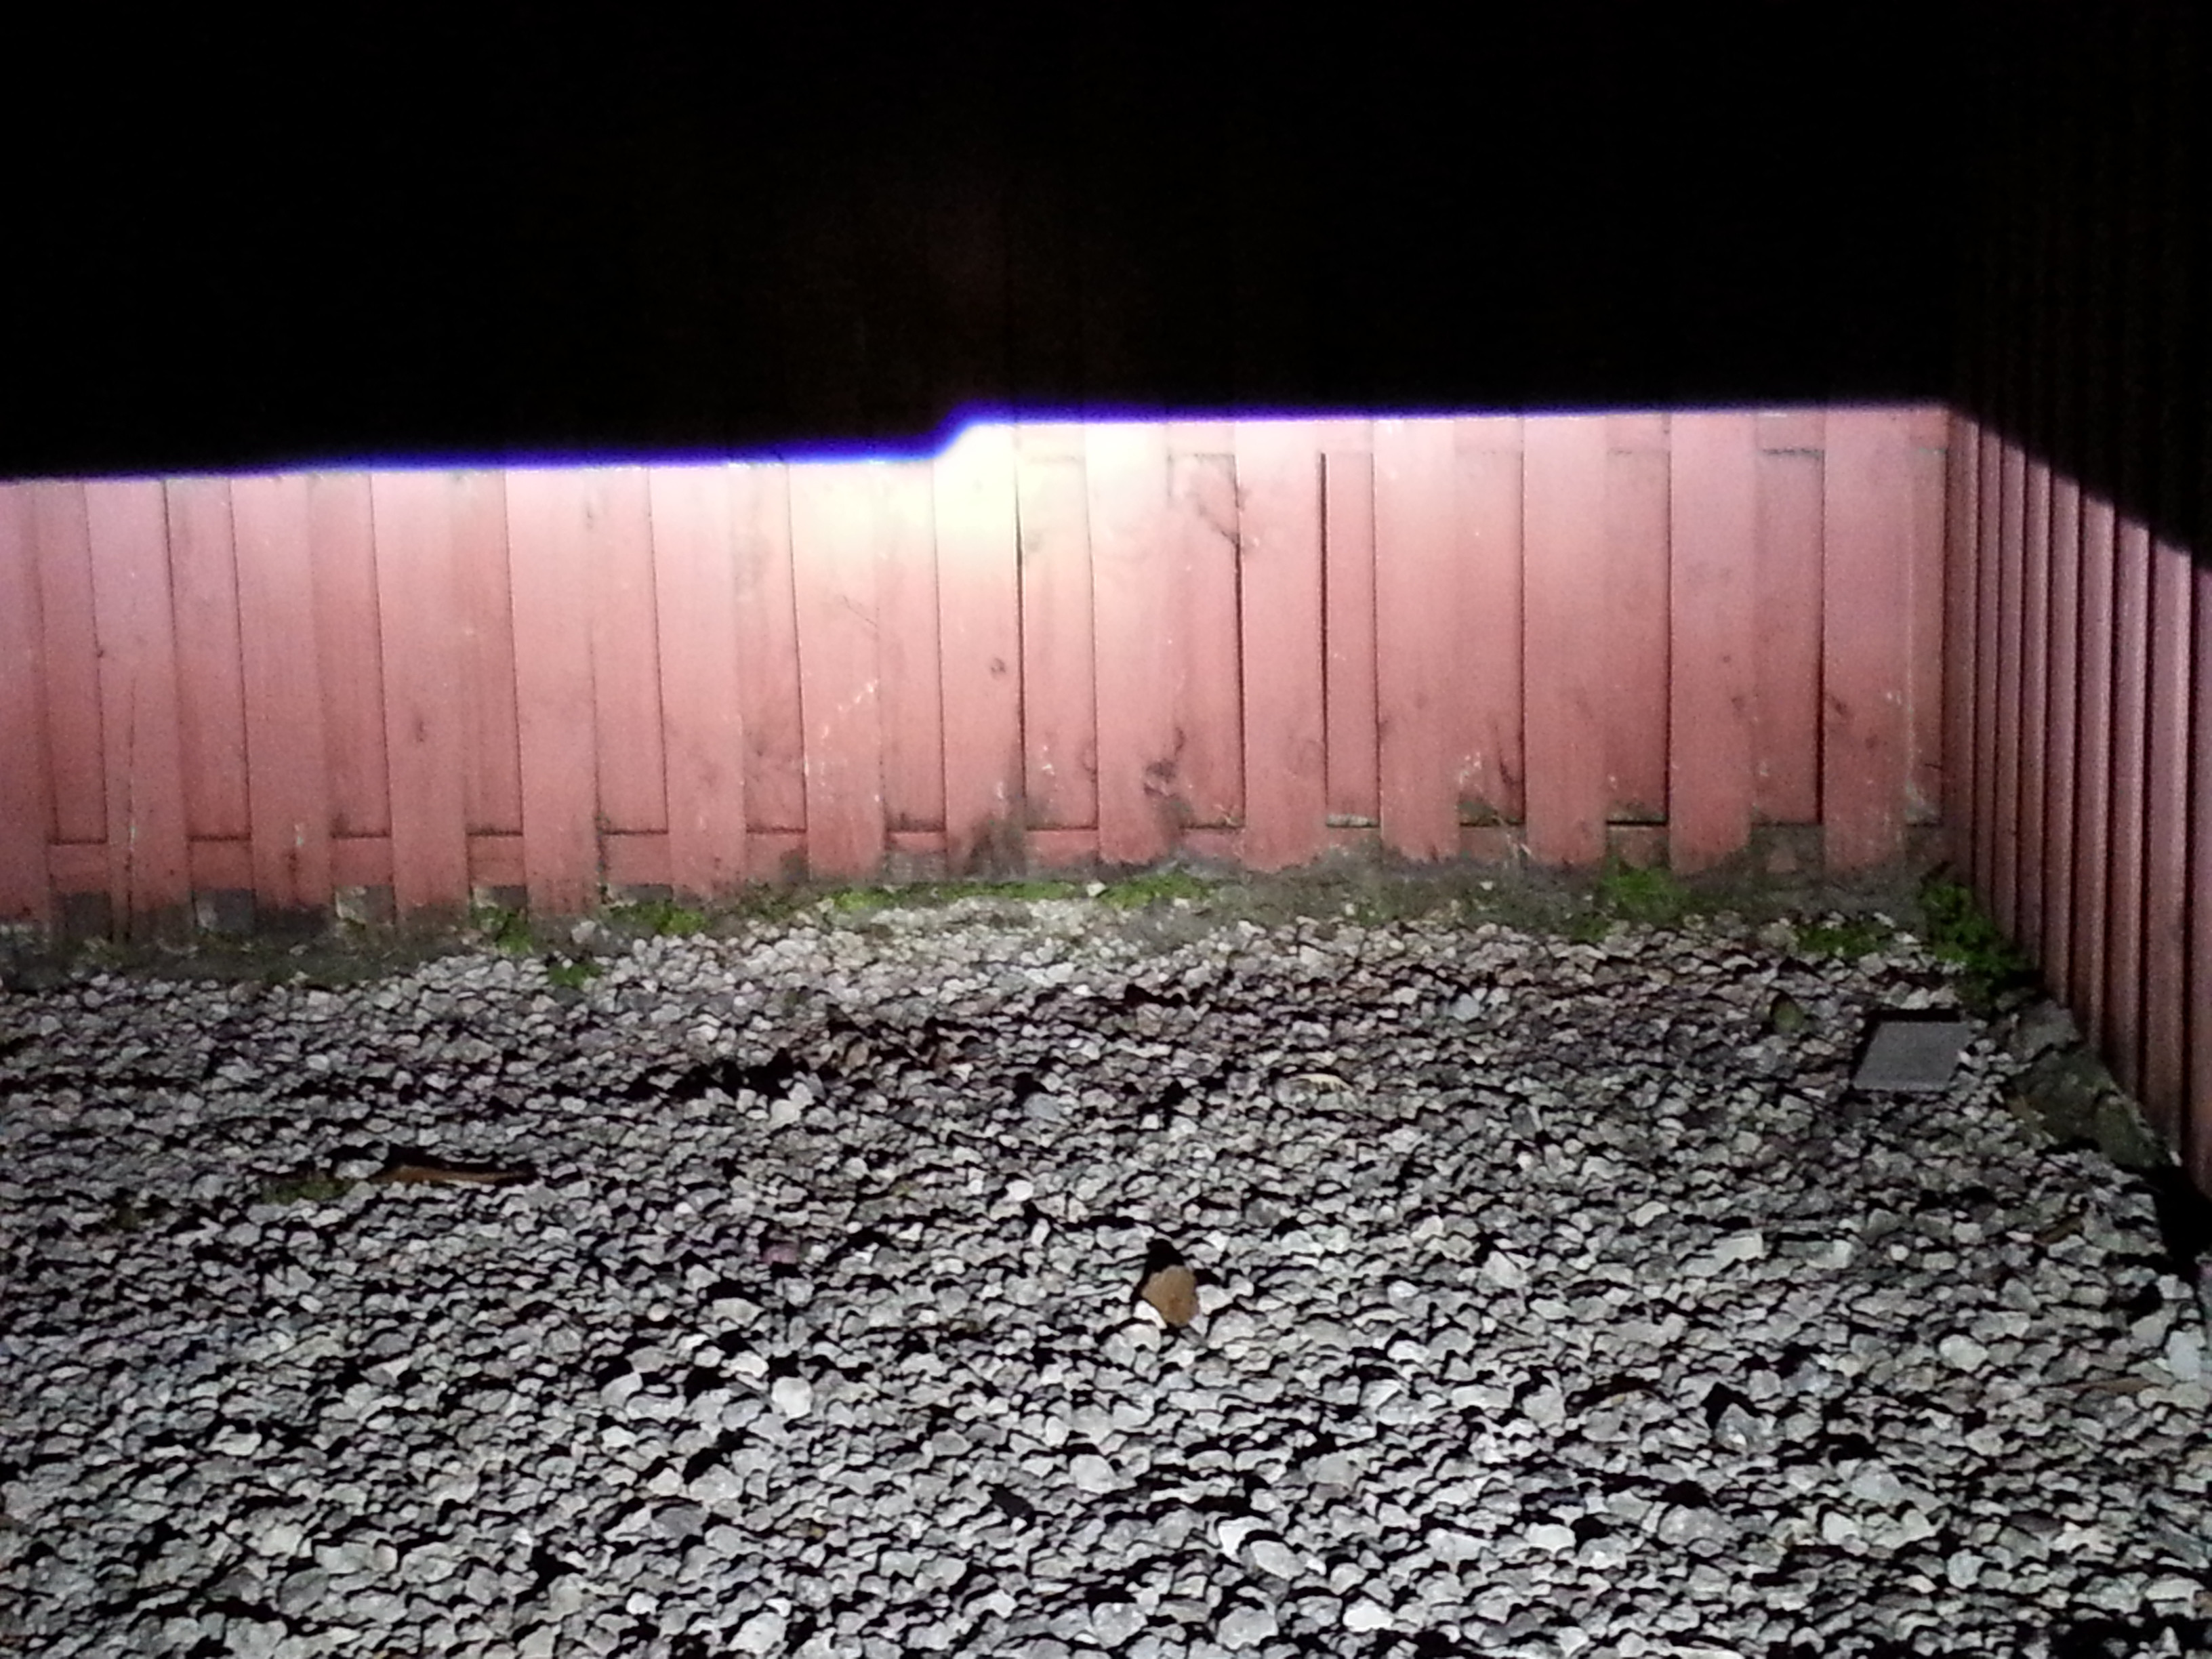
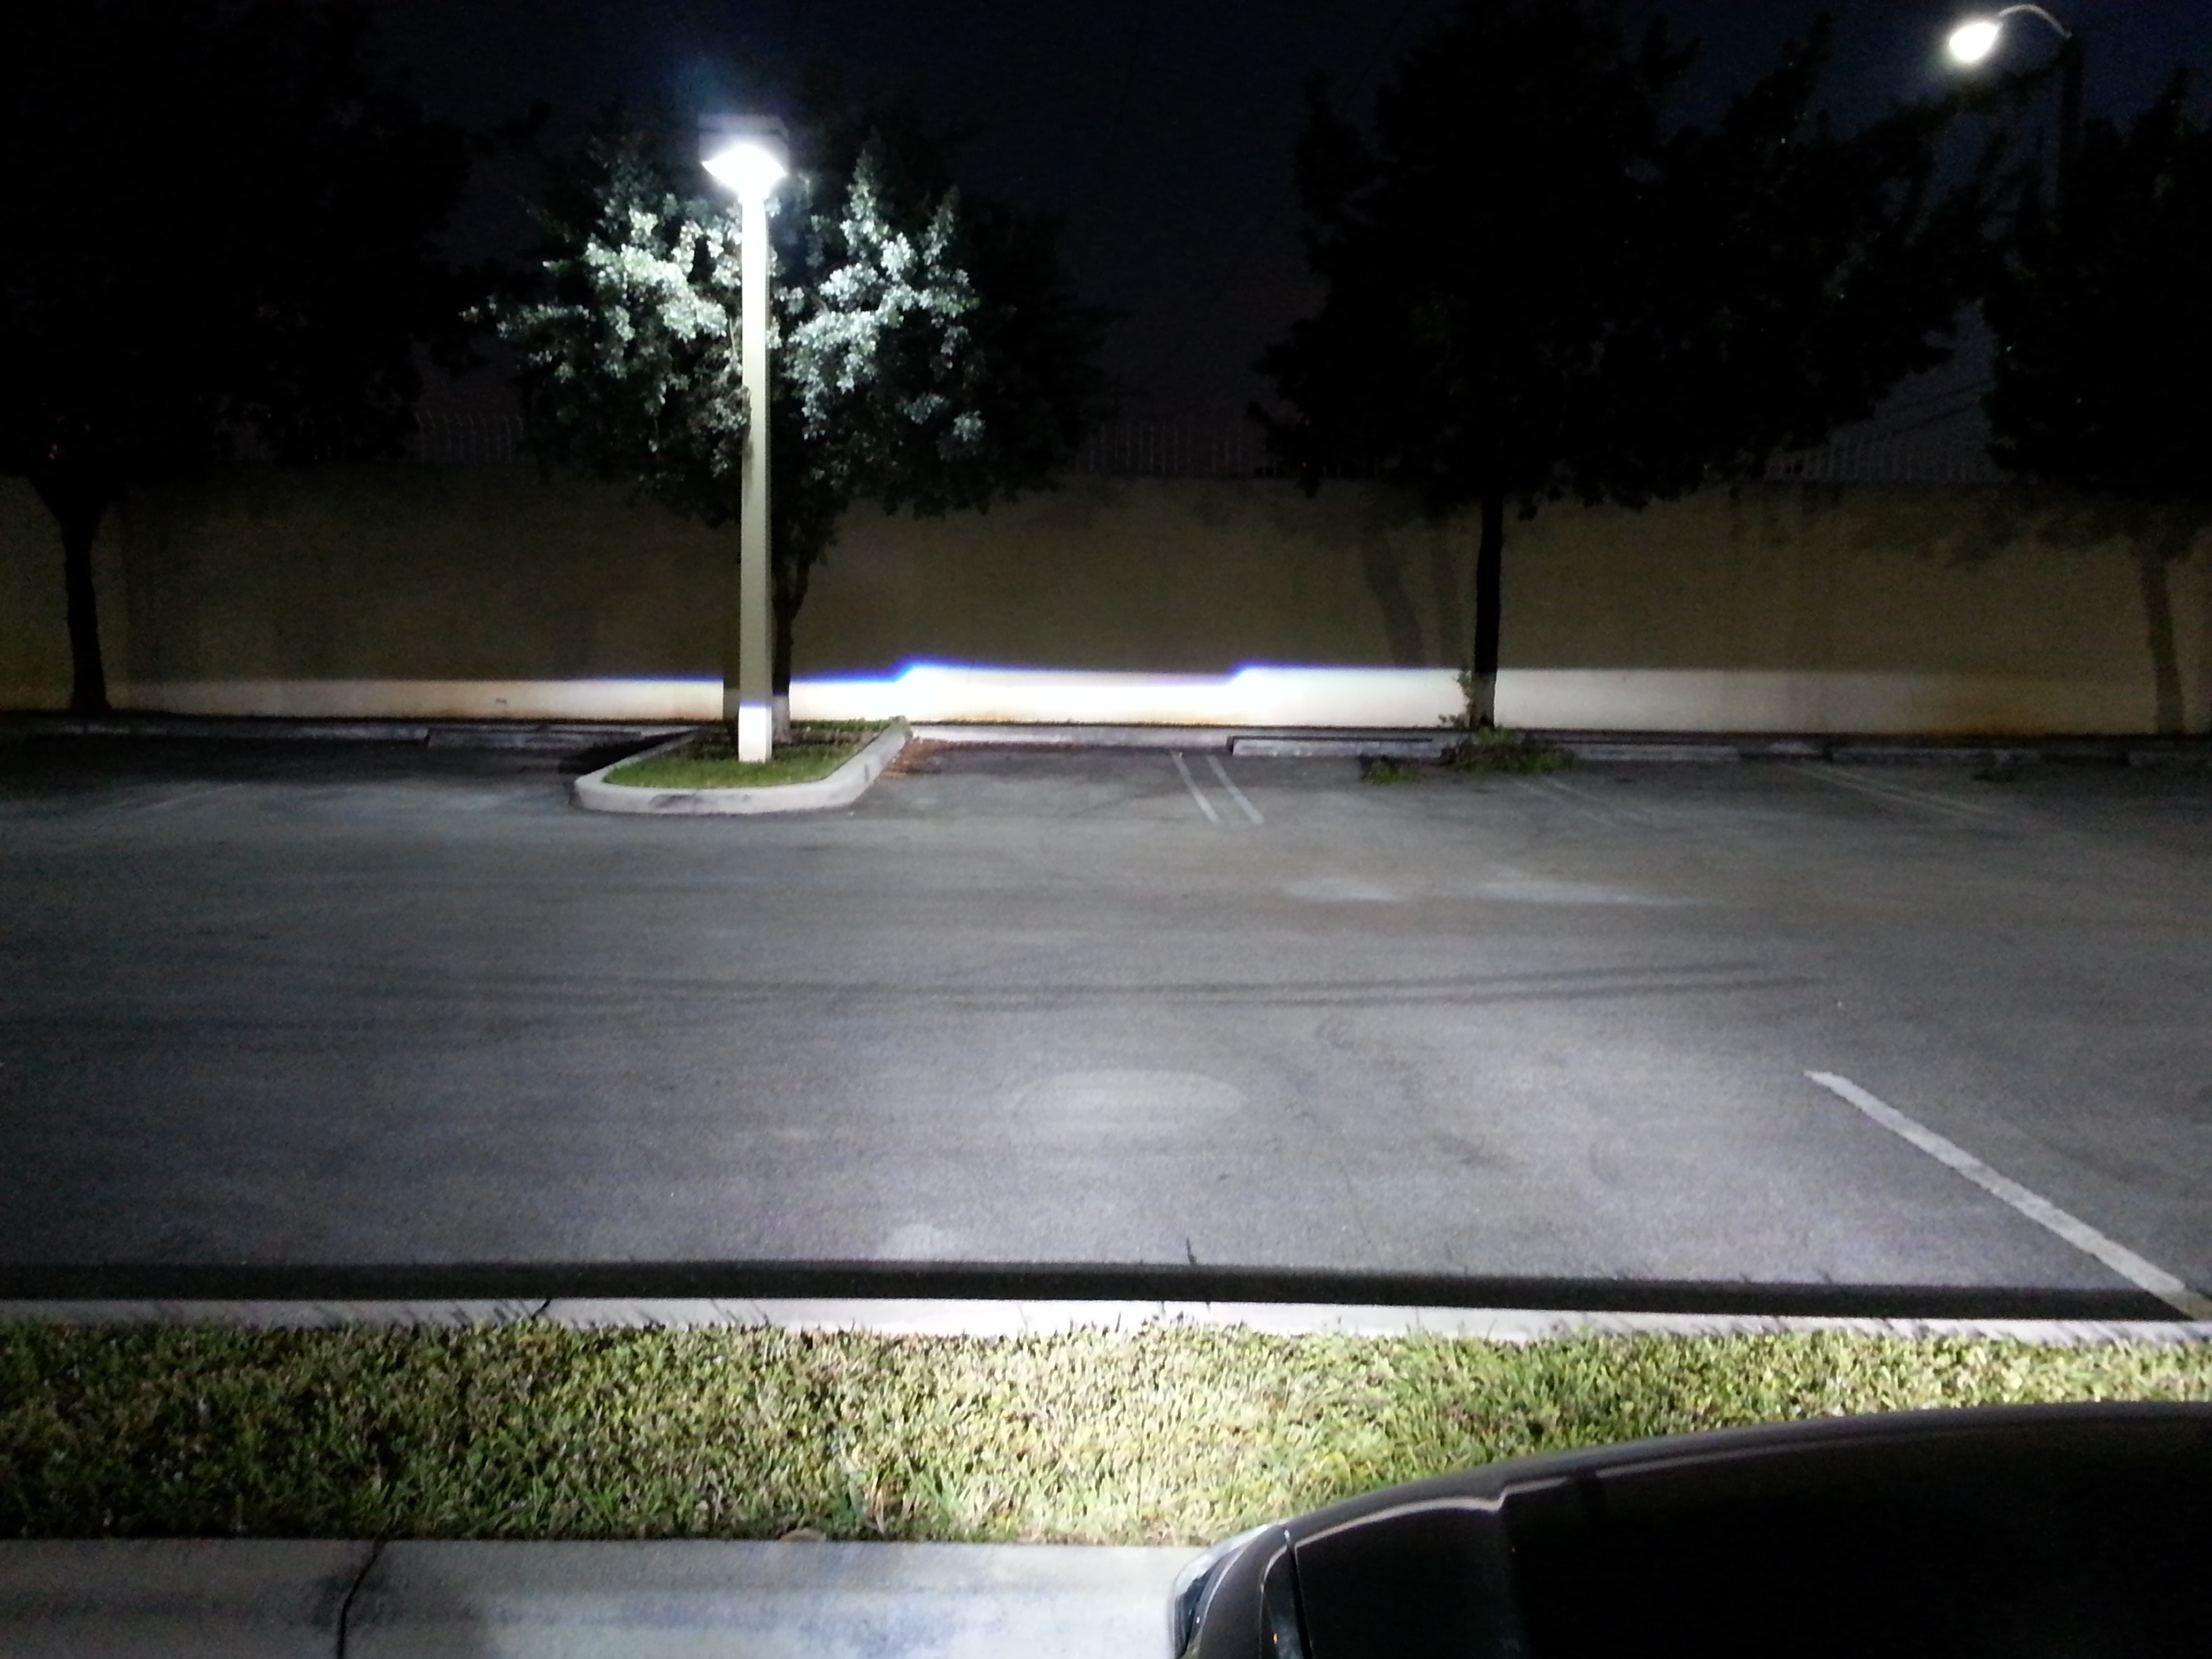
Here are the projectors and their light output.
stuff i used:
*Oven pre-heat it to 210 deg. and once its ready place wet cardboard inside and place headlight on top.
*long flat head screwdriver to break headlight seal.
*Green painters FROG tape
*Dremmel
*Dupli-Color Metal specks paint code MX100 GRAPHITE TEXT MET
* 300grit sand sheets wet & dry
*automotive grey primer
*Ebay 90mm halo rings with plastic diffuser
*80mm rubber caps theretrofitsource.com
*D2S Morimoto 5,000k bulbs
*MORIMOTO D2S 3.0 Round projectors
*D2S adapters
*BUTYL sealant theretrofitsource.com
It begins with this box
actual projector
I decided to paint the housing and Sand down areas that will be painted, I used PAINTERS FROG TAPE to cover area that I wanted to leave chrome
If you decide to add halos I recommend the ones with the plastic diffuser, I went with the evil look.
cover the areas of the rings that will not be painted
close up look
Now this is where things get messy. My best advice is to get the projector to sit as straight as possible on the bracket and follow my points listed below, this will help you align the projector. All you are doing is trimming down the existing tabs where the screws go to and making 2 small new holes so you can screw the new projector. I wanted to build a custom bracket but it required a lot of work and time so this method turned out quite perfect for me. The projectors sit a bit higher but it does not affect anything such as light output or obstruct other parts of the headlight housing.
drill 2 new holes using the dremmel bit, go easy on the dremmel.
trim down here until the new projector sits flush on the bracket
trim on the upper corner to make the projector sit flush
finally mount the projector using the existing screws (YOU WILL ONLY USE 2 SCREWS, ONE ON EACH END IT IS ENOUGH TO SUPPORT THE PROJECTOR)
Here is where the plug to activate the high beams plugs into, right under the projector.
run the wires through the back of the headlight.
you will now need D2S adapters that plug into the new bulbs and 80mm rubber caps. what i did was cut a small opening on the back of the caps to run the wires through and apply silicone to seal it up.
BEFORE CLOSING THE HEADLIGHT BACK UP CLEAN THE PLASTIC LENS WITH SOAP AND WARM WATER, BE SURE THERE ARE NO FINGER PRINTS, DUST, STAINS OR HAIR INSIDE THE HEADLIGHT HOUSING!
final result using gunmetal Dupli-Color Metal specks paint
Here are the projectors and their light output.
Last edited by KILLER; 03-17-2014 at 05:32 PM.

 03-18-2014, 10:39 PM
#6
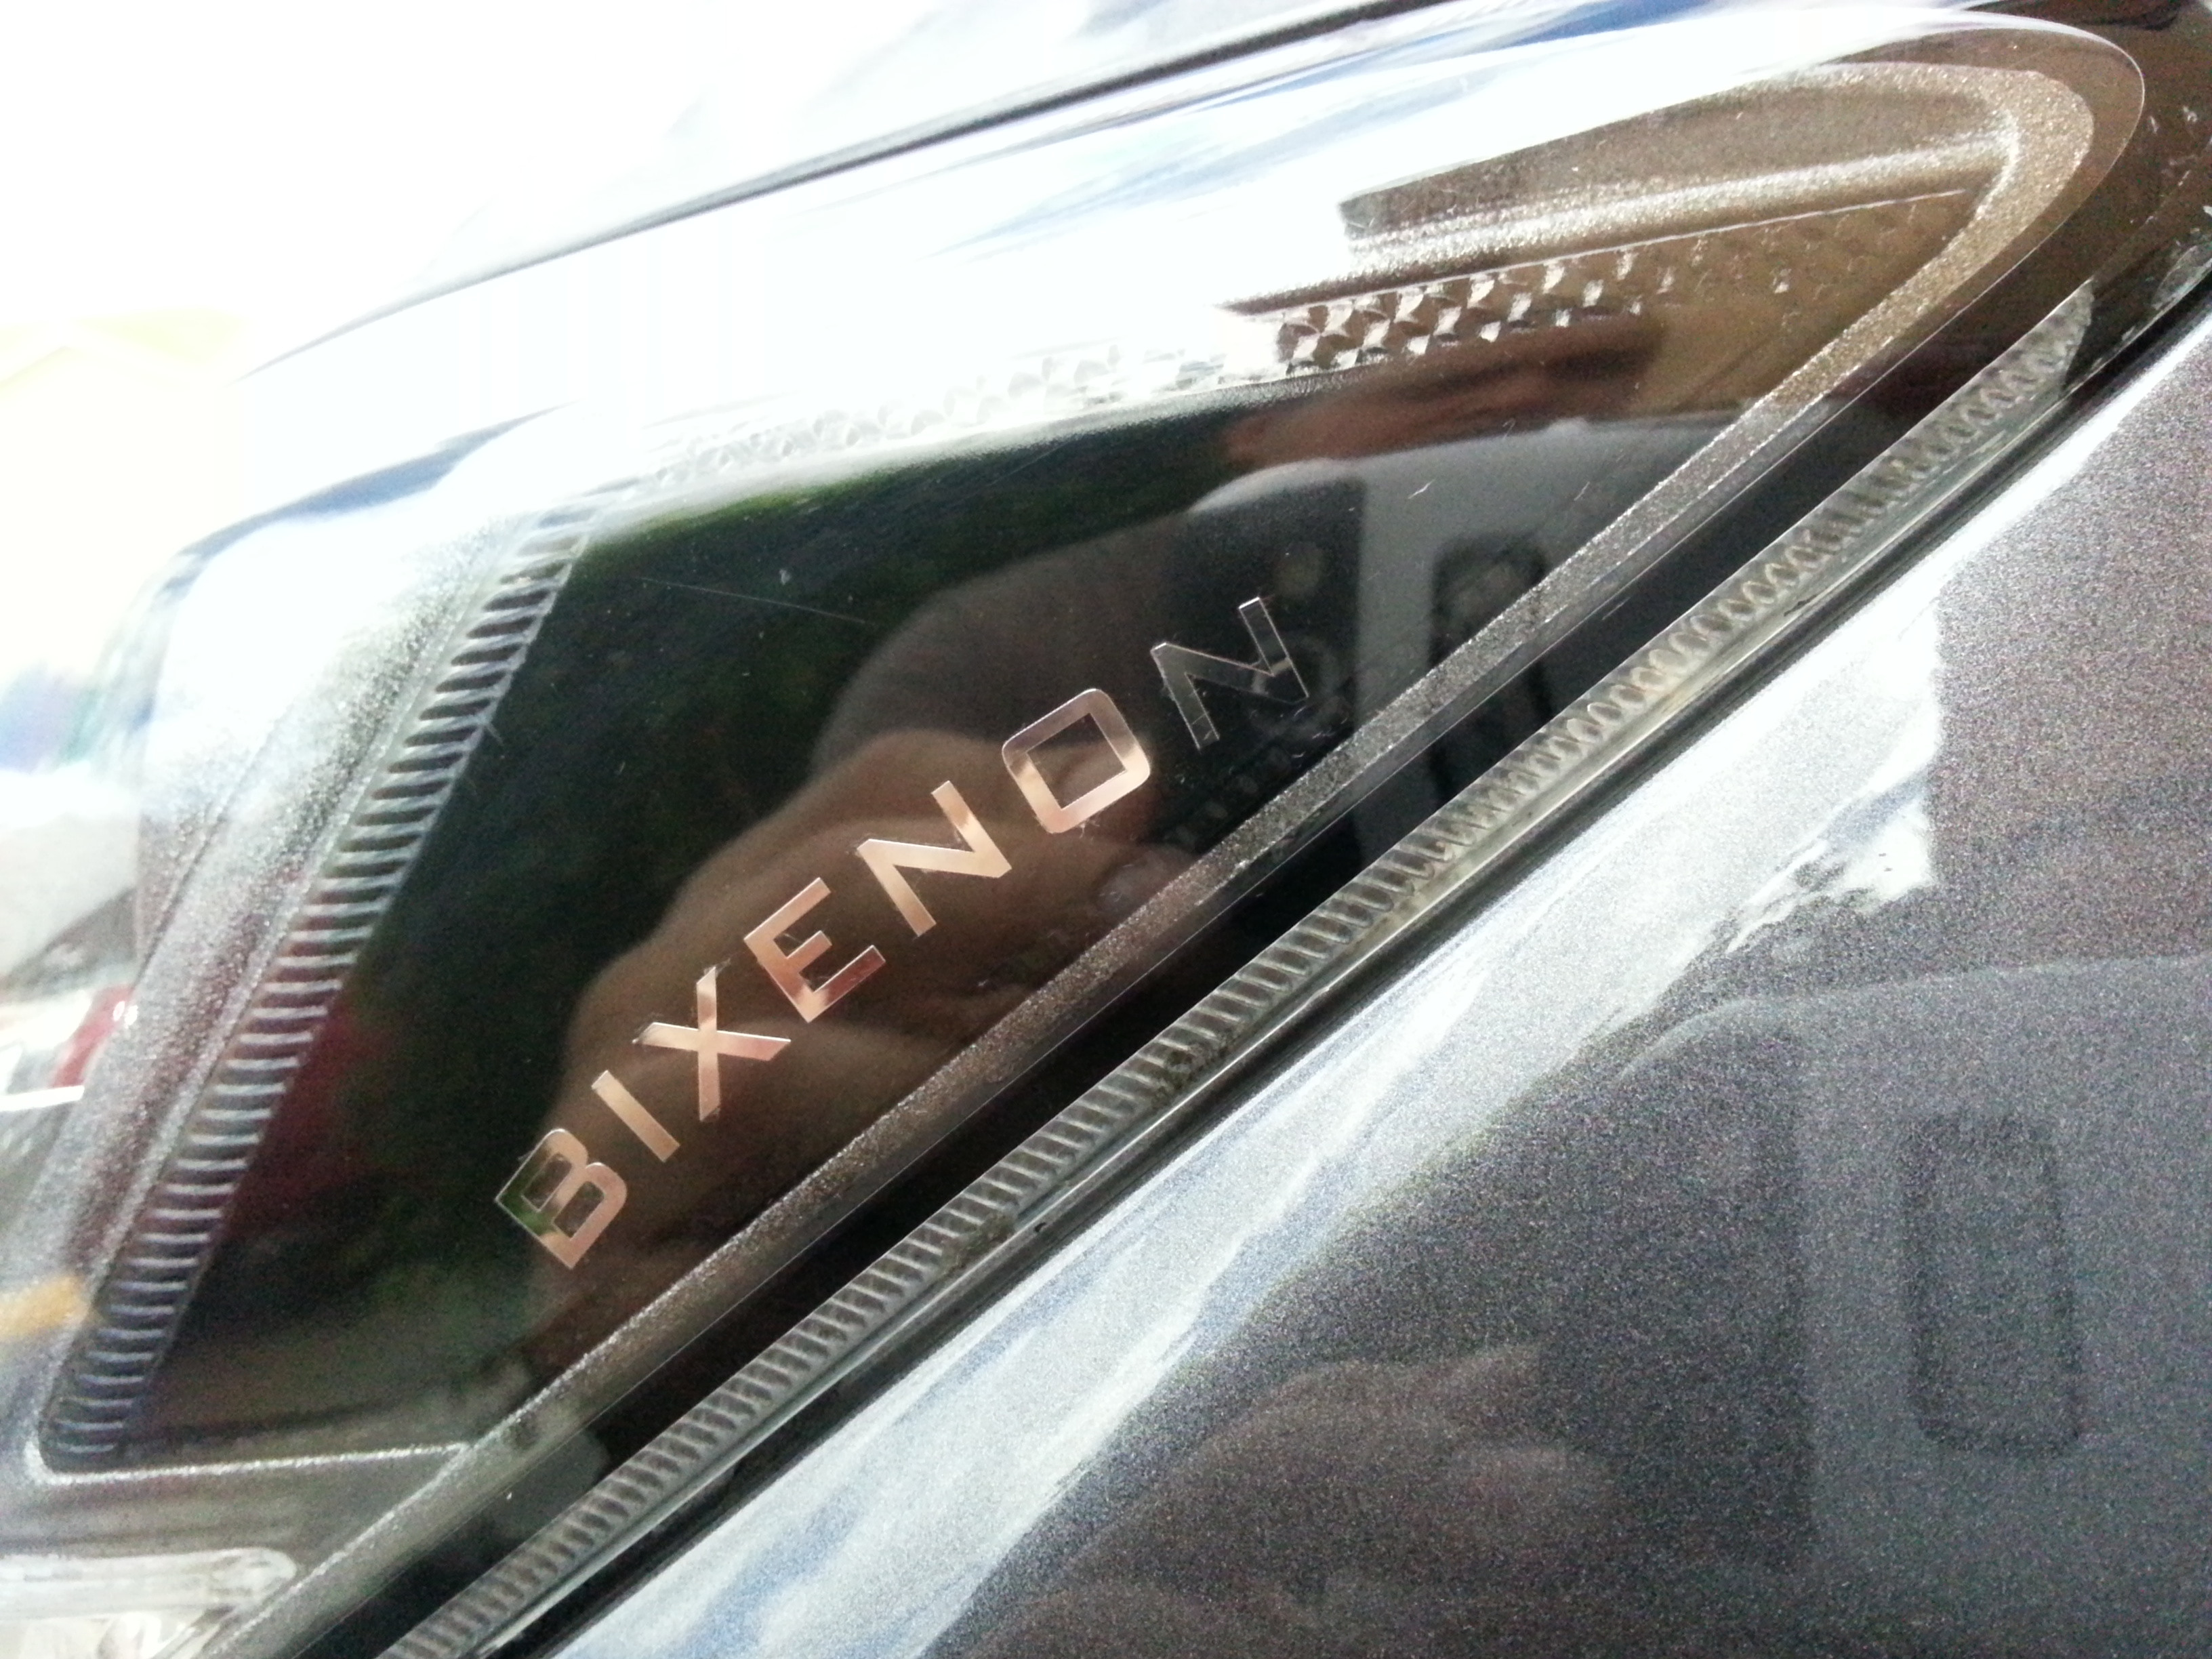
you're crazy man. a good crazy. looks sick. LOVE the black paint job with the chrome accents. I wish the bi-xenon decal was not rounded, but it's not very noticeable. your cutoff looks almost as good as mine :-D...jkjkjkjkjkjk

Thread
Thread Starter
Forum
Replies
Last Post
SJMiller
Scion xB 2nd-Gen Owners Lounge
0
09-12-2015 06:33 PM