
Dome Assembly (Hard Wire)


Junior Member
Joined: Nov 2013
Posts: 6
You're welcome, it wasn't quite as bad as I thought it was going to be.
All I did was take a semi thick flat head screwdriver, wrap the head in
electric tape a few times (any tape will do) this is just to protect the
plastic. Go in the middle front of the dome assembly (end closest to
you) stick the screwdriver between the "cloth" covered card board
and the dome assembly and pry down gently until you hear the clips
snap. Then do the same on the left side of the dome and the right side,
note: on the sides you're better off prying from the left and right sides
of the side of the dome assembly, if that makes sense. You should be
able to pop the assembly off now, although be careful because there
are wiring harnesses attached to the assembly.
Note: you can push the hardwire between the cloth in the windshield as
an exit point, makes it look neater.
Also make sure you really secure the box (if you're using a V1 power kit)
to something, as I only used the included velcro and mine came loose after
a while, and on the highway it vibrated up a storm.
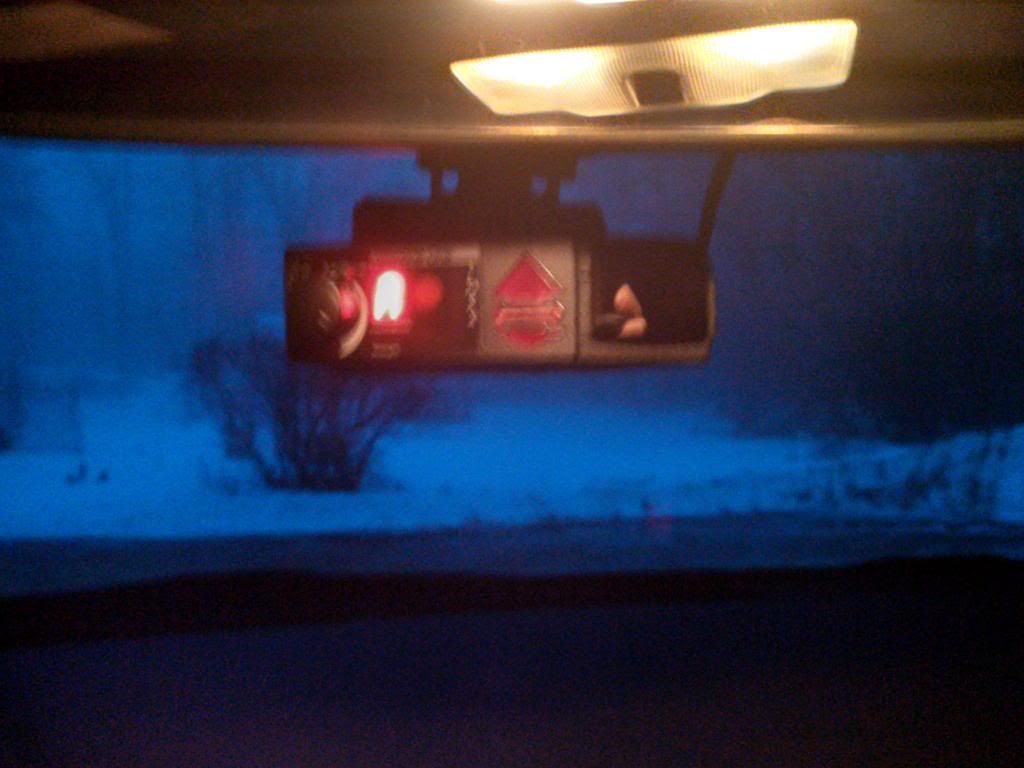
This is what it looked like after, (I have really shaky hands so the photo quality is bad)
All I did was take a semi thick flat head screwdriver, wrap the head in
electric tape a few times (any tape will do) this is just to protect the
plastic. Go in the middle front of the dome assembly (end closest to
you) stick the screwdriver between the "cloth" covered card board
and the dome assembly and pry down gently until you hear the clips
snap. Then do the same on the left side of the dome and the right side,
note: on the sides you're better off prying from the left and right sides
of the side of the dome assembly, if that makes sense. You should be
able to pop the assembly off now, although be careful because there
are wiring harnesses attached to the assembly.
Note: you can push the hardwire between the cloth in the windshield as
an exit point, makes it look neater.
Also make sure you really secure the box (if you're using a V1 power kit)
to something, as I only used the included velcro and mine came loose after
a while, and on the highway it vibrated up a storm.
This is what it looked like after, (I have really shaky hands so the photo quality is bad)

Senior Member
SL Member
Joined: Jul 2009
Posts: 196
From: Gaithersburg, MD
Hey just wanted to say thanks for this post! I had no idea which wire to tap on my girlfriends new 2014 tC. I just installed the Passport 8500 and it was the turquoise wire right above the thick pink wire. Thanks again! Works great!

Junior Member
SL Member
Joined: Oct 2024
Posts: 5
From: NC
SOLVED:
Just installed the Valentine 1 using the Hard wire T-Tap.
For anyone else looking for the Switched wire to tap to, it's the Greenish wire, located right above or below the thick Pink wire - Depending on how you're looking at the Sunroof Harness. Just tap into it about an inch before the Harness right where the off colored rings are. For the ground I bent the ground clip out and attached it to the bolt for the Sunroof Motor I guess? To take that off it's a 10mm bolt.
I was going to make a 2012 Scion Tc - DIY Radar Hardwire .. But I'm sick and just wanted to do it before I had to go to bed. I have to say, Connecting the T-Tap was much easier than setting up the Blendmount. That thing was a pain in the ****' to get on and pointed the right way and tightened up!
As seen here in this Diagram :
Attachment 30573
If you need anymore Diagrams I have everything for the 2012 Scion Tc.

Super Moderator
SL Member
SuperMod
Joined: Aug 2006
Posts: 1,232
Junior Member
SL Member
Joined: Oct 2024
Posts: 5
From: NC
Super Moderator
SL Member
SuperMod
Joined: Aug 2006
Posts: 1,232

Thread
Thread Starter
Forum
Replies
Last Post
wonderworm
Scion xA/xB 1st-Gen ICE & Interior
7
Nov 19, 2023 01:44 AM
Inazuma
Scion xA/xB 1st-Gen ICE & Interior
20
May 3, 2023 01:58 AM