When you click on links to various merchants on this site and make a purchase, this can result in this site earning a commission. Affiliate programs and affiliations include, but are not limited to, the eBay Partner Network.
**Notes**
Removed Parts:-
Place all removed parts on a protected surface.
Connectors:-
When disconnecting connectors, do not pull on the
wires; pull on the connectors.
Wire Ties:-
When using wire ties to secure harness, clip the
wire ties after securing them.
A. Remove Battery Cable.
1. Remove the negative battery cable.
i. Protect the fender before starting.
ii. Do not touch the positive terminal with
any tool when removing cable.
B. Install Fog Lights.
1. Starting installation on passenger side.
2. Turn the steering wheel until it stops at full
lock allowing access to the back of the front
fender.
3. Remove the screw securing the fender liner.
i. Carefully pull and loosen the fender liner.
4. Reaching from the back of the fender, push
the fog lamp knock out cover while
pressing in its retaining claw located on the
back of the cover to remove.
i. Discard knock out cover.
Install the fog light assembly RH to opening.
6. Repeat Steps B. 2.to B. 5 for driver side.
C. Install Fog Light Harness.
1. Starting installation on driver side.
2. Route the fog light wire harness through to the
underside of the LH headlight assembly at the
positions shown.
3. Connect the 1P connector (fog light wire
harness) to vehicle side 1P connector
4. Connect the 2P connector (fog light wire
harness) to fog light assembly LH.
Route the fog light wire harness through
inside of the radiator support upper to right
side.
6. Route the fog light wire harness along main
vehicle harness to chassis ground bolt
7. Remove and insert the chassis ground bolt
through the ring terminal of fog light wire
harness.
8. Route the fog light wire harness though the
hole below headlight along vehicle harness.
9. Secure the fog light wire harness to vehicle
harness with three tie straps
10. Connect the 2P connector (fog light wire
harness) to fog light assembly RH
11. Secure the fog light wire harness to radiator
support upper with four (4) tie straps
D. Install Fog Light Switch.
1. Remove the instrument panel cover.
2. Remove and discard far right knock out cover
from mirror control panel position
3. Locate the 4P connector secured with vehicle
wire harness. Pull the 4P connector
through opening.
4. Connect the 4P connector to the fog light
switch.
5. Correctly orientate switch in hole
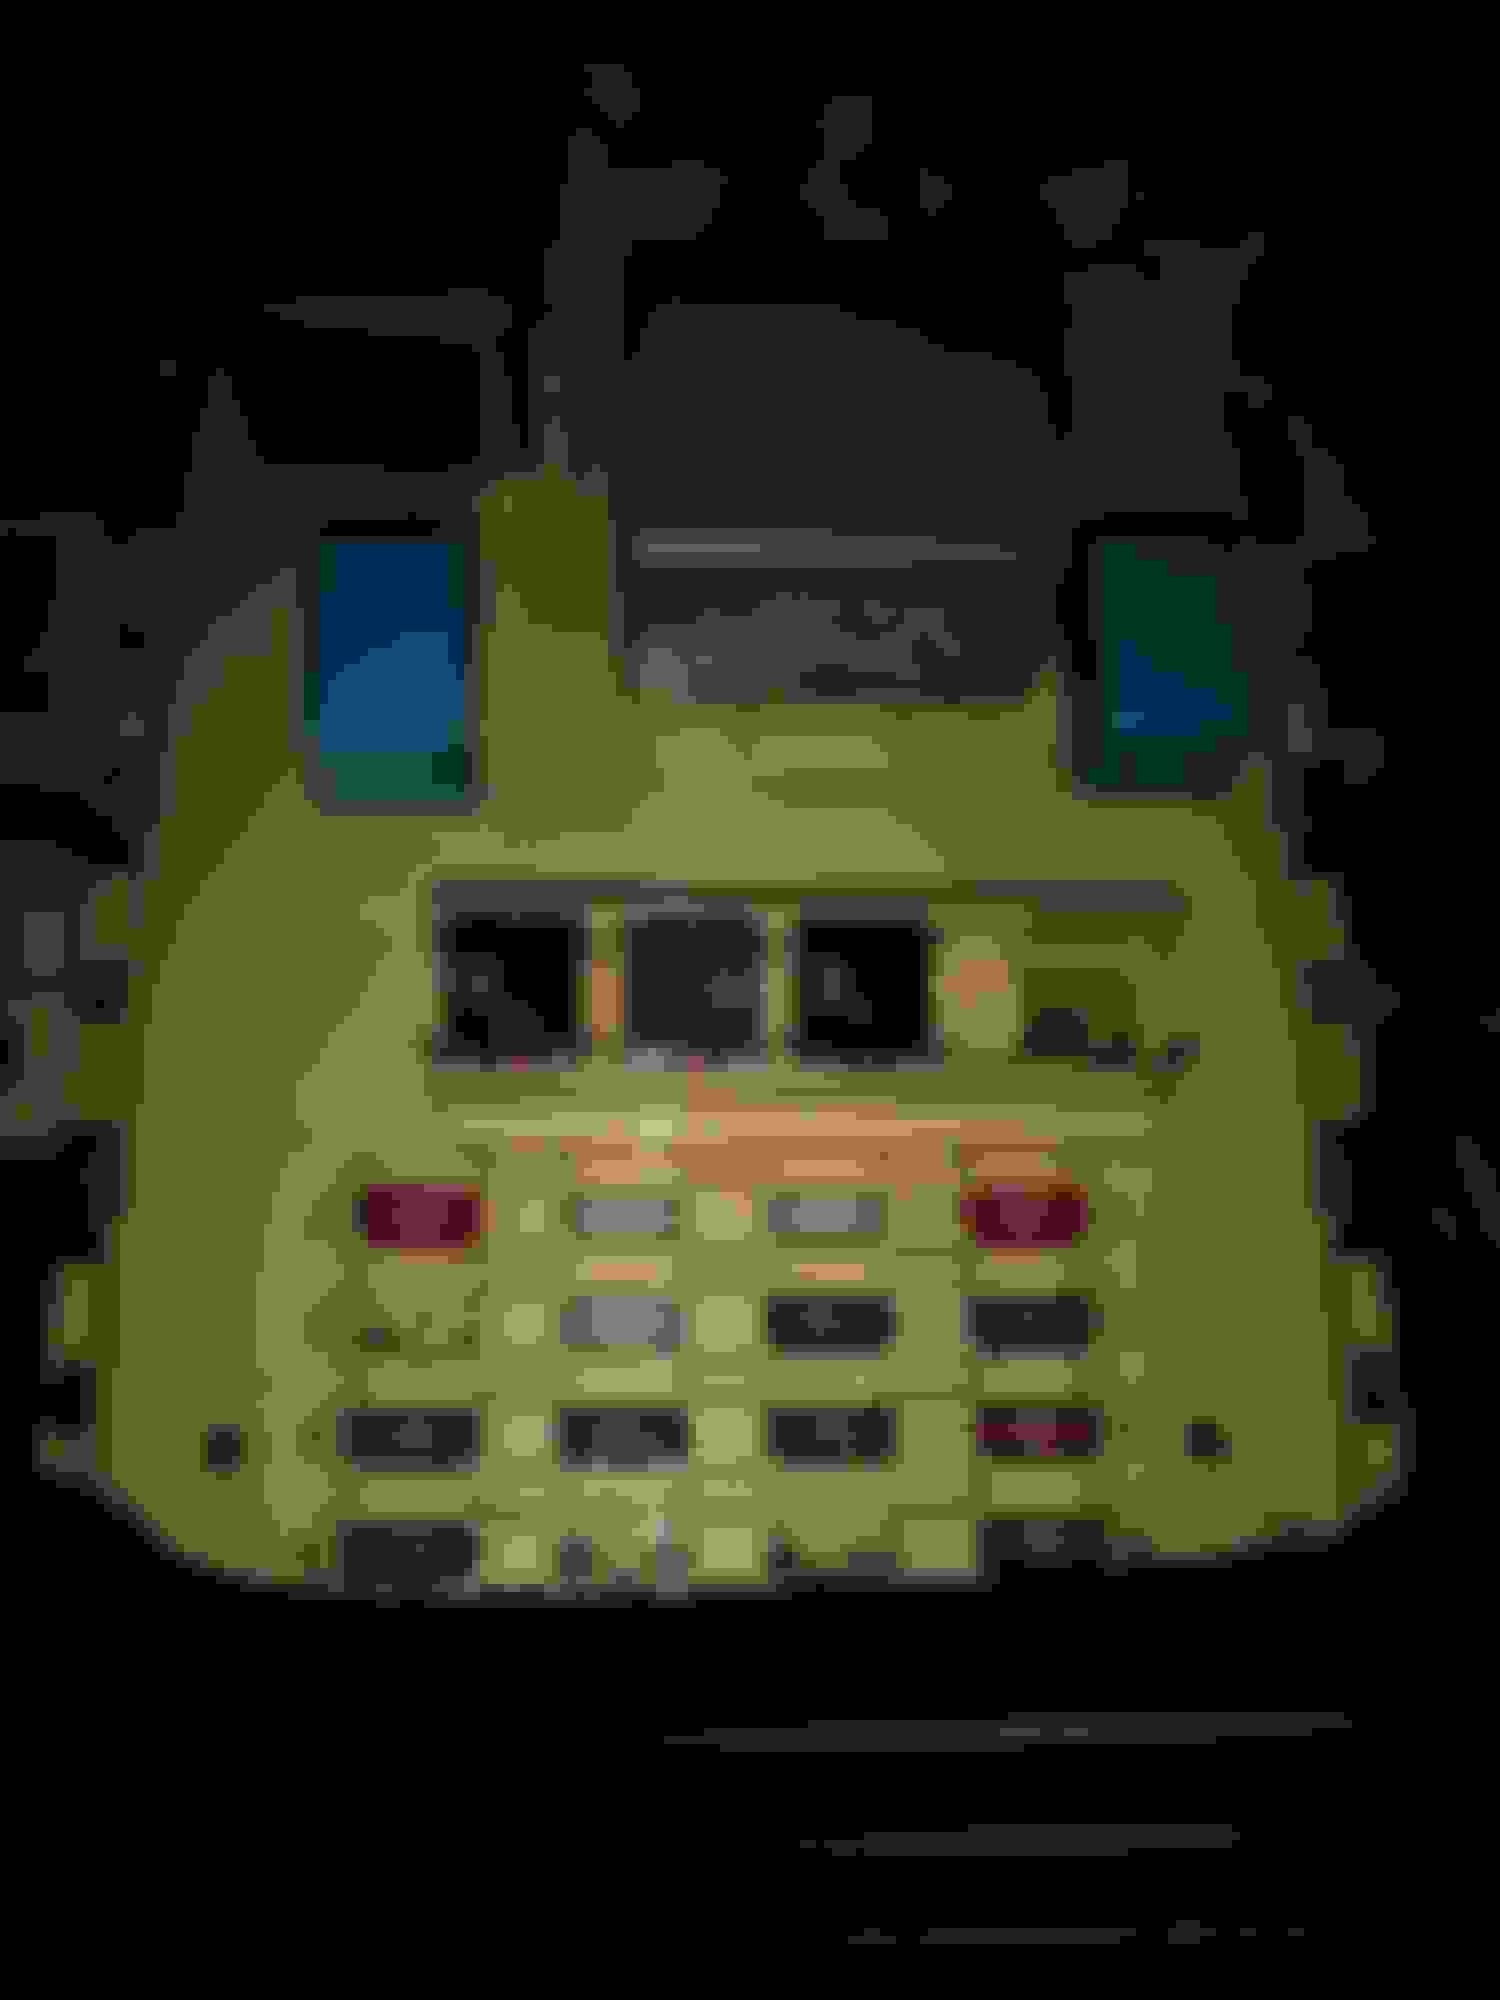
Determine proper relay location.
7. Install kit supplied relay into the relay block.
E. Reconnect Negative Battery Cable.
1. Reconnect the vehicle's negative battery cable.
i. Position the negative terminal to the
battery (~45 deg.).
ii. Tighten the nut to 4.1 N-m (36 lbf-in).
iii. Do not touch the positive terminal with
any tool when replacing the cable.
F. Reassemble Fender Liners.
1. Replace the fender liner.
i. Replace and tighten the screw securing the
fender liner on both sides of the vehicle.
G. Aiming Instructions.
1. Position vehicle on flat surface at a distance of
25 feet (7.6 m) from the fog light to the wall.
i. Measure the distance from the center of
the lamp to the ground and mark off the
same height on the wall. This is your fog
light centerline.
ii. Adjustment of the fog lights is done by
turning the adjustment screw using a
Phillips screwdriver.
iii. Turn on the fog lights and adjust them so
that the top of the beam (high intensity
portion) falls 4 inches (102 mm) below the
top mark on the wall (fog light centerline)
2. Alternate aiming method: Use Hella
Photometric Beam Setter (or equivalent) to
correctly align fog light beam.
i. Adjustment of the fog lights is done by
turning the adjustment screw using a
Phillips screwdriver.
I have used the search function in the xA and xB forum but come up empty handed.
A lot of the links for pictures are dead now.
Read most of the post regarding the install of the relay, the so called pre-wired factory harness to mount an OEM Fog light kit on my 2006 xA
Actually removed the seat in my car and crawled under the dash, and looked at the wiring.
Located one harness with two wires against the firewall, wrong connection plug for the fog light switch and also way to short to reach that location.
Does anyone have a picture of where they found their harness taped up ?
3. Locate the 4P connector secured with vehicle
wire harness. Pull the 4P connector
through opening.
4. Connect the 4P connector to the fog light
switch.
5. Correctly orientate switch in hole
Determine proper relay location.
7. Install kit supplied relay into the relay block.
E. Reconnect Negative Battery Cable.
1. Reconnect the vehicle's negative battery cable.
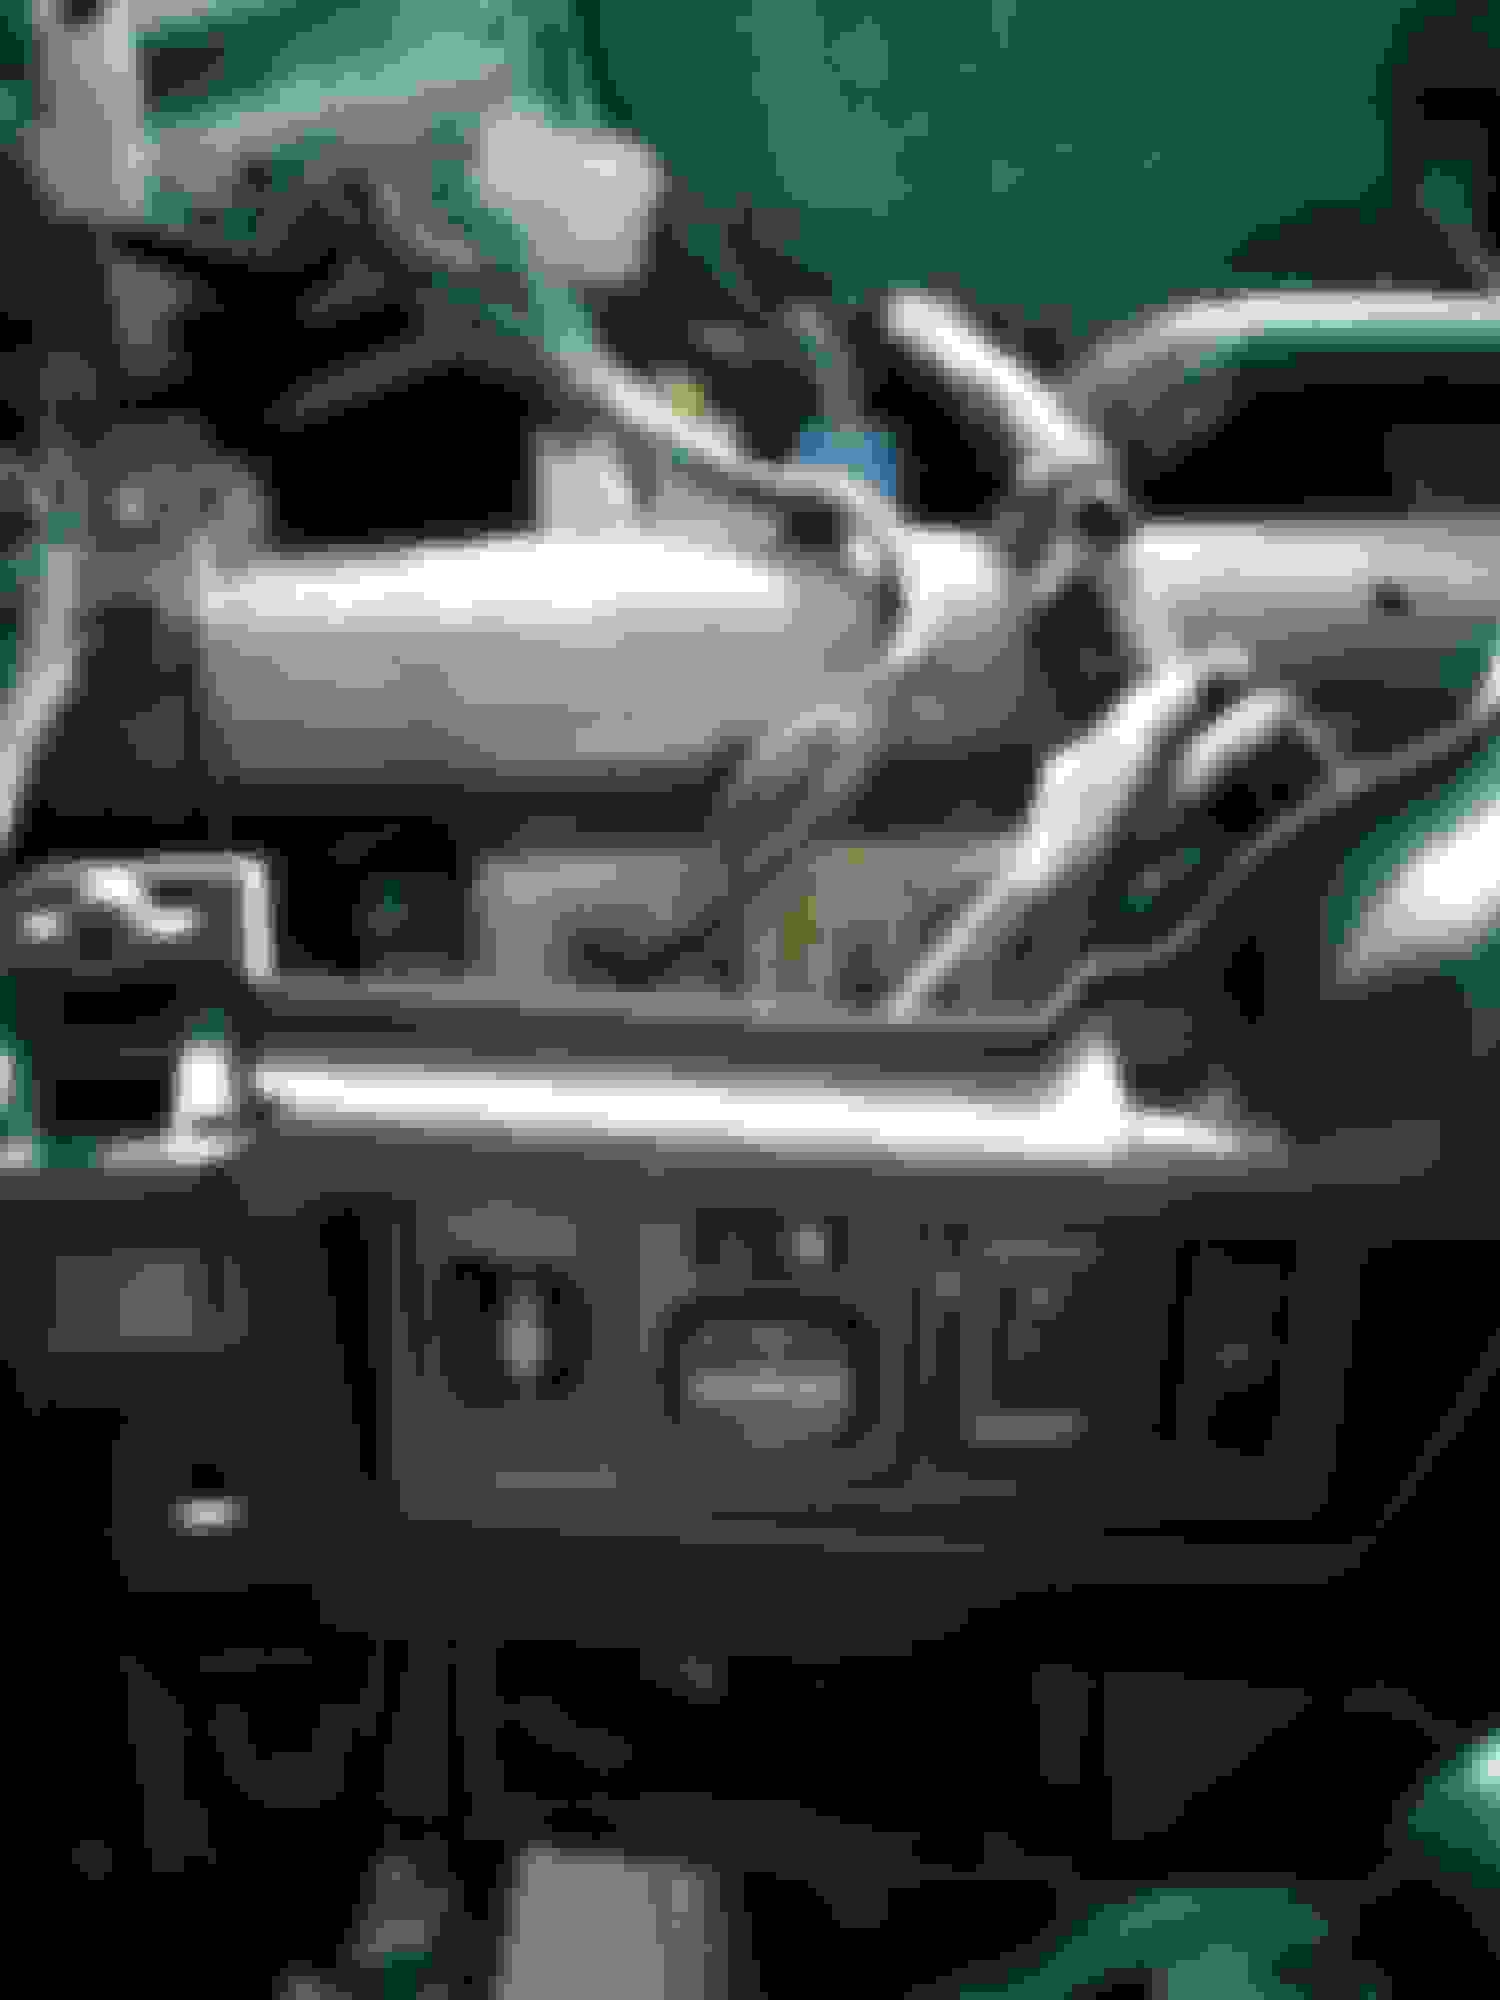
It was just bugging me that no one else had any pictures posted of the 2006 xA wiring harness.
So I went off to the bone yard this morning and found a 2004 xA with the factory Fog Lights and associated harness.
The following pictures might also prove helpful for other issues around the fuse box.
Last edited by MR_LUV; Aug 11, 2019 at 02:58 AM.
Reason: Move Posts to Correct Thread by Administrator
Here you can see the wiring loom for the Fog Lights, Dimmer, Mirrors and the Security light, fastened to the metal bar, above and to the right of the fuse box.
A little late in the game, but I just installed the fog light kit from Toyota on my '06. Less than $100 and included everything, including very good instructions.
The YouTube video showing how to reach behind the fuse panel to install the relay was also a huge help.
Wish I would have found a video, when I started looking for information. Specific to finding that elusive wiring loop from the factory.
Perhaps you can share the link ?