DIY: TYC Tails without wiring harness
 02-29-2012, 12:16 PM
#1
Senior Member
SL Member
Thread Starter

Join Date: Mar 2005
Location: Southern Florida
Posts: 167
Hi,
If you bought a used set of the infamous TYC tail lights that came without the wiring harnesses, as mine did, I have ordered parts to re-create a wiring harness to salvage your currently unusable tails.
From the pictures, I think the items I ordered will mostly work without modification.... The hardest item to find is the male power connector to directly plug into the Scion's tail light wiring. Won't know for sure until everything arrives.
Power connector coming from Taipei....
One of the holes, top one/turn signal, seems to use an oddball socket-twist on tab pattern, so I may have to do a little improvising on the socket I ordered.
One company wanted almost $150.00 for a set of the male/female power connectors...I kid you not !!!! Stealerships are not alone in ripoff business !!!
Last edited by MR_LUV; 01-09-2018 at 10:24 PM. Reason: typo

 03-01-2012, 04:07 AM
#3
Senior Member
SL Member
Thread Starter
Join Date: Mar 2005
Location: Southern Florida
Posts: 167
Hi,
Well I am about 90% confident I have ordered parts to re-create these wiring harnesses. Today I ordered some (male & female) power connectors that look to be a match for the OEM tail light connector in my 2005 xB.
They are coming from Taiwan so it will be a week or so to get here; but the pictures look VERY close, tho perhaps made by a different company than what Toyota used. I will have to dig up my crimping tool,
as the kit lets you populate the connectors as you see fit.
Will have to do some power circuit tracing on the OEM connector and tag the wires accordingly.... But its only 5 wires to trace with my multiimeter.
Reverse, Turn-Signal, Stop-Light, Parking-Light, and Ground.... Shouldn't take too long.... Might have to task one of the kids to help me....
David
Sammydad1
Last edited by MR_LUV; 01-09-2018 at 10:19 PM. Reason: typo
03-01-2012, 05:26 AM
#4
Senior Member
SL Member
Thread Starter
Join Date: Mar 2005
Location: Southern Florida
Posts: 167
Yazaki 2.3(090) Connectors Unsealed 6 Position Female Housing [Natural].... Toyota Part: 90980-10414 is the female tail light connector at the end of the wires that plugs into the normal xB OEM tail.
Here are the Male & Female Power connectors I got.... The wiring harness only uses the Male as the Tail light wire bundle for the car comes with a Female connector.
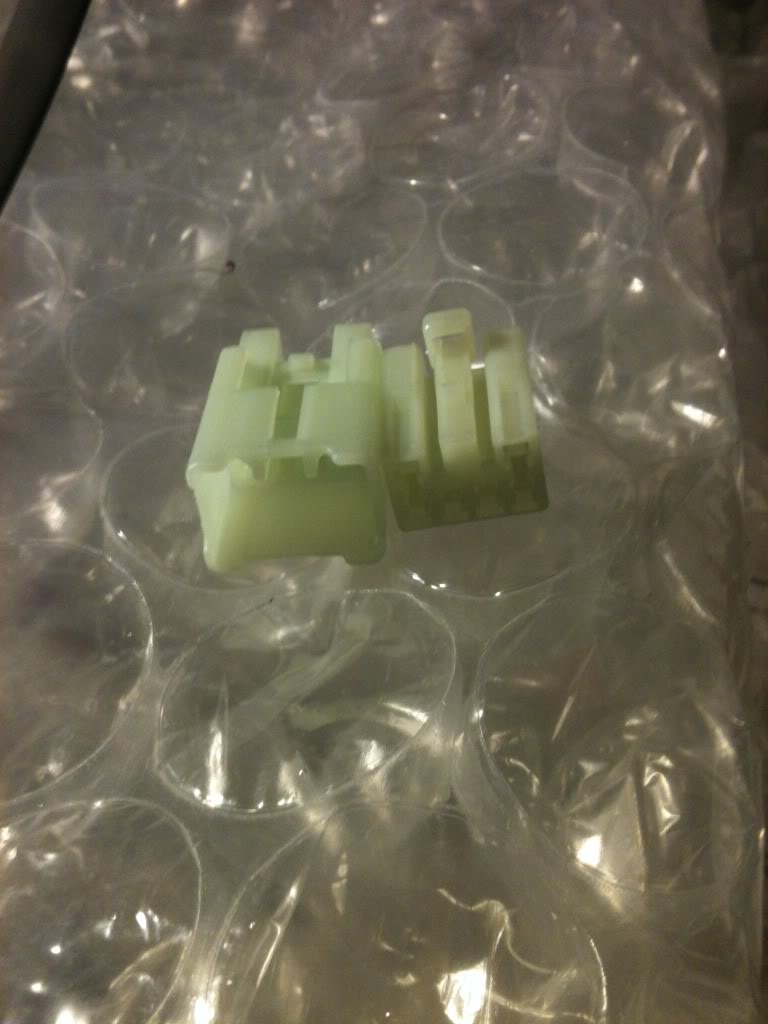
This pic below is of the Female connector with the Tail light wire bundle from the car and The Male connector with the blade terminals I added just prior to plugging it all up.
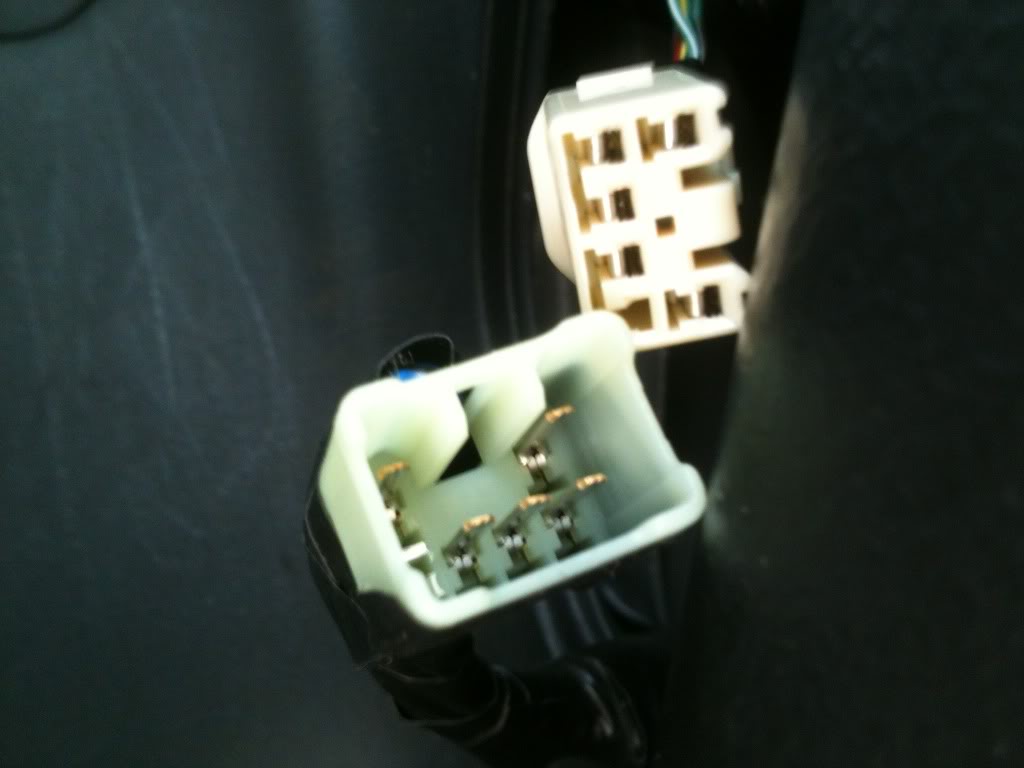
The male mate connector for the normal OEM tail doesn't have a Toyota part number as it is modified when it is welded onto the flexi-circuit thingy that lays flat on the backside of the OEM tails that the OEM sockets twist on to....
http://connectors-catalog.sys.yzk.co...tail&select=15 Male Yazaki connector....
http://connectors-catalog.sys.yzk.co...tail&select=15 Female Yazaki connector....
I originally found these made by Sumitomo Corp.... http://easternbeaver.com/Main/Elec__...onnectors.html Scroll down to the 6 Position 090 MT Connector......
Here are the Male & Female Power connectors I got.... The wiring harness only uses the Male as the Tail light wire bundle for the car comes with a Female connector.
This pic below is of the Female connector with the Tail light wire bundle from the car and The Male connector with the blade terminals I added just prior to plugging it all up.
The male mate connector for the normal OEM tail doesn't have a Toyota part number as it is modified when it is welded onto the flexi-circuit thingy that lays flat on the backside of the OEM tails that the OEM sockets twist on to....
http://connectors-catalog.sys.yzk.co...tail&select=15 Male Yazaki connector....
http://connectors-catalog.sys.yzk.co...tail&select=15 Female Yazaki connector....
I originally found these made by Sumitomo Corp.... http://easternbeaver.com/Main/Elec__...onnectors.html Scroll down to the 6 Position 090 MT Connector......
Last edited by MR_LUV; 01-09-2018 at 10:21 PM. Reason: add pics
03-01-2012, 07:24 PM
#5
Senior Member
SL Member
Thread Starter
Join Date: Mar 2005
Location: Southern Florida
Posts: 167
Hi,
Got my sockets in the mail today...
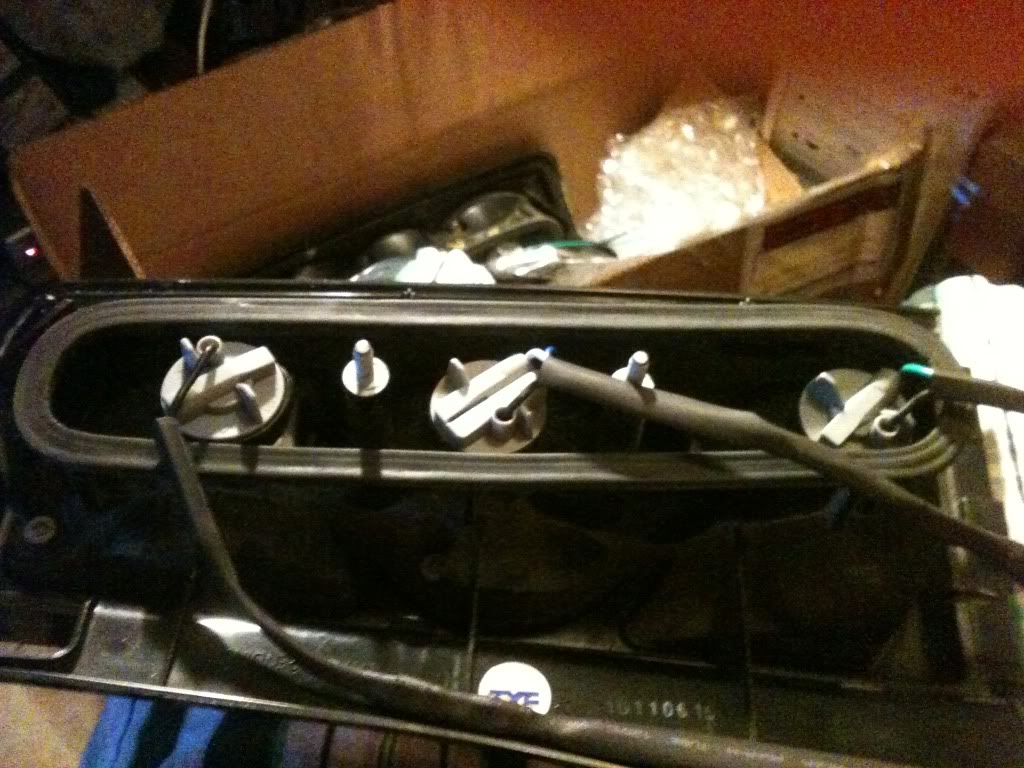
Two of them twist in very nicely... Third one required the filing off of one of the twist tabs (or whatever you call them)....It fits nicely now too....
Three sockets installed into formerly socketless tails...
Hurry up power connectors !!!
SD1
Got my sockets in the mail today...
Two of them twist in very nicely... Third one required the filing off of one of the twist tabs (or whatever you call them)....It fits nicely now too....
Three sockets installed into formerly socketless tails...
Hurry up power connectors !!!
SD1
03-03-2012, 04:21 AM
#6
Senior Member
SL Member
Thread Starter
Join Date: Mar 2005
Location: Southern Florida
Posts: 167
Power Connectors just arrived in Tokyo from Taipei on their way to me..... Hurry Up !!
Got a crimping tool from harbor freight....
Any opinions on 7528 vs 1157 bulbs in these tails ?
Got a crimping tool from harbor freight....
Any opinions on 7528 vs 1157 bulbs in these tails ?
03-07-2012, 11:25 PM
#7
Senior Member
SL Member
Thread Starter
Join Date: Mar 2005
Location: Southern Florida
Posts: 167
Very happy today with the delivery of power connectors that will plug right in to the xB's female connector.
Now just have to trace the power circuits from the existing stock female connector and do a little crimping to build the harness...
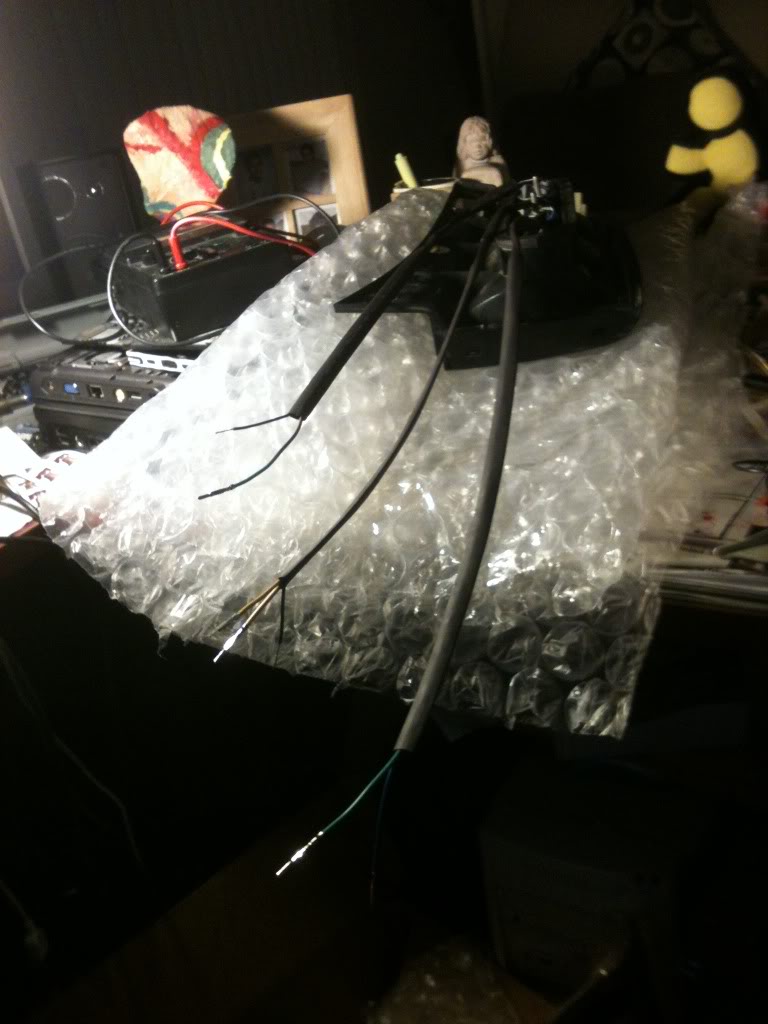
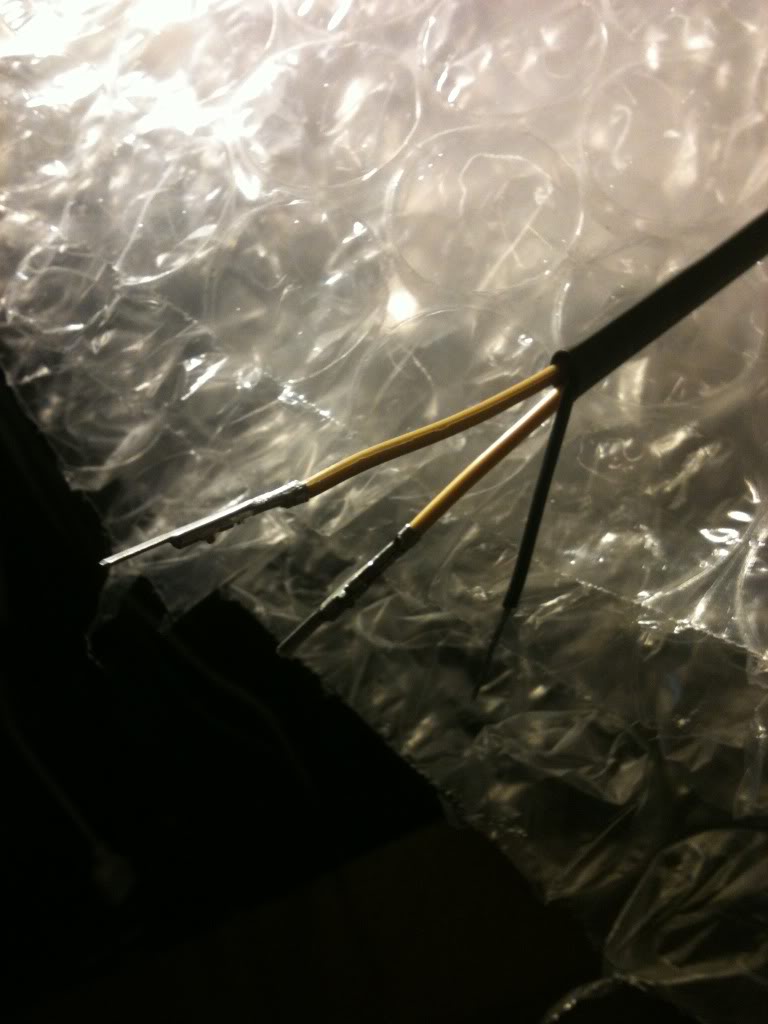
This the TYC OEM Tail Light with the light sockets installed. I inserted each set of socket wires into a length of Heat Shrink Tubing.... I added about 15 inches of wire to each socket pig-tail wire using a "red" sized crimp connector. I bought a better ratchet-drive crimping tool at Harbor Freight for like $7.50 (on sale).
This pic shows the re-created Wiring Harness almost completed. The Blade Terminals had to be assembled by hand and some small needle nose pliers to set the little crimp spots. Its only a total of Five blade terminals per side, but I joined the ground wires for each socket together and then ran a short length of wire off that and installed the Blade Terminal onto that short wire for the Ground signal.
A close up pic of a Blade Terminal that end up being installed into the Male power connector. I traced the power signals from the Female Connector and drew up a picture on paper. Then I created a mirror image of sorts, to show me where to install the various Blade Terminals from the Harness in to the Male Connector.
Now just have to trace the power circuits from the existing stock female connector and do a little crimping to build the harness...
This the TYC OEM Tail Light with the light sockets installed. I inserted each set of socket wires into a length of Heat Shrink Tubing.... I added about 15 inches of wire to each socket pig-tail wire using a "red" sized crimp connector. I bought a better ratchet-drive crimping tool at Harbor Freight for like $7.50 (on sale).
This pic shows the re-created Wiring Harness almost completed. The Blade Terminals had to be assembled by hand and some small needle nose pliers to set the little crimp spots. Its only a total of Five blade terminals per side, but I joined the ground wires for each socket together and then ran a short length of wire off that and installed the Blade Terminal onto that short wire for the Ground signal.
A close up pic of a Blade Terminal that end up being installed into the Male power connector. I traced the power signals from the Female Connector and drew up a picture on paper. Then I created a mirror image of sorts, to show me where to install the various Blade Terminals from the Harness in to the Male Connector.
Last edited by sammydad1; 03-10-2012 at 03:56 AM. Reason: Add Pics
 03-08-2012, 12:20 AM
#9
Senior Member
SL Member
Thread Starter
Join Date: Mar 2005
Location: Southern Florida
Posts: 167
Hi,
Absolutely there will be pics.... Just dont have any yet....
I was so PO'd about trying to even find the power connectors that I was getting grumpy around my family...just a little obsessive about this.
I am very impressed with the delivery speed from Taiwan to Florida.... The estimate said April 1st so I was preparing for the worst.
03-08-2012, 04:21 PM
#10
Senior Member
SL Member
Thread Starter
Join Date: Mar 2005
Location: Southern Florida
Posts: 167
Got one side built. Works nicely.
Had to do a little research on wiring in the 1157 / 7528 socket to make sure I get the brake light filament and the parking light filament wired correctly. The 1157 socket feeds two positive leads, and the 1157 bulbs are built with different filament types; one burns (brake light) much brighter than the other (parking light filament).
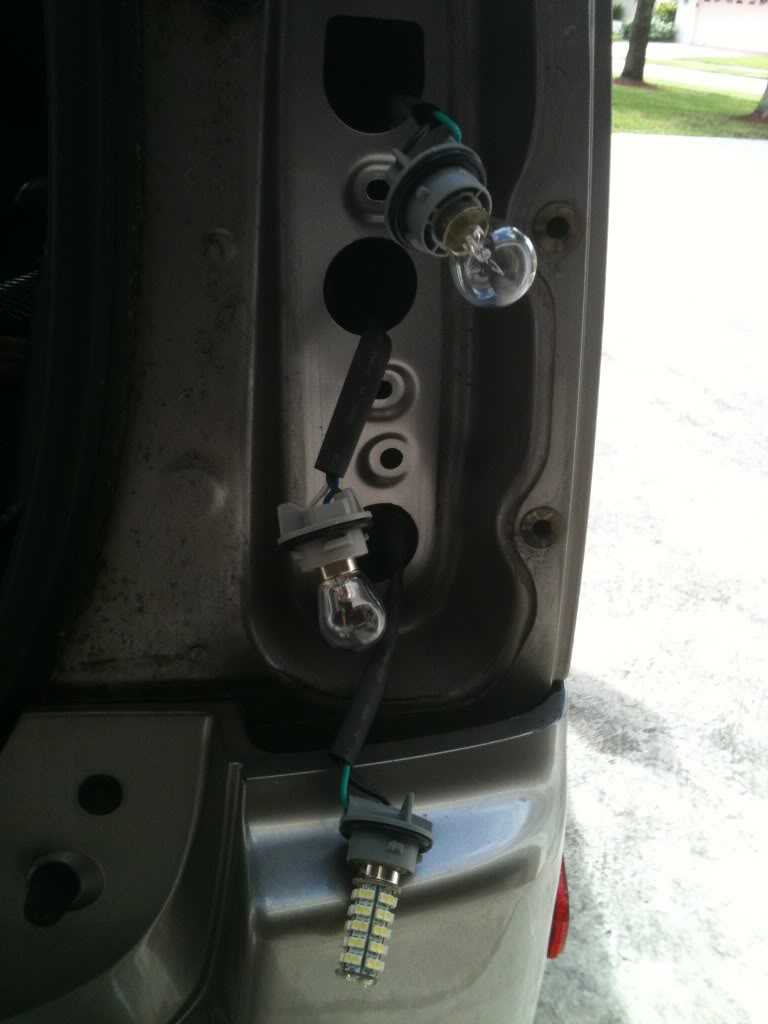
Here is the Re-Created Harness with the bulbs installed in the sockets. I am using a 1156 LED bulb for the reverse lights, an 1156 Incandescent bulb for the Turn Signal, and will be using an 1157 RED Dual Circuit LED when I find one that does the job at a reasonable price.
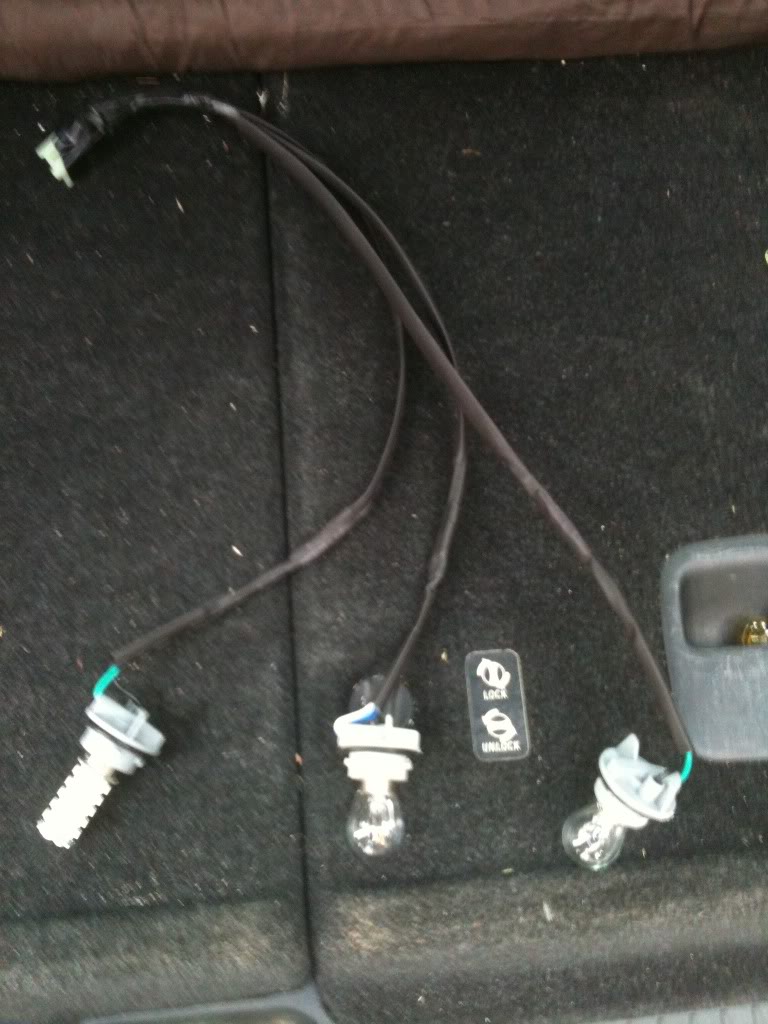
Notice here I had to insert each socket through the opening in the car because the Harness would otherwise get pinched off when you install the Tail Light housing .
I found a site that had a nice little picture with exactly what I needed.
Had to do a little research on wiring in the 1157 / 7528 socket to make sure I get the brake light filament and the parking light filament wired correctly. The 1157 socket feeds two positive leads, and the 1157 bulbs are built with different filament types; one burns (brake light) much brighter than the other (parking light filament).
Here is the Re-Created Harness with the bulbs installed in the sockets. I am using a 1156 LED bulb for the reverse lights, an 1156 Incandescent bulb for the Turn Signal, and will be using an 1157 RED Dual Circuit LED when I find one that does the job at a reasonable price.
Notice here I had to insert each socket through the opening in the car because the Harness would otherwise get pinched off when you install the Tail Light housing .
I found a site that had a nice little picture with exactly what I needed.
Last edited by sammydad1; 03-10-2012 at 04:04 AM. Reason: Add Pics
03-09-2012, 06:02 AM
#11
Senior Member
SL Member
Thread Starter
Join Date: Mar 2005
Location: Southern Florida
Posts: 167
Hi,
Well project "Wiring Harness Re-create" is almost done.... will try to post a few pics in the next day or two....
The good news is that they work.... If the weather improves, I can install them too....
The Reverse light LEDs I got are super bright....
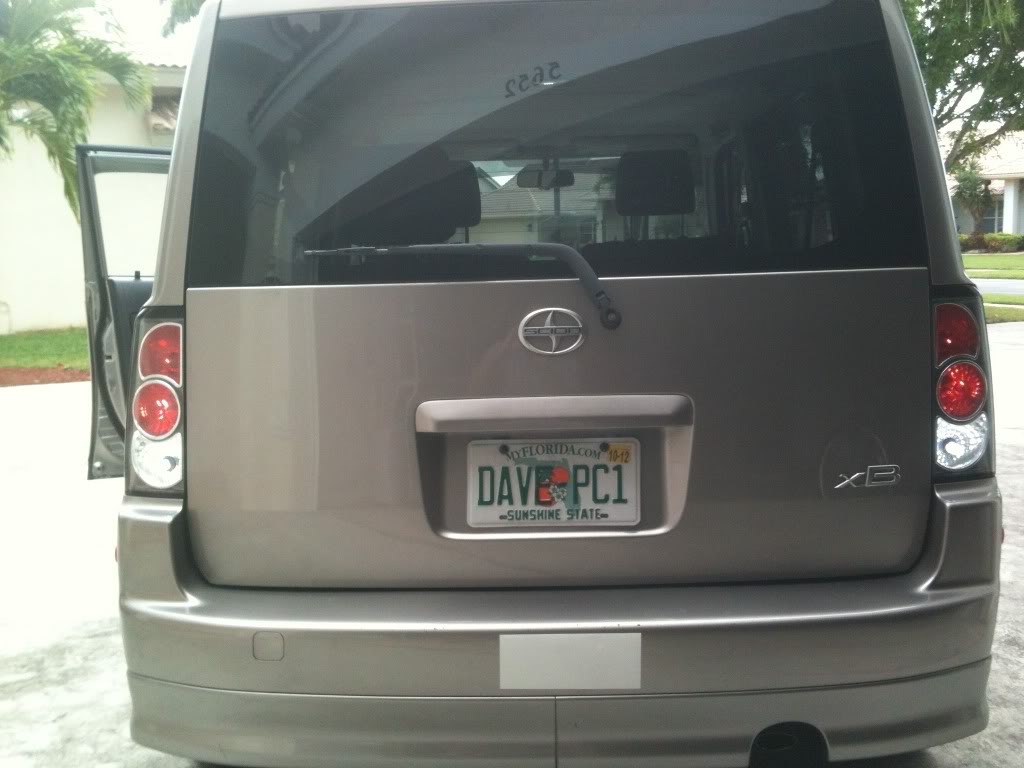
Daytime view of tail installed with Reverse Light energized.
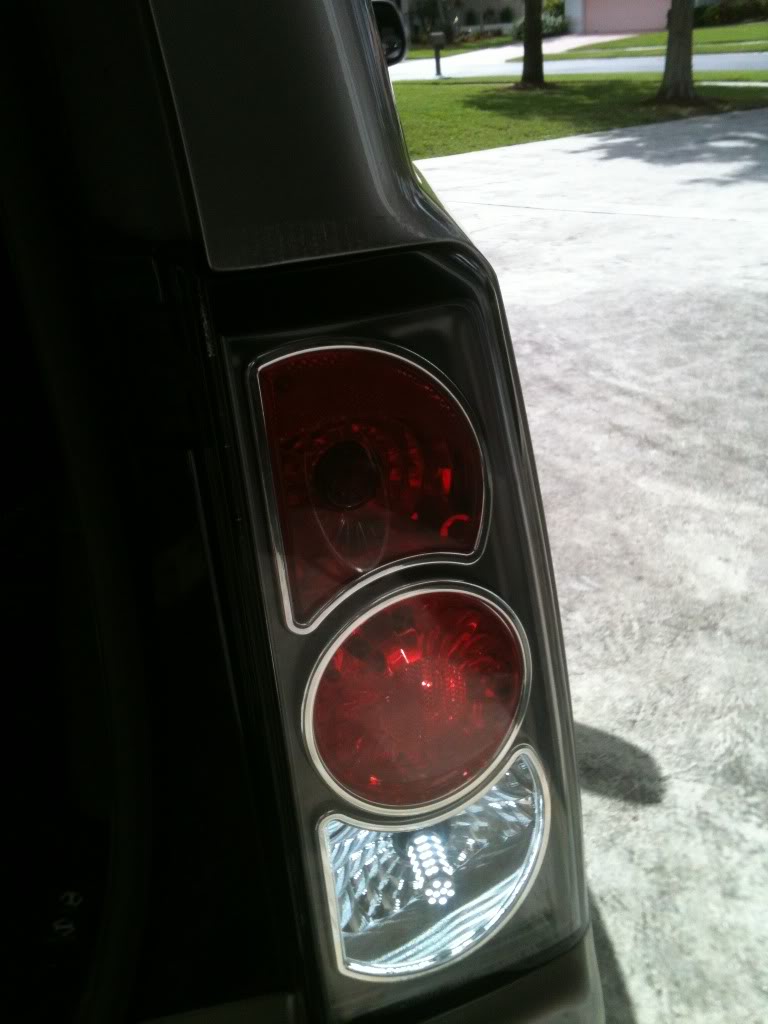
Daytime view of both tails with Reverse lights energized.
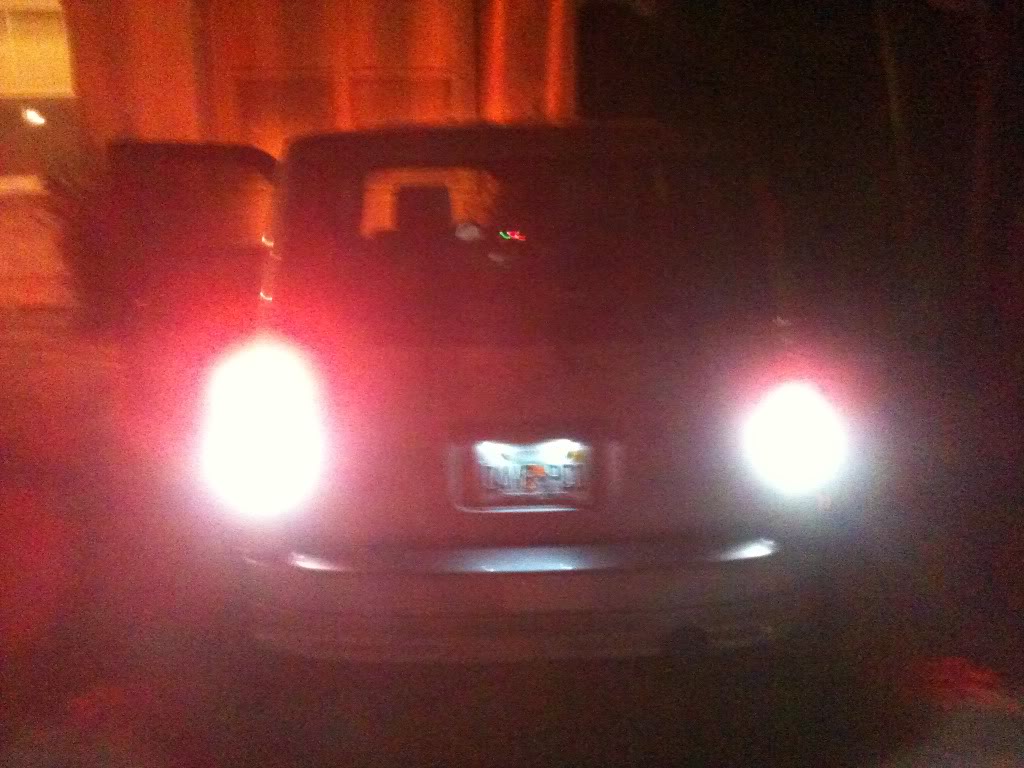
Nightime view with Reverse lights Energized, Parking lights On and Left turn signal on.
The LED bulb for the Brake & Tail lights only works for the Brake circuit. It seems that all LED bulbs for 1157 sockets are not the same....DUAL contacts does not mean DUAL circuits.... Have to stick with the incandescents for now....
Have had to spend good money after "bad" because these tails didn't come with their factory wiring harness.... I wonder how many other folks have tails sitting in their garage with no wiring harness....
Well project "Wiring Harness Re-create" is almost done.... will try to post a few pics in the next day or two....
The good news is that they work.... If the weather improves, I can install them too....
The Reverse light LEDs I got are super bright....
Daytime view of tail installed with Reverse Light energized.
Daytime view of both tails with Reverse lights energized.
Nightime view with Reverse lights Energized, Parking lights On and Left turn signal on.
The LED bulb for the Brake & Tail lights only works for the Brake circuit. It seems that all LED bulbs for 1157 sockets are not the same....DUAL contacts does not mean DUAL circuits.... Have to stick with the incandescents for now....
Have had to spend good money after "bad" because these tails didn't come with their factory wiring harness.... I wonder how many other folks have tails sitting in their garage with no wiring harness....
Last edited by sammydad1; 03-10-2012 at 04:11 AM. Reason: Add Pics

Thread
Thread Starter
Forum
Replies
Last Post
clickclickw00t
PPC: Interior / Electronics
2
02-18-2015 08:57 PM
sithscripter
Scion xA/xB 1st-Gen ICE & Interior
11
02-02-2004 01:33 AM