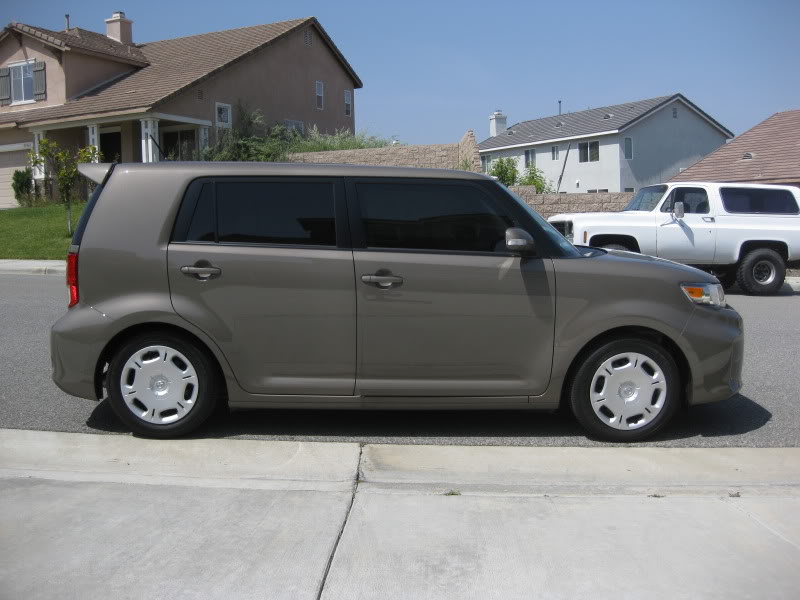
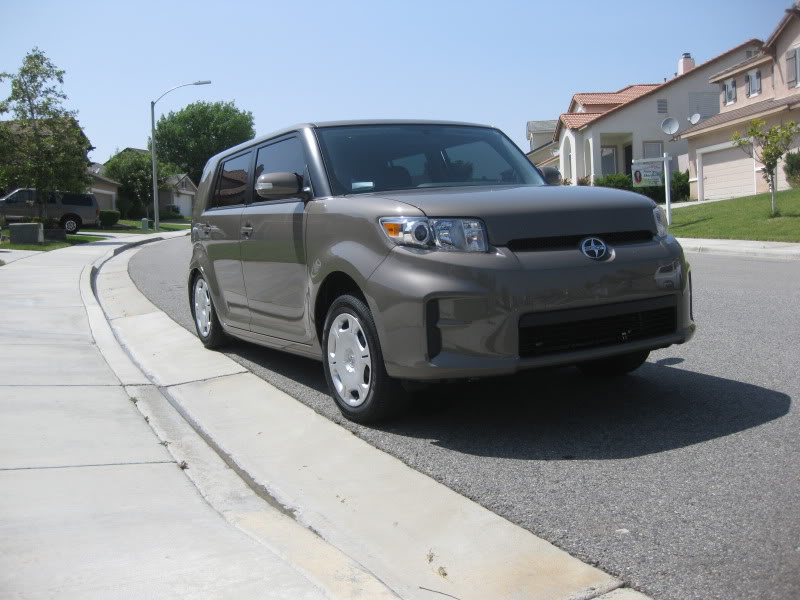
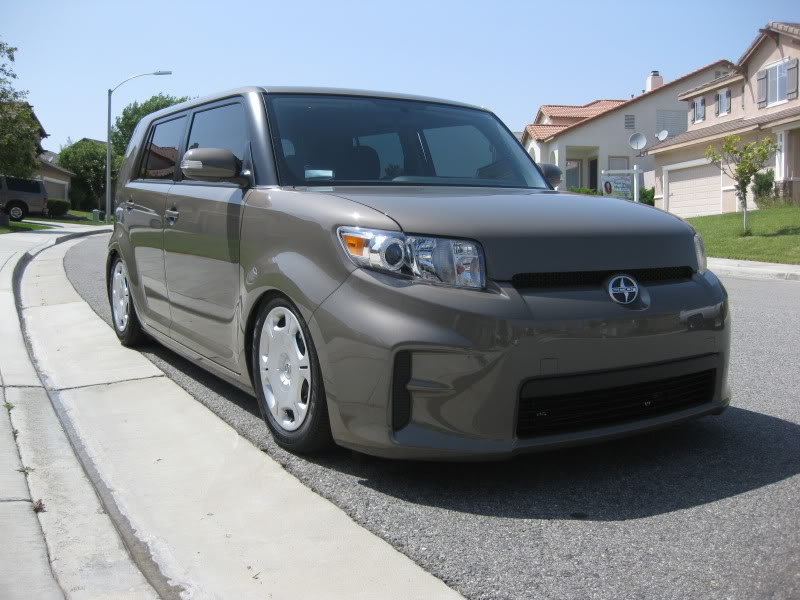
Air Lift suspension installed- '12 Army Rock
 05-01-2012, 02:55 AM
#1
Member
SL Member
Thread Starter

Join Date: Feb 2012
Posts: 59
So I installed the Air Lift air suspension kit last week. I'm still buttoning down some odds and ends that I'll get to later, but they're all real minor/finish work type of stuff.
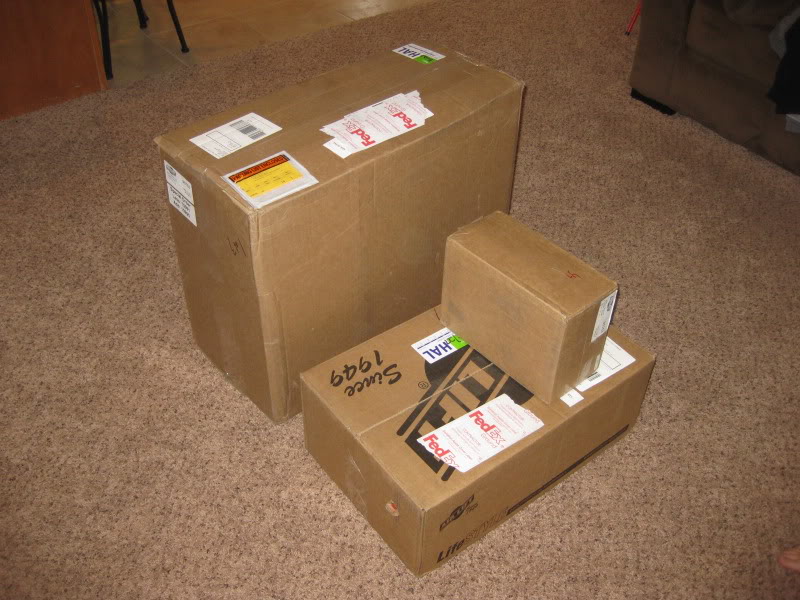
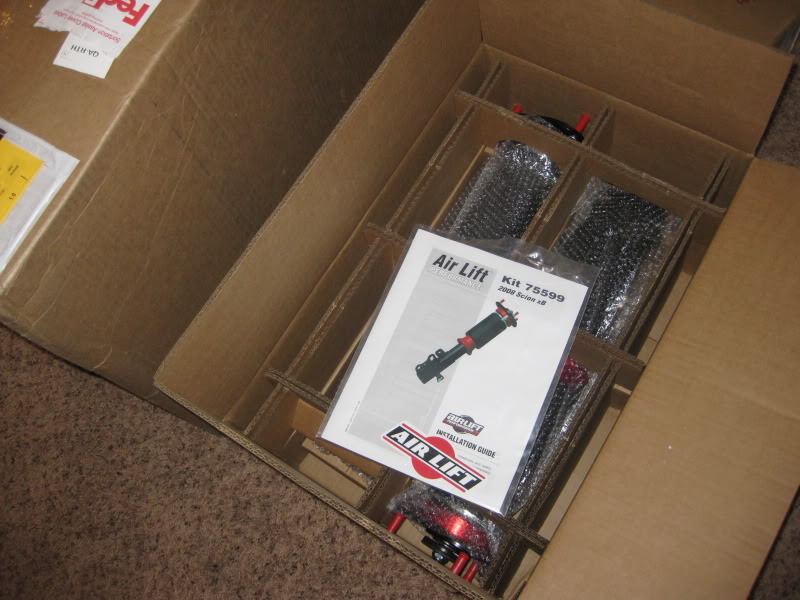
The kit only took about 3 days to get to me in California. Here's what arrived:
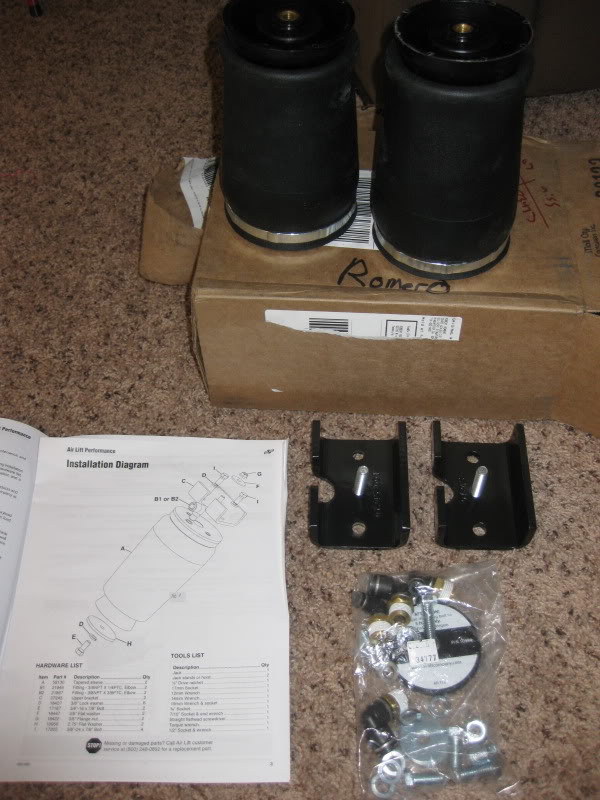
There were a few things you have to purchase with this kit :
1- The rear bags have a black, steel mount that bolts to the top of the bag using two bolts. That's a total of 4 bolts. One of the bolts in the kit is the wrong thread type so I had to purchase the correct thread type at Home Depot. Not a deal breaker for me really.
2- I purchased an "add-a-fuse" to wire the harness to an ignition source as told to do so in the directions. The directions don't tell you how to do this, but the "add-a-fuse" can be found at any auto parts store and was pretty self-explanatory to me.
IF you run the PANCAKE tank:
1- TWO 3/8" male to 1/4" female tank fittings.
2- ONE 1/8" male plug tank fitting.
I ended up receiving a pancake tank and was intending to remove the spare tire and put this in it's place. Well I didn't want to drill ANY holes in my car, but even if I bolted the tank DIRECTLY to the car, it still would not let me drop the spare tire cover (the thin cardboard thing with the two lockdown *****). It would hit the fittings on the top of the tank and leave about a 1/2"-1" gap without closing.
So I ditched the pancake tank and purchased a 4 gallon barrel tank from Universal Air since they are local to me. Here's how I started to set it up:
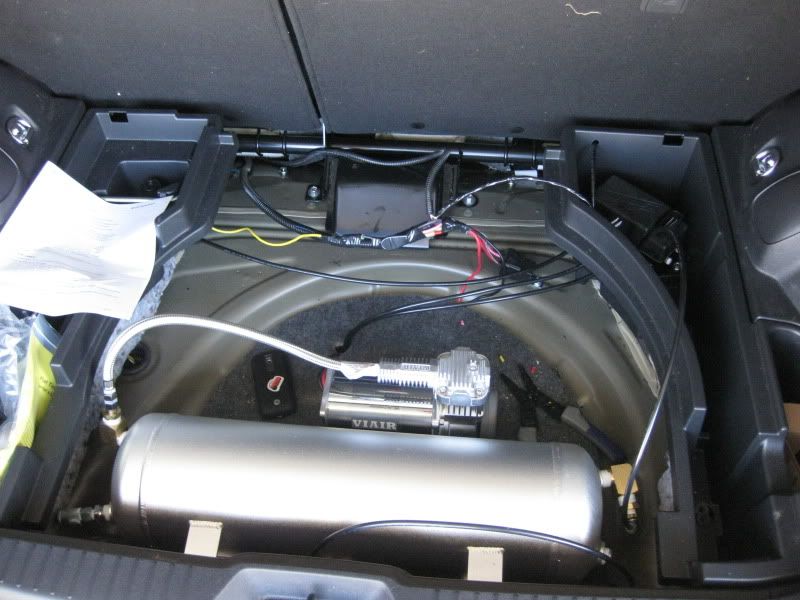
As you can see, I used some 1/2" MDF and cut out a circular shape to fit into the spare tire well. The tank is mounted sidways. You can see the feet which are facing the back of the car are bolted to another piece of MDF which is held to the bottom piece with some L-brackets (home depot). All the wood is covered with grey felt.
I ended up mounting the small (approx 4"x6") AirLift V2 box/valves in the black plastic cubby in the top right corner. I drilled holes on the side of the plastic to run the individual lines out the side so they wouldn't interfere with the cardboard cover. I'll post pics later.
RUNNING THE LINES AND WIRES:
This project was about creativity. You have to be creative to mount everything and to run your lines.
When you lift your spare tire, there are two rubber grommets that you would pull if the car got flooded. I used a u tility knife to cut small slits into the center of these grommets to run the air lines. Once I'm 100% done, I"ll seal these with silicone. Unless it rains first then I MIGHT fill it sooner but honestly, I'd be surprised if moisture got in since it's a tight fit.
I ran the front right air line and electrical harness down the driver's side kick panels. This was SIMPLE to do. It's a little tight, but easily done. Pull the kick panels up with some force and they'll pop off. Just be sure to use two hands to distribute the pressure and they'll come right off! There's a panel to the left of the "dead pedal" (to the left of the clutch/brake pedals) that needs to be removed as well. The harness went through the firewall grommet which is about 6" above the gas pedal.
The driver air line went through another rubber grommet which is about 6" in front of and about 4" to the right of the gas door lever we have on the floor (Remove the fuel door lever with a small ratchet). You have to pull the carpeting back a bit to get to this grommet.
The front passenger line went under the passenger side kick panel. This was the only line run down this side of the car and the procedure is identical to the driver's side with exception of the fuel door lever.
The rear air lines went through one of the rubber grommets I described earlier, located under the spare tire. There are two large grommets there... I used the one closest to the front of the car.
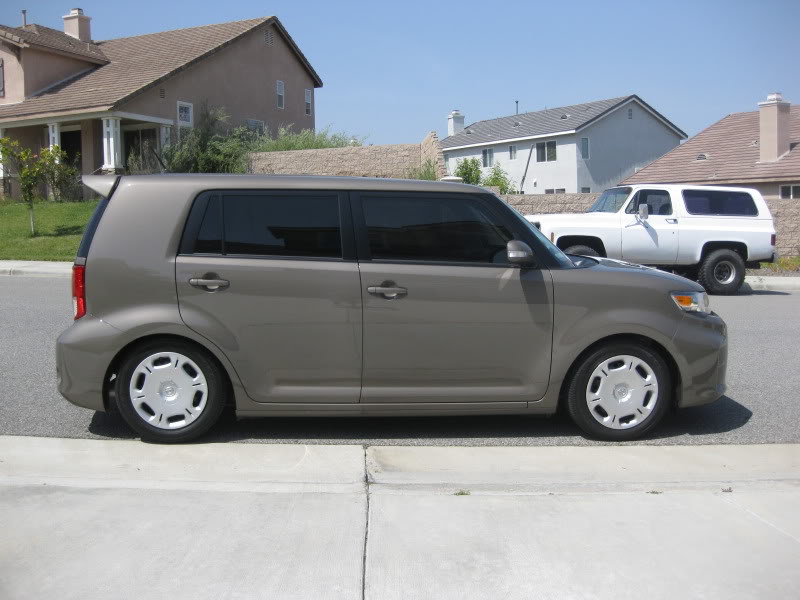
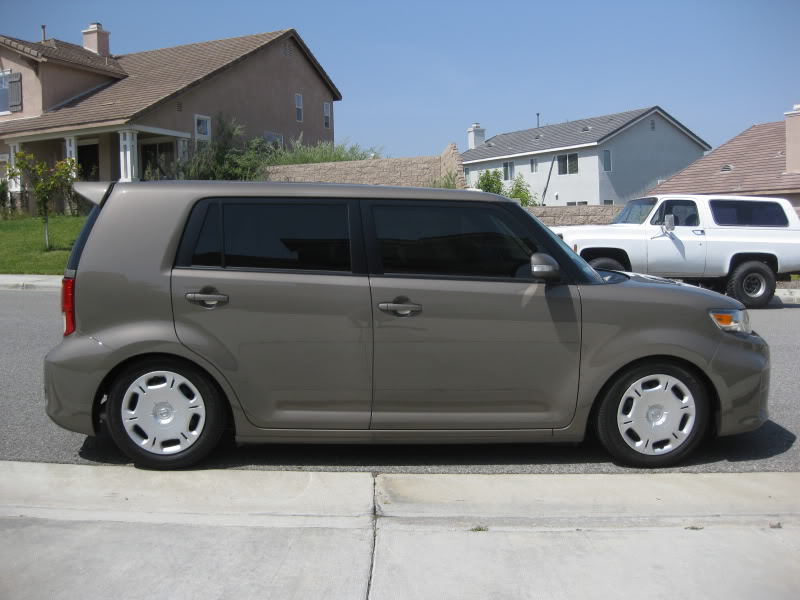
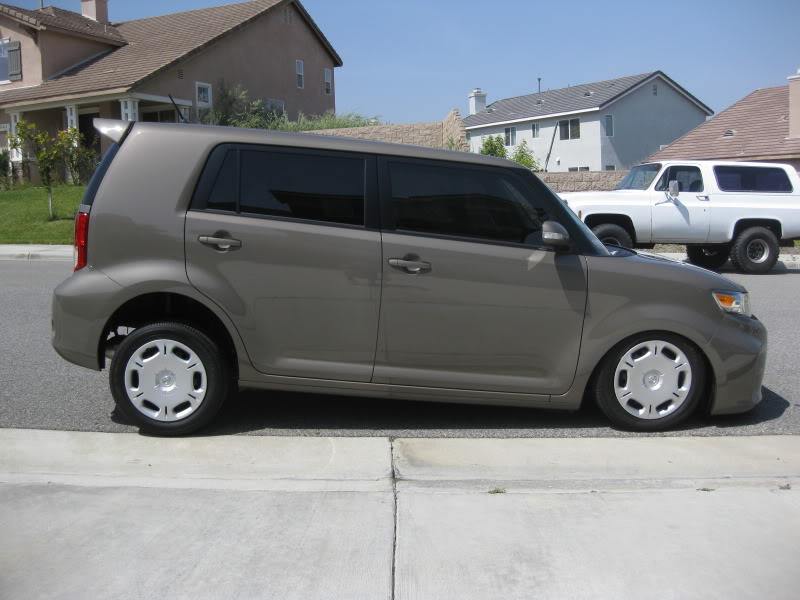
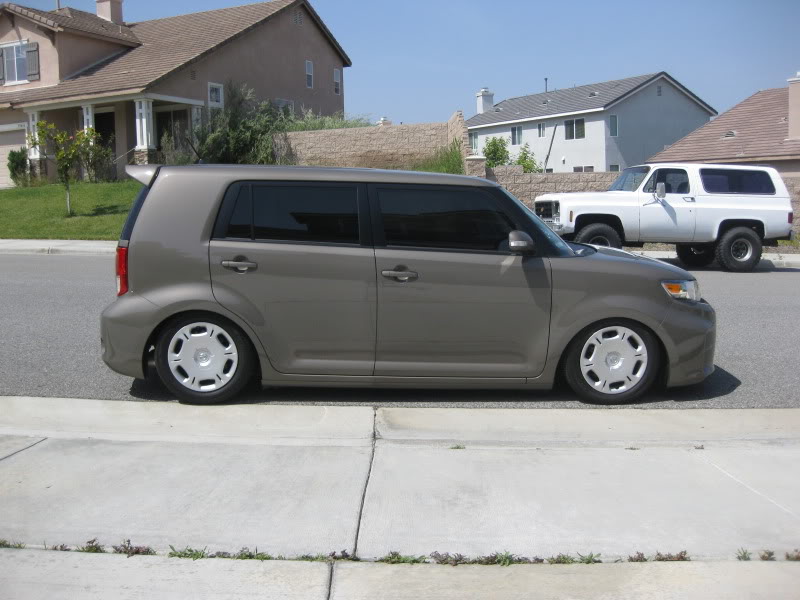
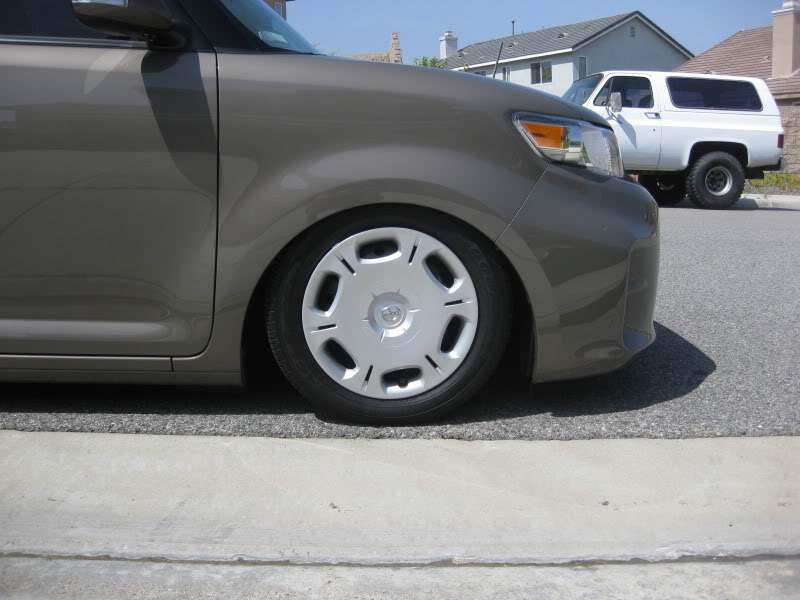
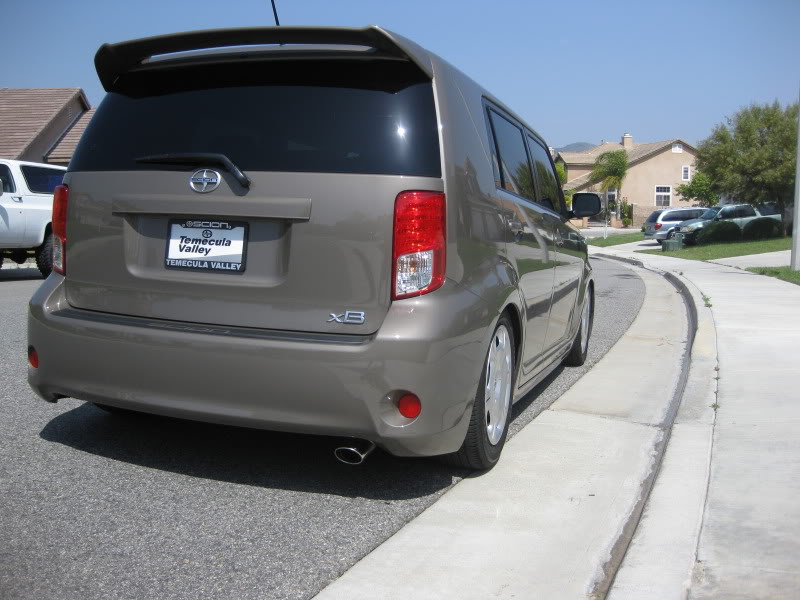
All the way down.. aired out:
I'm happy with this kit so far. I'm dealing with leaky tank fittings but luckily none of the bags or air lines are leaking. The tank fittings are my fault and have been trial and error with the proper tightness combined with the proper teflon tape.
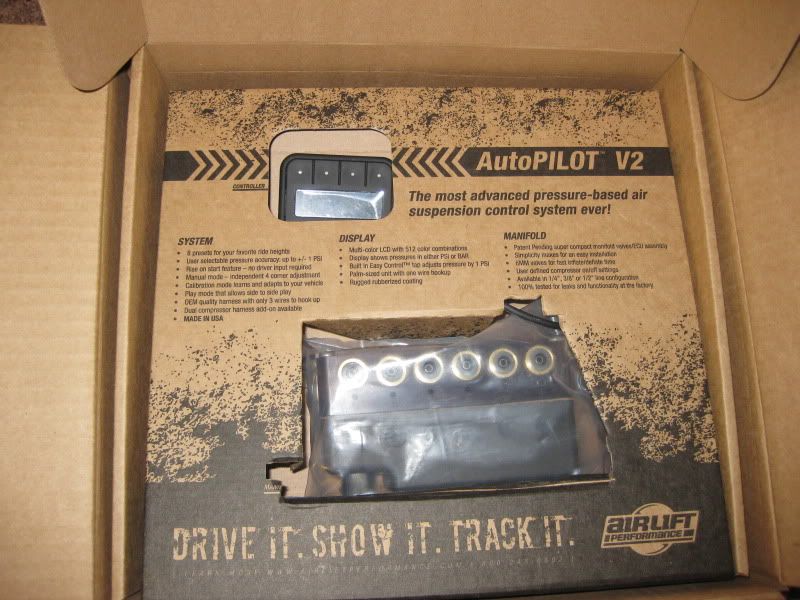
The V2 Autopilot works great. It's about the size of a pager (for those that remember them). It has the 8 presets and I've really only set about 4 of them. Honestly, the 8 are more than I need! Additionally, you can hold two of the buttons down and go into "manual" mode where the four top buttons and four bottom buttons control each corner independently. Hold the same two buttons down again, and you're back to using the 8 buttons for your presets if you prefer.
The dampening presets on the shocks are something I"m still playing with. It's pretty firm when you crank them down. The directions said to set them at "3" which was a bit bouncy when the car's real low. I found setting "5" to work the best for everyday. Honestly, you can make the car ride just like stock... I've felt it.
For those of you wanting to do an install yourself, I'd say go for it if you have some mechanical experience. If you can swap out springs without a problem, you can honestly install this kit. The directions are simple and easy to follow. The wiring harness is all put together for you. If you can crimp two wires together, you can hook up your electrical system. Honestly the electrical portion was the only part that I really stressed about beforehand. But it really was fairly easy.
I temporarily have my airlines fastened with zip-ties. "Pasquale" here on the forums is working on some magnetic fittings that if we can track them down would work out best. I'll update this if we can get them to work as these would allow you to run the line along anything that is metal!
Hope this helps some people out!
The kit only took about 3 days to get to me in California. Here's what arrived:
There were a few things you have to purchase with this kit :
1- The rear bags have a black, steel mount that bolts to the top of the bag using two bolts. That's a total of 4 bolts. One of the bolts in the kit is the wrong thread type so I had to purchase the correct thread type at Home Depot. Not a deal breaker for me really.
2- I purchased an "add-a-fuse" to wire the harness to an ignition source as told to do so in the directions. The directions don't tell you how to do this, but the "add-a-fuse" can be found at any auto parts store and was pretty self-explanatory to me.
IF you run the PANCAKE tank:
1- TWO 3/8" male to 1/4" female tank fittings.
2- ONE 1/8" male plug tank fitting.
I ended up receiving a pancake tank and was intending to remove the spare tire and put this in it's place. Well I didn't want to drill ANY holes in my car, but even if I bolted the tank DIRECTLY to the car, it still would not let me drop the spare tire cover (the thin cardboard thing with the two lockdown *****). It would hit the fittings on the top of the tank and leave about a 1/2"-1" gap without closing.
So I ditched the pancake tank and purchased a 4 gallon barrel tank from Universal Air since they are local to me. Here's how I started to set it up:
As you can see, I used some 1/2" MDF and cut out a circular shape to fit into the spare tire well. The tank is mounted sidways. You can see the feet which are facing the back of the car are bolted to another piece of MDF which is held to the bottom piece with some L-brackets (home depot). All the wood is covered with grey felt.
I ended up mounting the small (approx 4"x6") AirLift V2 box/valves in the black plastic cubby in the top right corner. I drilled holes on the side of the plastic to run the individual lines out the side so they wouldn't interfere with the cardboard cover. I'll post pics later.
RUNNING THE LINES AND WIRES:
This project was about creativity. You have to be creative to mount everything and to run your lines.
When you lift your spare tire, there are two rubber grommets that you would pull if the car got flooded. I used a u tility knife to cut small slits into the center of these grommets to run the air lines. Once I'm 100% done, I"ll seal these with silicone. Unless it rains first then I MIGHT fill it sooner but honestly, I'd be surprised if moisture got in since it's a tight fit.
I ran the front right air line and electrical harness down the driver's side kick panels. This was SIMPLE to do. It's a little tight, but easily done. Pull the kick panels up with some force and they'll pop off. Just be sure to use two hands to distribute the pressure and they'll come right off! There's a panel to the left of the "dead pedal" (to the left of the clutch/brake pedals) that needs to be removed as well. The harness went through the firewall grommet which is about 6" above the gas pedal.
The driver air line went through another rubber grommet which is about 6" in front of and about 4" to the right of the gas door lever we have on the floor (Remove the fuel door lever with a small ratchet). You have to pull the carpeting back a bit to get to this grommet.
The front passenger line went under the passenger side kick panel. This was the only line run down this side of the car and the procedure is identical to the driver's side with exception of the fuel door lever.
The rear air lines went through one of the rubber grommets I described earlier, located under the spare tire. There are two large grommets there... I used the one closest to the front of the car.
All the way down.. aired out:
I'm happy with this kit so far. I'm dealing with leaky tank fittings but luckily none of the bags or air lines are leaking. The tank fittings are my fault and have been trial and error with the proper tightness combined with the proper teflon tape.
The V2 Autopilot works great. It's about the size of a pager (for those that remember them). It has the 8 presets and I've really only set about 4 of them. Honestly, the 8 are more than I need! Additionally, you can hold two of the buttons down and go into "manual" mode where the four top buttons and four bottom buttons control each corner independently. Hold the same two buttons down again, and you're back to using the 8 buttons for your presets if you prefer.
The dampening presets on the shocks are something I"m still playing with. It's pretty firm when you crank them down. The directions said to set them at "3" which was a bit bouncy when the car's real low. I found setting "5" to work the best for everyday. Honestly, you can make the car ride just like stock... I've felt it.
For those of you wanting to do an install yourself, I'd say go for it if you have some mechanical experience. If you can swap out springs without a problem, you can honestly install this kit. The directions are simple and easy to follow. The wiring harness is all put together for you. If you can crimp two wires together, you can hook up your electrical system. Honestly the electrical portion was the only part that I really stressed about beforehand. But it really was fairly easy.
I temporarily have my airlines fastened with zip-ties. "Pasquale" here on the forums is working on some magnetic fittings that if we can track them down would work out best. I'll update this if we can get them to work as these would allow you to run the line along anything that is metal!
Hope this helps some people out!

 05-01-2012, 03:49 AM
#3

Rear shocks off of a Sienna will get the rear lower until the bag completely collapses. Or you could have some drop the beam like masterb's. The front air struts' mounts look like they could easily be relocated.
But all in all, it looks good! The management looks like it's a ridiculously simple install!
But all in all, it looks good! The management looks like it's a ridiculously simple install!
05-01-2012, 04:01 AM
#4
Senior Member
SL Member

Join Date: Mar 2010
Location: SFV (Northridge)
Posts: 469
nice. i have my pancake tank mounted where the spare is and that spare tire cover still closes. but when i take out my air ride i need all new plastics on the side and that styrofoam tray since i okay'd the mechanic to chop it all up to get everything fitting nice in there.
05-01-2012, 04:34 AM
#5
Member
SL Member
Thread Starter
Join Date: Feb 2012
Posts: 59
nice. i have my pancake tank mounted where the spare is and that spare tire cover still closes. but when i take out my air ride i need all new plastics on the side and that styrofoam tray since i okay'd the mechanic to chop it all up to get everything fitting nice in there.
Yeah, I literally saw NO way to get it to work. It has one port on the bottom for a drain. With a fitting there, you have to space the tank UP to clear it. Plus the fittings on top added height. There was no way, unless I cut a hole in the cover which would defeat the purpose. Maybe I overlooked something.
05-01-2012, 04:36 AM
#6
Member
SL Member
Thread Starter
Join Date: Feb 2012
Posts: 59
The front is plenty low for ME. I might do the sienna shocks in the rear later.
I like this kit because of the management (assuming it doesn't have any bugs). I can have it at a setting... the wife can have it at a setting.. etc. I can deal witha little bounce. But the simplicity makes it nice if someone else drives my car.
Wheels are next though ;)
05-01-2012, 04:37 AM
#7
Member
SL Member
Thread Starter
Join Date: Feb 2012
Posts: 59
Rear shocks off of a Sienna will get the rear lower until the bag completely collapses. Or you could have some drop the beam like masterb's. The front air struts' mounts look like they could easily be relocated.
But all in all, it looks good! The management looks like it's a ridiculously simple install!
But all in all, it looks good! The management looks like it's a ridiculously simple install!
The management was VERY east to install. 5 wires to splice with the included butt connectors. Plus one plug to the controller and one plug to the valves. Simple!
05-01-2012, 04:43 AM
#8
Senior Member
SL Member
Join Date: Mar 2010
Location: SFV (Northridge)
Posts: 469
my drain fitting pokes through a hole in the spare area, so that fitting clears just fine. and yeah i dont think there would be a way to keep the pancake tank in there without some trimming because of the fittings. that pill tank is cool though, as long as it works and you're happy with it. when i first got my air ride it was fun, i would air it out every time i parked. any plans for wheels?
edit: took me too long to type this. i see you have wheels planned next
edit: took me too long to type this. i see you have wheels planned next

 05-01-2012, 02:23 PM
#10
Member
SL Member
Thread Starter
Join Date: Feb 2012
Posts: 59
I only went with the pill tank because I couldn't get it to clear. Otherwise I would've kept it. Although the benefit of the pill tank is I have a lot more space there.
I realized I'm going to have to relocate the compressor to outside the car. It's too noisy for my taste. So I'll have even more room. Now I just need to decide what to put there! Maybe some storage bins, or a gun safe!
MasterBb: Thanks! I can't wait to get wheels next. Looking at the XXR 521's in 16x8. Probably flat black with the gold screws and lugs.
05-01-2012, 02:26 PM
#11
Member
SL Member
Thread Starter
Join Date: Feb 2012
Posts: 59
I don't have the styrofoam in there either. Since I've decided to relocate the compressor outside, I'm going to trim down the styrofoam just enough to clear the tank so that the floor will have support again. Otherwise it just collapses.


 05-01-2012, 07:38 PM
#15
Member
SL Member
Thread Starter
Join Date: Feb 2012
Posts: 59
Although I've only had it on for less than a week, I gotta say that I love it so far! The adjustability is why I went with this kit. Of course, it's not cheap. I don't have to look at a gauge while lowering or raising it to ensure the proper pressure. I can pick up the controller, press button 1, and know that it's gonna go to my preset... all without taking my eyes off the road, or whatever else I'm looking at haha.
There are other kits out there that are all a little different. The single biggest reason I went with this kit is the air management.
With that said, I'd advise anyone to do your research and find what works best for YOUR needs.
Last edited by Code3Xb; 05-01-2012 at 07:49 PM.
05-01-2012, 07:50 PM
#16
Member
SL Member
Thread Starter
Join Date: Feb 2012
Posts: 59
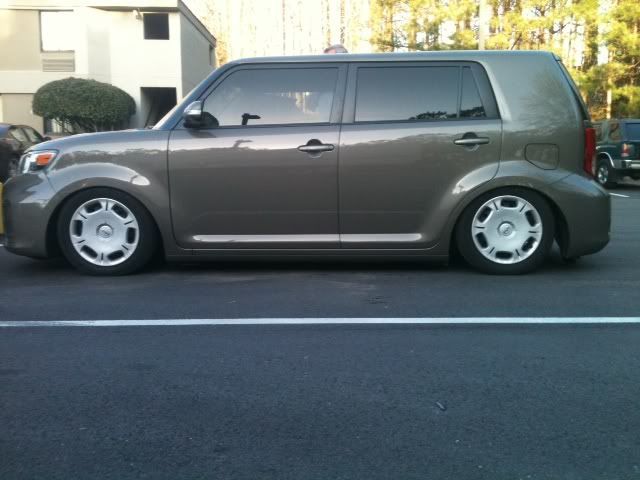
Ha! Down to the same hubcaps! Dude.. I don't know HOW you roll around town at that height 24/7! Props to you for pulling it off though! We need to get more Army Rocks on here and have an Army Rock thread like the other colors do!
05-01-2012, 09:58 PM
#18
instead of relocating the compressor, just use some rubber washers or something to help absorb the sound, also sound deadening the trunk floor may help a bit to. But above all i recommend getting a second compressor, it makes a big difference on fill time
05-01-2012, 10:18 PM
#19
Senior Member
SL Member
Join Date: Mar 2010
Location: SFV (Northridge)
Posts: 469
word. i heard cone type filters also help reduce sound a little.
05-01-2012, 10:55 PM
#20
Senior Member
SL Member
Join Date: Oct 2009
Location: Hela Fass Dooo
Posts: 1,273