
RealCamber.com camber plate instal.


Thread Starter
Senior Member
SL Member
Scion Evolution
Joined: Apr 2008
Posts: 301
From: Madison, WI
1st off you do this at your own risk, these camber plates are "said" off road only.
this is going to be a quick step guide with just the right amount of info to install them yourself
If you have a jack and simple tools, this is as easy as riding a bike.
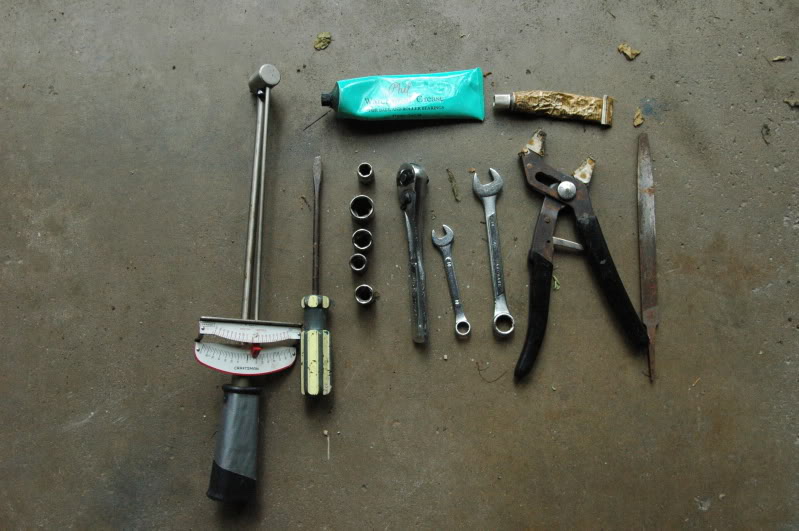
tools needed: 10mm, 17mm sockets, anti-corroding compound, metal file, flathead, and that stuff that helps you remove rusted bolts.
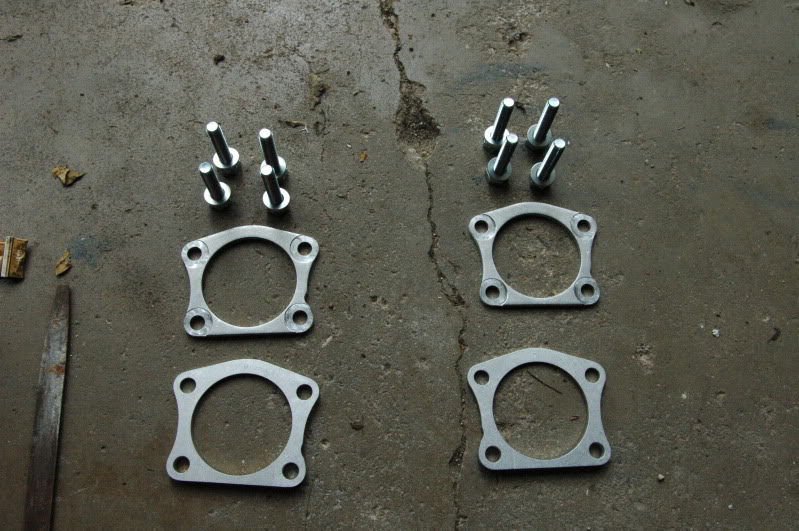
the shims, and bolts the shims are -3's but install would be the same if you got the -5's.
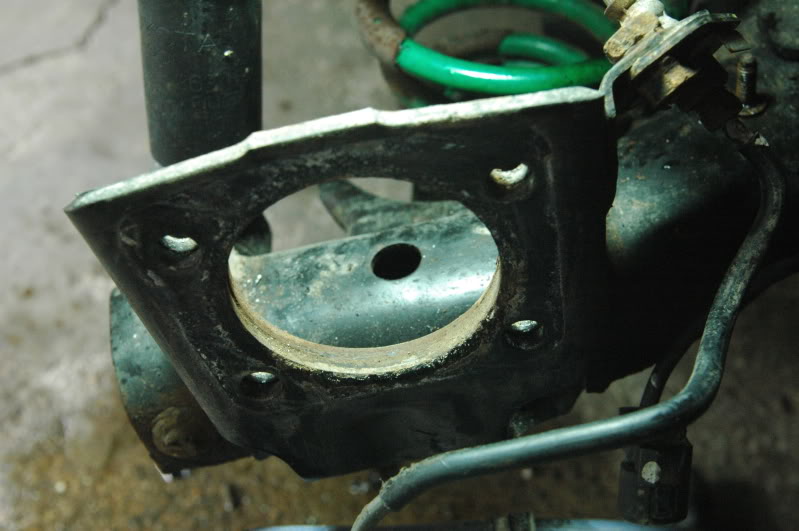
back plate this go's on the back before the bolts, note the countersinking, this is so the bolts will line up right with the camber on the other side of where the hub bolts up.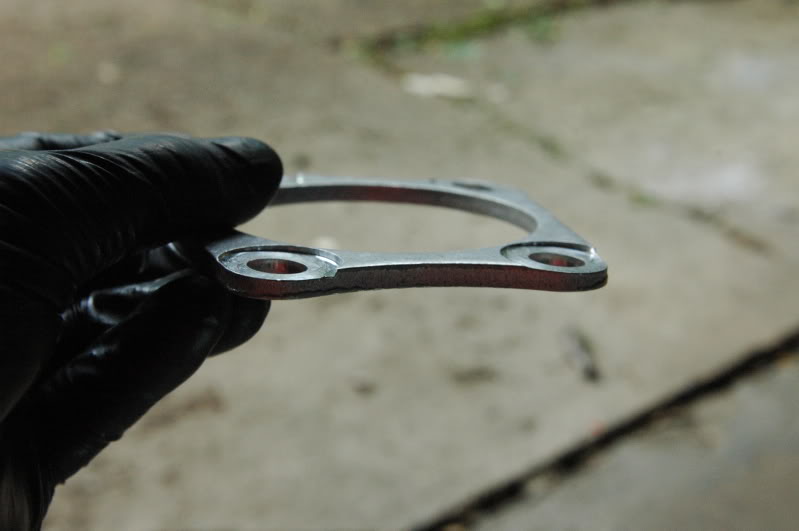 ]
]
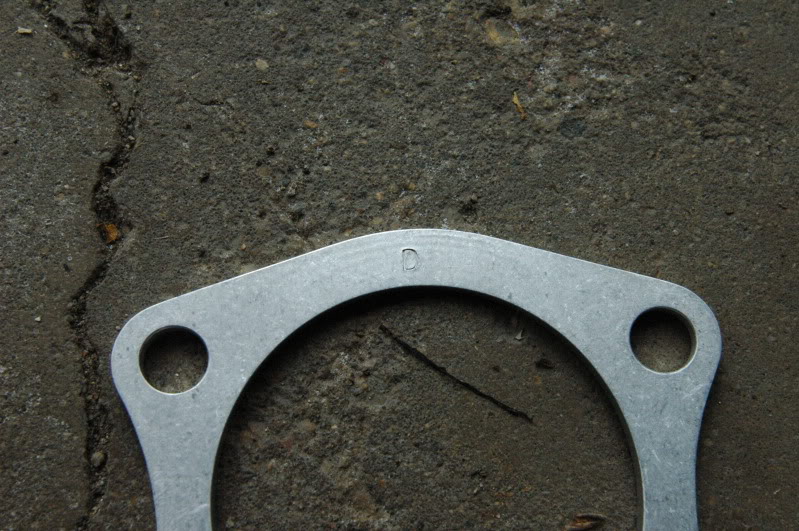
this is the camber shim itself, note the stamp on the top, this indicates what side it go's on make sure its at the top and facing you when you put it on, the shim go's on the other side of where the backer plate go's ( if you have hub spacers the camber plate go's on 1st then the hub spacer the the hub it self )
the other bolts you will need to take off other then the 4 on each side that hold the hub on

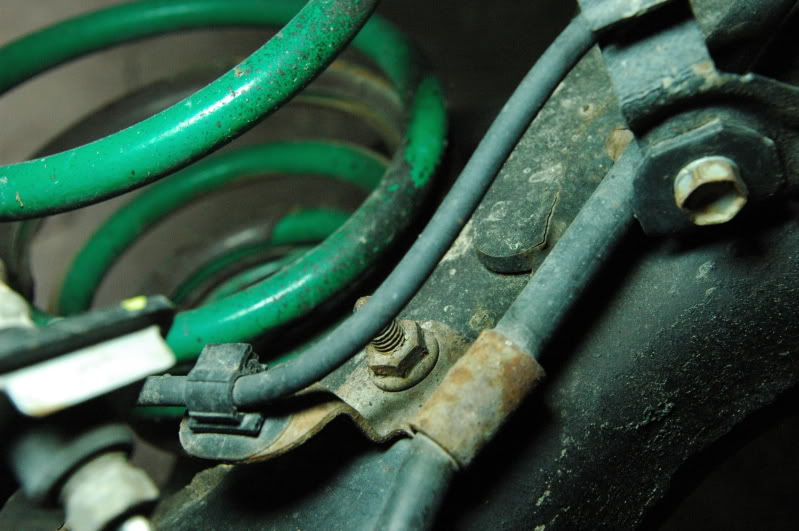
the clamp that its attached to the e-brake line will nee to be moved up on the line, due to the hub being pushed out and away. you should be abale to do this with a flat head.
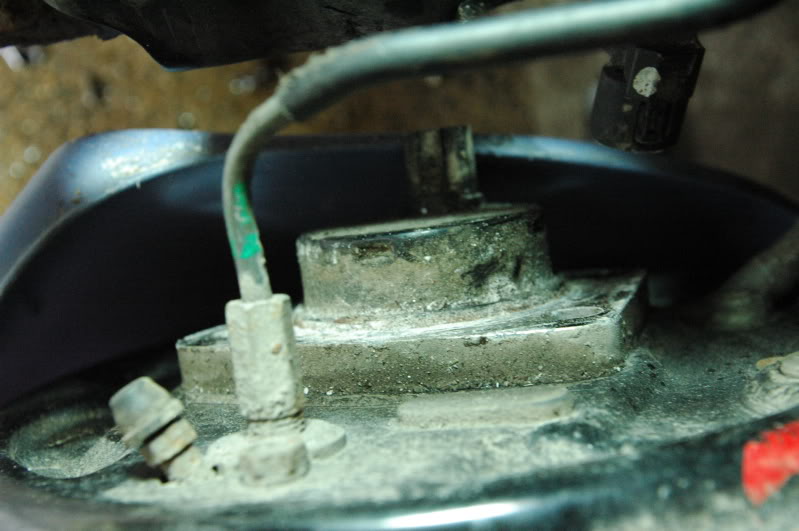
let the next two photos show you whey you use anti-corroding compound. its so bad that my spacer shims are stuck the the hubs.
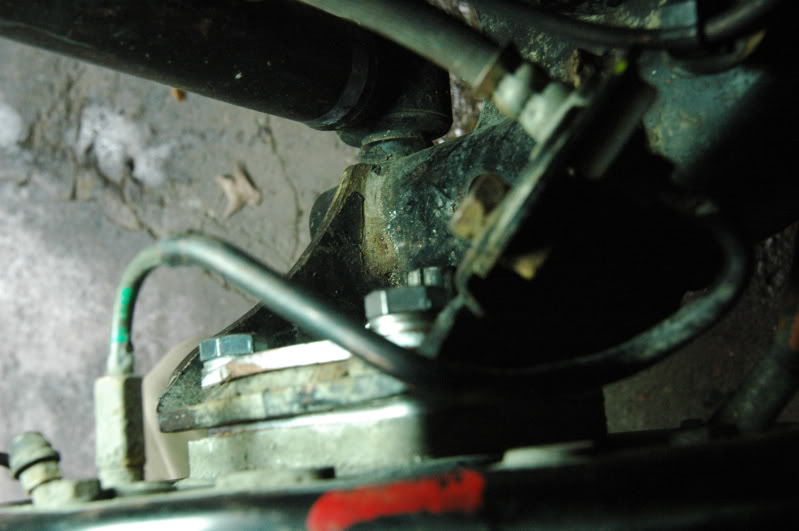
every thing bolted back on up, 10mm above the hub, then the -3 camber shim then the hub support, then the backer plate, make sure you set the bolts to factory spec.
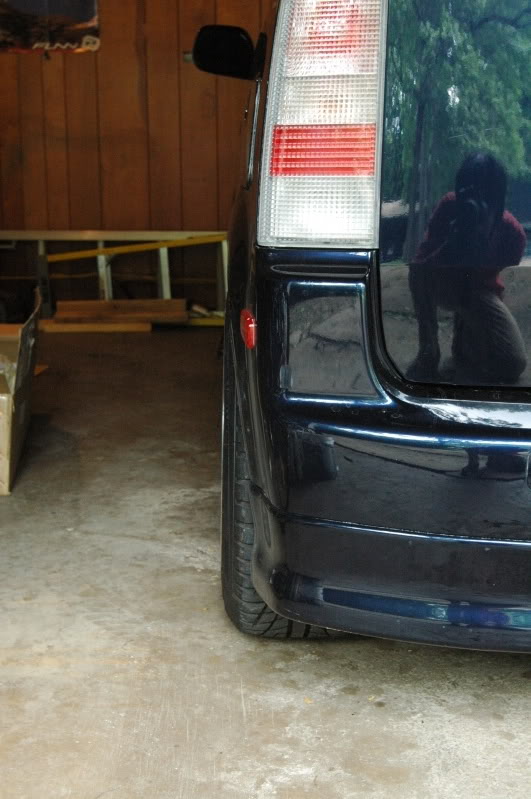
before
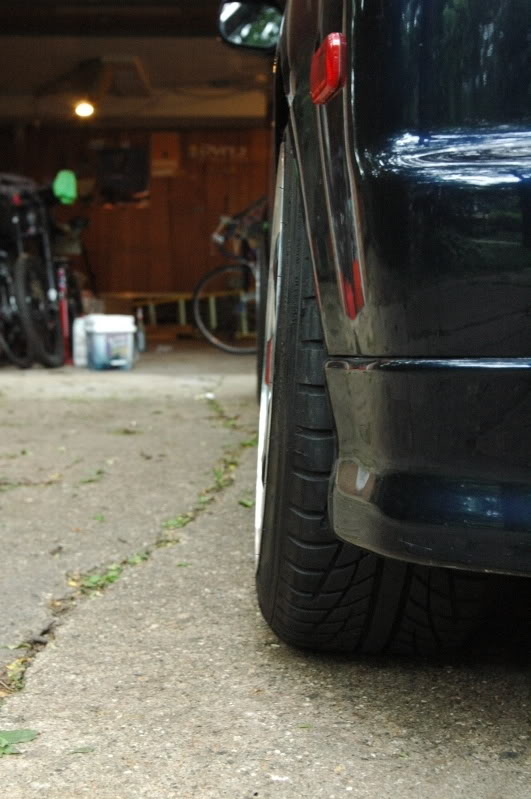
after
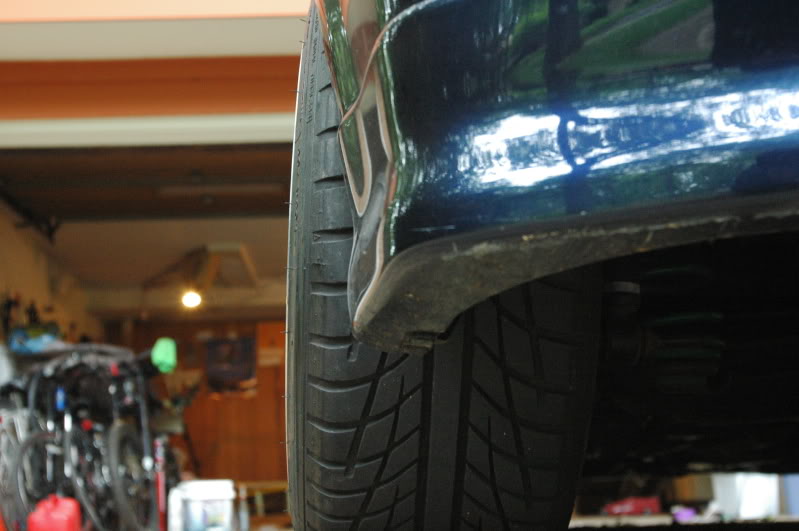
close up of the camber
pic of side of car

this is going to be a quick step guide with just the right amount of info to install them yourself
If you have a jack and simple tools, this is as easy as riding a bike.
tools needed: 10mm, 17mm sockets, anti-corroding compound, metal file, flathead, and that stuff that helps you remove rusted bolts.
the shims, and bolts the shims are -3's but install would be the same if you got the -5's.
back plate this go's on the back before the bolts, note the countersinking, this is so the bolts will line up right with the camber on the other side of where the hub bolts up.
]this is the camber shim itself, note the stamp on the top, this indicates what side it go's on make sure its at the top and facing you when you put it on, the shim go's on the other side of where the backer plate go's ( if you have hub spacers the camber plate go's on 1st then the hub spacer the the hub it self )
the other bolts you will need to take off other then the 4 on each side that hold the hub on
the clamp that its attached to the e-brake line will nee to be moved up on the line, due to the hub being pushed out and away. you should be abale to do this with a flat head.
let the next two photos show you whey you use anti-corroding compound. its so bad that my spacer shims are stuck the the hubs.
every thing bolted back on up, 10mm above the hub, then the -3 camber shim then the hub support, then the backer plate, make sure you set the bolts to factory spec.
before
after
close up of the camber
pic of side of car


Senior Member
SL Member
Joined: May 2012
Posts: 179
From: Rochester, NY
Not really sure why you would do this, I know it can look good like when a car is on bags and all the way down, but in my honest opinion if your driving like this all the time it just causes headaches. Uneven tire wear, more stress on the axel and more stress on the bearings.
Just my opinion.
Just my opinion.

Thread
Thread Starter
Forum
Replies
Last Post
Darrenohooligan
PPC: Suspension / Brakes
0
Sep 26, 2015 07:21 AM
domincnTC
PPC: Vehicles
0
Aug 4, 2015 01:47 PM
Subaru86
Scion FR-S Suspension & Handling
0
Jul 31, 2015 04:33 AM