
My last rotary project/project... 3 rotor RX-7


Thread Starter
Senior Member
SL Member
Joined: Sep 2012
Posts: 115
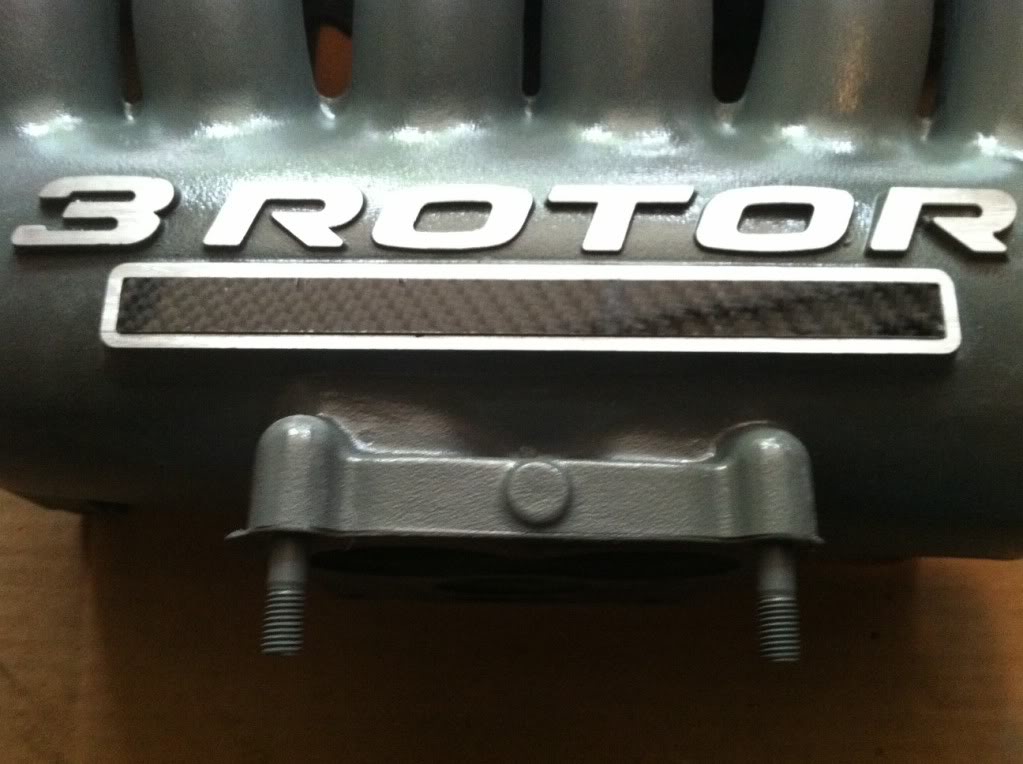
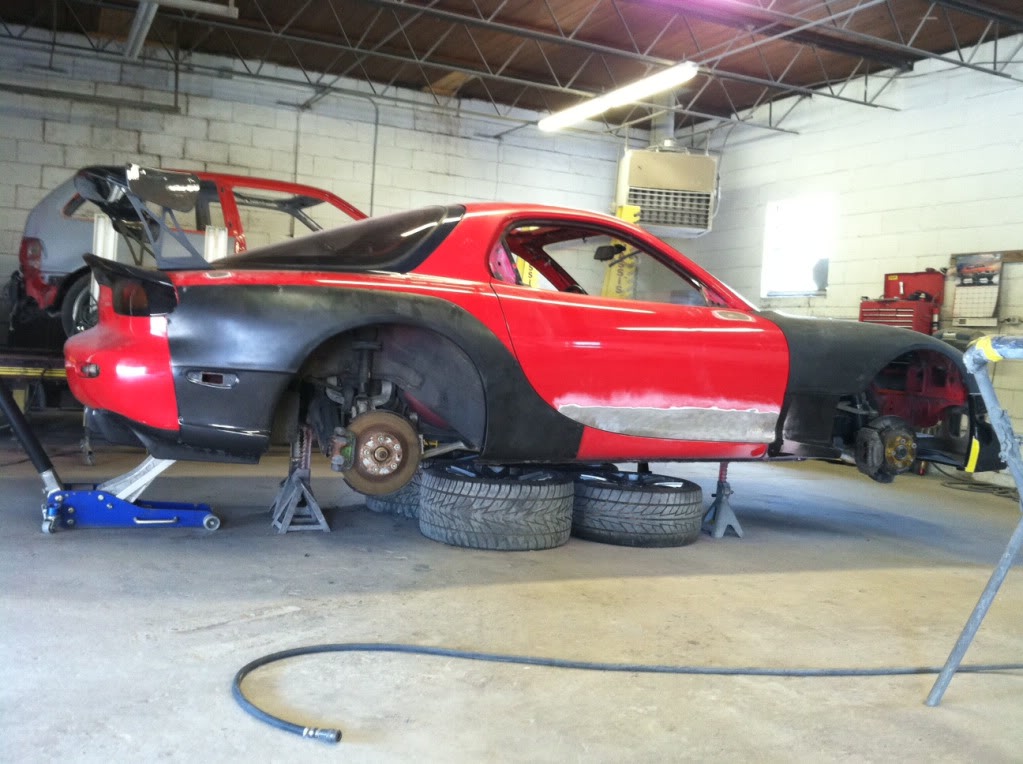
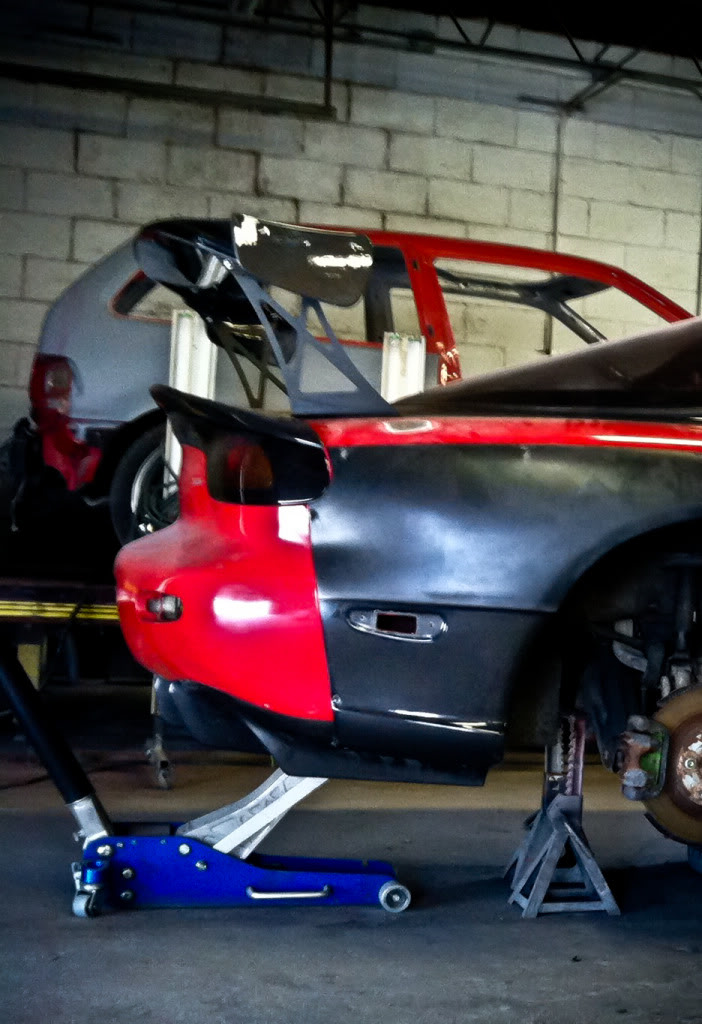
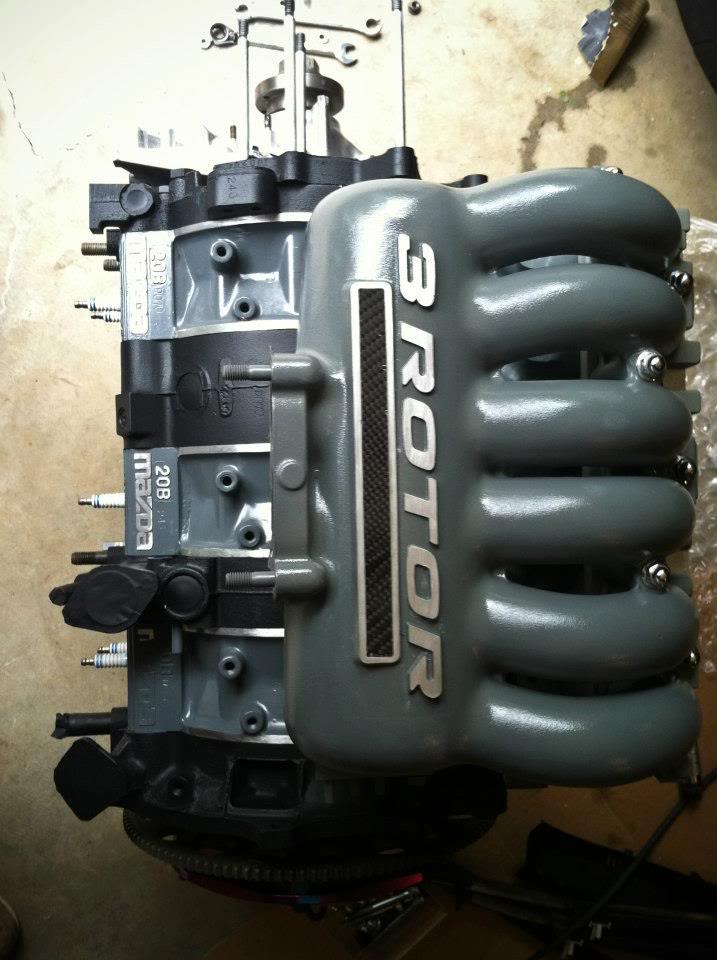
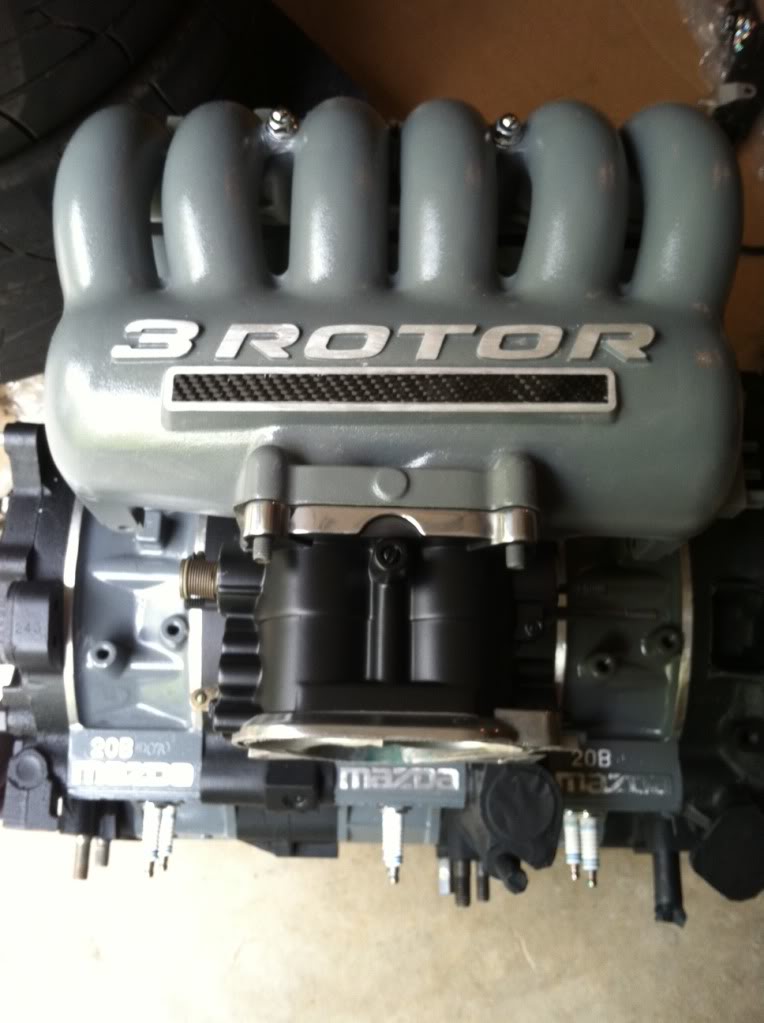
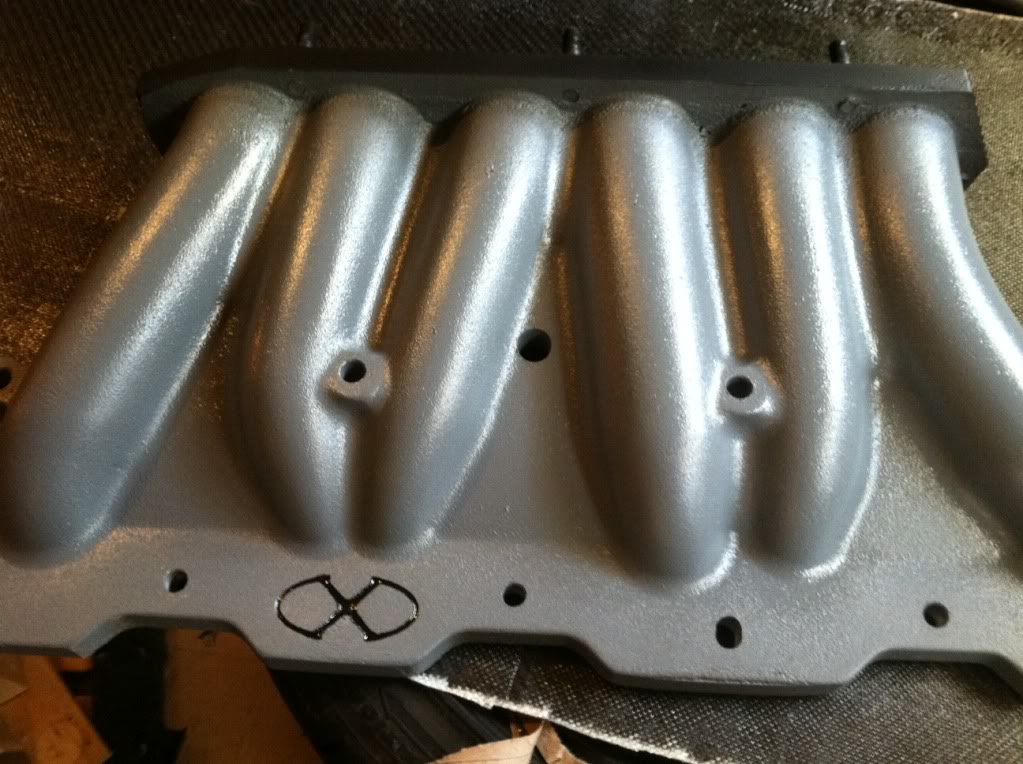
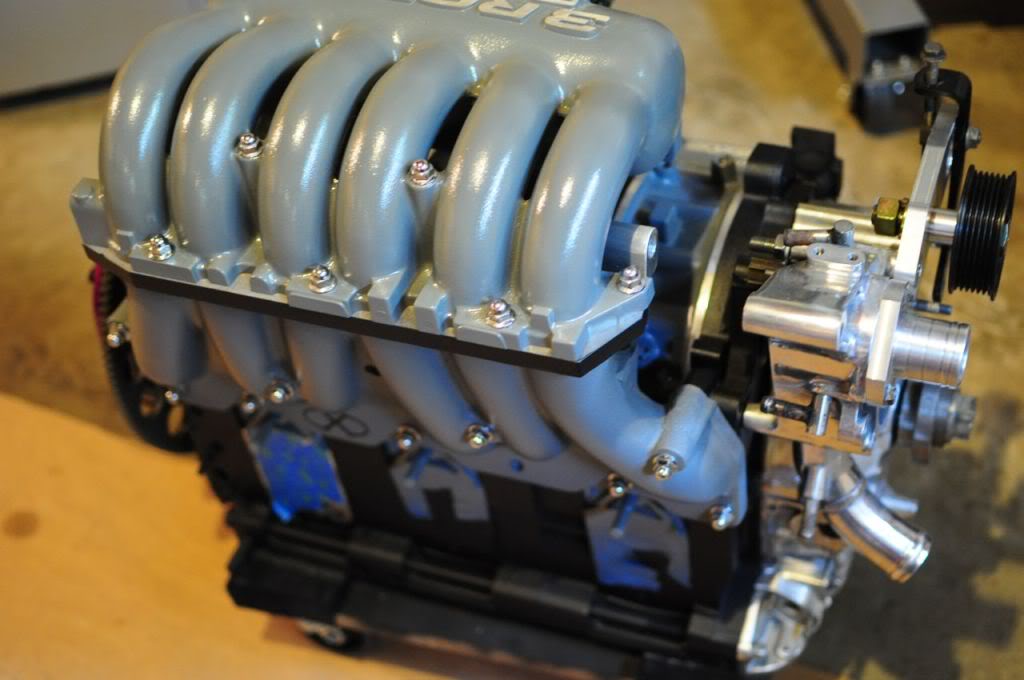
Again, while I was waiting on the shell..
decided to shave off the casting seams and paint the Upper intake manifold of the engine.
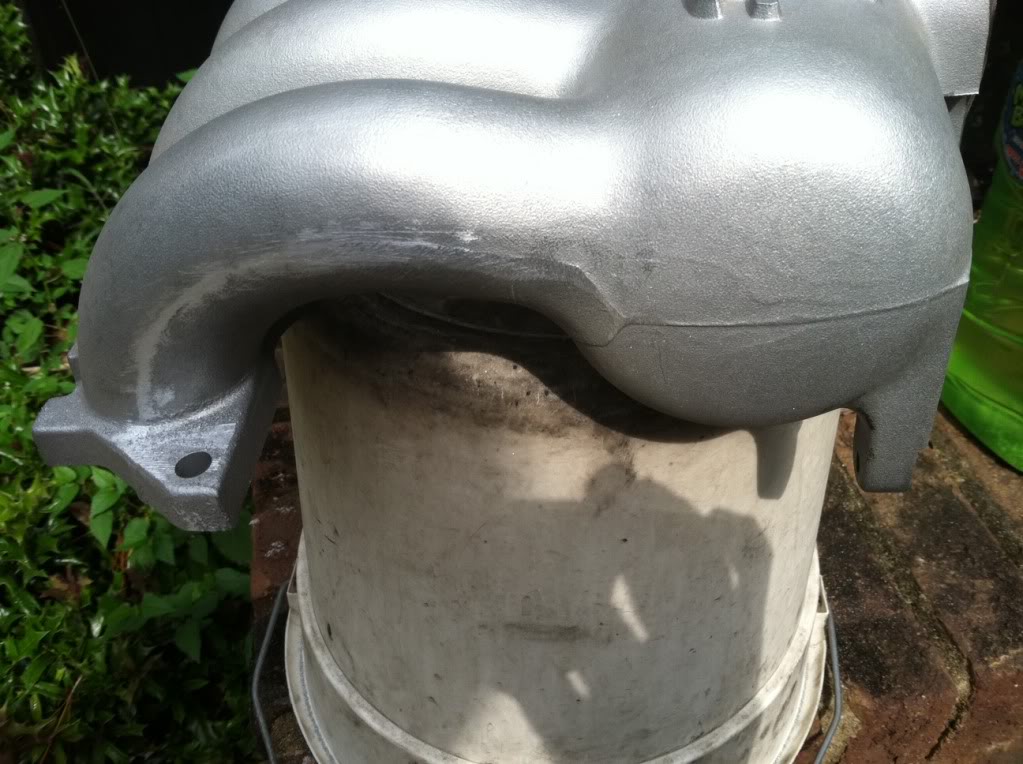
I was going to powder coat it red.. but thought i give the similar gray black look
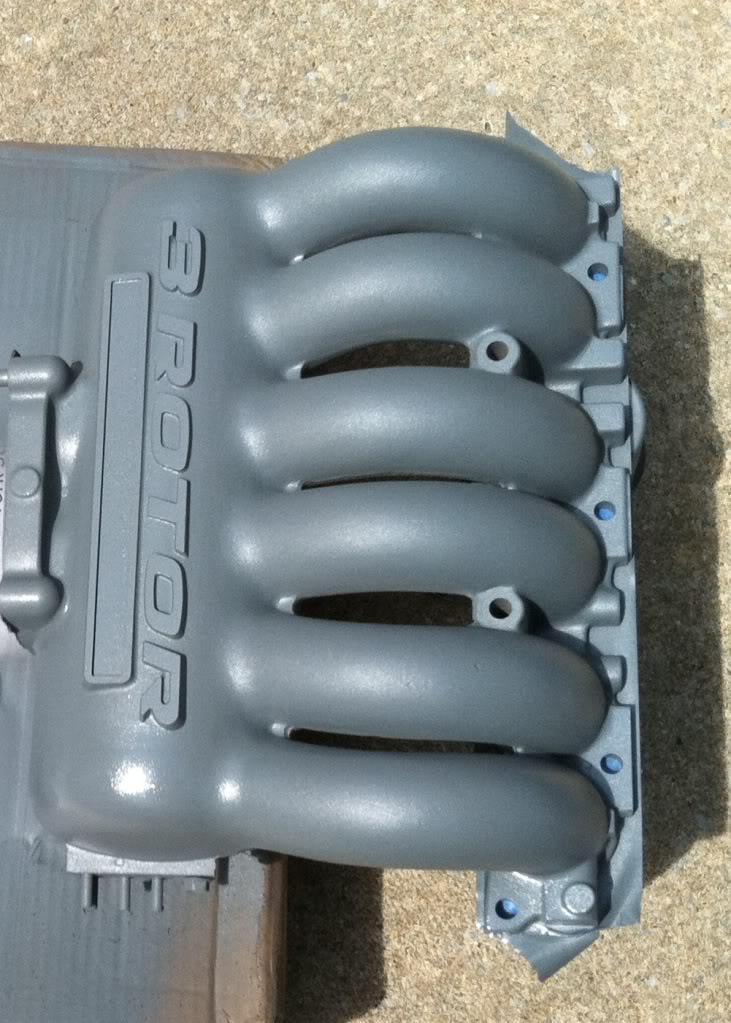
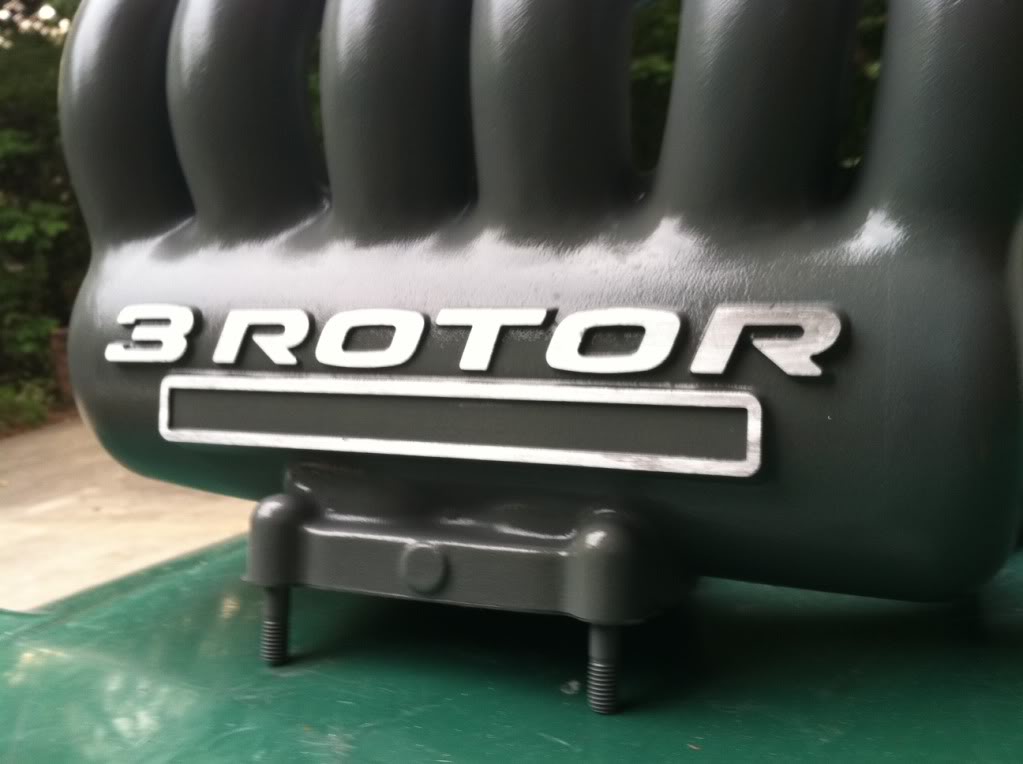
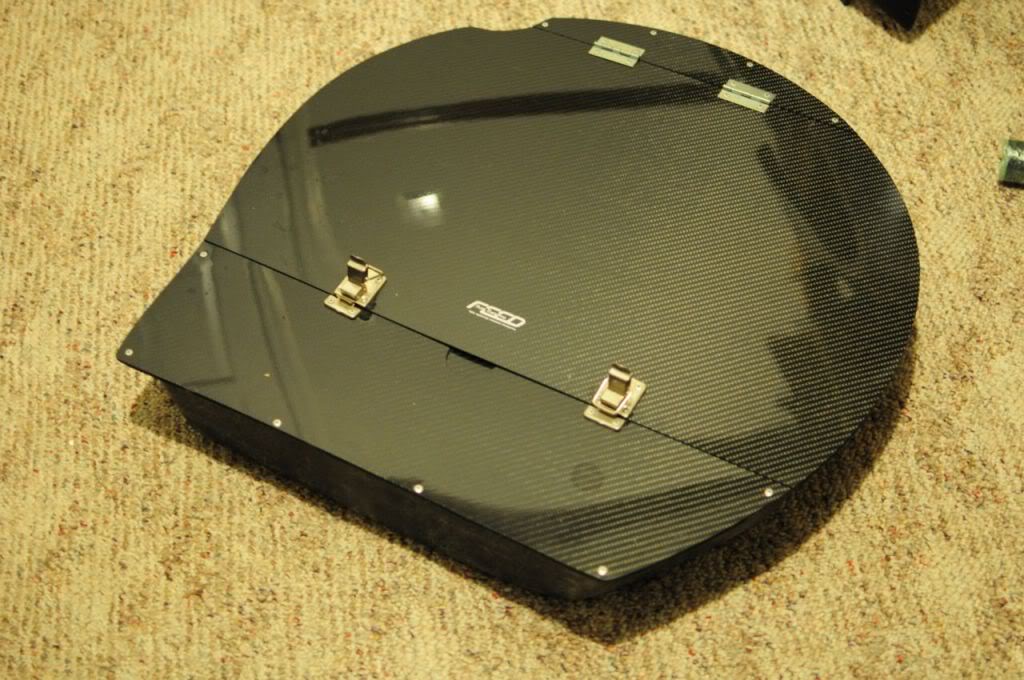
and inserted a carbon fiber to tie the whole car together
decided to shave off the casting seams and paint the Upper intake manifold of the engine.
I was going to powder coat it red.. but thought i give the similar gray black look
and inserted a carbon fiber to tie the whole car together

 love it


Thread Starter
Senior Member
SL Member
Joined: Sep 2012
Posts: 115
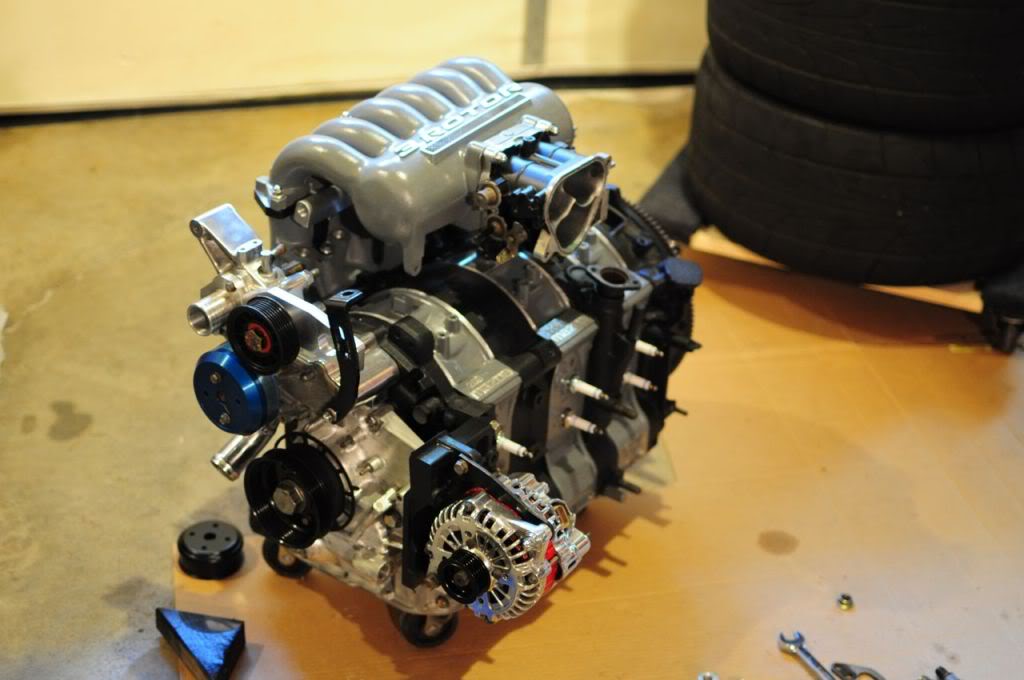
While the car was at the paint and body.. I continued what I can at home..
Test fit the intake manifold to the short block..
Than I disassembled my throttle body and painted to match..
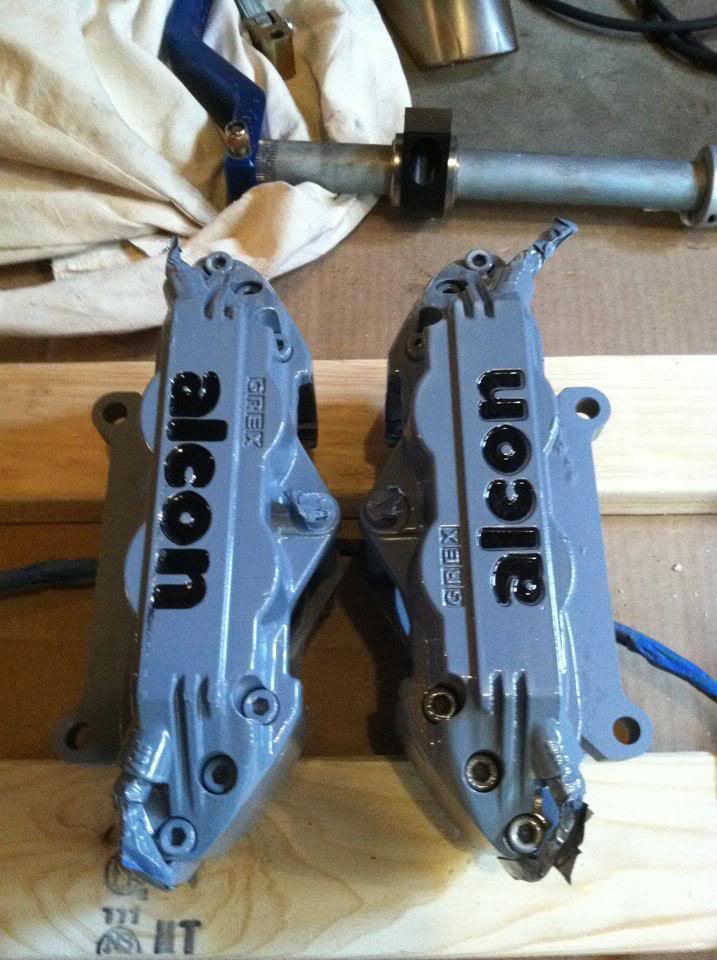
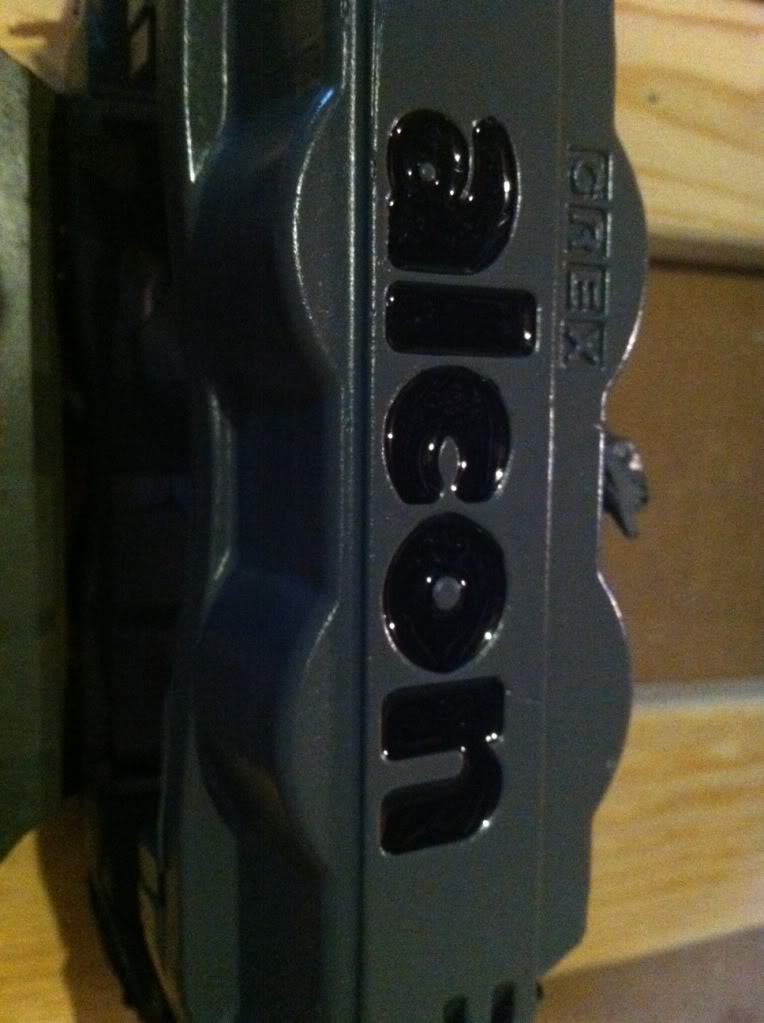
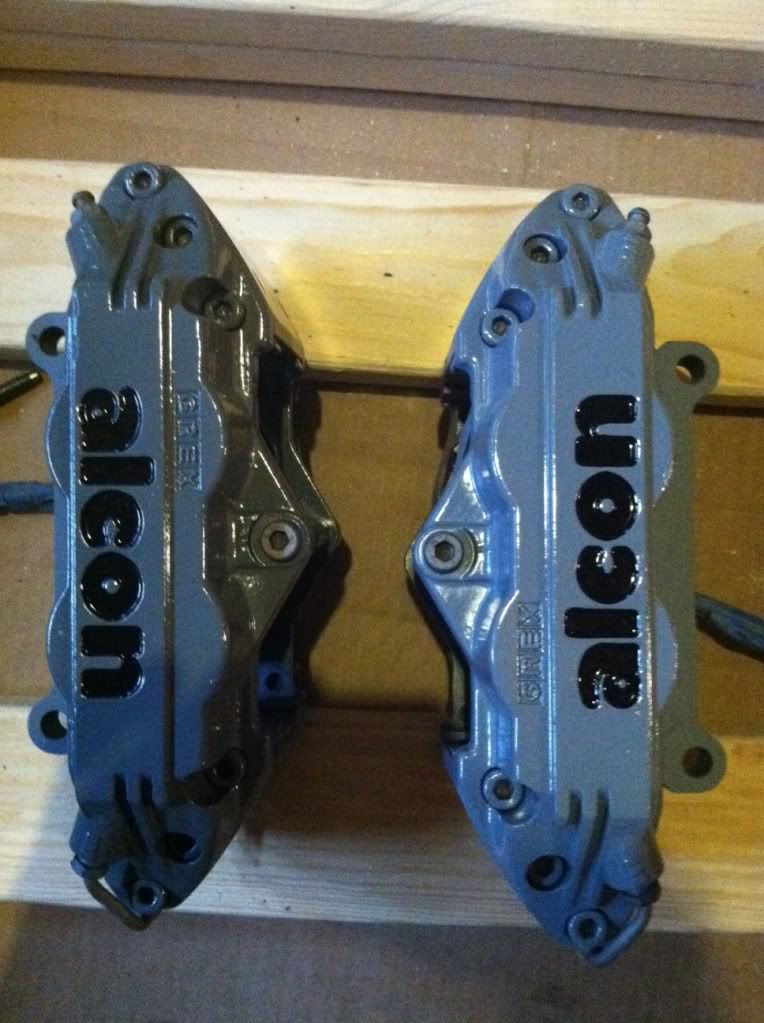
I also painted my GREX/Alcon calipers.
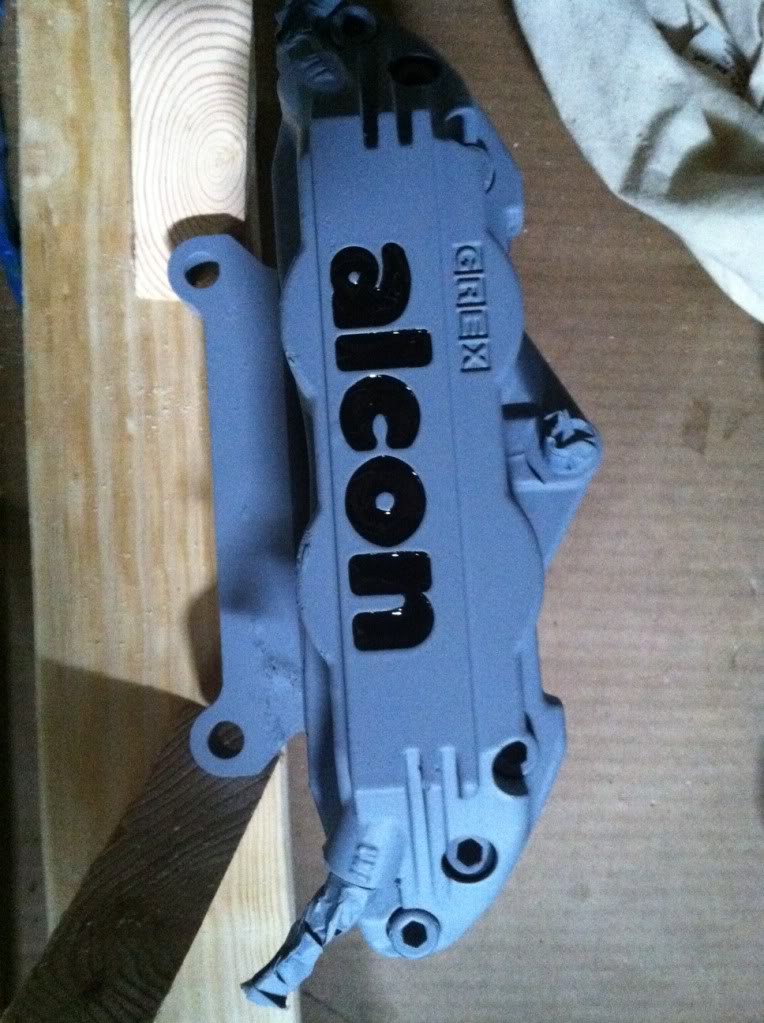
but one of them needs to be refinished...
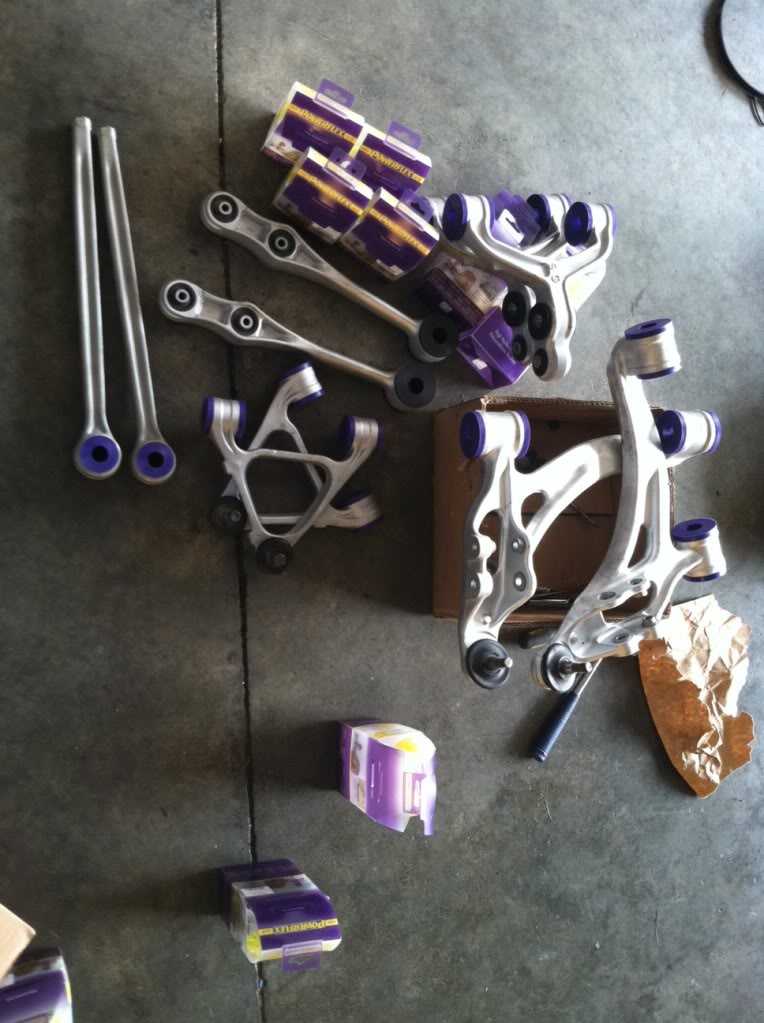
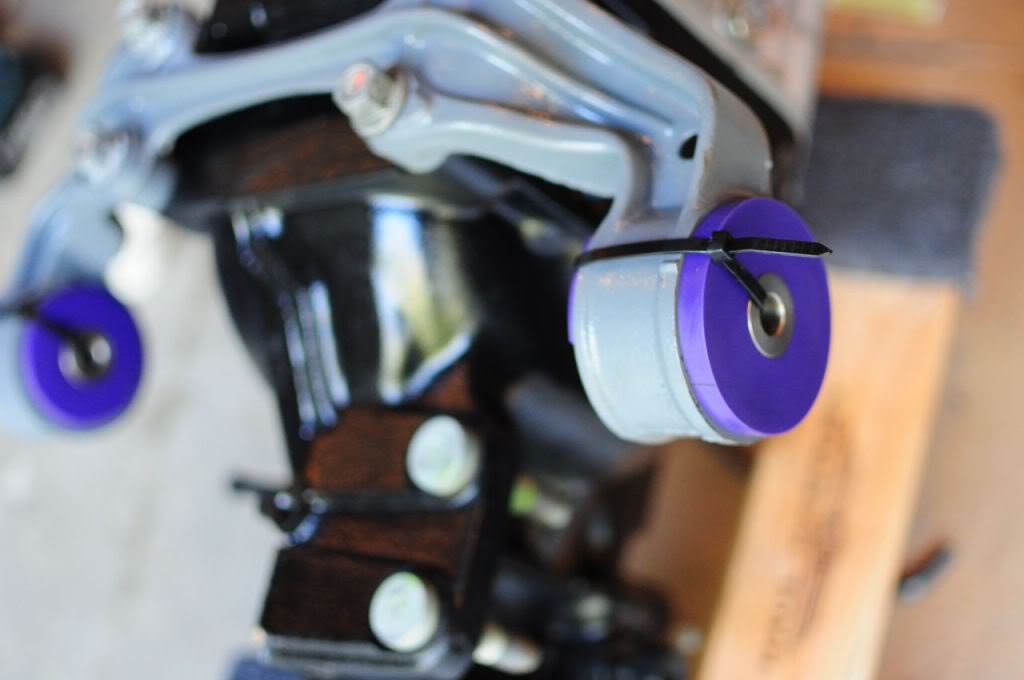
Sand blasted by suspension pieces and bead blasted..
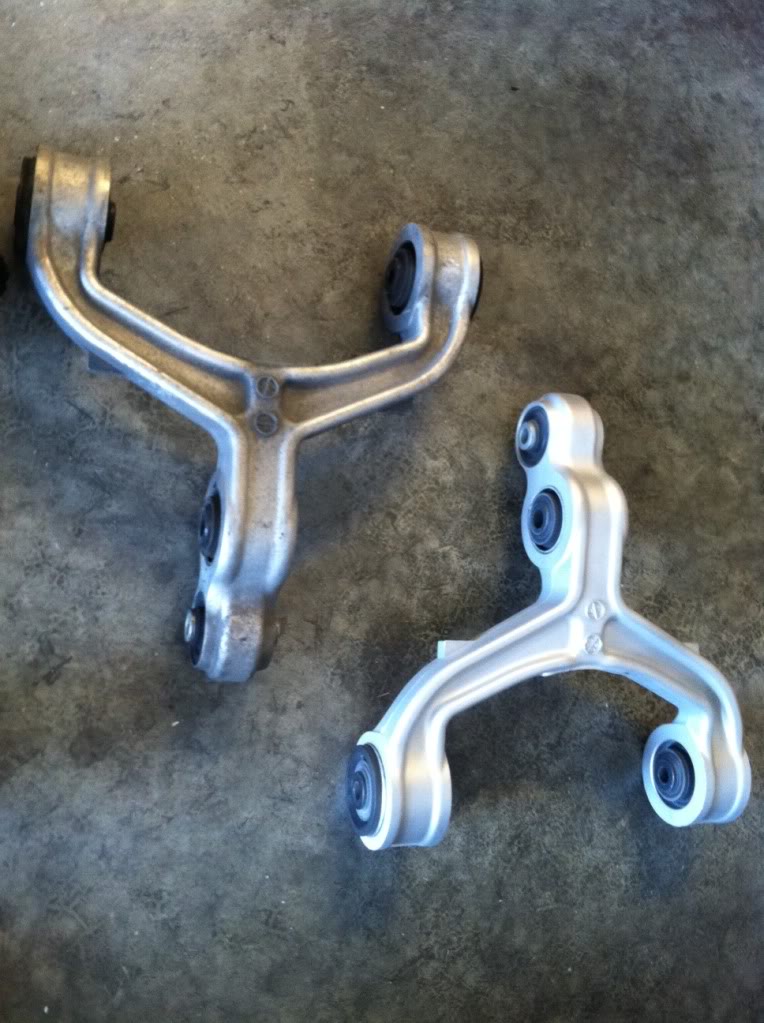
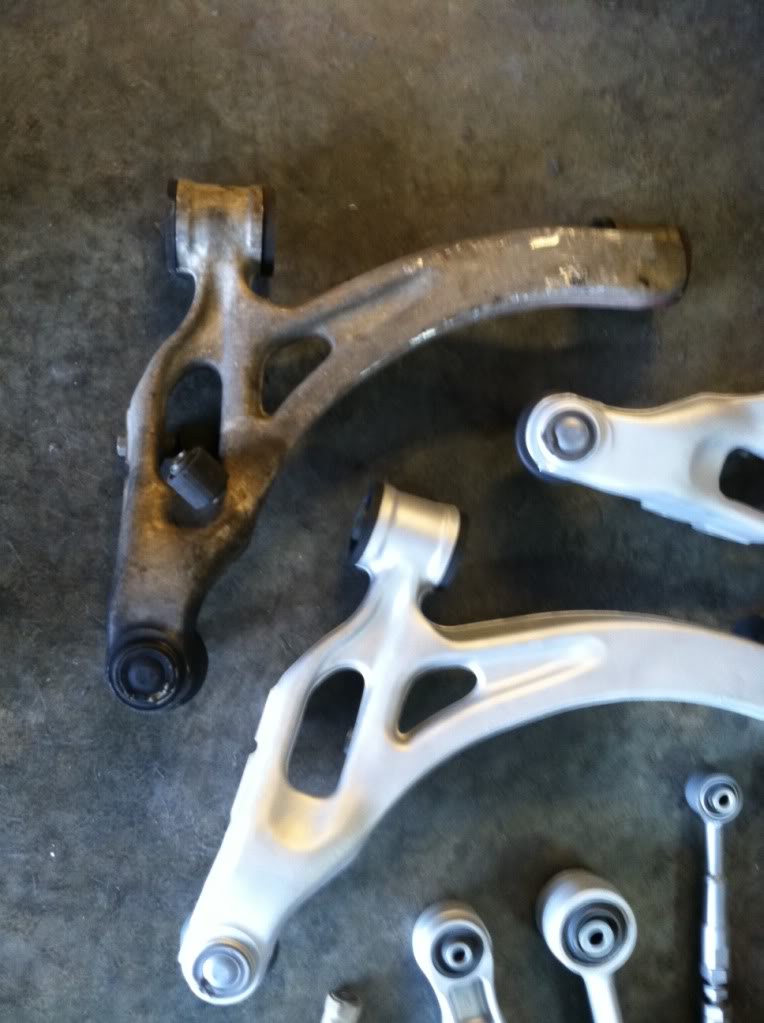
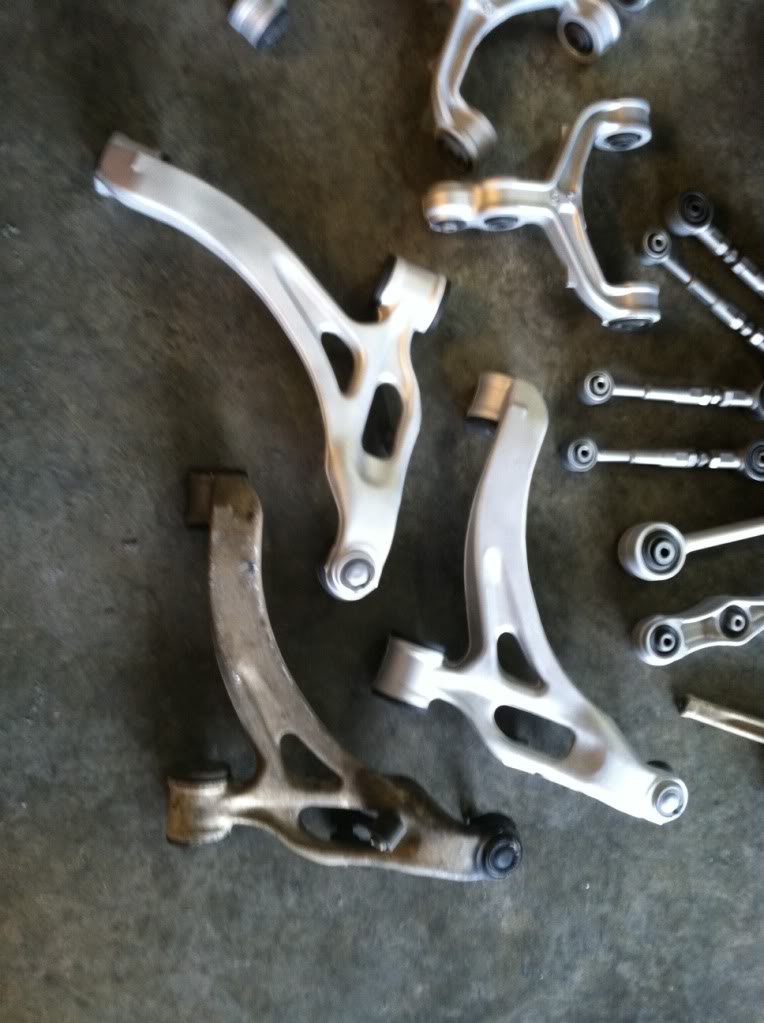
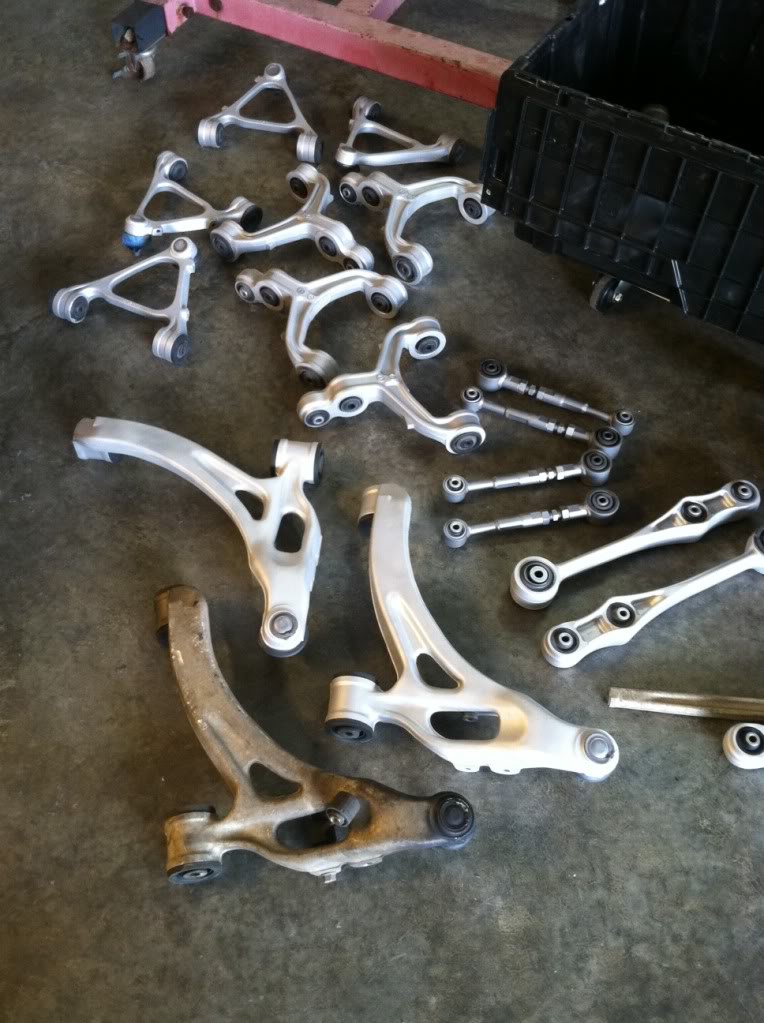
And pushed the old bushing out and I accidentally broke one of the arm as I was going on little sleep and rushing the work..
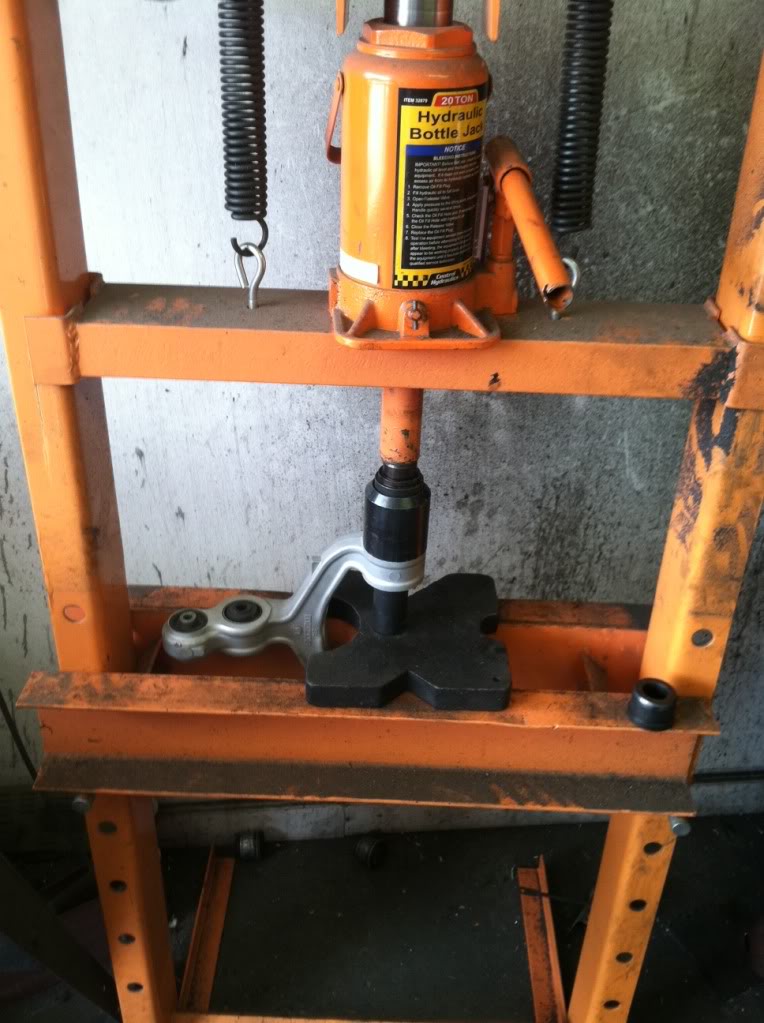
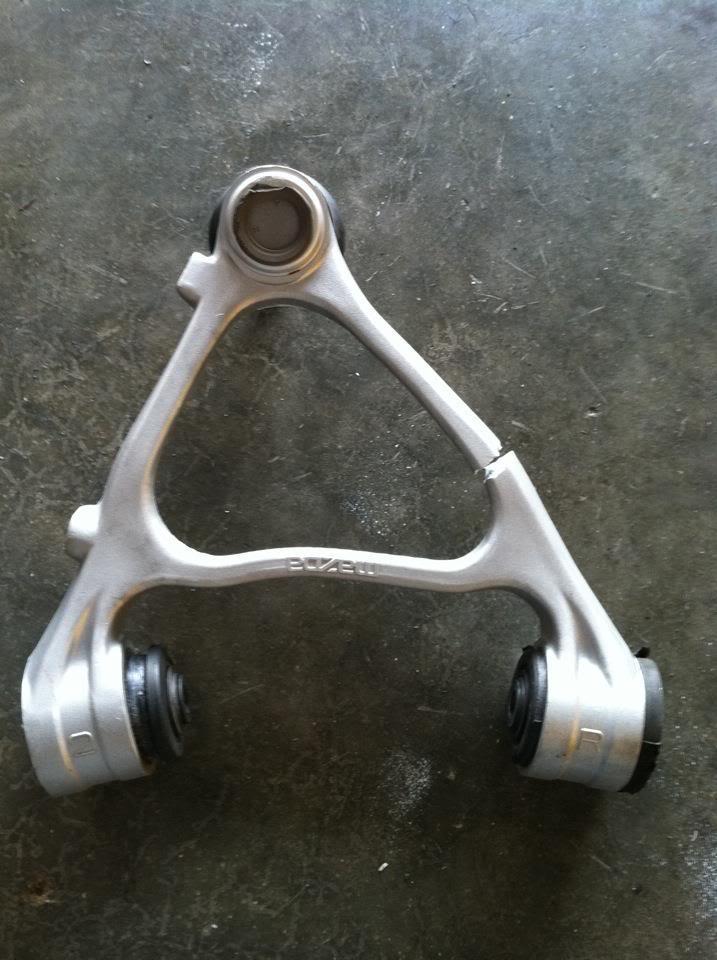
And installed my new Powerflex bushings! I got the Powerflex bushings because they are well made and heard great things from people who used them.
Test fit the intake manifold to the short block..
Than I disassembled my throttle body and painted to match..
I also painted my GREX/Alcon calipers.
but one of them needs to be refinished...
Sand blasted by suspension pieces and bead blasted..
And pushed the old bushing out and I accidentally broke one of the arm as I was going on little sleep and rushing the work..
And installed my new Powerflex bushings! I got the Powerflex bushings because they are well made and heard great things from people who used them.
Thread Starter
Senior Member
SL Member
Joined: Sep 2012
Posts: 115
Here is something rare for the car..
Defi Super Sport Cluster.. very few in usa and I should be one of the first to put this in an FD here in USA.
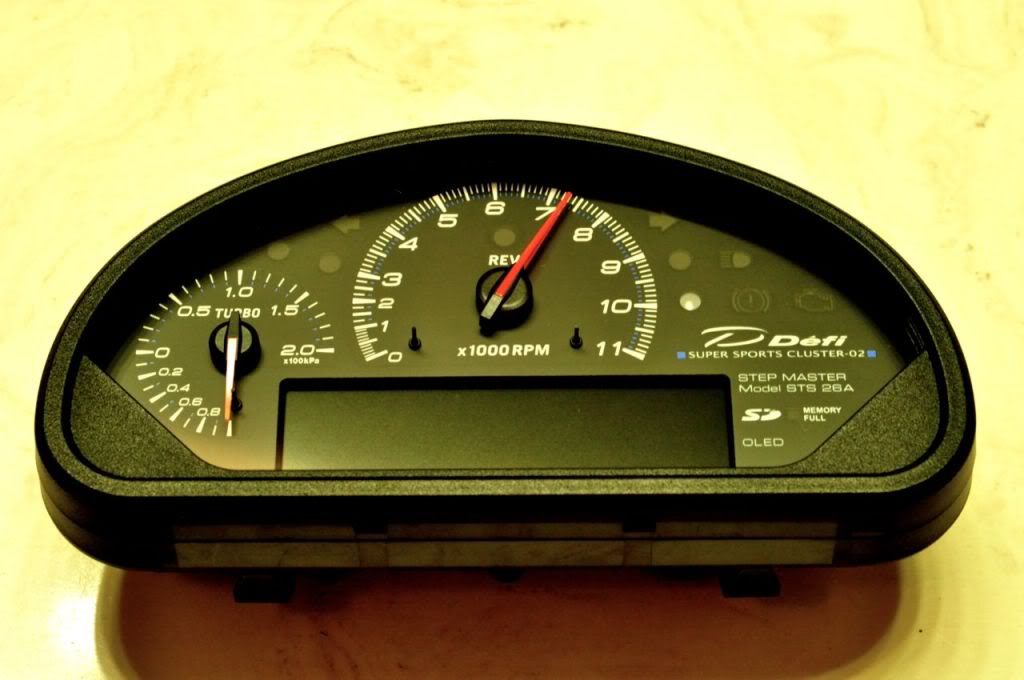
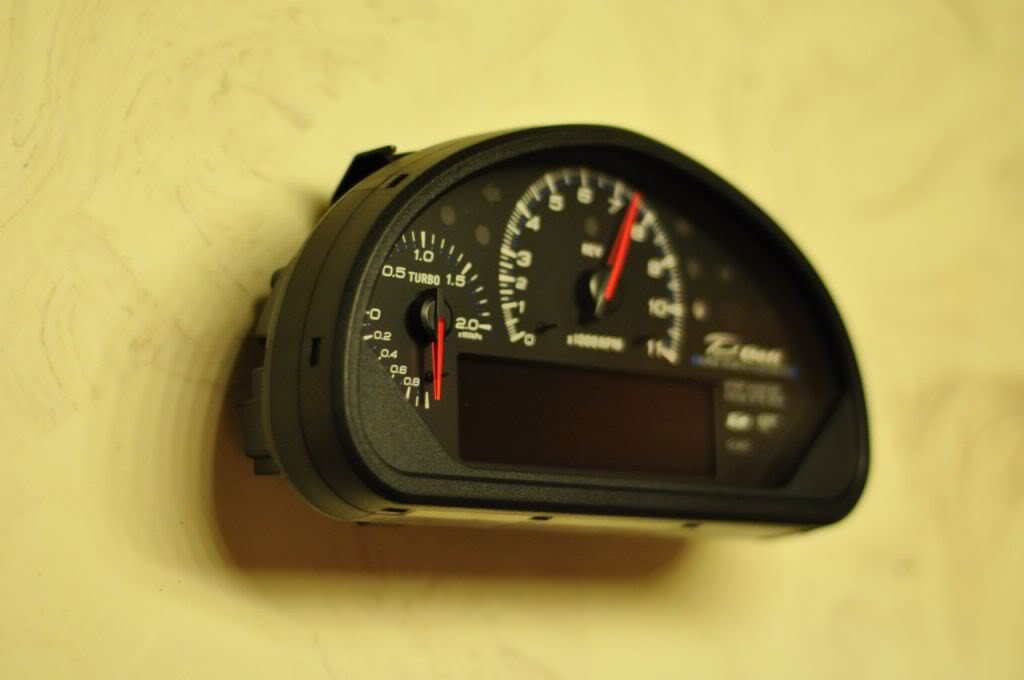

I been wanting to get this for about 8 yeears and Defi never sold this here and never sold this off the shelf in Japan. It was specific Dealer only unit in Japan where it had to be installed in a car by the authorized installer in Japan. All the ones that are here in USA were used units and this is a brand new unit.
Defi Super Sport Cluster.. very few in usa and I should be one of the first to put this in an FD here in USA.
I been wanting to get this for about 8 yeears and Defi never sold this here and never sold this off the shelf in Japan. It was specific Dealer only unit in Japan where it had to be installed in a car by the authorized installer in Japan. All the ones that are here in USA were used units and this is a brand new unit.
Thread Starter
Senior Member
SL Member
Joined: Sep 2012
Posts: 115
Wheels and tires that are going on this car..

WORK CR Ultimate, 18x9.5 front and 18x10.5 rear.
TOYO R888 tires, 255/30 front and 295/30 rear

Mounted and load balanced. I already test fit this set up and tested for speed on my other RX7.

WORK CR Ultimate, 18x9.5 front and 18x10.5 rear.
TOYO R888 tires, 255/30 front and 295/30 rear
Mounted and load balanced. I already test fit this set up and tested for speed on my other RX7.

Thread Starter
Senior Member
SL Member
Joined: Sep 2012
Posts: 115
LOL! Yes.. I'm a huge rotary fan...
Here is my other one
Mint 1994 SSM that I'm putting all rare Mazda/Mazdaspeed goodies on.. Original paint with only 32K miles. This is my long term project that I been collecting parts for over 7 years... Once done, this would be the most expensive project I have done. Which is kind of surprising since most will think 3 rotor project is..
Thread Starter
Senior Member
SL Member
Joined: Sep 2012
Posts: 115
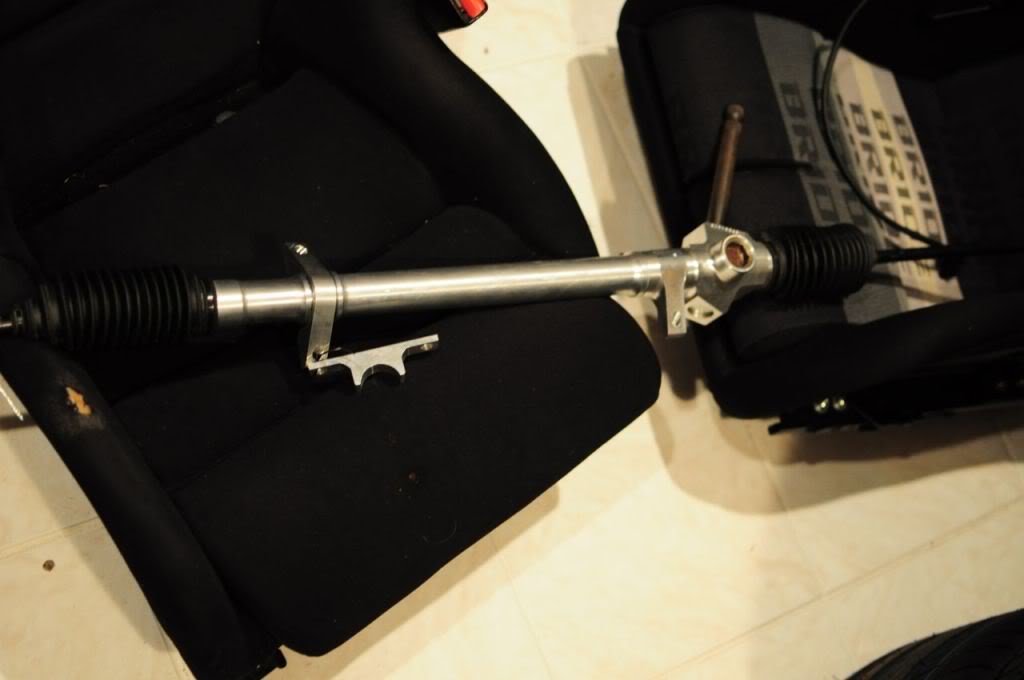
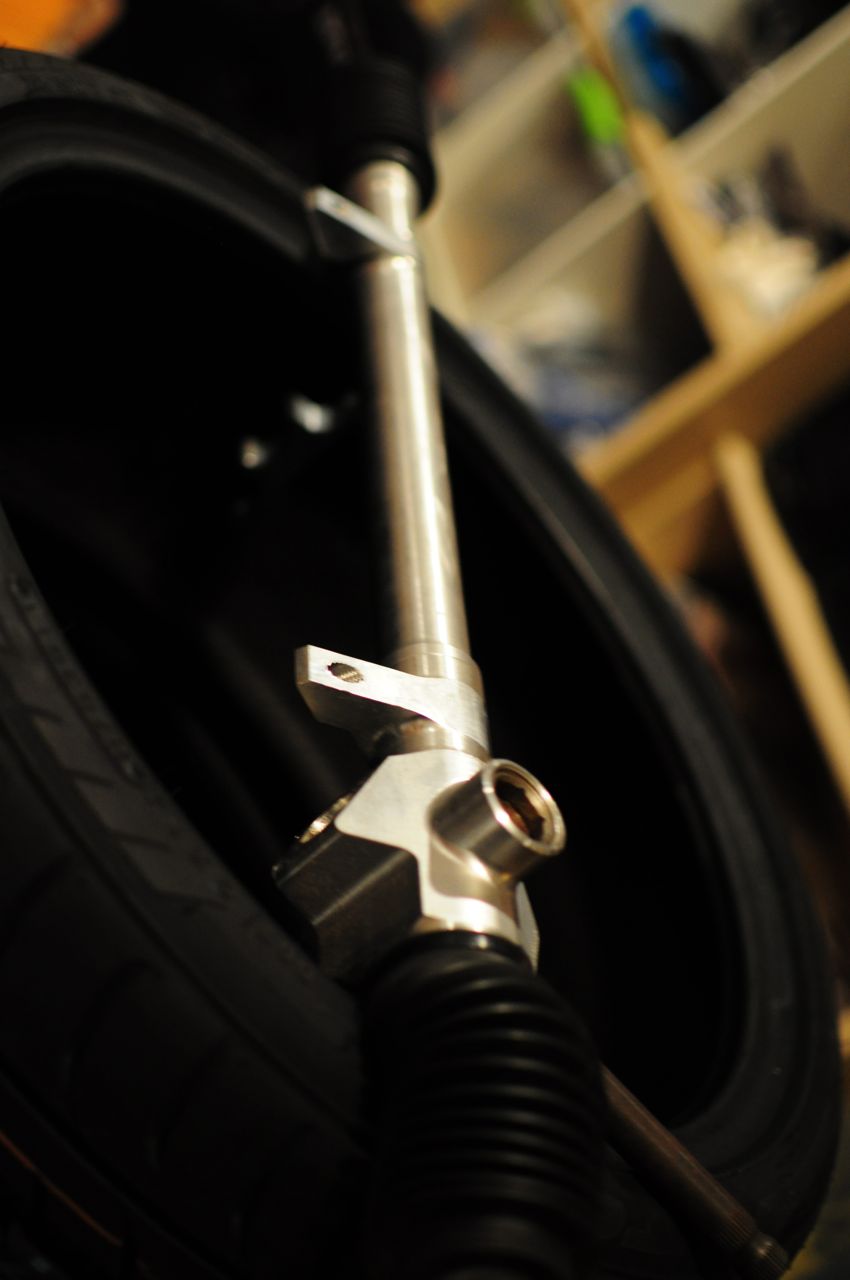
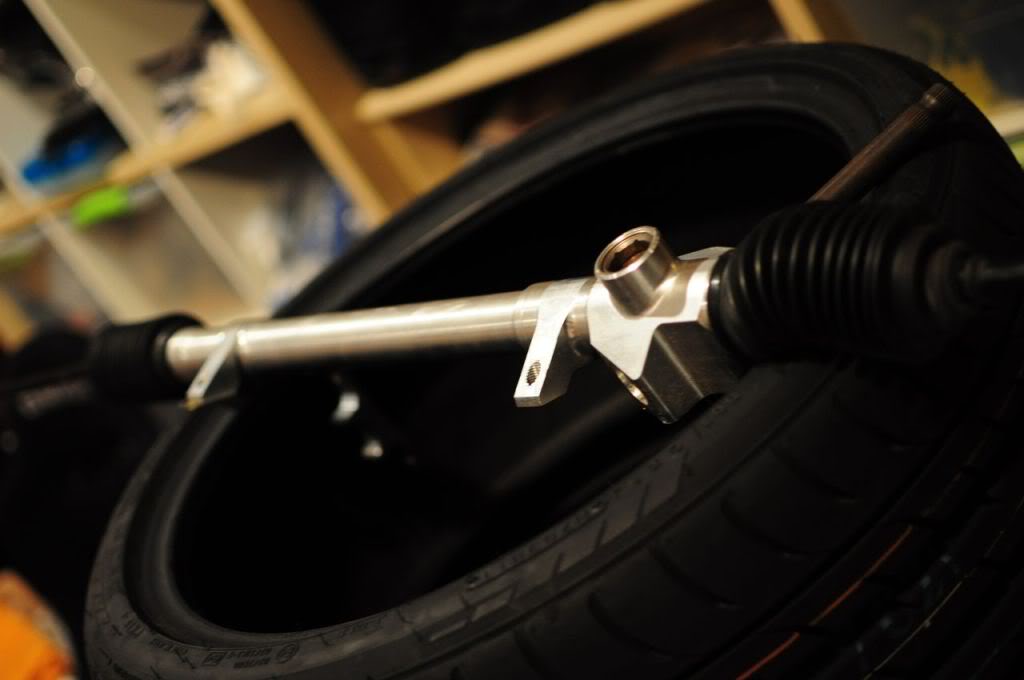
During this build, I had a chance to go visit Chris Ludwig from Ludwig Motorsport to check on the harness for the engine.
We decided to use the AEM coils with the Haltech PS2K.

Mil-spec connector..

We decided to use the AEM coils with the Haltech PS2K.
Mil-spec connector..
Thread Starter
Senior Member
SL Member
Joined: Sep 2012
Posts: 115
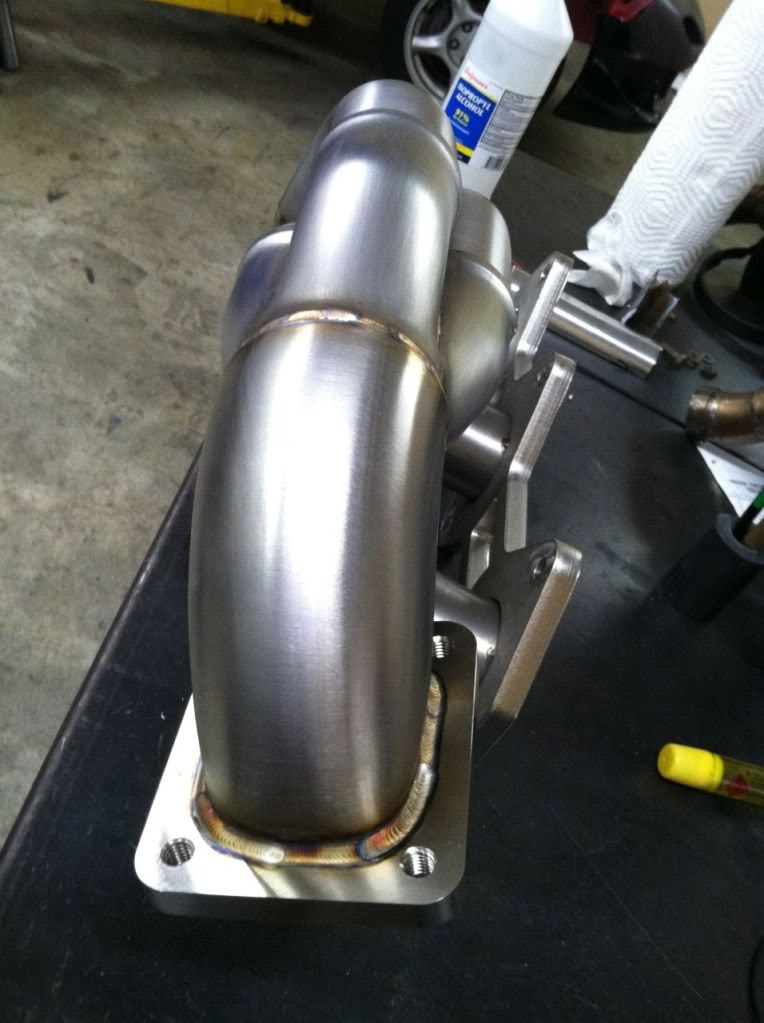
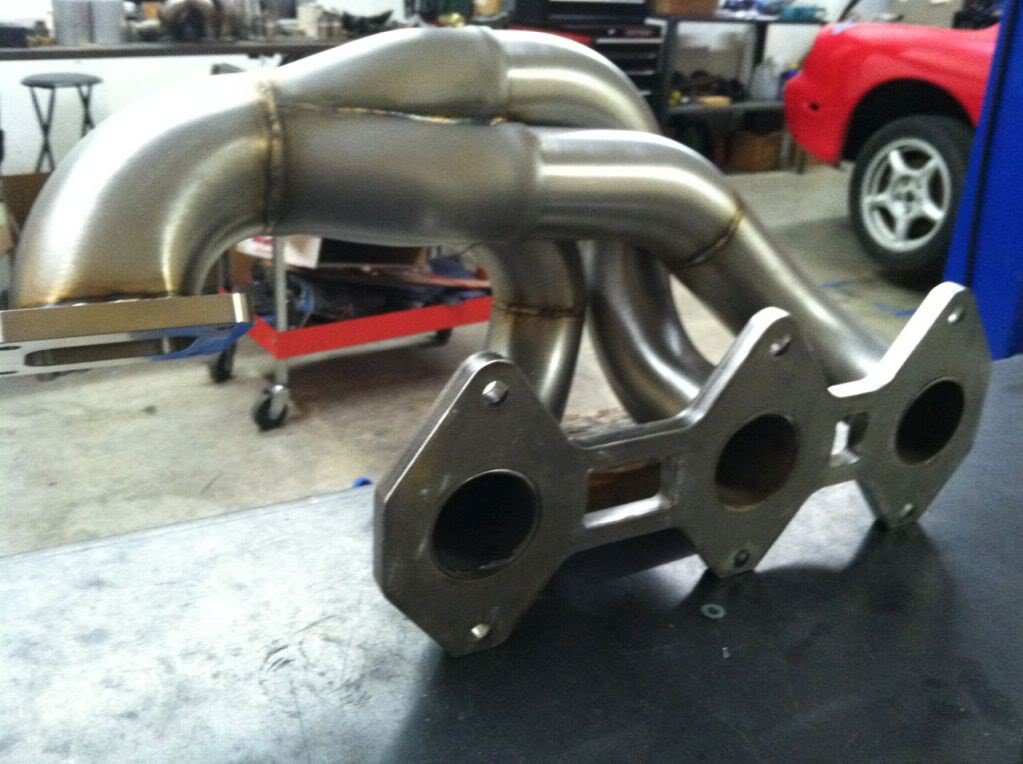
Here is something new for the 20B that I'm debuting..
ITs the new Xcessive Engineering lower intake manifold for the 20B. This is made for those interested in doing 3 rotor swap on RX7s, by lowering the height of the manifold and also each runner has an individual injector port. By using this, I'll be running 6x ID2000s on this manifold and 3x ID1000s on primaries on the irons. This much fuel, I'll be good for E85, 1000+WHP.... but shooting for 700-800 ish WHP.
I also studded the LIM and cut various FD hardwares to get this studded look with chrome hardwares. Also, better view of the LIM with UIM.
Thread Starter
Senior Member
SL Member
Joined: Sep 2012
Posts: 115
Thread Starter
Senior Member
SL Member
Joined: Sep 2012
Posts: 115
My off time past week, I was fabricating a blank cluster surround so I can retro fit my Defi cluster.
about 50% done and going to make a mold once its smoothed out, primered, painted, and then make it in CF.
Also, AC panel
and shifter panel
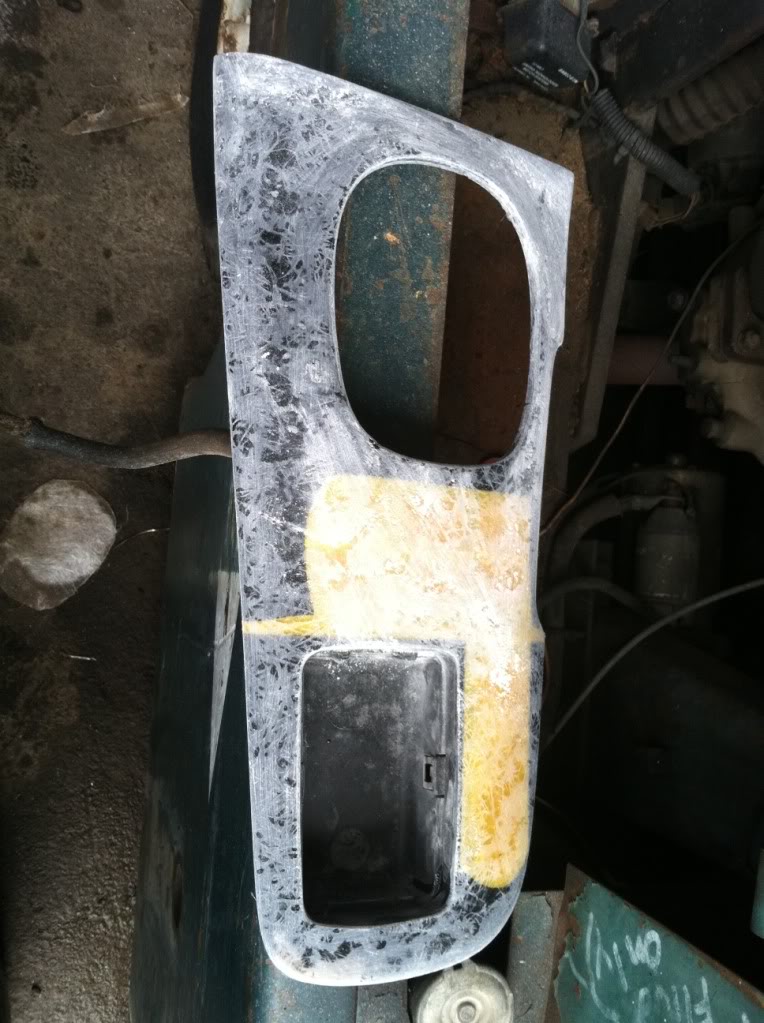
Lot of sanding fiberglass but hopefully all will be worth it at the end..
about 50% done and going to make a mold once its smoothed out, primered, painted, and then make it in CF.
Also, AC panel
and shifter panel
Lot of sanding fiberglass but hopefully all will be worth it at the end..

Thread Starter
Senior Member
SL Member
Joined: Sep 2012
Posts: 115
Sept 13th, 2012
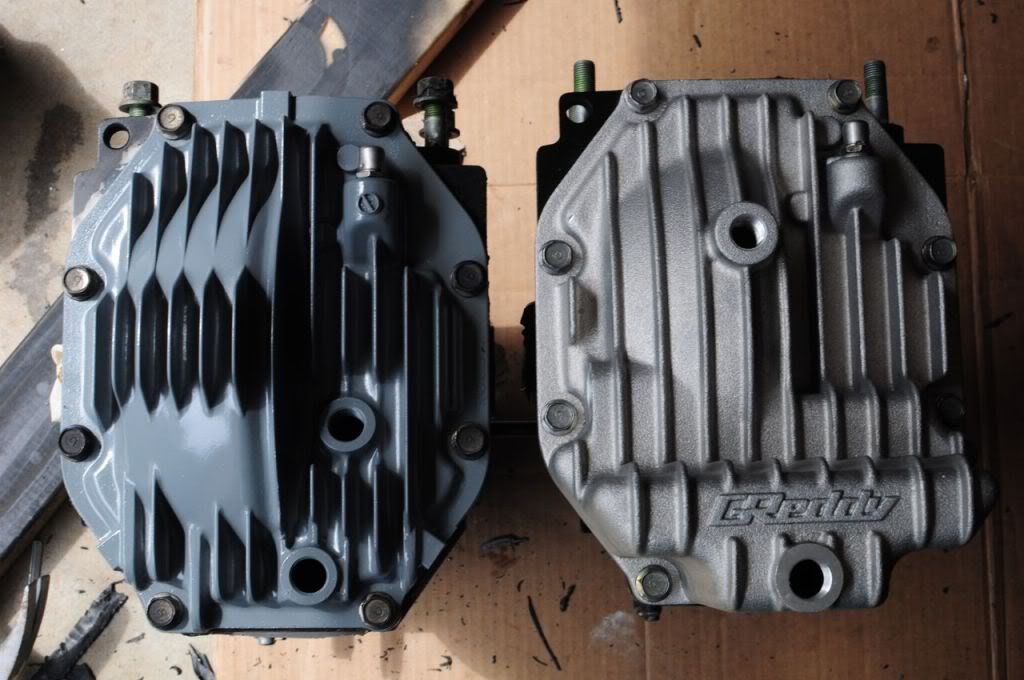
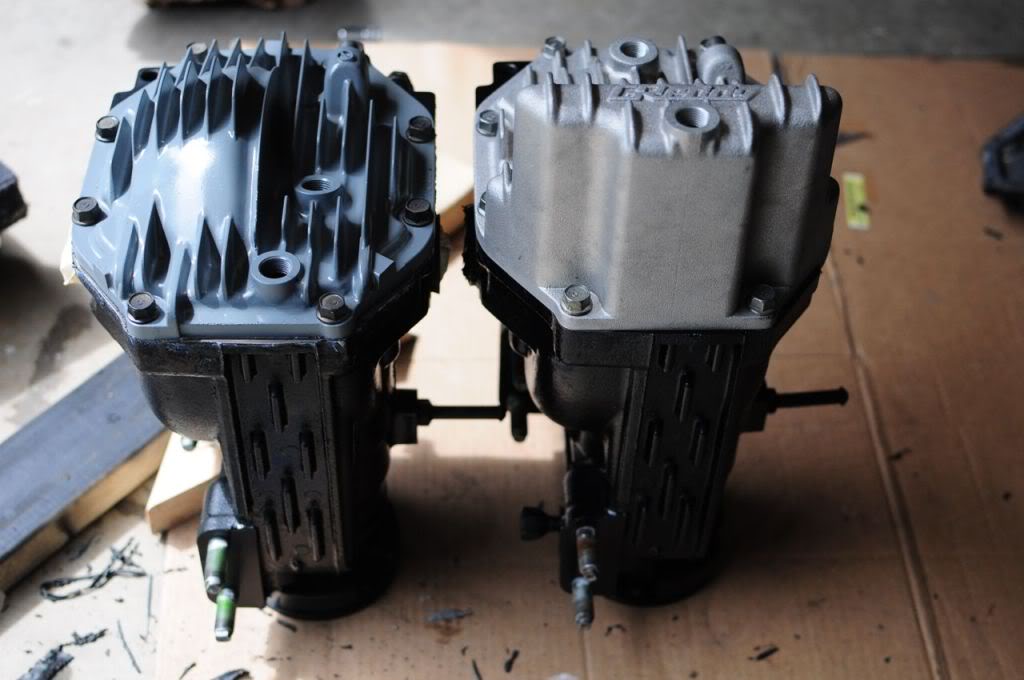
I finally took some time to work on the rear diffs of the FD RX-7s.
Here are some pics of the diffs.
Stock vs Kaaz
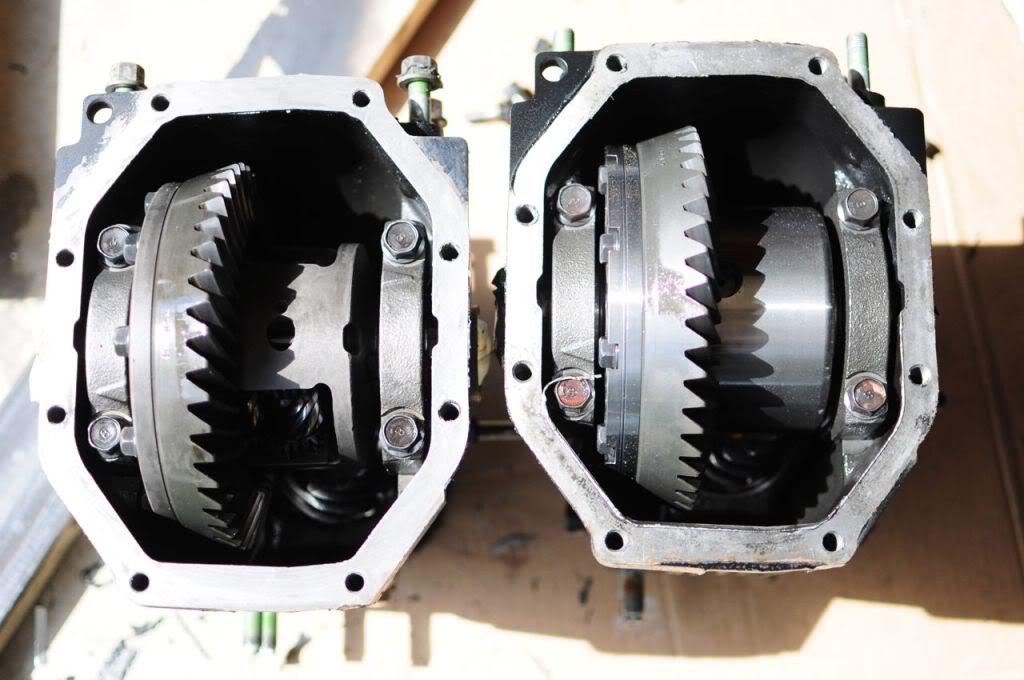
After cleaning the case, sanding it down, and re painting it with epoxy paint,.. I put the new covers on.
Stock vs. Greddy higher fluid capacity cover.
I finally took some time to work on the rear diffs of the FD RX-7s.
Here are some pics of the diffs.
Stock vs Kaaz
After cleaning the case, sanding it down, and re painting it with epoxy paint,.. I put the new covers on.
Stock vs. Greddy higher fluid capacity cover.
Thread Starter
Senior Member
SL Member
Joined: Sep 2012
Posts: 115
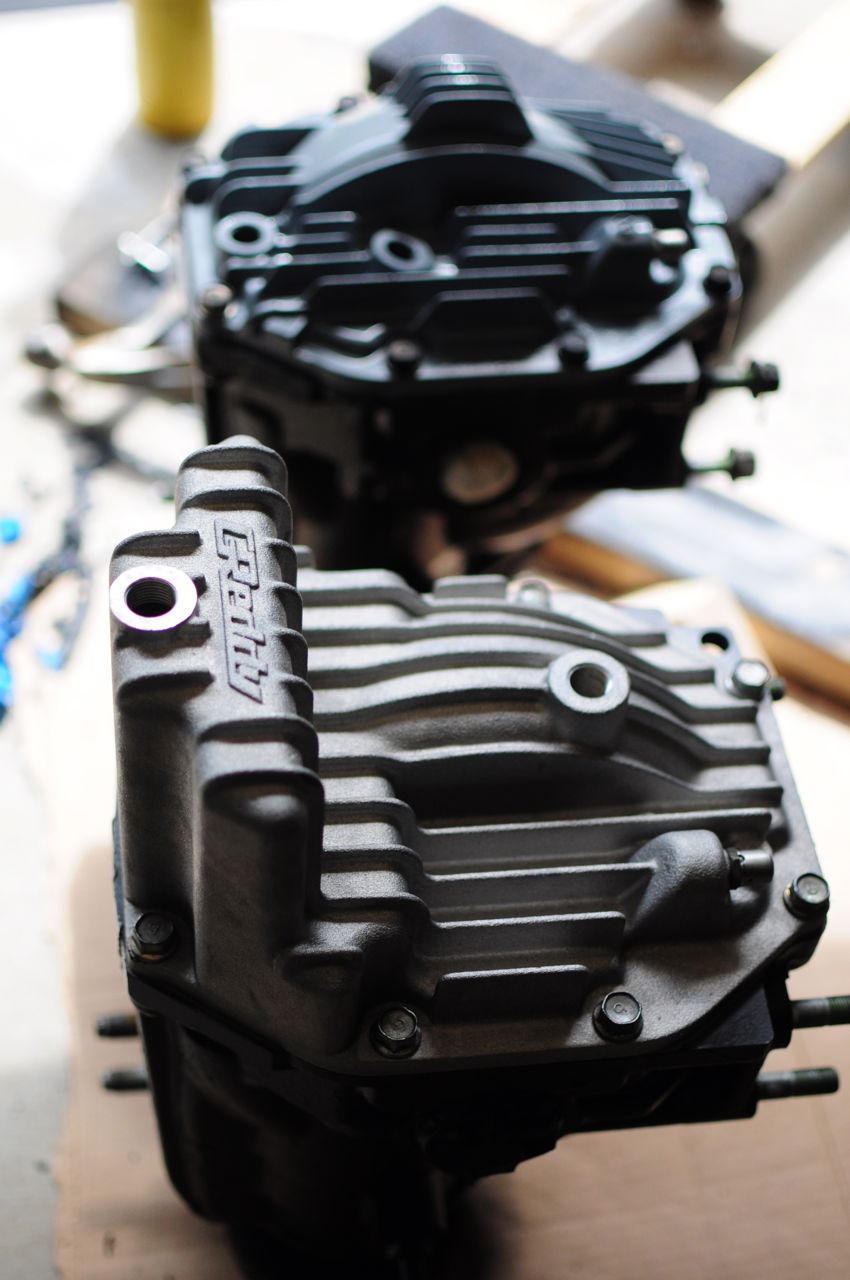
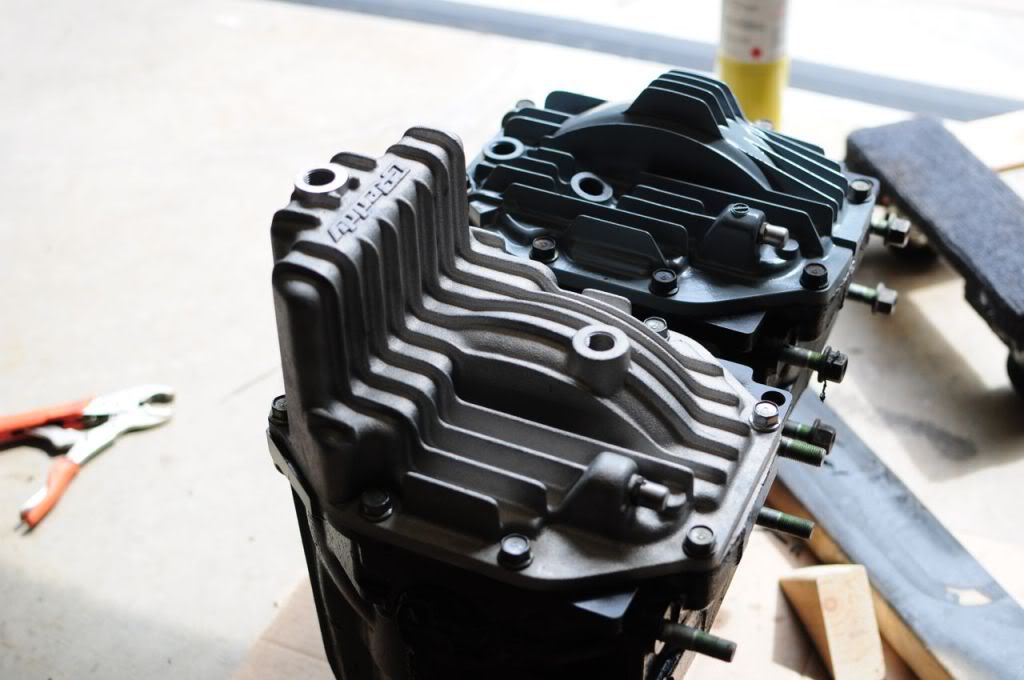
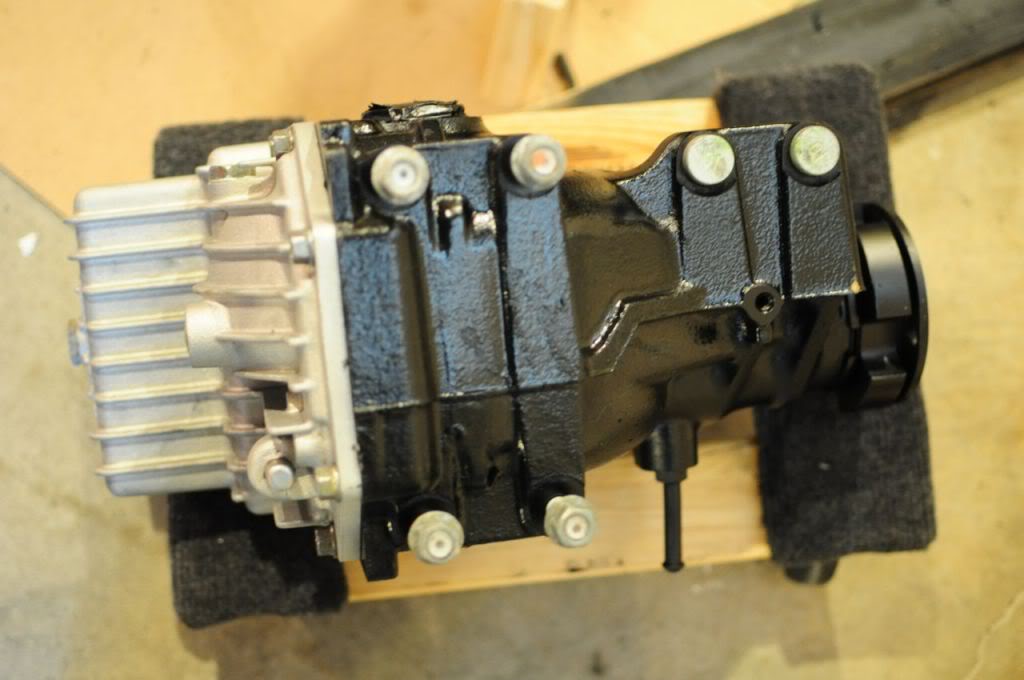
Sept 16th, 2012 - Little bit more update...
Took some time getting the transmission painted and such.. Some color scheme.
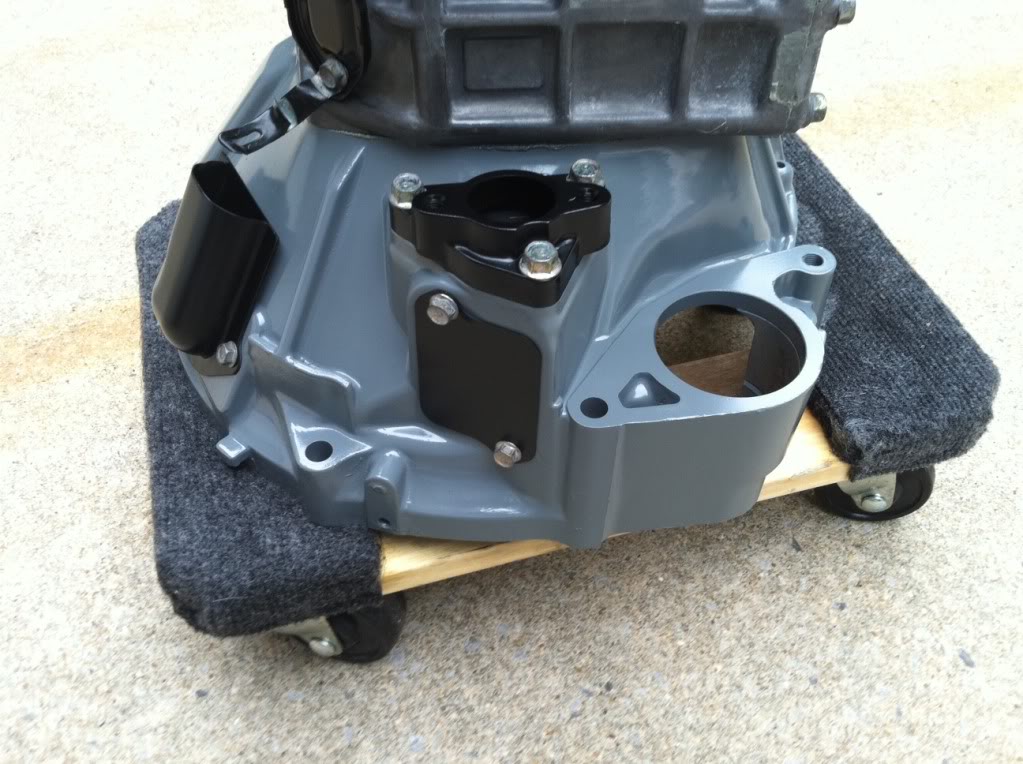
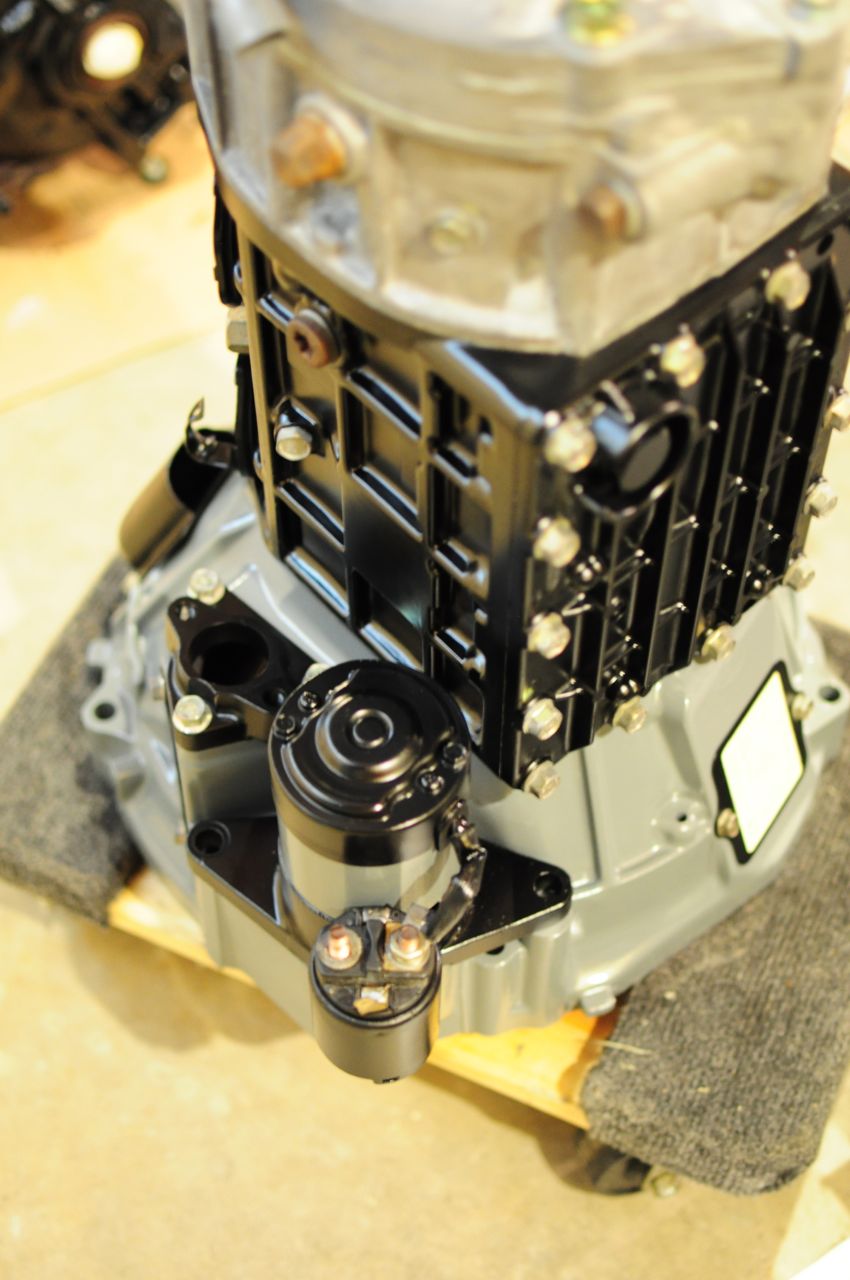
and becoming a master of taping

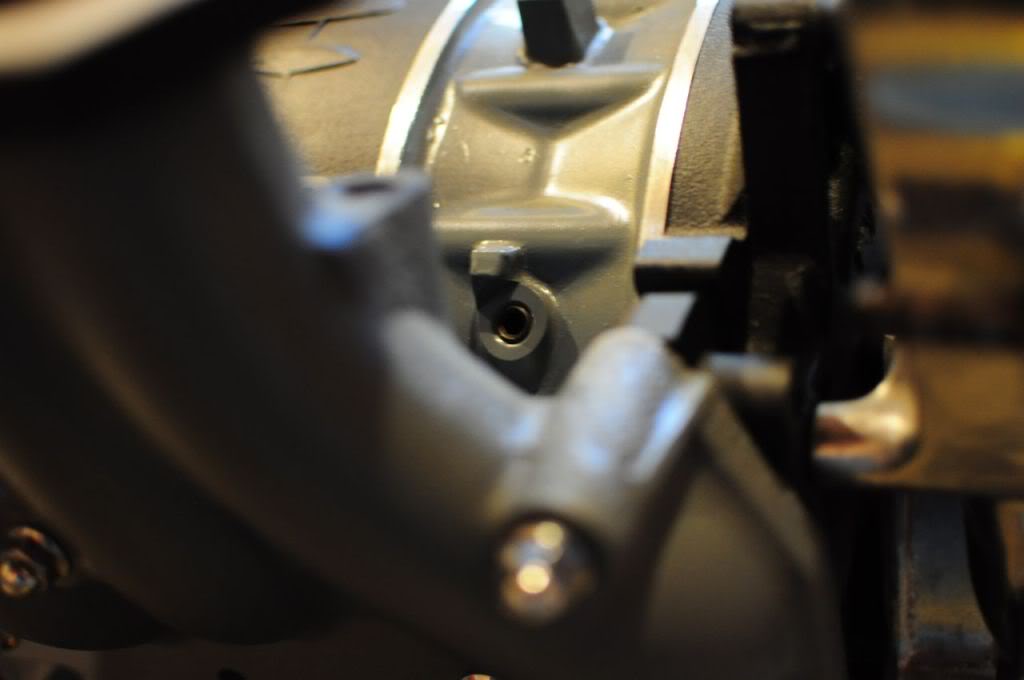
Also, plugged the oil metering hole
and another angle of the painted diff..
Took some time getting the transmission painted and such.. Some color scheme.
and becoming a master of taping
Also, plugged the oil metering hole
and another angle of the painted diff..
Thread Starter
Senior Member
SL Member
Joined: Sep 2012
Posts: 115
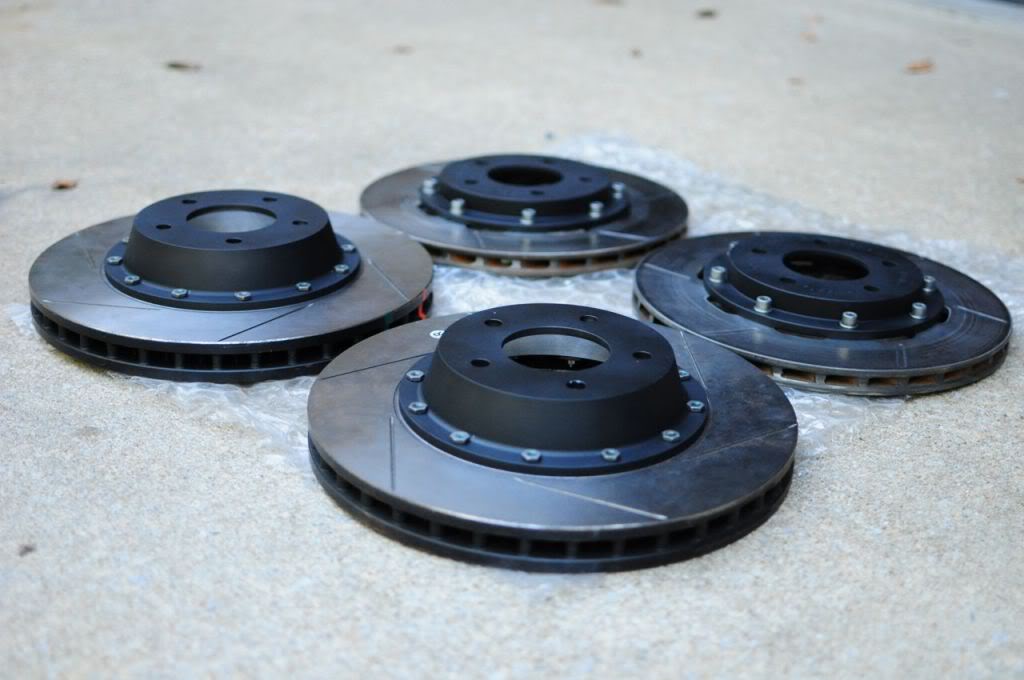
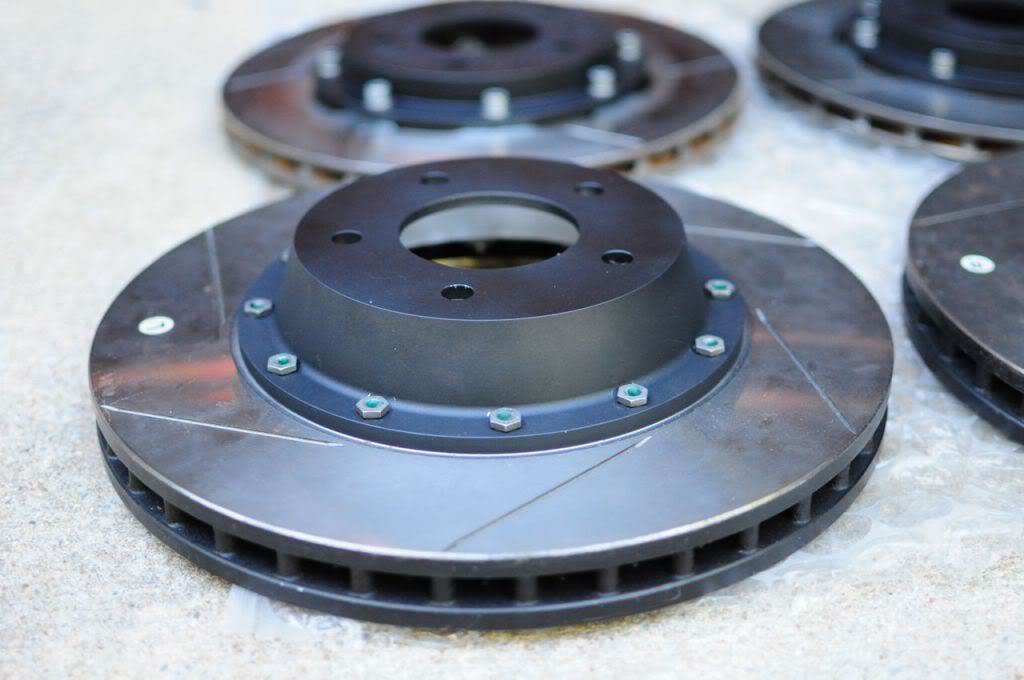
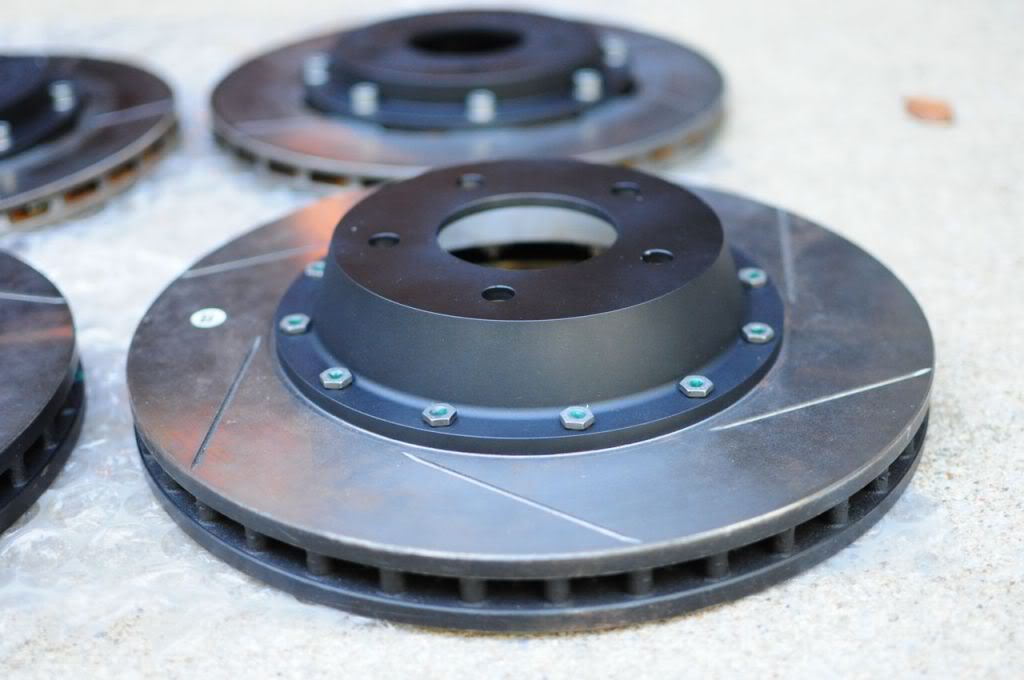
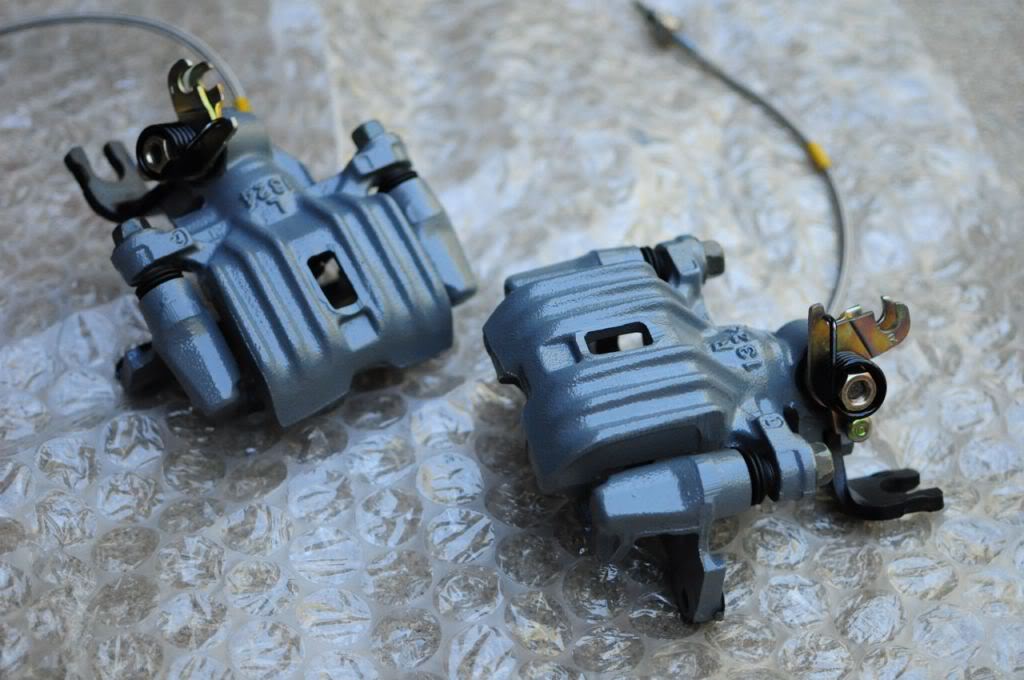
Sept 19th, 2012 Updates from past 3 days..
I had the rotor hats made for the Disc Brakes Australia rotors and got them refinished in similar black.
Cleaned up and repainted the RZ calipers.
I also replaced the diff bushings with Powerflex bushings.
I had the rotor hats made for the Disc Brakes Australia rotors and got them refinished in similar black.
Cleaned up and repainted the RZ calipers.
I also replaced the diff bushings with Powerflex bushings.