
08 Headlight Black Sidemarkers(PICS)


Thread Starter
Senior Member
SL Member
Joined: Dec 2006
Posts: 929
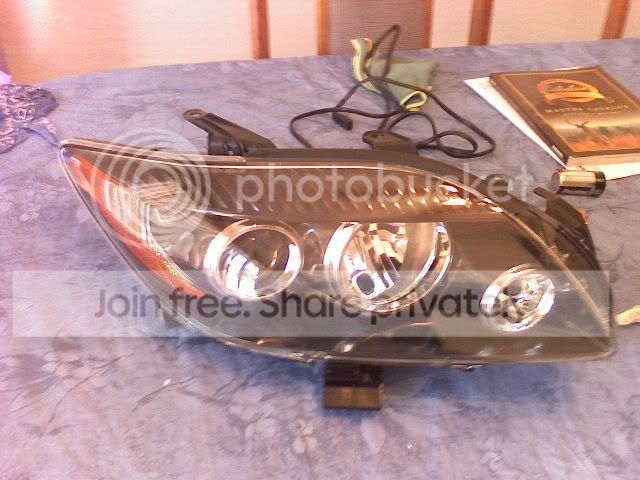
First off I would like to thank Josh from TRD Sparks for getting these to me very fast. The lights are the same as the old ones in baking them apart. The glue to me seemed a little bit stronger. There is no eyelid that can be removed like in the old ones. It comes BSP, this was a plus for me because I always had to paint the eyelid BSP for my preference.
You will need the following things for the project...... A phillips head screwdriver, Gloves ( so you dont burn your hands), needle nose plyers, Silicone(Clear or Black), Rubbing compound, wax, an oven, Plastic spray tint. Cooking sheet pan, damp towell, sand paper for wet sanding, 2000 grit
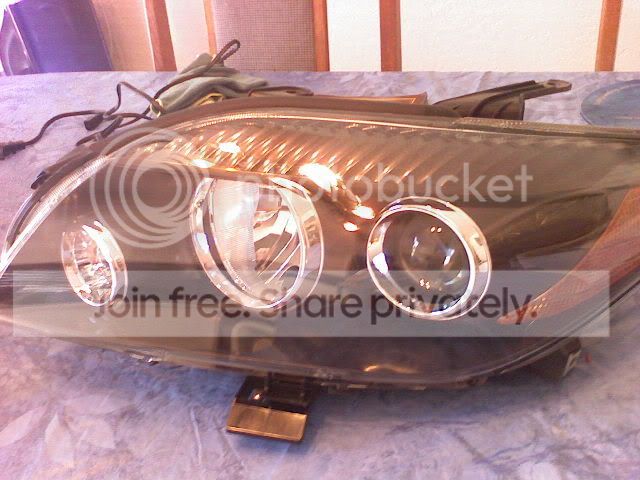
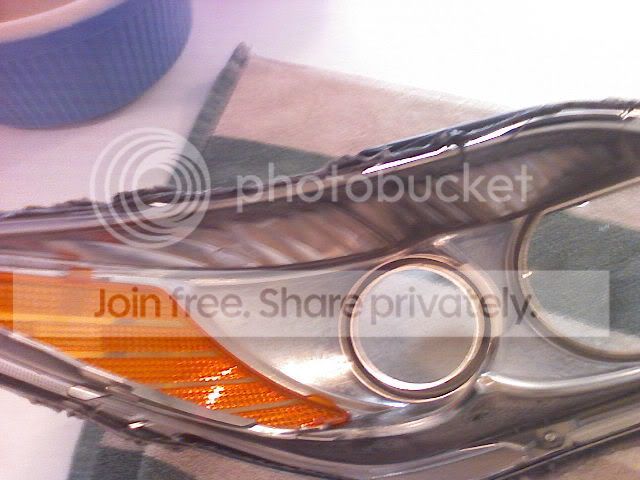
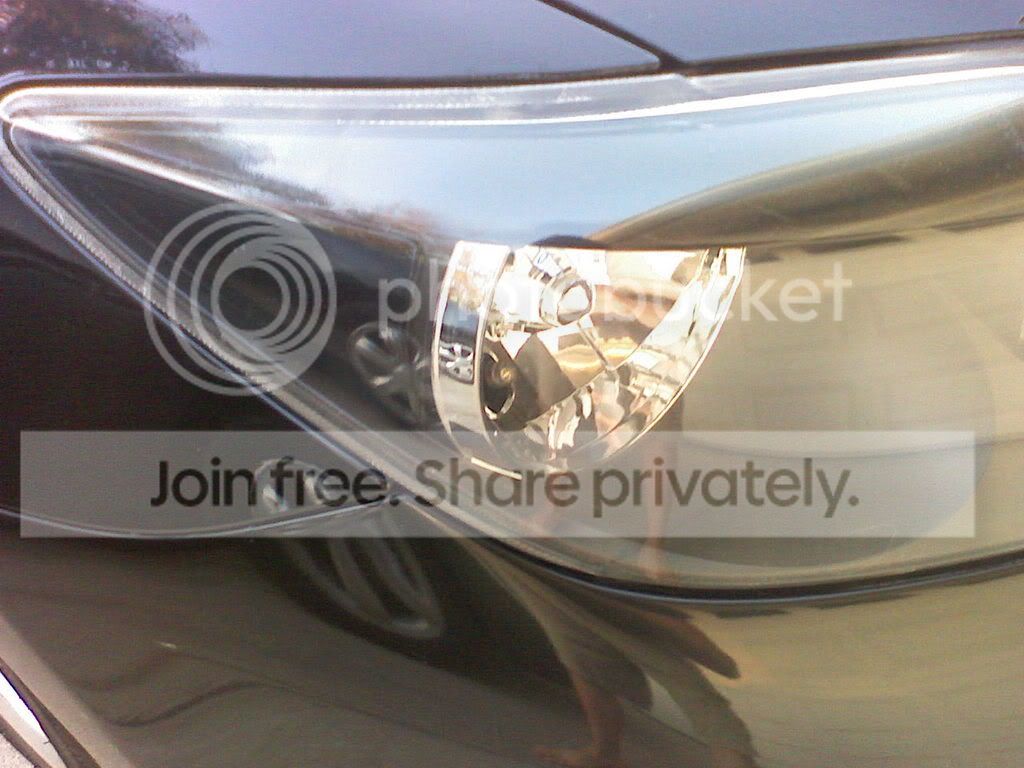
Before with orange side corners
1. Unscrew the four screws that are along the back of each light with a phillips head scrrwdriver, Place somewhere where you dont loose them.
2. Set your oven to 250 and let it warm up, place damp towell on cooking sheet and place in the oven, Put the cooking sheet with wet towell in the oven and put one head light on the towell.
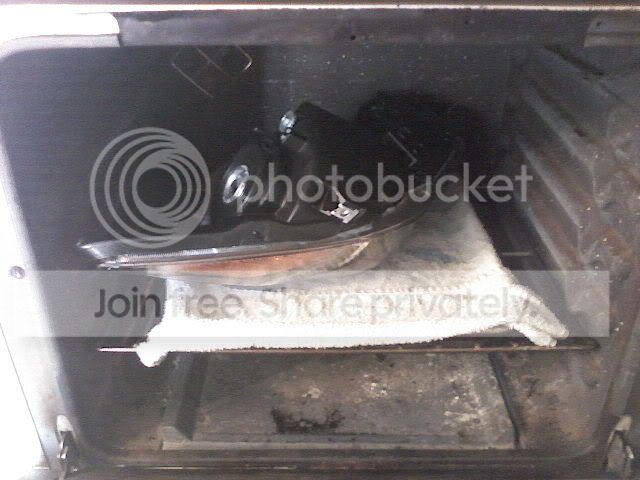
Now it usually takes 10-12 minutes to soften the glue but it depends on your oven, I checked mine every couple minutes to make sure everything was ok.
3. Put your gloves on before opening the oven to take out the lights because they will be very hott. Take the light out of the oven and pull the light apart.
Put the clear lense on a towell so it does not get scratched.
4. Remove the 2 screws holding the part with the orange reflector and the clear lense cover, and pull the piece out.
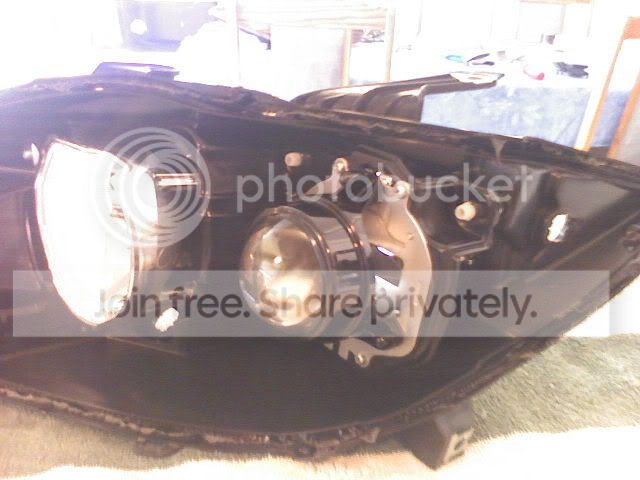
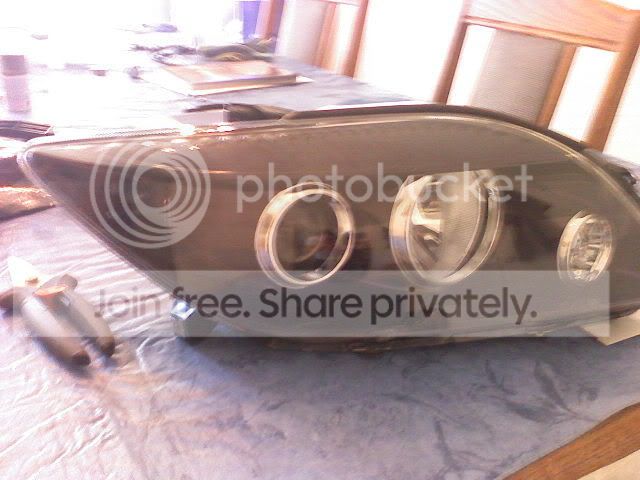
Projector from the inside
5. Remove the orange reflector from the housing.

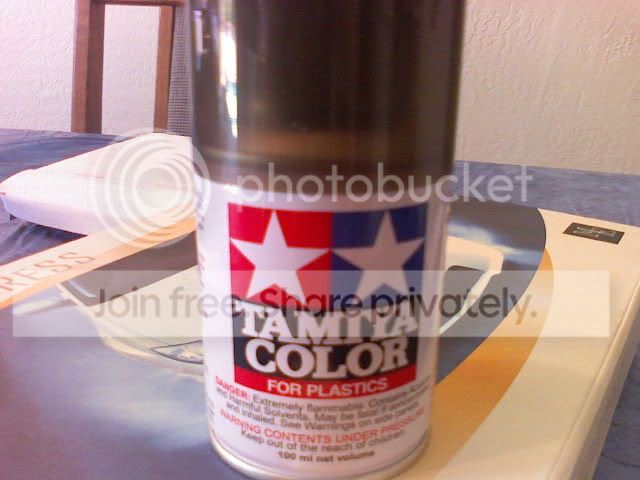
Take the reflector to the sink or somewhere wherewater is because you are going to wet sand it so the tint sticks. I used this tint and it worked very good.
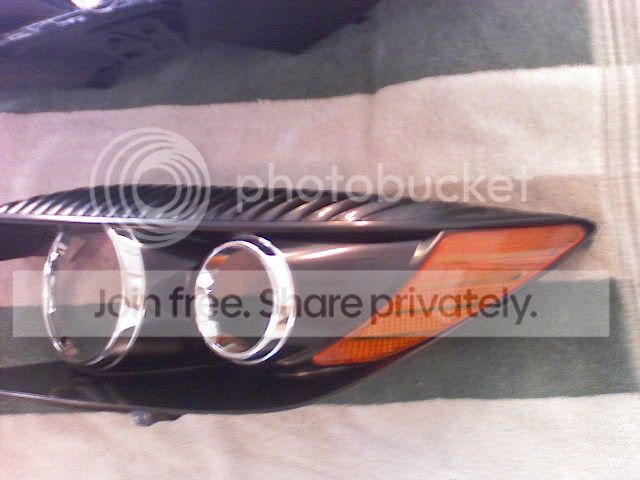
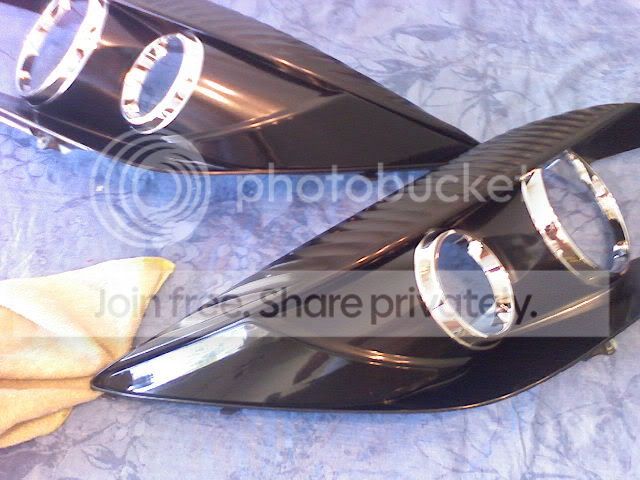
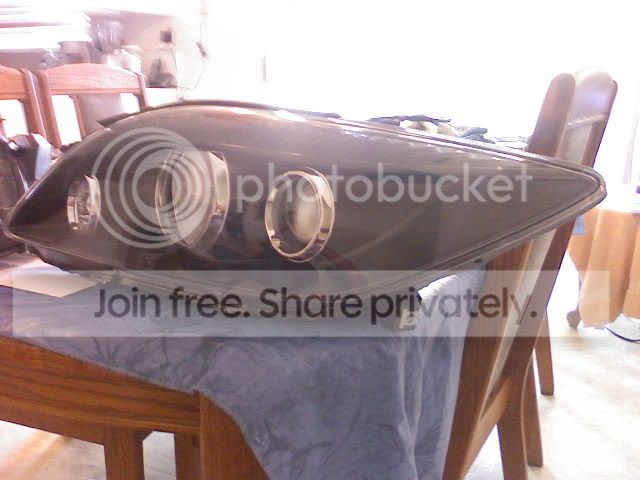
after tinting

Let the tint dry about an hour or so in the sun before sanding it
6. You will need to wet sand the reflector after you have tinted it to get out any imperfections. Following that you will need to use a rubbing compound to get out any swirl marks from sanding then wax it to a shine and clean off.
7. From hear you will want to pop the reflectors back into the housing of the lights.
8. Place the housing back into the clear cover and screw in the two screws you removed earlier.
9. You will need some sicla gel to be safe of any fogging, I always use it and have had zero problems.
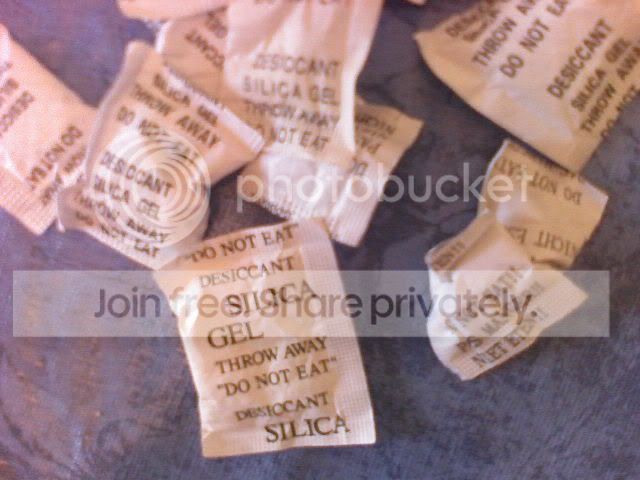
Silicone these (about 4 into the backing of the light).
10. Use your silicone and put it into the groovs of the light, where the clear meets the black. front meats the rear. Put the 2 pieces back together and place in the oven again for about 10 minutes.
11. Put your gloves on again because it will be hott, Take the light out of the oven and try to sandwitch it together so all of the little tabs click together. Now let dry because everything should be together now. After everything is cool and dry I like to add some more silicone along the out side of the light just incase.
Do this to both lights and hear will be the out come.
On the car pictures will be posted tomorrow once everything is good to go. 5K Hid conversion kit as well.
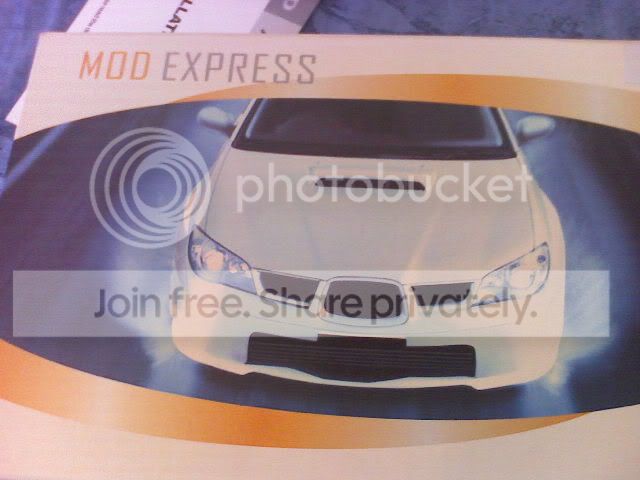
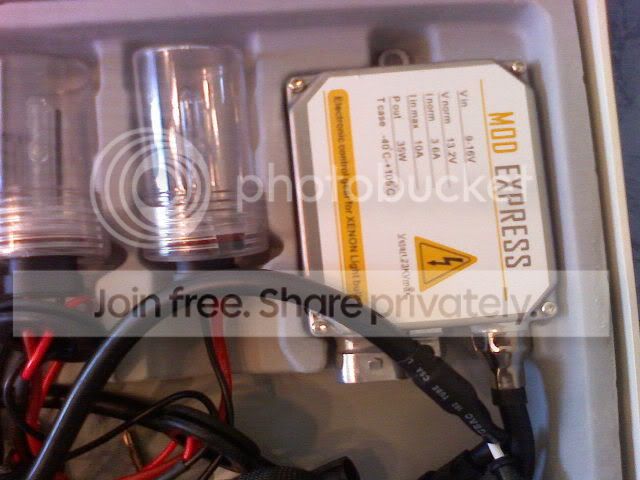
Mod Express for all of your Hid needs. Hope this is helpfull
On the car
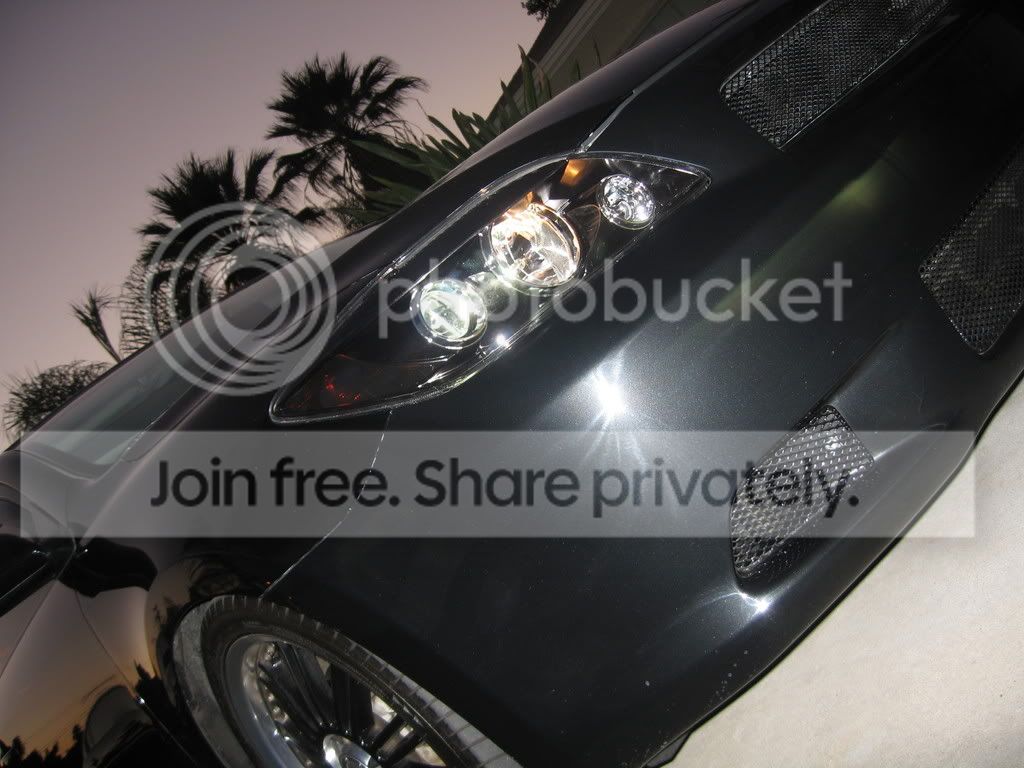
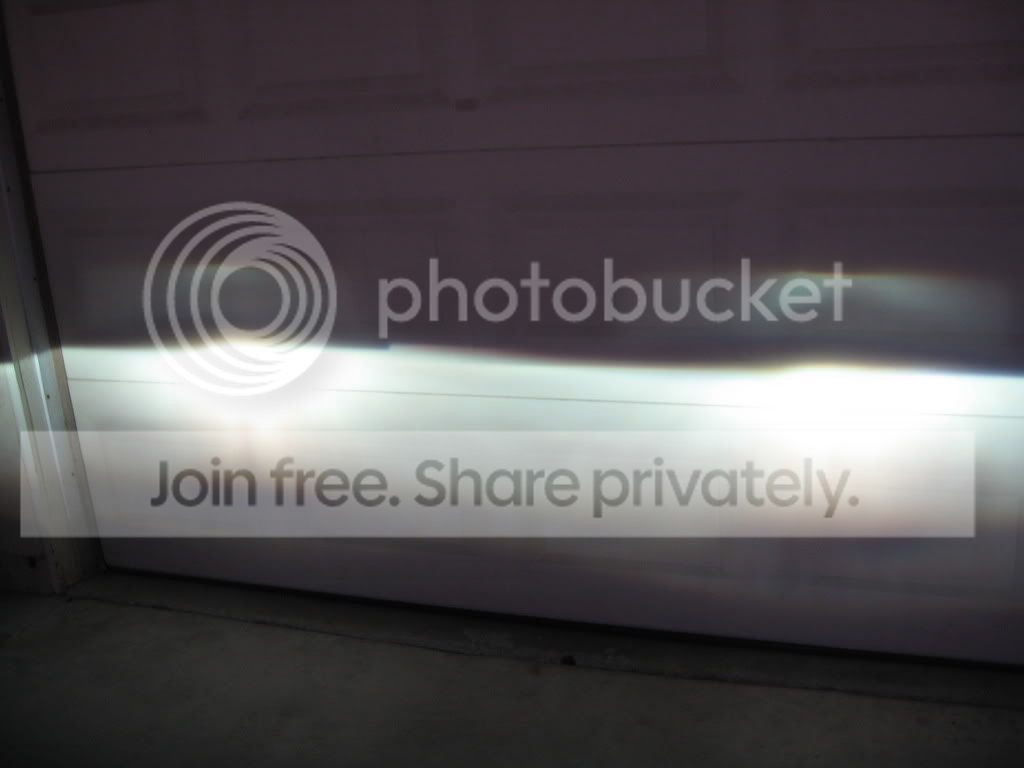
Pretty good cut off
You will need the following things for the project...... A phillips head screwdriver, Gloves ( so you dont burn your hands), needle nose plyers, Silicone(Clear or Black), Rubbing compound, wax, an oven, Plastic spray tint. Cooking sheet pan, damp towell, sand paper for wet sanding, 2000 grit
Before with orange side corners
1. Unscrew the four screws that are along the back of each light with a phillips head scrrwdriver, Place somewhere where you dont loose them.
2. Set your oven to 250 and let it warm up, place damp towell on cooking sheet and place in the oven, Put the cooking sheet with wet towell in the oven and put one head light on the towell.
Now it usually takes 10-12 minutes to soften the glue but it depends on your oven, I checked mine every couple minutes to make sure everything was ok.
3. Put your gloves on before opening the oven to take out the lights because they will be very hott. Take the light out of the oven and pull the light apart.
Put the clear lense on a towell so it does not get scratched.
4. Remove the 2 screws holding the part with the orange reflector and the clear lense cover, and pull the piece out.
Projector from the inside
5. Remove the orange reflector from the housing.
Take the reflector to the sink or somewhere wherewater is because you are going to wet sand it so the tint sticks. I used this tint and it worked very good.
after tinting
Let the tint dry about an hour or so in the sun before sanding it
6. You will need to wet sand the reflector after you have tinted it to get out any imperfections. Following that you will need to use a rubbing compound to get out any swirl marks from sanding then wax it to a shine and clean off.
7. From hear you will want to pop the reflectors back into the housing of the lights.
8. Place the housing back into the clear cover and screw in the two screws you removed earlier.
9. You will need some sicla gel to be safe of any fogging, I always use it and have had zero problems.
Silicone these (about 4 into the backing of the light).
10. Use your silicone and put it into the groovs of the light, where the clear meets the black. front meats the rear. Put the 2 pieces back together and place in the oven again for about 10 minutes.
11. Put your gloves on again because it will be hott, Take the light out of the oven and try to sandwitch it together so all of the little tabs click together. Now let dry because everything should be together now. After everything is cool and dry I like to add some more silicone along the out side of the light just incase.
Do this to both lights and hear will be the out come.
On the car pictures will be posted tomorrow once everything is good to go. 5K Hid conversion kit as well.
Mod Express for all of your Hid needs. Hope this is helpfull
On the car
Pretty good cut off


Senior Member
SL Member
Joined: Jun 2006
Posts: 7,862
From: Lurking Inside Your Garage!
Originally Posted by Blue_Batmobile
Nicely done!
Now, I need an 08 in the San Diego area to make my Sidemarker Overlay. Any takers?
Bat™
Now, I need an 08 in the San Diego area to make my Sidemarker Overlay. Any takers?
Bat™


