DIY - G-Force LED Tail Lights Rewire
 09-08-2008, 05:53 AM
#1
Member
SL Member
Thread Starter

Join Date: Aug 2008
Posts: 54
Okay, newbie here with a DIY so be gentle 
Try not to pay attention to the date stamp, I did not set it right pictures were taken on 9/6/08
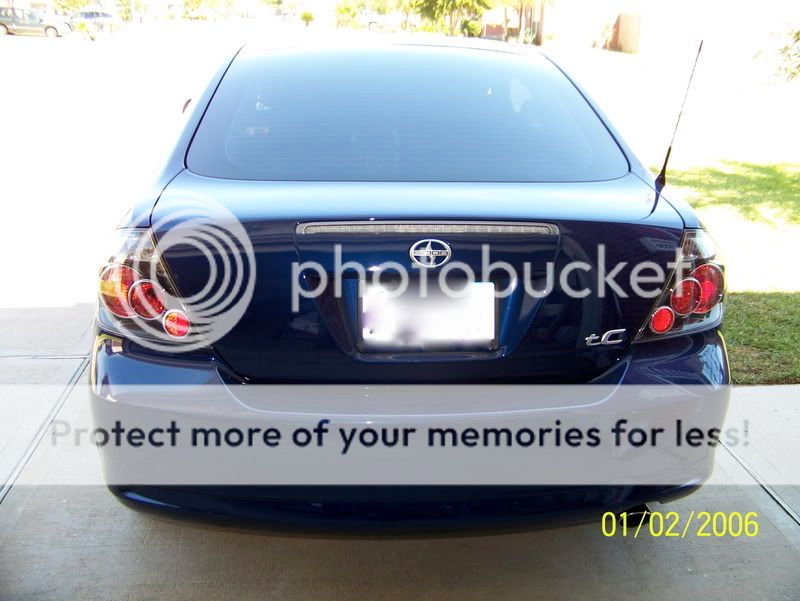
Before:
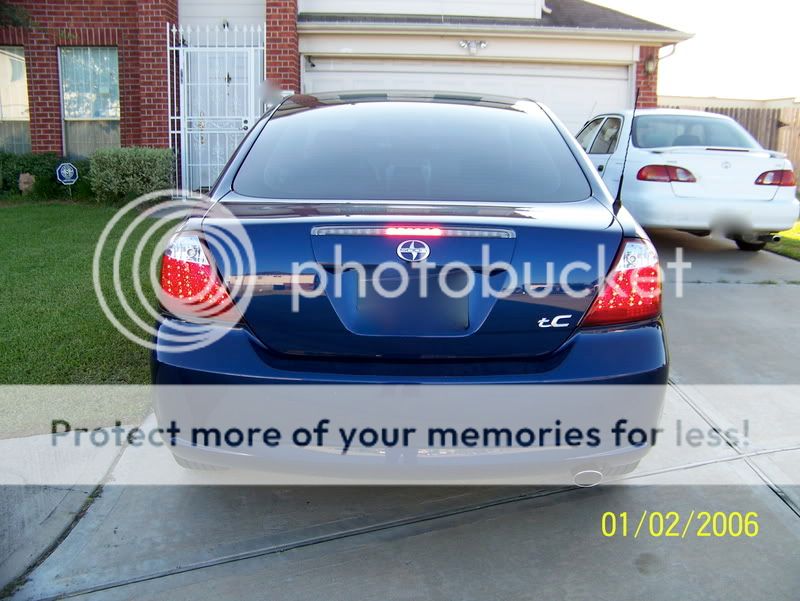
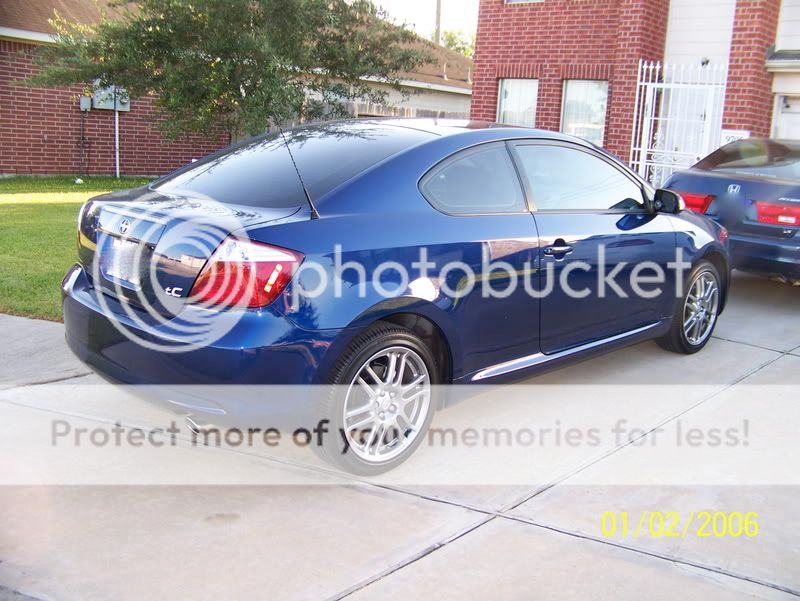
After - hello miss new booty!:
Now that I have caught your attention, lets get to the DIY. Disclaimer: I am not responsible for any damage that you caused to your vehicle while doing this DIY.
As good as these tail lights look IMO, it is such a pity that these were mis-wired by the manufacturer. Consequently, a fuse is blown every time the brake pedal is pressed. With the help of Cavalierkid888, I was able to correct this problem by switching out the brake wire with ground wire.
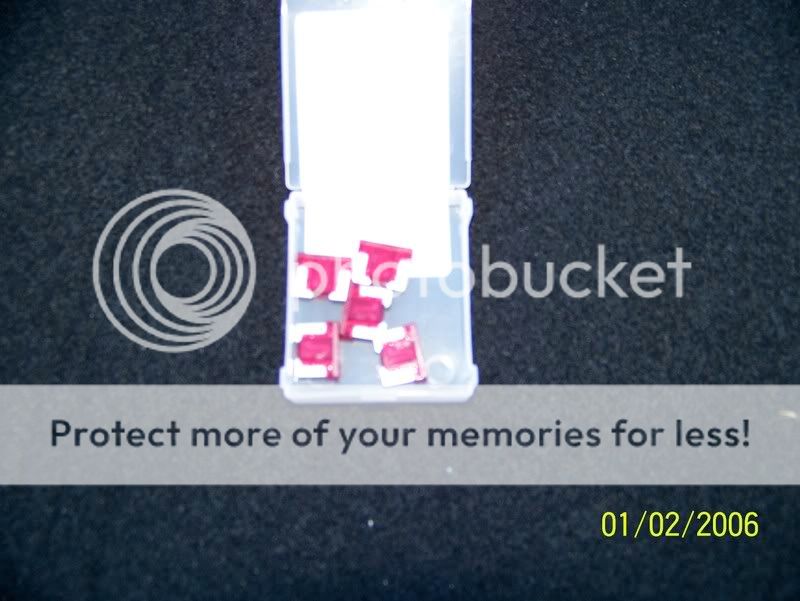
First and foremost, you will need a pack of 10A low profile mini fuses just in case you blow them. There are those who have went thru 5 ! I salute these great people for their bravery. Note: the fuse that you will likely blow is the brake fuse located in the driver's side, near the pedals. The second fuse that you will likely blow is the turn signal fuse, located in the engine bay.
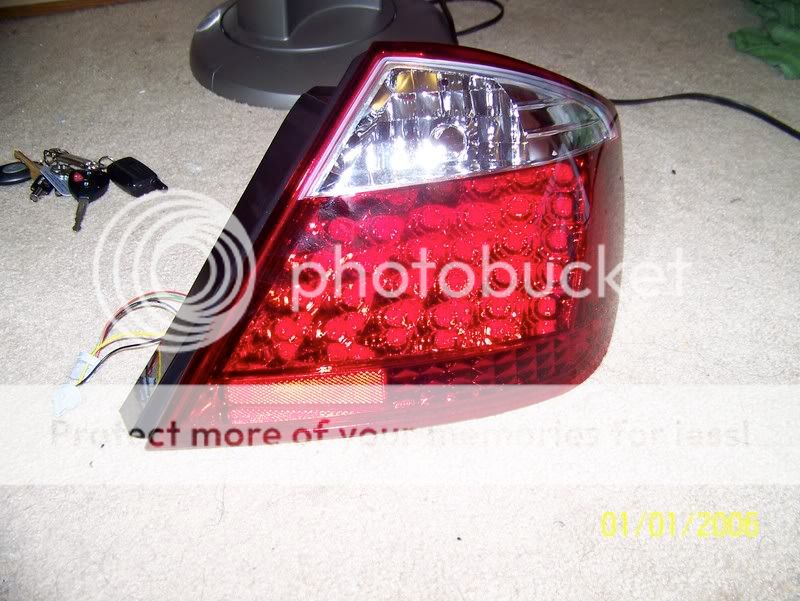
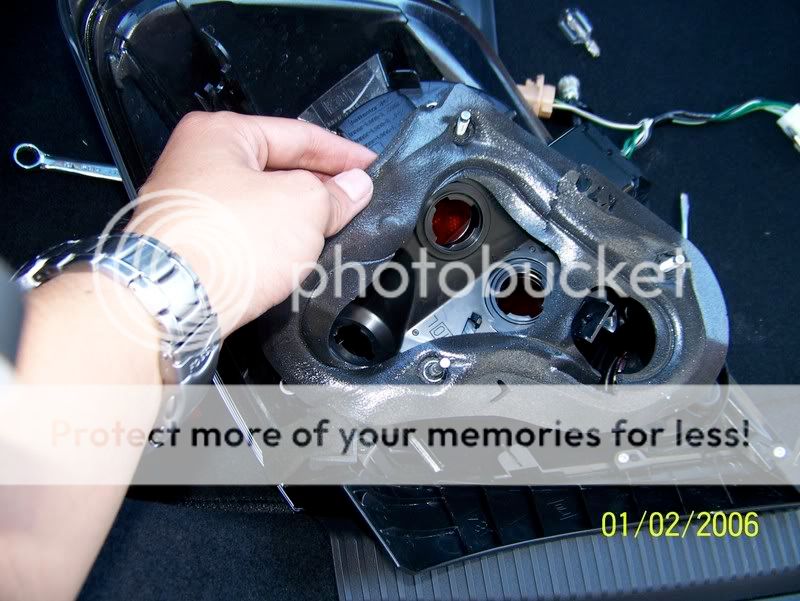
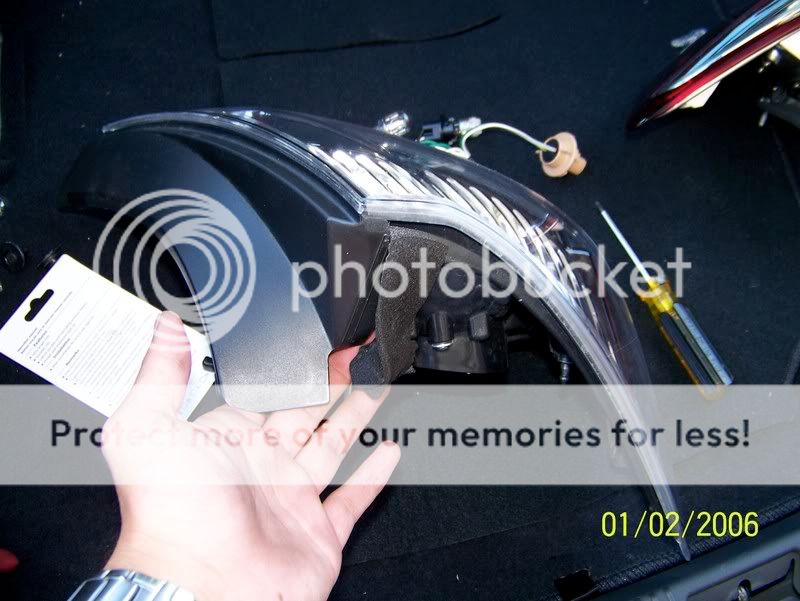
Since the two lights are identical in wiring, I will only be showing you how to wire one; you can repeat the process on the other. Here is the light:
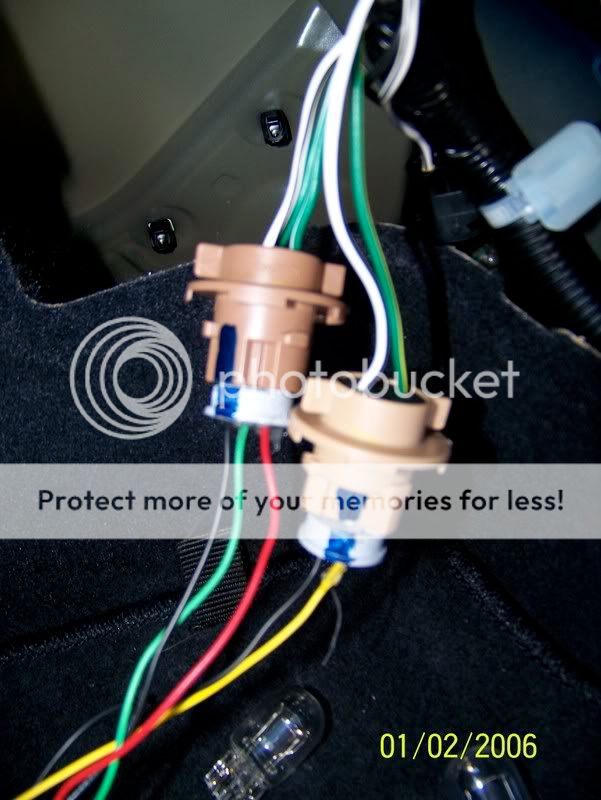
Here are the plugs. Left is turn signal and right is brake & parking light.
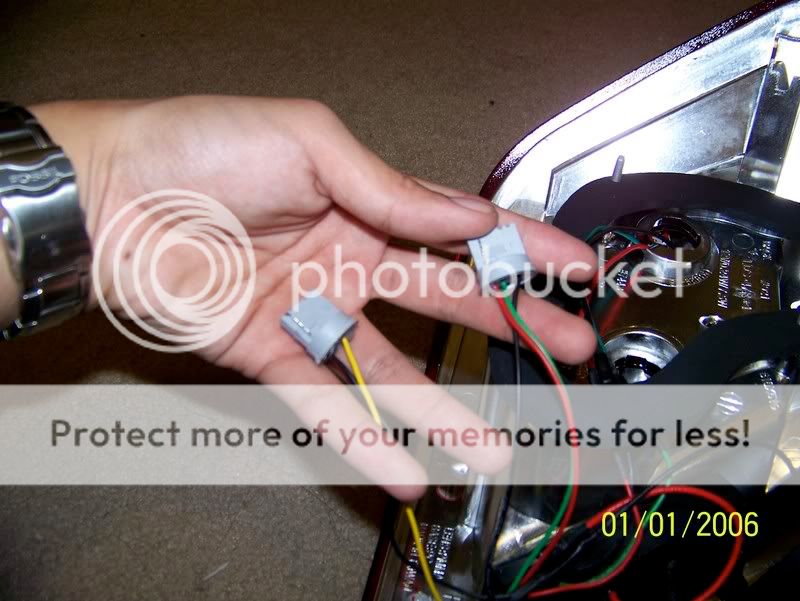
The turn signal plug does not need to be modified. The one we need to mess with is the brake/parking plug. Here is a close-up shot. See the red and black wires? These need to be switched.
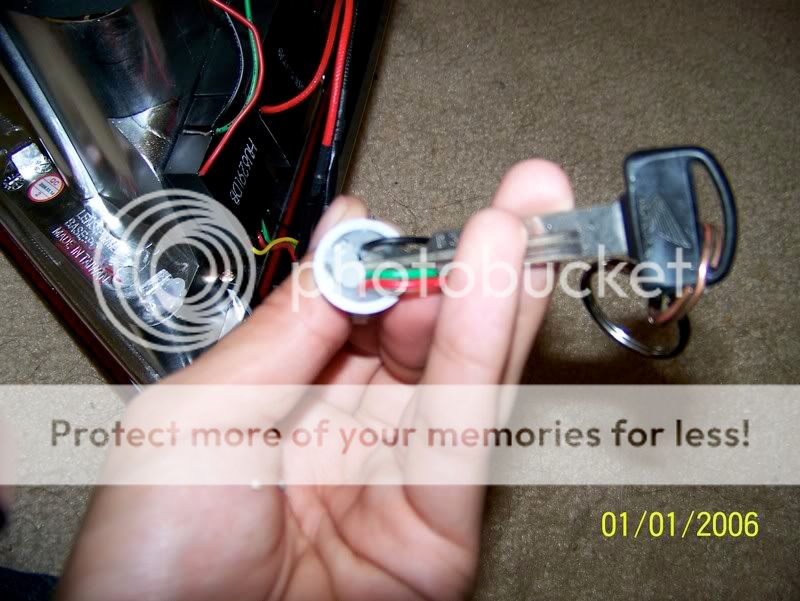
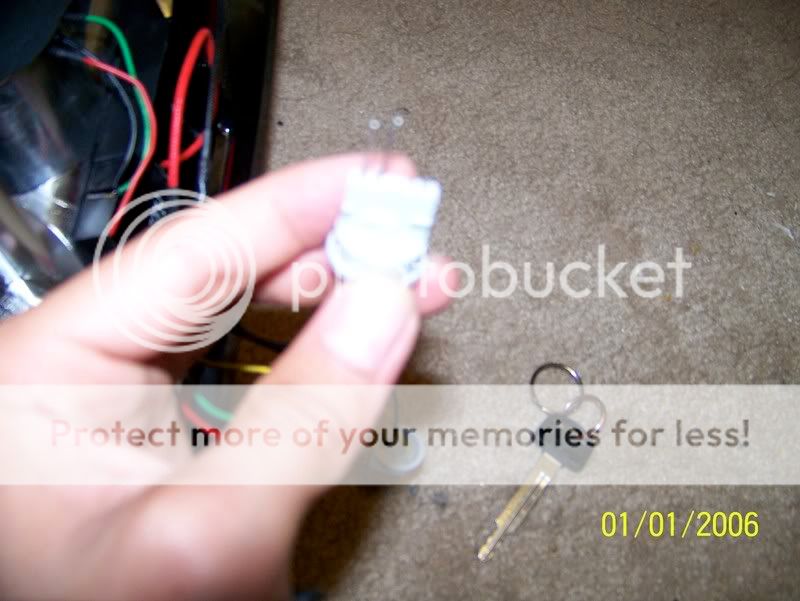
Begin by prying the silicon adhesive. I used a key, but you can use anything as long as it isn't so sharp that it will cut the wires.
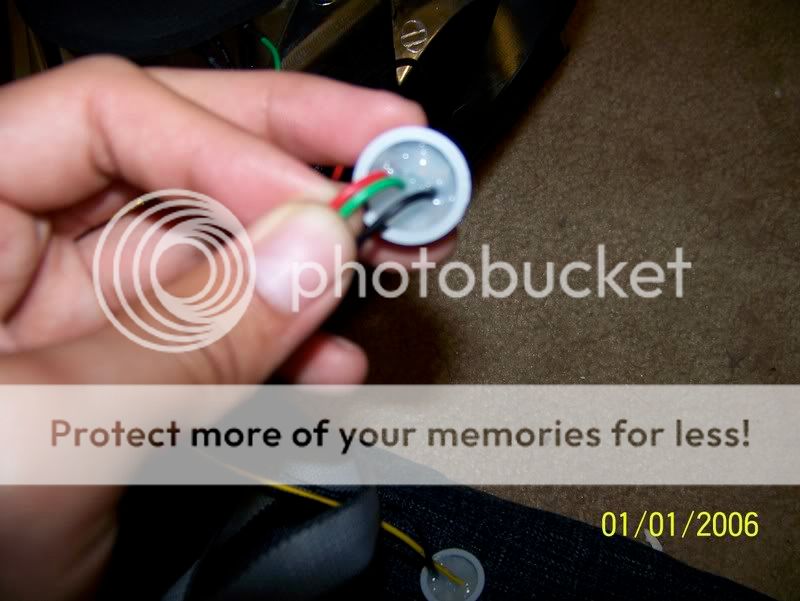
Unbend the wire terminals of the red and black wires. Once they are straighten, pull them out and switch them. Bend them back (make sure it is the correct position). Picture below is for reference only. I screwed up at first and switched the wrong wires. Remember, you need to switch the RED & BLACK. Picture below gives you an idea of what I mean by unbending the wire terminals to make the switch.
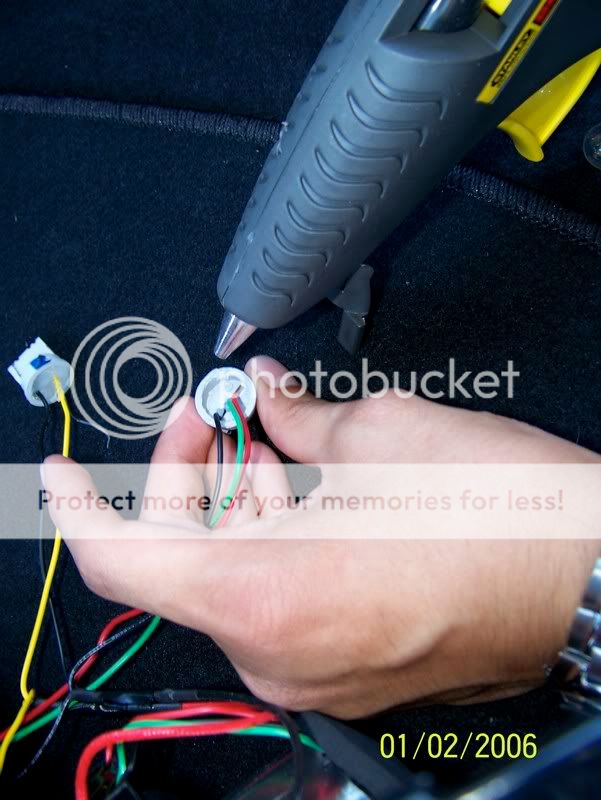
Once they are switched, use either adhesive silicon or a hot glue gun to glue the wires in place so they don't wiggle.
Test the lights in your trunk before you began to rip your bumper off and install. Plug the brake/parking light plug into the OEM harness. Step on the brake and make sure it works; if not, remove plug, rotate and plug it back (since you already swapped the red & black wire, your brake fuse should not blow). This happens because the plug has a specific polarity. Now, plug in the turn signal plug into the OEM harness and turn on your hazards to see if they blink. If nothing happens, you have blown a fuse. Turn it off, replace turn/hazard fuse, remove plug, rotate, and plug back in. Again, another polarity issue. Once everything works like it should, I suggest you make some sort of marking of the correct way the plug should go. Notice I painted a straight line so I can line it up later on. Unplug everything and now you are ready to install.
You must remove rear bumper to install lights. If you do not know how, follow these instructions here: http://www.club-tc.com/forums/exteri...reinstall.html
I noticed that the foam weather stripping provided isn't as good as OEM. I decided to peal off the OEM and stick it onto the aftermarket LEDs.
Peal off the top weatherstripping as well!
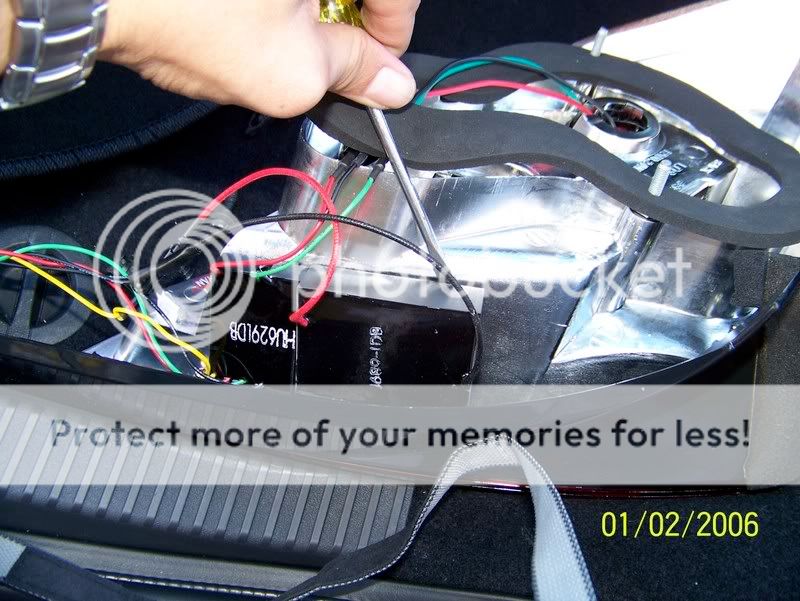
Another important thing I'd like to point out - fitment is horrible if you do not remove the LED control boxes! Pry them off (they are just stuck on with double-sided tape) and route them into the car. I think it's better this way because they are more protected in the car versus being outside and expose to the weather elements.
Install the lights and plug them according to the markings that you made earlier. You did make indication of the proper way it should be plugged in, did you? If not, you will have to go thru trail and error by going thru following process: plug in, blow fuse, remove, rotate, and plug back!
I've had these on for two days now and everything is working perfectly as they should. Pictures really don't do much justice for these lights. They are VERY bright in person. There are 30 LED bulbs per each light.
Enjoy your new G-Force LED lights!
Try not to pay attention to the date stamp, I did not set it right
Before:
After - hello miss new booty!:
Now that I have caught your attention, lets get to the DIY. Disclaimer: I am not responsible for any damage that you caused to your vehicle while doing this DIY.
As good as these tail lights look IMO, it is such a pity that these were mis-wired by the manufacturer. Consequently, a fuse is blown every time the brake pedal is pressed. With the help of Cavalierkid888, I was able to correct this problem by switching out the brake wire with ground wire.
First and foremost, you will need a pack of 10A low profile mini fuses just in case you blow them. There are those who have went thru 5
Since the two lights are identical in wiring, I will only be showing you how to wire one; you can repeat the process on the other. Here is the light:
Here are the plugs. Left is turn signal and right is brake & parking light.
The turn signal plug does not need to be modified. The one we need to mess with is the brake/parking plug. Here is a close-up shot. See the red and black wires? These need to be switched.
Begin by prying the silicon adhesive. I used a key, but you can use anything as long as it isn't so sharp that it will cut the wires.
Unbend the wire terminals of the red and black wires. Once they are straighten, pull them out and switch them. Bend them back (make sure it is the correct position). Picture below is for reference only. I screwed up at first and switched the wrong wires. Remember, you need to switch the RED & BLACK. Picture below gives you an idea of what I mean by unbending the wire terminals to make the switch.
Once they are switched, use either adhesive silicon or a hot glue gun to glue the wires in place so they don't wiggle.
Test the lights in your trunk before you began to rip your bumper off and install. Plug the brake/parking light plug into the OEM harness. Step on the brake and make sure it works; if not, remove plug, rotate and plug it back (since you already swapped the red & black wire, your brake fuse should not blow). This happens because the plug has a specific polarity. Now, plug in the turn signal plug into the OEM harness and turn on your hazards to see if they blink. If nothing happens, you have blown a fuse. Turn it off, replace turn/hazard fuse, remove plug, rotate, and plug back in. Again, another polarity issue. Once everything works like it should, I suggest you make some sort of marking of the correct way the plug should go. Notice I painted a straight line so I can line it up later on. Unplug everything and now you are ready to install.
You must remove rear bumper to install lights. If you do not know how, follow these instructions here: http://www.club-tc.com/forums/exteri...reinstall.html
I noticed that the foam weather stripping provided isn't as good as OEM. I decided to peal off the OEM and stick it onto the aftermarket LEDs.
Peal off the top weatherstripping as well!
Another important thing I'd like to point out - fitment is horrible if you do not remove the LED control boxes! Pry them off (they are just stuck on with double-sided tape) and route them into the car. I think it's better this way because they are more protected in the car versus being outside and expose to the weather elements.
Install the lights and plug them according to the markings that you made earlier. You did make indication of the proper way it should be plugged in, did you? If not, you will have to go thru trail and error by going thru following process: plug in, blow fuse, remove, rotate, and plug back!
I've had these on for two days now and everything is working perfectly as they should. Pictures really don't do much justice for these lights. They are VERY bright in person. There are 30 LED bulbs per each light.
Enjoy your new G-Force LED lights!
 09-08-2008, 06:28 AM
#2
Senior Member
SL Member
Scion Evolution
iTrader: (1)

Join Date: Oct 2007
Location: Eastern Illinois University
Posts: 965
Excellent write up! Very good on pointing out the led box getting in the way of the fitment, I didn't even think about that! I've been messing around trying to get them to fit perfectly for months. Can't wait to fix this little problem, its been bugging me like crazy.

 09-12-2008, 03:34 AM
#4
Senior Member
SL Member

Join Date: Mar 2008
Location: BFE SoCal
Posts: 618
Why not use a $5 LCD multi-meter that you can get off the counter of most auto parts stores. That way before you even plug anything in you can check the positive and negative polarity of the plugs? If done properly there will be 0 blown fuses.
 12-23-2008, 01:31 PM
#6
Senior Member
SL Member

Join Date: Nov 2008
Location: Los Angeles, CA
Posts: 120
Thanks for the write up. I spent 1 hours trying to figure you why the fuses kept blowing even with checking the polarity.. also the fitment was terrible and I kept trying but now I will move the boxes inside. Thanks I hope this works.
12-24-2008, 01:10 AM
#7
Senior Member
SL Member

Join Date: Feb 2008
Posts: 539
Originally Posted by Sci_tx_on
01-02-2009, 08:27 PM
#9
Senior Member
SL Member
Join Date: Nov 2008
Location: Los Angeles, CA
Posts: 120
Thanks for the write up, it worked.. I didn't have to return them. Also for others information the are also sold by spec d tunning. I called the company to complain and all they said is that you must have a got a defective pair and we dont sell them anymore for the scion.

 10-17-2009, 05:40 PM
#13

THANK YOU FOR THIS POST. i (2 guys from my car club) spent 6 hours last night wiring only to find out after they were installed that i was blowin fuses left and right....grrrrrrr lol thanks so much!
 04-30-2010, 05:50 AM
#17
Senior Member
SL Member

Join Date: Oct 2007
Location: Behind a Firewalled PC
Posts: 462
i dunno if this topic is still alive but i have a set of these and i followed the instructions above but when i have my parking lights on, my brake light always stays on. does anyone know anything about this?
 04-30-2010, 03:47 PM
#20
Senior Member
SL Member
Join Date: Oct 2007
Location: Behind a Firewalled PC
Posts: 462
yeah i'm positive. i found out that when u turn on the parking lights, the third brake light stays on constantly and there's no dim on the LED lights. they just stay bright on as if my foot is on the brake pedal. on the reverse, when i have my lights off, during braking the parking light turns on because your gauge cluster lights come on. and when the foot is off the brake pedal, the lights turn off. totally the reverse.