
JDM Fog light repair


Thread Starter
Junior Member
Joined: Dec 2009
Posts: 6
Well this is my first thread and post so thought I should just you guys know whats coming. Seems I ordered a pair of the JDM out fog lights from ebay and when I received them I noticed there was moisture in them, instead of buying a new pair I will be posting a way to fix them for 4 bucks which makes them completely waterproof and removes all the moisture from the light, I just dont have the pictures right now as mine is in the process of drying so ill be posting in a day or two.
Ok, here is the post I promised.
Items Needed:
Jack
Jack Stand
10mm Socket/Rachet
Dap Kwik seal plus (Clear) $3.97 at home depot
Soap and Water
Phillips head screwdriver
Razor blade
Clamp
Rain-X (Optional)
---------------------------------------------------
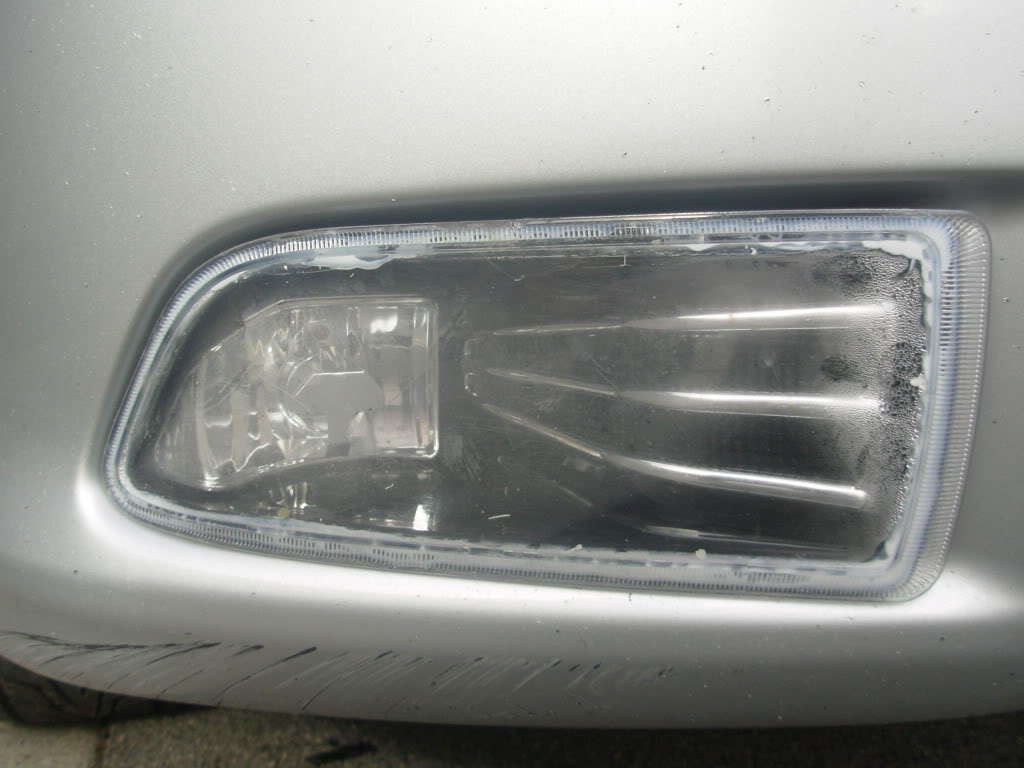
This is what my fog light looked like 2 days after install due to moisture and improper sealant. I bought the lights fairly cheap so it was expected.
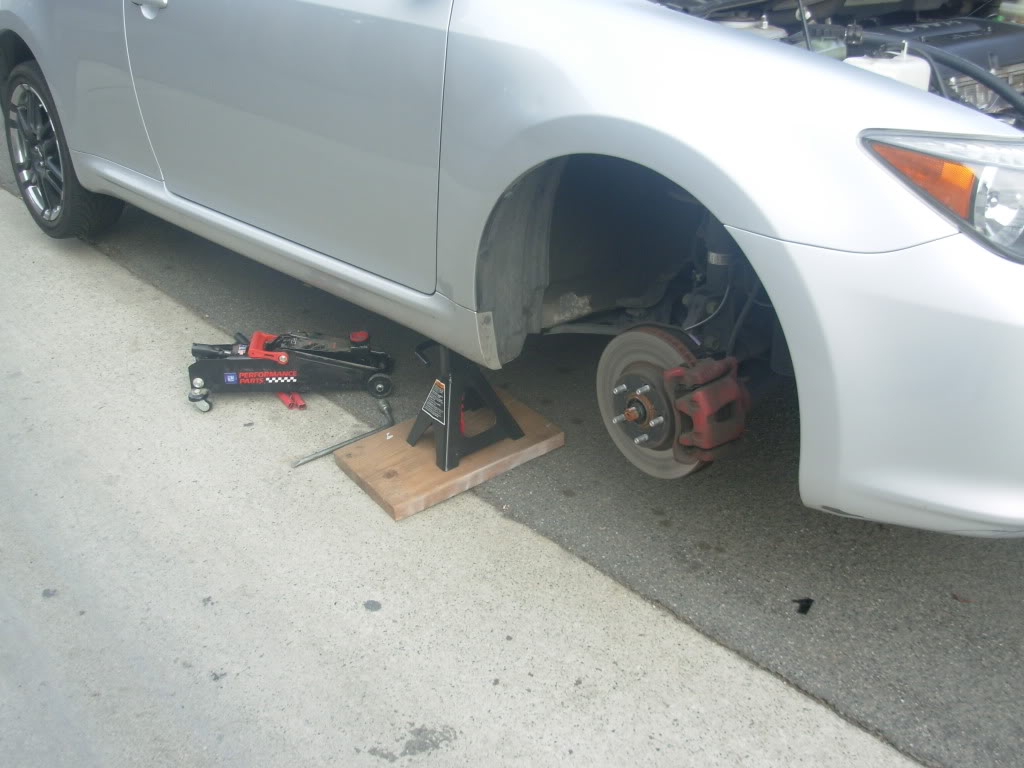
Remove the fog light from the bumper.
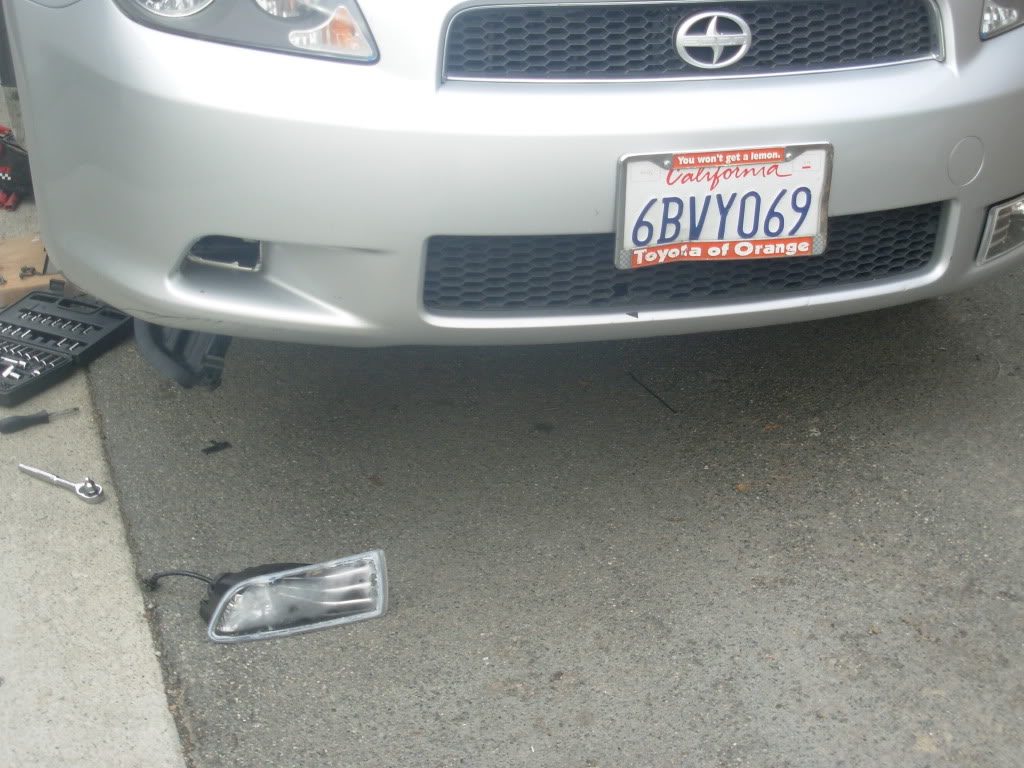
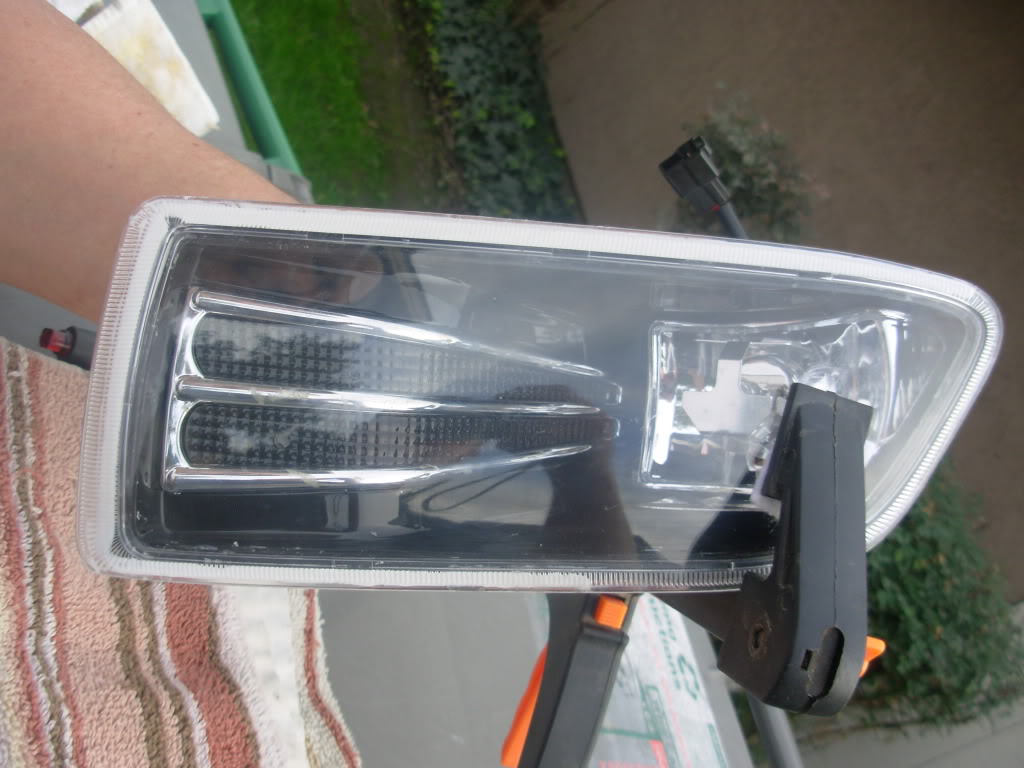
Here is the light removed from the bumper, simply unscrew the bracket behind the light unplug and remove.
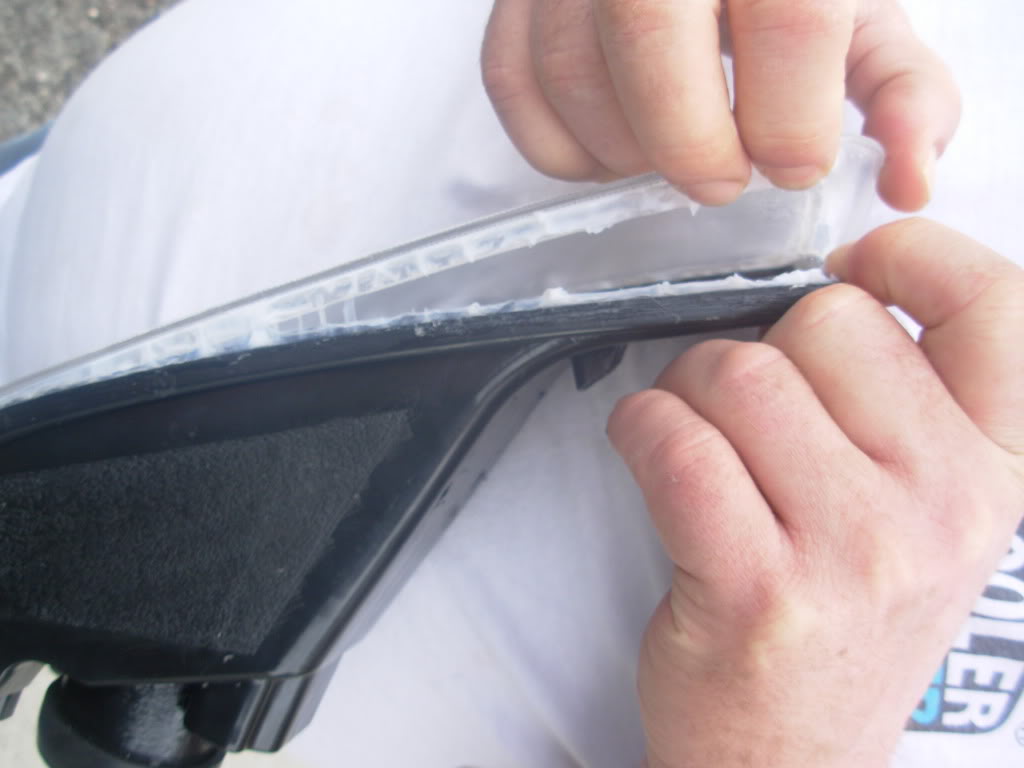
Removed the clear face of the fog light by pulling gently and cutting away the old sealant.
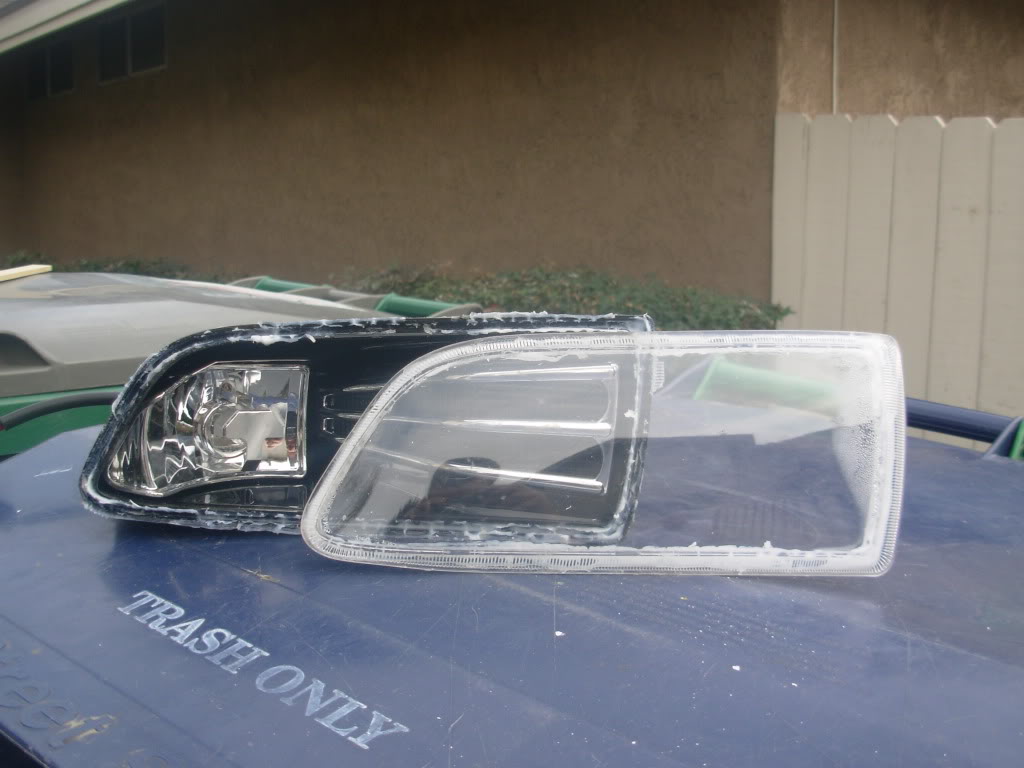
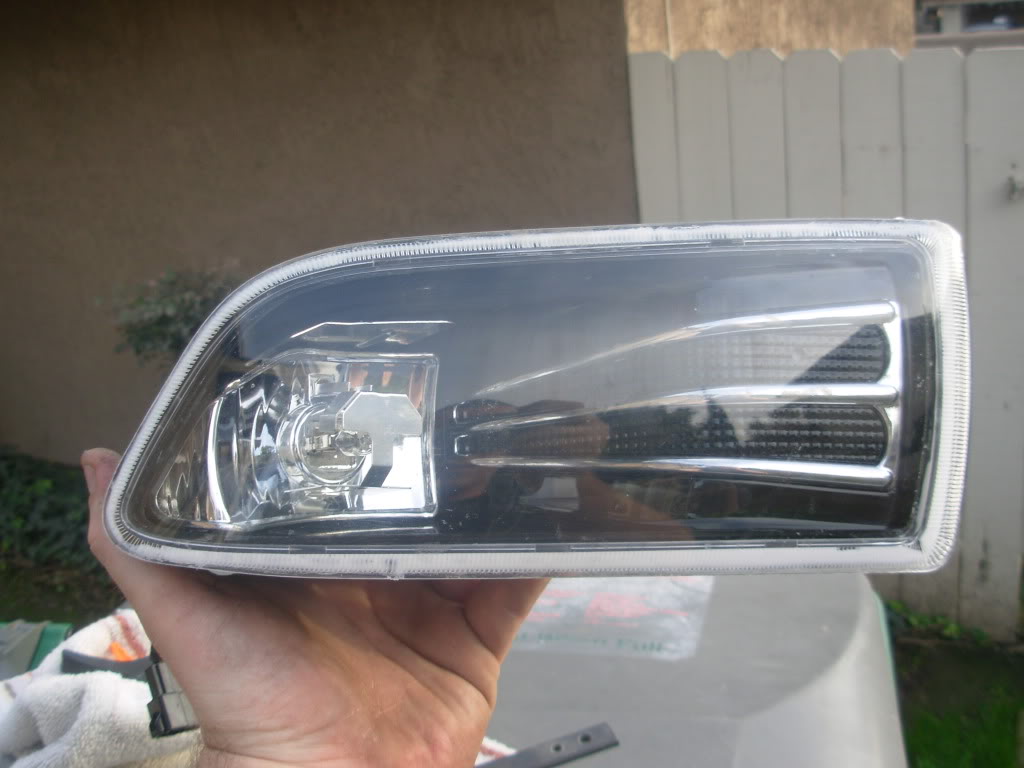
Now clean the clear lens and the groove the front plate sits in. I used the razor for the black groove and soap and water for the clear face.
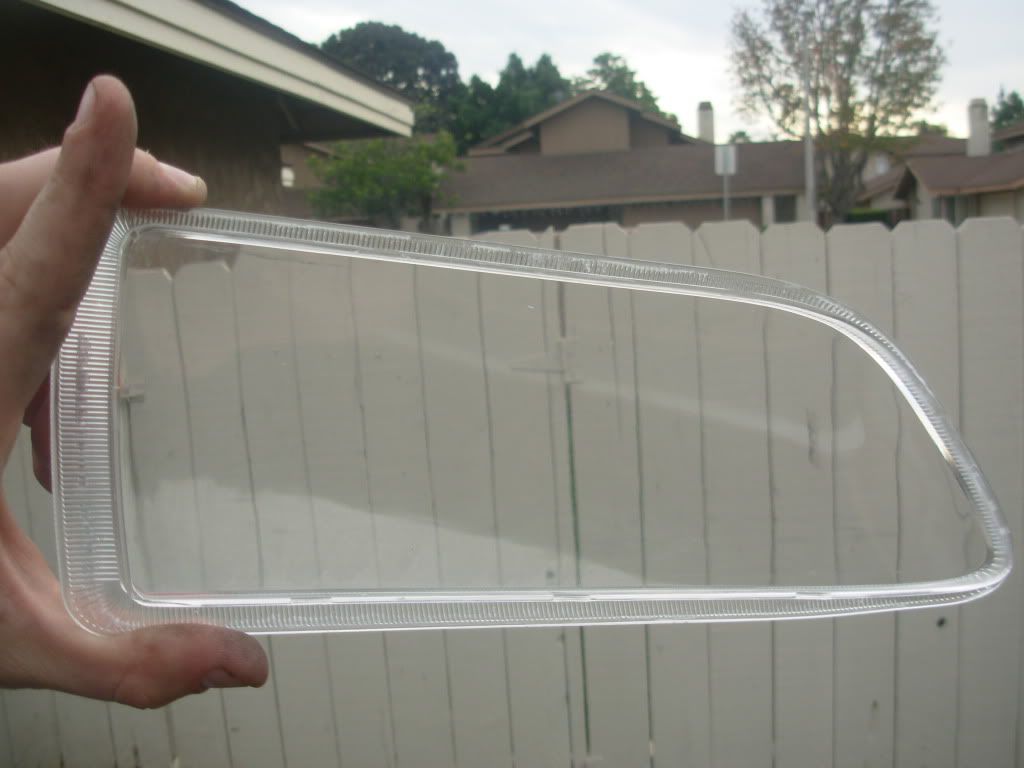
Make sure it's clean and there are no bumps from the old sealant to ensure a good seal with the new sealant. I sprayed both sides with Rain-X to prevent moisture from collecting on either side of the clear plate. You don't have to though it helps, if you do allow the rain-x to dry completely.
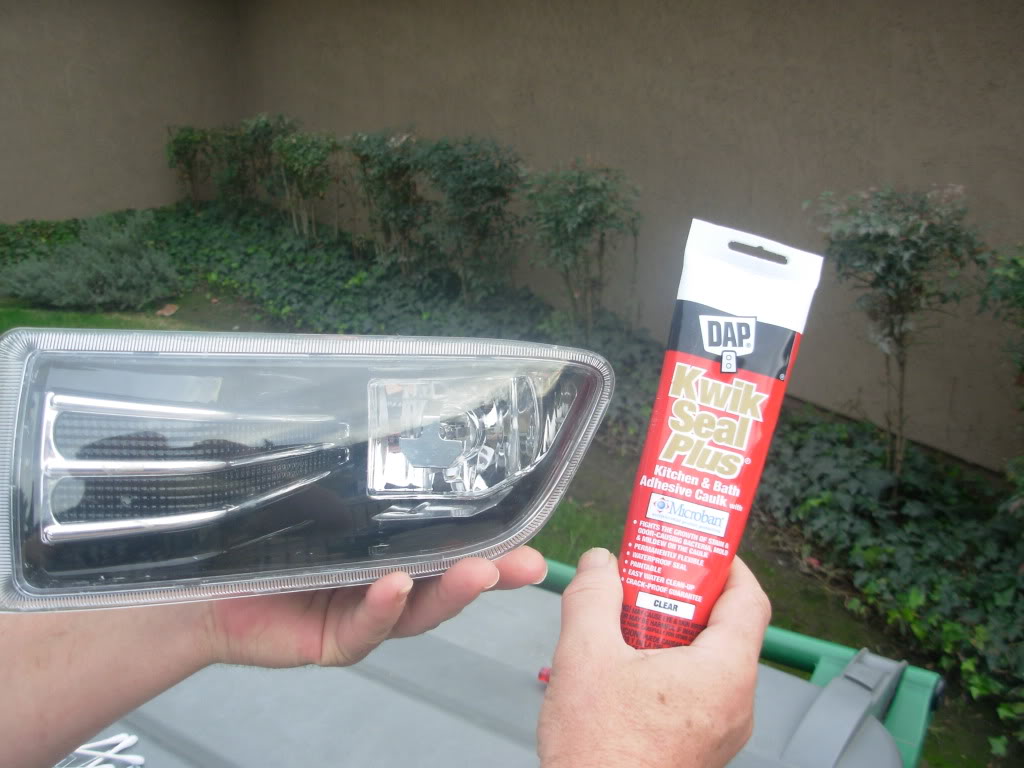
Now replace the front plate and grab you tube of sealant, place the front plate back into the grove. Clamp the plate in place.
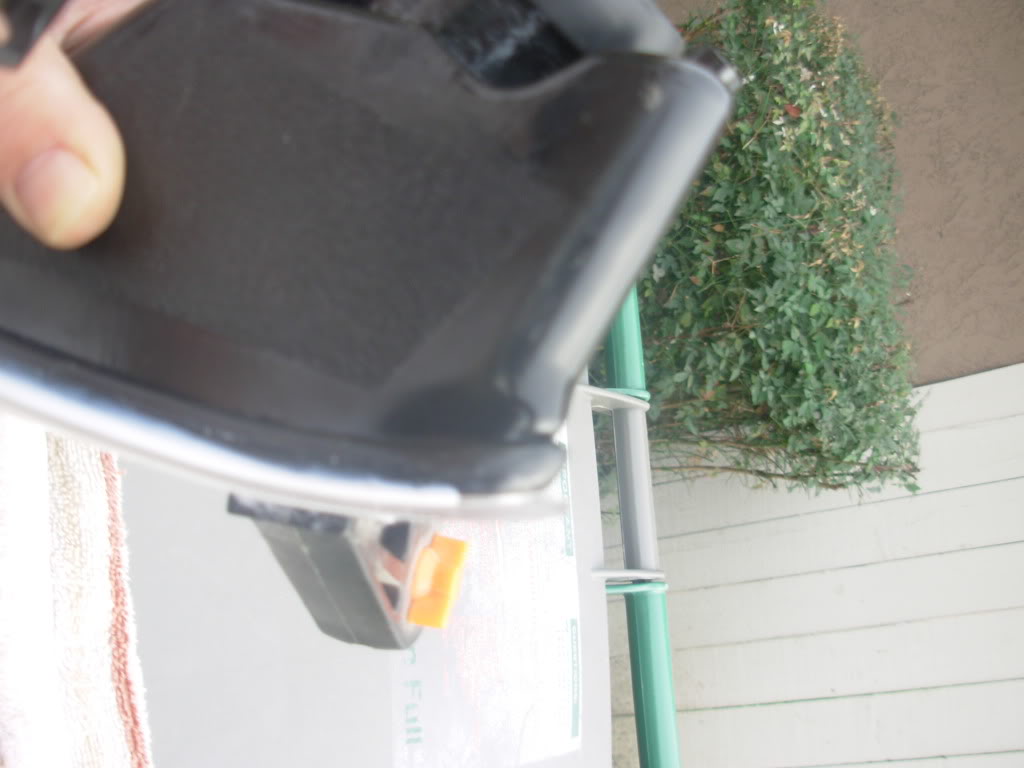
Run the sealant along where the grove and the front plate meet, use a good amount and run your find along it once the sealant is one to make a clean even line of sealant. (It should look somewhat like this photo.)
Once you finished going around the entire light leave the clamp on and allow it to dry a few hours so the outside will dry and hold the two together. The sealant goes on white but dries clear.
Here is the finished product, as you can see the sealant is not completely dry as it is still white. Though in a day or so it should completely dry and turn clear.
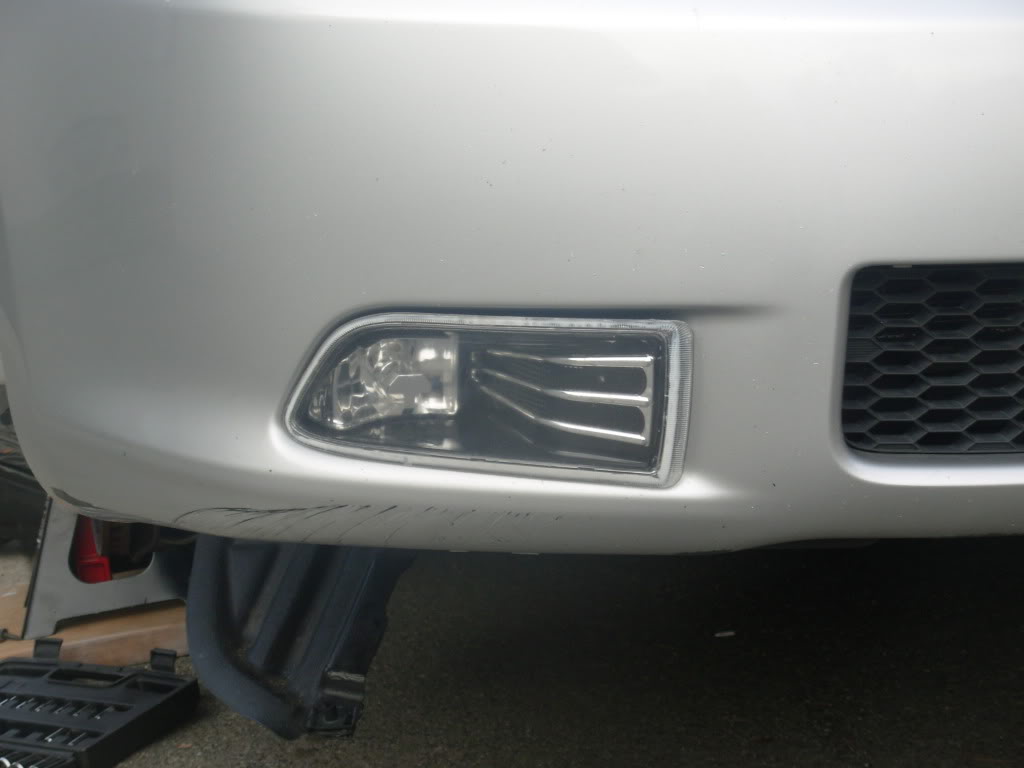
Now your light is completely sealed and will no longer fill with water or moisture. (Here it is back in the bumper finished.) I bought these light for 25 bucks so expected to fix em, so in total they cost me 29 bucks instead of 80.
Ok, here is the post I promised.
Items Needed:
Jack
Jack Stand
10mm Socket/Rachet
Dap Kwik seal plus (Clear) $3.97 at home depot
Soap and Water
Phillips head screwdriver
Razor blade
Clamp
Rain-X (Optional)
---------------------------------------------------
This is what my fog light looked like 2 days after install due to moisture and improper sealant. I bought the lights fairly cheap so it was expected.
Remove the fog light from the bumper.
Here is the light removed from the bumper, simply unscrew the bracket behind the light unplug and remove.
Removed the clear face of the fog light by pulling gently and cutting away the old sealant.
Now clean the clear lens and the groove the front plate sits in. I used the razor for the black groove and soap and water for the clear face.
Make sure it's clean and there are no bumps from the old sealant to ensure a good seal with the new sealant. I sprayed both sides with Rain-X to prevent moisture from collecting on either side of the clear plate. You don't have to though it helps, if you do allow the rain-x to dry completely.
Now replace the front plate and grab you tube of sealant, place the front plate back into the grove. Clamp the plate in place.
Run the sealant along where the grove and the front plate meet, use a good amount and run your find along it once the sealant is one to make a clean even line of sealant. (It should look somewhat like this photo.)
Once you finished going around the entire light leave the clamp on and allow it to dry a few hours so the outside will dry and hold the two together. The sealant goes on white but dries clear.
Here is the finished product, as you can see the sealant is not completely dry as it is still white. Though in a day or so it should completely dry and turn clear.
Now your light is completely sealed and will no longer fill with water or moisture. (Here it is back in the bumper finished.) I bought these light for 25 bucks so expected to fix em, so in total they cost me 29 bucks instead of 80.
Last edited by ritter153; Jan 2, 2010 at 02:19 AM. Reason: Posting pics


Thread
Thread Starter
Forum
Replies
Last Post
SkillFreeJake
Scion tC 2G Aero & Exterior
17
Jul 27, 2015 12:34 AM
Green_rino
Scion FR-S ICE & Interior
1
Jan 20, 2015 01:41 AM
carid
Exclusive Sponsored Sales
0
Jan 8, 2015 11:33 AM