just a few new things...


Thread Starter
Senior Member

Scikotics
SL Member
Joined: Oct 2005
Posts: 7,514
From: Orlando, FL (UCF)
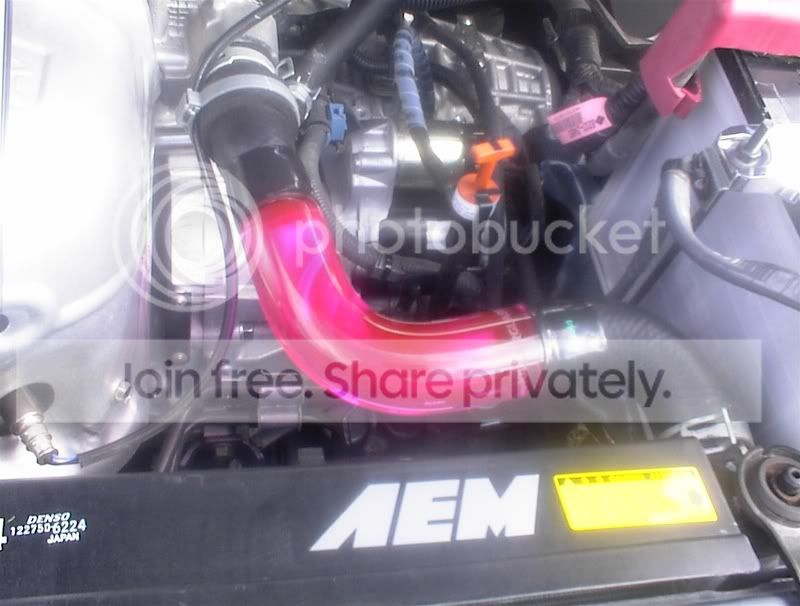
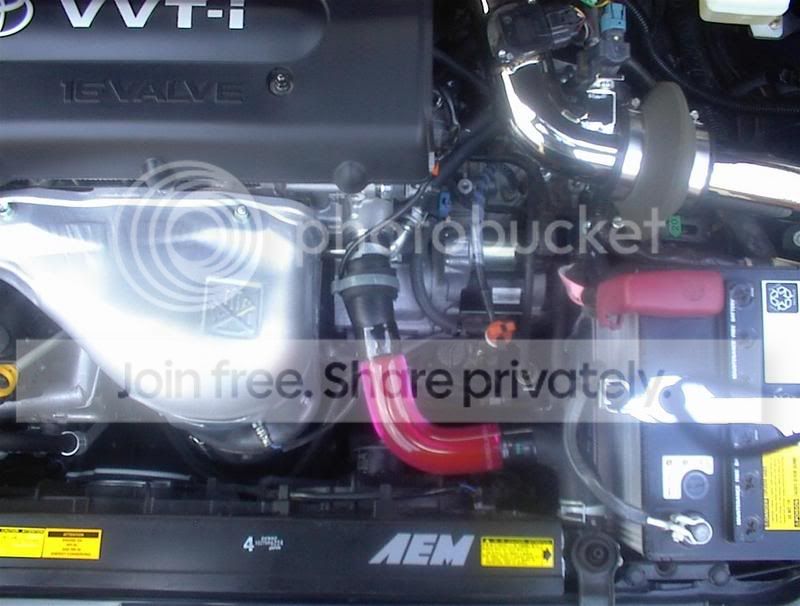
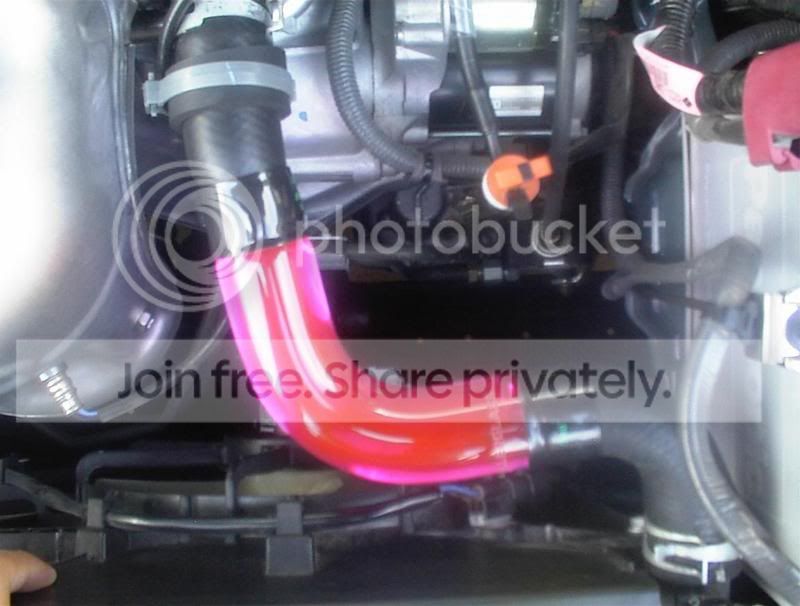
whelen 90w strobes in the headlights + taillights
painted engine bay bits
blue killerglass
black loomed all power/ground wiring
the color match on the engine bay stuff is a bit off, but i'm letting it be until after exposed and then i'm having the guy repaint them.
eyelids would be here, but they too were darker than they should've been. i had him repaint them right now because i can pull off the engine bay being a little darker, but the eyelids would look really weird being darker than the rest of the paint. they'll be on the car by the end of the week.


Thread Starter
Senior Member
Scikotics
SL Member
Joined: Oct 2005
Posts: 7,514
From: Orlando, FL (UCF)
nope.
i thought the same thing when i looked at the picture for the firs ttime. i went downstairs and looked at the tube again and it's just blue w/ no red in it at all.
when i installed it i drained the red and flushed the cooling system w/ straight distilled twice before i added my blue/distilled mix.
screwy camera :-/

Senior Member
SL Member
Joined: Jan 2006
Posts: 9,841
From: In The Fast Lane
oh ok i was like somethings wrong! lol
anyways Tim from killerglass emailed me that my red led is in the mail, so maybe i can get it today or not..i dont know
but i did by a switch for it, fits right in the slot oem style
anyways Tim from killerglass emailed me that my red led is in the mail, so maybe i can get it today or not..i dont know
but i did by a switch for it, fits right in the slot oem style
Thread Starter
Senior Member
Scikotics
SL Member
Joined: Oct 2005
Posts: 7,514
From: Orlando, FL (UCF)
i wish i had a slot open lol.
the 4 switches in the panel are taken up by-
fogs, interior cathodes, interior led's, underbody.
then the fuse box panel cover thingy under that has 3 switch blanks. those are filled by-
engine bay lighting, whelen strobe turn on switch, whelen strobe pattern switcher switch.
i have no more room!
the 4 switches in the panel are taken up by-
fogs, interior cathodes, interior led's, underbody.
then the fuse box panel cover thingy under that has 3 switch blanks. those are filled by-
engine bay lighting, whelen strobe turn on switch, whelen strobe pattern switcher switch.
i have no more room!

Thread Starter
Senior Member
Scikotics
SL Member
Joined: Oct 2005
Posts: 7,514
From: Orlando, FL (UCF)
a little large (aka 56k you;re going to be downloading for a month) but yeah
http://www.gotgrapedrink.com/neothin/MVI_0640.AVI
for the rears i used a 1 + 1/8" hole saw and it fit perfectly. little silicone and it was perfect. i dremmeled a small square on the back of the taillight to bring the connecter inside the moisture barrier and then siliconed that to reseal.
for the headlights i just dremeled out the tabs in the parking lights and the stobe fit perfectly. Siliconed the strobe into place.
jon-
right now i've got my cathodes, led's, whelens, engine bay, and pattern switcher all off of 1 main line comming in. over christmas break i'll be taking out all this wiring bullsh*t (because i dont like not know what each wire is) and i'm going to redo everything. each switch will have a different colored wire and i'll be installing a small fuse box under the dash to tap for power.