
My tail light tinting DIY


Thread Starter
Joined: Jan 2008
Posts: 3,756
From: Trumbull, CT
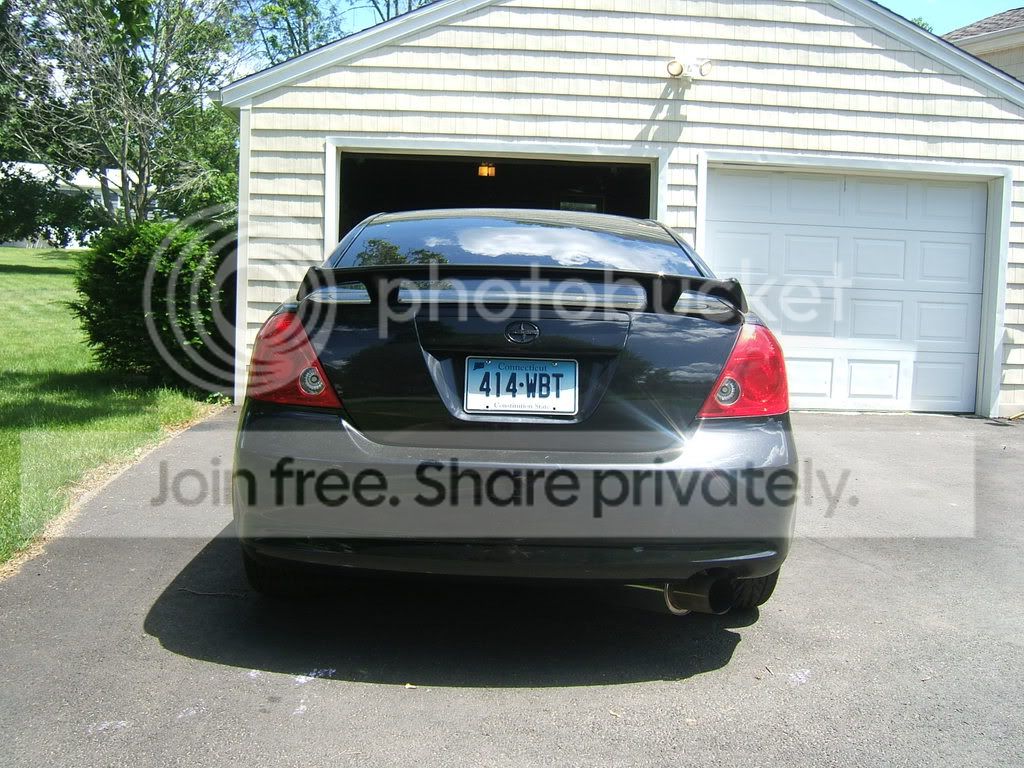
I just re did my tail lights yesterday and they came out pretty good. Just thought i'd put together a little DIY. I know FLEA has one, this is basically the same exact thing but just right on the stockies and skipping the taping up parts he did on the TYC's
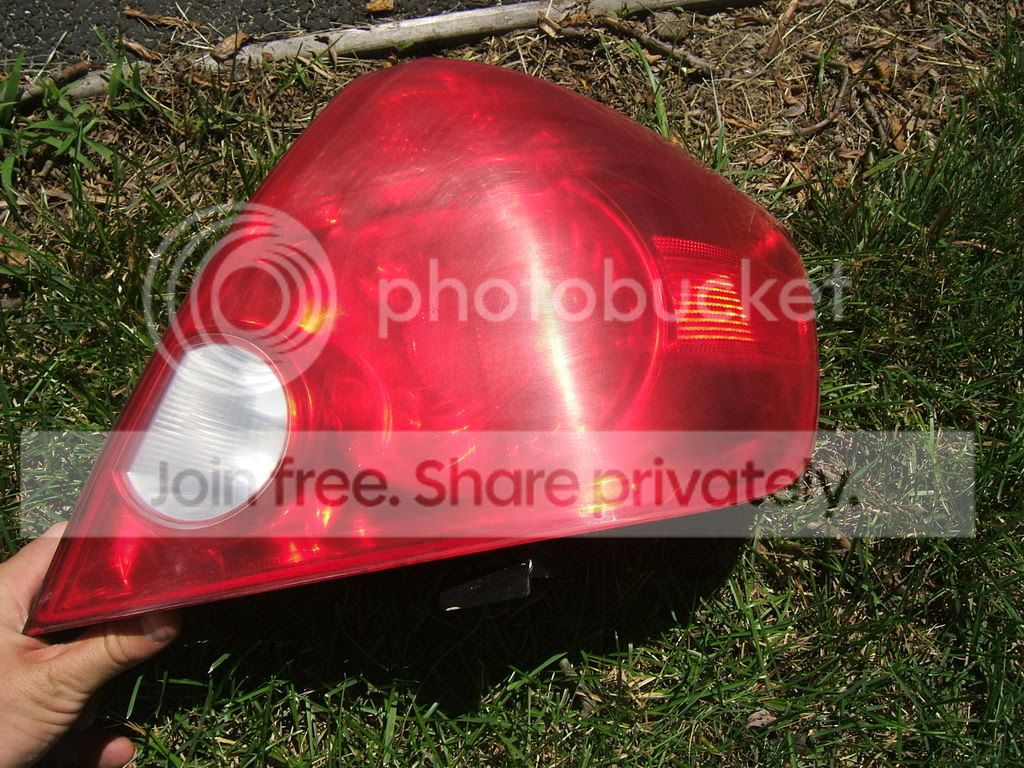
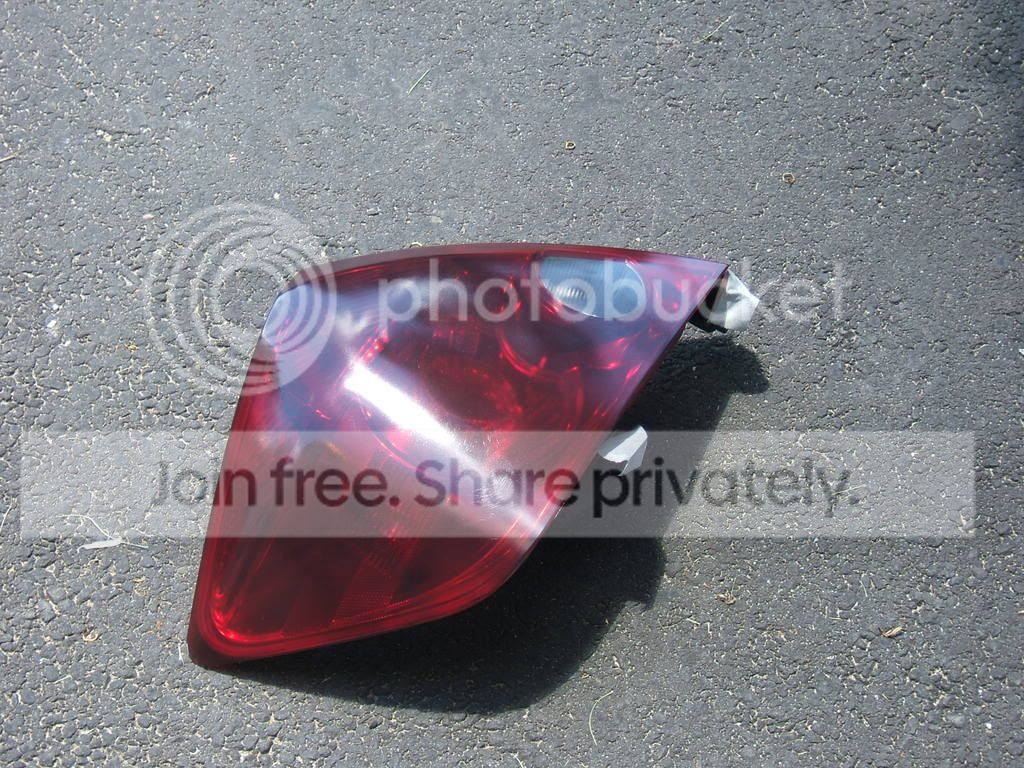
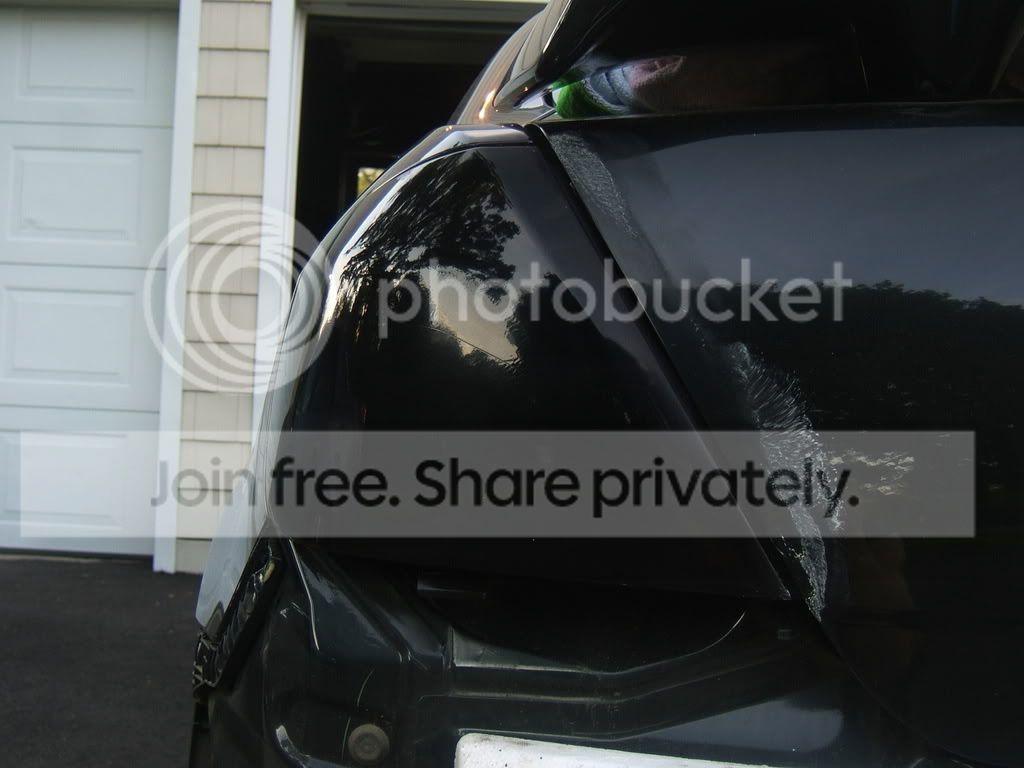
Before:

Clean them and scuff them up a bit with 1000 grit sand paper until the shine is removed, this helps the paint stick better to the plastic and help prevent runs

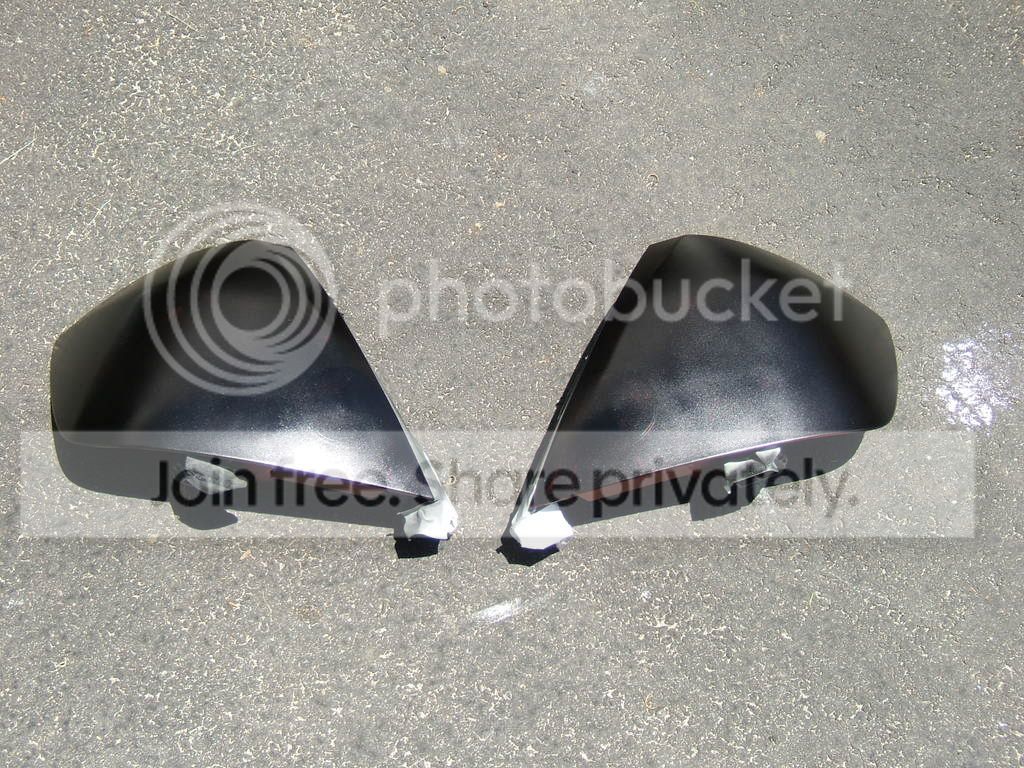
Shake up the VHT for a minute or 2, then do a very light broad coat about a foot from the light, just letting the paint stick to the surface. i call it a mist coat. Since the 1st coat is always the hardest, this helps the paint stick to the plastic for a good base coat. I do 2 of these to be safe.
1st mist coat:

2nd mist coat:
Wait about 4 or 5 minutes in between coats. keep adding coats about 5 to 6 inches from the light. If you run into drips or anything, wet sand that part lightly until it is removed. This is after about 6 coats or so of tint just keep adding coats until you reach the desired darkness:

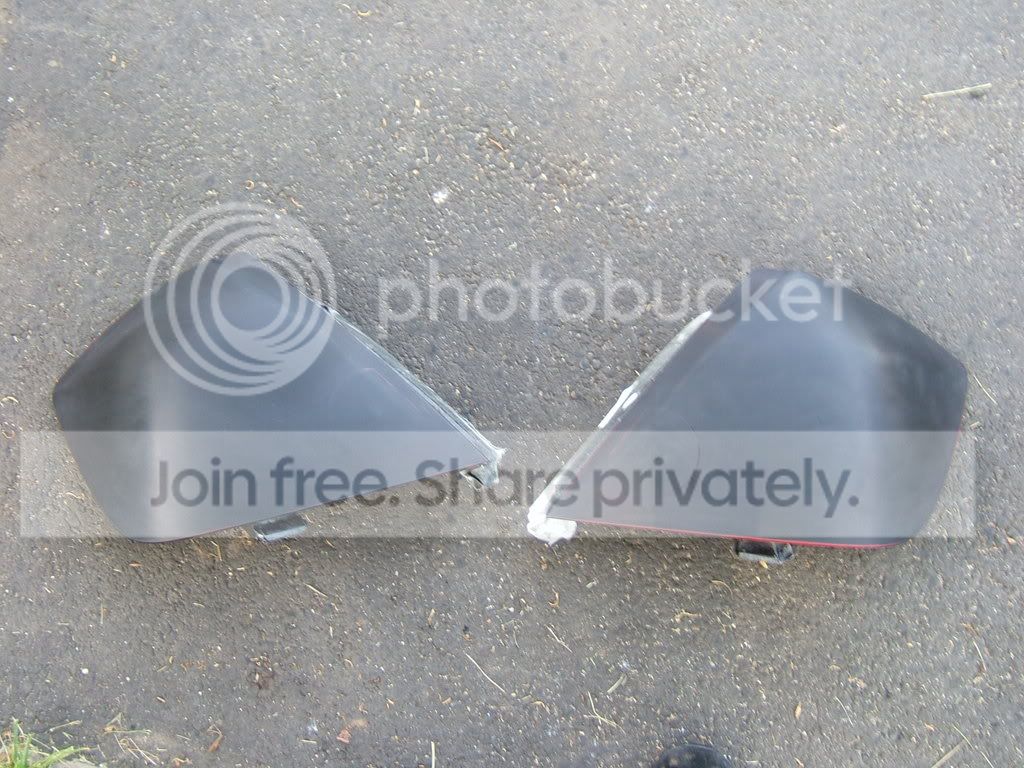
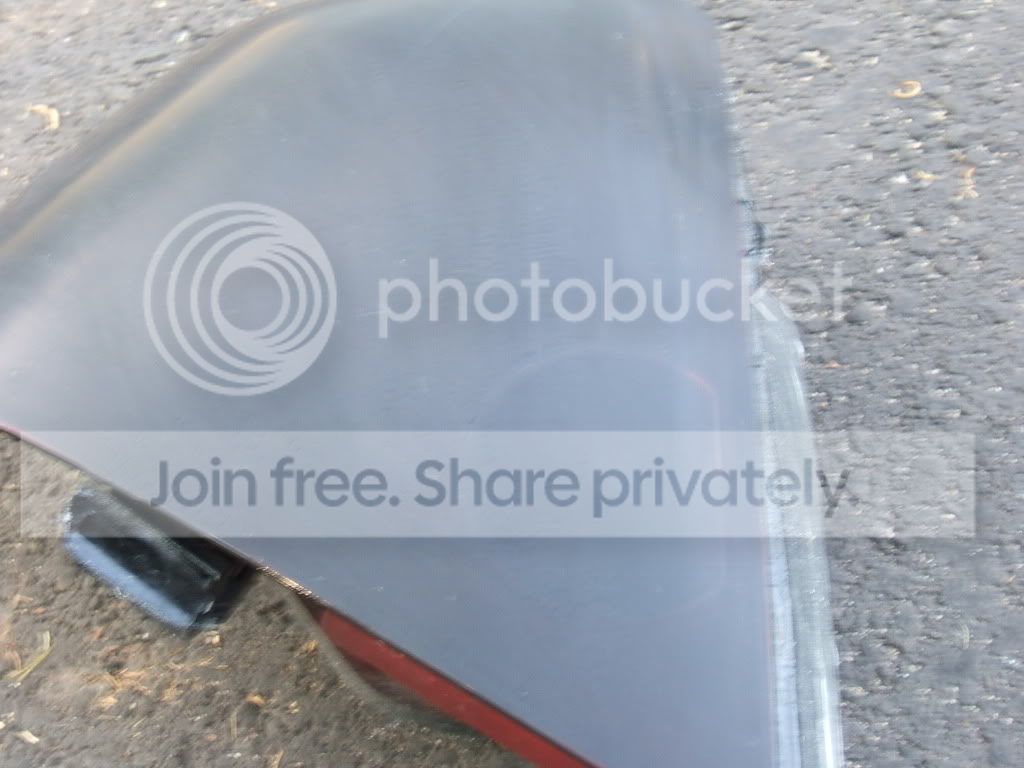
Now wet sand with 1000 grit sandpaper again until it appears as a smooth and grey looking. You want to be sure everything is smooth so it appears smooth in the end with no orange peel and stuff. Now while i was wet sanding, i went over that one crease by the reverse light that goes vertical up to the top too much and the red showed through. I just taped it off and re tinted that part, wet sanded it again untilit matched the rest of the light:

Whole light wet sanded:

Now its time to clear. I recently started using UPOL #1 clear which i love and works a lot better and is able to be handled in about 2-3 hours. Like the first coats of tint, do 1 mist coat to set the base and help it stick. Then the clear can be applied in heavier coats than the tint. I o about 4 or 5 heavy coats to get that thick, glossy finish.
1st heavy coat:
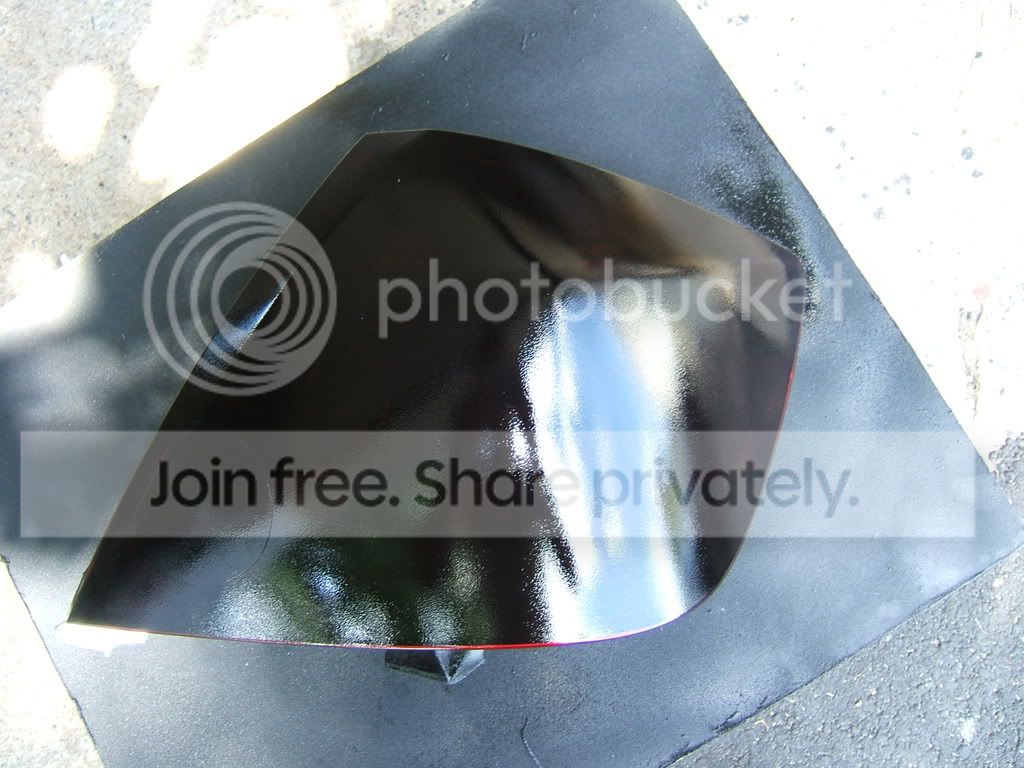
After all clear. You can tell there is orange peel which is completely normal. We will get rid of it during the wet sanding:


You should be able to see reflections clearly:


I used to use the Duplicolor clear coat which I would let dry overnight, but this stuff only takes 2 or 3 hours. After 2 - 3 hours, lightly wet sand with 1000 grit at first, then when its almost completely smooth,move to 1500 grit to make everything smoothed out.
After sanding:
Now time to buff em out.
It is best to use a buffer, if you try by hand, i dont wanna know how long it will take.
Its basically 4 coats of 3 things. Rubbing Compound (I use 3M), then Meguiears Scratch-X, then a Wax ( I use Meguiars Hi Tech Yellow Wax).
After 3M Rubbing Compound, this brings the black and some shine back:
After Plastic-X:
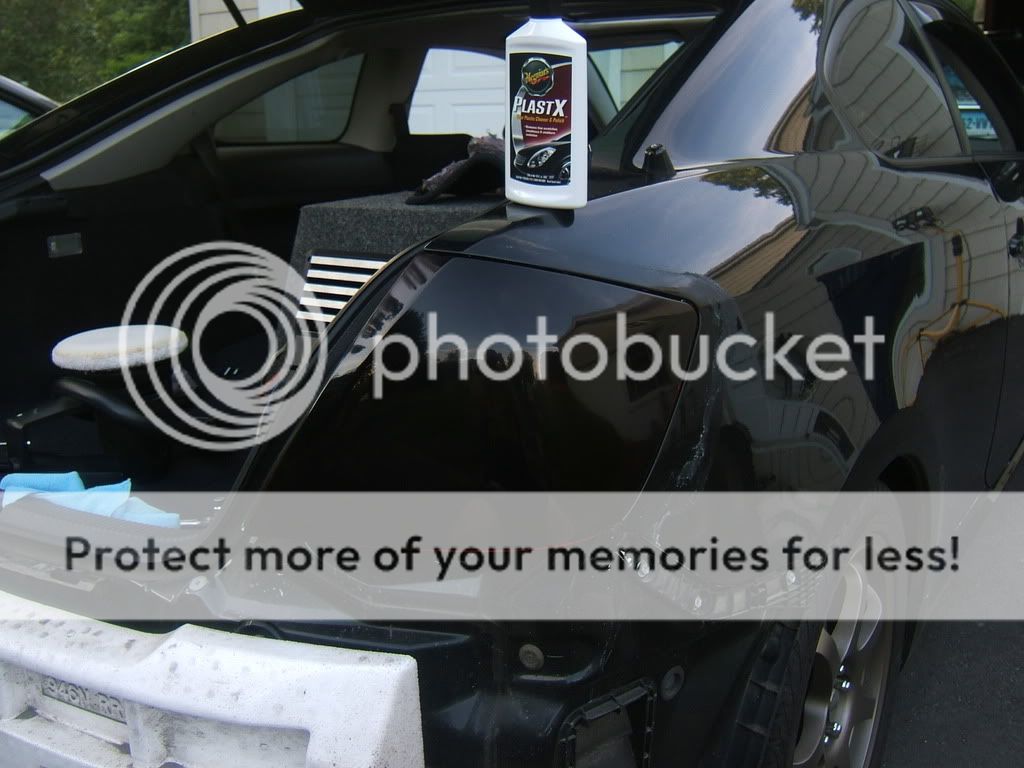

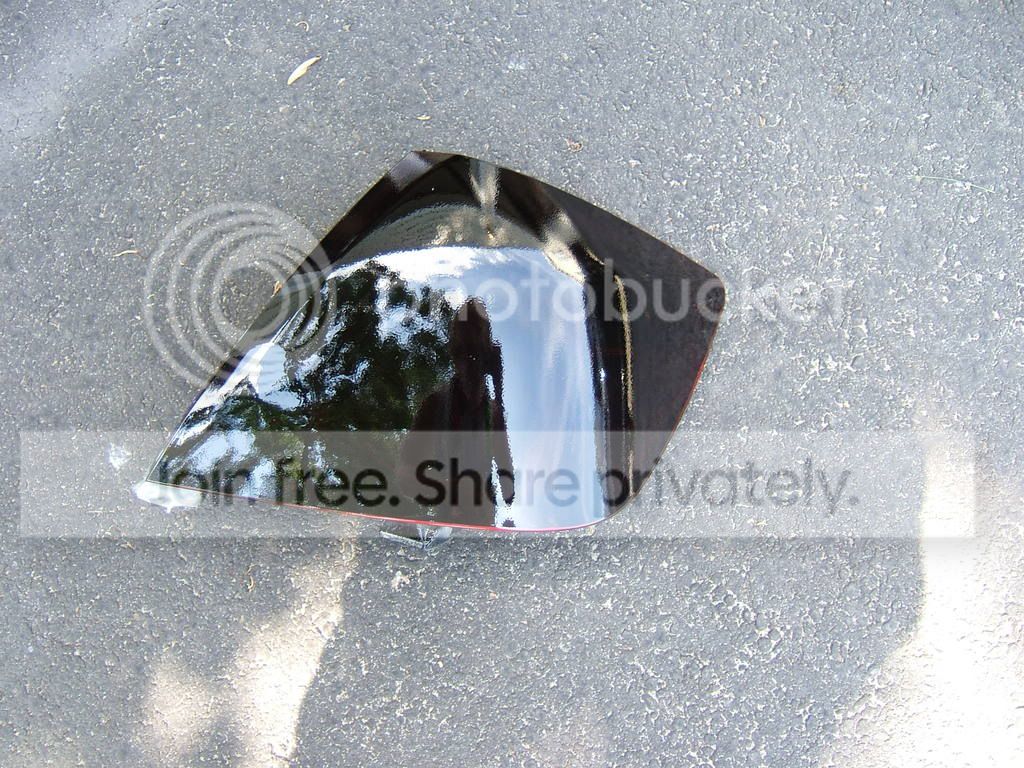
After Hi Tech Yellow Wax:


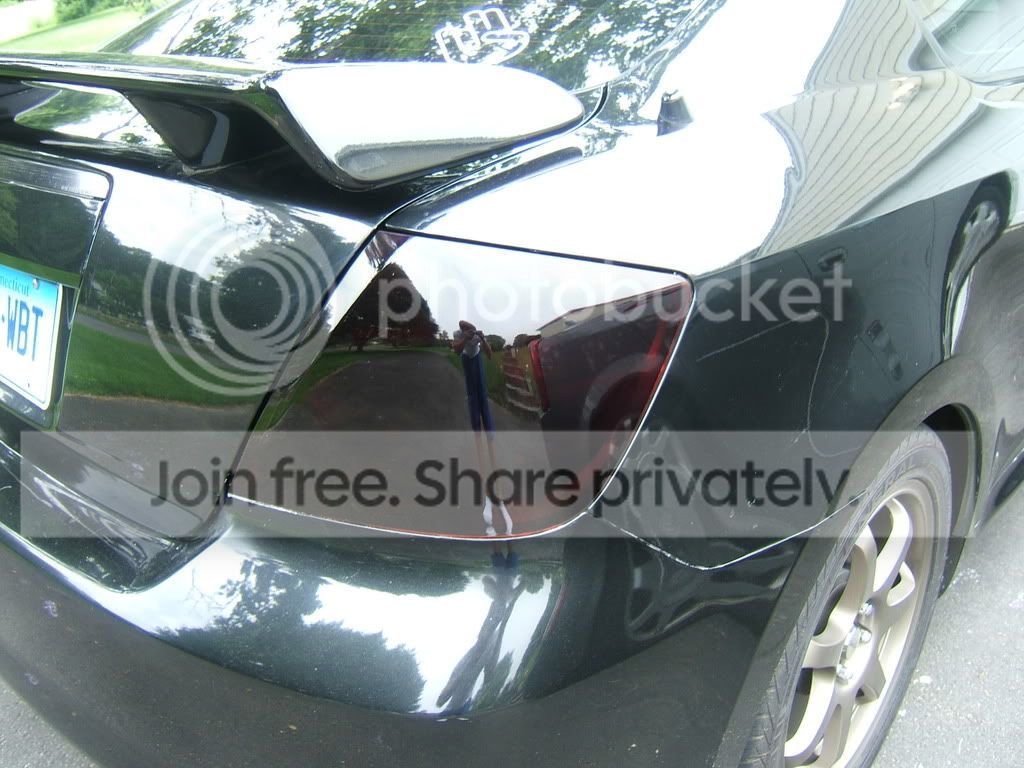
Finished product:


Hope this helps out!
Before:
Clean them and scuff them up a bit with 1000 grit sand paper until the shine is removed, this helps the paint stick better to the plastic and help prevent runs
Shake up the VHT for a minute or 2, then do a very light broad coat about a foot from the light, just letting the paint stick to the surface. i call it a mist coat. Since the 1st coat is always the hardest, this helps the paint stick to the plastic for a good base coat. I do 2 of these to be safe.
1st mist coat:
2nd mist coat:
Wait about 4 or 5 minutes in between coats. keep adding coats about 5 to 6 inches from the light. If you run into drips or anything, wet sand that part lightly until it is removed. This is after about 6 coats or so of tint just keep adding coats until you reach the desired darkness:
Now wet sand with 1000 grit sandpaper again until it appears as a smooth and grey looking. You want to be sure everything is smooth so it appears smooth in the end with no orange peel and stuff. Now while i was wet sanding, i went over that one crease by the reverse light that goes vertical up to the top too much and the red showed through. I just taped it off and re tinted that part, wet sanded it again untilit matched the rest of the light:
Whole light wet sanded:
Now its time to clear. I recently started using UPOL #1 clear which i love and works a lot better and is able to be handled in about 2-3 hours. Like the first coats of tint, do 1 mist coat to set the base and help it stick. Then the clear can be applied in heavier coats than the tint. I o about 4 or 5 heavy coats to get that thick, glossy finish.
1st heavy coat:
After all clear. You can tell there is orange peel which is completely normal. We will get rid of it during the wet sanding:
You should be able to see reflections clearly:
I used to use the Duplicolor clear coat which I would let dry overnight, but this stuff only takes 2 or 3 hours. After 2 - 3 hours, lightly wet sand with 1000 grit at first, then when its almost completely smooth,move to 1500 grit to make everything smoothed out.
After sanding:
Now time to buff em out.
It is best to use a buffer, if you try by hand, i dont wanna know how long it will take.
Its basically 4 coats of 3 things. Rubbing Compound (I use 3M), then Meguiears Scratch-X, then a Wax ( I use Meguiars Hi Tech Yellow Wax).
After 3M Rubbing Compound, this brings the black and some shine back:
After Plastic-X:
After Hi Tech Yellow Wax:
Finished product:
Hope this helps out!

Thread Starter
Joined: Jan 2008
Posts: 3,756
From: Trumbull, CT
i started at about noon and finished around 7, 730. I also went and got some lunch and dinner some time in there. If i did it straight with no inuruptions or errors, it could be around a 5, 5 and a half hour project

Former Sponsor
SL Member
Team ScioNRG
Joined: Jul 2005
Posts: 1,600
From: Myrtle Beach, SC
Lights look really good and great job on the DIY. I did the same thing to my lights a few years ago and have never been happier. I love the way the blacked out lights look and I never even lost any bit of visibility either!
Thread Starter
Joined: Jan 2008
Posts: 3,756
From: Trumbull, CT
Yeah a lot of people question that but at night is perfectly fine. i also love the way it looks
i took the old tint job off and had the stockies for a while but i had to go back to the tint!!
i took the old tint job off and had the stockies for a while but i had to go back to the tint!!

Thread Starter
Joined: Jan 2008
Posts: 3,756
From: Trumbull, CT
Originally Posted by rosedaleny806
o ok great shouldn tbe to bad i might do this on saturday to my TYCs, where did u get all ur tools? paint, sand paper, plasticX etc.


Banned

SL Member
Joined: Feb 2006
Posts: 3,196
From: Fullerton, CA
^Negative Ghostrider! I got mine that dark, no problems so far! I'll post pictures of mine tomorrow.
BlckdOutTC - How did you know what grit sandpaper to use? What made you decide to use UPOL #1 clear coat? What made you decide to Use Meguiar's PlastX, #26, and 3M Rubbing Compound? From now on use a clear coat with a hardener in it. From now on don't do the wet sanding steps at all until you clear coat the tails and allow them to dry. You're going to get orange peel no matter what. Might as well sand it one time instead of 2 or 3 times throughout the whole process.
BlckdOutTC - How did you know what grit sandpaper to use? What made you decide to use UPOL #1 clear coat? What made you decide to Use Meguiar's PlastX, #26, and 3M Rubbing Compound? From now on use a clear coat with a hardener in it. From now on don't do the wet sanding steps at all until you clear coat the tails and allow them to dry. You're going to get orange peel no matter what. Might as well sand it one time instead of 2 or 3 times throughout the whole process.