
***PSP in the tC***


Thread Starter
Senior Member
SL Member
Joined: Mar 2005
Posts: 532
From: VA & PA
Hey everyone!
I got a PSP recently to be used as an 'in-dash dvd player' and 'video game console' while I drive on long trips. Anyways, I have been getting everything. So far I got:
-PSP
-AC Adapter for power
-Movies
-Vent PSP holder
Getting:
-Aux input connecting to my Pioneer M80MP CD player
Questions:
1. Does aux sound for the PSP or similar (iPod) sound good through the car? I want surround sound and loud for when I watch movies.
2. Is there a better aftermarket PSP holder/mount other than windshield and vent holders?
I will post pics this weekend after I install everything and ask for comments.
Thanks.


Banned
SL Member
Joined: May 2006
Posts: 2,786
From: Missing the Bay in L.A...
Originally Posted by Nick06tC
I know its nor what you are going for, but this is pretty cool:

Thread Starter
Senior Member
SL Member
Joined: Mar 2005
Posts: 532
From: VA & PA
Originally Posted by Nick06tC
I know its nor what you are going for, but this is pretty cool:


Senior Member

SL Member
Scion Evolution
Joined: Oct 2005
Posts: 5,277
From: Andersen AFB, Guam
Originally Posted by Necromancer
Thats pretty sick but unfortunately not a tC. Right now the vent mount works good and clean. I have it centered over the headunit but it blocks the air. I would like something that molds up from the top of the center dashboard. Maybe something out of fiberglass. I am willing to pay $100.
I will try and find it. Some one recessed their headunit and mounted the PSP in front of it. You remove the psp to operate the headunit.

Thread Starter
Senior Member
SL Member
Joined: Mar 2005
Posts: 532
From: VA & PA
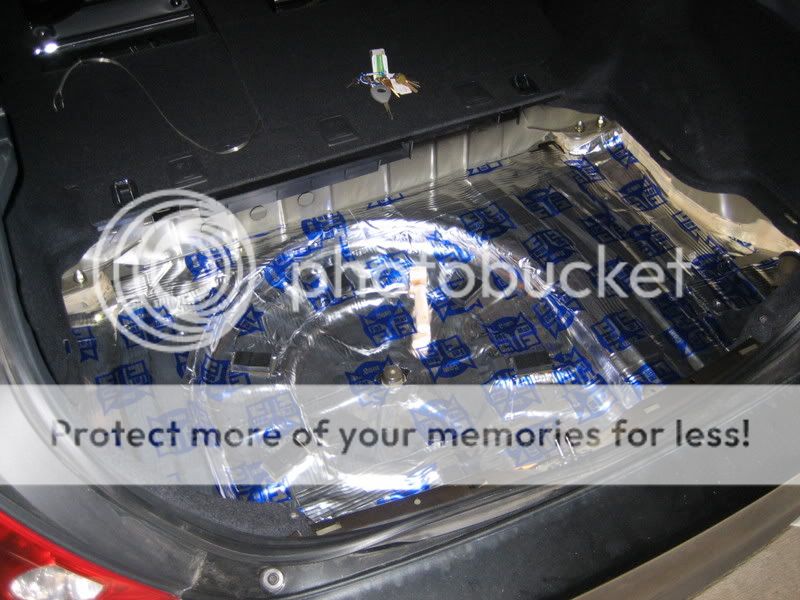
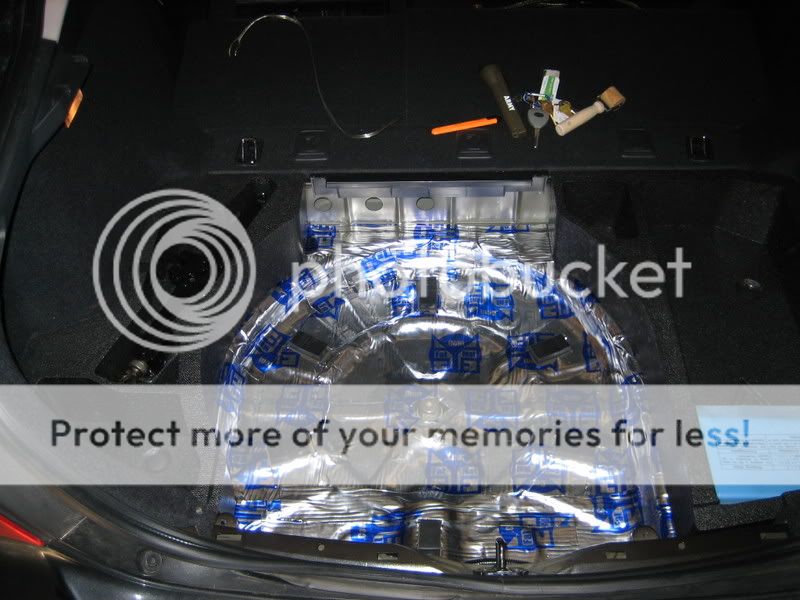
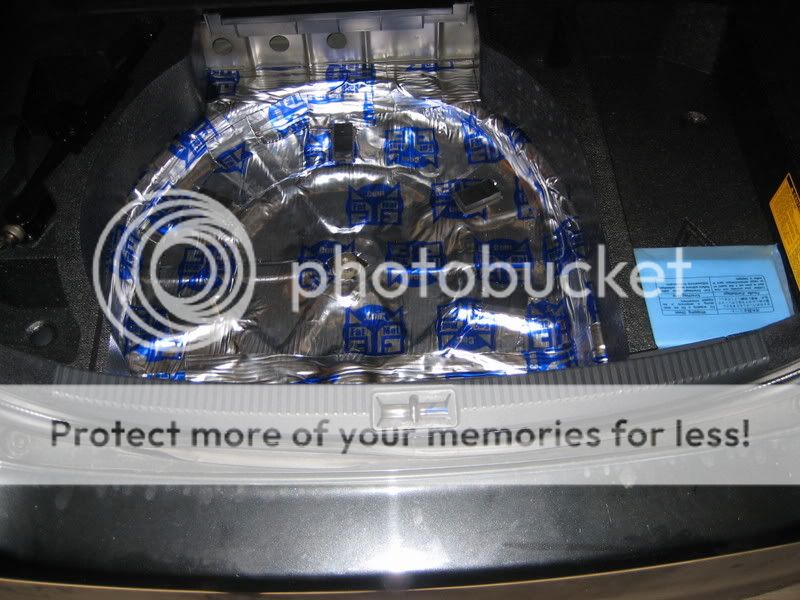
Starting with the beginning. First removed all the back trunk area to lay down FatMat. Here is the final result:

Then I put the left foam piece back:
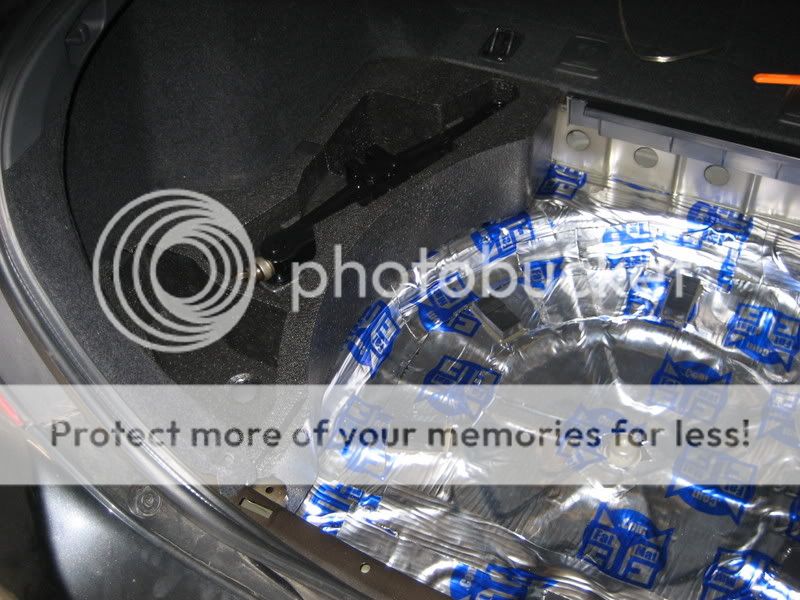
The right piece:
The bottom hinge piece:
The spare tire:
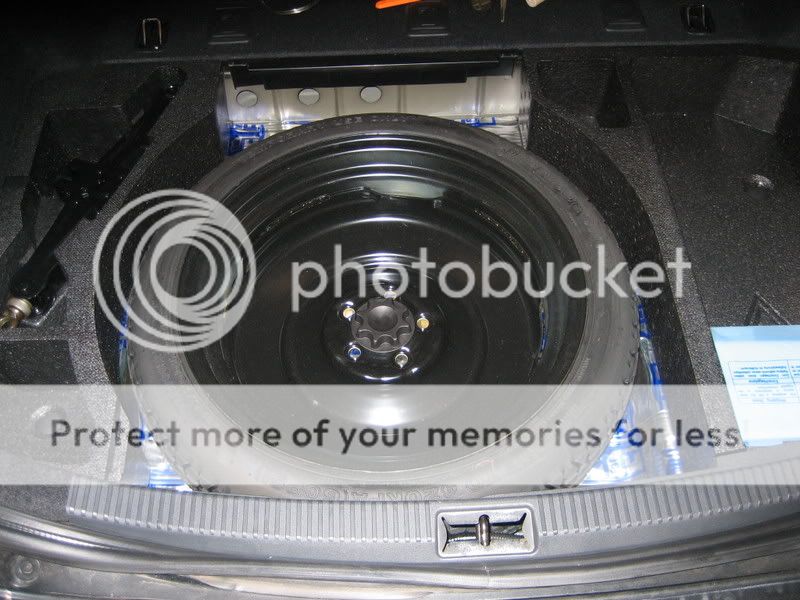
The top liner piece:

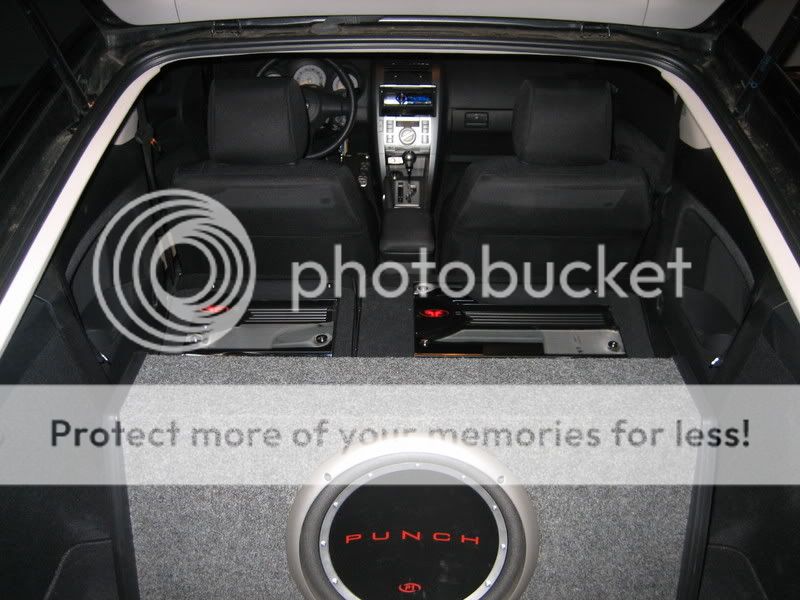
Here is the final product of sub, amps, from the back end of the car after all the wiring:
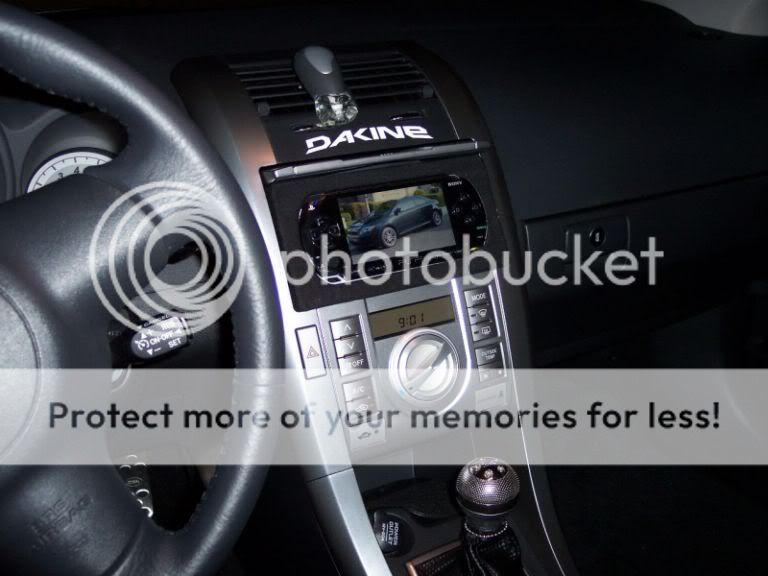
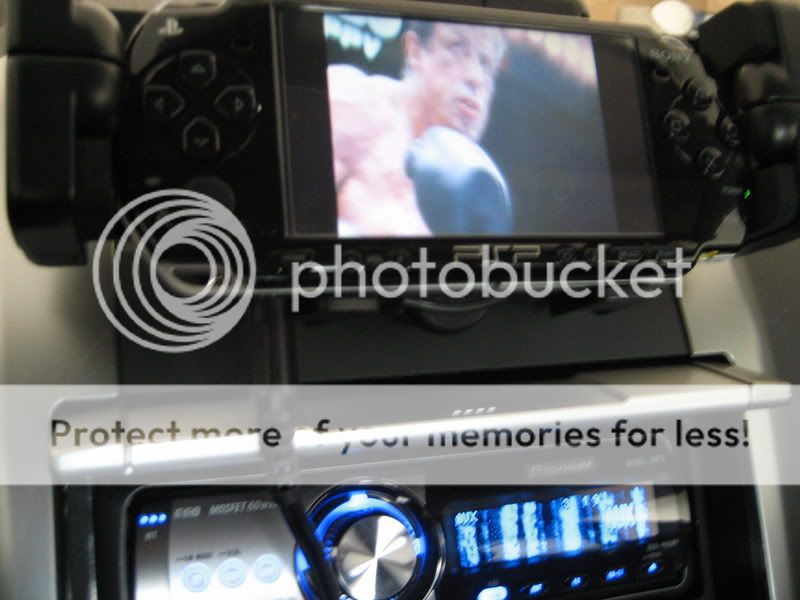
Here is the installation of psp, headunit wiring, rca to psp cabling, mount:

Closeup on final product:
Want to thank Mandos for his Disassembly FAQ in the tech section.
PSP sounds awesome. I am running it on high performance Polk Audio mids/tweeters, sub, and 2 amps at ~1000W. Action movies sound excellent.
Leave comments.[/img]
Then I put the left foam piece back:
The right piece:
The bottom hinge piece:
The spare tire:
The top liner piece:
Here is the final product of sub, amps, from the back end of the car after all the wiring:
Here is the installation of psp, headunit wiring, rca to psp cabling, mount:
Closeup on final product:
Want to thank Mandos for his Disassembly FAQ in the tech section.
PSP sounds awesome. I am running it on high performance Polk Audio mids/tweeters, sub, and 2 amps at ~1000W. Action movies sound excellent.
Leave comments.
[/img]

Thread Starter
Senior Member
SL Member
Joined: Mar 2005
Posts: 532
From: VA & PA
Originally Posted by cavalierkid888
looks pretty good, where did you get your vent holder from?
I have noticed some noise insulation just doing the trunk area. The response from my sub is clearer than ever. During movies, it is really awesome. I plan to do the doors this week which should be a bigger improvement.
Thread Starter
Senior Member
SL Member
Joined: Mar 2005
Posts: 532
From: VA & PA
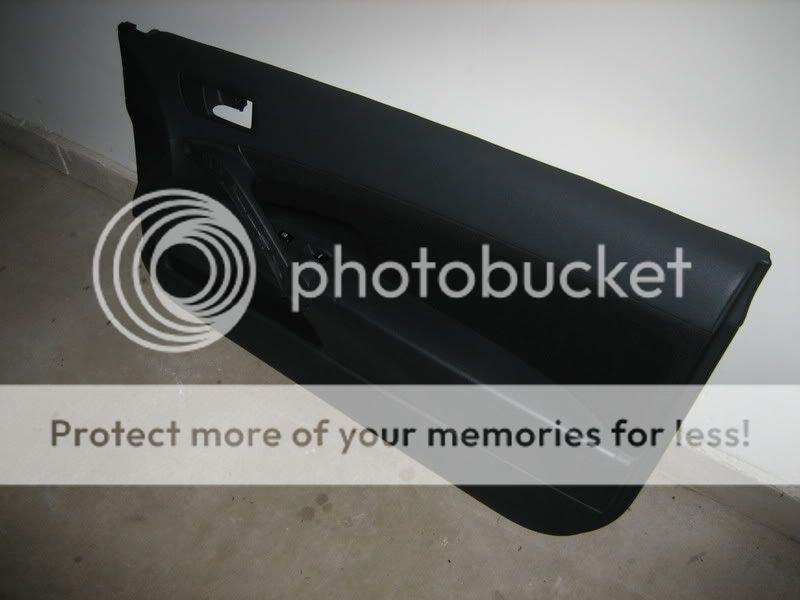
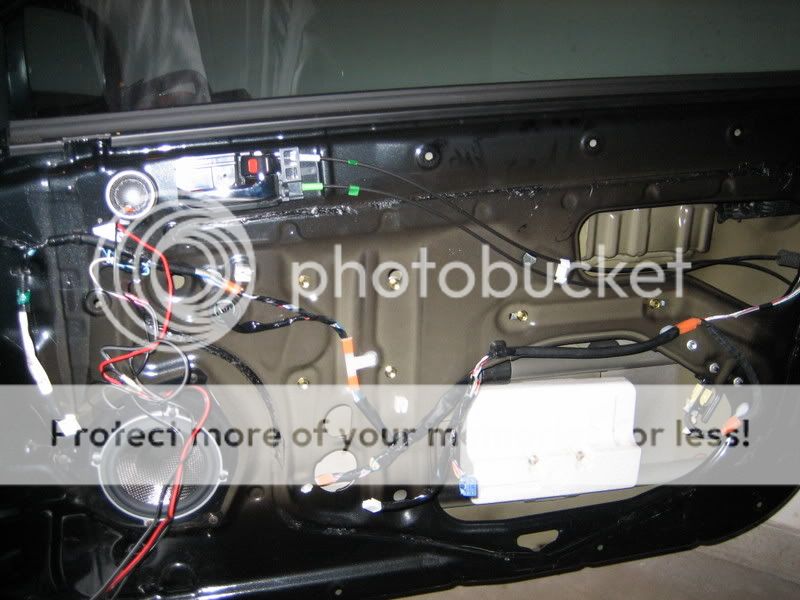
Door Panel off
Door itself (unorganized)
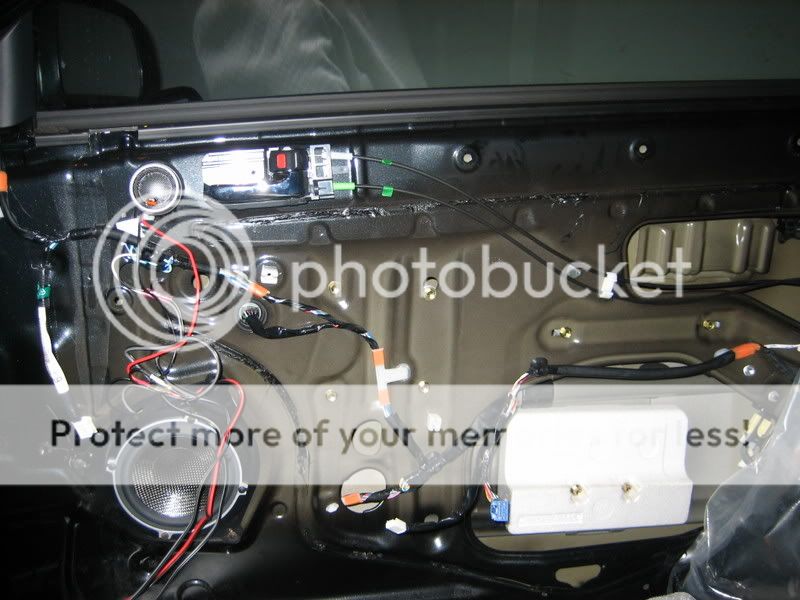
Taking this plastic crap off that I don't know who put in?
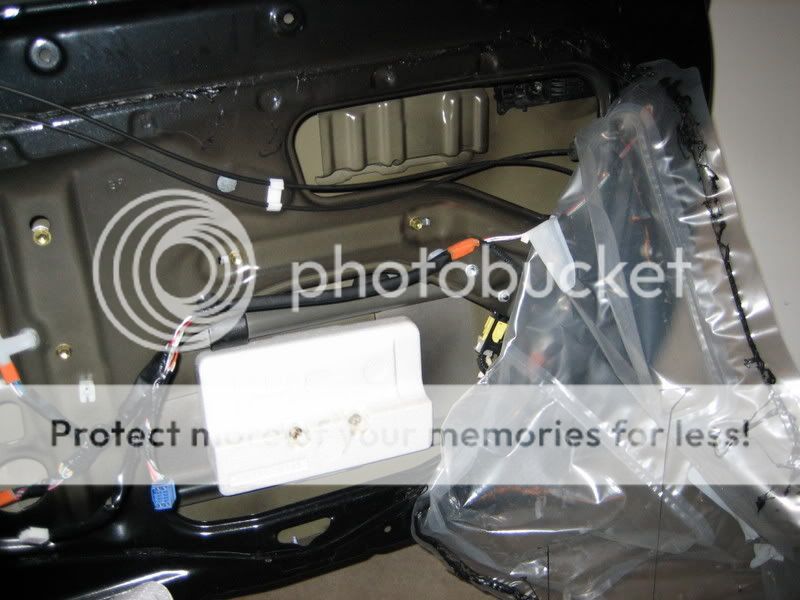
Corner pic
Complete pic
FatMat installed!
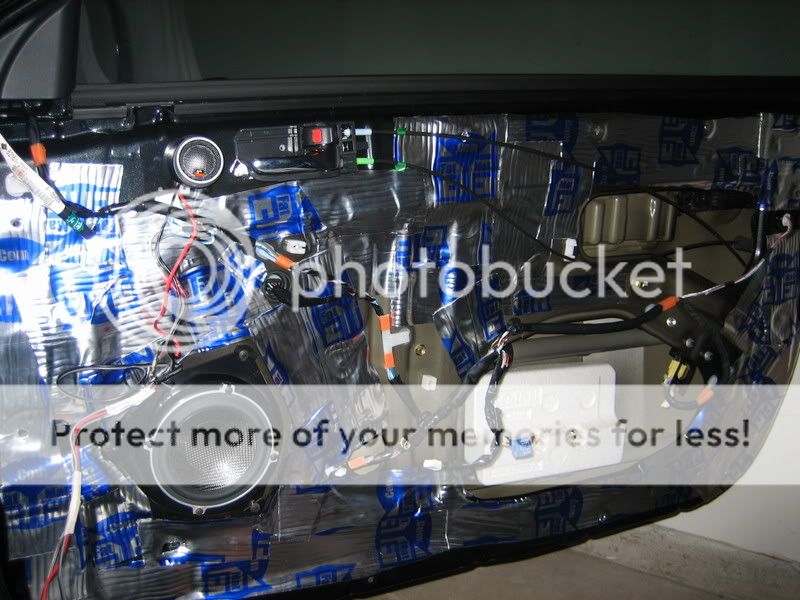
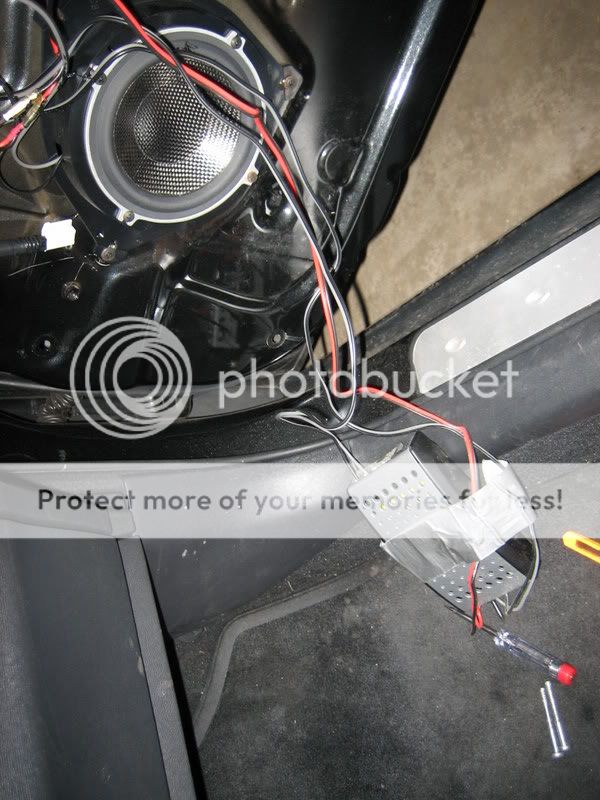
Securing all wires. Polk high performance speakers with tweeters and amp box btw.
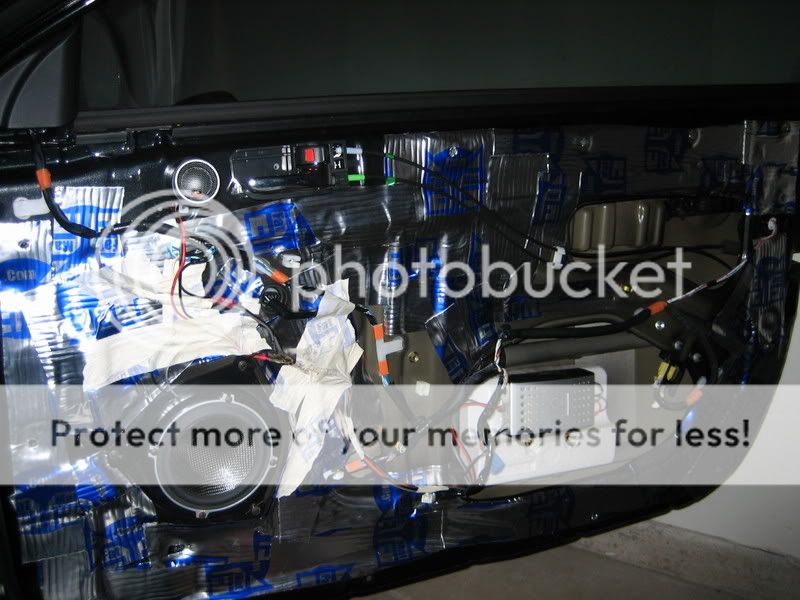
After trimming excess FatMat with knife cutter, door panel back on - finished door
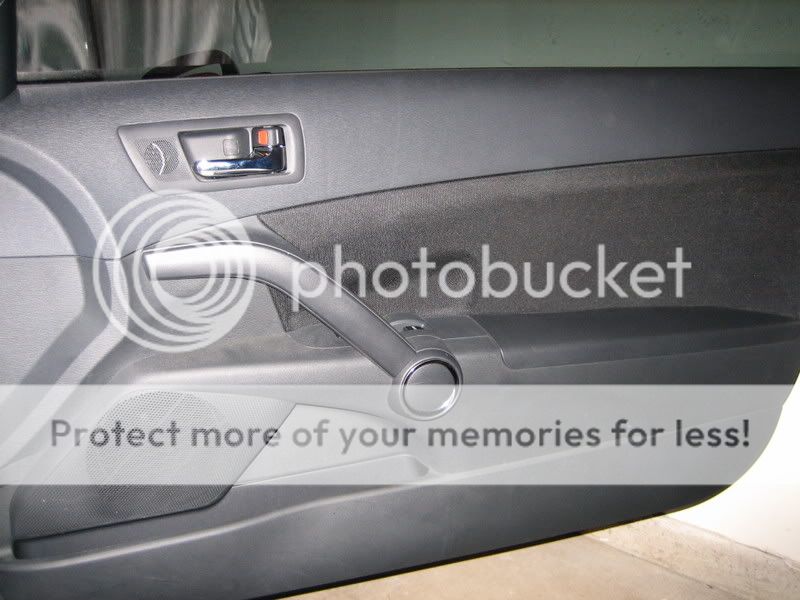
For the left door, same thing.
The mods continue...
Door itself (unorganized)
Taking this plastic crap off that I don't know who put in?
Corner pic
Complete pic
FatMat installed!
Securing all wires. Polk high performance speakers with tweeters and amp box btw.
After trimming excess FatMat with knife cutter, door panel back on - finished door
For the left door, same thing.
The mods continue...

Senior Member
SL Member
Joined: Nov 2007
Posts: 454
From: Maryland
I hate to tell you this....but that plastic stuff....was weather guard. It's factory installed to keep the water from the windows and everything outside the inner door panel. If you get a good rain, or even have wet windows and roll them down, you will get water into your crossover and kill it.
I would highly advise reattaching that plastic and sealing the doors again and remounting the crossover.
I would highly advise reattaching that plastic and sealing the doors again and remounting the crossover.

Thread Starter
Senior Member
SL Member
Joined: Mar 2005
Posts: 532
From: VA & PA
Originally Posted by kidwolf908
I hate to tell you this....but that plastic stuff....was weather guard. It's factory installed to keep the water from the windows and everything outside the inner door panel. If you get a good rain, or even have wet windows and roll them down, you will get water into your crossover and kill it.
I would highly advise reattaching that plastic and sealing the doors again and remounting the crossover.
I would highly advise reattaching that plastic and sealing the doors again and remounting the crossover.
Thread Starter
Senior Member
SL Member
Joined: Mar 2005
Posts: 532
From: VA & PA
Originally Posted by Dr_Isotope
Crossover location BAD!!
Replace the plastic weatherseal with eDead V4, Teklite, or similar self-adhesive foam liner. On door panels, it makes a bigger difference than the deadeners.
Replace the plastic weatherseal with eDead V4, Teklite, or similar self-adhesive foam liner. On door panels, it makes a bigger difference than the deadeners.
Also, you or anybody, tell me exactly what to do. I only have done the right door because my finger cut open putting the fatmat down (monster fatmat cut). I don't have the plastic anymore.
Optimally, you would locate the X-overs behind the kick panel covers or in a similar location. IF they're thin enough, you can put them between the inside of the door panel and the door skin (the same level that the plastic weatherseal was adhered to) with no ill effects.
eDead v4. 20sq/ft would be well more than enough to do both doors. You can't have too much-- it works well in any creak/squeak-prone area of the car.
eDead v4. 20sq/ft would be well more than enough to do both doors. You can't have too much-- it works well in any creak/squeak-prone area of the car.
Thread Starter
Senior Member
SL Member
Joined: Mar 2005
Posts: 532
From: VA & PA
Originally Posted by Dr_Isotope
Optimally, you would locate the X-overs behind the kick panel covers or in a similar location. IF they're thin enough, you can put them between the inside of the door panel and the door skin (the same level that the plastic weatherseal was adhered to) with no ill effects.
eDead v4. 20sq/ft would be well more than enough to do both doors. You can't have too much-- it works well in any creak/squeak-prone area of the car.
eDead v4. 20sq/ft would be well more than enough to do both doors. You can't have too much-- it works well in any creak/squeak-prone area of the car.
-Is the eDead different from the FatMat? Do I put eDead right on top of FatMat?
-What about the plastic that is now missing? Do I need to buy plastic somewhere else?
-Is the place of the crossover bad because it is on the outside of the door frame?
Thanks.