
DIY custom shift boot


Thread Starter
Joined: Sep 2009
Posts: 2,092
From: Torrance, California
So, I posted a while ago about the custom shift boot I made. And some people were asking me to make a DIY. So here ya go.
this is what it looked like on the first thread i made;
Materials you need are:
1. Scissors
2. Big ___ flathead
3. Hammer
4. Yoohoo glass bottle
5. Monster can(with cap ontop)
6. Material to replace shift boot
7. sewing machine
8. pencil
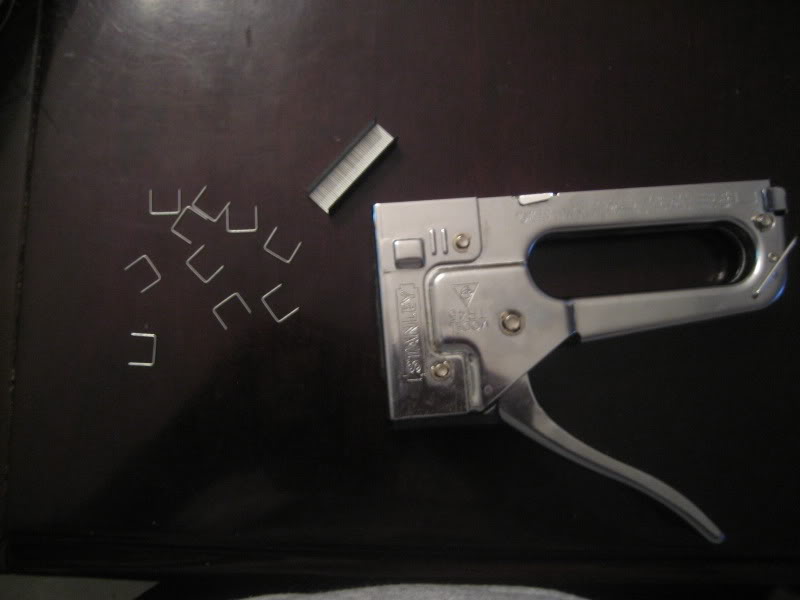
9. staple gun/staples
10. glue gun
so, if you want to make this, go right ahead. but dont hold me responsible if you mess up or anything.
keep in mind, when i made this DIY, it was after i had already made the white felt boot. so the ones in the picture, just see it as the stock leather one.
first thing to do is to remove the center console. im assuming you already know how to do that if you wanna do this mod, so i wont show pics on how to go about that.
once the center console is removed, take out that black plactic thing that connects to the leather boot.

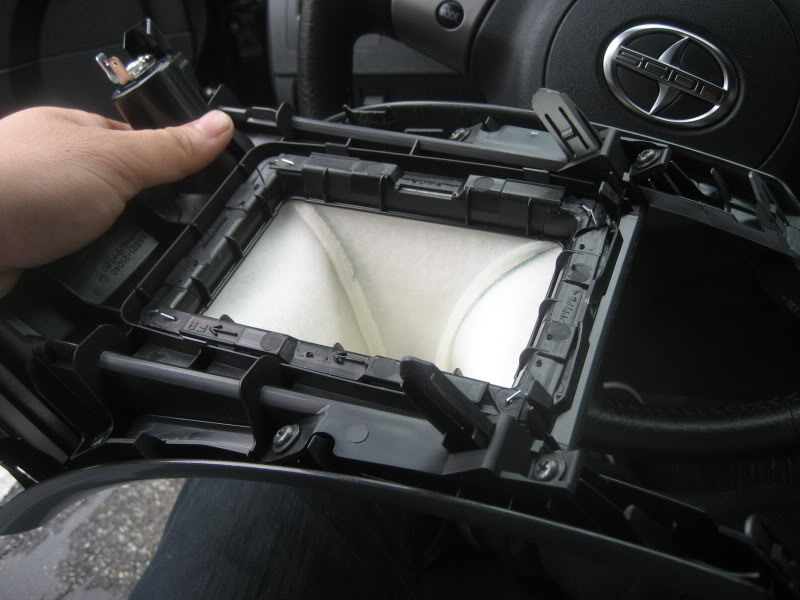
you should be left with this
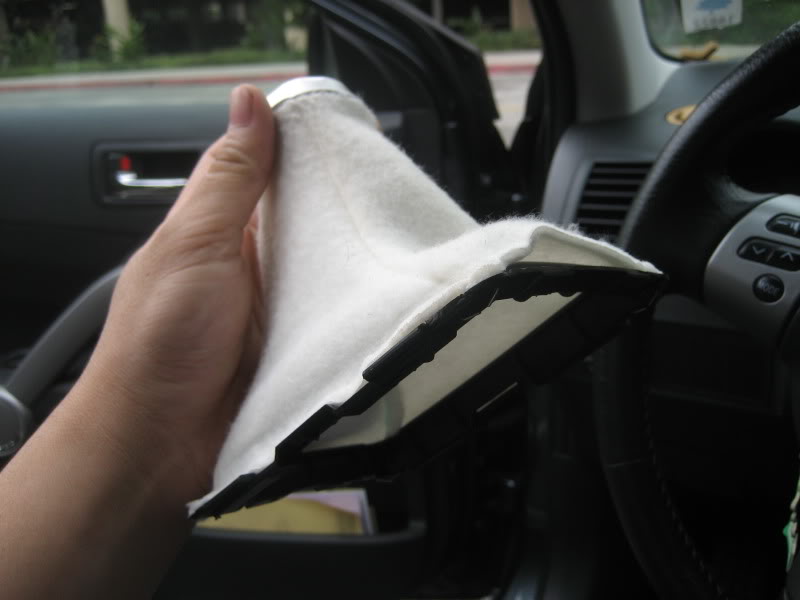
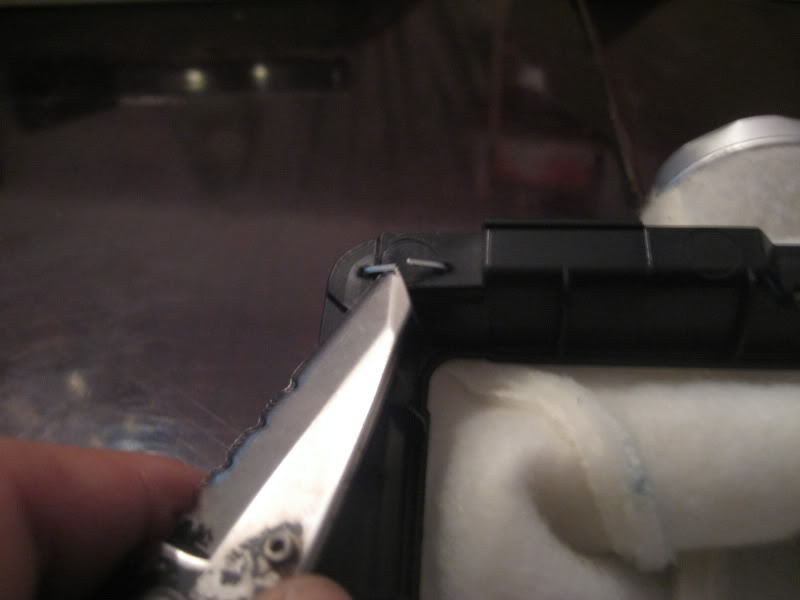
now, there should be staples (8 i think). i just used a small flathead or a knife to remove them. once the black plastic is separated from the leather stock boot, it should look like this

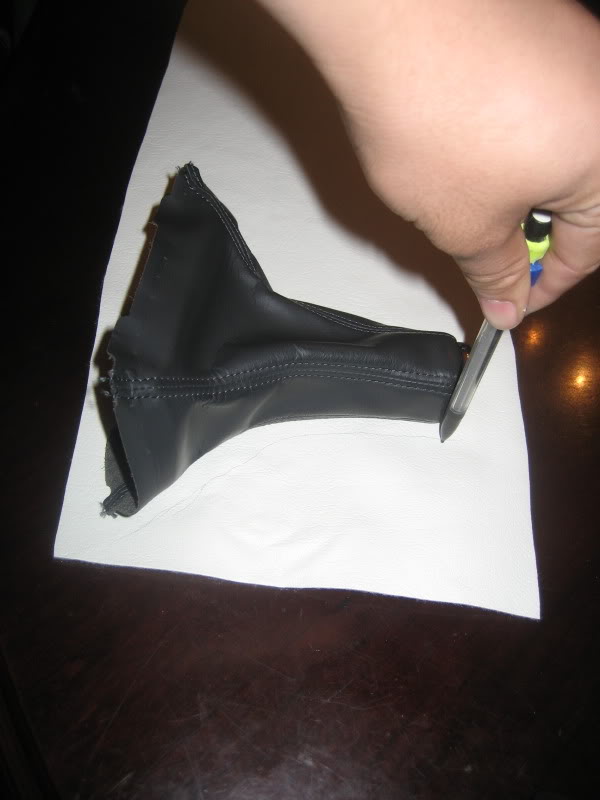
this is the material i used to make my boot. its leather. i would recomend it cuz its kinda stiff. everytime i shifted, it made a crackin noise. so ima eventually make a new boot in the near future.
so start measuring and tracing using a pencil.

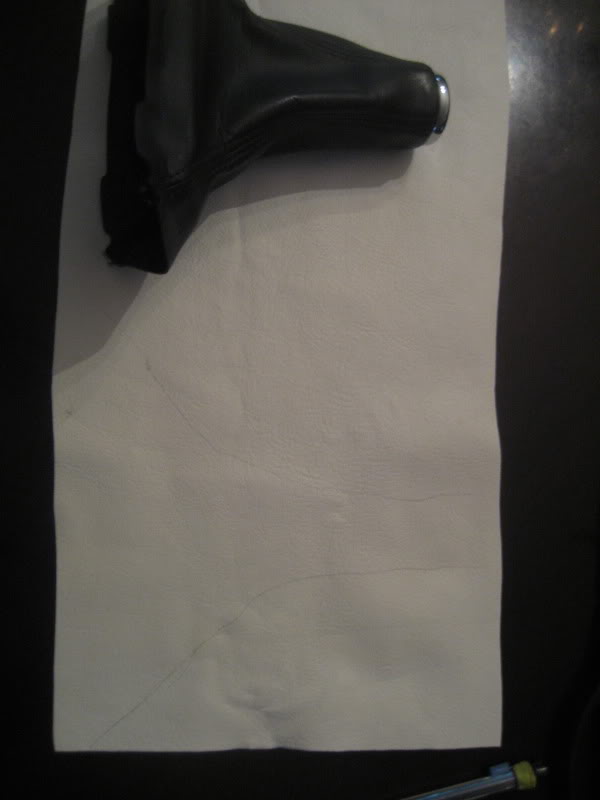
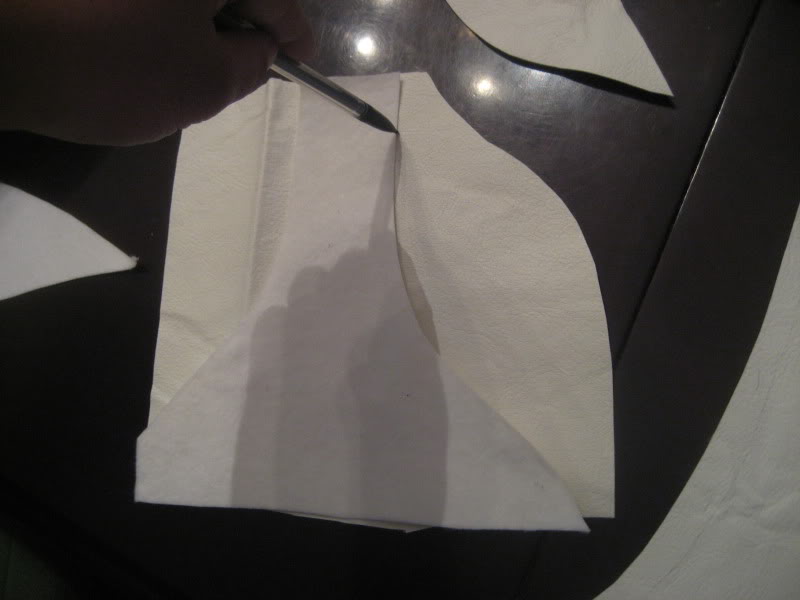
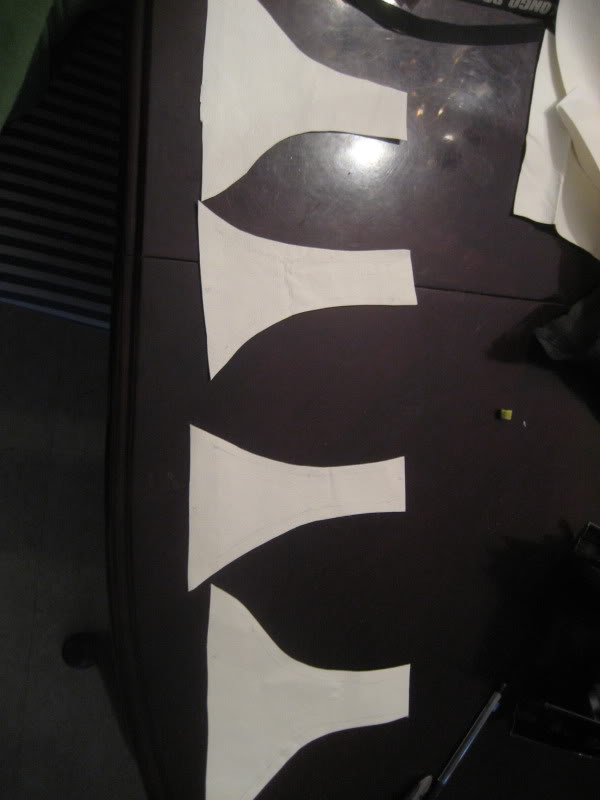
you should have the left, right, front, and back.
time to bust out the sewing machine. if u dont know how, ask you mom, sister, or gf.
just make sure you connect the right sides together. dont forget to sew the whole thing inside out so the seams will be hidden on the inside.
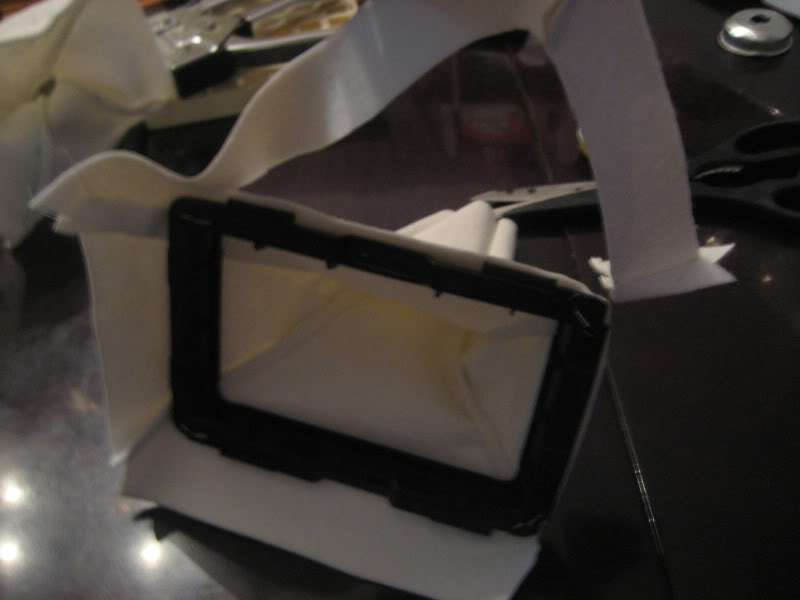
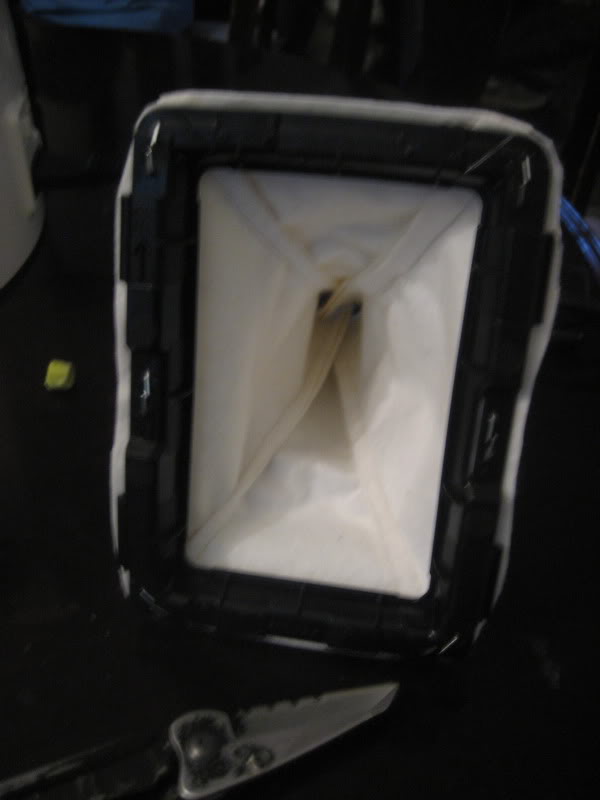
once its all sewn together, it should look like this
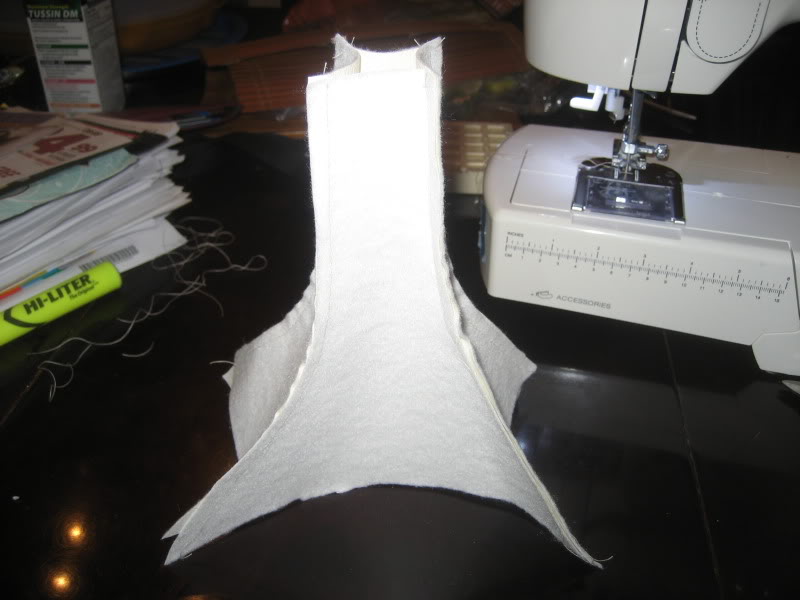
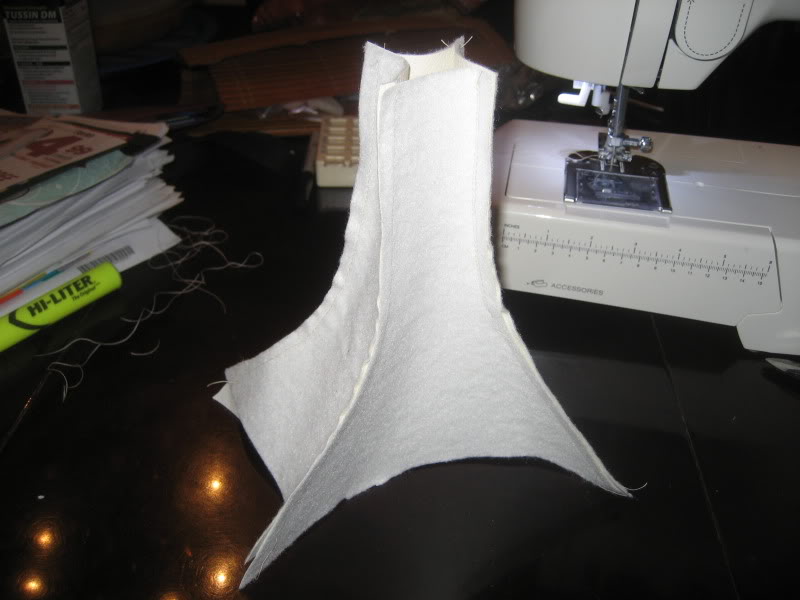
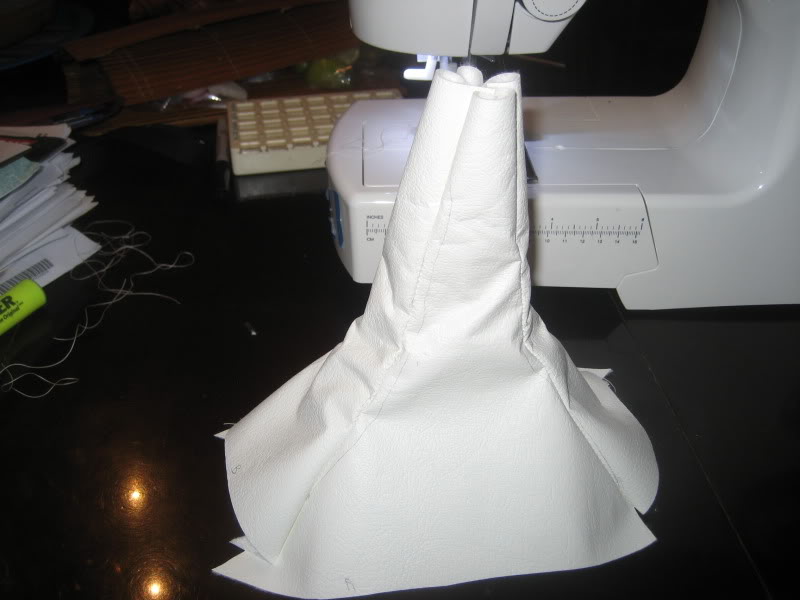
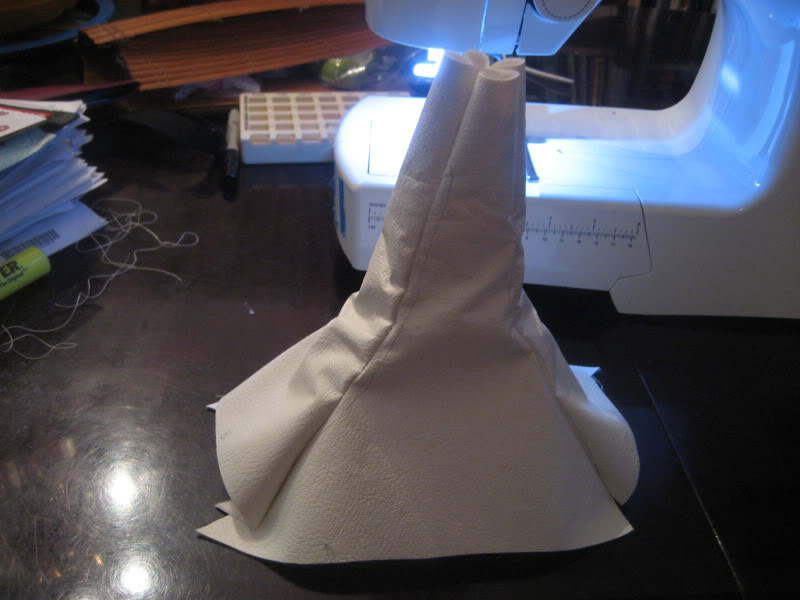
once its sewn together good, flip the whole thing inside out. should look like this.
now, remember that black piece of plastic you took out of the stock boot. get that back.
youre gonna need the staple gun.
the staple gun wasnt strong enough to penetrate through the hard plastic, so i just took out some staples by hand, and poked them through the custom boot through the black plastic thing.

then cut around it.

this is what it should look like next to the stock one.


now the fun part. YAY!!!
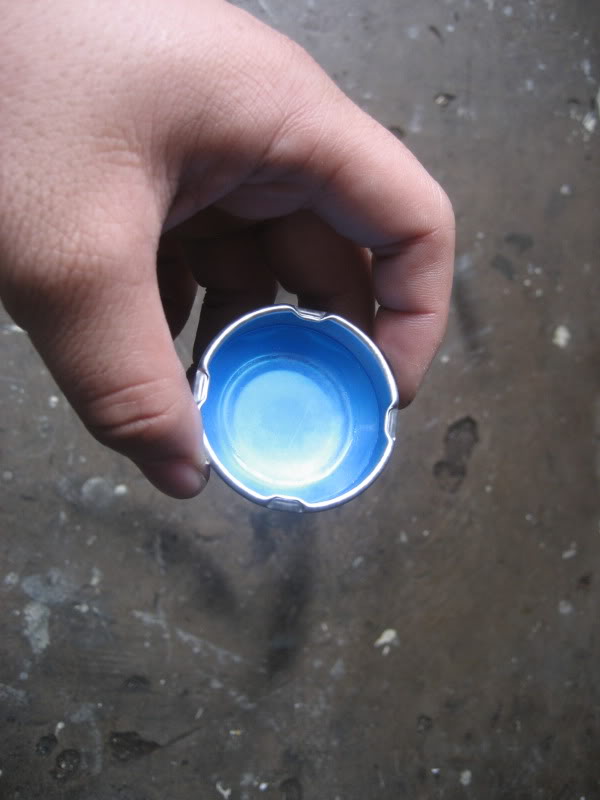
you get to drink the yoohoo and chase it with ethe huge monster can. cuz all you need are the two caps
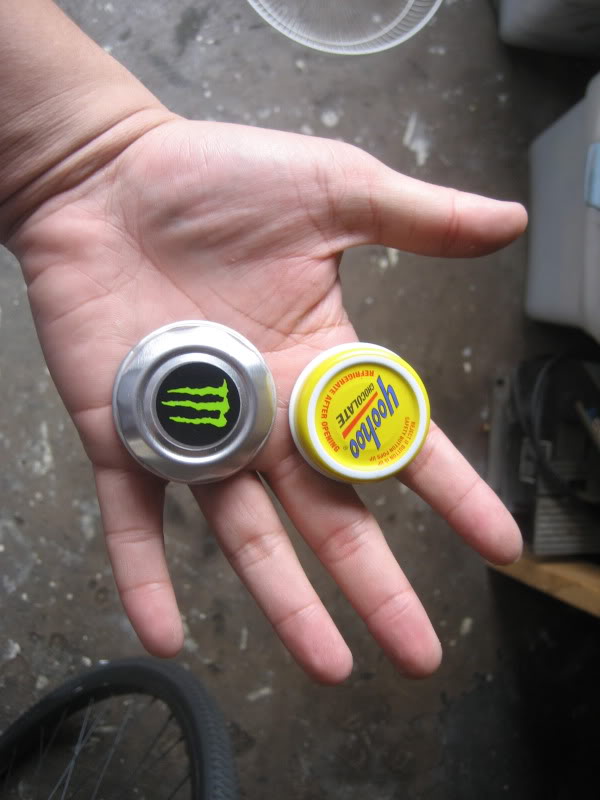
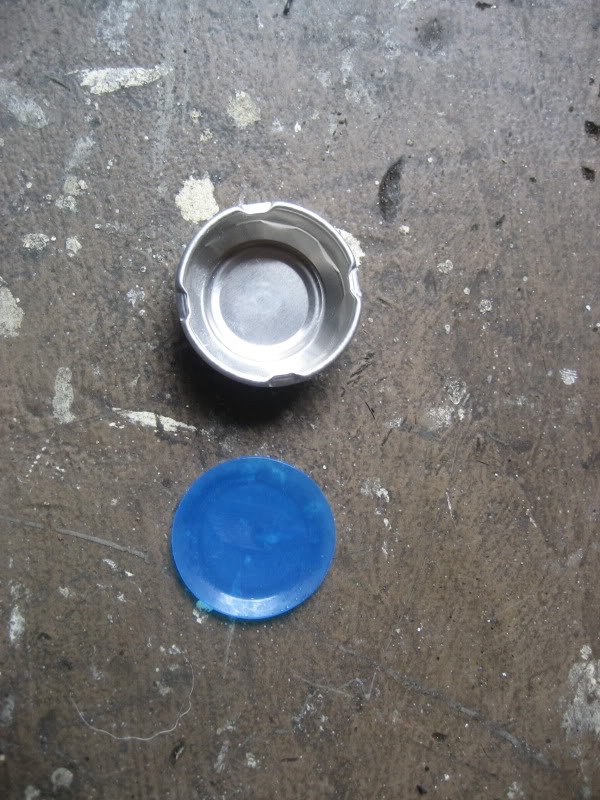
gremove the blue plastic thing from the monstercap.
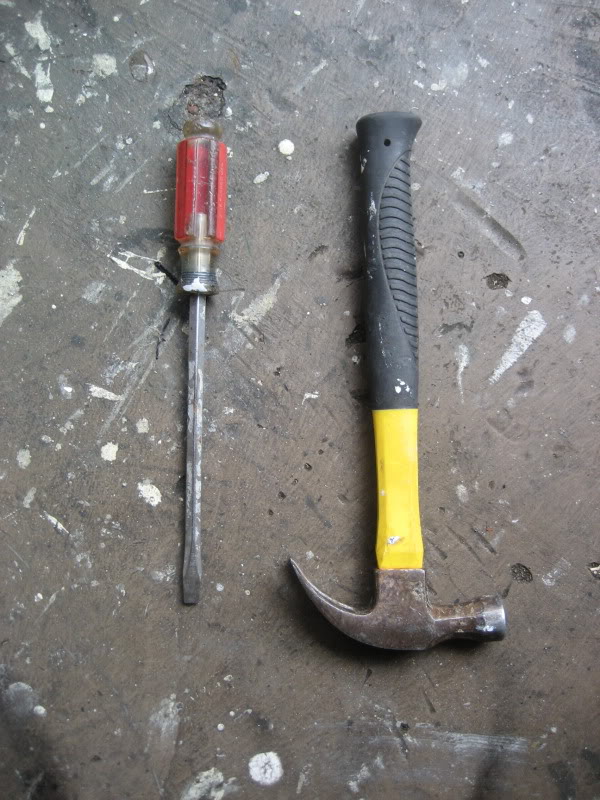
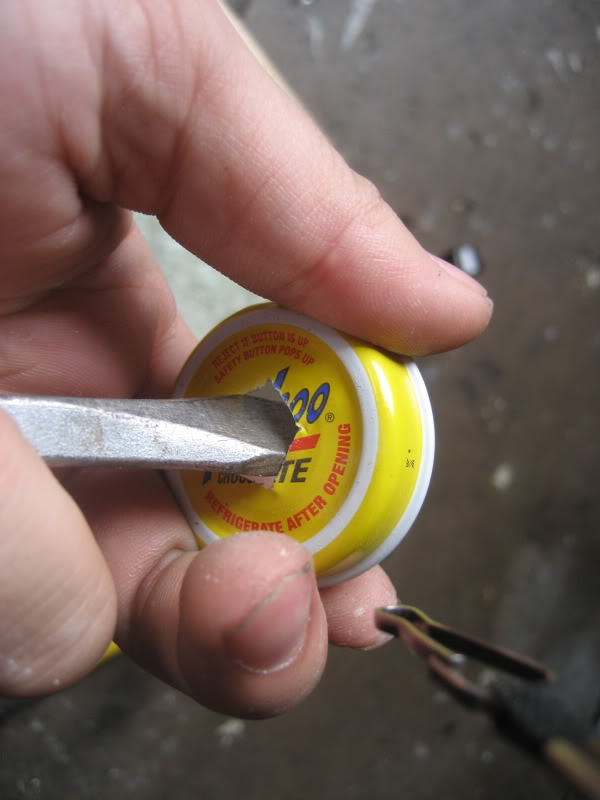
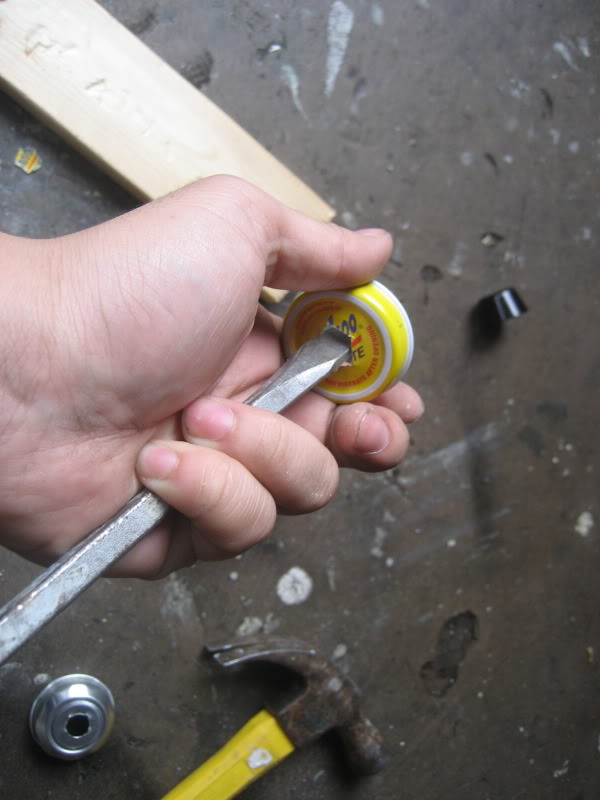
so, get the hammer and big ___ flathead.
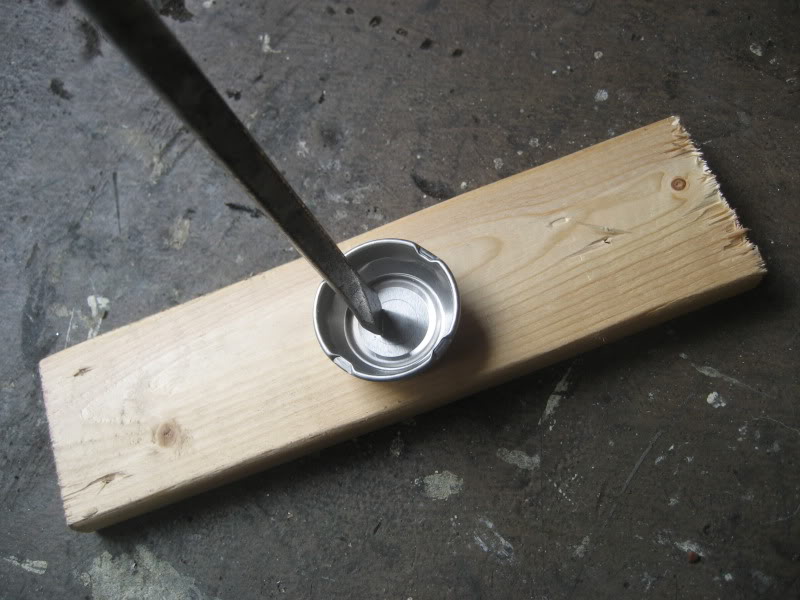
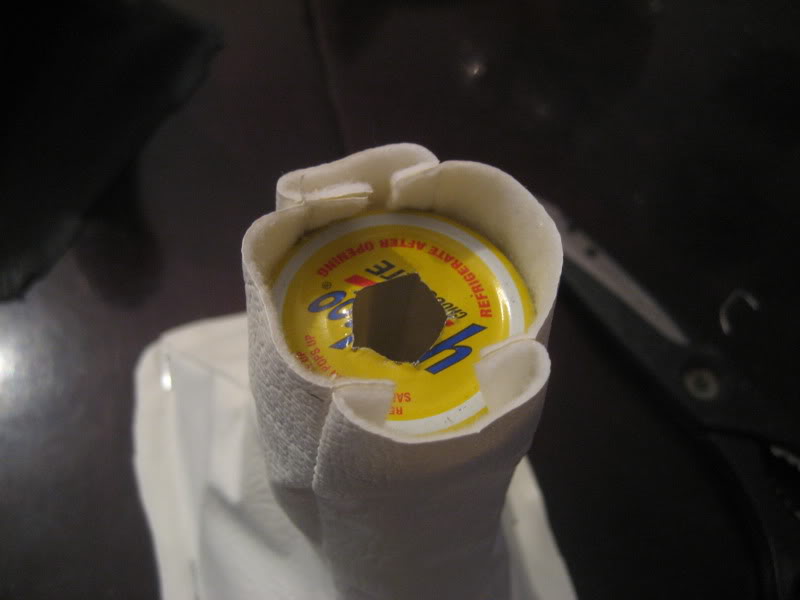
chisel away a small pentagon in the center of each bottle cap. i was dumb and just made a square with the monster cap, so i basically did more work than i needed to do.

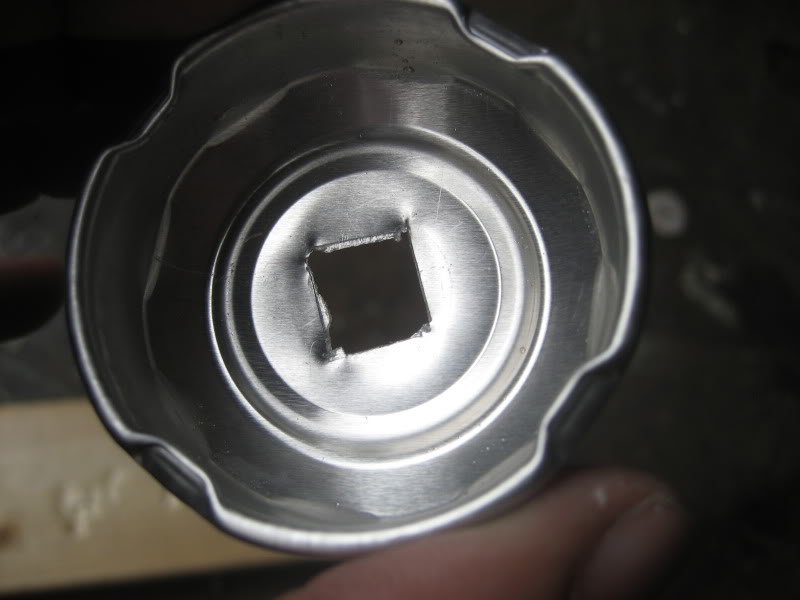
the hole was too small to fit the shifter, so i had to make it bigger.
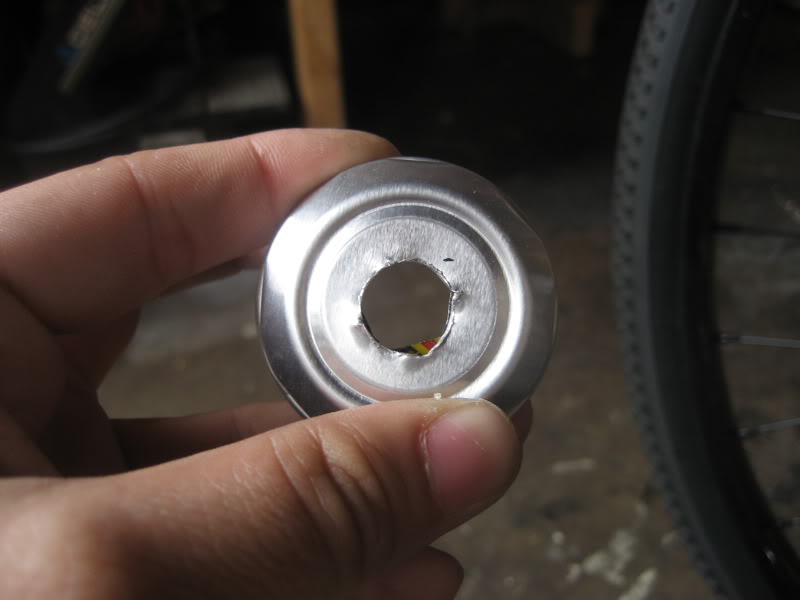
this is what it should be
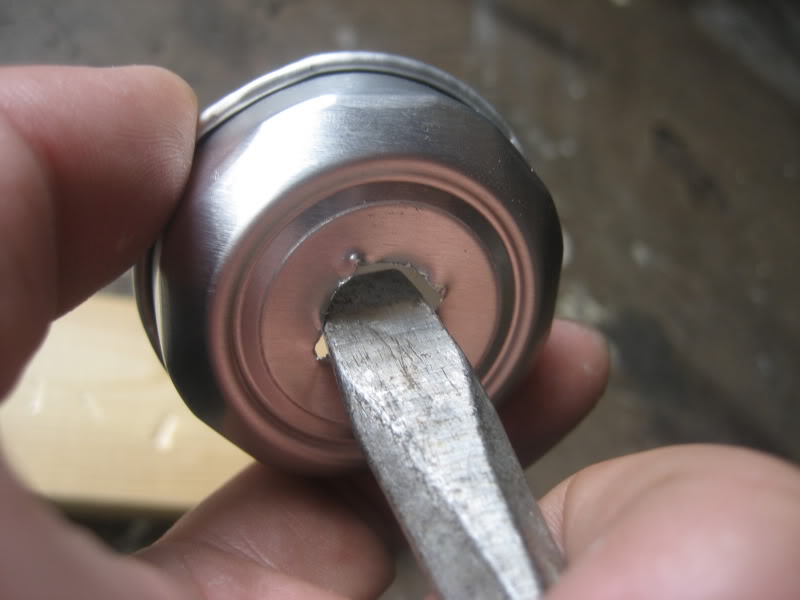
now do the same for the yoohoo cap.

you should be able to fit the yoohoo cap right inside the monster cap
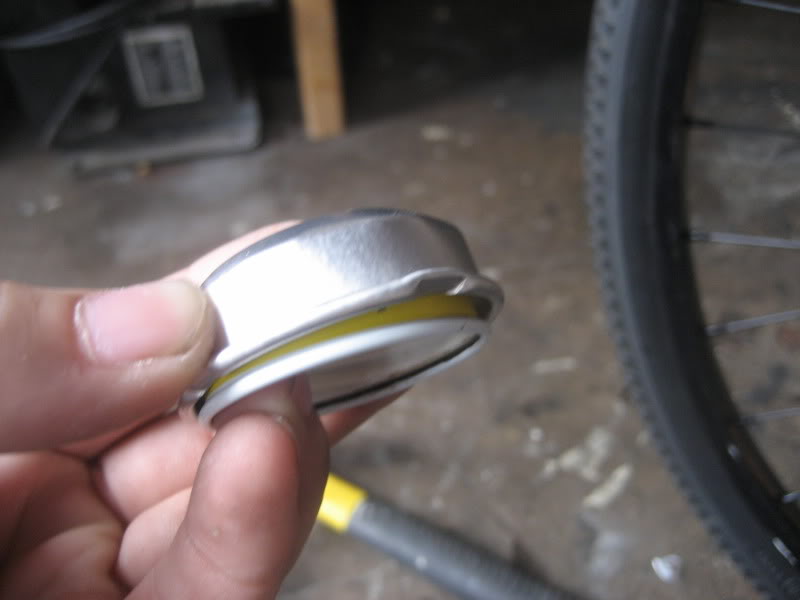
the two holes of the caps should be pretty similar so they both fit inside the shifter
once thats done, cut your custom boot to the desired height depending if you have a short shifter or something. there isnt really an exact measurment for this part, so your just gonna have to eyeball it.
if you cut it too short, your gonna have to start all over, so be careful.
so, once its cut, put the yoohoo cap inside the boot.
use a glue gun and glue the boot to the yoohoo.
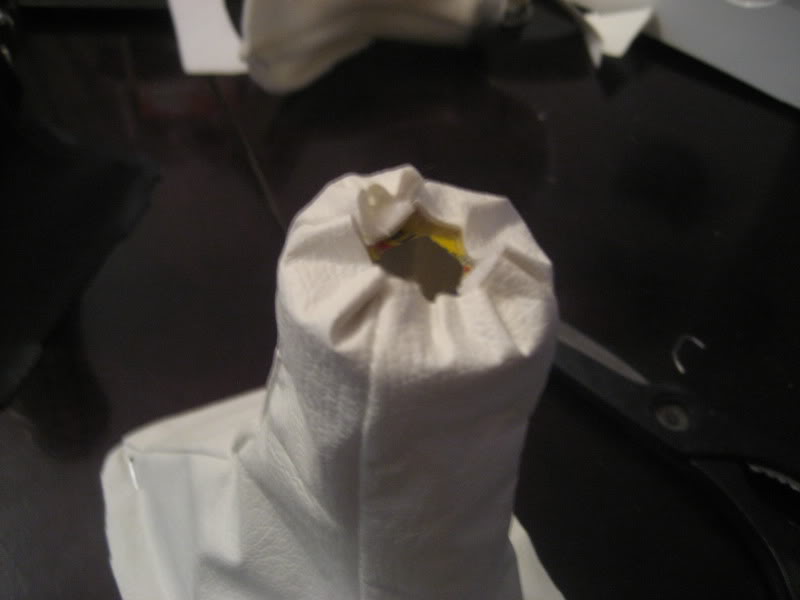
then put the monster cap over the whole thing.
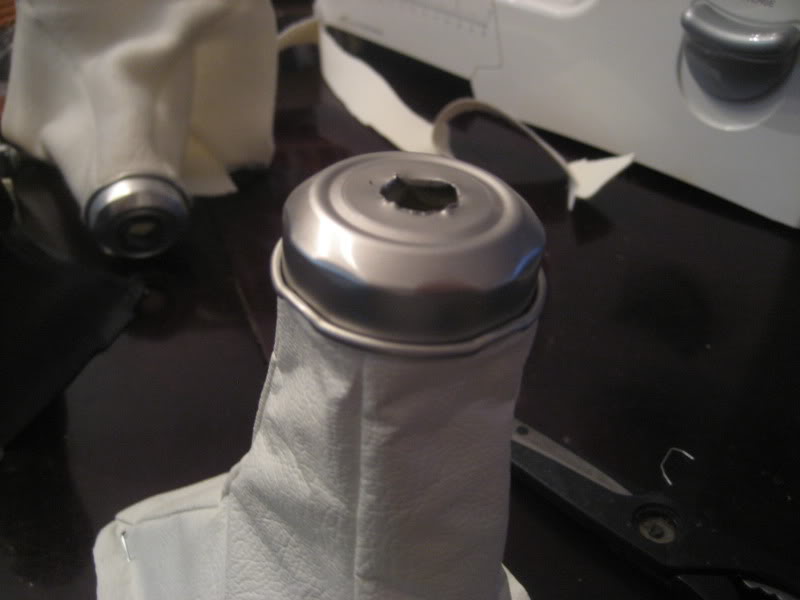
you can now put the whole thing back into the center console.
so i had this washer laying around

i just put it underneath the yoohoo cap so it "adds weight" hahaha(its not that important)
before you put the whole thing back into ur car, look inside the stock boot. theres like a plastic spacer thing the keeps the whole thing from drooping down.

its that silver thing in there.
so, i had some quick dry whatever its called. so i molded like a small thingy to wrap around the shifter. its about an inch tall. and i wrapped it with electric tape(green was all i had) haha
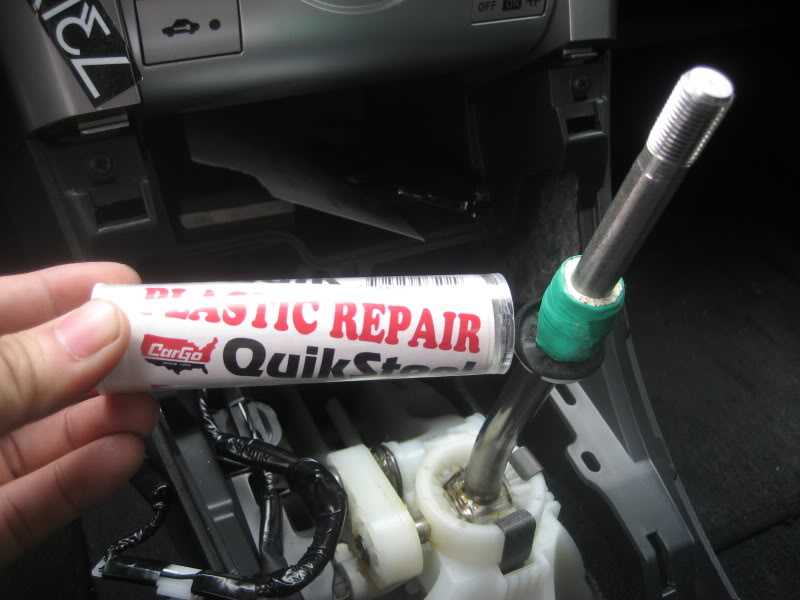
but, i later removed that i replaced it with a spring thingy i found at home depot.


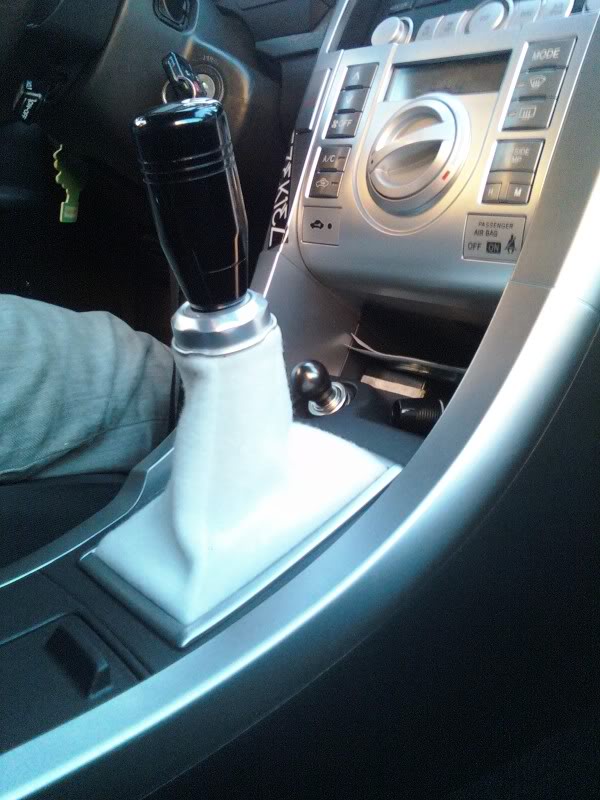
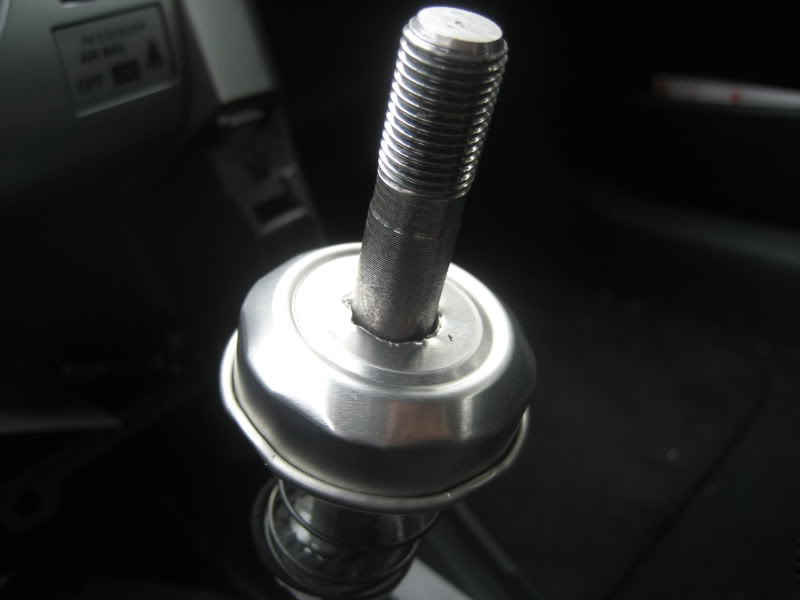
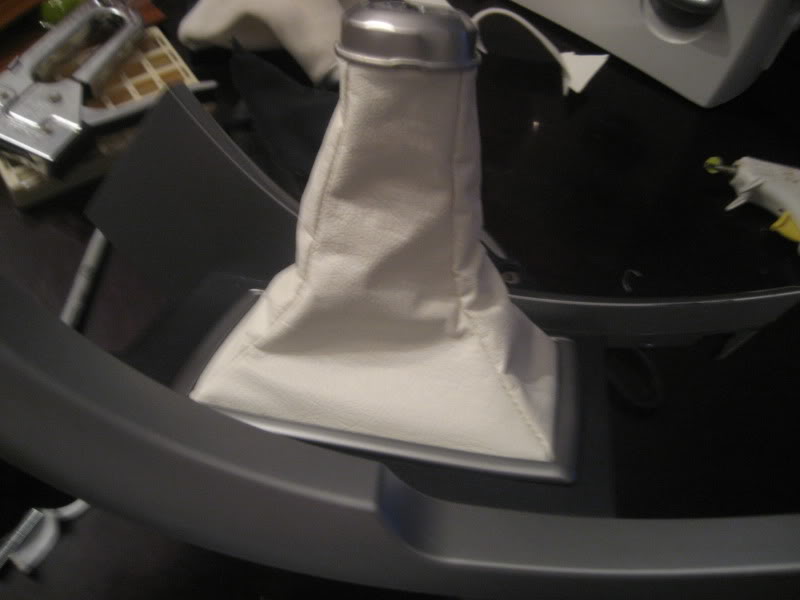
once thats on, you can now put the whole thing together. this is what mine looked liek after.


this is what it looked like on the first thread i made;
Materials you need are:
1. Scissors
2. Big ___ flathead
3. Hammer
4. Yoohoo glass bottle
5. Monster can(with cap ontop)
6. Material to replace shift boot
7. sewing machine
8. pencil
9. staple gun/staples
10. glue gun
so, if you want to make this, go right ahead. but dont hold me responsible if you mess up or anything.
keep in mind, when i made this DIY, it was after i had already made the white felt boot. so the ones in the picture, just see it as the stock leather one.
first thing to do is to remove the center console. im assuming you already know how to do that if you wanna do this mod, so i wont show pics on how to go about that.
once the center console is removed, take out that black plactic thing that connects to the leather boot.
you should be left with this
now, there should be staples (8 i think). i just used a small flathead or a knife to remove them. once the black plastic is separated from the leather stock boot, it should look like this
this is the material i used to make my boot. its leather. i would recomend it cuz its kinda stiff. everytime i shifted, it made a crackin noise. so ima eventually make a new boot in the near future.
so start measuring and tracing using a pencil.
you should have the left, right, front, and back.
time to bust out the sewing machine. if u dont know how, ask you mom, sister, or gf.
just make sure you connect the right sides together. dont forget to sew the whole thing inside out so the seams will be hidden on the inside.
once its all sewn together, it should look like this
once its sewn together good, flip the whole thing inside out. should look like this.
now, remember that black piece of plastic you took out of the stock boot. get that back.
youre gonna need the staple gun.
the staple gun wasnt strong enough to penetrate through the hard plastic, so i just took out some staples by hand, and poked them through the custom boot through the black plastic thing.
then cut around it.
this is what it should look like next to the stock one.
now the fun part. YAY!!!
you get to drink the yoohoo and chase it with ethe huge monster can. cuz all you need are the two caps
gremove the blue plastic thing from the monstercap.
so, get the hammer and big ___ flathead.
chisel away a small pentagon in the center of each bottle cap. i was dumb and just made a square with the monster cap, so i basically did more work than i needed to do.
the hole was too small to fit the shifter, so i had to make it bigger.
this is what it should be
now do the same for the yoohoo cap.
you should be able to fit the yoohoo cap right inside the monster cap
the two holes of the caps should be pretty similar so they both fit inside the shifter
once thats done, cut your custom boot to the desired height depending if you have a short shifter or something. there isnt really an exact measurment for this part, so your just gonna have to eyeball it.
if you cut it too short, your gonna have to start all over, so be careful.
so, once its cut, put the yoohoo cap inside the boot.
use a glue gun and glue the boot to the yoohoo.
then put the monster cap over the whole thing.
you can now put the whole thing back into the center console.
so i had this washer laying around
i just put it underneath the yoohoo cap so it "adds weight" hahaha(its not that important)
before you put the whole thing back into ur car, look inside the stock boot. theres like a plastic spacer thing the keeps the whole thing from drooping down.
its that silver thing in there.
so, i had some quick dry whatever its called. so i molded like a small thingy to wrap around the shifter. its about an inch tall. and i wrapped it with electric tape(green was all i had) haha
but, i later removed that i replaced it with a spring thingy i found at home depot.
once thats on, you can now put the whole thing together. this is what mine looked liek after.


Thread Starter
Joined: Sep 2009
Posts: 2,092
From: Torrance, California
haha. yeah, this mod literally cost me less than $5. if there's anyone out there who does this mod, please post pics of your finished product. i will be making another one soon to replace the whack leather one. so ill post a pic of that as well.

I imagine you could use the stock chrome trim piece with the new boot. Thats what I did with my Redline boot. I like what you did with the spring. I'm gonna have to stop by Home Depot and pick one up. For mine I bent a spring out of a paper clip which works alright, but your method is much cleaner. Definite props for creativity
Thread Starter
Joined: Sep 2009
Posts: 2,092
From: Torrance, California
they didnt sell the actual spring at home depot. i went to go buy a pack of like 20 of the flat dremel bit things. it came inside a blue and white case. when i opened it up, the spring popped out of it.

Thread
Thread Starter
Forum
Replies
Last Post
bbdude
Scion xA/xB 1st-Gen ICE & Interior
15
May 8, 2004 05:14 AM