
Four Stealth SQ10 Subs REDUX UPDATE 09/08/08 **COMPLETED**


Thread Starter
Joined: Sep 2007
Posts: 776
From: Vacaville, CA
Well hey everyone time to show you a project that I have been working on for the passed 3 weeks plus now and still going. Didn't want to post and ending up it being a failure. So here we go.
Well been talking Eric aka lowdownthrowdown who previously tried to make a the left side and was short for some air space.
https://www.scionlife.com/forums/vie...r=asc&&start=0
Both our purposes to this project was to keep our spares.
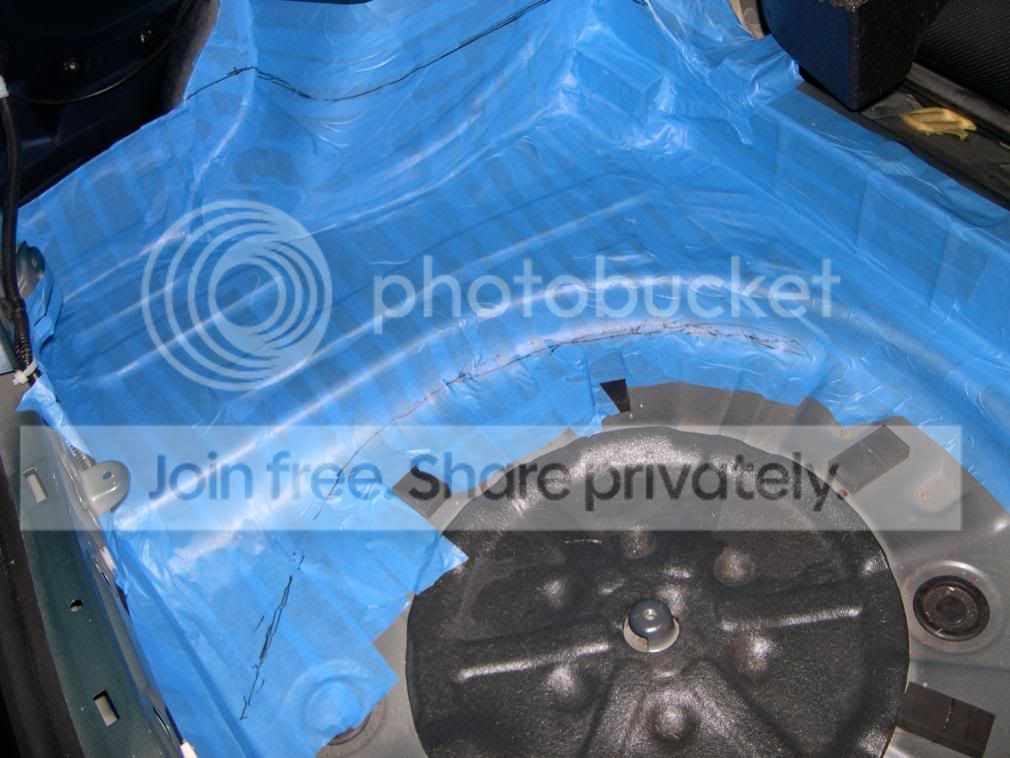
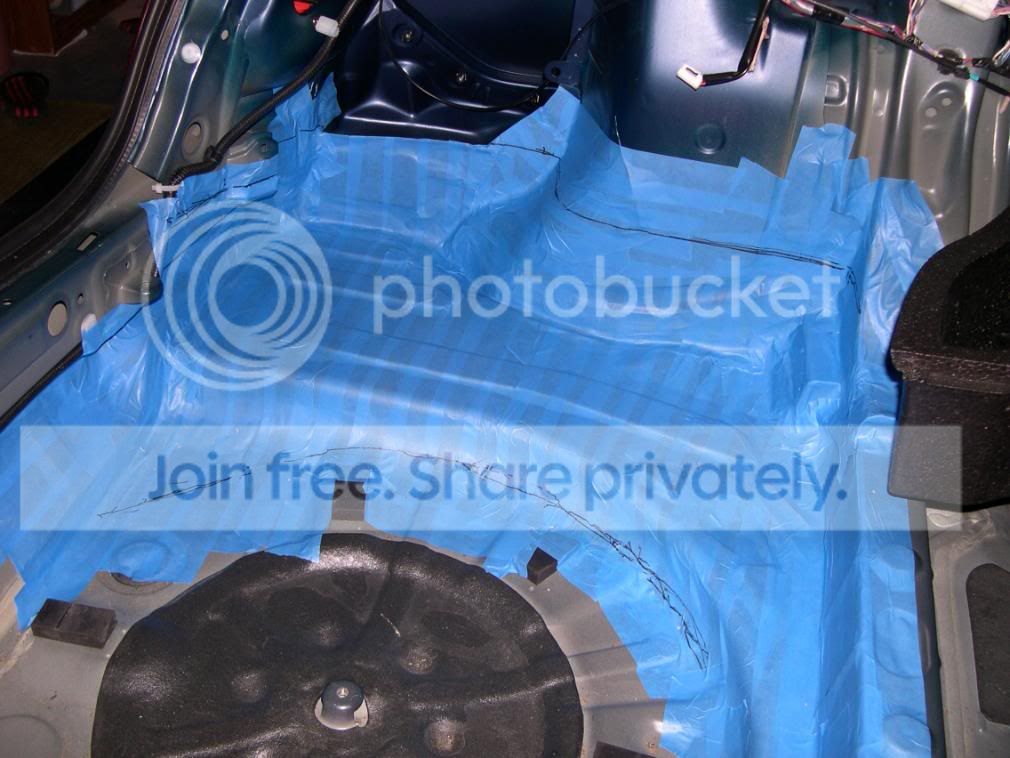
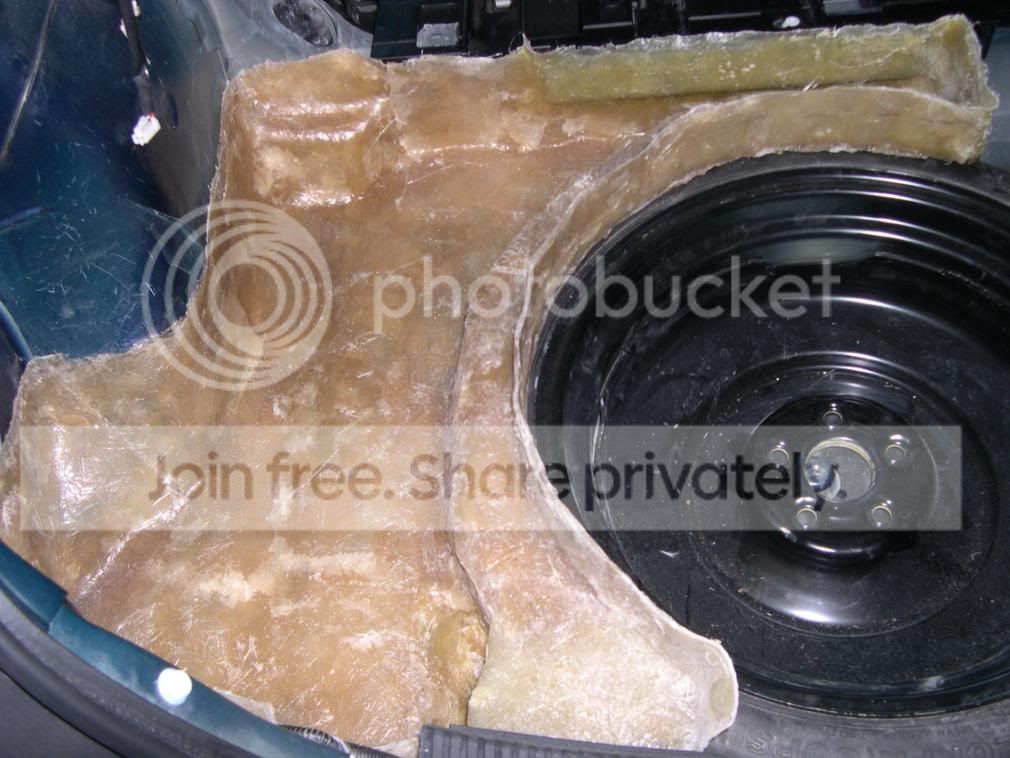
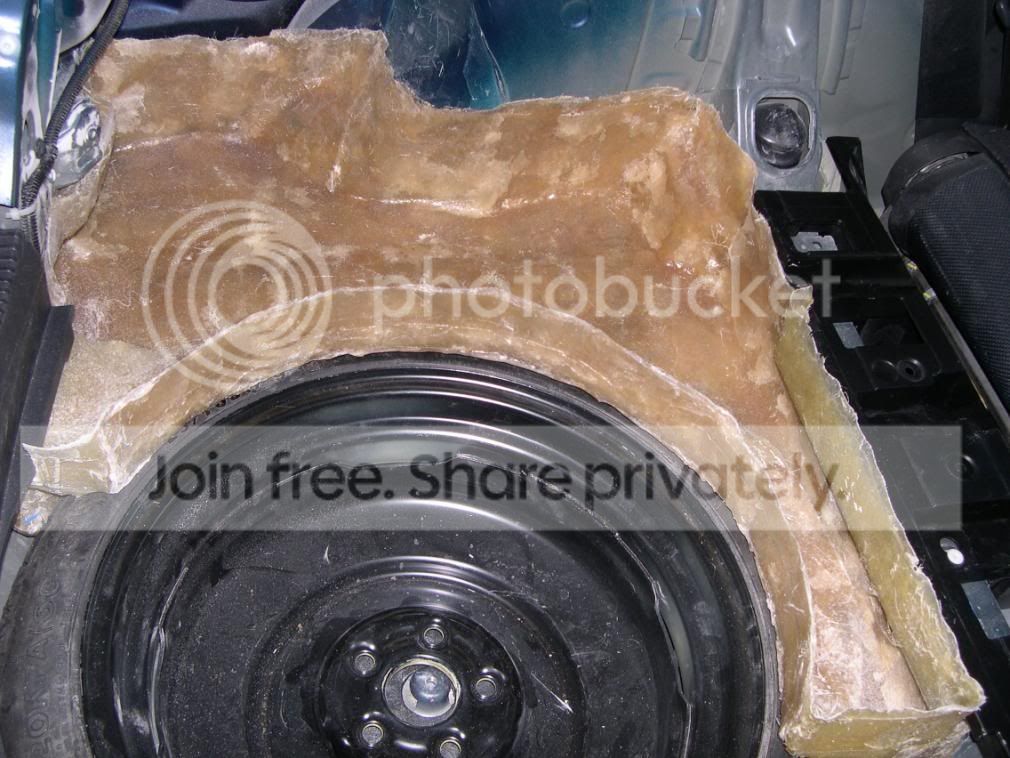
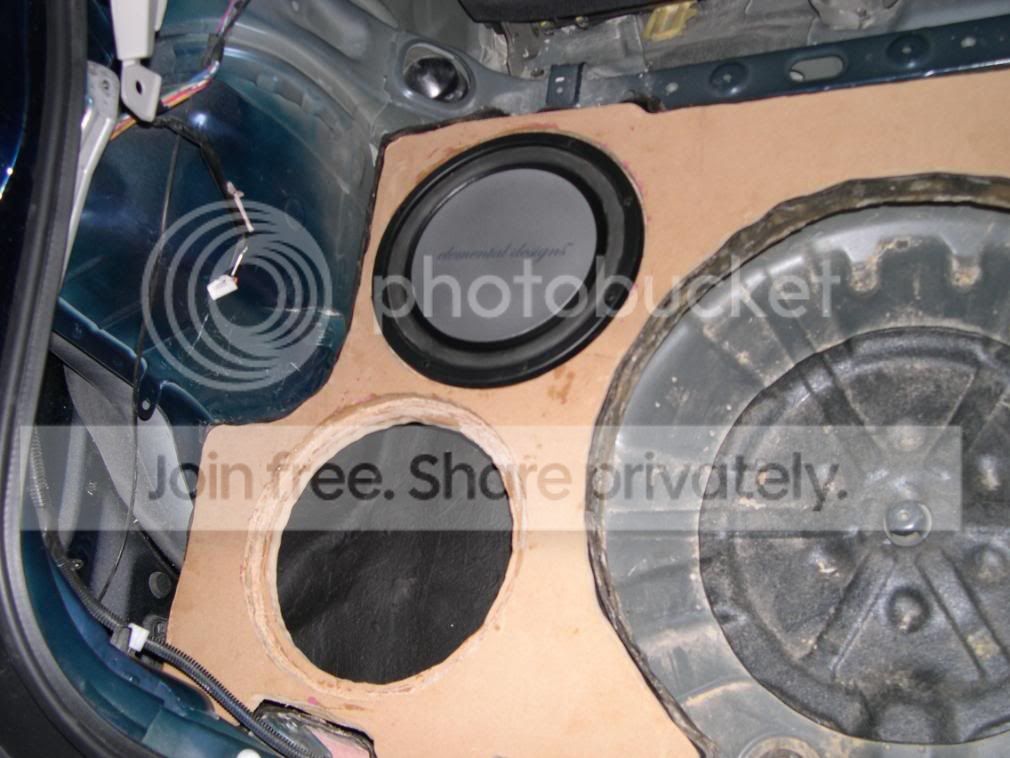
What i did to get more airspace was extend to the bottom right down the bottom left to the inside and at the top right through the skinny part.
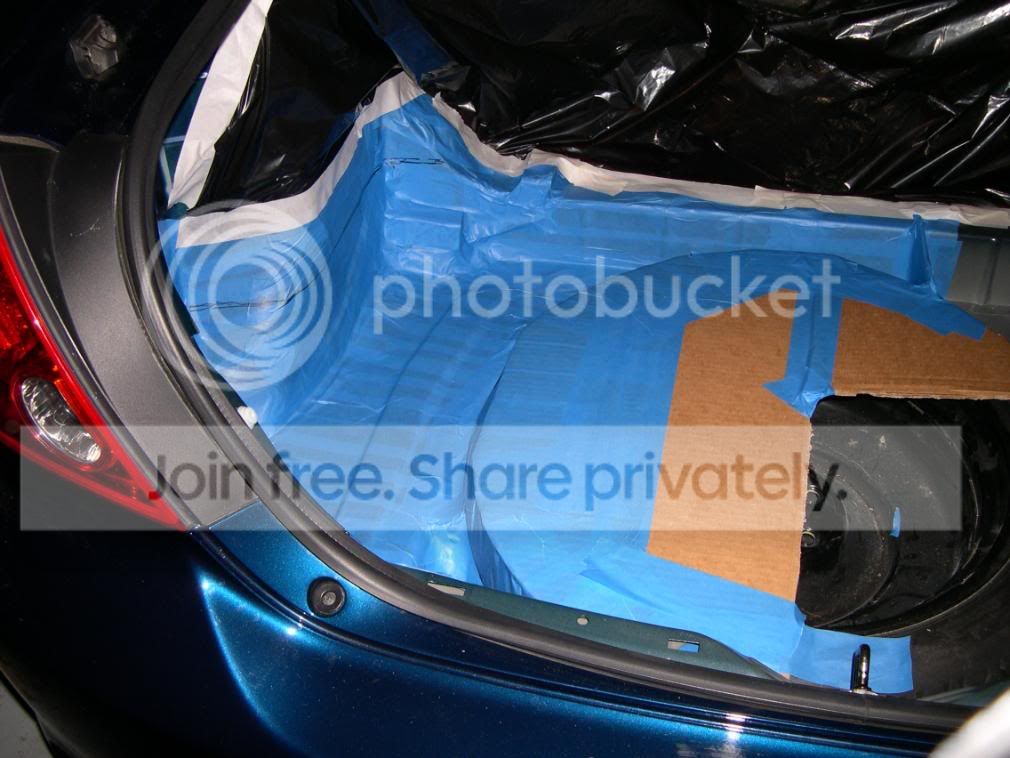
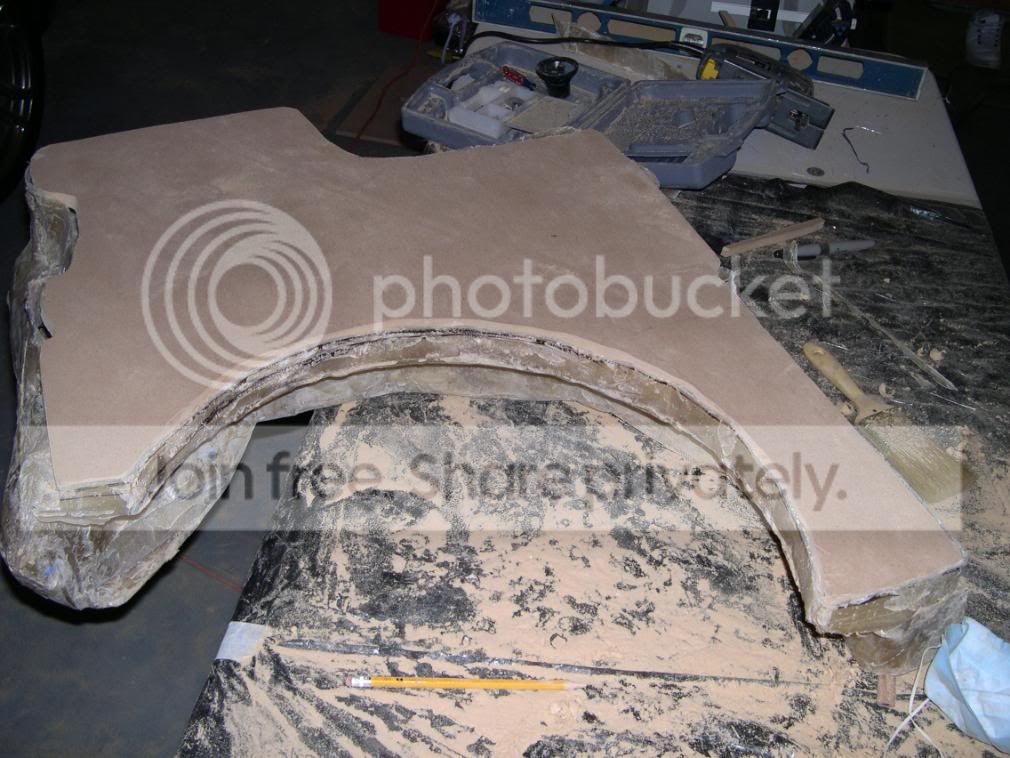
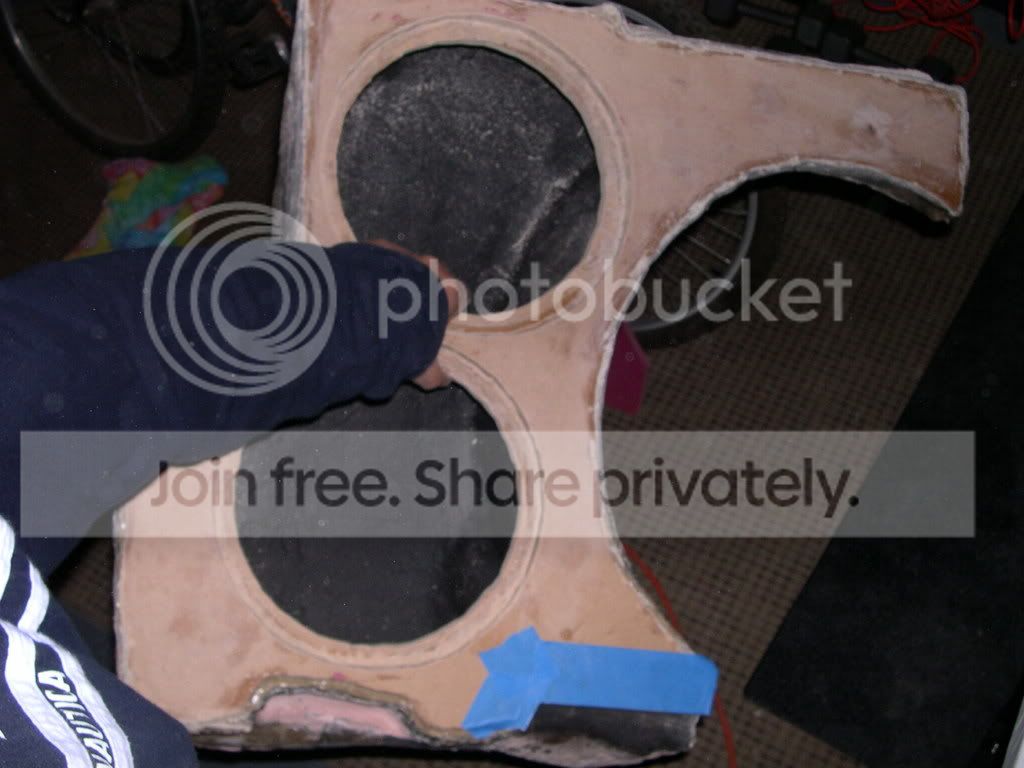
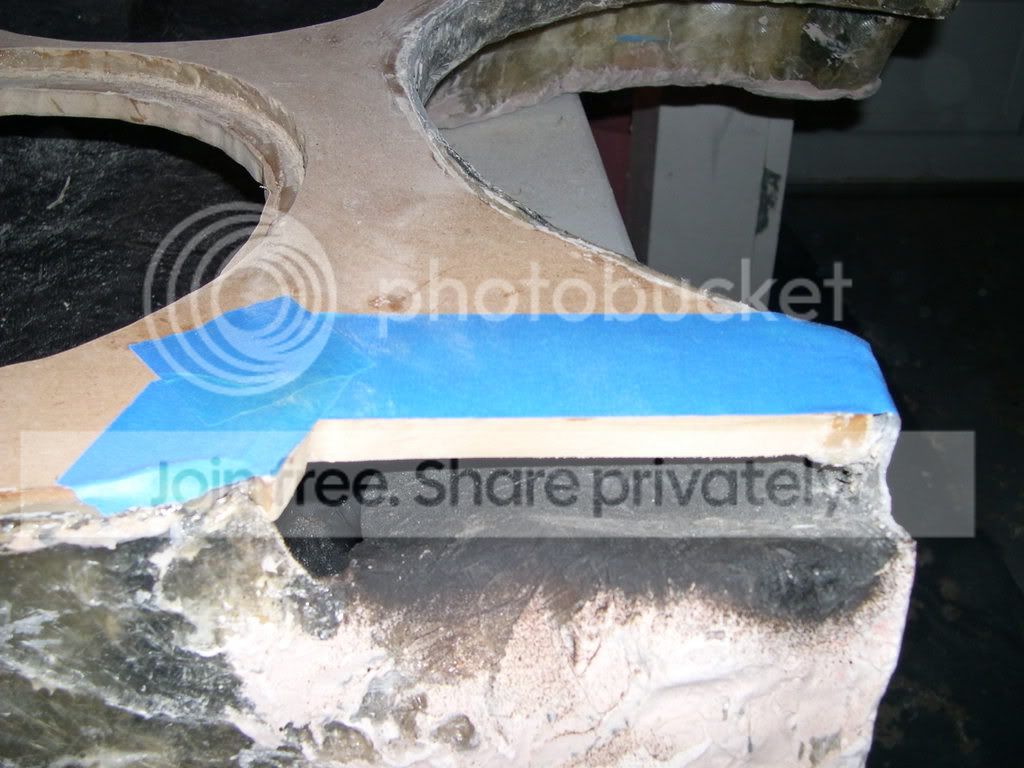
here are a couple of pics starting the taping and where i would start glassing.


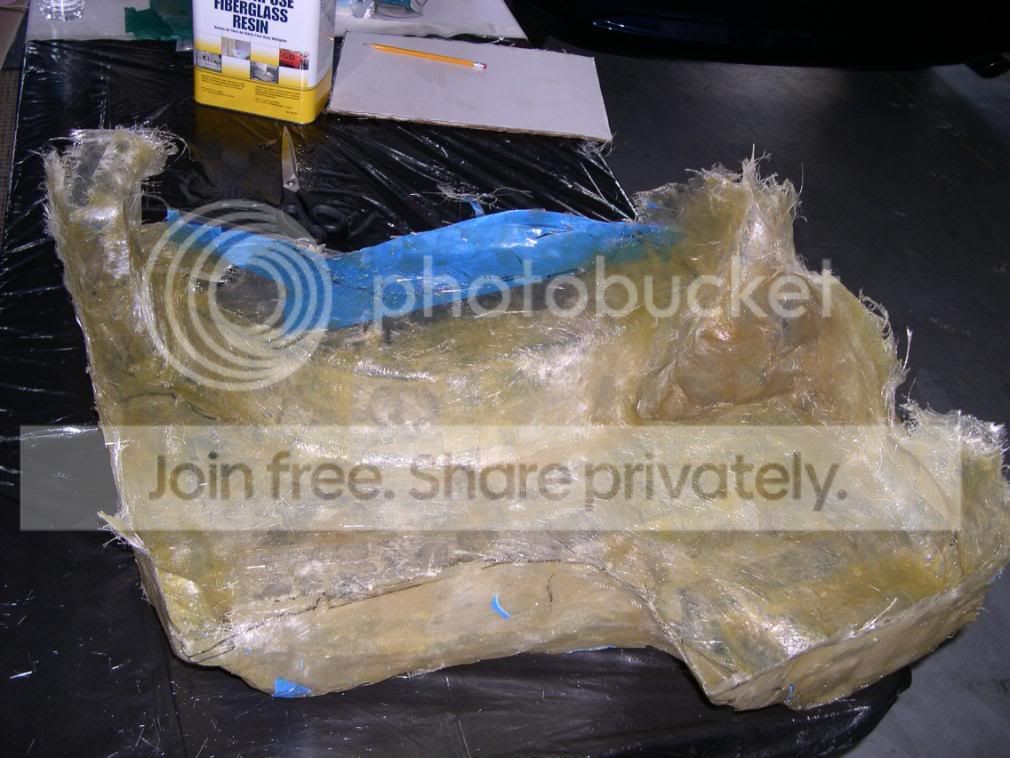
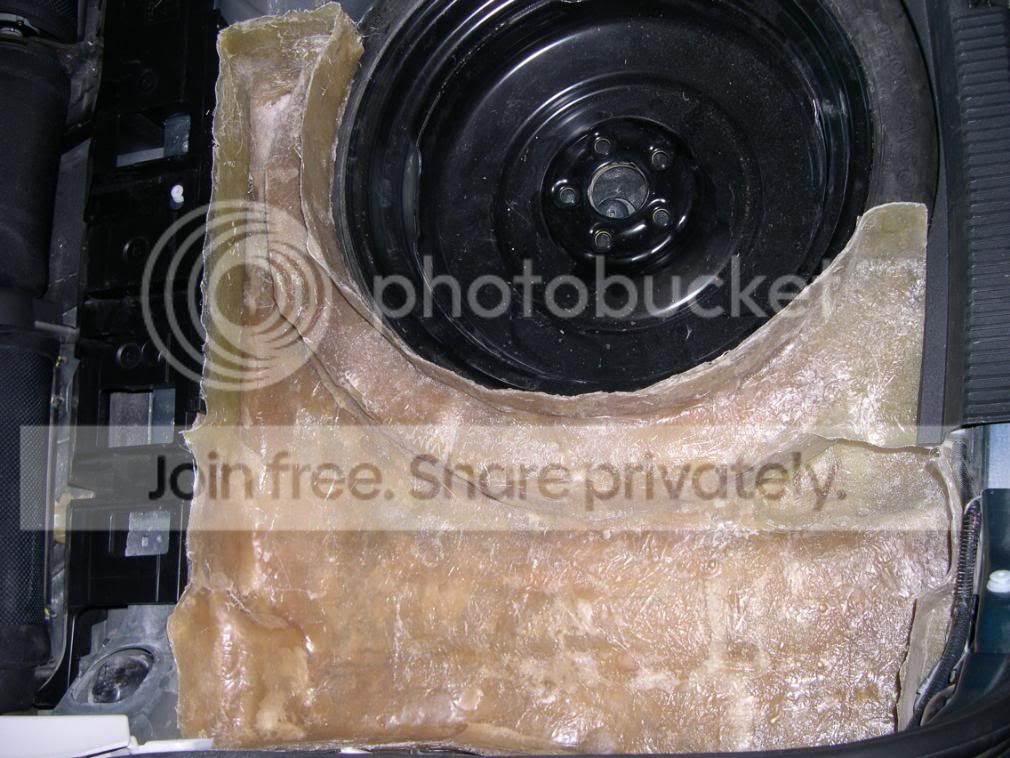
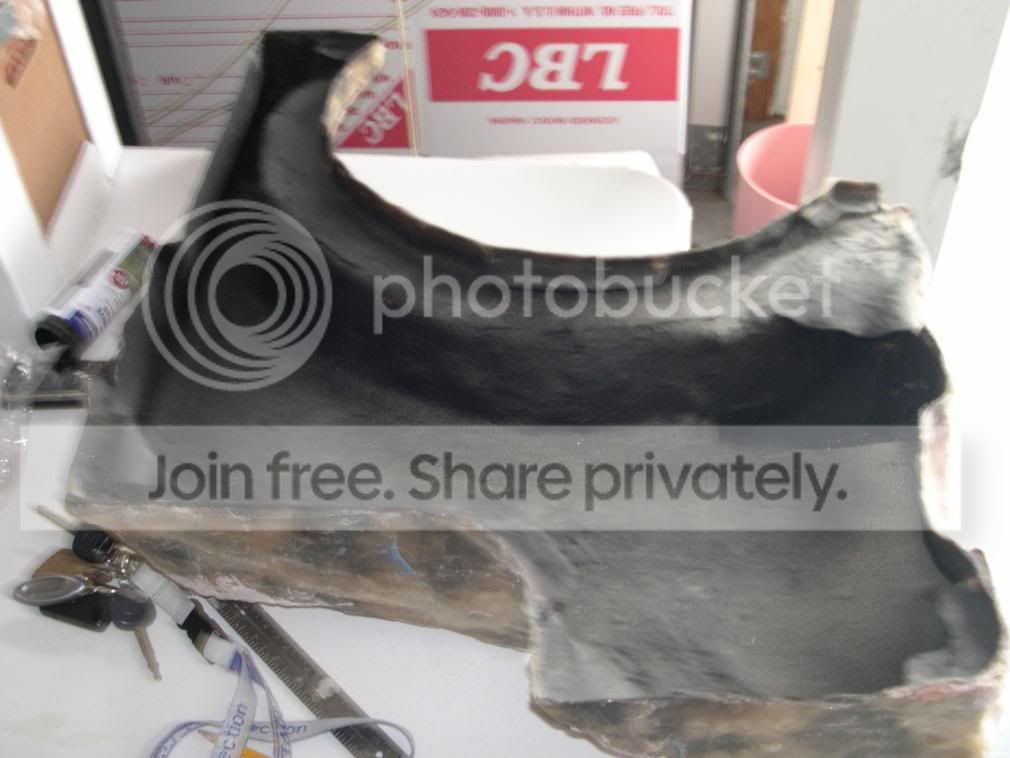
here now is it out of the trunk took me and 2 other guys to get it out cuz it was stuck to much and how i was glassing it in was against the wall with many awkward positions
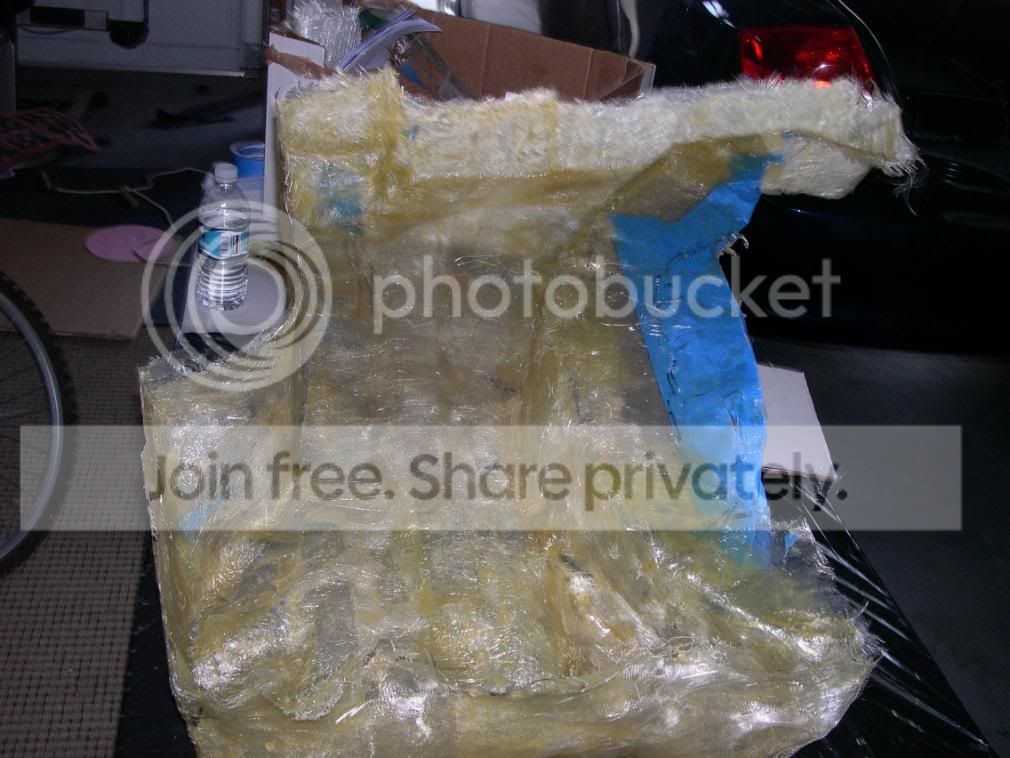
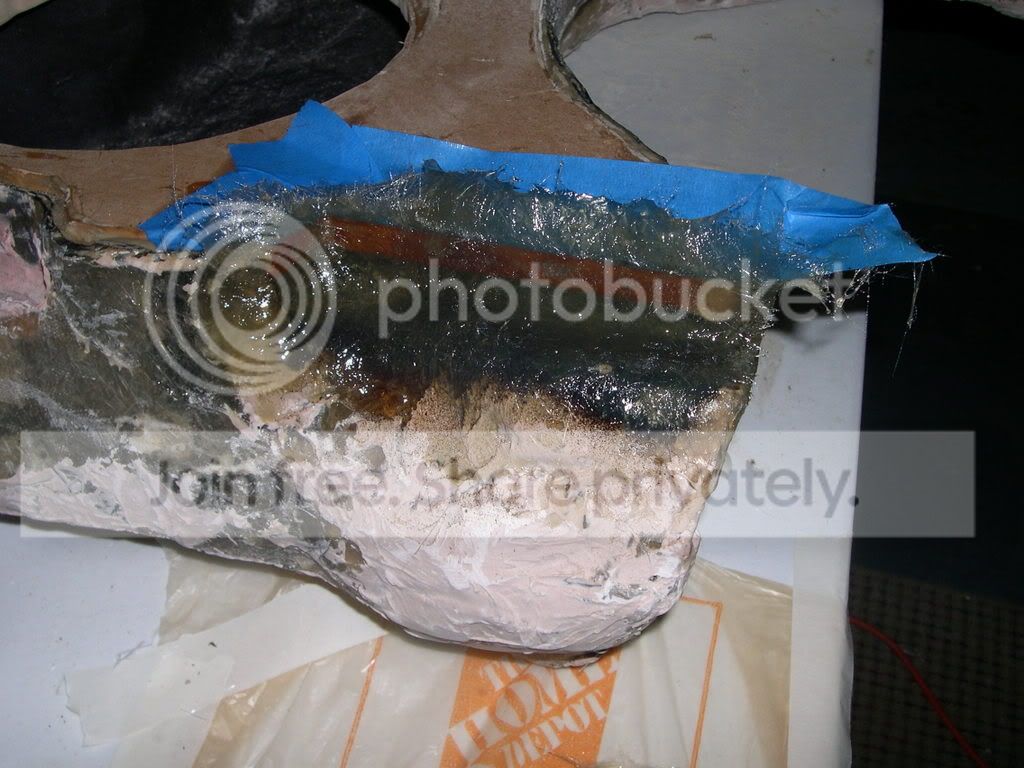
here is some pics of it after i think 2 or 3 layers
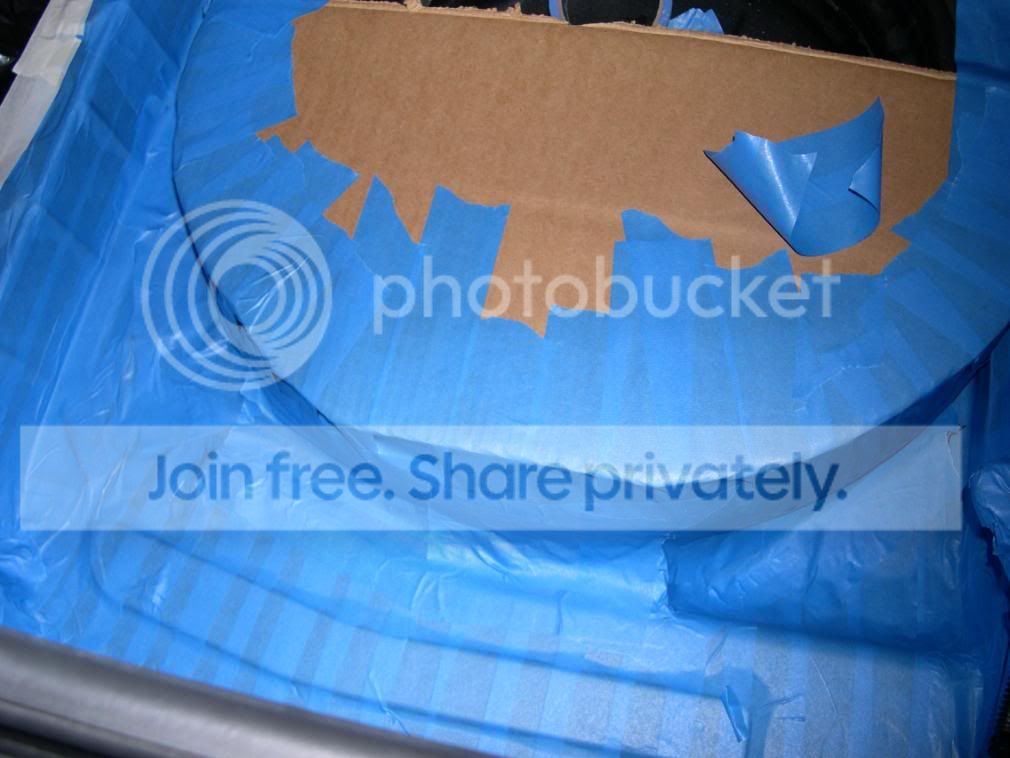
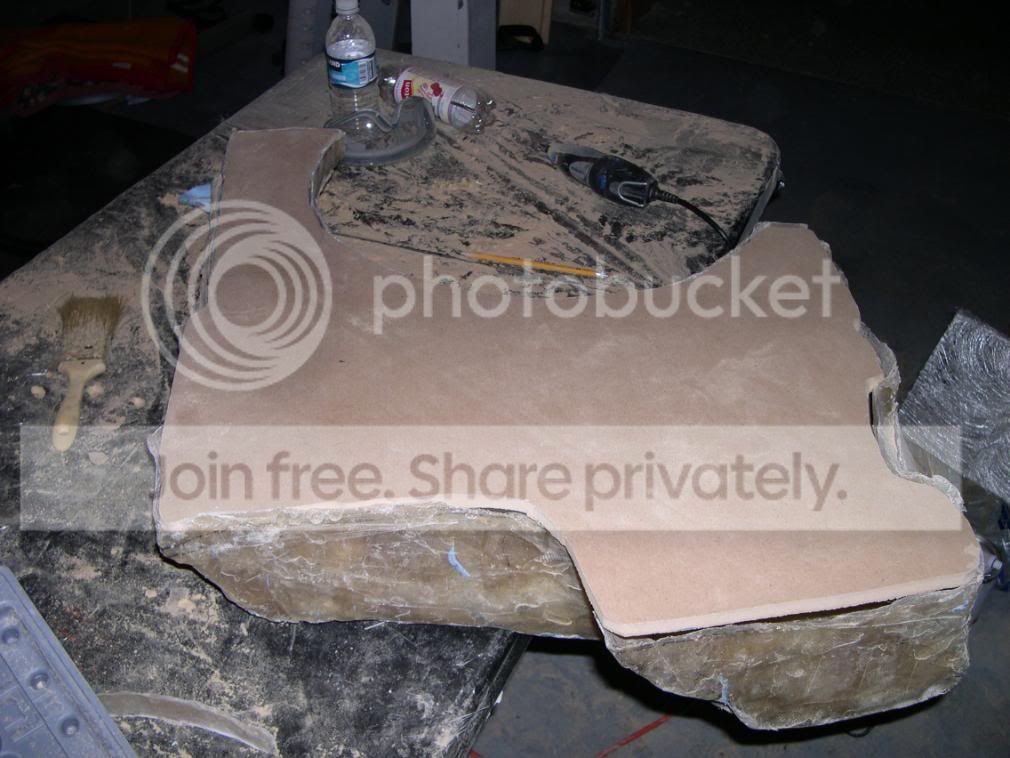
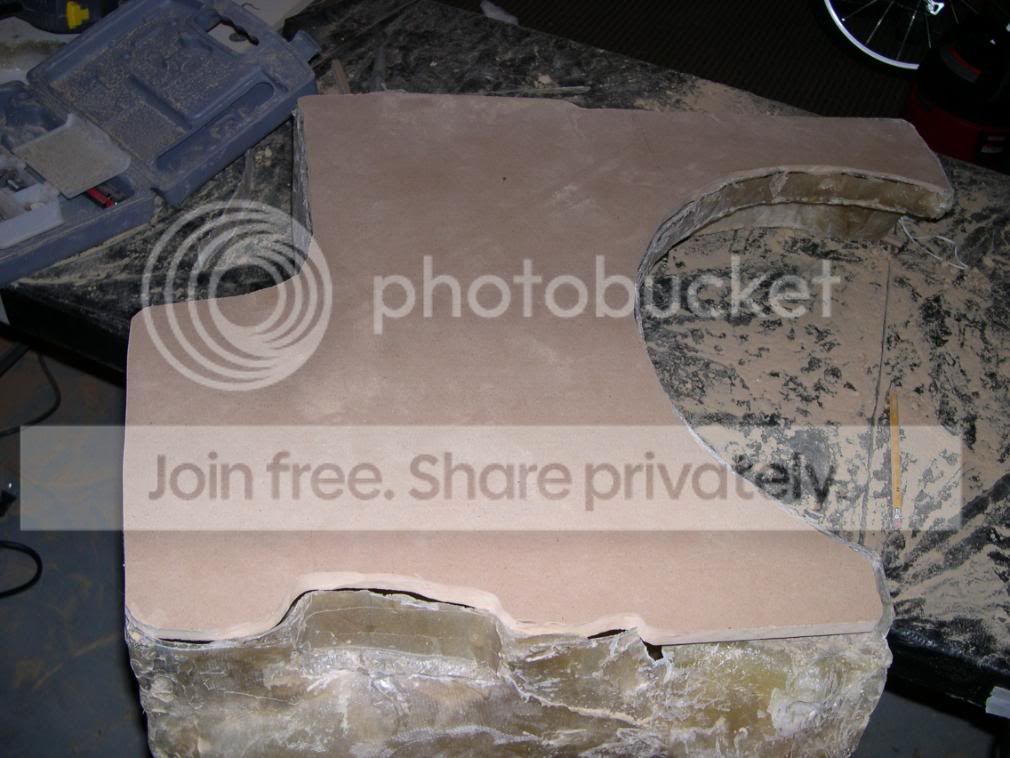
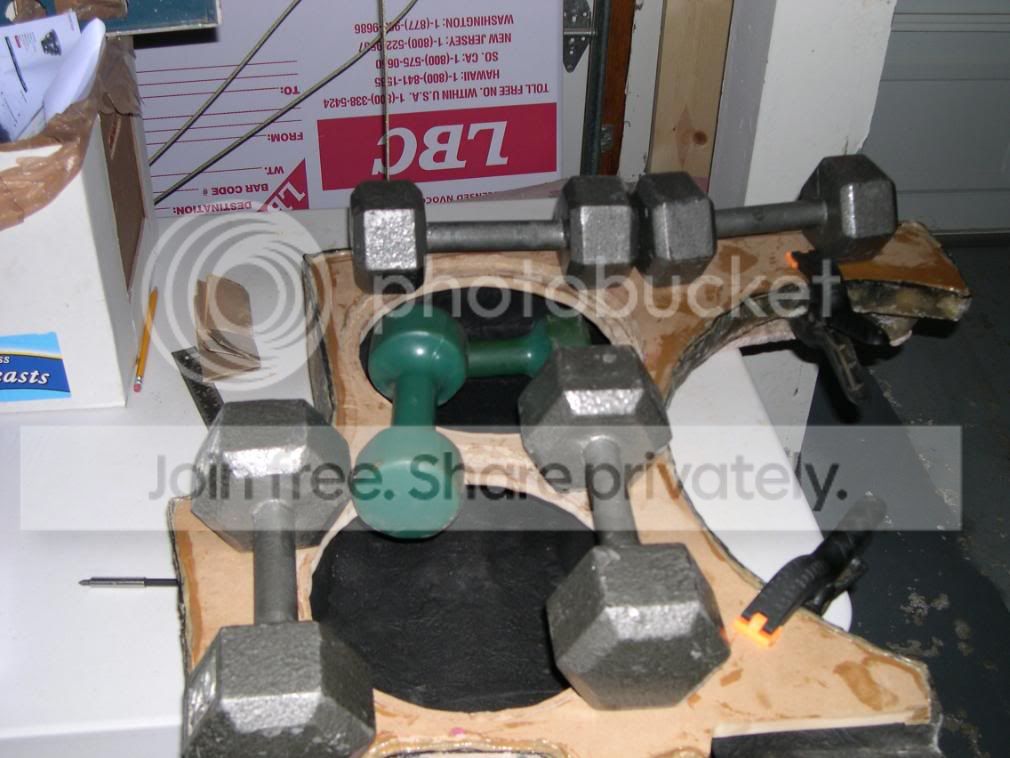
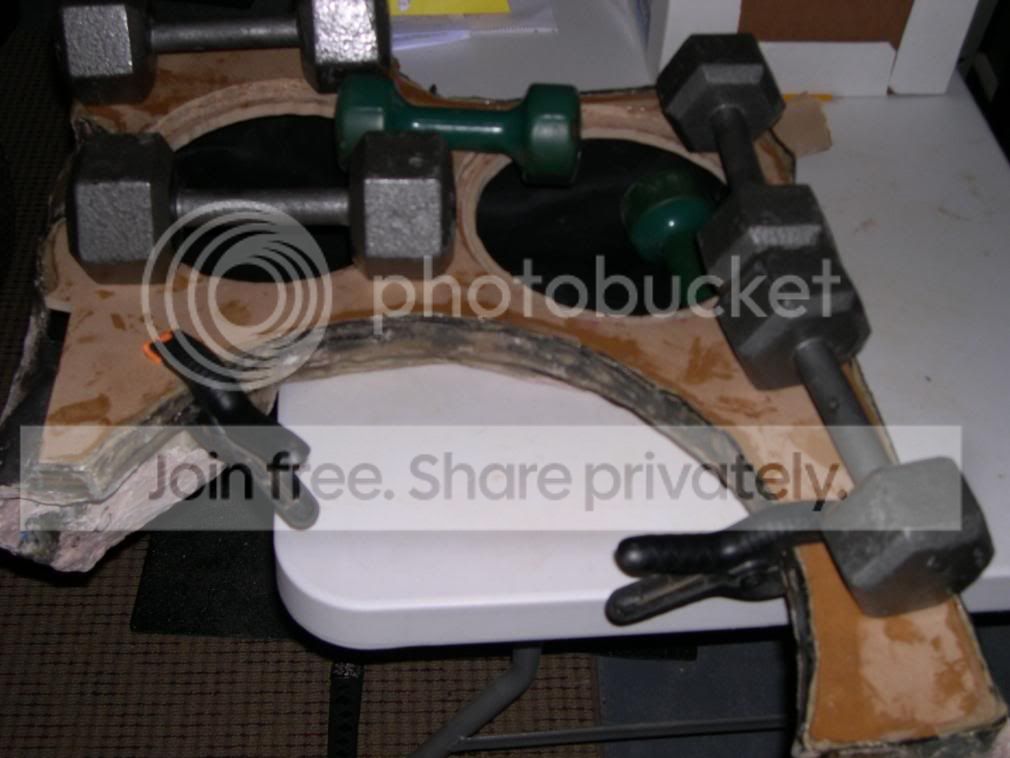
now for the 1/2 mdf that would be placed on the top
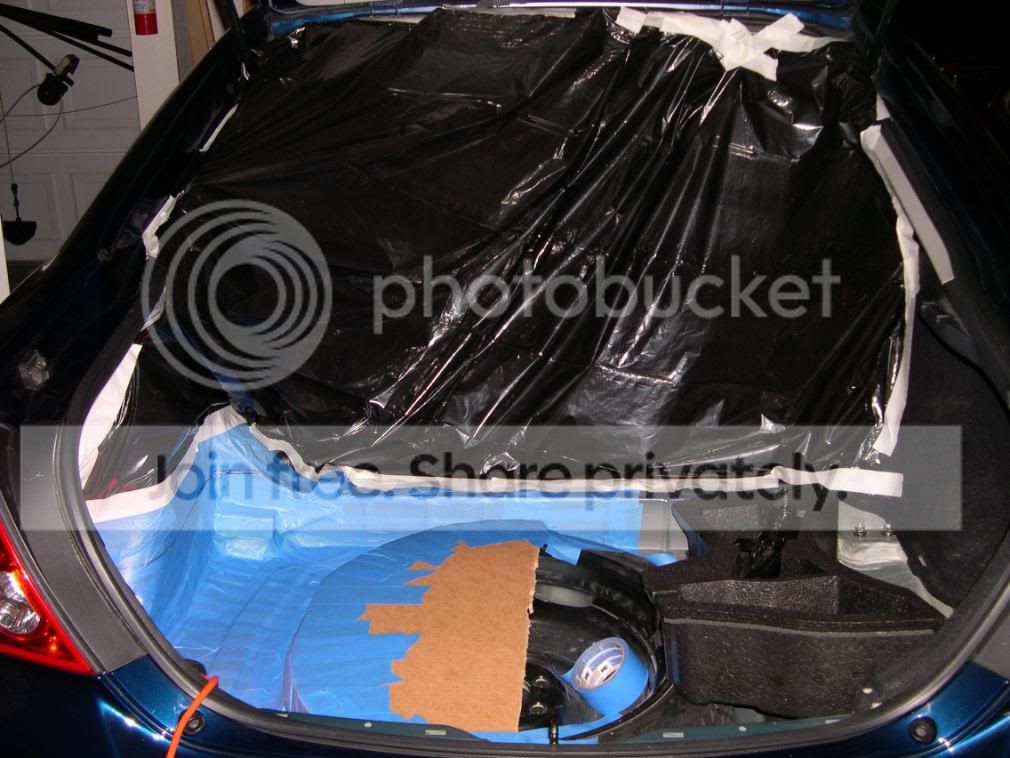
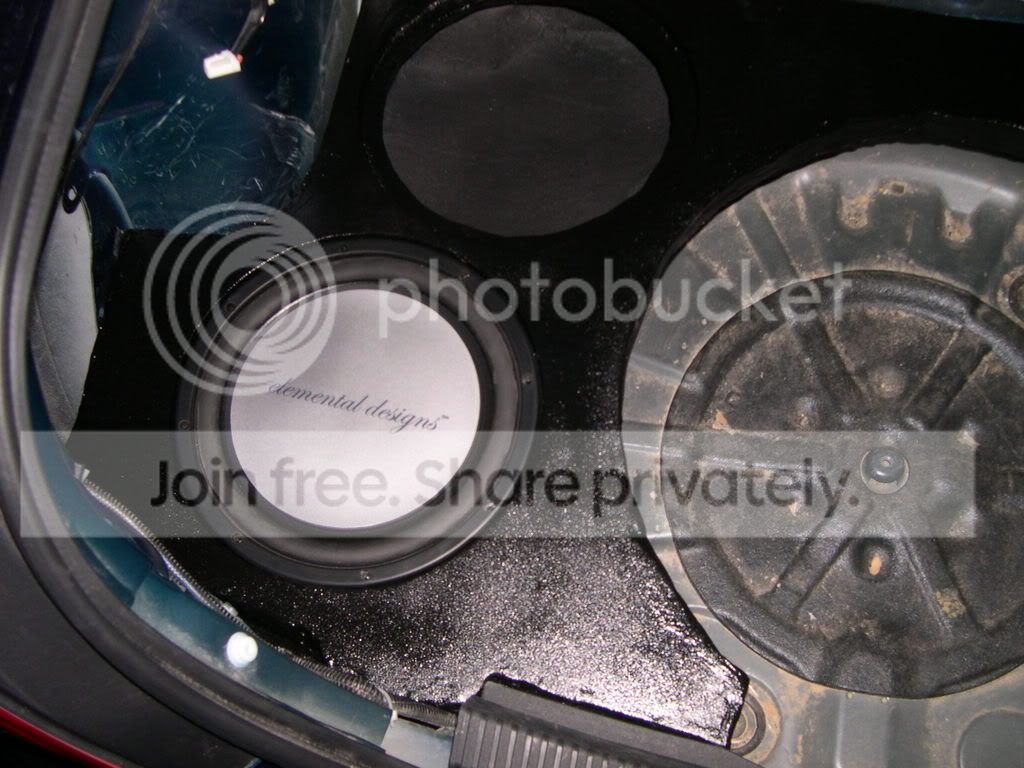
and just recently about 5 days ago i sound deadened the inside

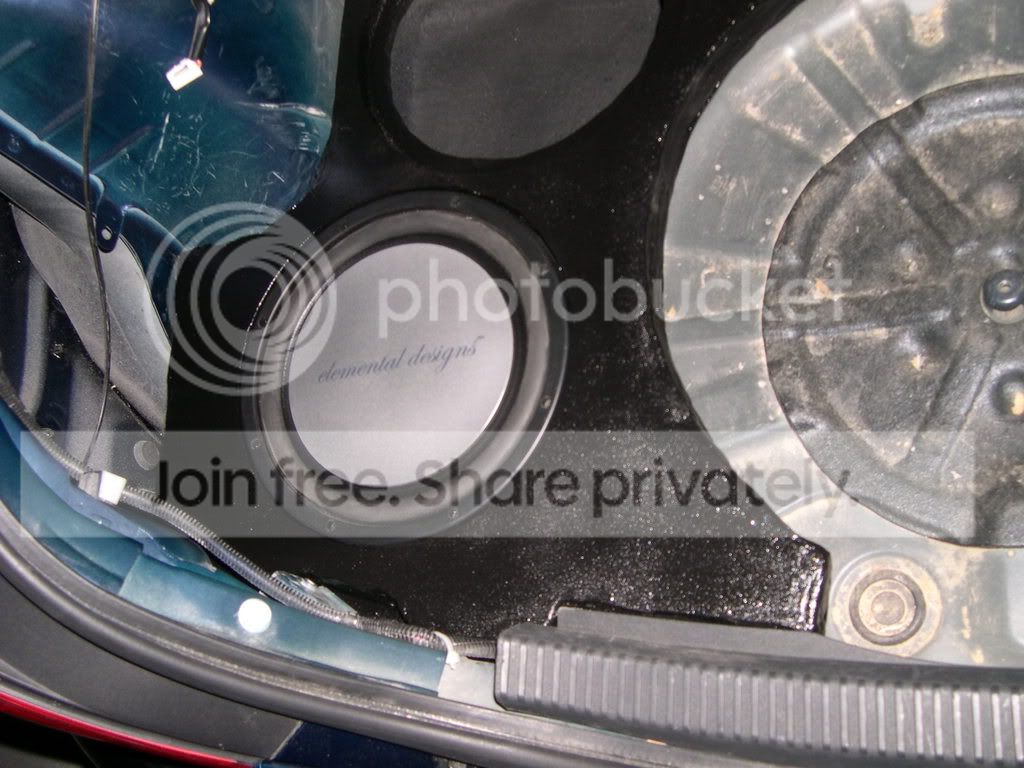
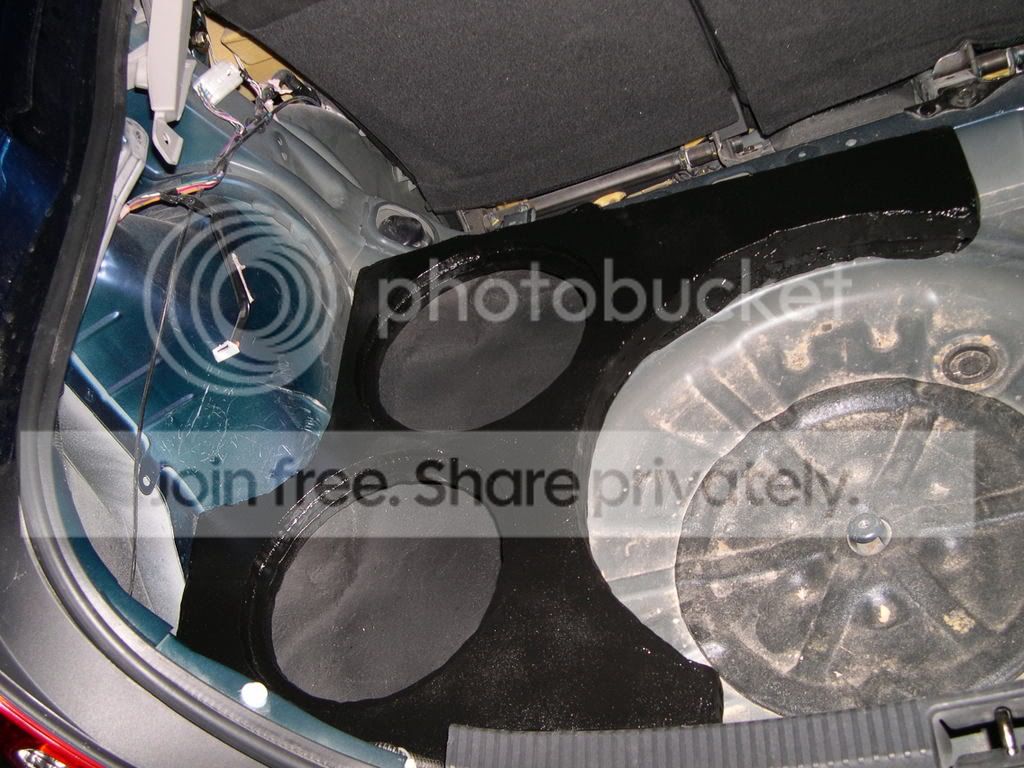
And just today finally had the time to cut the holes for subs because i got one sq10 for fitting.
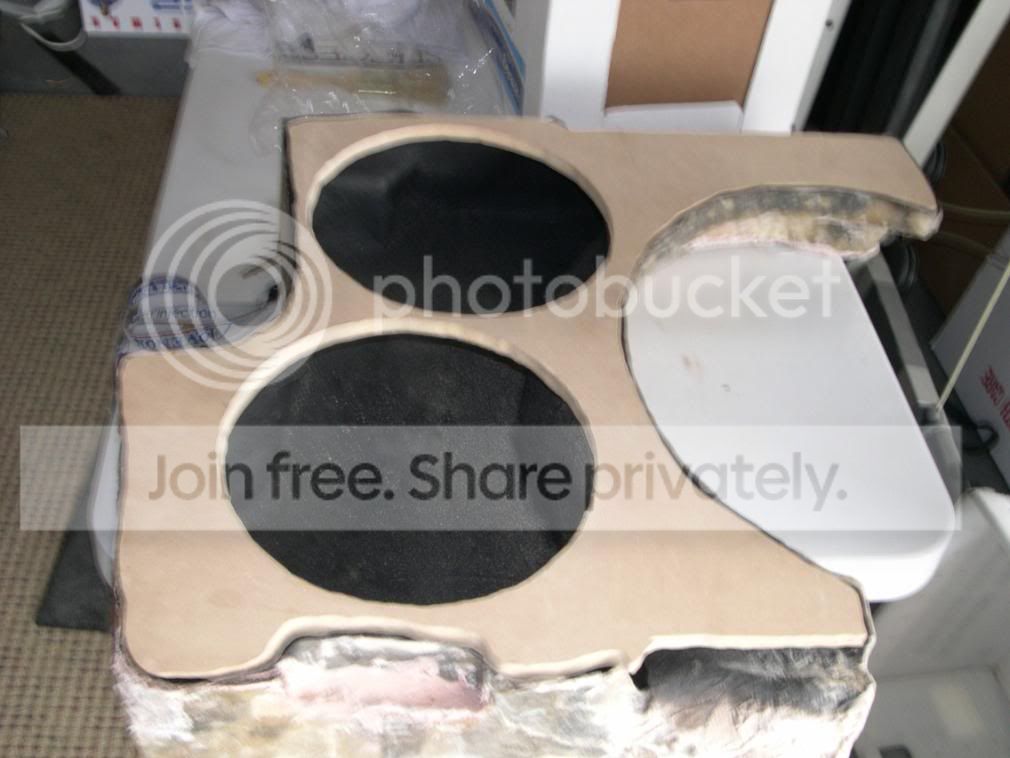
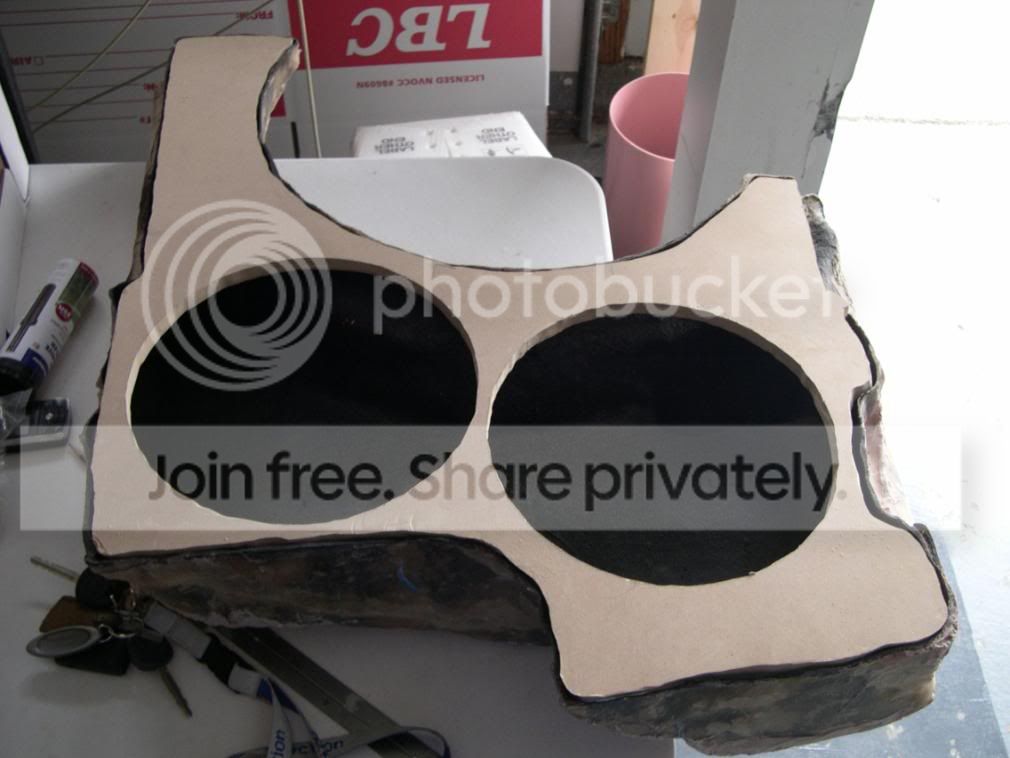

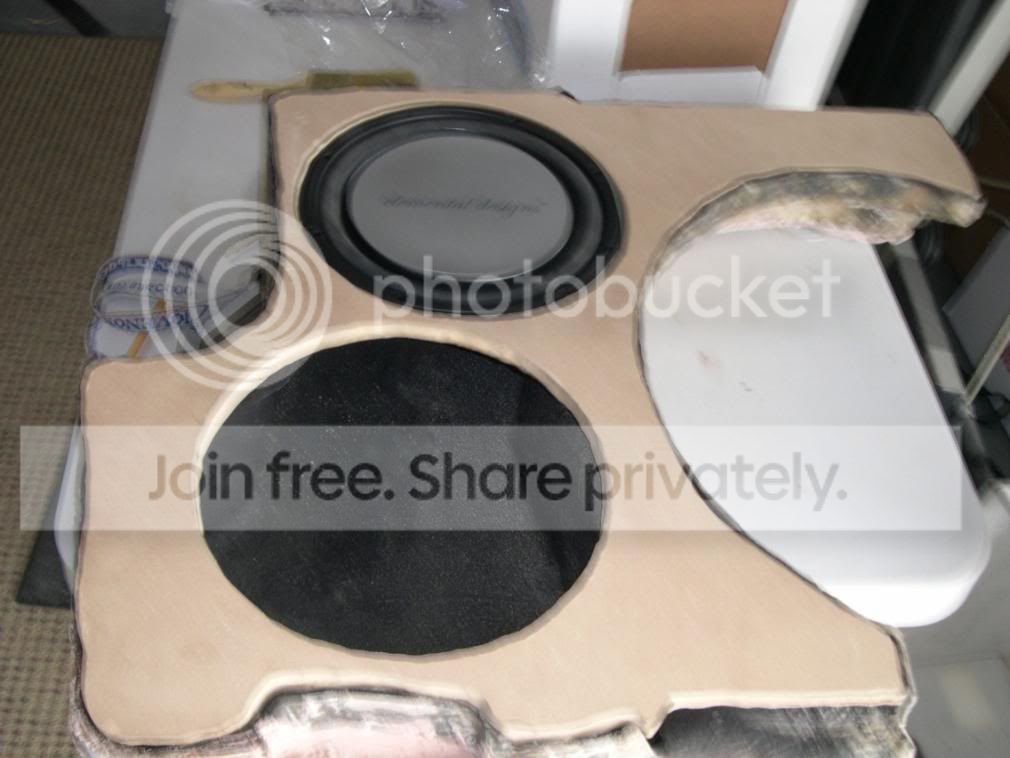
And before it got dark finished the rings that keep the subs in but for got to take pics of the rings so all i have are these haha just glued em
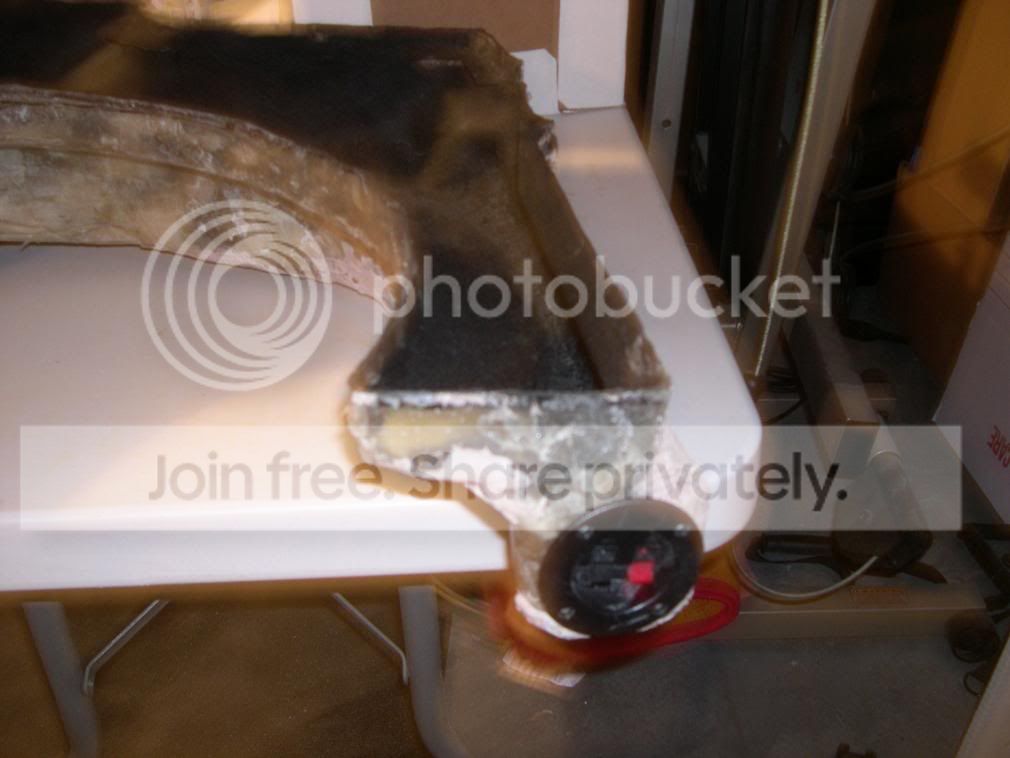
And for the input if your wondering.
Well will keep this updated, if you got any questions or comments please do
Thanks,
Jeremy
Update 9:28 PM PST
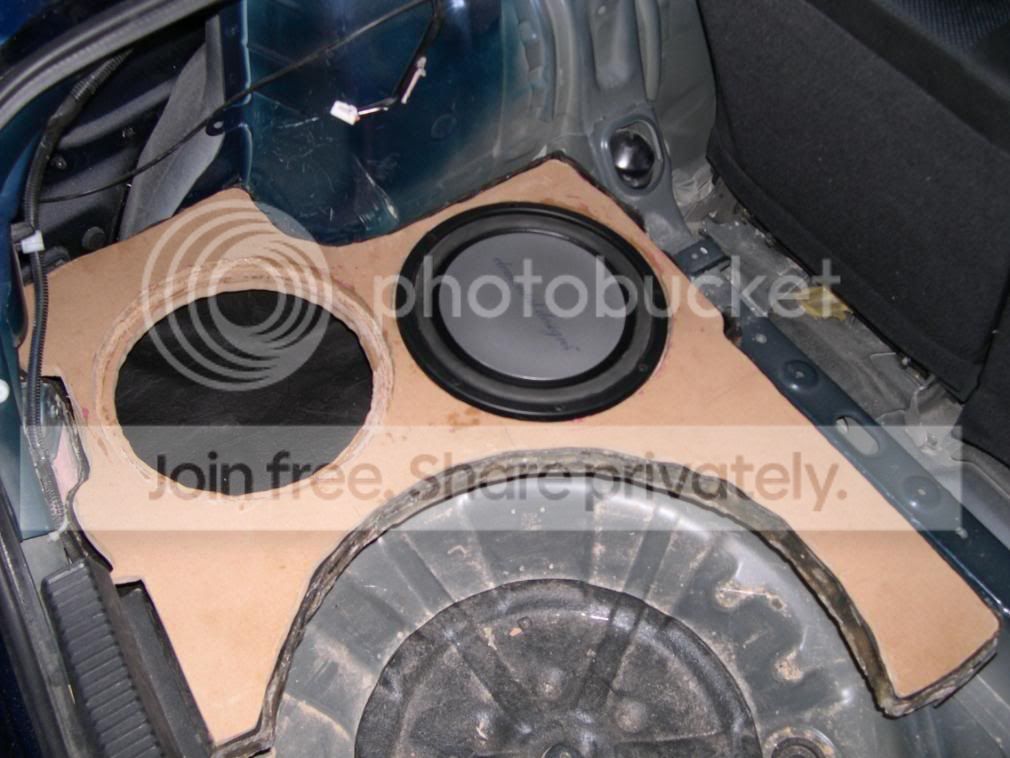
pics of it in the trunk
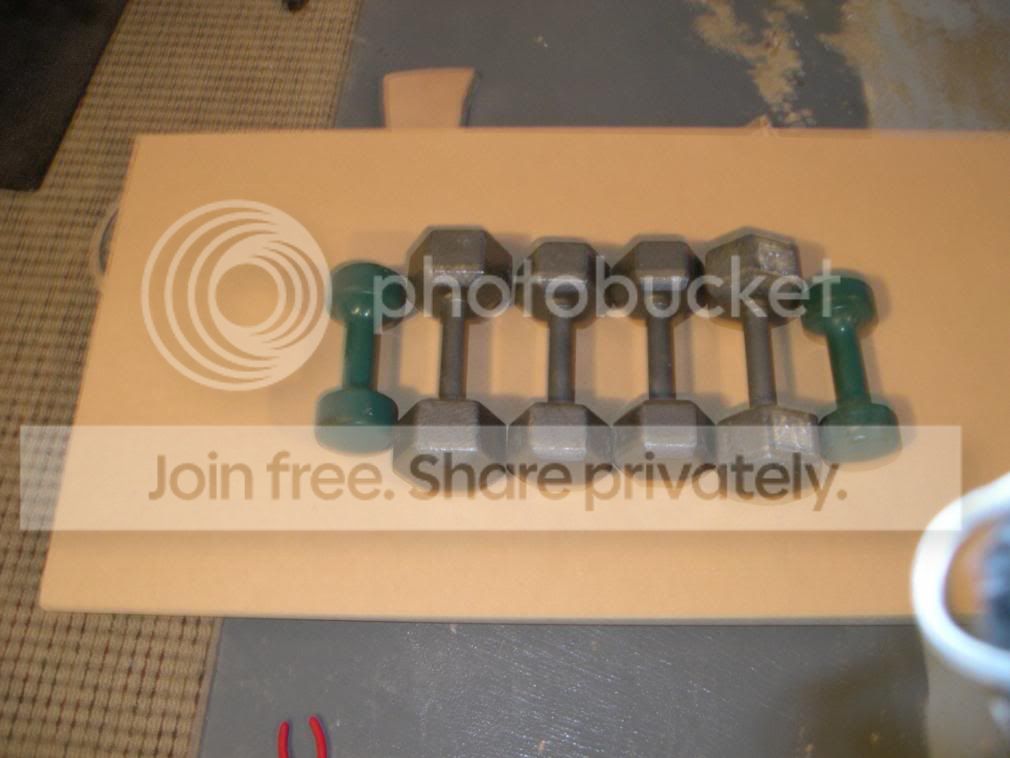
mdf glued on to the fiberglass (the luxury of weights haha)

Update 03/30/08
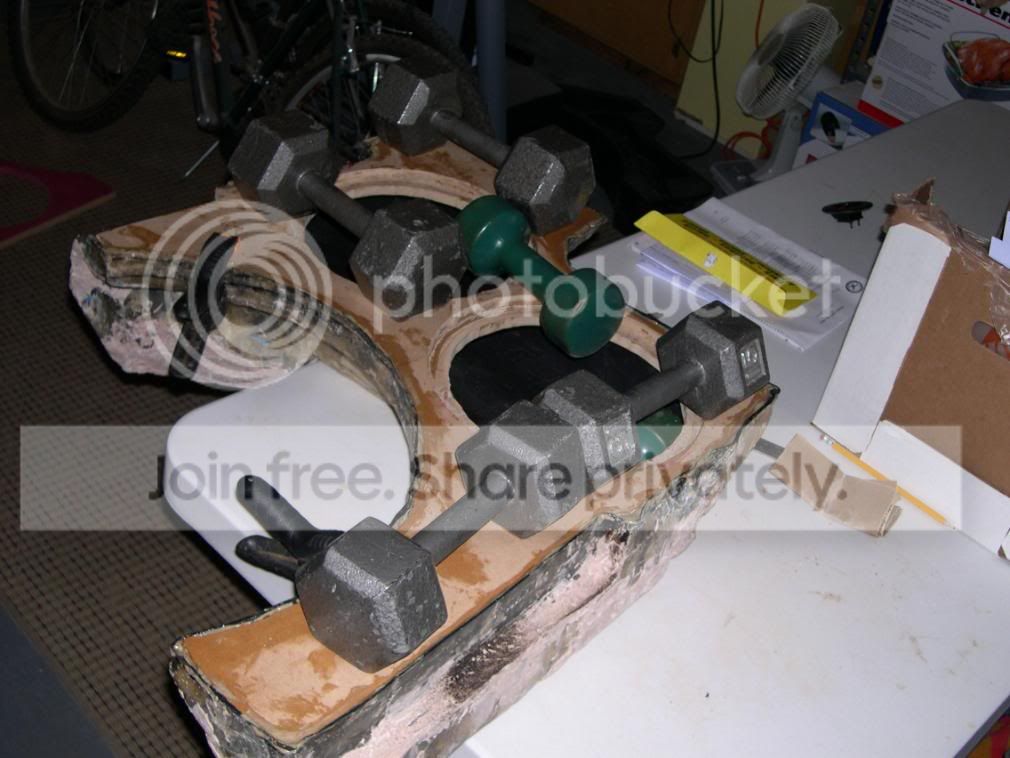
the glue has finally dried and holding it to see if it holds
last and final hole to fill
and the last ever fiber glass that i will ever do in my life hahah
Well been talking Eric aka lowdownthrowdown who previously tried to make a the left side and was short for some air space.
https://www.scionlife.com/forums/vie...r=asc&&start=0
Both our purposes to this project was to keep our spares.
What i did to get more airspace was extend to the bottom right down the bottom left to the inside and at the top right through the skinny part.
here are a couple of pics starting the taping and where i would start glassing.
here now is it out of the trunk took me and 2 other guys to get it out cuz it was stuck to much and how i was glassing it in was against the wall with many awkward positions
here is some pics of it after i think 2 or 3 layers
now for the 1/2 mdf that would be placed on the top
and just recently about 5 days ago i sound deadened the inside
And just today finally had the time to cut the holes for subs because i got one sq10 for fitting.
And before it got dark finished the rings that keep the subs in but for got to take pics of the rings so all i have are these haha just glued em
And for the input if your wondering.
Well will keep this updated, if you got any questions or comments please do
Thanks,
Jeremy
Update 9:28 PM PST
pics of it in the trunk
mdf glued on to the fiberglass (the luxury of weights haha)
Update 03/30/08
the glue has finally dried and holding it to see if it holds
last and final hole to fill
and the last ever fiber glass that i will ever do in my life hahah


Thread Starter
Joined: Sep 2007
Posts: 776
From: Vacaville, CA
haha well maybe we shop at the same place. most of the supplies that bought were at home depot.
the inputs i bought at a local audio shop
and the soundeadening i bought at homedepot. the brand name is the same as all the supplies i used called bondo like resin body filler and so on. if you want the name of it its called rubberized coating and on the back it specifies that it sound deadens. you can also use the 3m verison all the same thing.
will have updates later today gonna start glassing the mdf to the glass


Thread Starter
Joined: Sep 2007
Posts: 776
From: Vacaville, CA
Update
the glue has finally dried and holding it to see if it holds
last and final hole to fill
and the last ever fiber glass that i will ever do in my life hahah
tomorrows agenda body fill small crevasses then sand everything smooth. and if i have the time i will start the first layer of spray paint
the glue has finally dried and holding it to see if it holds
last and final hole to fill
and the last ever fiber glass that i will ever do in my life hahah
tomorrows agenda body fill small crevasses then sand everything smooth. and if i have the time i will start the first layer of spray paint


Thread Starter
Joined: Sep 2007
Posts: 776
From: Vacaville, CA
about the right side
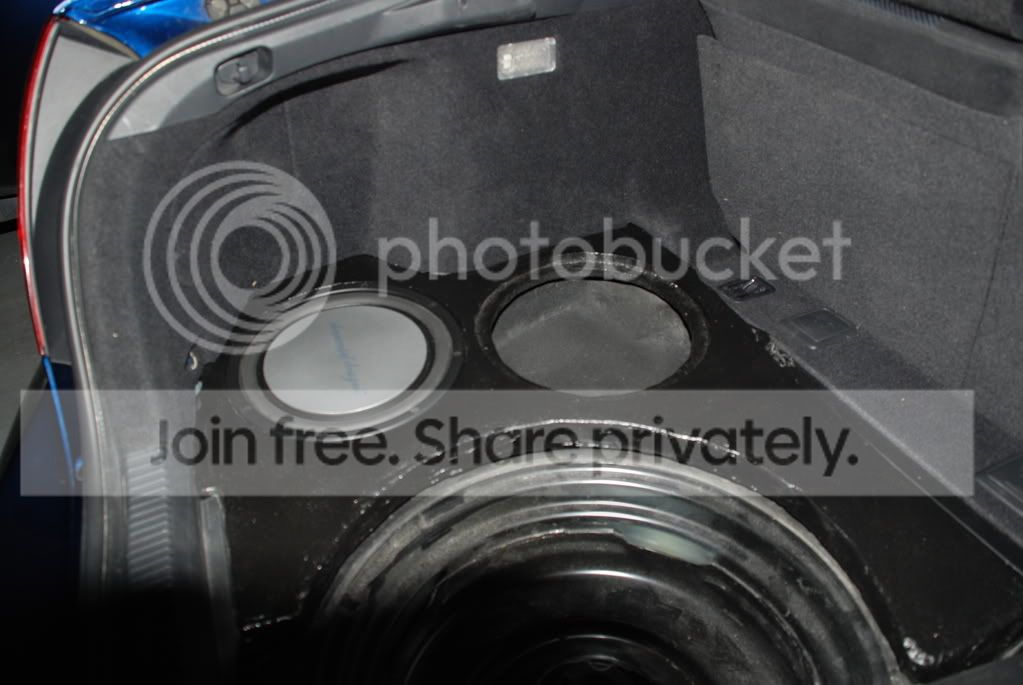
i pre planned buying it from lowdown as a back up so that for sure i would have working subs if the left side didn't go right. also now that i have seen how much time this is taking, the itchiness, and my garage turning into a winter wonderland (garage is open lol not planning on hot boxing resin) with all the sanding of fiberglass its just easier that way and good back up plan. and if your wondering about how each one will probably look different remember its stealth subs and only thing that will be showing will be the subs or something
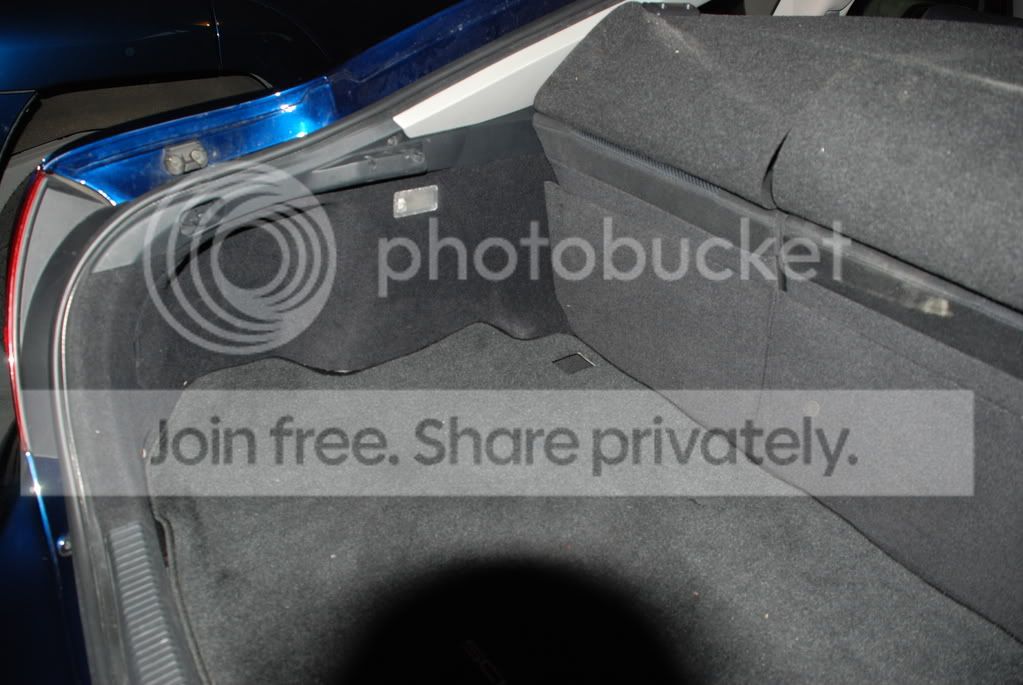
so ya more updates later today probably going to do the first coat of black after sanding.
i pre planned buying it from lowdown as a back up so that for sure i would have working subs if the left side didn't go right. also now that i have seen how much time this is taking, the itchiness, and my garage turning into a winter wonderland (garage is open lol not planning on hot boxing resin) with all the sanding of fiberglass its just easier that way and good back up plan. and if your wondering about how each one will probably look different remember its stealth subs and only thing that will be showing will be the subs or something
so ya more updates later today probably going to do the first coat of black after sanding.


Thread Starter
Joined: Sep 2007
Posts: 776
From: Vacaville, CA
haha well it was fun just too time consuming but hell i would do it again if i have the free time and extra money again.
Update just sound deadened it and finished first layer still gotta figure out where i can put another layer because tire is getting atlittle tight with the soundeadening
Update just sound deadened it and finished first layer still gotta figure out where i can put another layer because tire is getting atlittle tight with the soundeadening