
My DIY Scangauge 2 Cubby panel w/Pics!!


Thread Starter
Joined: Nov 2006
Posts: 1,387
From: Whittier, CA
After seeing all the Cubby panels on the market I thought to myself "It cant be that hard".
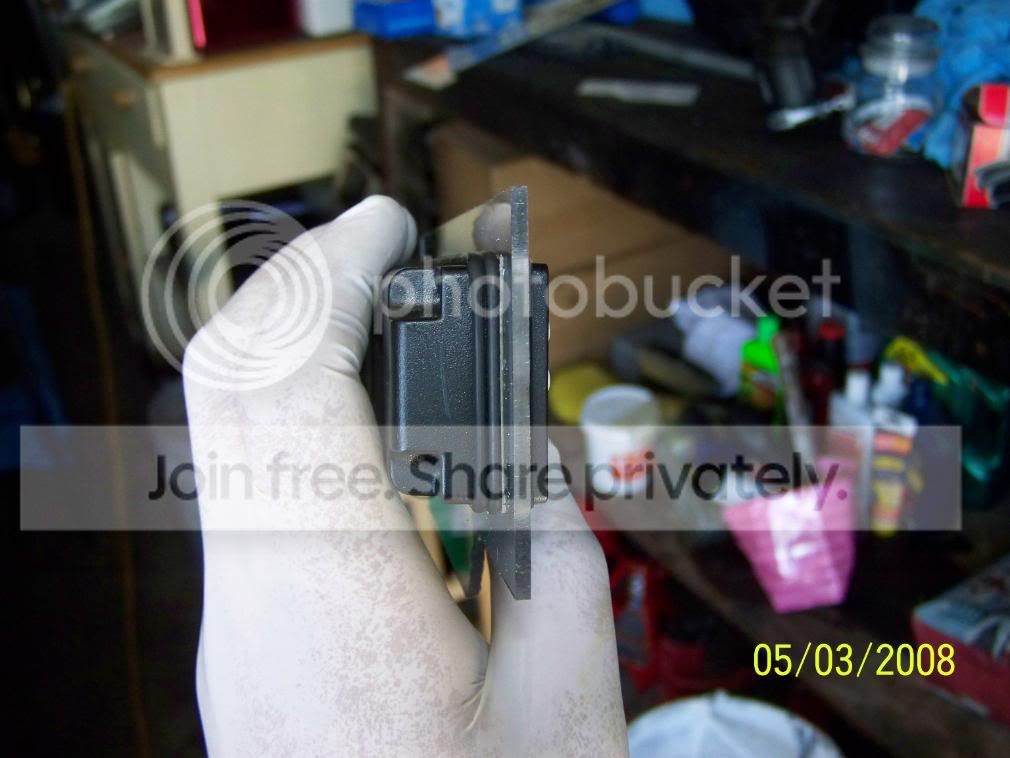
Seeing How I work at the Home Depot Tool rental, I have pretty much everything I need. I used a jig saw and a dremel for the cutting. It took about a total of 3hours from making the template to installing the finished product.
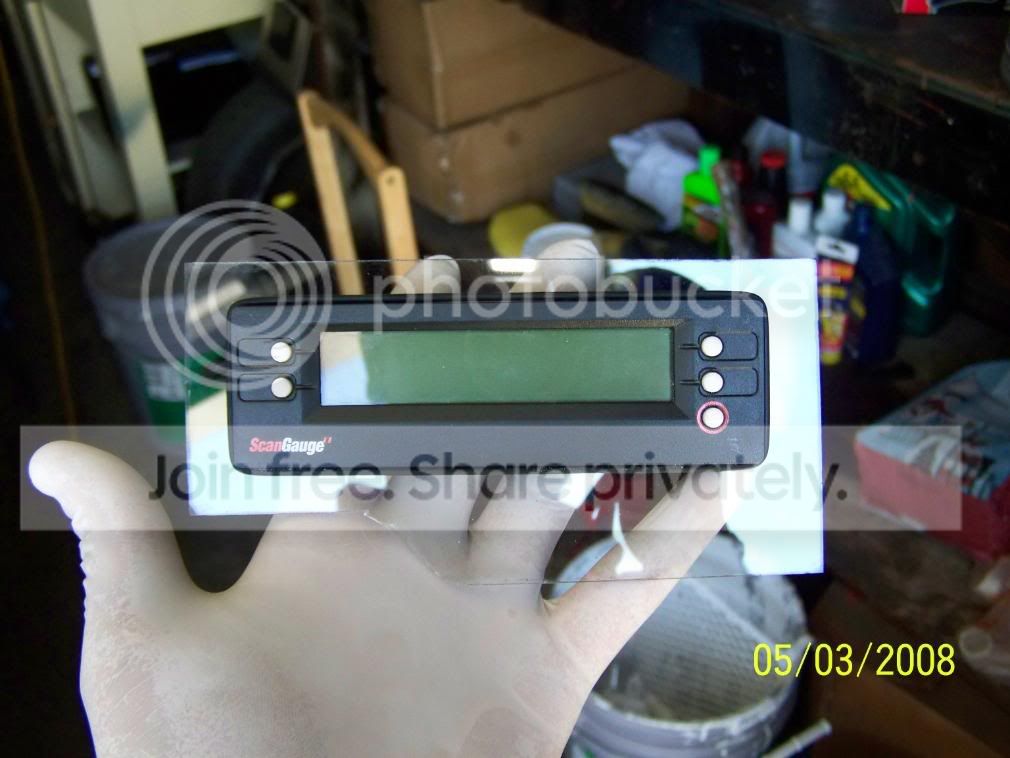
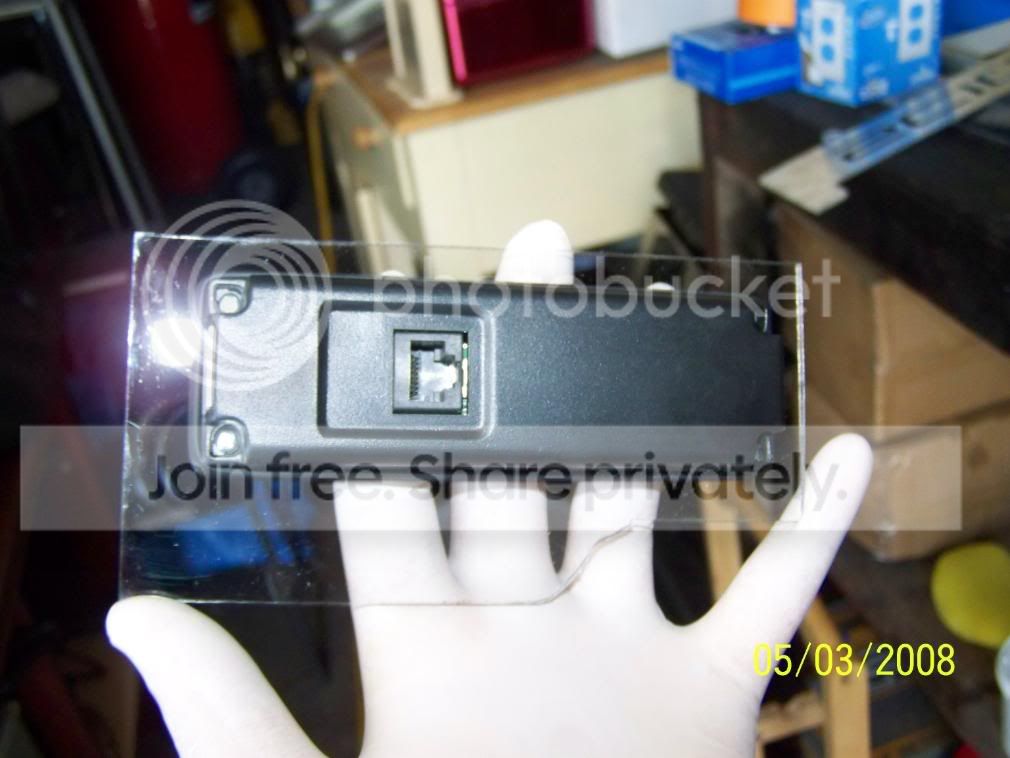
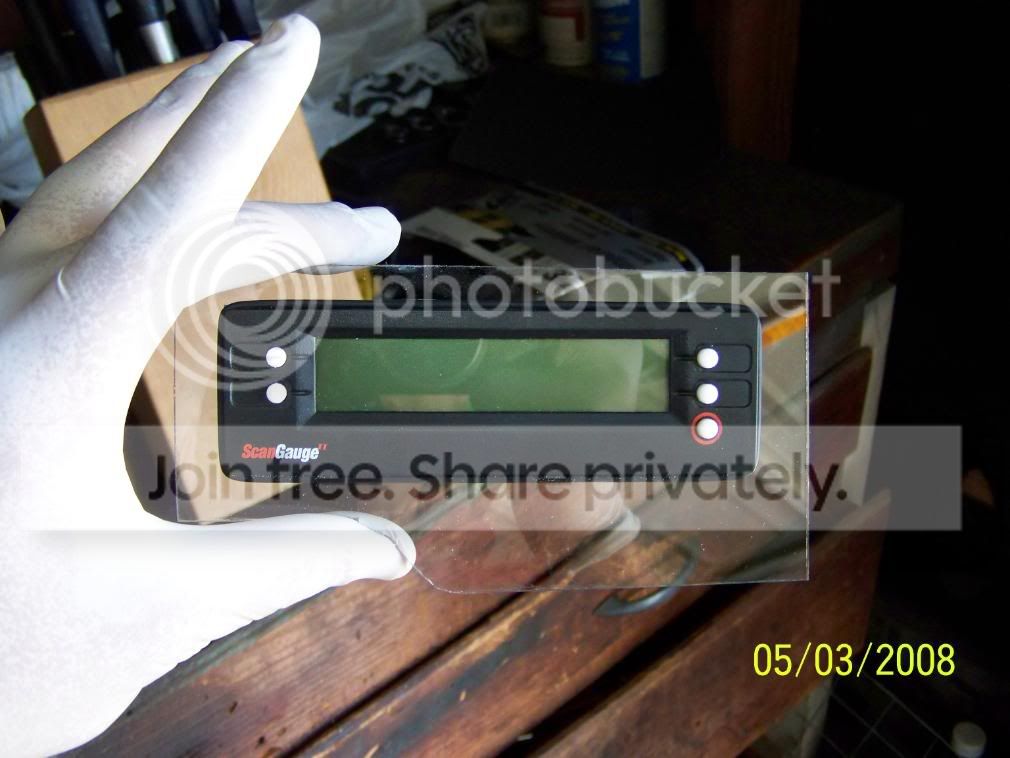
Here are just the pics of the finished Product. I was going to make tabs to keep the gauge from falling out but decided that would be too hard to do with a dremel/Jig saw. So to keep things simple and to keep the gauge from falling out, I used two O-rings on the back and one on the front. The gauge doesn't move at all and the O-rings aren't that ugly to look at.
I know its a bit off center, but I did all measuring and cutting by hand/eye so I expected this. I don't think I did too bad for my first time
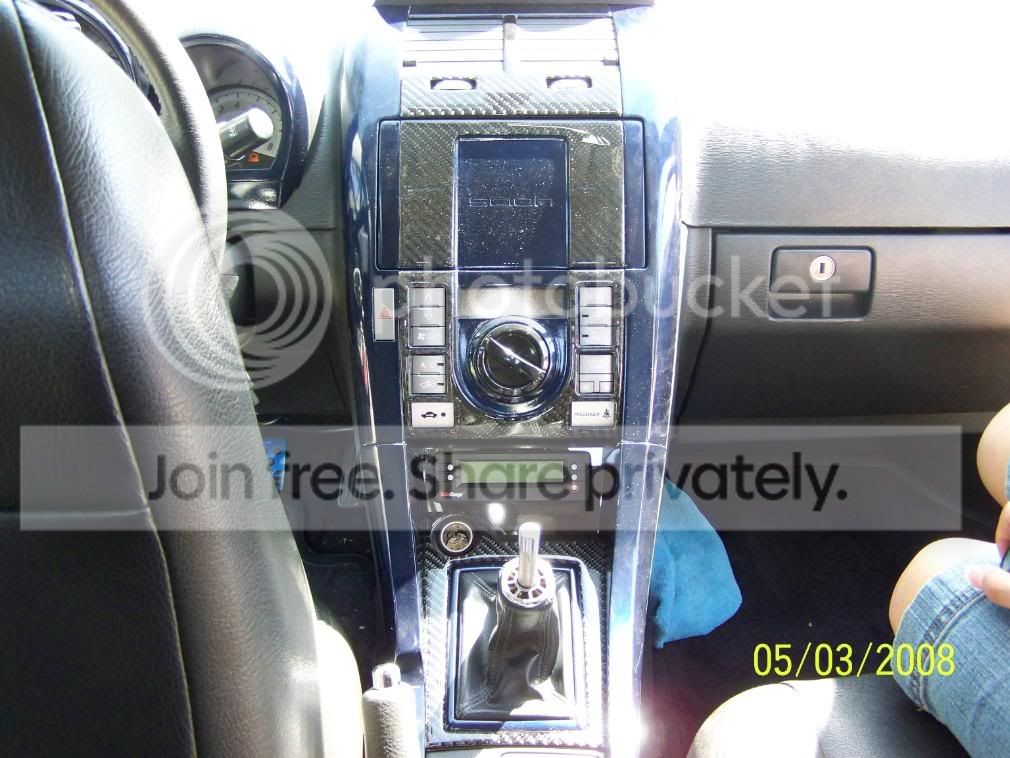
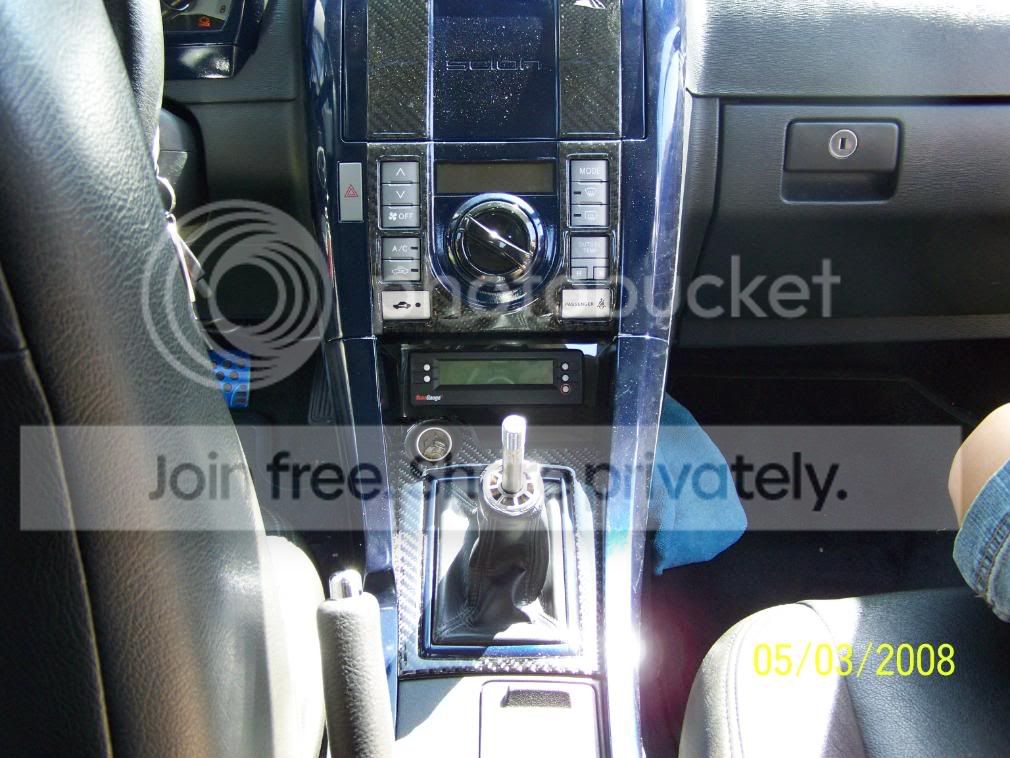
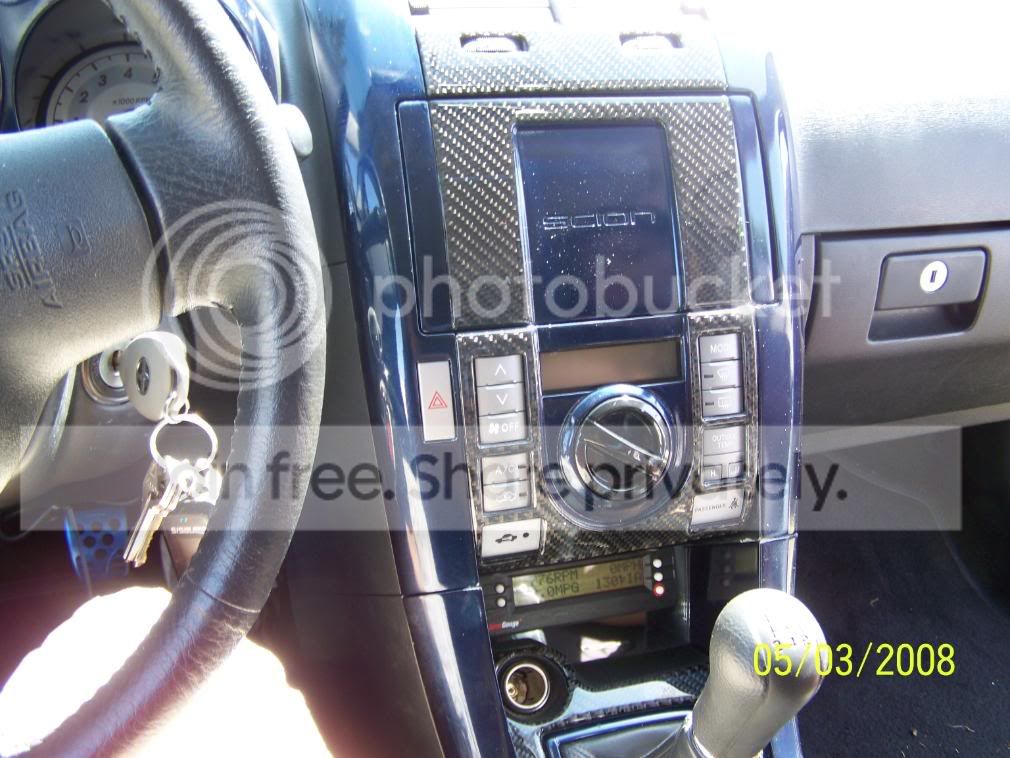
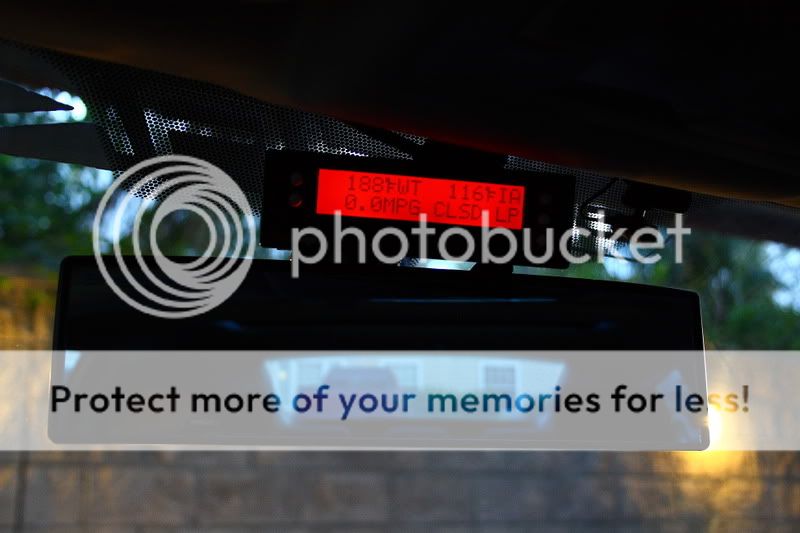
Im going to take more Pics at night witht the little LED on and see how that looks
Seeing How I work at the Home Depot Tool rental, I have pretty much everything I need. I used a jig saw and a dremel for the cutting. It took about a total of 3hours from making the template to installing the finished product.
Here are just the pics of the finished Product. I was going to make tabs to keep the gauge from falling out but decided that would be too hard to do with a dremel/Jig saw. So to keep things simple and to keep the gauge from falling out, I used two O-rings on the back and one on the front. The gauge doesn't move at all and the O-rings aren't that ugly to look at.
I know its a bit off center, but I did all measuring and cutting by hand/eye so I expected this. I don't think I did too bad for my first time
Im going to take more Pics at night witht the little LED on and see how that looks


Thread Starter
Joined: Nov 2006
Posts: 1,387
From: Whittier, CA
Originally Posted by youngflyer
what paint did you use for your center consal sp? lol. is it paintmatched?
I bought 2 cans of spray paint of my color code from paintscratch.com, Besides a few mistakes it came out alright
Im a DIY kind of guy

Senior Member
SL Member
Joined: Jul 2004
Posts: 13,961
what a great idea!!!
i did some thing like that on my car but i have it wedged in where my ash tray was and its being held up by some hand bent sheet metal... works for my needs and you can't see it when its all together...
i did some thing like that on my car but i have it wedged in where my ash tray was and its being held up by some hand bent sheet metal... works for my needs and you can't see it when its all together...


DIY rocks Good work! I would have frosted the plexy and used a blue led behind it in the stock cubby light to make it glow ... hint.. .hint..  Did it about 2 years ago on a trial basis and it looked cool.
Good work! I would have frosted the plexy and used a blue led behind it in the stock cubby light to make it glow ... hint.. .hint.. 
Thread Starter
Joined: Nov 2006
Posts: 1,387
From: Whittier, CA
Originally Posted by Garage1217
DIY rocks Good work! I would have frosted the plexy and used a blue led behind it in the stock cubby light to make it glow ... hint.. .hint.. Did it about 2 years ago on a trial basis and it looked cool.
Good work! I would have frosted the plexy and used a blue led behind it in the stock cubby light to make it glow ... hint.. .hint.. I made a frosted one two days ago, and plan on putting a few extra LED's in the cubby hole to make it really glow


Thread Starter
Joined: Nov 2006
Posts: 1,387
From: Whittier, CA
Originally Posted by friction86
clean but you should have went with a cf or painted the back side of the clear black


Thread
Thread Starter
Forum
Replies
Last Post
Pack34
Scion tC 1G ICE & Interior
0
Sep 27, 2015 07:11 PM