New A-Pillar Pods *Update 9/2/08*
 10-14-2007, 07:45 PM
#1
Senior Member
SL Member
Team ScioNRG
Thread Starter

Join Date: May 2006
Location: NH
Posts: 896
I figured there might be some people interested in this so I'll be posting my progress as it happens. If anyone has any questions or wants specific pictures let me know and I'll try and get them for you.
Materials Used:
Started with some 2x2" PVC pipe from Home Depot. I bought 3 so I could afford to mess up.
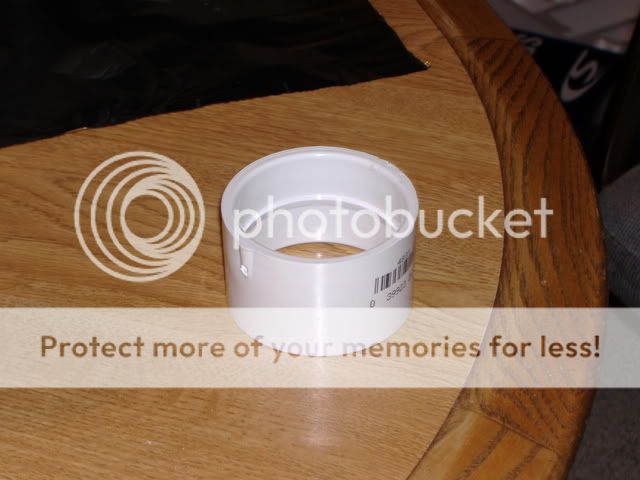
I don't have access to many tools so I used my precision (or lack there of) calibrated eyeball, an elastic, dry erase marker, and a dremel to mark and cut the PVC.
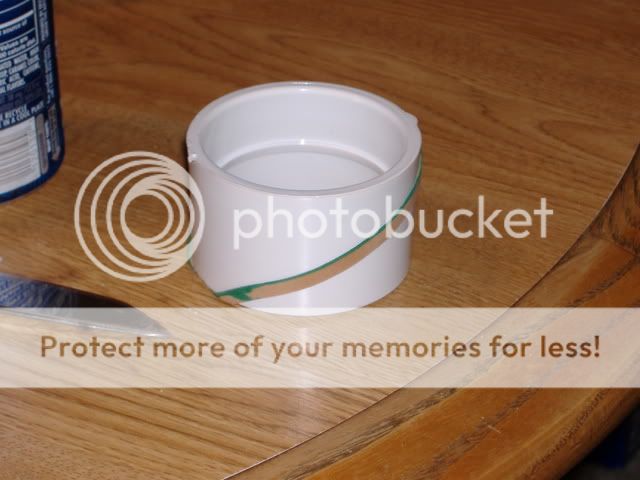
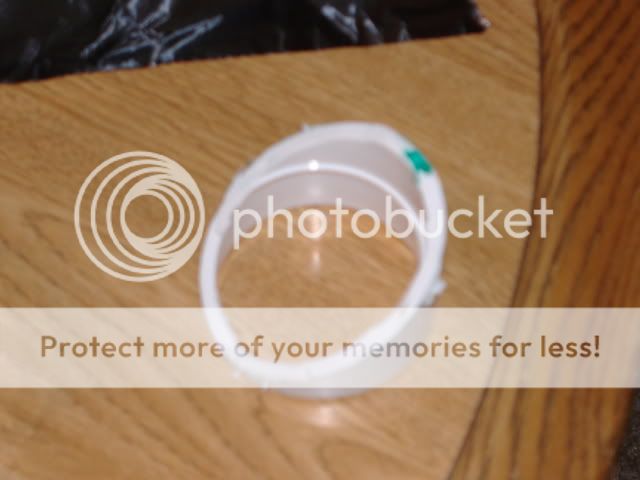
This is after the cut and the piece I was initially going to use but the piece I cut off was smaller so I used that instead.
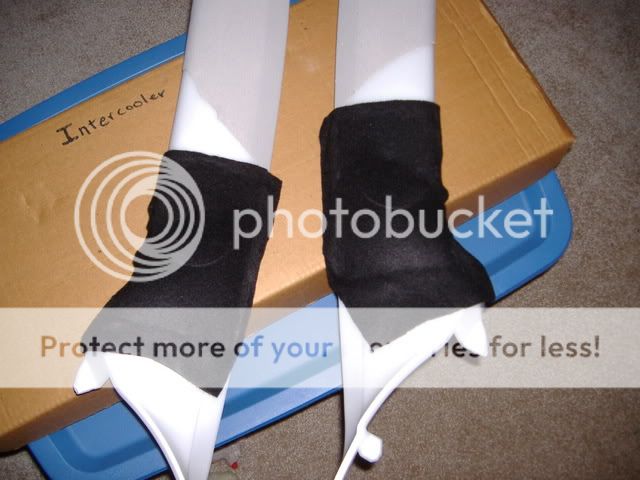
Next I placed the pieces of PVC pipe on the A-pillars where I thought they should be and held them in place with masking tape. Ran out to the car, checked the alignment, made some adjustments and then hot glued them on to the a-pillar and removed the tape. Next I used the hot glue to hold the fleece to the a-pillar and stretch it across everything.
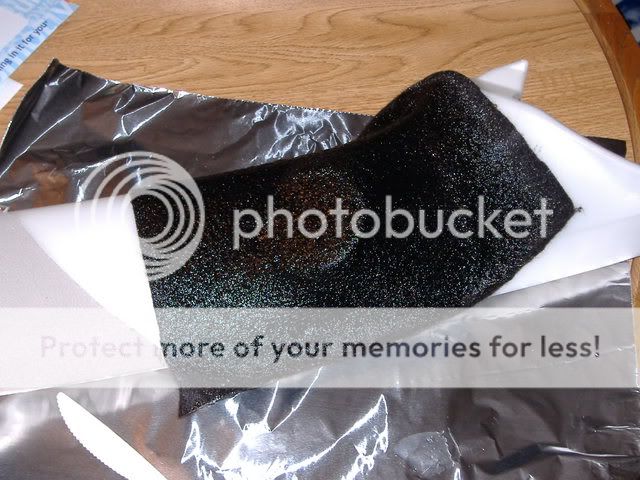
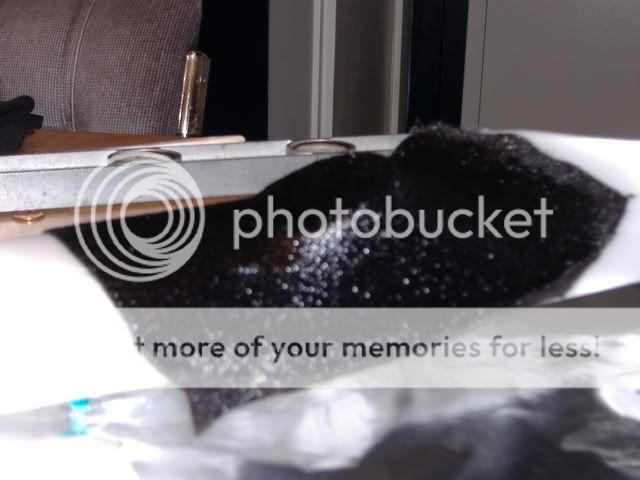
And here are the pillars with the fleece all resined.
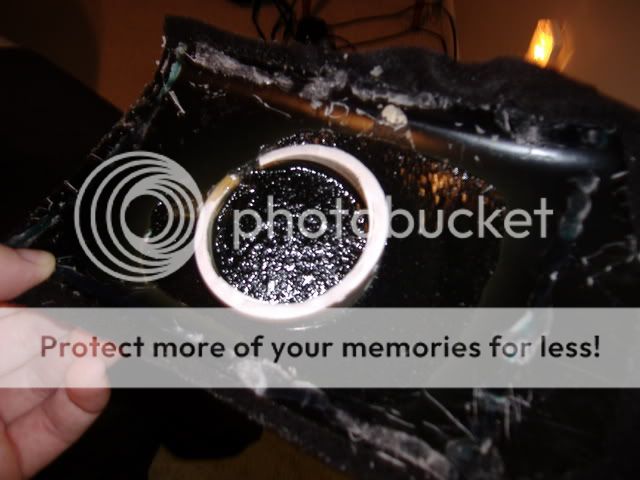
Here's a picture of the back of the mold. Most of the flat spots can be cut but some have to stay so there's a surface for the glue to bond the pod to the pillar.
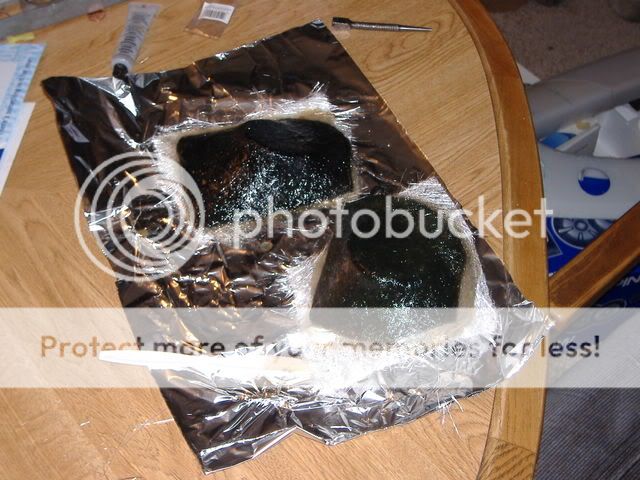
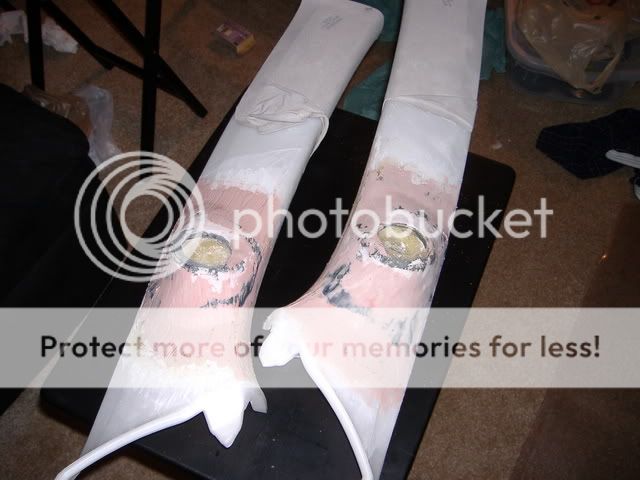
Here are the pods trimmed and glassed (1st layer).
Finally made some more progress. I tried super glue but it wasn't working for me. So I ended up using more glass and then started the bondo. I'm hoping I'll finish the bondo today.
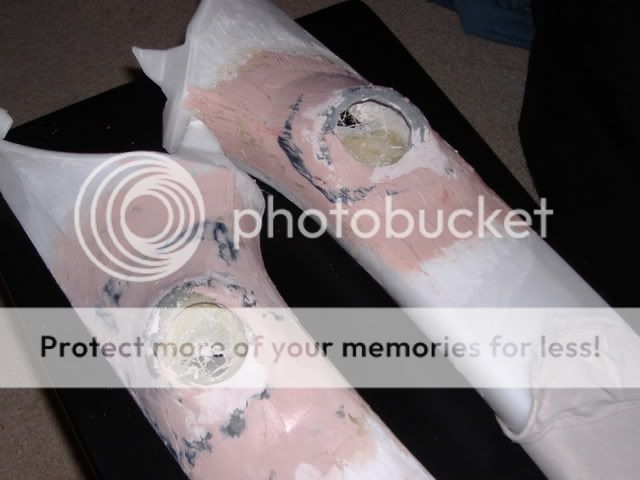
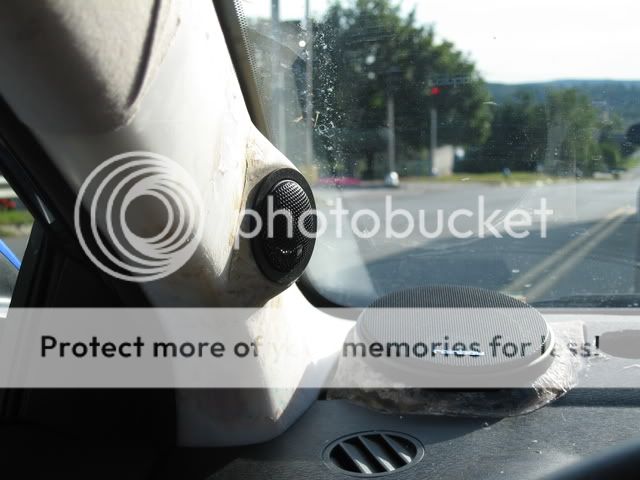
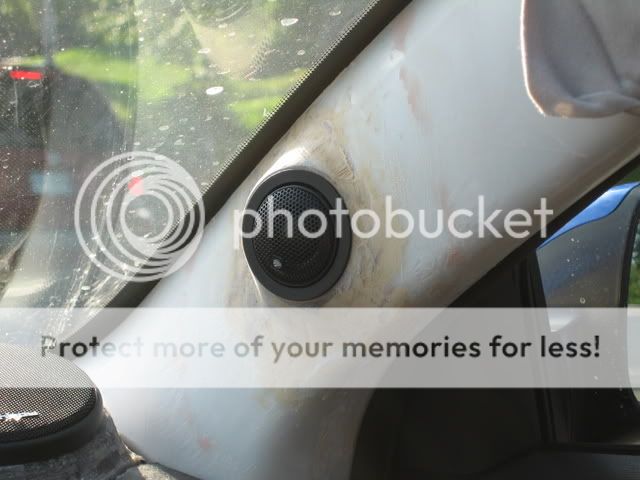
Here they are, temporarily installed. Needs more filler and sculpting foam.

Updated 9/2/08
Materials Used:
Started with some 2x2" PVC pipe from Home Depot. I bought 3 so I could afford to mess up.
I don't have access to many tools so I used my precision (or lack there of) calibrated eyeball, an elastic, dry erase marker, and a dremel to mark and cut the PVC.
This is after the cut and the piece I was initially going to use but the piece I cut off was smaller so I used that instead.
Next I placed the pieces of PVC pipe on the A-pillars where I thought they should be and held them in place with masking tape. Ran out to the car, checked the alignment, made some adjustments and then hot glued them on to the a-pillar and removed the tape. Next I used the hot glue to hold the fleece to the a-pillar and stretch it across everything.
And here are the pillars with the fleece all resined.
Here's a picture of the back of the mold. Most of the flat spots can be cut but some have to stay so there's a surface for the glue to bond the pod to the pillar.
Here are the pods trimmed and glassed (1st layer).
Finally made some more progress. I tried super glue but it wasn't working for me. So I ended up using more glass and then started the bondo. I'm hoping I'll finish the bondo today.
Here they are, temporarily installed. Needs more filler and sculpting foam.
Updated 9/2/08


 10-15-2007, 12:09 AM
#8
Senior Member
SL Member
Team ScioNRG
Thread Starter
Join Date: May 2006
Location: NH
Posts: 896
ah, i did that to make the mold. you can't glass directly to plastic because it just pops off. so you have to use contact cement, screws or something to attach it. i've heard a lot of people say CA glue is the way to go but i've never used it before so I'm going to give that a try.
 10-21-2007, 05:19 PM
#13
Senior Member
SL Member
Team ScioNRG
Thread Starter
Join Date: May 2006
Location: NH
Posts: 896
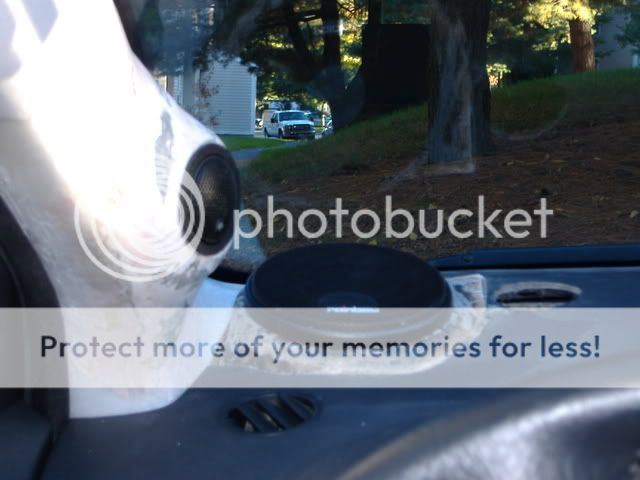
It's almost done. Needs 1, maybe 2, layers of bondo and I need some sculpting foam to make it blend with my dash. Project delayed for a little. I'm sick, need a respirator (for sanding not b/c im sick), and the foam.

