
To my Black Sand brothers and sisters........


Senior Member

SL Member
Joined: Oct 2004
Posts: 760
From: Maryland USA
ShaunTC did that mod and he said it required extensive cutting AND a custom made fiberglass enclosure for the unit.... sure doesn't look like that to me...
why did you say you're only half done? what's the other half? wiring?
why did you say you're only half done? what's the other half? wiring?


Thread Starter
Senior Member
SL Member
Joined: Jun 2004
Posts: 423
From: San Francisco
I still need to mount them and wired it up. Right now the fogs are still in the space but they will move around. I did have to cut a lot of the bumper. It wasnt very hard, just time consuming. The vent covers pop right out. You don't need to remove the bumper to get them out but you might have remove the plastic trays underneath the bumper. Just to let you know, when you open up the fog light housings to flip the projectors, the projector WILL NOT line up correctly. I will take some pics to show you what I mean and how I fixed it.
Thread Starter
Senior Member
SL Member
Joined: Jun 2004
Posts: 423
From: San Francisco
I havent had a chance to wire them, but as soon as I do I will post them. Here are some pictures for all you DIYers out there. The whole point is to flip the housing while keeping the projector in their upright position.
If you flip BOTH the housing and the projectors, the cutoff sheild will NOT work correctly. Notice how the R is upside down. Here is what I mean.
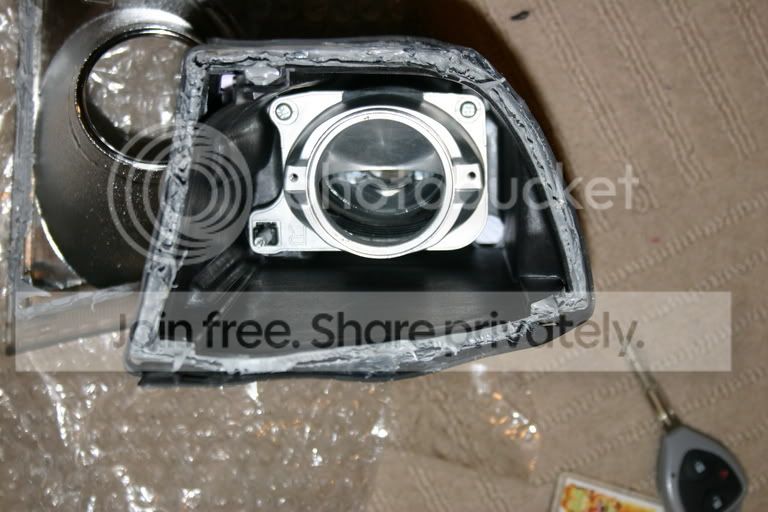
In order for the projectors to work correctly, you need switch the left and right projectors. Meaning, put the RIGHT projector in the LEFT housing and vice versa. You will only be able to use one screw now.
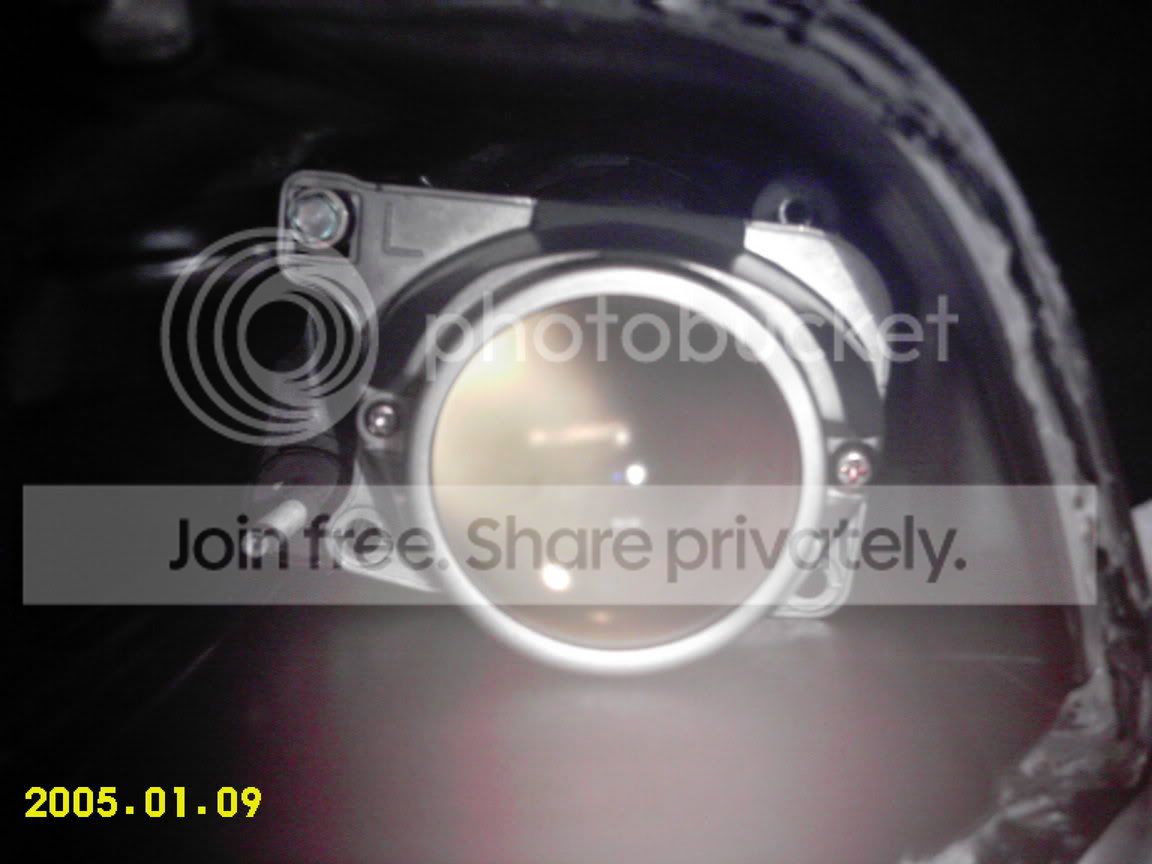
But here's the bad news. When you switch the projectors, they will not line up correctly. This result in a very crappy looking fog light.

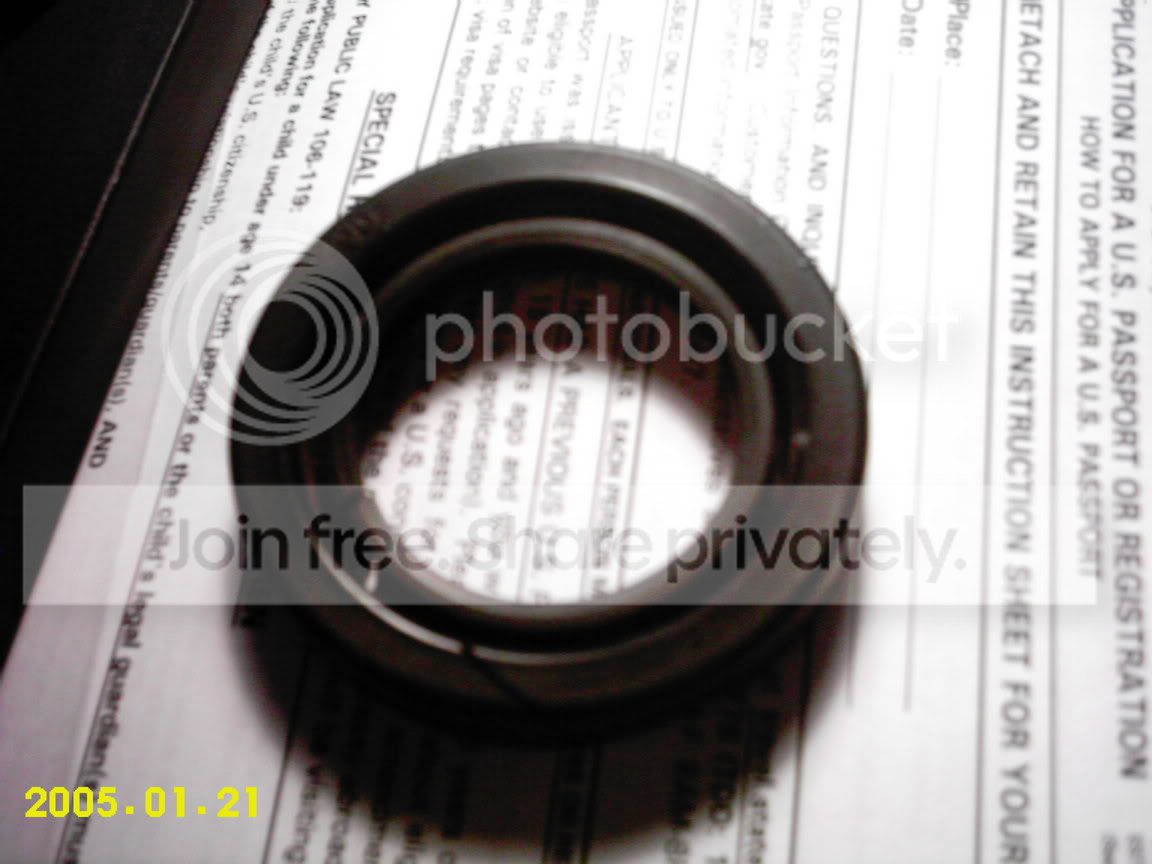
In order to line up the the projectors you will need to get rid of the rubber gasket that surrounds the socket. Here's a pic of what I'm talking about.
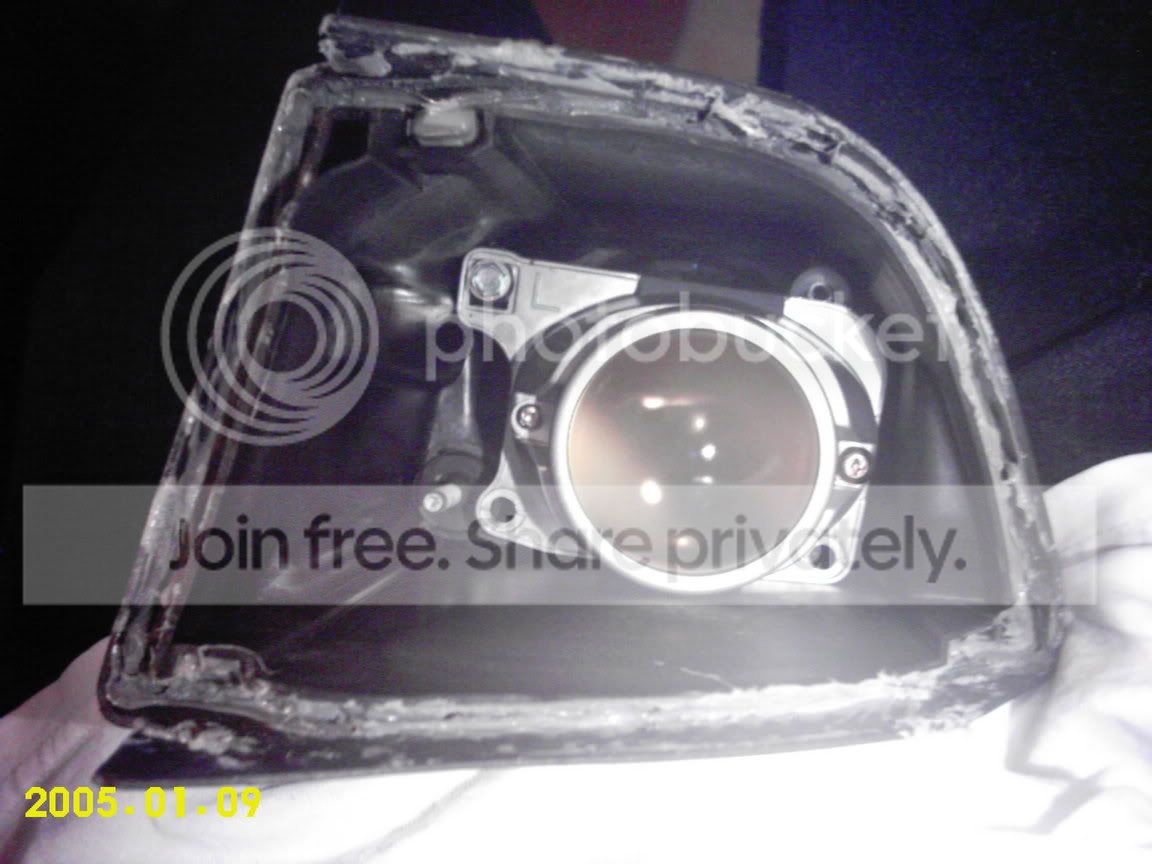
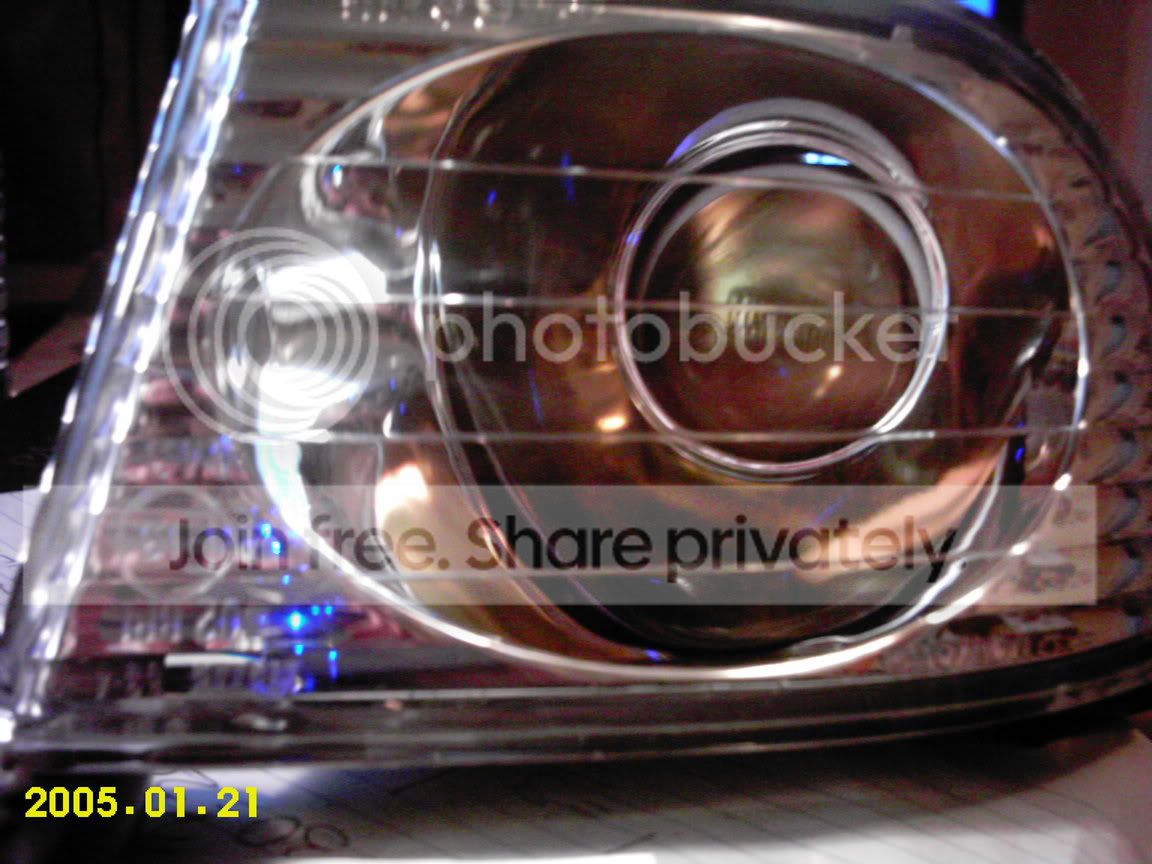
It gets worse, you will need to angle the the projector so it lines up correctly. The results are pretty good, BUT you cant take out the socket without taking apart the housing. So I advise making sure the bulbs are in good condition and that they wont go out on you any time soon. Also, since you removed the rubber gasket, you will leave a large opening for things to get inside the housing. You might want to cover up with something. Here's a pic of the the angled projector and its results.

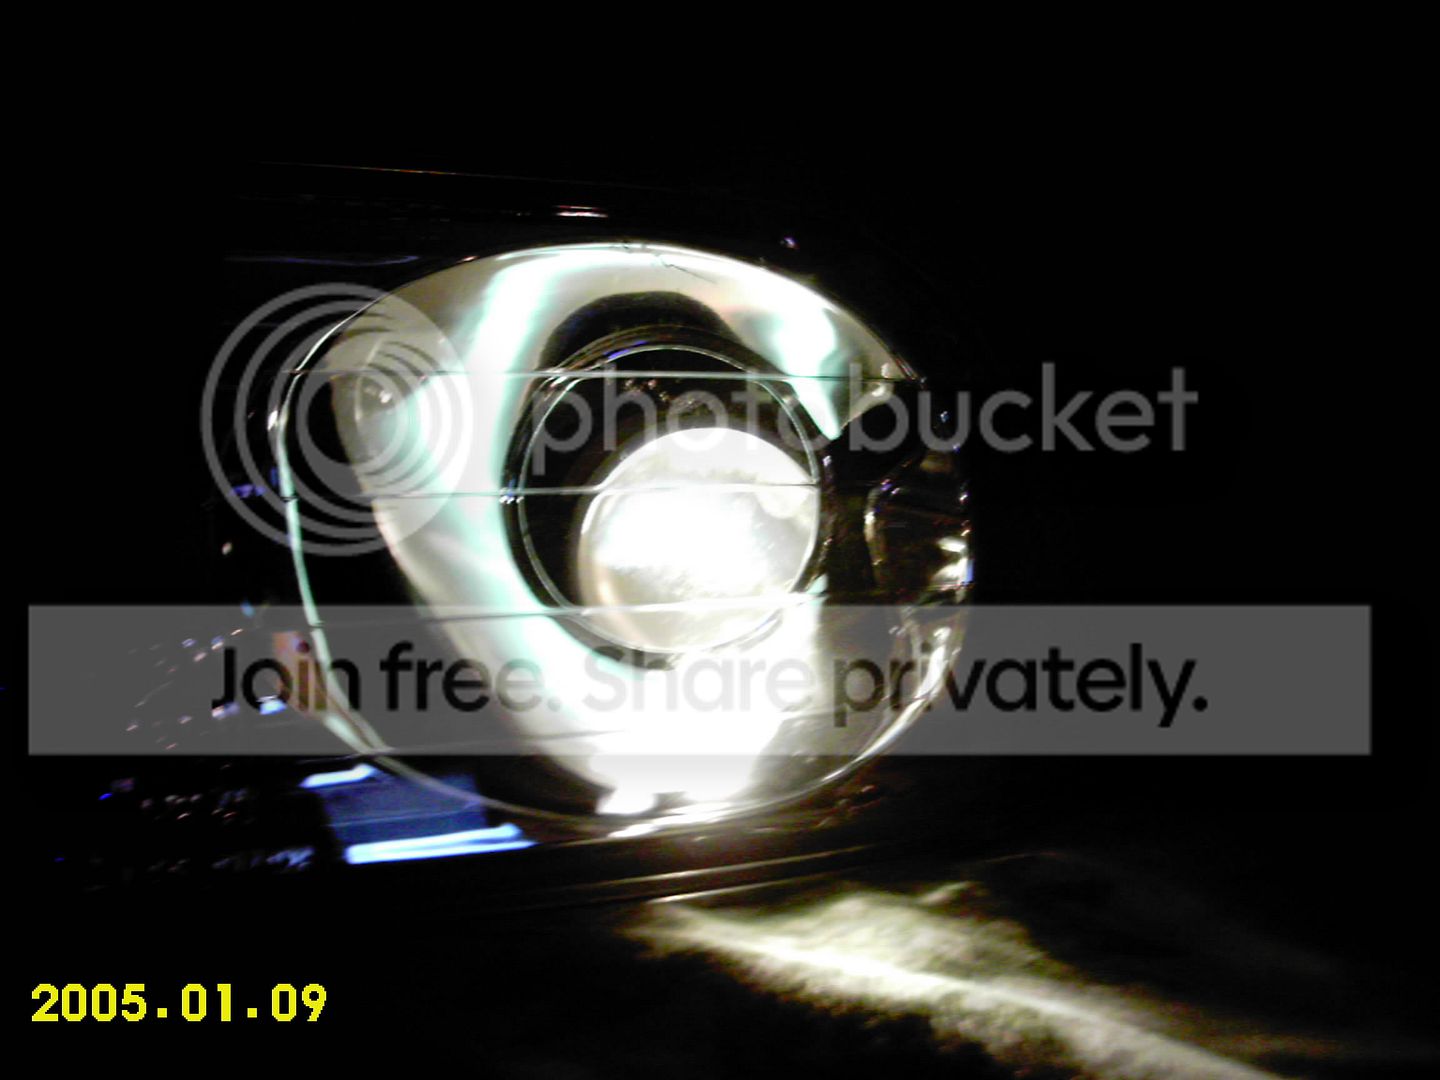
Here is a picture of ShaunTC's beam pattern. You can see how the cutoff is upside down. The cutoff should be at the top and fan out toward the bottom. I compared this to my friend's IS300 and noticed that Shaun's is incorrect. Right now I don't have pictures of my friend's IS300 but I can get them if people don't believe me.

Do not take this as a bashing on ShaunTC. He has been very helpful with this project. I just know that A LOT of people were concerned about the cut off sheild working correctly.
If you flip BOTH the housing and the projectors, the cutoff sheild will NOT work correctly. Notice how the R is upside down. Here is what I mean.
In order for the projectors to work correctly, you need switch the left and right projectors. Meaning, put the RIGHT projector in the LEFT housing and vice versa. You will only be able to use one screw now.
But here's the bad news. When you switch the projectors, they will not line up correctly. This result in a very crappy looking fog light.
In order to line up the the projectors you will need to get rid of the rubber gasket that surrounds the socket. Here's a pic of what I'm talking about.
It gets worse, you will need to angle the the projector so it lines up correctly. The results are pretty good, BUT you cant take out the socket without taking apart the housing. So I advise making sure the bulbs are in good condition and that they wont go out on you any time soon. Also, since you removed the rubber gasket, you will leave a large opening for things to get inside the housing. You might want to cover up with something. Here's a pic of the the angled projector and its results.
Here is a picture of ShaunTC's beam pattern. You can see how the cutoff is upside down. The cutoff should be at the top and fan out toward the bottom. I compared this to my friend's IS300 and noticed that Shaun's is incorrect. Right now I don't have pictures of my friend's IS300 but I can get them if people don't believe me.
Do not take this as a bashing on ShaunTC. He has been very helpful with this project. I just know that A LOT of people were concerned about the cut off sheild working correctly.


Thread
Thread Starter
Forum
Replies
Last Post