iPad Dash Install & Tutorial


Thread Starter
Junior Member
Joined: Jun 2017
Posts: 4
Hi everybody! First time posting so I figure I might as well start out with a tutorial. I did this back in the winter and complied a bunch of pictures for a nice write up for somebody looking to do an iPad install.
Materials/tools needed:
- jig saw, router, and table saw
- drill bits
- mdf
- acrylic
- CA glue and activator
- epoxy
- body filler
- Dremel with rotary cut off wheel
- masking tape
- hammer
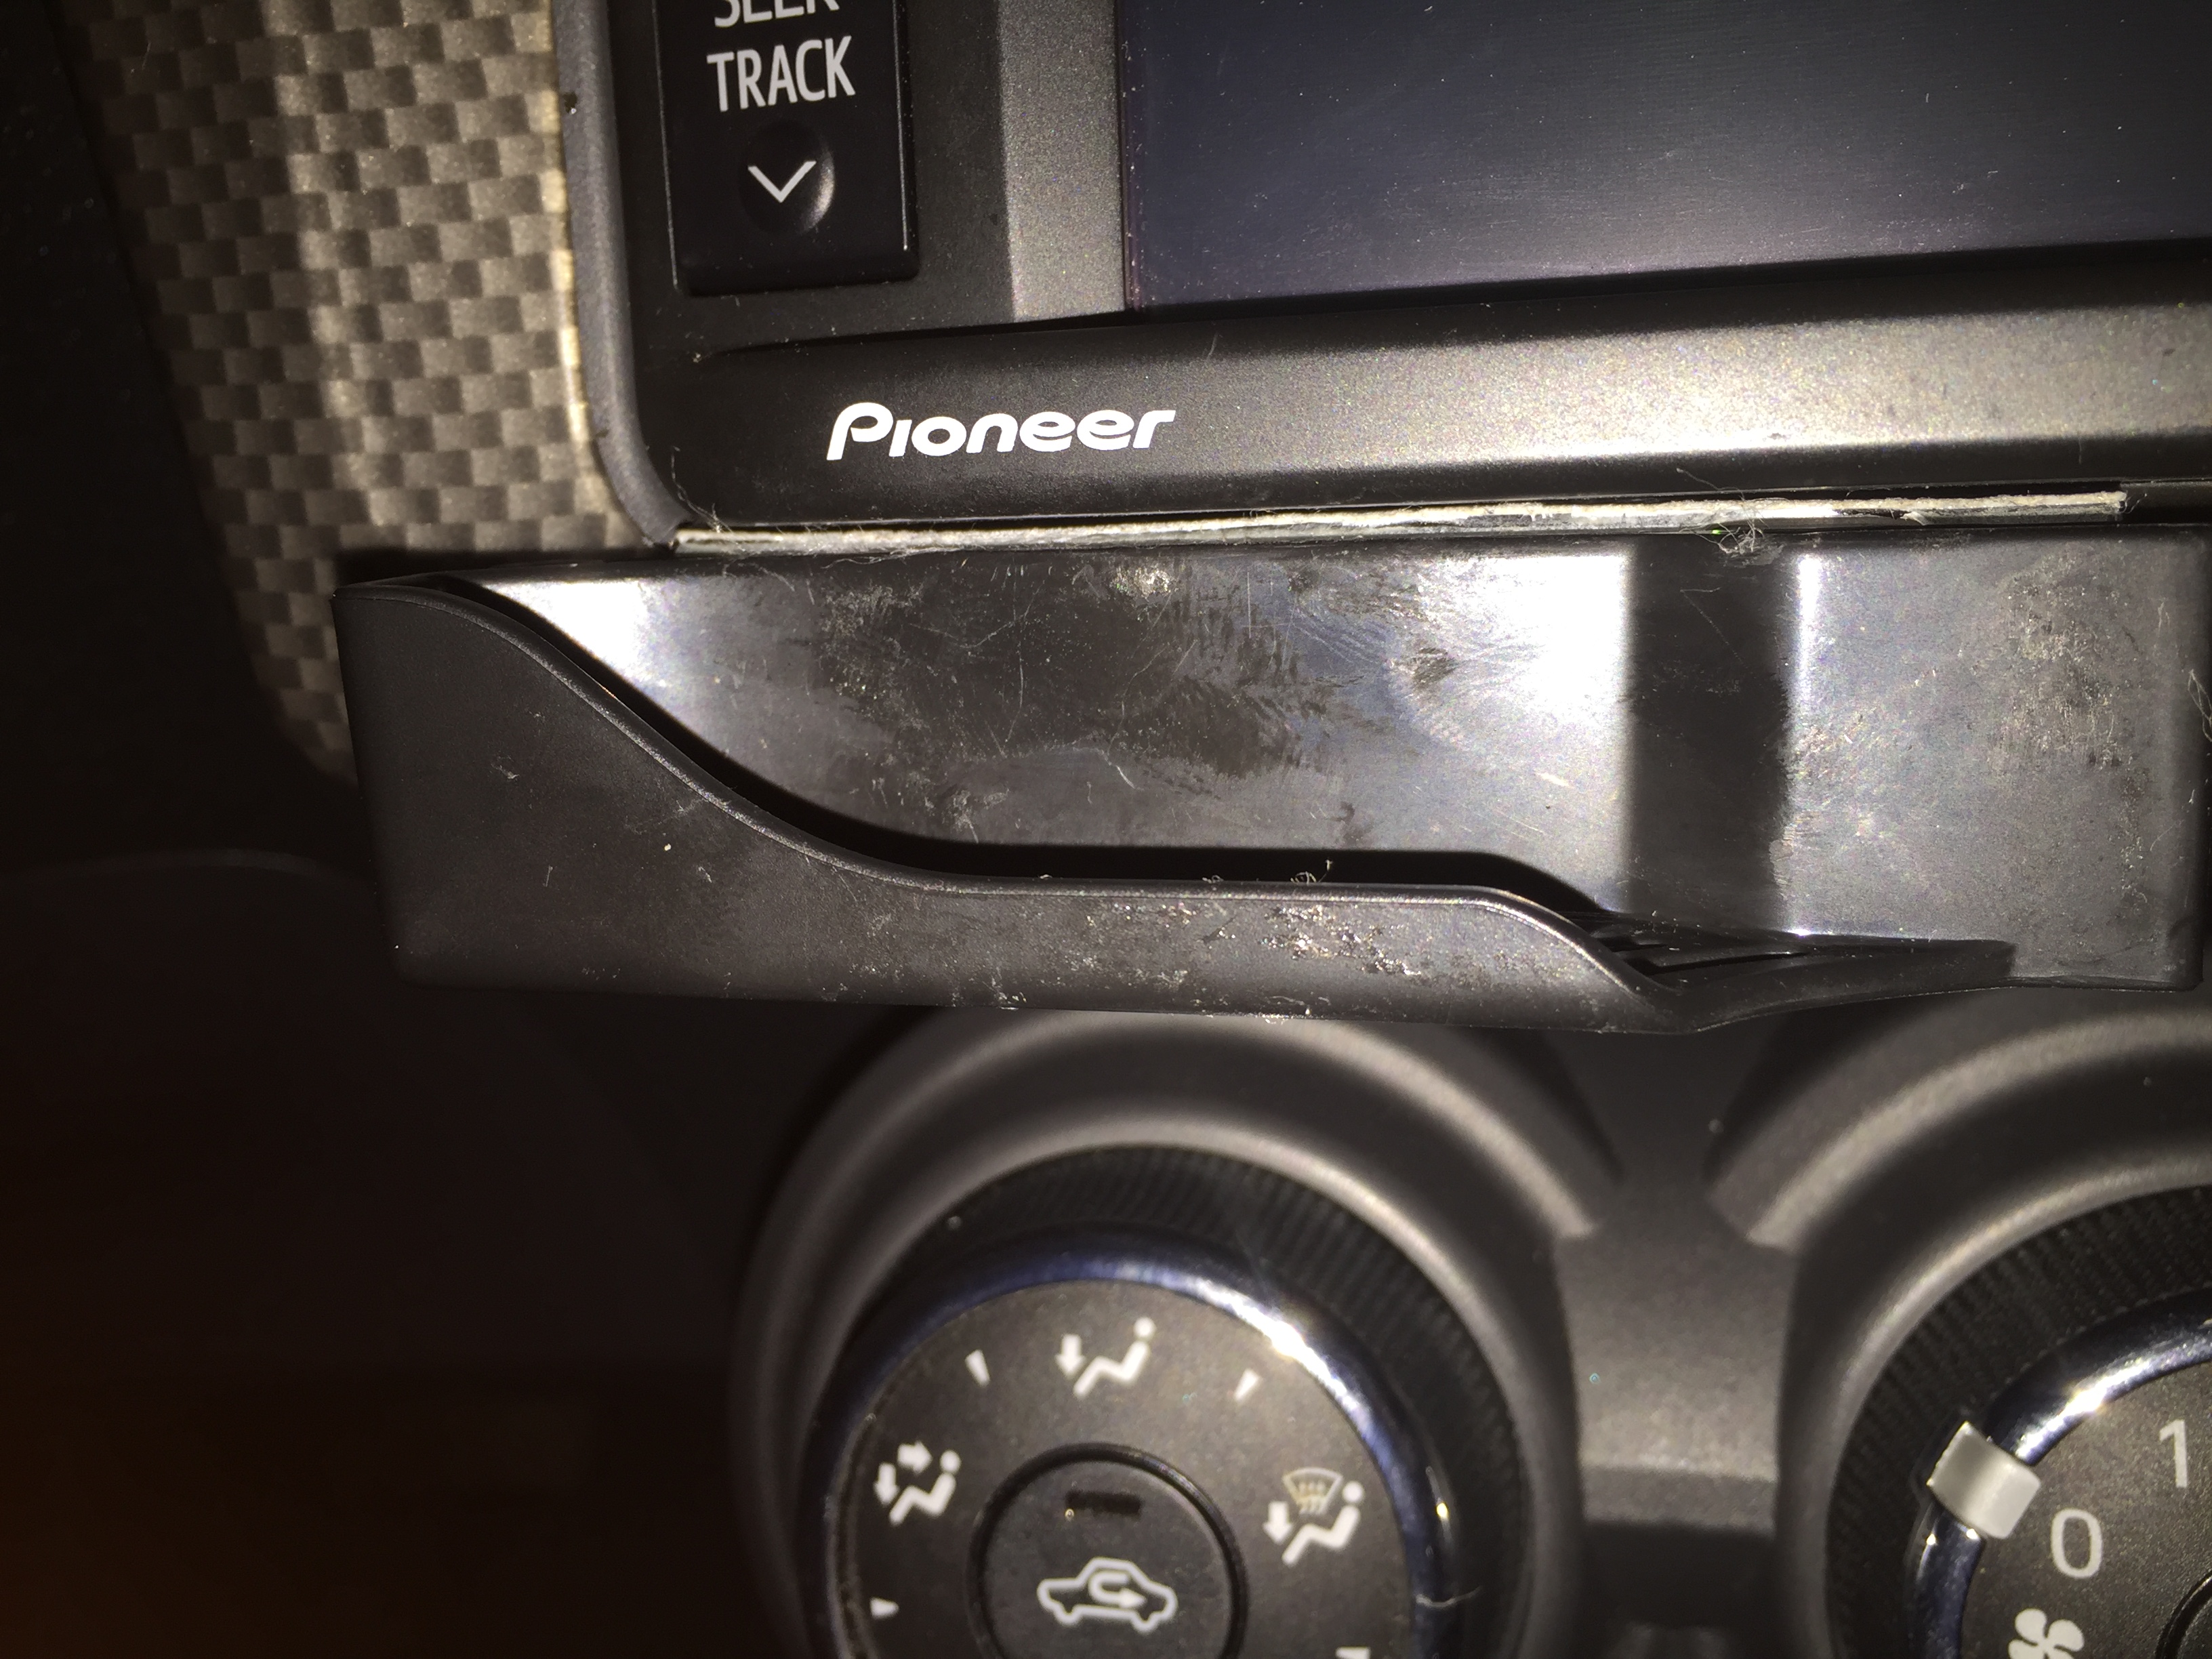
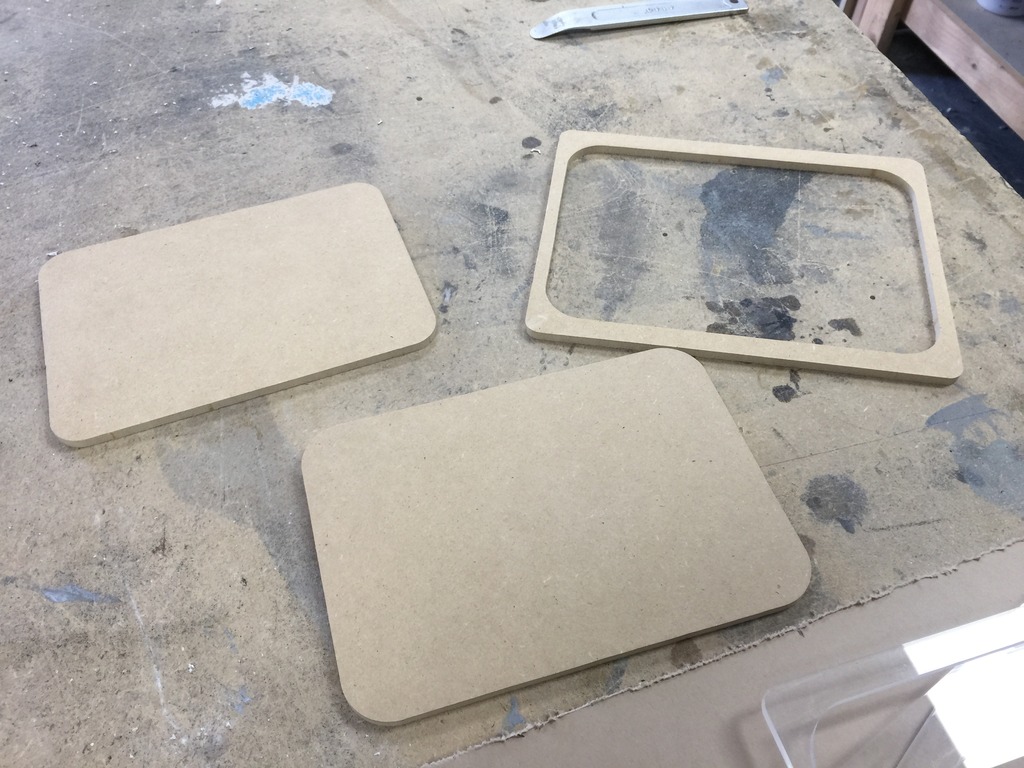
Alright so let's begin, first you need to figure out what size iPad you are going to use. I chose an iPad mini because it was what I already had plus it has a data service already attached to it. Measure the iPad you are going to use and you need to use the measurements to make the positive and negatives of the iPad. These need to be the actual size of the iPad so you can make a frame for the kit that will later be molded into the dash piece. I made my templates out of MDF and later transferred them over to acrylic.
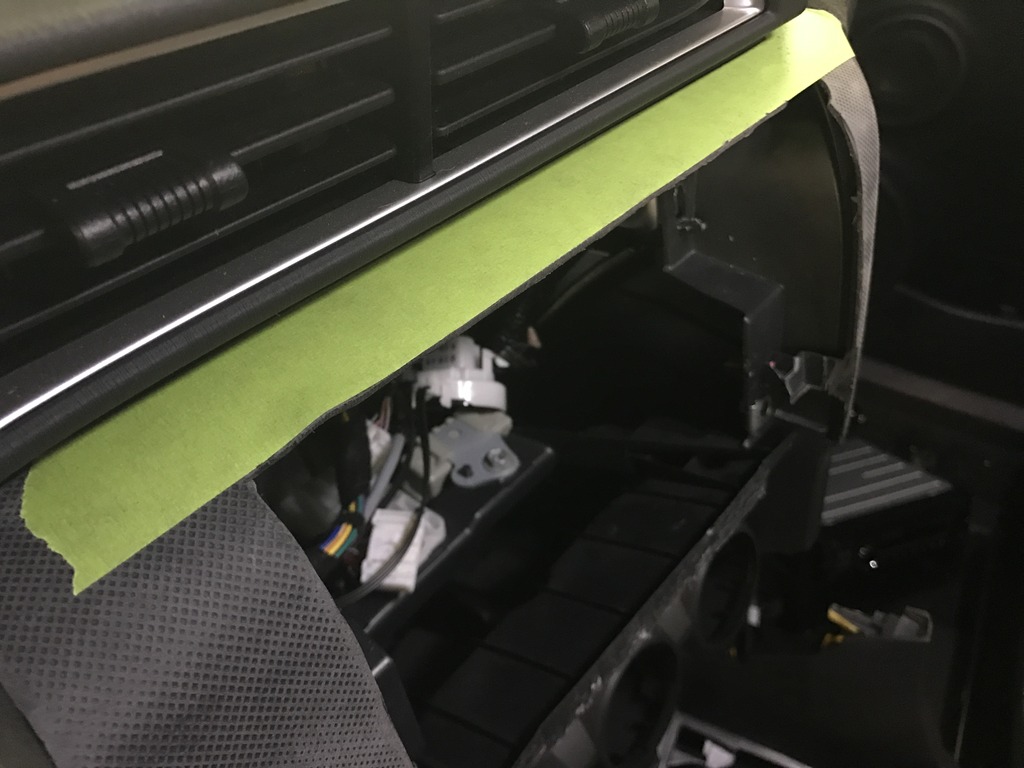
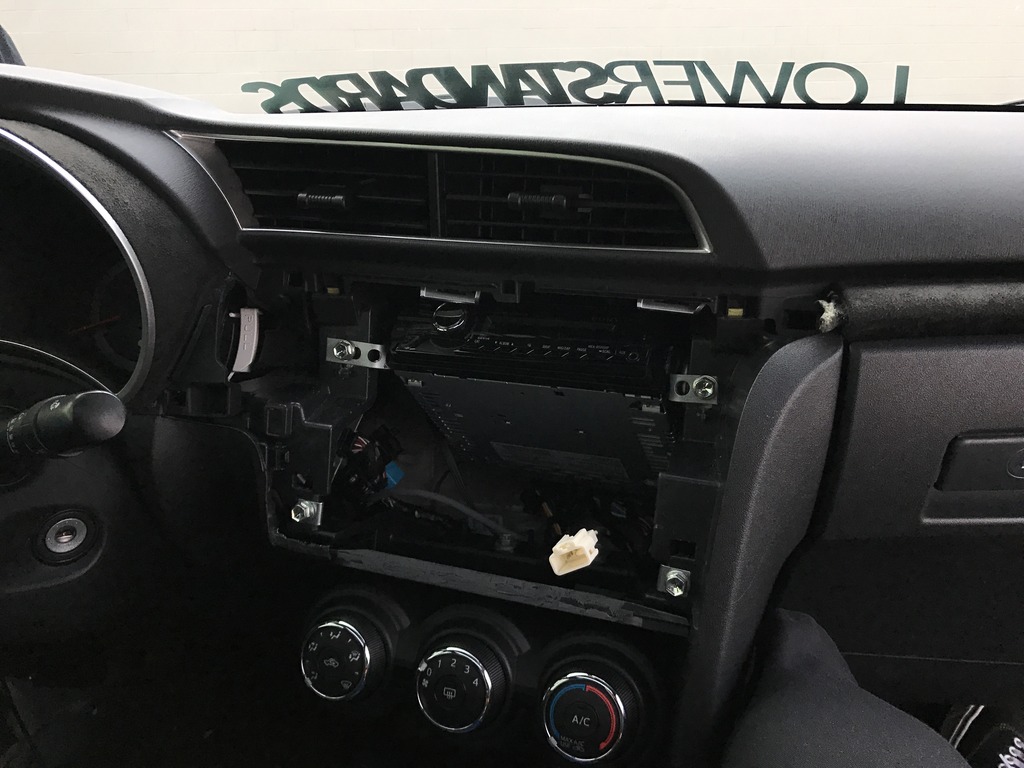
Next you need to trace onto the dash piece the outside perimeter of the frame for the iPad so you know what you need to cut. I used a dremel with a rotary wheel attachment to make sure my line was as straight as possible.
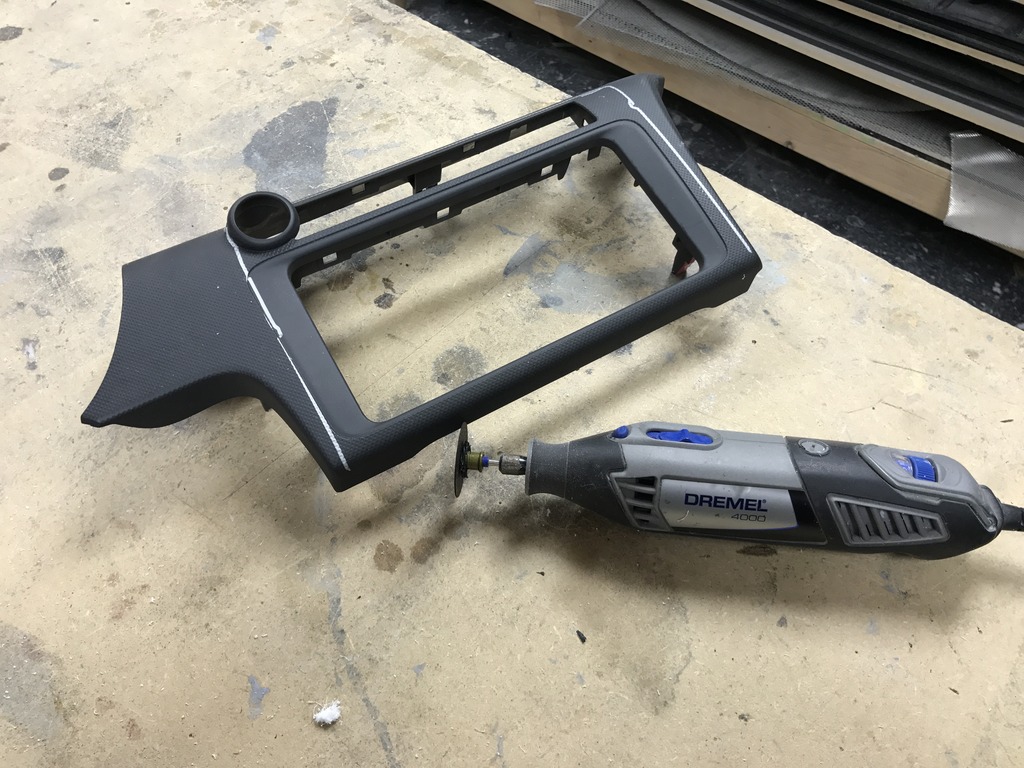
And this is what you end up with.
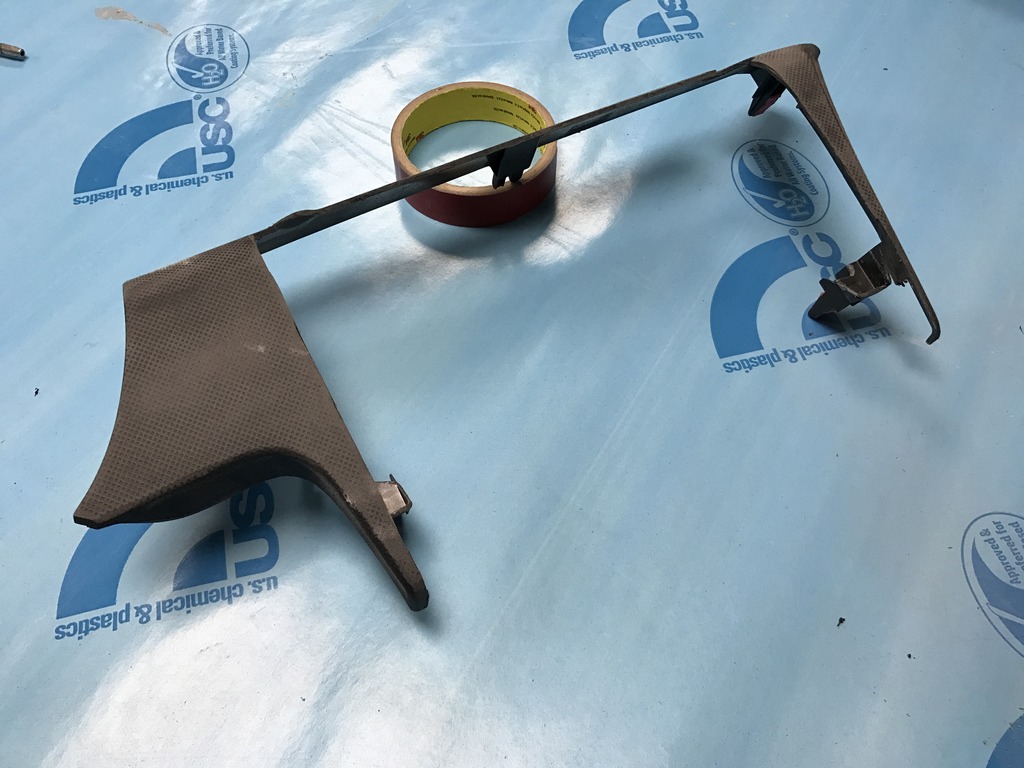
Notice how I kept all the factory clips in place, I did this that way there was no need for another way to attach the dash piece to the dashboard.
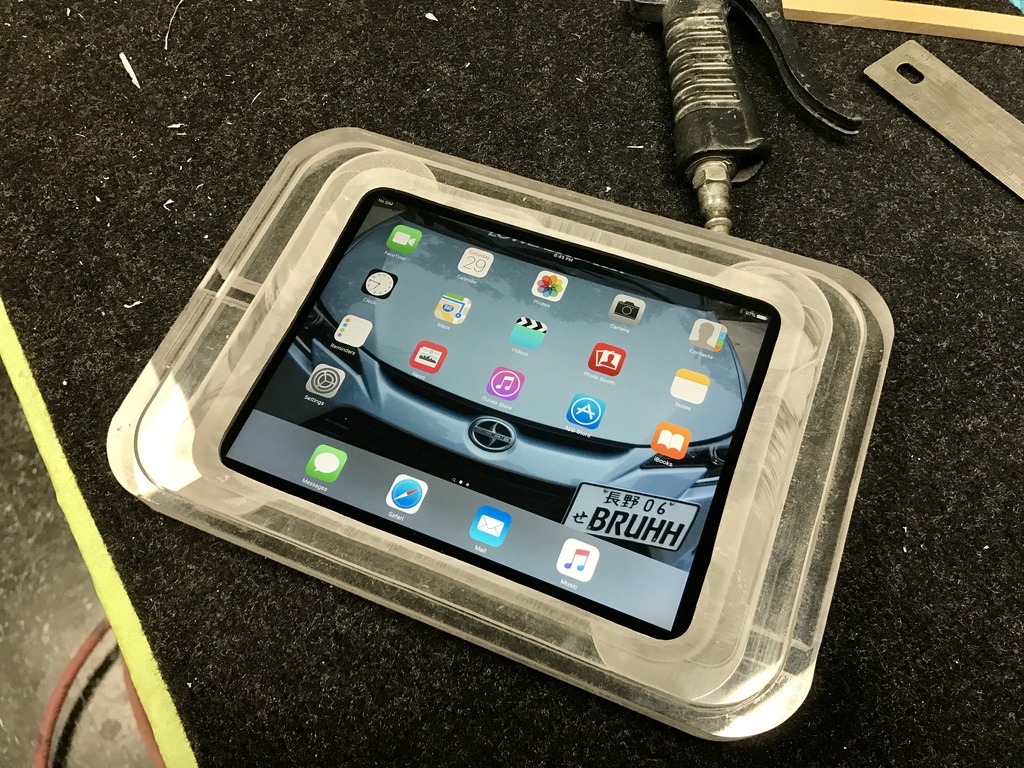
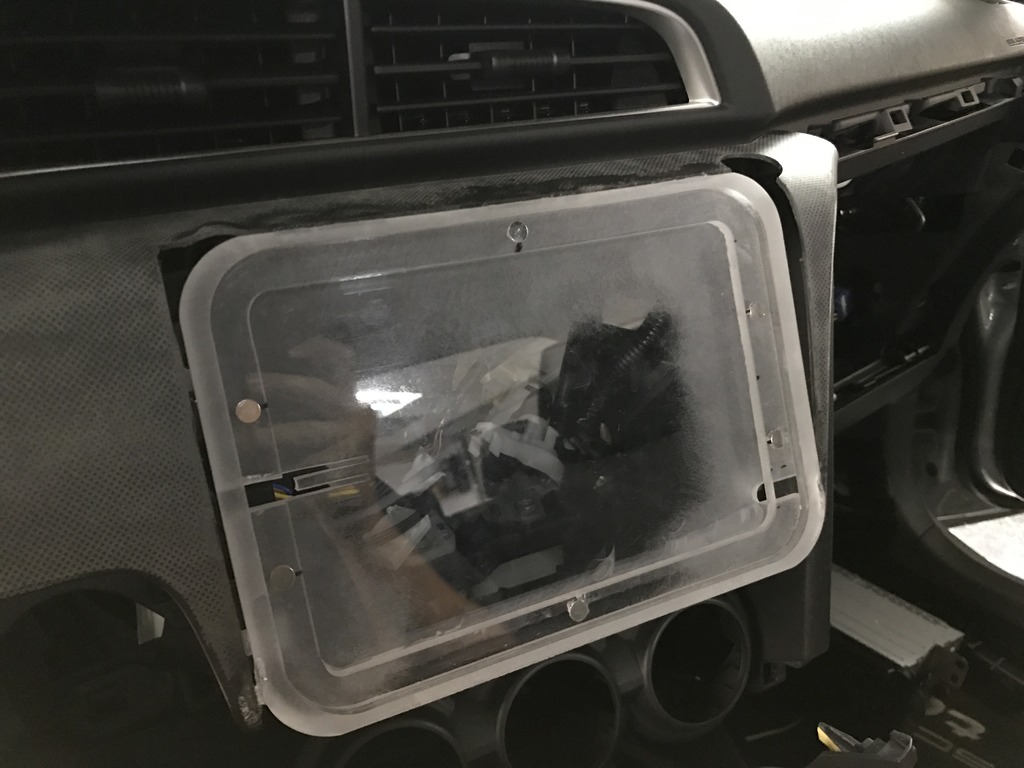
After that we need to copy over our templates for our iPad to acrylic. Acrylic is a lot stronger than MDF and will be able to withstand the abuse from ____ty roads where I live in Texas since my car is on air ride. A quick test fit and we are almost ready to glue the kit in.
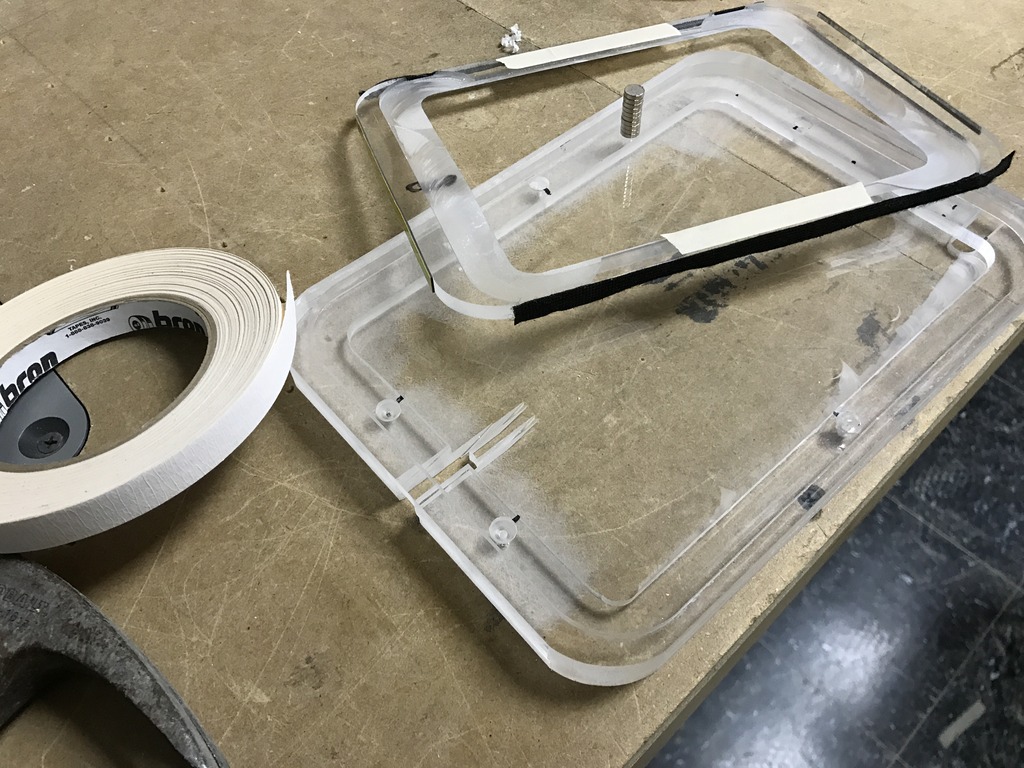
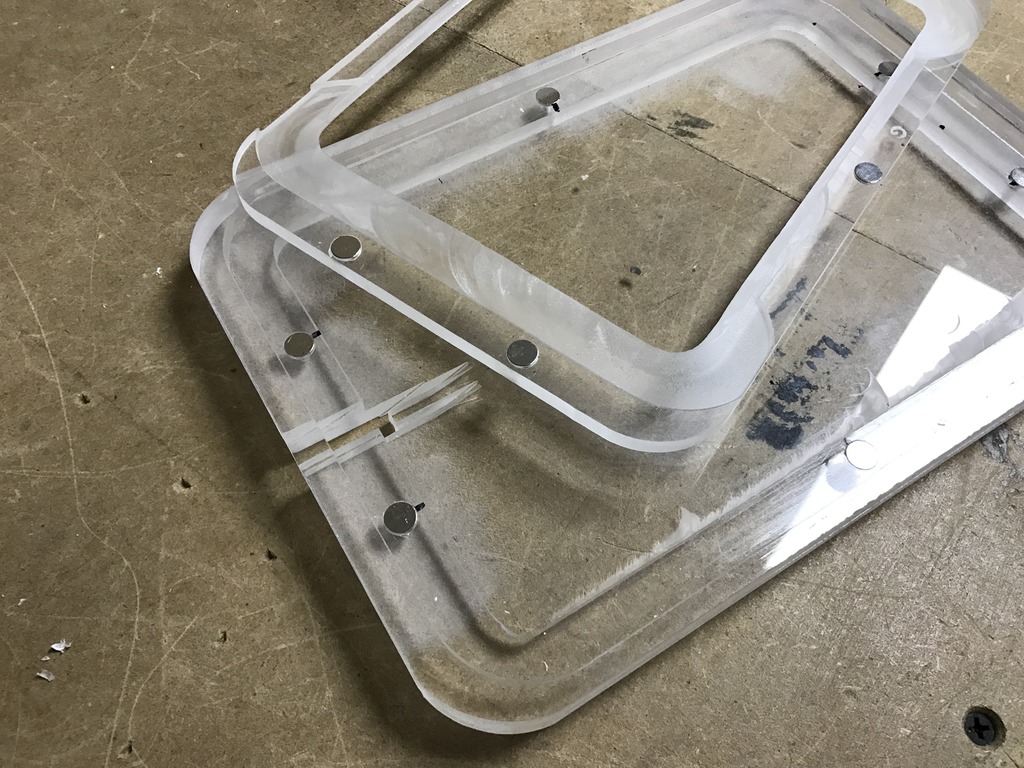
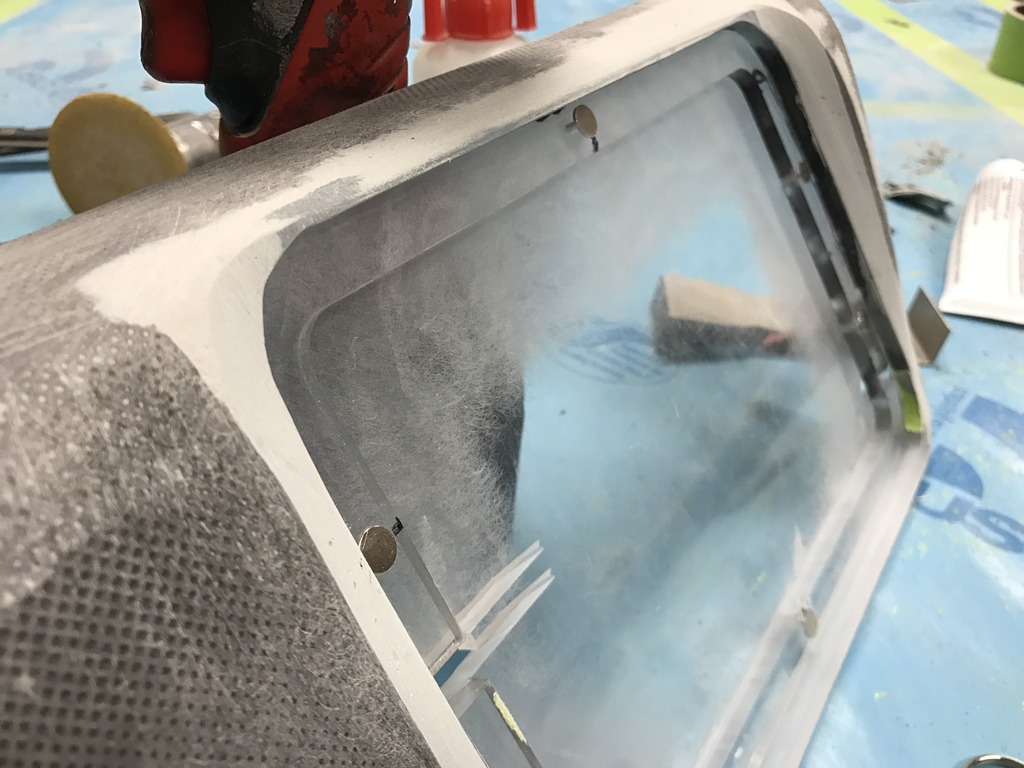
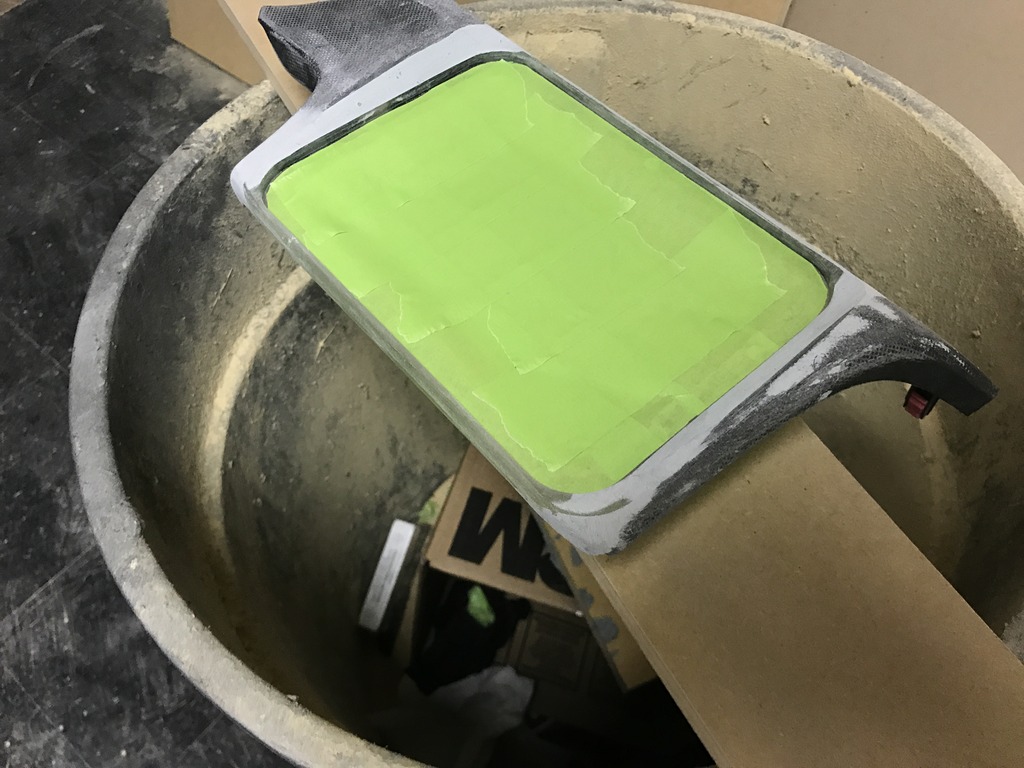
Before we glue it in we need to figure out how you want to secure your trim ring that holds the iPad in. I chose to use magnets for an easy but secured removal. I got these magnets from my local Fry's Electronics. Find the exact diameter of the magnets and use a drill bit that size to drill out the holes to mount the magnets. Doing it this way you can press the magnets in or hammer then to securely place them.

Alright so now we are ready to glue the kit so we can start bodyworking the panel. I snapped the dash piece back in so I can tape a straight line to make sure when I glue it in that the iPad is level. This next part might take two people or some skilled hands. Place the iPad kit where you want it and apply some CA glue (also known as super glue) and spray some activator so it sets instantly. Once the kit is glued in several spots, carefully remove it so you can epoxy the rest of it in.
Materials/tools needed:
- jig saw, router, and table saw
- drill bits
- mdf
- acrylic
- CA glue and activator
- epoxy
- body filler
- Dremel with rotary cut off wheel
- masking tape
- hammer
Alright so let's begin, first you need to figure out what size iPad you are going to use. I chose an iPad mini because it was what I already had plus it has a data service already attached to it. Measure the iPad you are going to use and you need to use the measurements to make the positive and negatives of the iPad. These need to be the actual size of the iPad so you can make a frame for the kit that will later be molded into the dash piece. I made my templates out of MDF and later transferred them over to acrylic.

Next you need to trace onto the dash piece the outside perimeter of the frame for the iPad so you know what you need to cut. I used a dremel with a rotary wheel attachment to make sure my line was as straight as possible.

And this is what you end up with.

Notice how I kept all the factory clips in place, I did this that way there was no need for another way to attach the dash piece to the dashboard.
After that we need to copy over our templates for our iPad to acrylic. Acrylic is a lot stronger than MDF and will be able to withstand the abuse from ____ty roads where I live in Texas since my car is on air ride. A quick test fit and we are almost ready to glue the kit in.


Before we glue it in we need to figure out how you want to secure your trim ring that holds the iPad in. I chose to use magnets for an easy but secured removal. I got these magnets from my local Fry's Electronics. Find the exact diameter of the magnets and use a drill bit that size to drill out the holes to mount the magnets. Doing it this way you can press the magnets in or hammer then to securely place them.


Alright so now we are ready to glue the kit so we can start bodyworking the panel. I snapped the dash piece back in so I can tape a straight line to make sure when I glue it in that the iPad is level. This next part might take two people or some skilled hands. Place the iPad kit where you want it and apply some CA glue (also known as super glue) and spray some activator so it sets instantly. Once the kit is glued in several spots, carefully remove it so you can epoxy the rest of it in.


Thread Starter
Junior Member
Joined: Jun 2017
Posts: 4
Part 2
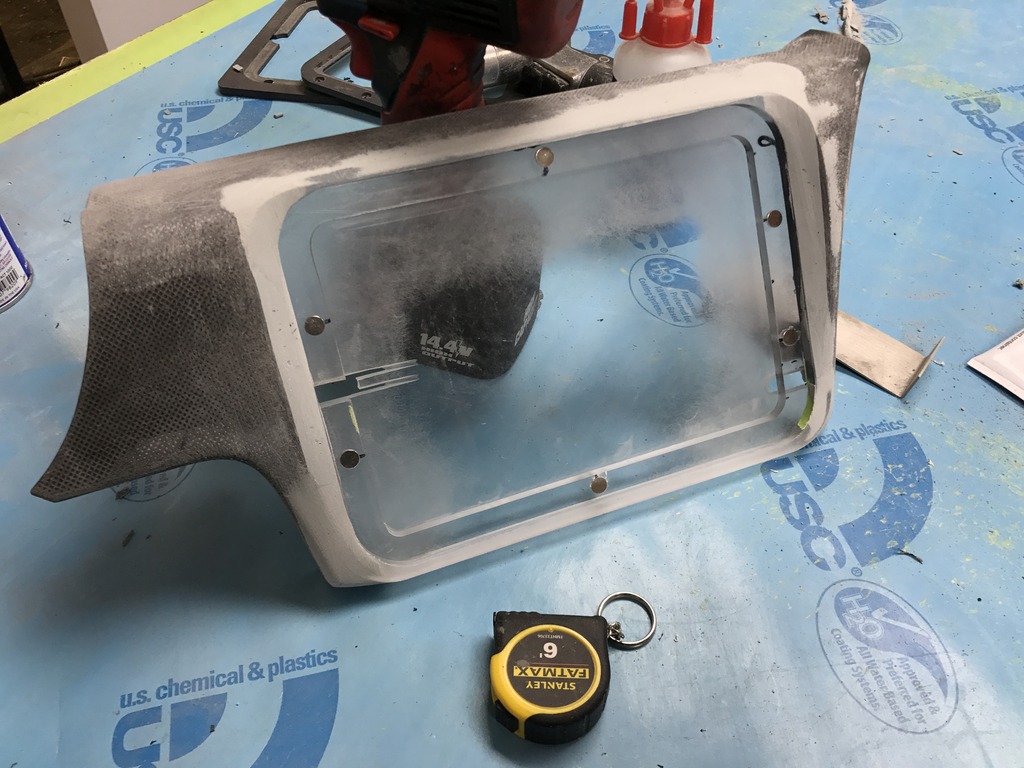
The CA glue is not strong enough to hold the kit in so you can use epoxy to bond the two together.
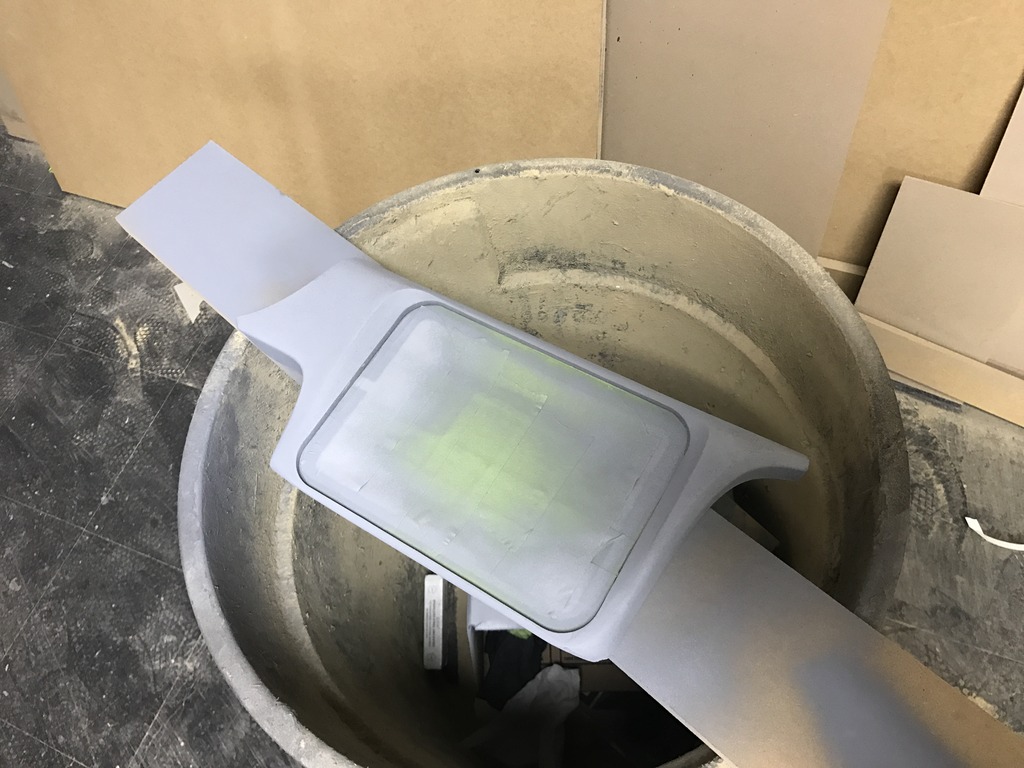
After that you ready to move on to the body working stage. I started out with a fiberglass infused body filler for strength. After the body filler drys you can sand the excess away, use 36 or 80 grit sand paper to get the shape you want. I didn't want just a flat panel so I added some edges to my dash piece that resembled the factory piece. Next I mixed up a light weight body filler to fill in all the imperfections and holes to get it smooth.
I unfortunately don't have many pictures during this process because this part can get very dirty /:
Once it's smooth I sprayed some high build primer and gave it once last sand with 220 grit and 400 grit to get it ready for the upholstery part.
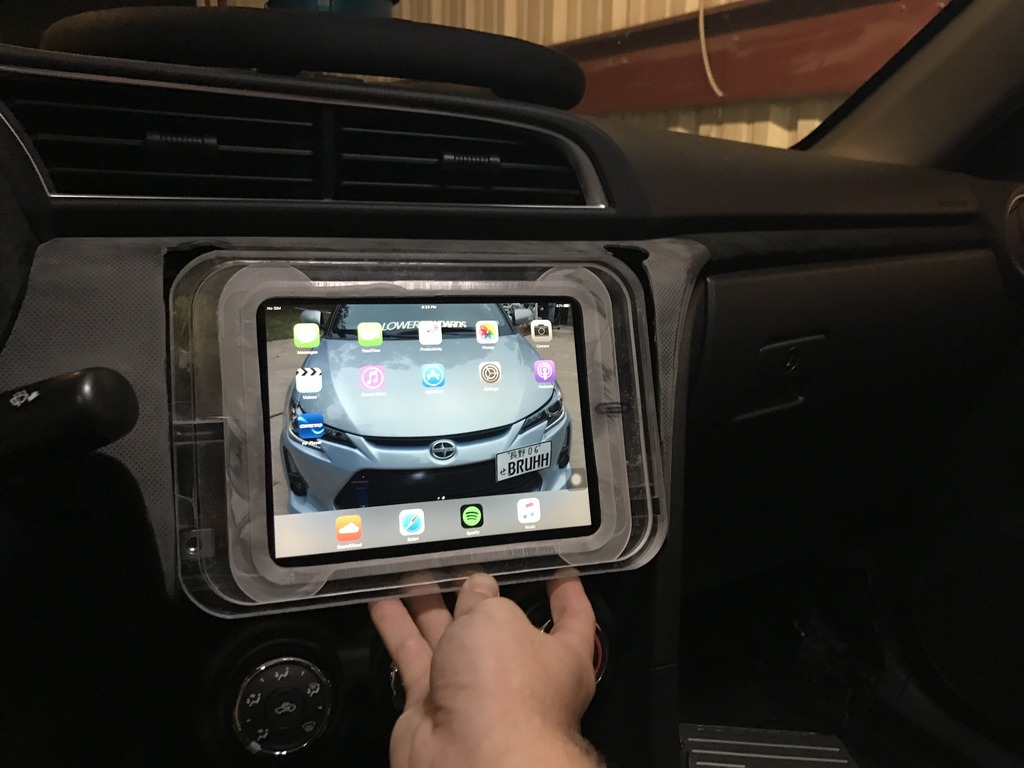
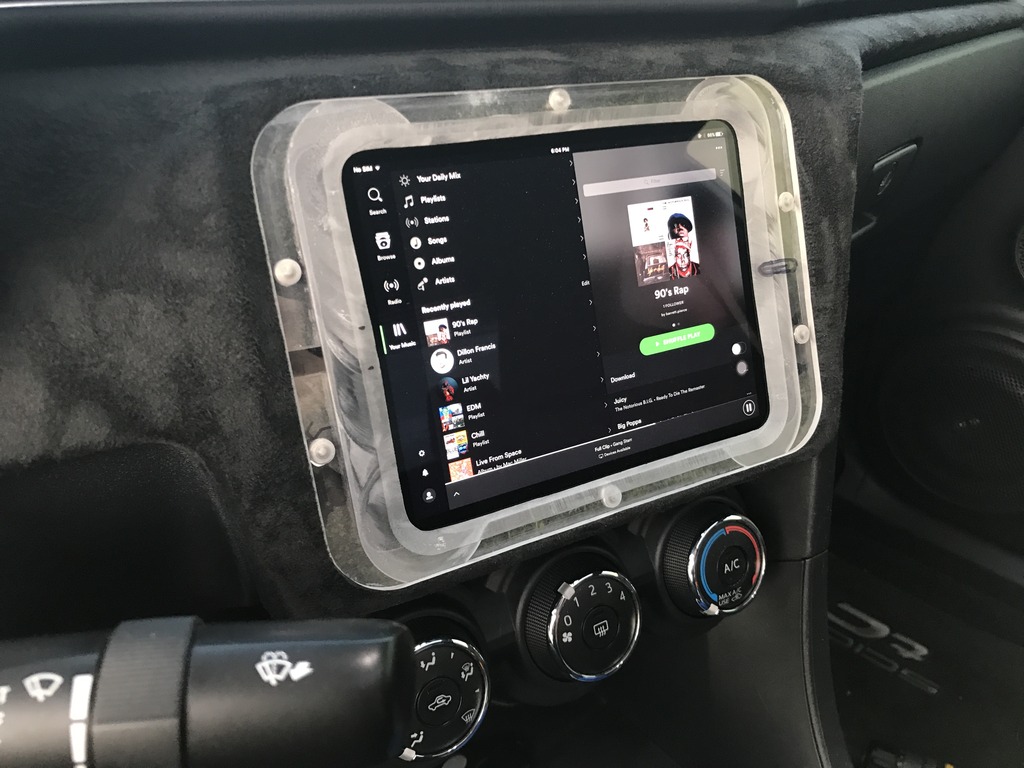
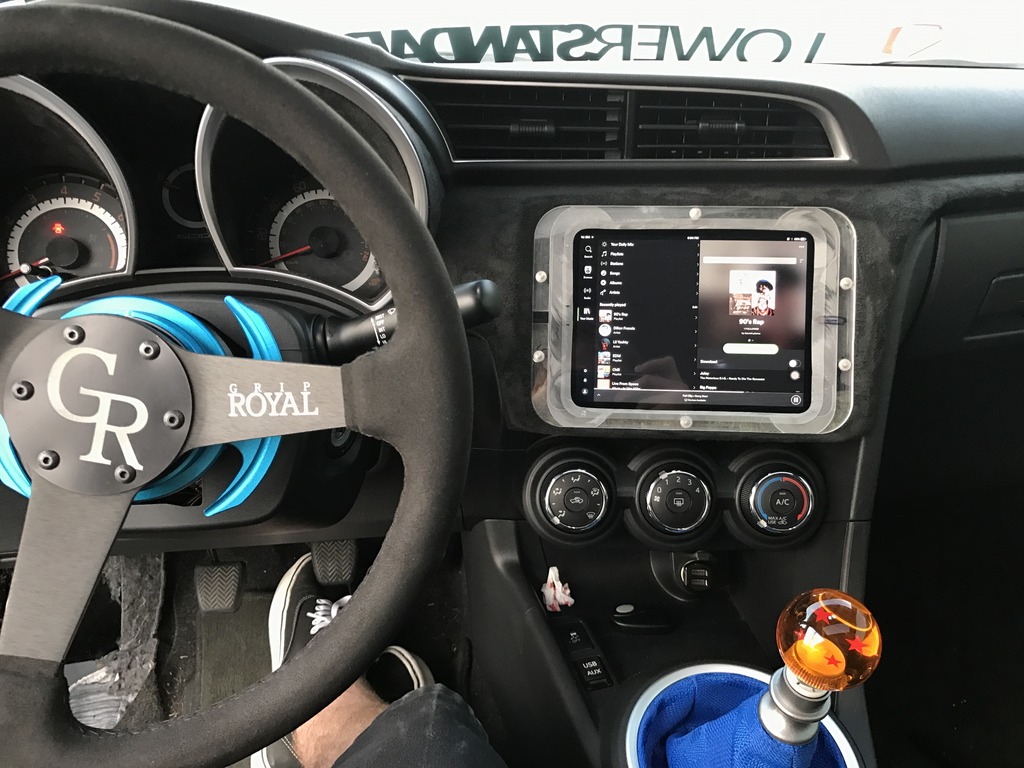
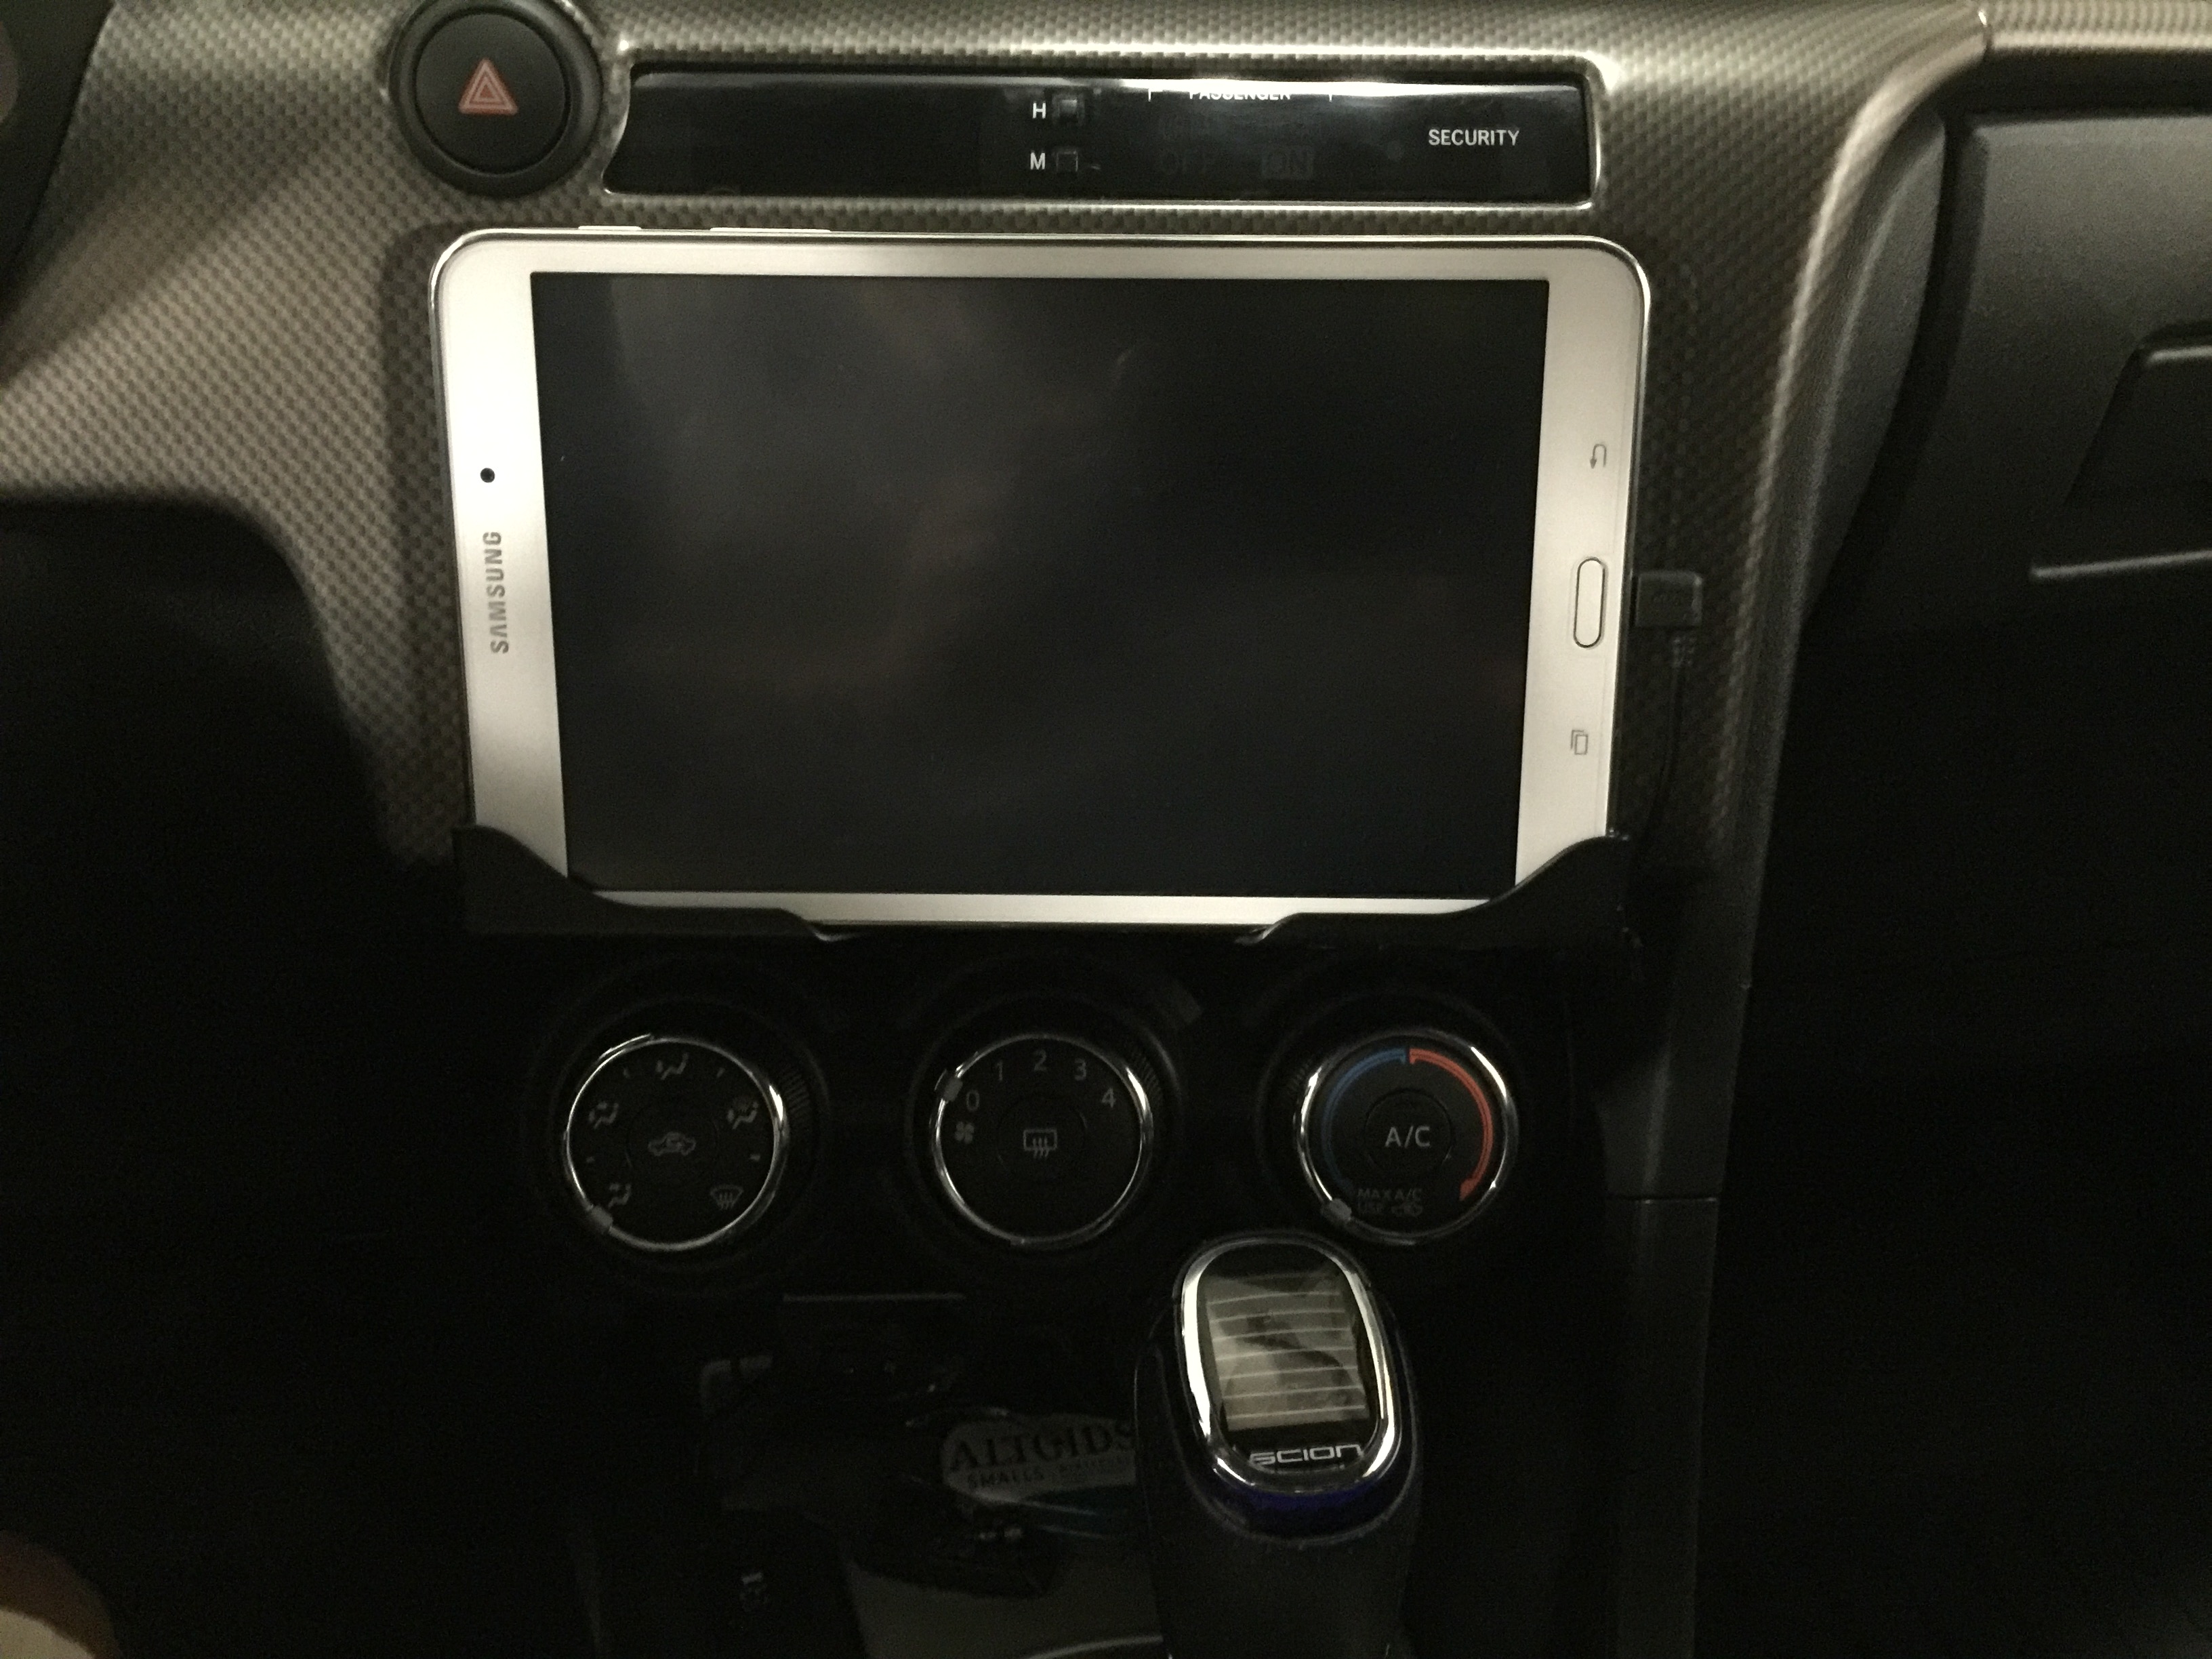
I wrapped my dash piece in suede to match the other panels in my car, and this is the finished product! I still need to paint the trim ring but other than that it's done.
I have a Sony radio mounted behind my iPad using an app called Songpal on my iPad to control the radio.
Thank you for reading my tutorial! If you have any questions about this feel free to ask!
The CA glue is not strong enough to hold the kit in so you can use epoxy to bond the two together.
After that you ready to move on to the body working stage. I started out with a fiberglass infused body filler for strength. After the body filler drys you can sand the excess away, use 36 or 80 grit sand paper to get the shape you want. I didn't want just a flat panel so I added some edges to my dash piece that resembled the factory piece. Next I mixed up a light weight body filler to fill in all the imperfections and holes to get it smooth.
I unfortunately don't have many pictures during this process because this part can get very dirty /:


Once it's smooth I sprayed some high build primer and gave it once last sand with 220 grit and 400 grit to get it ready for the upholstery part.


I wrapped my dash piece in suede to match the other panels in my car, and this is the finished product! I still need to paint the trim ring but other than that it's done.
I have a Sony radio mounted behind my iPad using an app called Songpal on my iPad to control the radio.


Thank you for reading my tutorial! If you have any questions about this feel free to ask!

Administrator

SL Member
Administrator
Joined: Dec 2007
Posts: 2,583
From: State of Confusion: CA
Excellent Job! And a Great DIY!
Thank you
MR_LUV
Super Moderator
*I made it a Sticky and also
Copy over to tC G2 Tech and DIY Forum
Thank you
MR_LUV
Super Moderator
*I made it a Sticky and also
Copy over to tC G2 Tech and DIY Forum

 PIC II