


"StormTrooper" tC2 Build


Thread Starter
Senior Member

SL Member
Joined: Nov 2011
Posts: 315
From: Atlanta, GA

Yeah I didn't think about that until right now. Good call. On another note, just tracked tracking and Injen CAI is scheduled to arrive today!!! I will post install pics and video once I am finished.

Senior Member

SL Member
Joined: Aug 2010
Posts: 325
From: Jacksonville, FL
Awesome for Turkey day enjoyment
Thread Starter
Senior Member
SL Member
Joined: Nov 2011
Posts: 315
From: Atlanta, GA
Only mods I've really done is debadge tc from hatch, wrap ac line with insulation tape and remove A pillar vinyl. If it wasn't so close to Christmas I would be buying all kinds of ish. Trust me, its killing me to not spend all my $ on my "stormtrooper" right now.
Thread Starter
Senior Member
SL Member
Joined: Nov 2011
Posts: 315
From: Atlanta, GA
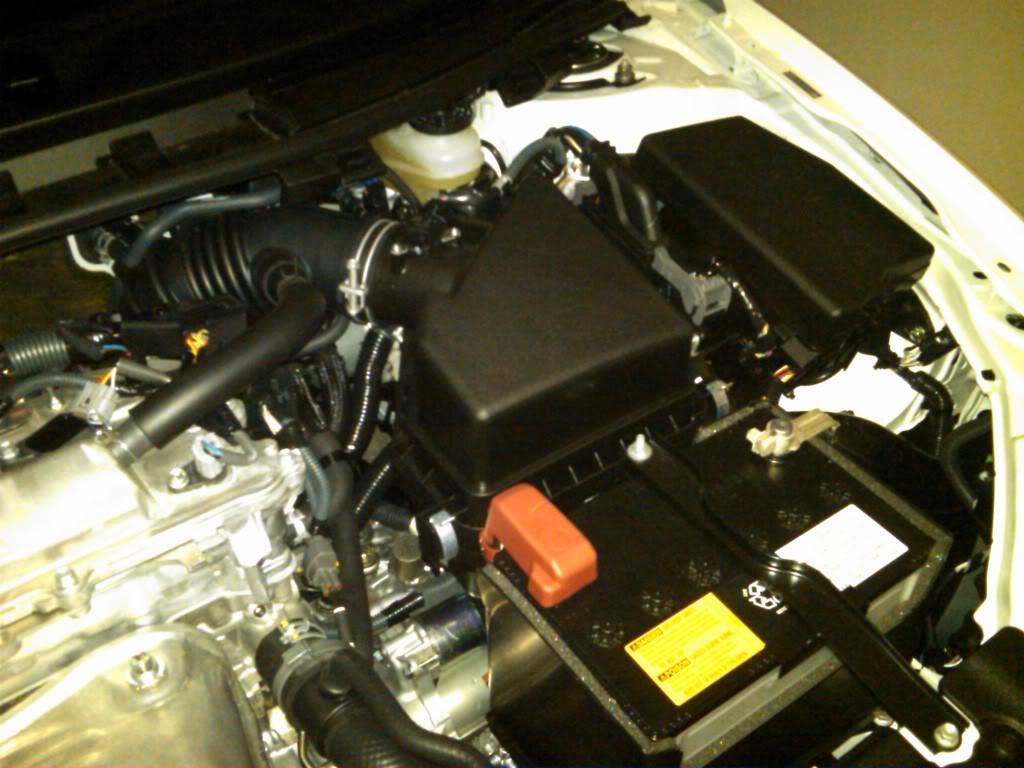
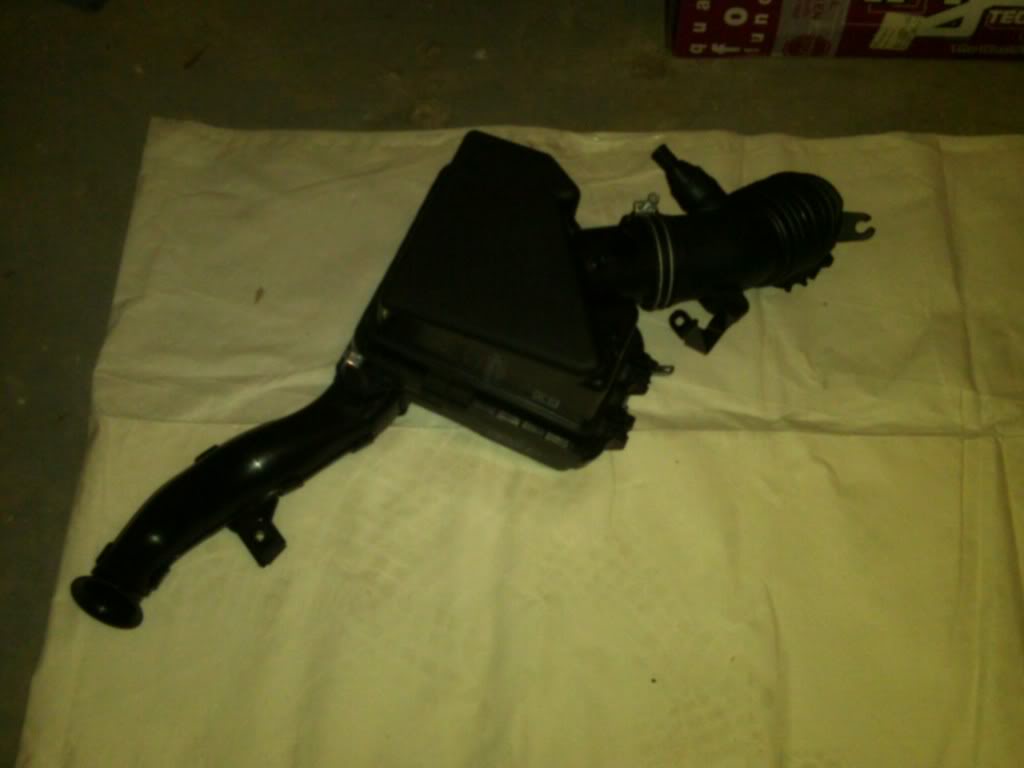
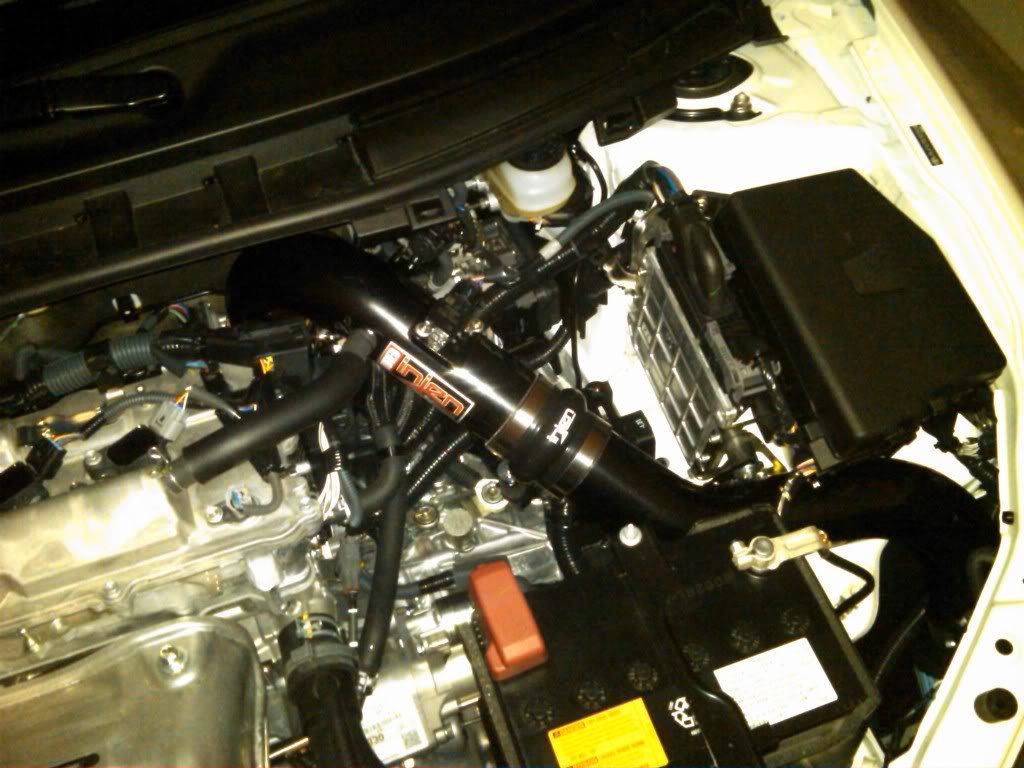
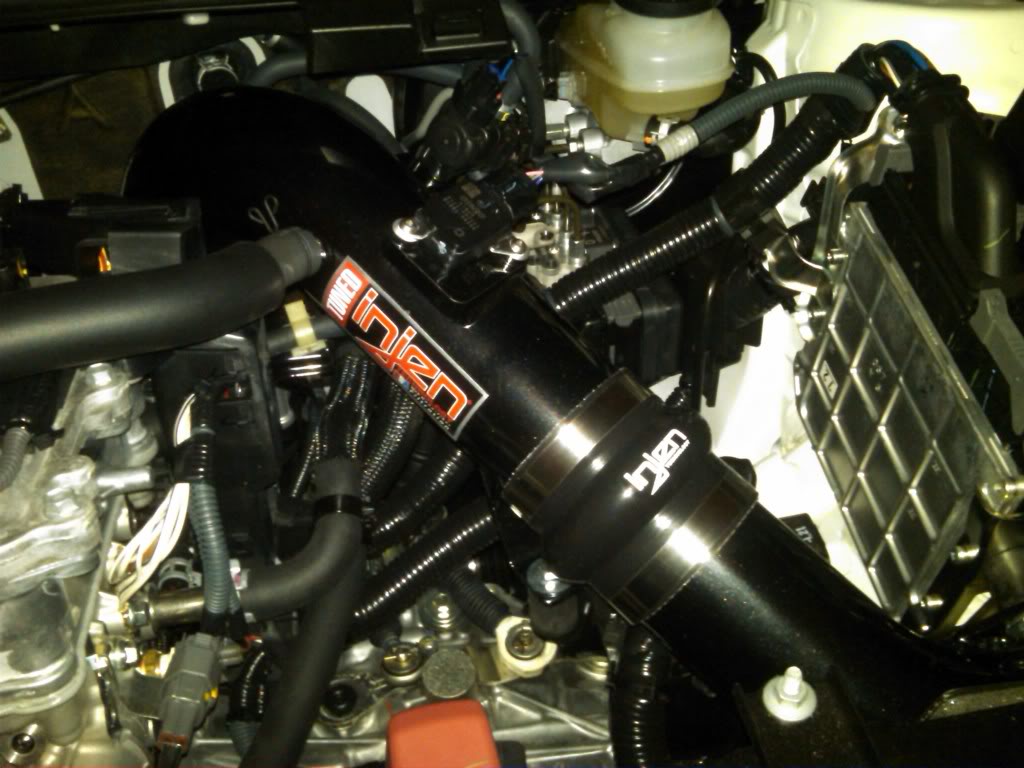
So I got my Injen CAI tonight after waiting all day for UPS to show up, better late than never I suppose. Sounds and looks great!
Before:
Out with the old:
Here is the new:

Install complete:
Another finished shot:
Before:
Out with the old:
Here is the new:
Install complete:
Another finished shot:

DaYUUM/Scion Evolution

SL Member
Joined: Jan 2011
Posts: 3,538
From: Southern California
Only mods I've really done is debadge tc from hatch, wrap ac line with insulation tape and remove A pillar vinyl. If it wasn't so close to Christmas I would be buying all kinds of ish. Trust me, its killing me to not spend all my $ on my "stormtrooper" right now.
lol just kidding!
Thread Starter
Senior Member
SL Member
Joined: Nov 2011
Posts: 315
From: Atlanta, GA
Okay so it's been a while since I've been on here. Work and school have been hell on my time with my stormtrooper. I have some updated pics coming tonight. It's been a long two days and night doing what I've been doing. The results are looking amazing though. Pictures tonight!
Thread Starter
Senior Member
SL Member
Joined: Nov 2011
Posts: 315
From: Atlanta, GA
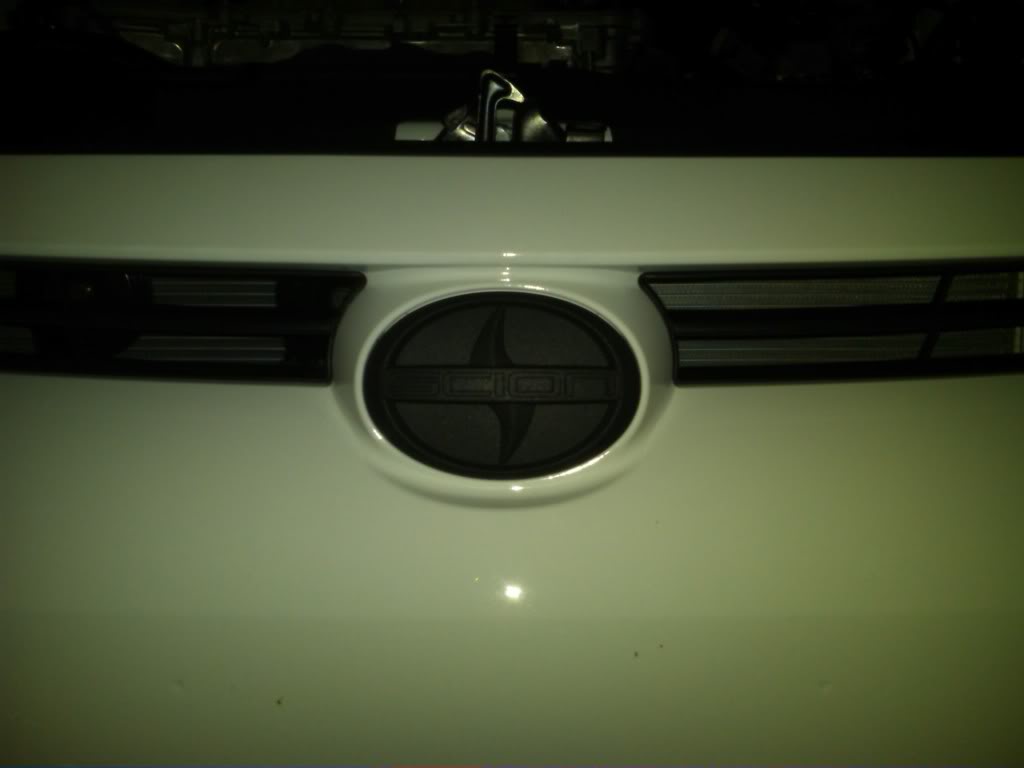
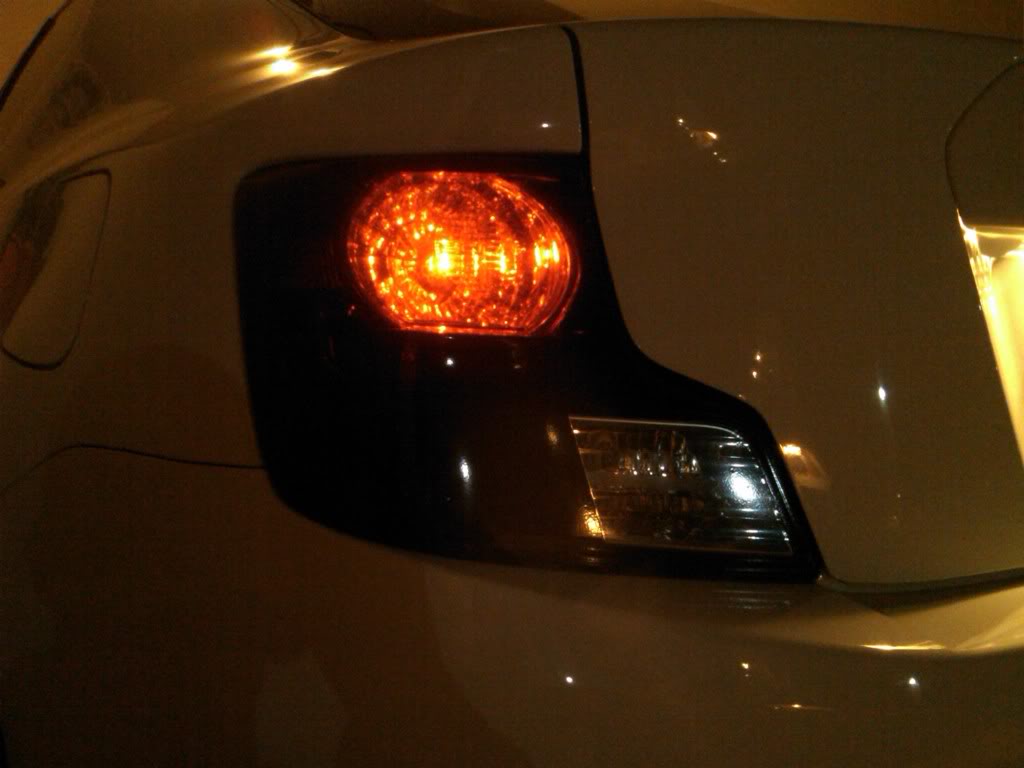
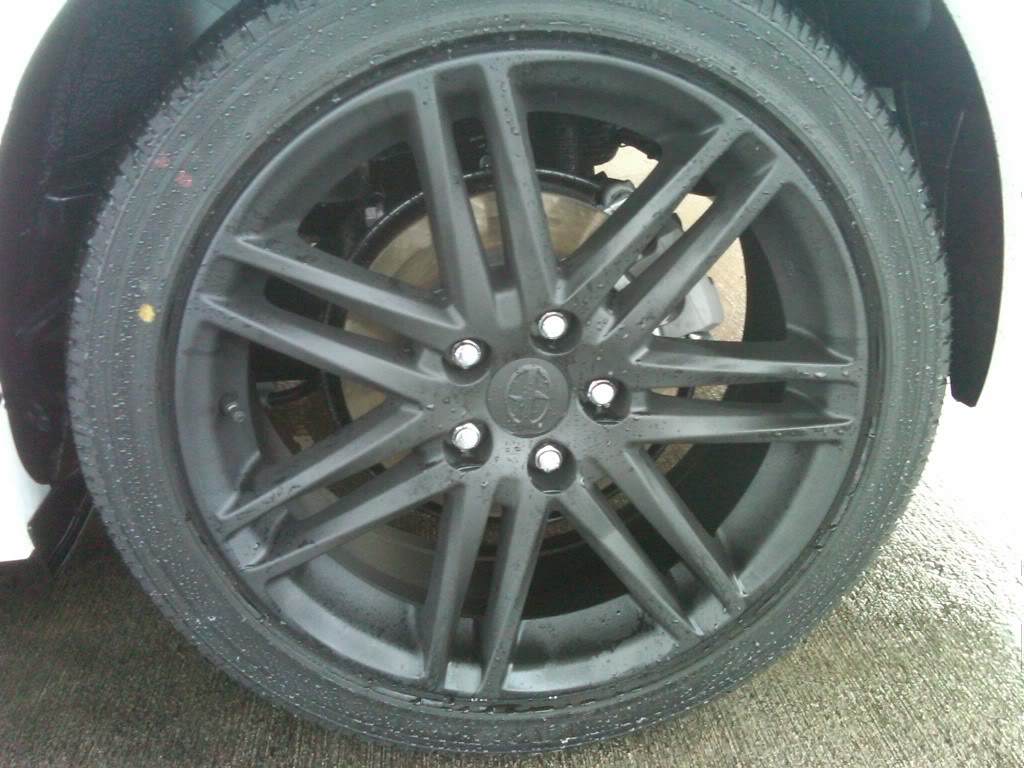
Alright after a few days and nights of work here are the results. Plasti dip wheel, center caps, valve stem caps and front scion logo. VHT nite shades tail lights. This weekend I will be doing the third brake light and plasti dip rear scion logo (how did I forget these in the first place? Here are some pictures hope you enjoy.
Materials used for wheels and badges: plasti dip $7 a can at Lowes, I maybe have half a can left over.
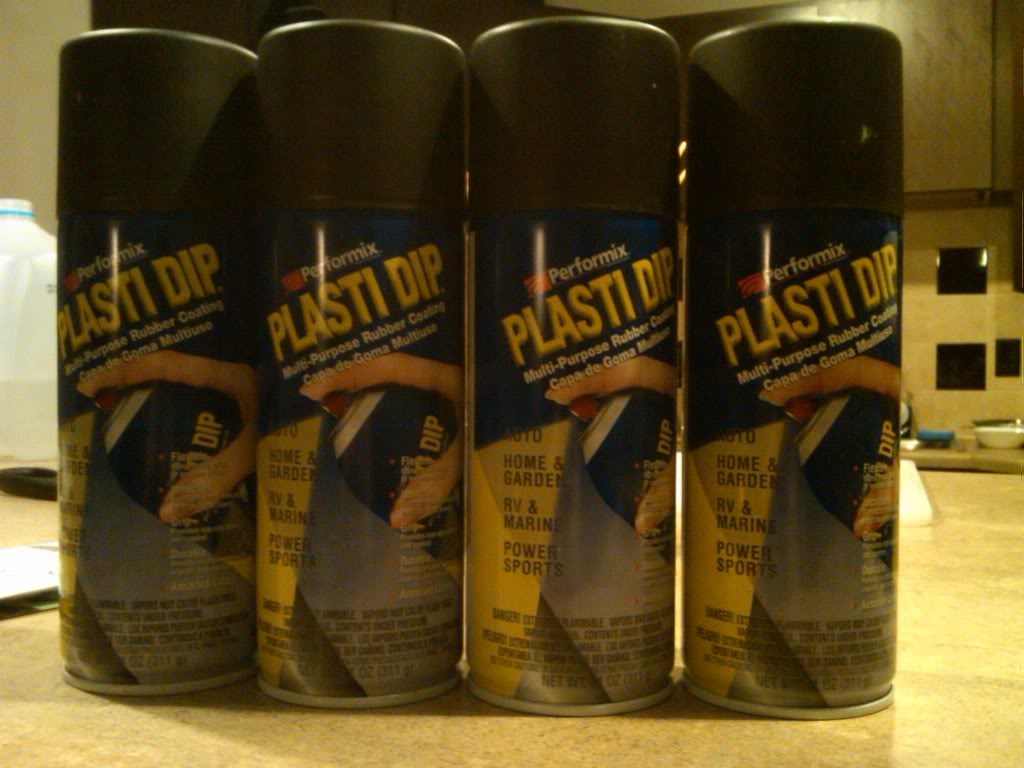
Material used for tail lights: VHT Nite Shades $13 ea, Dupli Color clear coat $7 ea and 2400 grit sand paper (from my micro mesh kit) disregard sandpaper in picture, NOT used. (600 grit)

For the wheels I put my car on jacks, removed the wheels and clean them thoroughly. I only use Meguiars to clean my car and I used the Hot Rims All Wheel Cleaner. I used a toothbrush to clean around the weights and on the inside tracks on the inside of the wheels. Hand dried and then let air dry for a few minutes. I then taped and cover the mounting surface of the wheel and the valve stem area. After that you will want to protect the tire itself from overspray. I forgot to get index cards so I improvised. You're now ready to begin the inside applying.
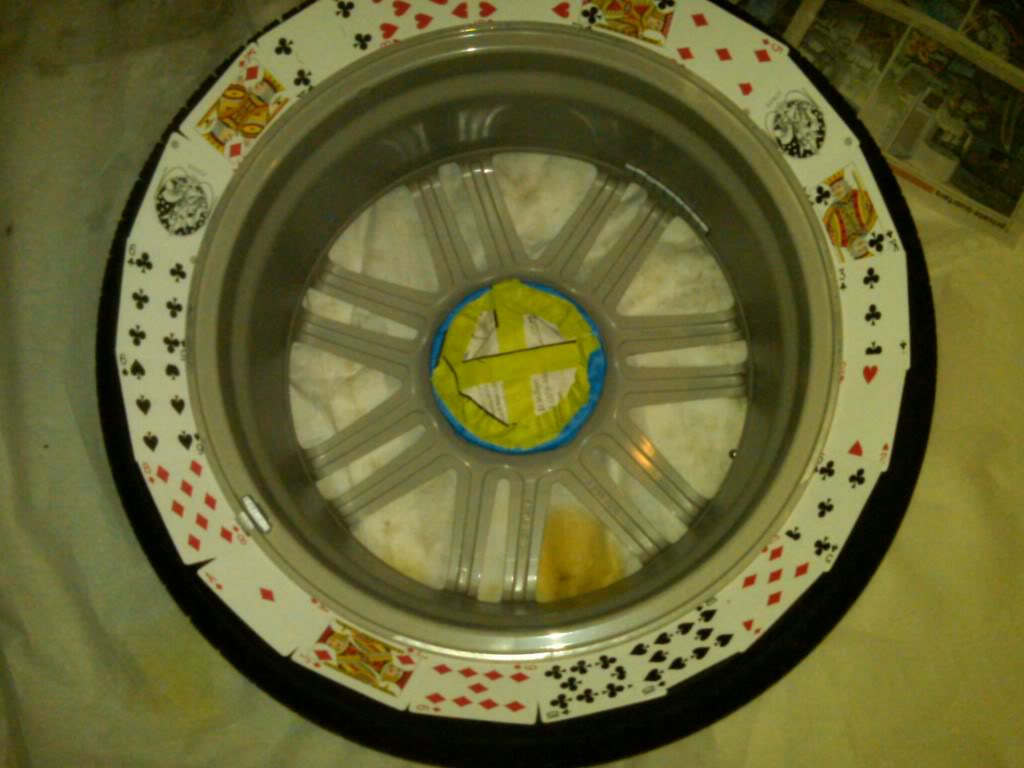

I used a hairdryer to speed up the drying process since I forgot to buy some heat lamps, that wont be happening again. Remove the cards and save for the other side.

So long gunmetal...I applied as many coats I as could keeping in mind I had three other wheels to spray as well. Finished wheels:

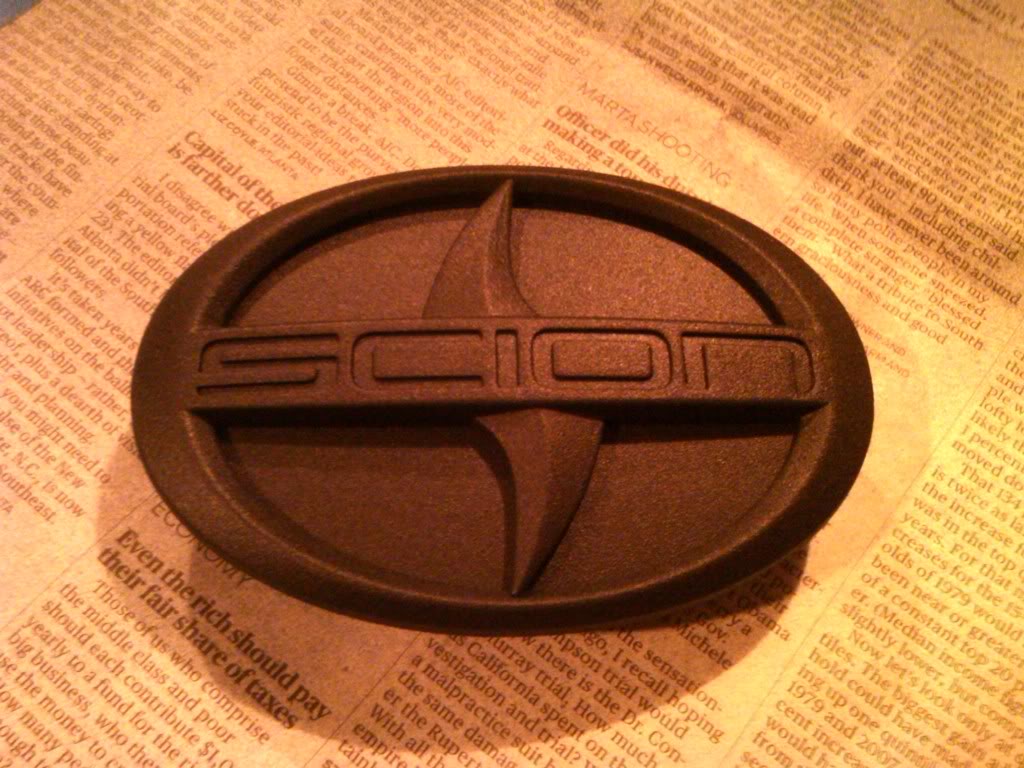
For the front scion log i simply removed, separated the two and spray them both down. three coats each as well. Finished product:
For the tail lights it wasn't this simple. I've noticed alot of cars, not just on here only black out the tail lights, nothing else. I went a different route. But before any spraying was done the taping of the reverse light was done. Let me tell you, this was a Bitxh! Good thing I have access to vinyl tape so i could make the curve look very natural. Once I got it perfect the sanding began. I used 2400 grit sand paper out of my micro mesh kit and wet sanded the lights, twice. Once cleaned off and completely dried I began the spraying. The can says to let dry 1 hour before coats, so I did, with a little help from the oven. I let air dry for 50 minute. The last 10 minutes I would bake in the oven at 170 degrees. That way when I sprayed the next coat the surface would be warm and start drying the next coat almost instantly. It was a long process but totally worth it! The following is from start to finish:

first coat nite shades
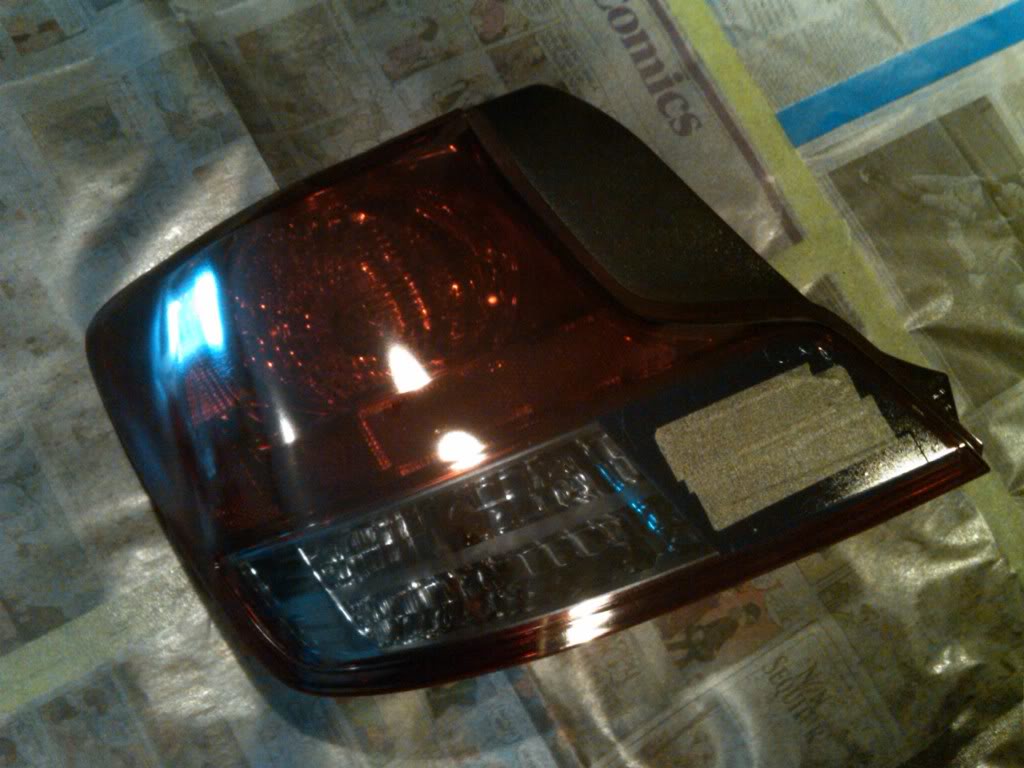
second coat nite shades

I just realized I didn't take a third coat pic but you get the picture of how they are turning out, sorry. Next up its time for clear. since I didn't want a minor paint lip from taping the reverse lights up, I removed the tape for the clear coat process. Very good Idea since when I removed the tape you could feel a lip from where the paint and tape off was. Here are is the clear coat process:
first coat

finished product, minus the waxing recommended after 48 hours

Now for everything installed and back in working condition:
Front scion logo
Tail lights off

Tail light on
Wheel installed
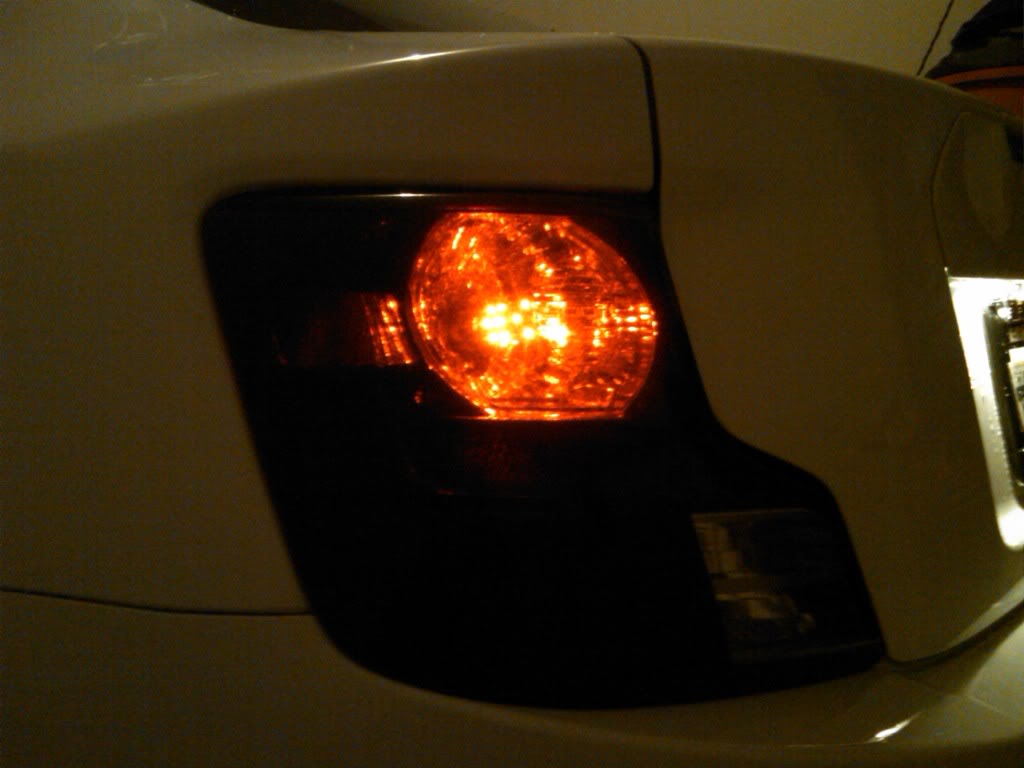
Tail lights during day and on

Side shot (its been raining by the way, was rinsing off the car)

The other side shot

Shot of the rear...

Materials used for wheels and badges: plasti dip $7 a can at Lowes, I maybe have half a can left over.
Material used for tail lights: VHT Nite Shades $13 ea, Dupli Color clear coat $7 ea and 2400 grit sand paper (from my micro mesh kit) disregard sandpaper in picture, NOT used. (600 grit)
For the wheels I put my car on jacks, removed the wheels and clean them thoroughly. I only use Meguiars to clean my car and I used the Hot Rims All Wheel Cleaner. I used a toothbrush to clean around the weights and on the inside tracks on the inside of the wheels. Hand dried and then let air dry for a few minutes. I then taped and cover the mounting surface of the wheel and the valve stem area. After that you will want to protect the tire itself from overspray. I forgot to get index cards so I improvised. You're now ready to begin the inside applying.
I used a hairdryer to speed up the drying process since I forgot to buy some heat lamps, that wont be happening again. Remove the cards and save for the other side.
So long gunmetal...I applied as many coats I as could keeping in mind I had three other wheels to spray as well. Finished wheels:
For the front scion log i simply removed, separated the two and spray them both down. three coats each as well. Finished product:
For the tail lights it wasn't this simple. I've noticed alot of cars, not just on here only black out the tail lights, nothing else. I went a different route. But before any spraying was done the taping of the reverse light was done. Let me tell you, this was a Bitxh! Good thing I have access to vinyl tape so i could make the curve look very natural. Once I got it perfect the sanding began. I used 2400 grit sand paper out of my micro mesh kit and wet sanded the lights, twice. Once cleaned off and completely dried I began the spraying. The can says to let dry 1 hour before coats, so I did, with a little help from the oven. I let air dry for 50 minute. The last 10 minutes I would bake in the oven at 170 degrees. That way when I sprayed the next coat the surface would be warm and start drying the next coat almost instantly. It was a long process but totally worth it! The following is from start to finish:
first coat nite shades
second coat nite shades
I just realized I didn't take a third coat pic but you get the picture of how they are turning out, sorry. Next up its time for clear. since I didn't want a minor paint lip from taping the reverse lights up, I removed the tape for the clear coat process. Very good Idea since when I removed the tape you could feel a lip from where the paint and tape off was. Here are is the clear coat process:
first coat
finished product, minus the waxing recommended after 48 hours
Now for everything installed and back in working condition:
Front scion logo
Tail lights off
Tail light on
Wheel installed
Tail lights during day and on
Side shot (its been raining by the way, was rinsing off the car)
The other side shot
Shot of the rear...


DaYUUM/Scion Evolution
SL Member
Joined: Jan 2011
Posts: 3,538
From: Southern California
looking good!..
if u want to color up ur emblems i would keep a look out for these:

i still need to find time to perfect the cuts, but once i do and IMPORTequipment sends them to me for fitting...they will be available soon.
and unless ur very skilled...i would hold off on painting it by hand...trust me. i've repainted my emblems like 10x's...................
if u want to color up ur emblems i would keep a look out for these:
i still need to find time to perfect the cuts, but once i do and IMPORTequipment sends them to me for fitting...they will be available soon.
and unless ur very skilled...i would hold off on painting it by hand...trust me. i've repainted my emblems like 10x's...................


Thread Starter
Senior Member
SL Member
Joined: Nov 2011
Posts: 315
From: Atlanta, GA
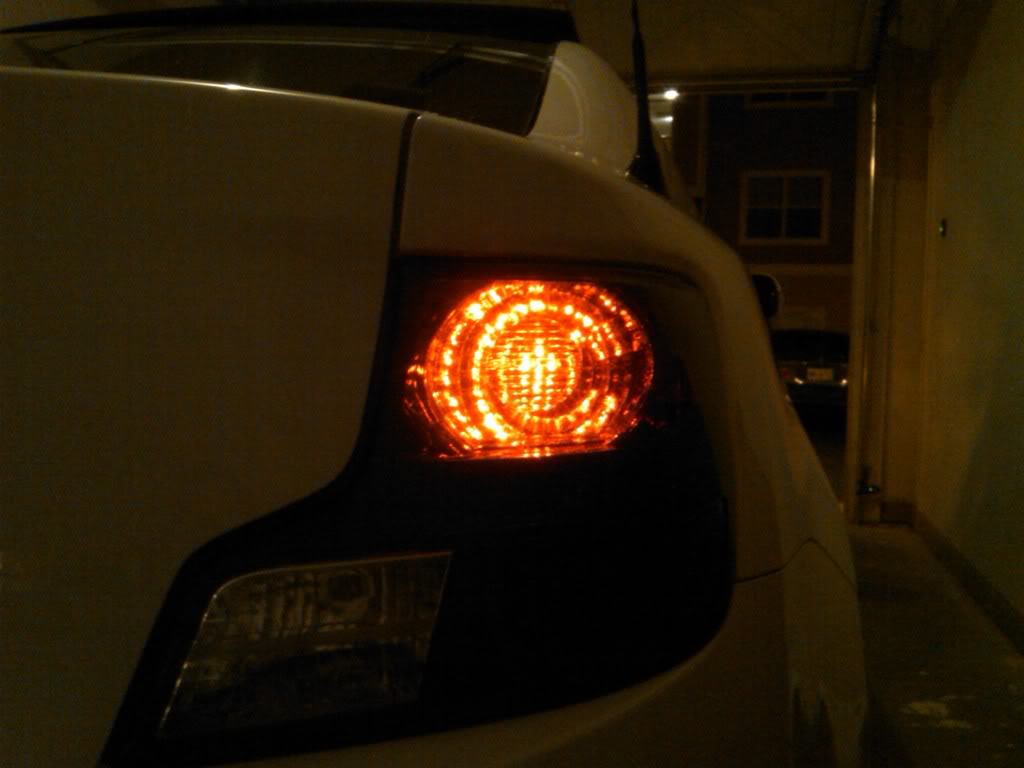
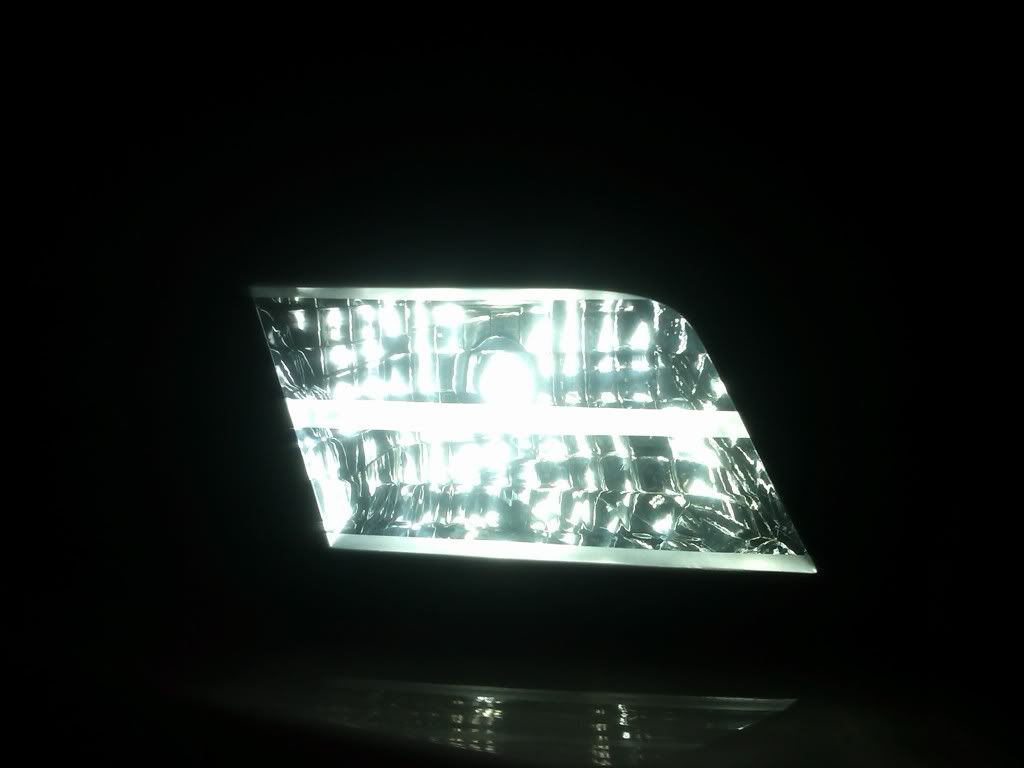
So it's been a while but I haven't been relaxing on my stormtrooper. Installed 20 LED brake lights ans 64 LED reverse lights. Looks awesome IMO. Alos just received my Tein Stech springs yesterday and plan on getting them installed Monday or Tuesday. Can't wait!


Thread Starter
Senior Member
SL Member
Joined: Nov 2011
Posts: 315
From: Atlanta, GA
"StormTrooper" tC2/Update
So instead of spending $ for someone else to install my springs, my boys from work and I did them ourselves. 3 1/2 hours start to finish. Looks freaking awesome. In case you haven't been reading, they are Tein S-Tech Lowering springs.
Still need to go get alignment first thing in the morning but the drop makes it look so much better. I will do a somewhat step by step rem/inst process when I get a chance, but it was F-ing easy!

Still need to go get alignment first thing in the morning but the drop makes it look so much better. I will do a somewhat step by step rem/inst process when I get a chance, but it was F-ing easy!
Last edited by MR_LUV; Dec 19, 2017 at 08:50 AM.


Looks great, don't waste your money on an alignment. There is really nothing they can adjust. Quite a few of us og's have been riding the S-Tech's without an alignment due to lack of adjustment.

Senior Member
SL Member
Team ScioNRG
Joined: Jan 2009
Posts: 2,406
From: Wellesley, MA
whoa, not true...
Camber cant be adjusted, but toe can be and is definately off after dropping the car... either way the alignment should still wait a week or so for the springs to settle...
and this is coming from the original OG...

Senior Member
SL Member
Joined: Sep 2011
Posts: 180
From: STL
congrats, you have a nice build going on. i was actually wondering yesterday how my wheels would like with some plasti dip and i just came accross your build and it basically made me like the idea to do it more. keep up the good work.
I could have sworn reading somewhere you did not get an alignment. My bad, but I know I am not the only one. My tires are wearing fine, and the handling is all around 10x better than stock. Tires are not going to last on this ride anyways, too much fun to push her hard.
Senior Member
SL Member
Team ScioNRG
Joined: Jan 2009
Posts: 2,406
From: Wellesley, MA
^^I believe I did say that I wasnt going to bother to get one done toward the beginning of life on the S-Techs, but after I found out it was free for the first one, I had it done and the Toe was waaaaaaay off...
and lol, I was the original OG on S-Techs (and I believe the first lowered tC2 in the world...)
and lol, I was the original OG on S-Techs (and I believe the first lowered tC2 in the world...)