
OEM rear bucket seats and glass'd center console


Thread Starter
Senior Member
SL Member
Joined: Mar 2007
Posts: 615
From: El Mirage
So instead of just throwing bucket seats in the back of the XB and calling it custom, Randy came up with the idea to cut up the OEM buckets. After scoring a complete rear seat set up from XBTony (thanks!) and BNA (double thanks!) for picking them up, we went to hacking away. So the seats come from the factory are 60/40, they were cut down to be 40/40.
After removing all the material on the 60% seat which is the one behind the passenger, your left with the frame

We used the plasma cutter and took out a measured piece to have it be the same width as the driver's rear seat.

Welded the seat back together

Now cut the foam for the seat to match the seat back

And cut the bottom to match

Test foam fit

Mas testing the foam and seat bottoms


For all your interior needs, Todd at the Interior Shop, quality fast work

And we had some release series yellow/black material left over, so Todd re-did my OEM Scion center console to match the door panels

Cutting the pivot bracket off the 2nd seat bar
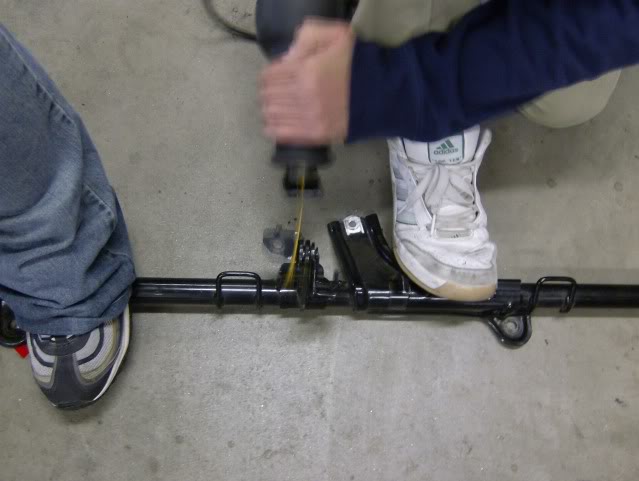

Welding the pivot bracket on the other seat bar, this will allow for both seats to still recline forward

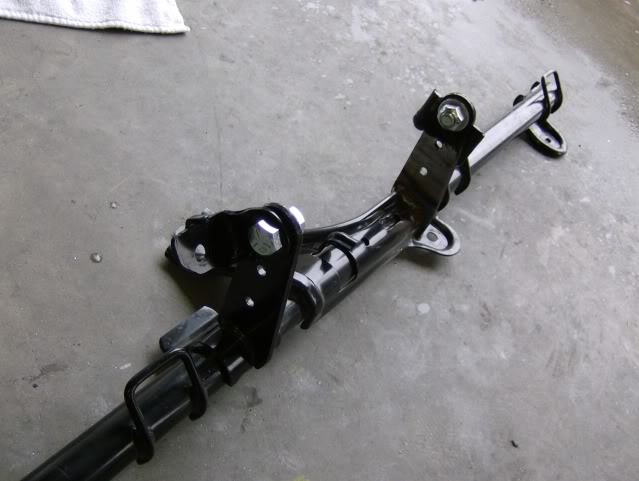
Bar done
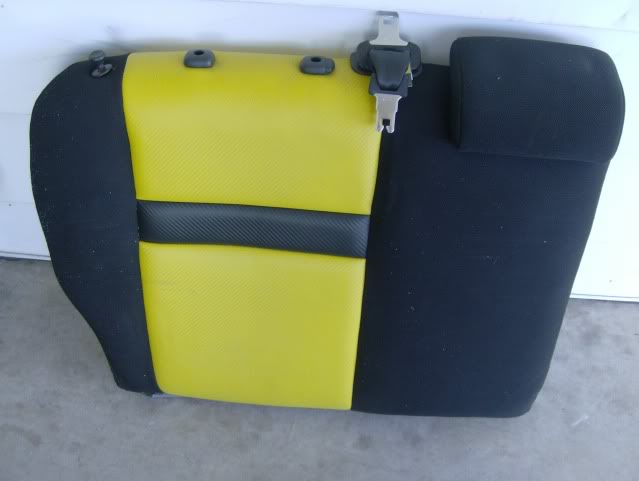
Original 60% seat with the child safety rear seat belt, which is now gone.
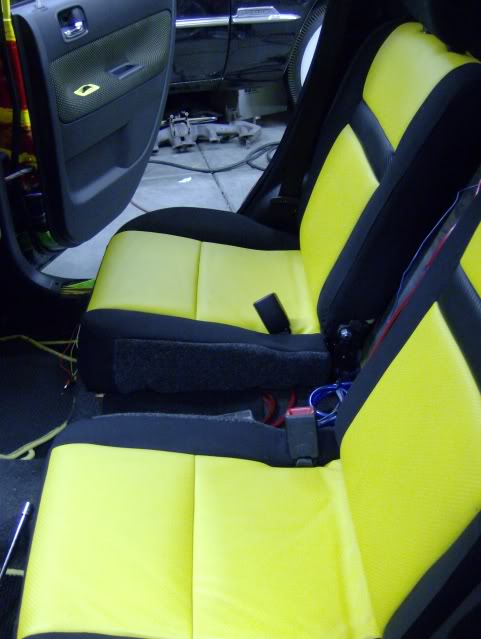
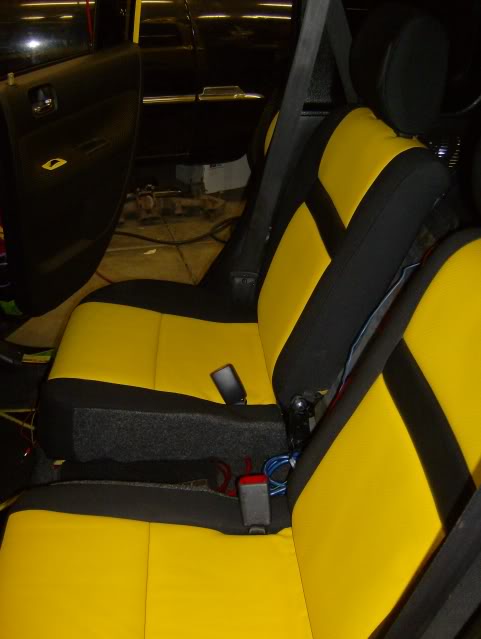
Testing for fitment
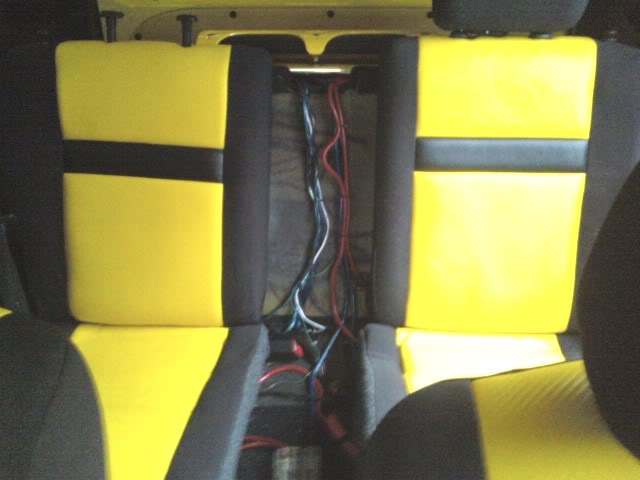
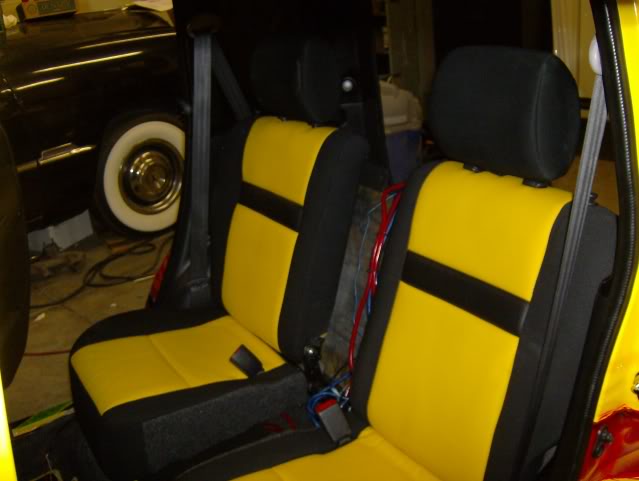
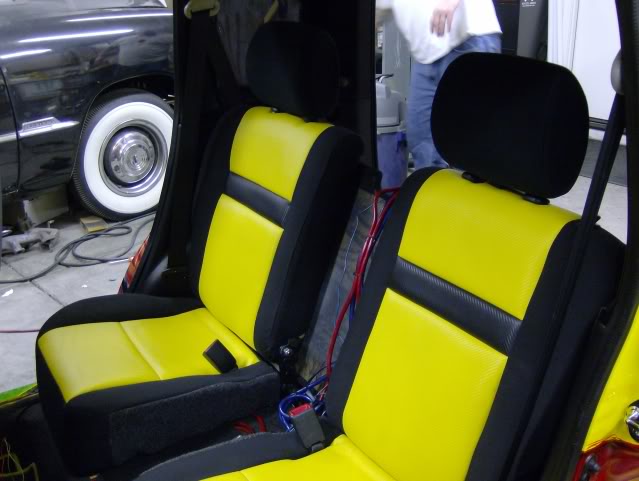
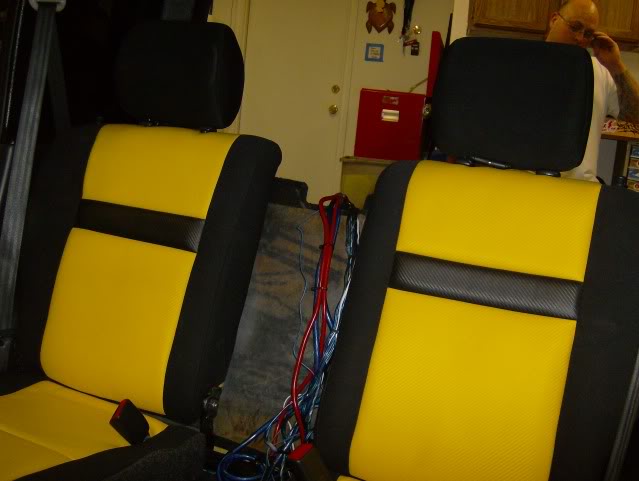
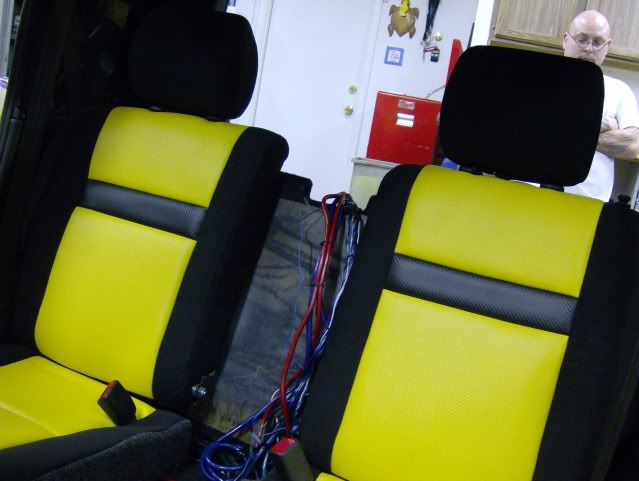
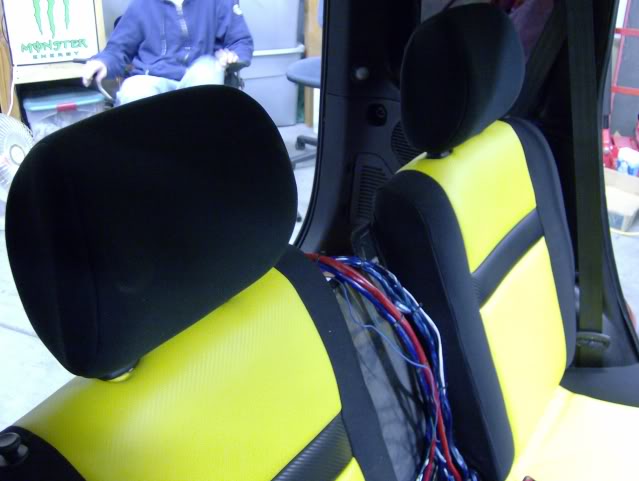
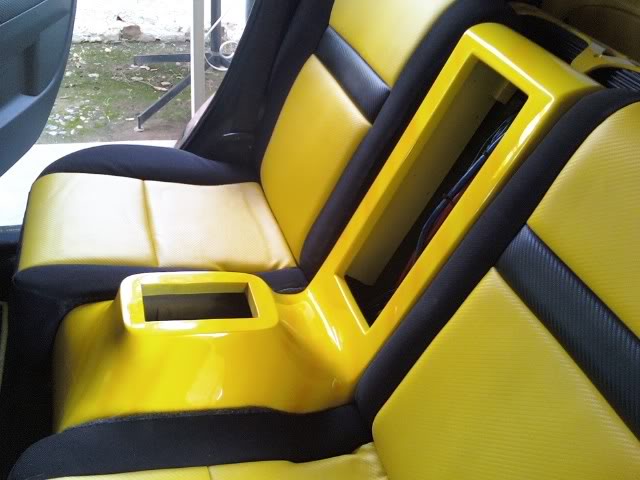
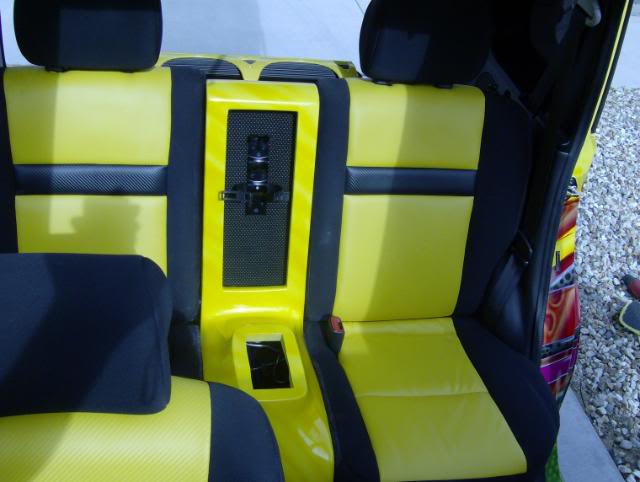
Random pix of the seats installed.

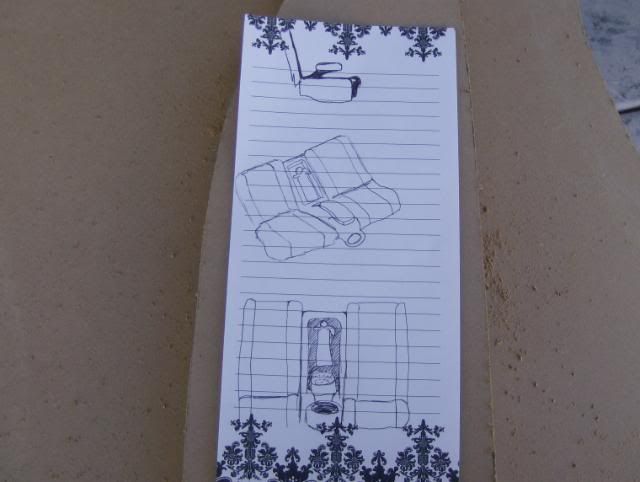
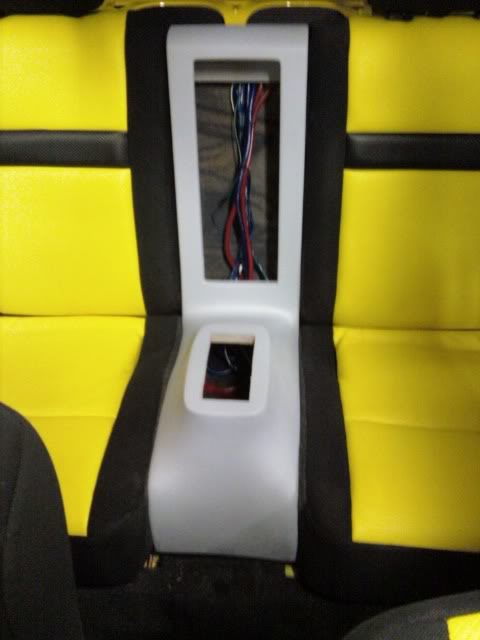
Now to the console........so here's the rough drawing.....
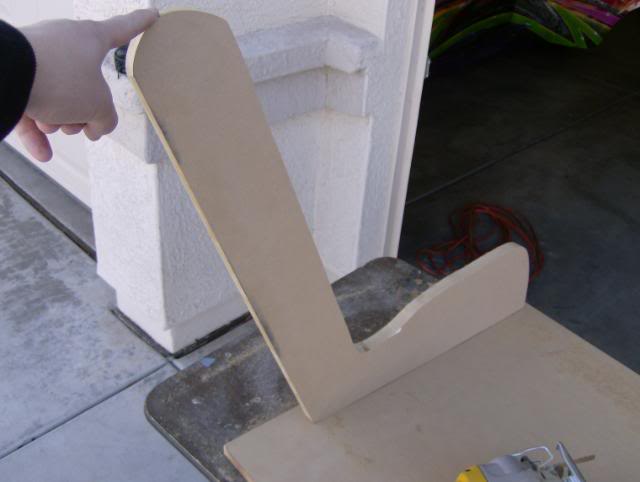
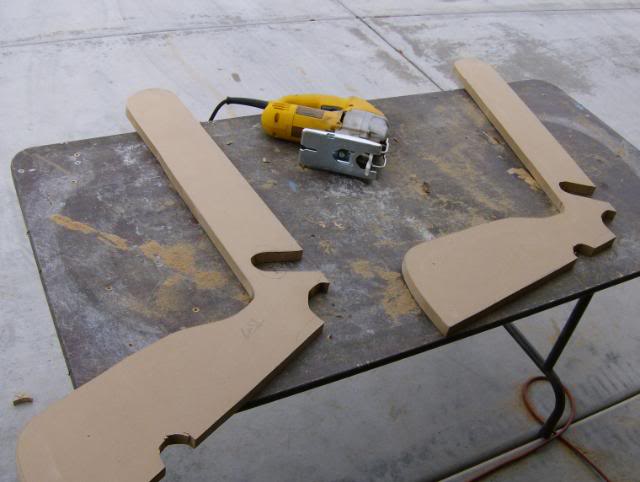
Made the sides from MDF
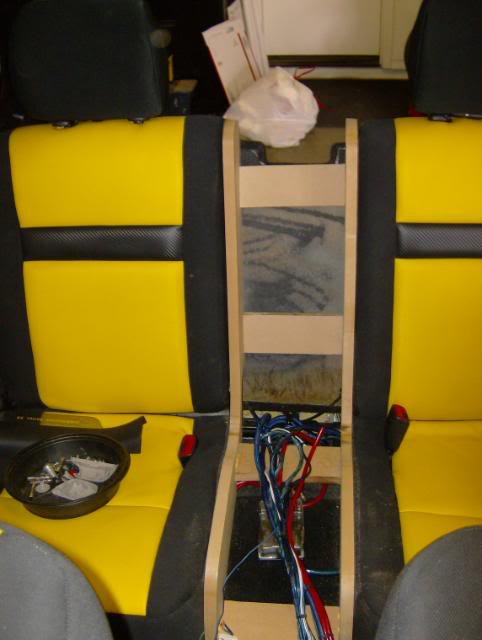
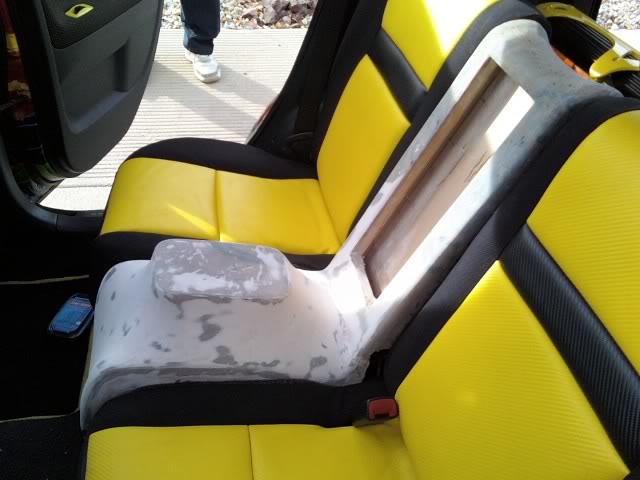
The first of what seemed to be a gazillion test fits


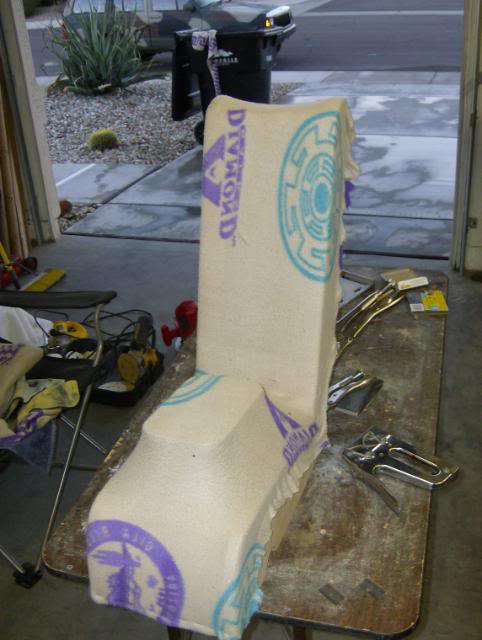
Old Diamondbacks blanket to substitute for fleece to give us shape
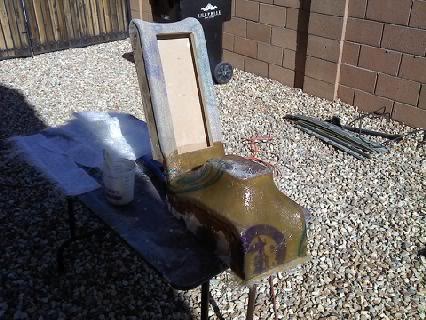
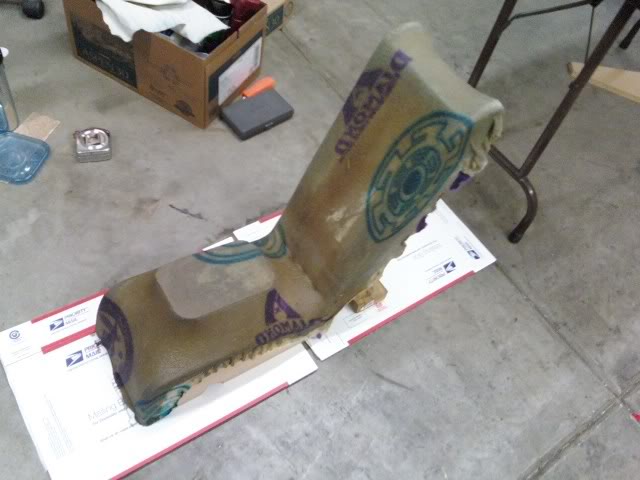
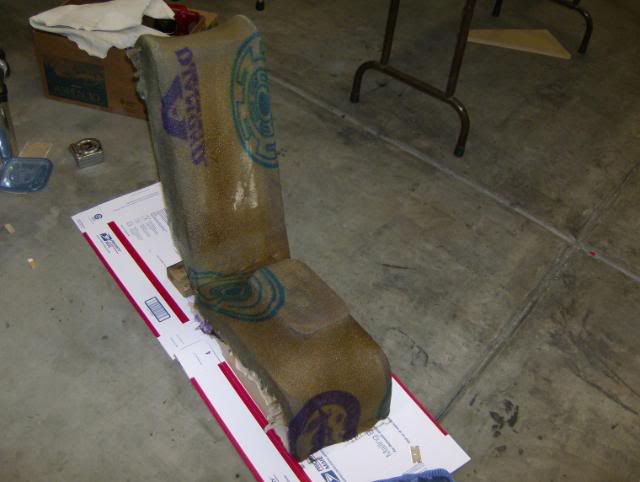
Resin time
Time for mud

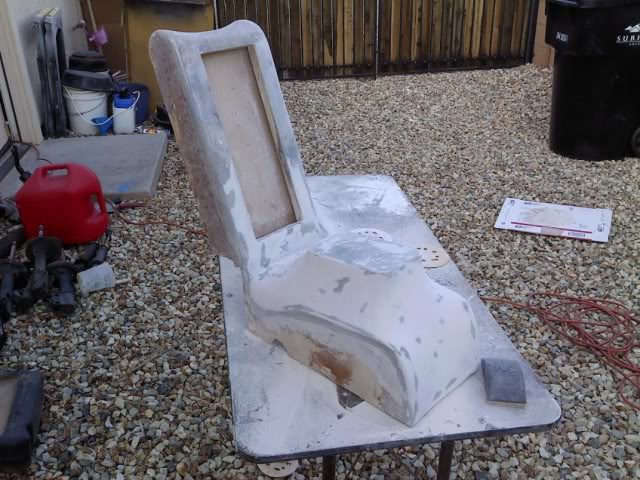
We weren't happy with the way the rear portion was turning out so we sawall'd the back portion off and re-designed it
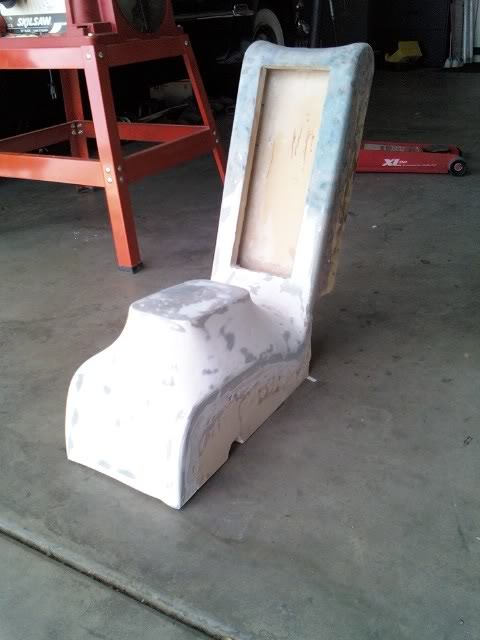
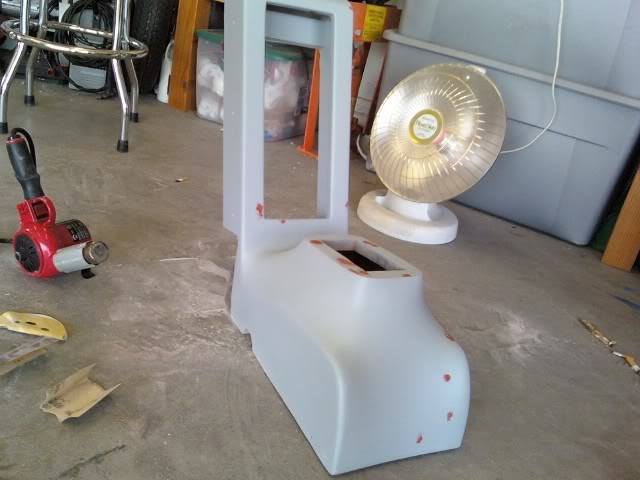
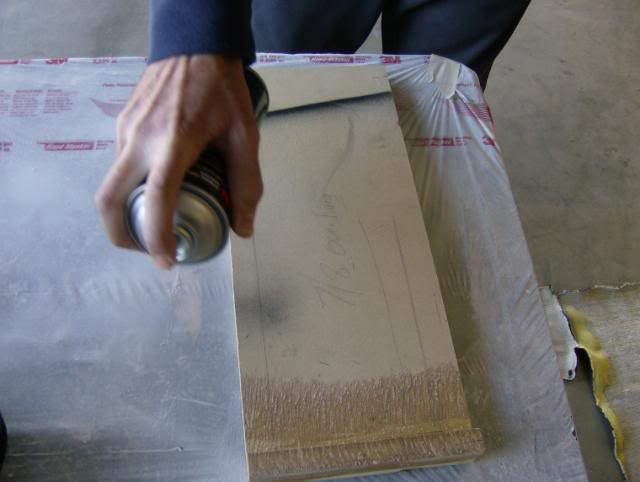
Primer....


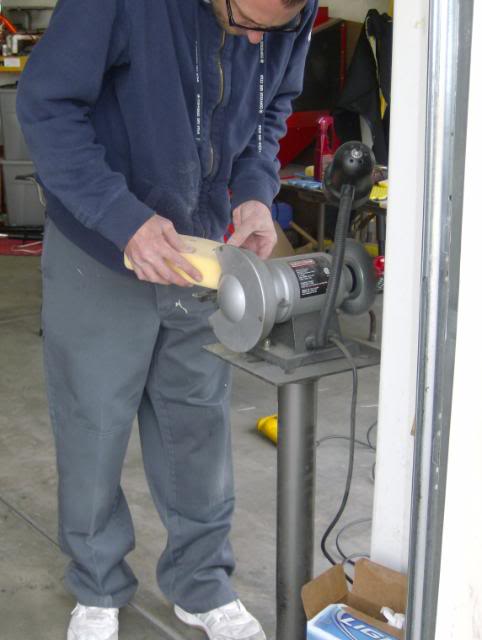
More sanding

Little spot putty
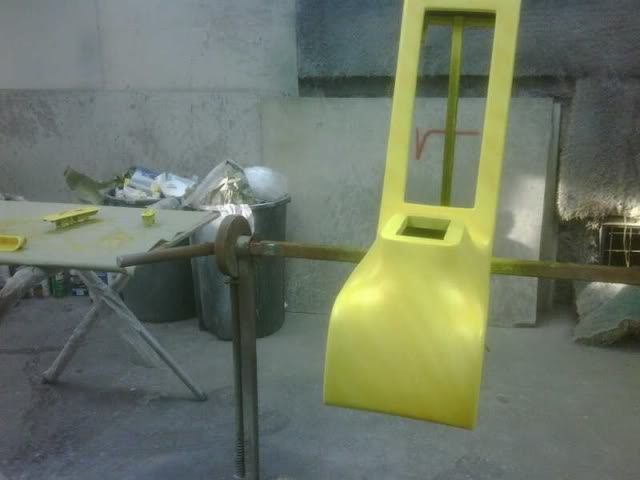
Ready to go to paint
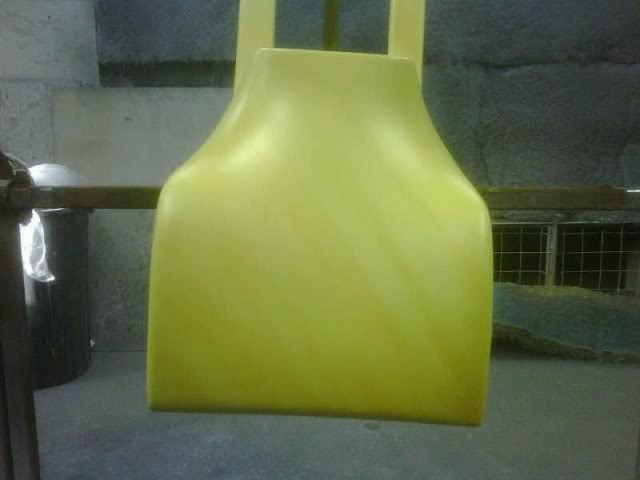
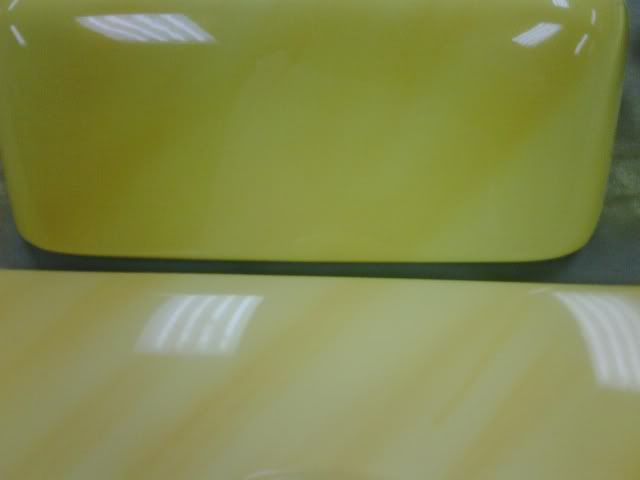
We used the House of Kolor Lemon Yellow with Sunset pearl accents to match the outside of the XB

Test match off my oven door, good enuff for government work
Drying in the sun

Another test fit
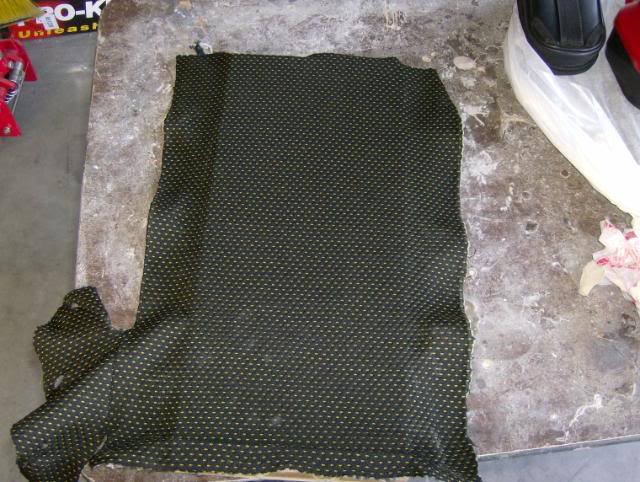
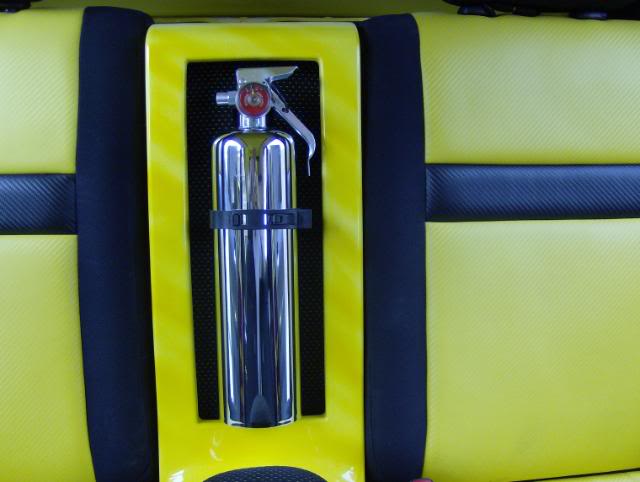
Used the left over RS 2.0 material for the backing of where the fire extinguisher will mount

3M 90 is your friend
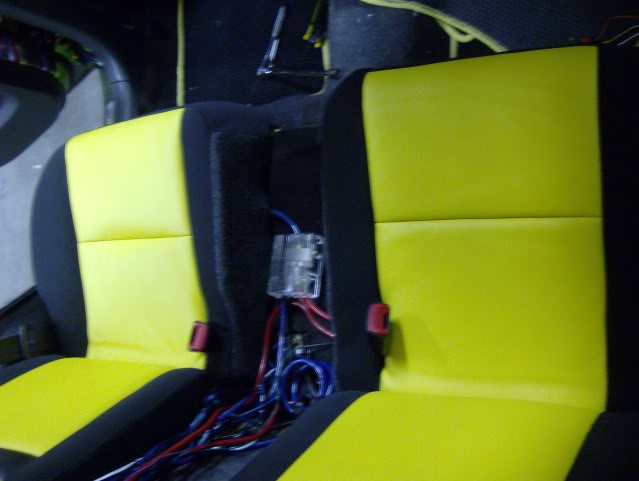
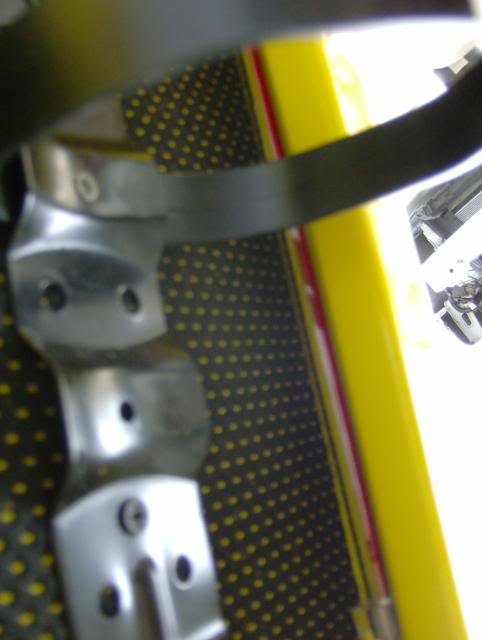
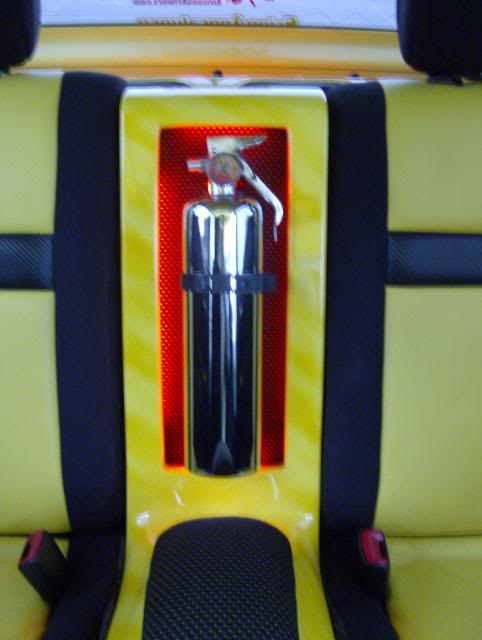
Installing the red cathodes

Back on

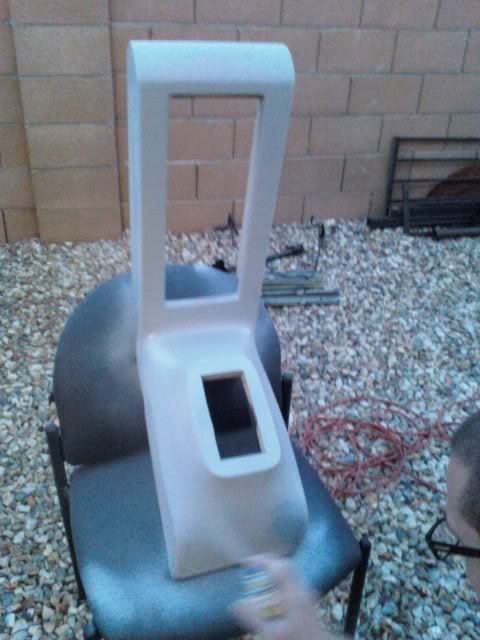
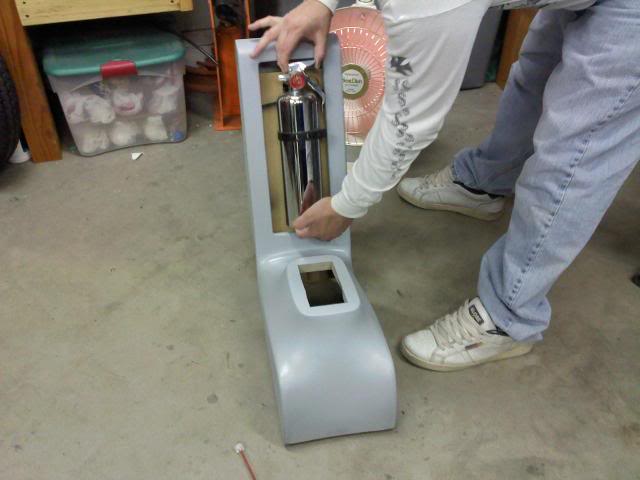
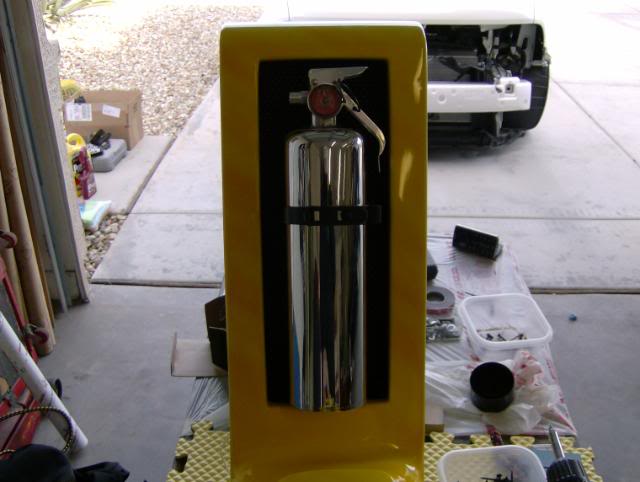
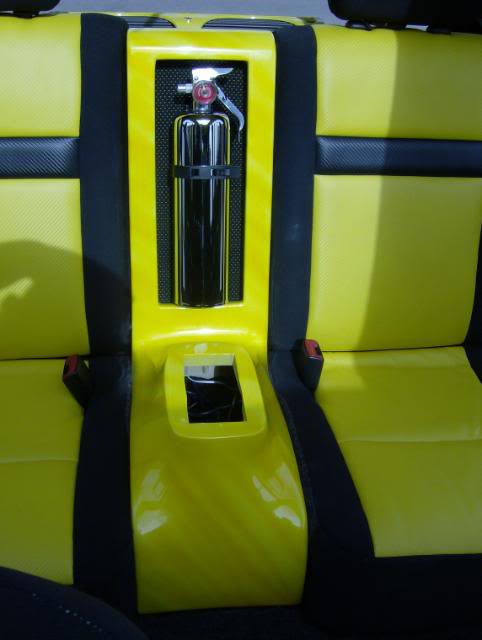
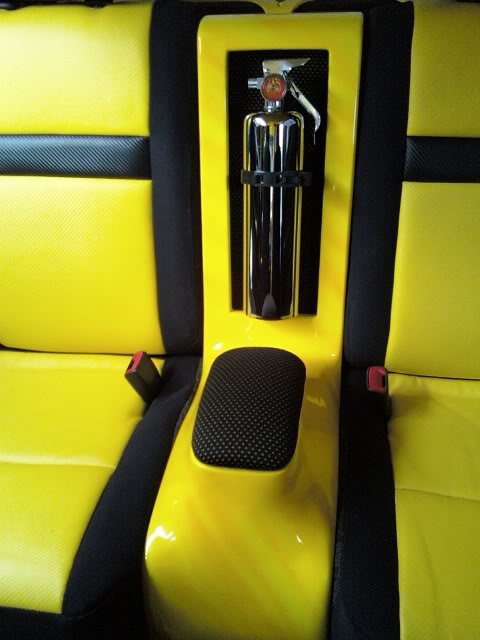
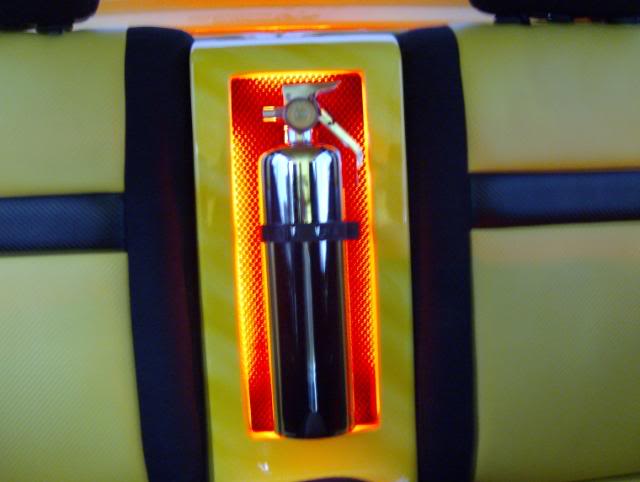
Fire extinguisher mount


Installing the back pieces where the false back behind the seat will screw into

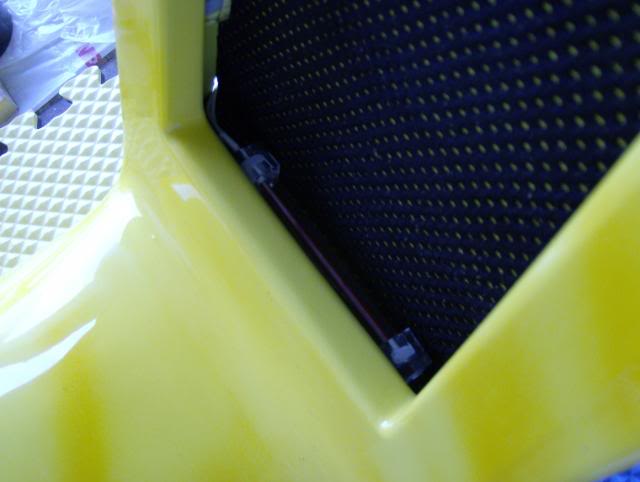
Peek a boo, I see cathodes
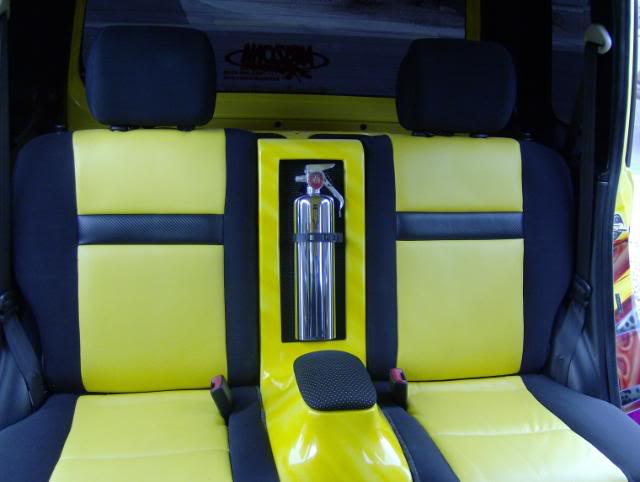
Installed


Working the foam for the arm rest
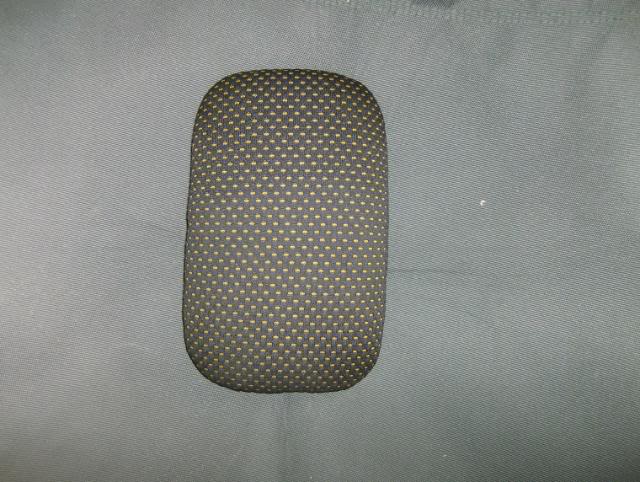
More RS 2.0 material to make the arm rest to match the front arm rest
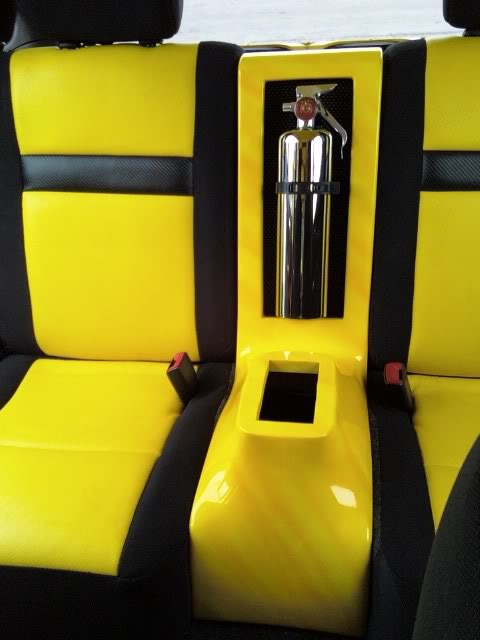
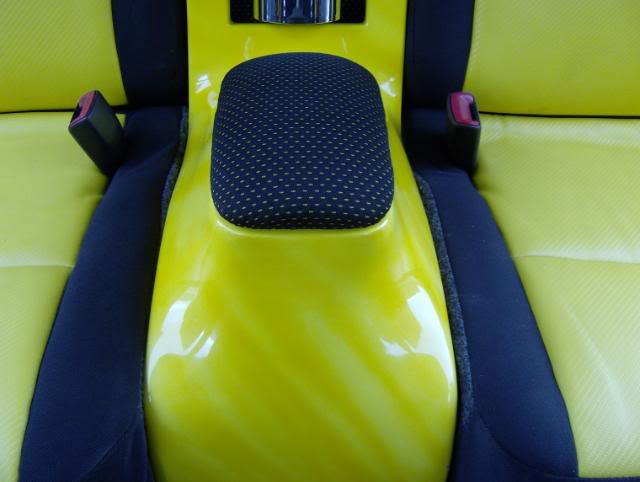
All done and completed!

In no specific order, thanks to Dode for the crazy idea to do this, Tony for selling me your rear seats, BNA for scooping 'em up for me, Todd at the Interior Shop, Justin for the paint and and Chumlee.
After removing all the material on the 60% seat which is the one behind the passenger, your left with the frame
We used the plasma cutter and took out a measured piece to have it be the same width as the driver's rear seat.
Welded the seat back together
Now cut the foam for the seat to match the seat back
And cut the bottom to match
Test foam fit
Mas testing the foam and seat bottoms
For all your interior needs, Todd at the Interior Shop, quality fast work
And we had some release series yellow/black material left over, so Todd re-did my OEM Scion center console to match the door panels
Cutting the pivot bracket off the 2nd seat bar
Welding the pivot bracket on the other seat bar, this will allow for both seats to still recline forward
Bar done
Original 60% seat with the child safety rear seat belt, which is now gone.
Testing for fitment
Random pix of the seats installed.
Now to the console........so here's the rough drawing.....
Made the sides from MDF
The first of what seemed to be a gazillion test fits
Old Diamondbacks blanket to substitute for fleece to give us shape
Resin time
Time for mud
We weren't happy with the way the rear portion was turning out so we sawall'd the back portion off and re-designed it
Primer....
More sanding
Little spot putty
Ready to go to paint
We used the House of Kolor Lemon Yellow with Sunset pearl accents to match the outside of the XB
Test match off my oven door, good enuff for government work
Drying in the sun
Another test fit
Used the left over RS 2.0 material for the backing of where the fire extinguisher will mount
3M 90 is your friend
Installing the red cathodes
Back on
Fire extinguisher mount
Installing the back pieces where the false back behind the seat will screw into
Peek a boo, I see cathodes
Installed
Working the foam for the arm rest
More RS 2.0 material to make the arm rest to match the front arm rest
All done and completed!
In no specific order, thanks to Dode for the crazy idea to do this, Tony for selling me your rear seats, BNA for scooping 'em up for me, Todd at the Interior Shop, Justin for the paint and and Chumlee.


Thread Starter
Senior Member
SL Member
Joined: Mar 2007
Posts: 615
From: El Mirage
$100 for the extra seats, $200 to unupholster/reupholster the cut seats and about $100 for material (resin, mud, sandpaper, cathodes, 3M90) and the fire extinguisher. And about 35-40 hours of labor.


Thread
Thread Starter
Forum
Replies
Last Post