xB old skool gauge face mod.


 12-29-2005, 11:26 PM
#5
Senior Member
Scikotics
SL Member
Thread Starter
Join Date: May 2004
Location: Minneapolis, MN
Posts: 631
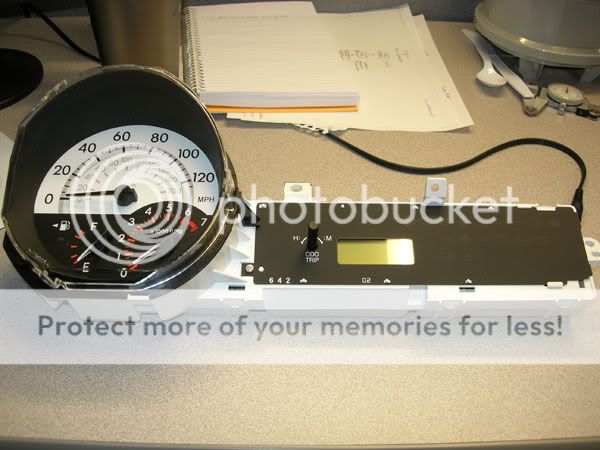
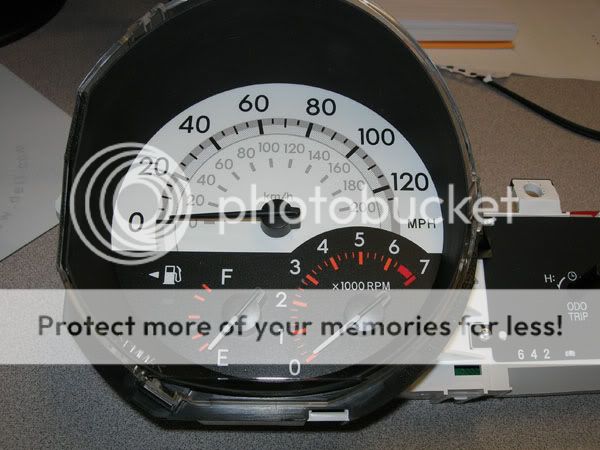
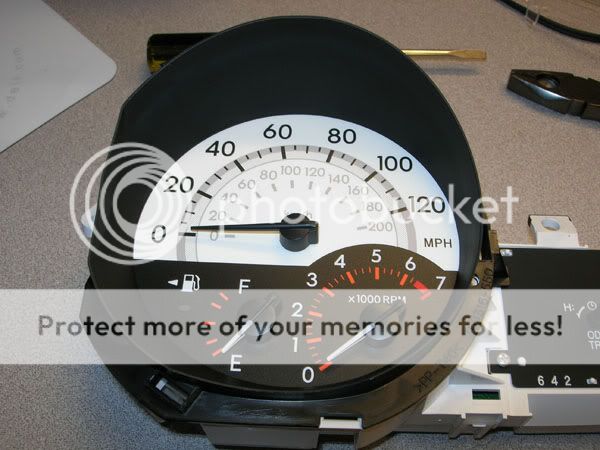
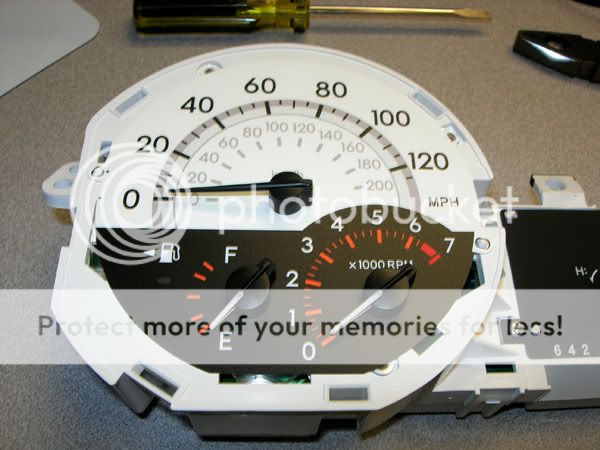
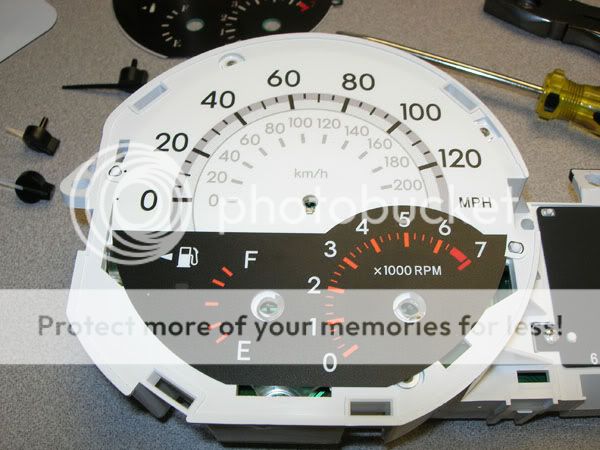
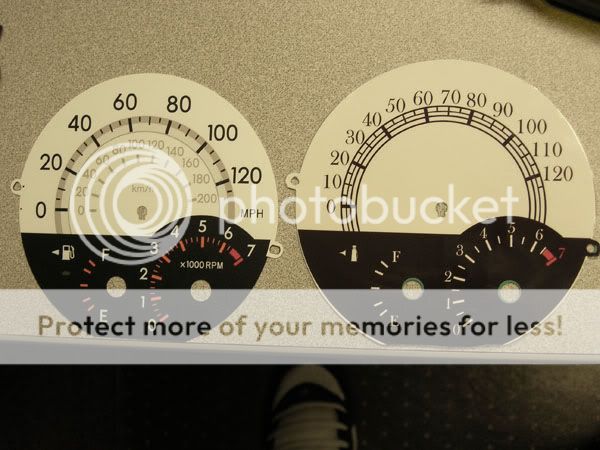
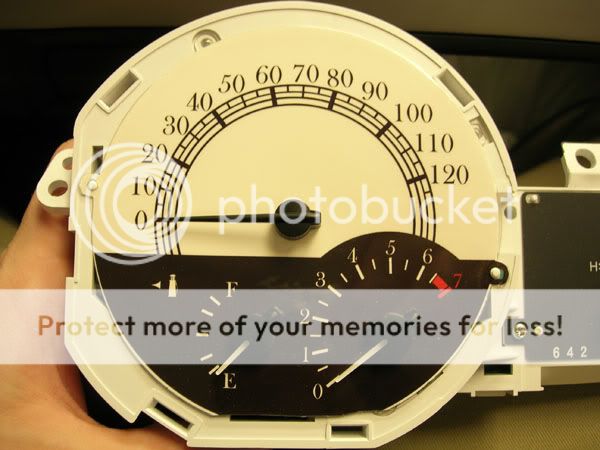
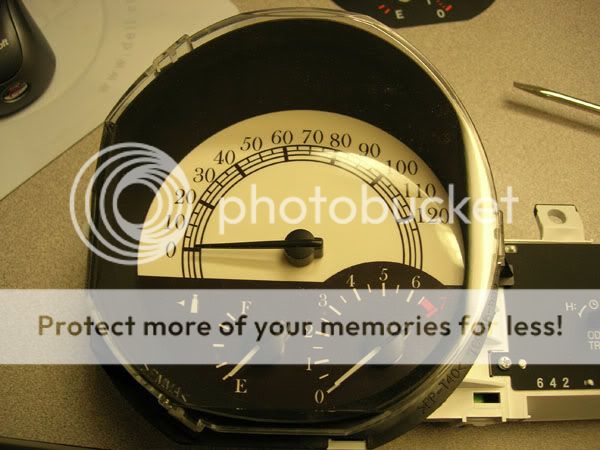
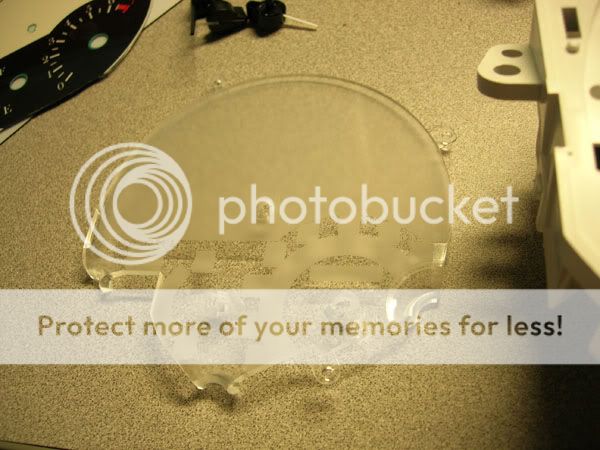
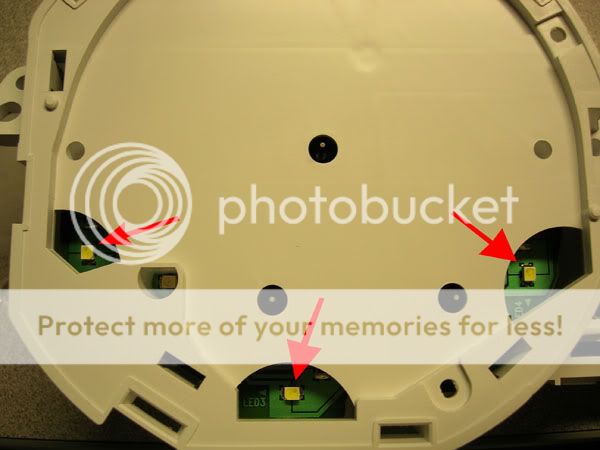
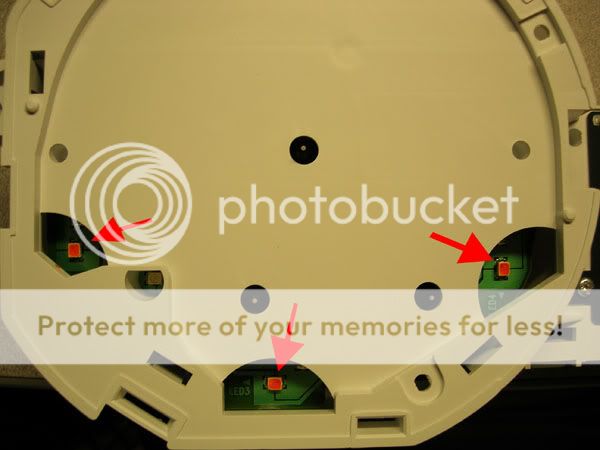
Ok, I took the instrument cluster apart again so I could change the color of the LEDs.
The clear cover used to refract the light from the LEDs.
The LEDs.
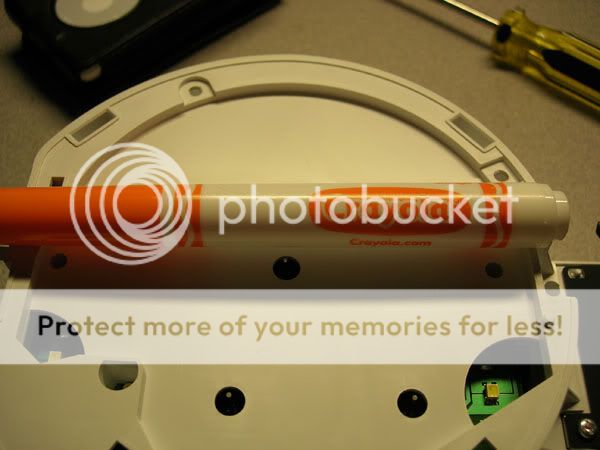
The color change device.
Color changed LEDs.
Looky, it's orange now.


The clear cover used to refract the light from the LEDs.
The LEDs.
The color change device.
Color changed LEDs.
Looky, it's orange now.

 01-03-2006, 12:12 AM
#8
Senior Member
Scikotics
SL Member
Thread Starter
Join Date: May 2004
Location: Minneapolis, MN
Posts: 631
Just a tip. Find transparent paint if you do this LED mod. The marker burned off in a matter of hours so I took the gauges apart again and painted them with a transparent orange paint. The gauges look better and the color is not fading.


 01-03-2006, 02:08 PM
#12
Senior Member
Scikotics
SL Member
Thread Starter
Join Date: May 2004
Location: Minneapolis, MN
Posts: 631
Thanks.
And if you want to change the color with paint like I did, just go to your local hobby shop. Tamiya makes 1/24 model paints and they have several transparent colors available.
I also hear sharpie markers don't cook off like my Crayola marker did. If you use a sharpie though, don't apply it to dark, but if you do remember you aren't stuck with it. The markers can be wiped off with rubbing alcohol.
 01-10-2006, 02:04 PM
#14
Senior Member
Scikotics
SL Member
Thread Starter
Join Date: May 2004
Location: Minneapolis, MN
Posts: 631
Originally Posted by nochrch
looking good bro..i should be ordering my guages soon..going with a Friday the 13th motif. And red led's sounds excellent to me!
01-12-2006, 01:11 PM
#15
Senior Member
SL Member
Join Date: May 2005
Location: Center Point, AL
Posts: 3,167
One thing about the Tamiya paints...if you re-coat while it is wet, it will pull the first coat off... if you wait until it dries, you can make it darker...just don't over work it while it is wet.
And the gauges look great!!! I really like the orange.. it all ties in nicely!
And the gauges look great!!! I really like the orange.. it all ties in nicely!
01-13-2006, 07:42 PM
#16
Senior Member
Scikotics
SL Member
Thread Starter
Join Date: May 2004
Location: Minneapolis, MN
Posts: 631
Originally Posted by oldmanatee
One thing about the Tamiya paints...if you re-coat while it is wet, it will pull the first coat off... if you wait until it dries, you can make it darker...just don't over work it while it is wet.
And the gauges look great!!! I really like the orange.. it all ties in nicely!
And the gauges look great!!! I really like the orange.. it all ties in nicely!
Word of caution.....
The clear plastic that refracts the light makes direct contact with these painted surfaces so be sure to let them dry completely. I waited 6 hours just to make sure.
 01-16-2006, 02:15 PM
#18
Senior Member
Scikotics
SL Member
Thread Starter
Join Date: May 2004
Location: Minneapolis, MN
Posts: 631
I wouldn't know until I saw the LED's in the dash.
It is very likely however that our dashboards aren't lit by LEDs but by conventional light bulbs instead. If that is the case, what makes the illumination orange is actually molded into the plastic the lights shine through. If the bulbs are clear you can change tham out for blue ones or get clear ones and make them blue.
It is very likely however that our dashboards aren't lit by LEDs but by conventional light bulbs instead. If that is the case, what makes the illumination orange is actually molded into the plastic the lights shine through. If the bulbs are clear you can change tham out for blue ones or get clear ones and make them blue.

Thread
Thread Starter
Forum
Replies
Last Post
rvascion
Maintenance & Car Care
6
11-12-2020 03:23 AM
SloTC1
PPC: Engine / Drivetrain
14
08-16-2018 02:45 PM