When you click on links to various merchants on this site and make a purchase, this can result in this site earning a commission. Affiliate programs and affiliations include, but are not limited to, the eBay Partner Network.
Triangle LED 3rd Flashing Brake Light Installation Instructions
To all fellow toaster enthusiasts,
While this is my first post on here, I have had my 1st generation Scion xB exactly one year, and during that time I have been a frequent guest of several xB forums. Thanks to everybody’s helpful posts, and plenty of trial and error (mostly error), I have gone in one year from someone who knew nothing about cars to being able to be almost completely self sufficient in my own customization and repairs. Therefore, I was surprised when I decided to add one of those flashing triangle 3rd brake lights and after at least an hour of frustrating scouring of xB forums and Google, Found that nobody had ever touched on the installation from start to finish. So here I am..I decided to post this and hopefully it will help some people out. Thanks for helping me out all those times..
First, disconnect the negative battery terminal, so you you don’t blow 8 or 10 10-amp fuses like I did. You then might want to remove the rear bumper and find a suitable place to mount the lamp before you start. I skipped this step, since I took my rear bumper off. With no back bumper, I was able to bolt the bracket directly onto the frame with two self tapping screws, centered underneath the lower edge of the trunk hatch. Wherever you decide to mount it, the bracket is made of very thin metal and bends easily, so you can bend it to a 90 degree angle in order to screw it in and then bend it back to its original shape without damaging it.
Next, locate the drivers side tail gate access panel in the trunk area and lift the tabs to open it. Locate the tail light wire harness and unplug it from the tail lights. You will see that it has 5 wires in it; white/black, green/orange, green, green/white, and red/blue. Cut roughly 3 inches off the sleeve, peel it back, and cut off the excess. Next locate the following 3 wires you will be using, and carefully cut and strip them, leaving enough room behind the connector to splice them together again:
Brake wire - green/white
Ground - white/black
Parking lights - green
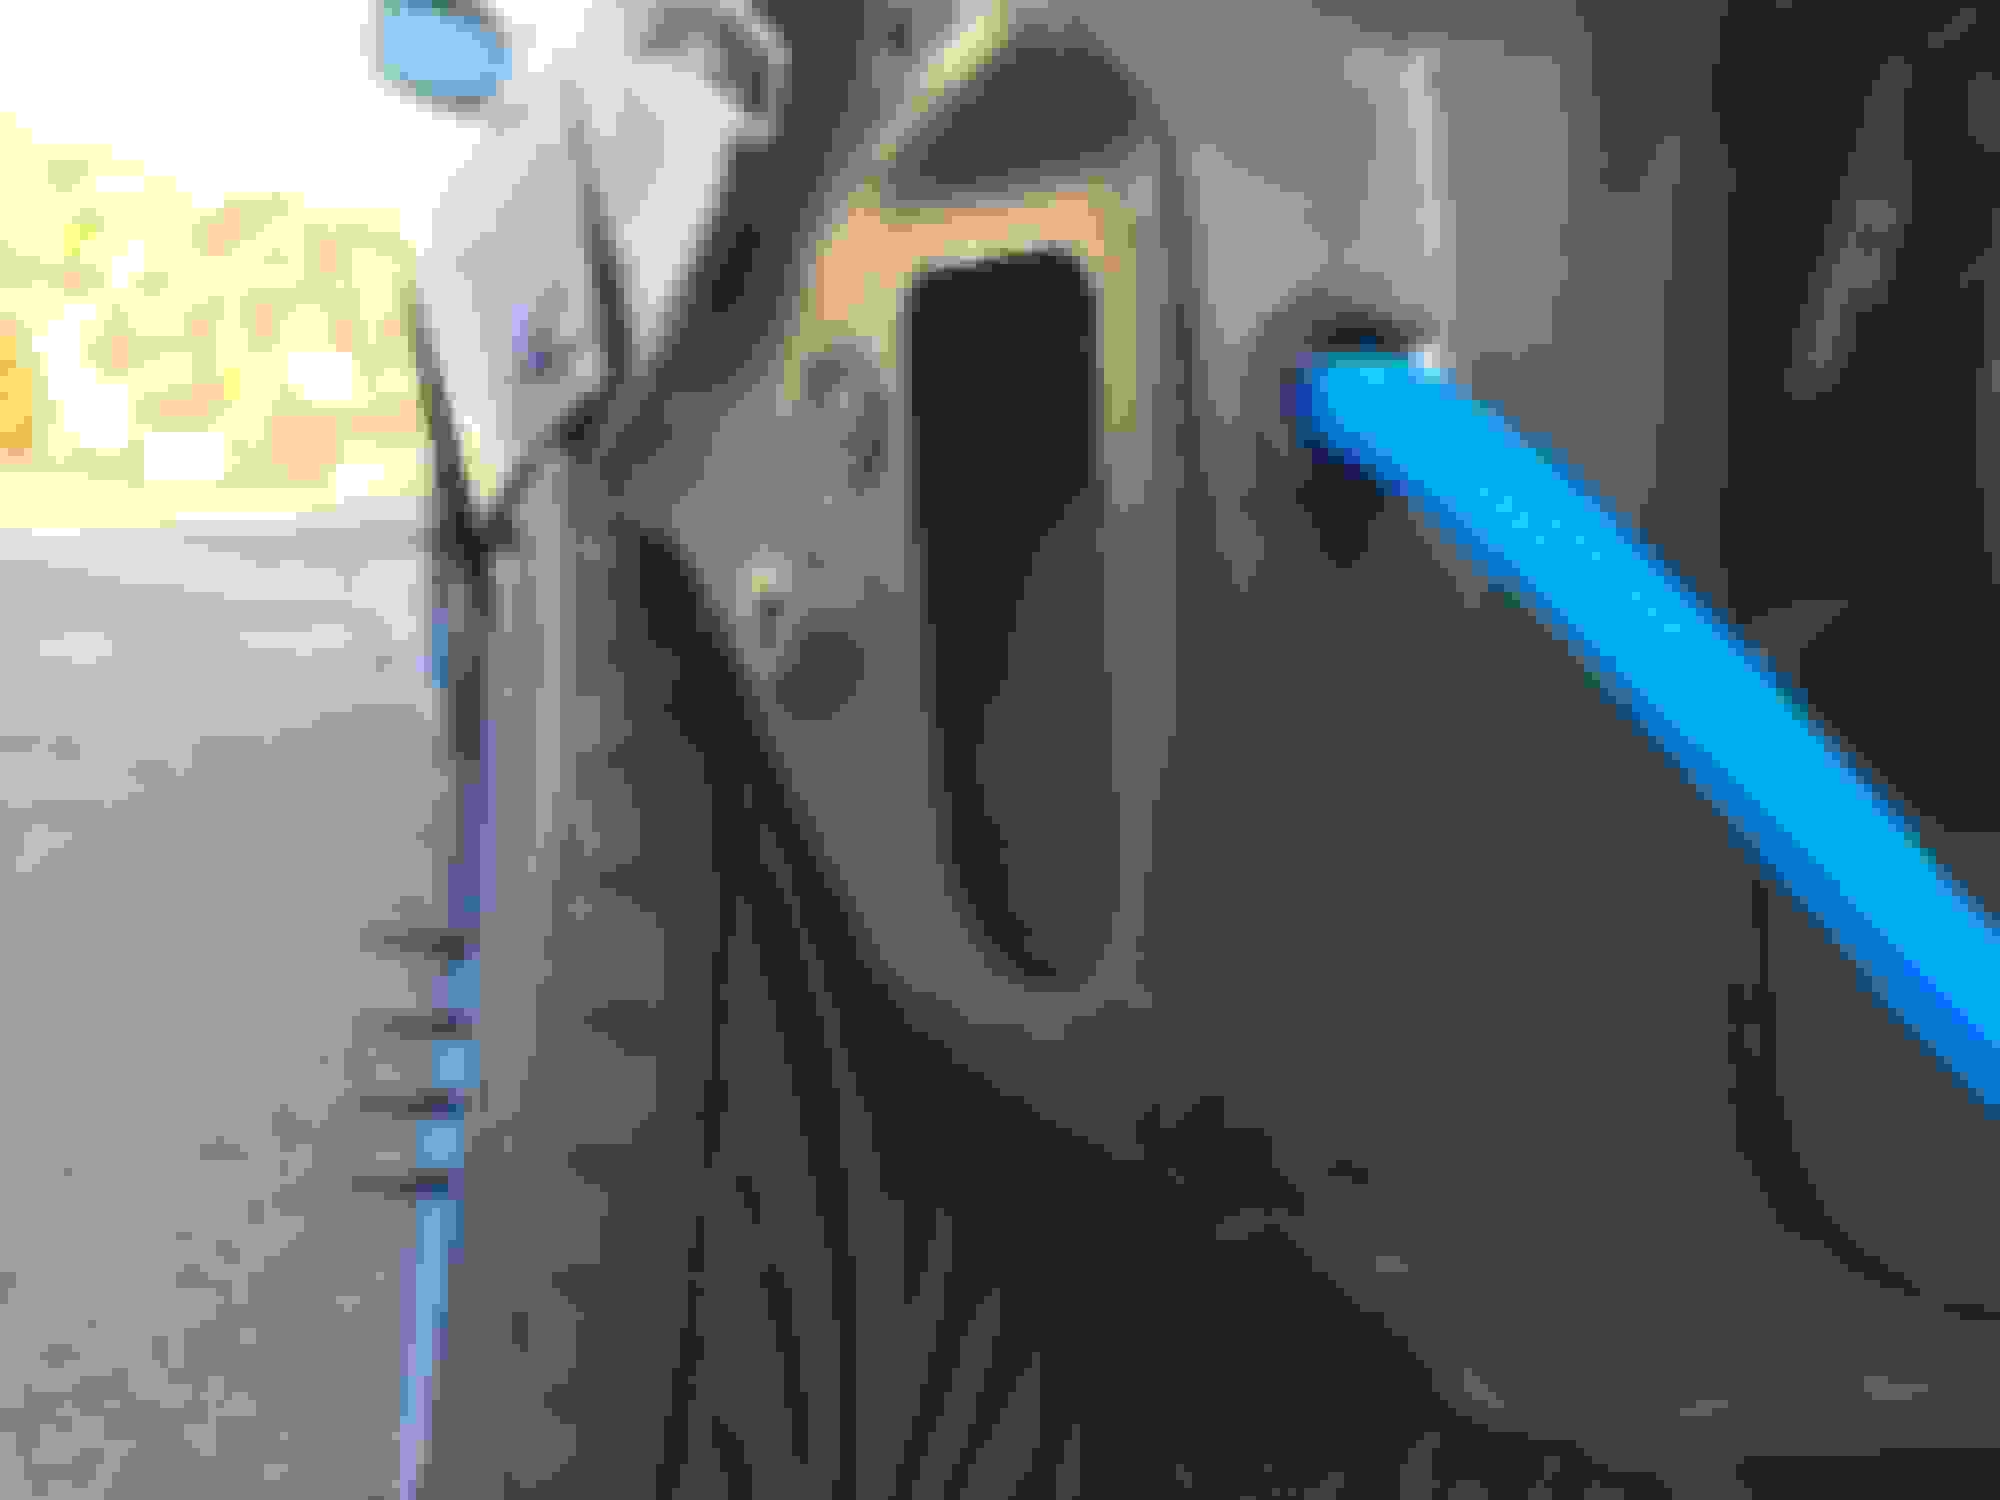
I wired in 3 extensions next, because the lamp only came with about a foot of cord. I color coded the extension wires, with 3 different colors of wire that I had in the garage left over from a previous modification - I cut off about 26” of each color. I ran a black wire and spliced it with the white/black; a green wire to the solid green; and a white wire to the green/white. Once these have been spliced, reattach the cut wires to the factory connector with a butt connector, and then figure out where you are going to run the extension wires to hide them (if you want to hide them). I ran mine through the bottom of the frame from below the tail light by removing a rubber plug. I cut the center out of the plug, put the wires through, and put them in a wire loom for protection, after taping all of the connections to prevent moisture entering..
Blue wire loom
Rubber plug
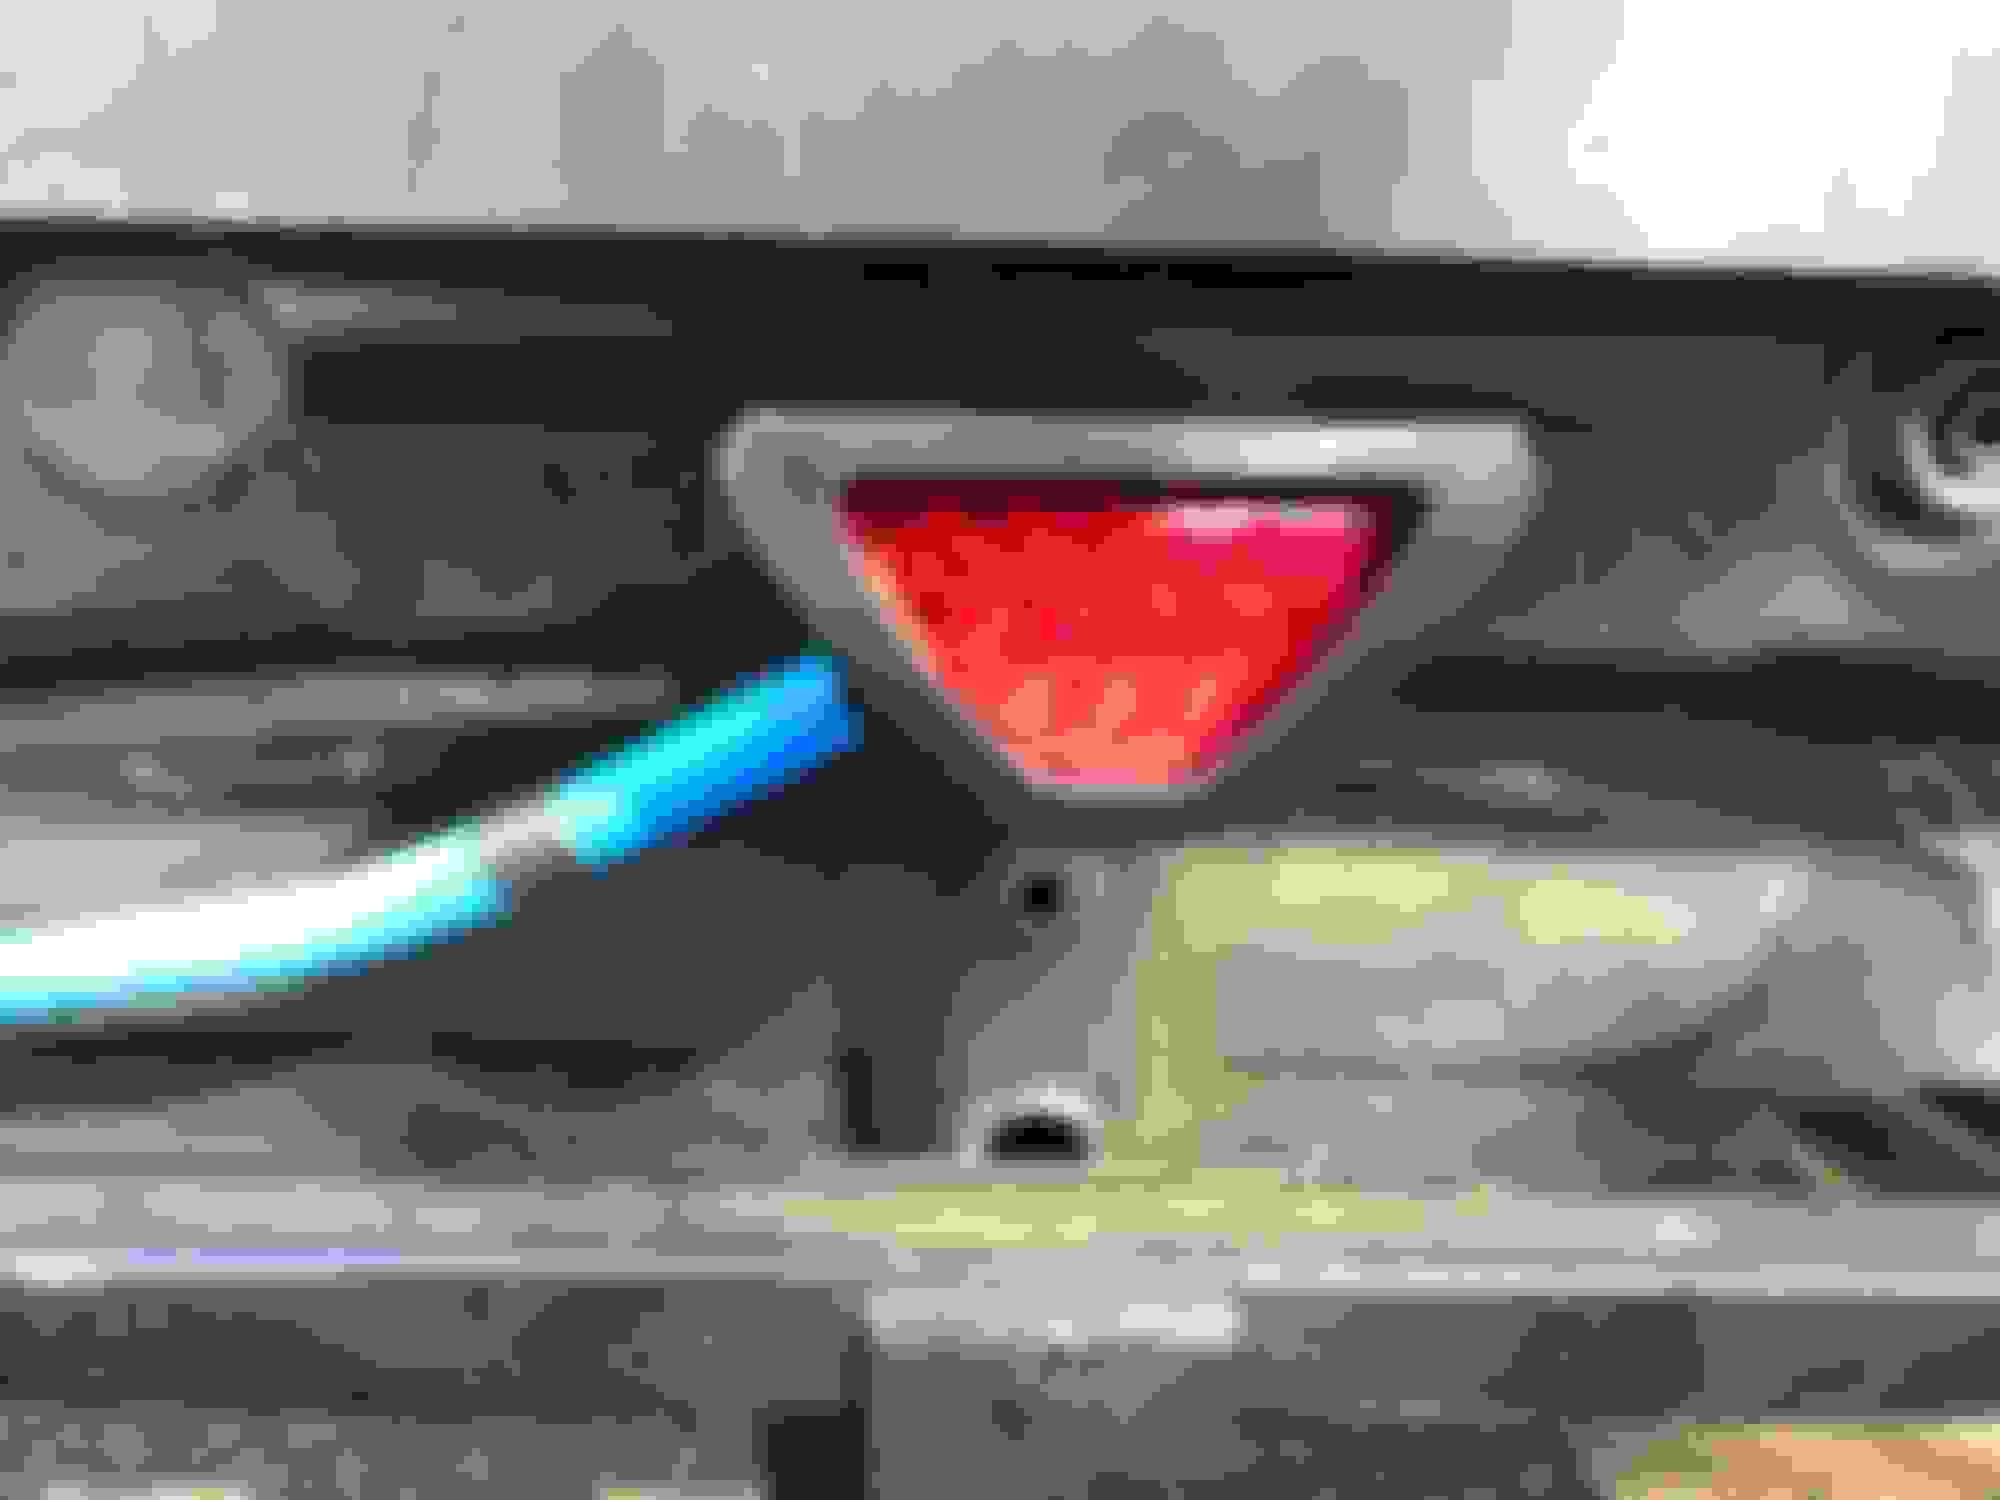
Now for the lamp itself. The lamp has 3 wires coming out of it:
===== x x x x x x x
===== ____ ____
===== (blank)
Note: colors apply to the extension wires that I installed in the step above; your colors may vary.
The blank wire is the ground (black extension wire).
The wire with ‘x’ is for the parking lights. Connect it to the green extension wire.
The middle wire with the intermittent lines is what makes the lamp blink when the brake pedal is pressed. Connect it to the white extension wire and all of the connections are done. Test it by having a friend press on the brake while you watch it, or if you are flying solo like I did, wedge something between the drivers seat and the brake to push it down and then go back and check it.
If wired correctly, the brake lamp will flash even when the car lights are off.
That’s about all for this lesson..the result of about 2 hours of messing around trying different things until something worked.
Enjoy it
Last edited by MR_LUV; Nov 24, 2017 at 05:17 AM.
Reason: Approved Thread by Moderator
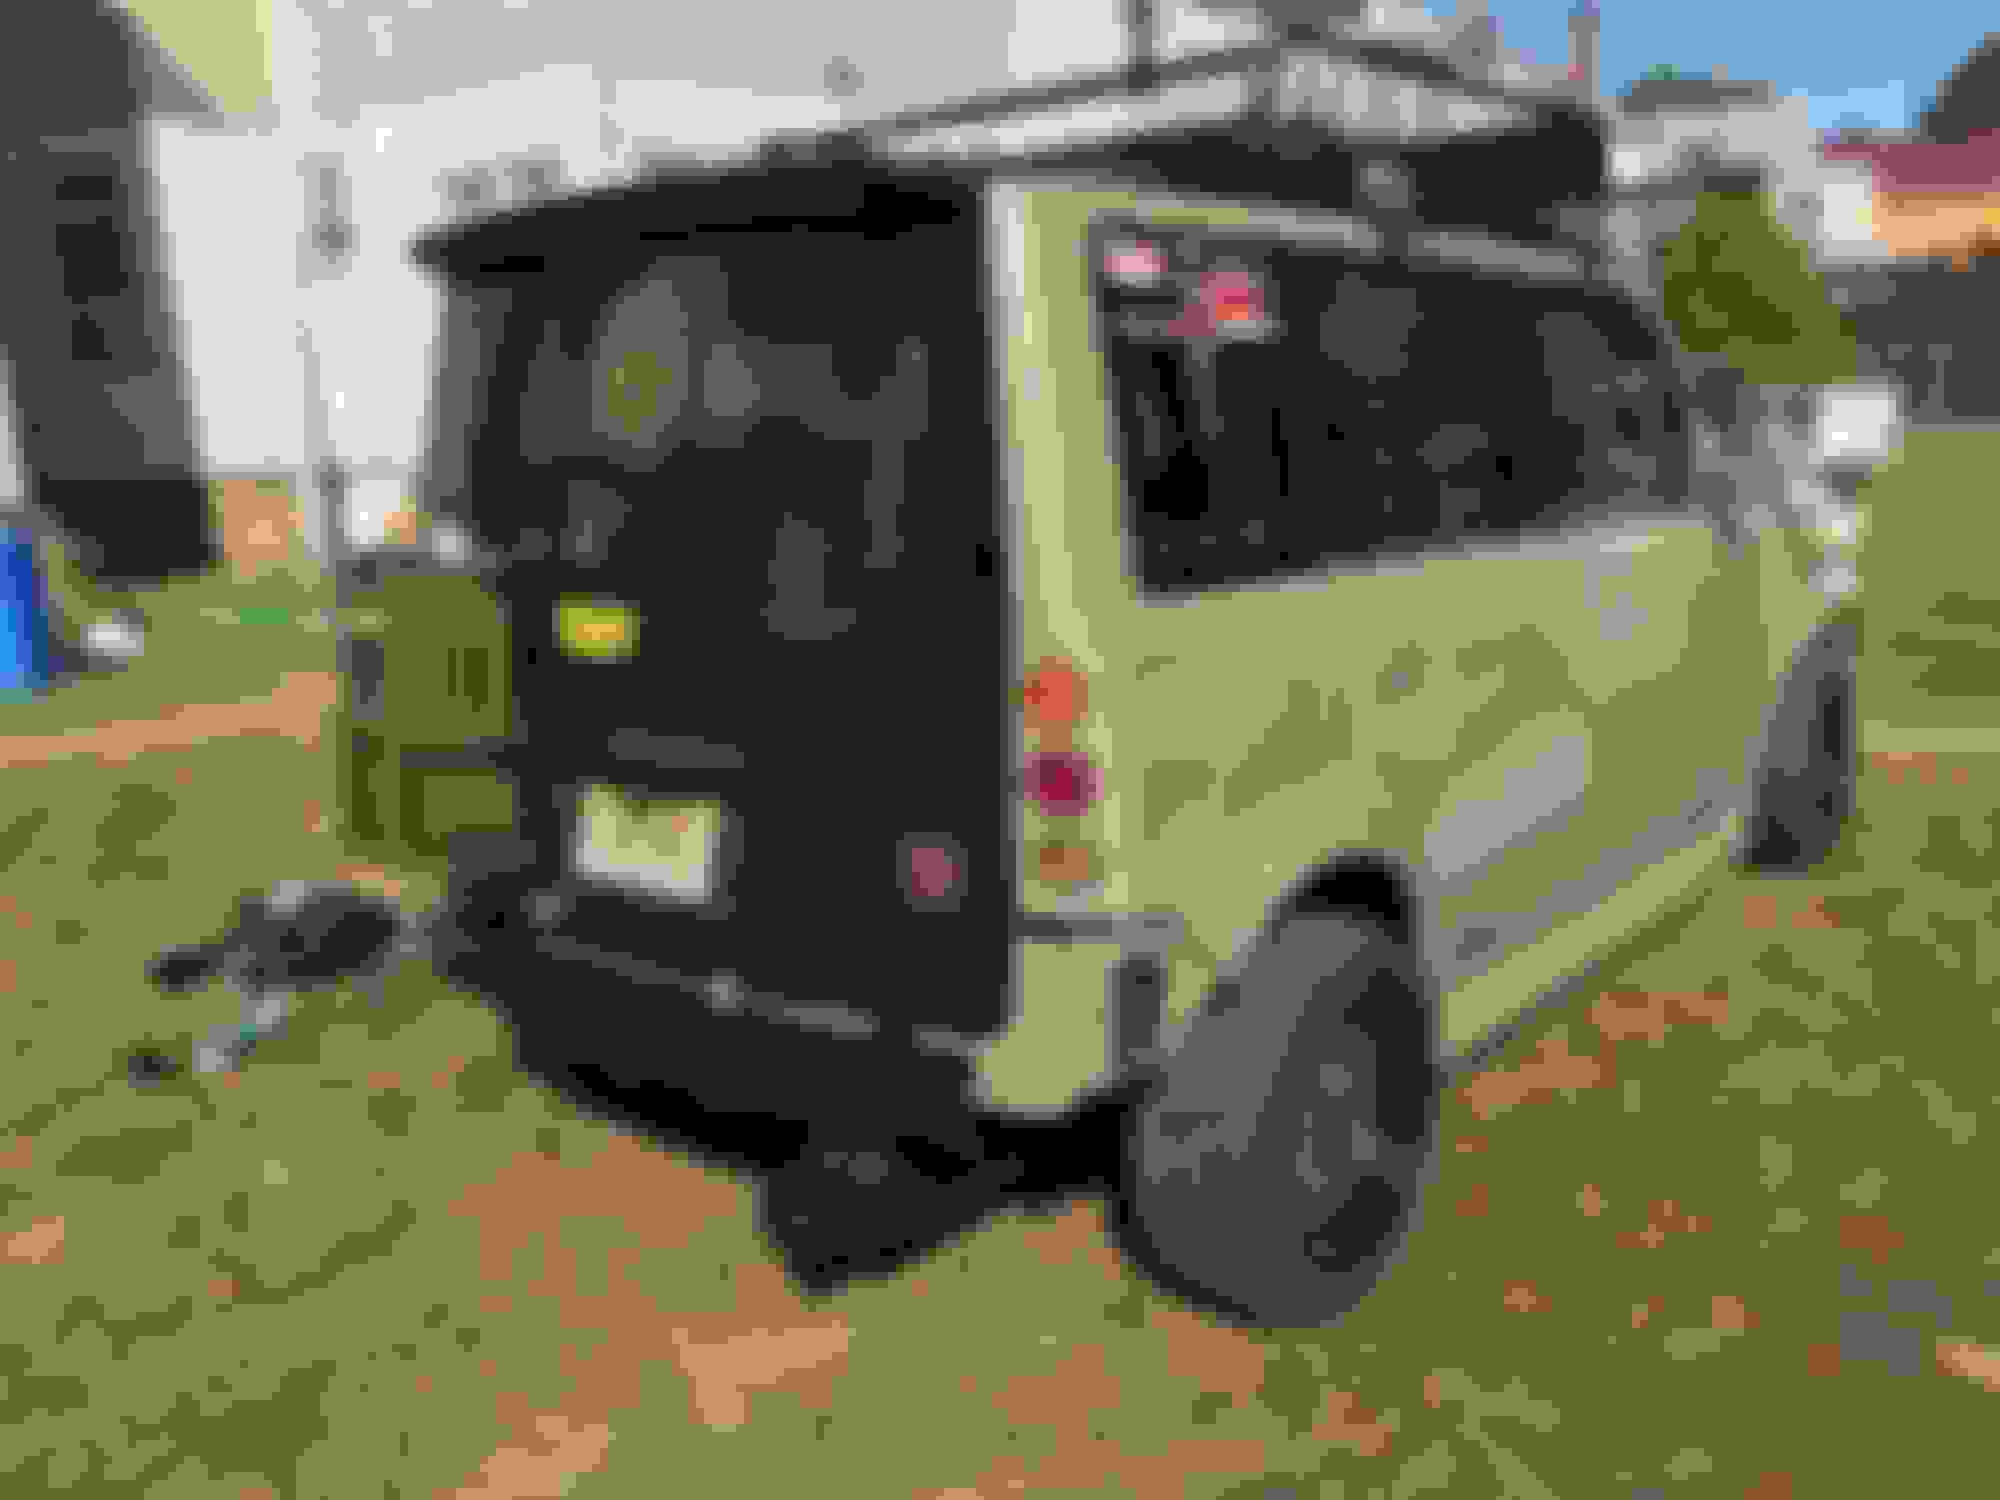
Why yes, it appears that I may have been not paying attention when I put those wheels on and put them on backwards.. :/ I will have to fix that tomorrow..I am waiting on two new snow tires for my winter rims.
the holes were for the can holder:
Gas can holder ;)
I just put that one on this morning..originally I had a military style metal can and holder but I took it off when I repainted it and never put it back on because it was getting rusty, and it was too heavy; when the gate was open it would fall and hit me in the head. I got the plastic can which didn’t fit in the old holder, so I got a new holder. It is actually made by Garvin and designed specifically for a Jeep; I modified it by grinding off the mounting tabs and drilling holes in the cross brace for mounting; I then used a piece of 1” stair riser left over from a home improvement project and used the existing holes to mount it to the tailgate as a mounting point and fastened the holder on to it with two 1” bolts. Now no more unsightly holes..
here is an old photo of the original can holder (and paint job..and exhaust..and a lot has changed)....