


Five Axis Kit Install Step by step


Thread Starter
Former Sponsor


SL Member
Scion Evolution
Joined: Sep 2004
Posts: 1,896
From: Honolulu, Hawaii
 Five Axis Kit Install Step by step
Ok guys I have the kit.. I will post up the install progress as i get things done.
It is pretty simple. becuase it fits well.. all you prob need a good paint shop if you cant paint it your self. this kit can prob be installed in an hour or less after the paint is done with help from a friend to line it up.
The first step is the inspect all parts and check for fitment. WHen checking item look for pin hole and what not that need to be filled before you paint.. normally if theres pin holes you can just fill it primer and black sand it out.. Note I didnt find any pin holes or flaws! how much better can this get!
The kit fit really well. it get it to stay up on the car for the back and sides just use some tape to hold it up. IT fits perfect in the front in which it just stays up
This kit does make the car stand out way more even in its stock form. Its a must have item.
Make sure it come with the limited edition Five Axis installer.. " Scared the crap out of me when i opened up the box.

Before
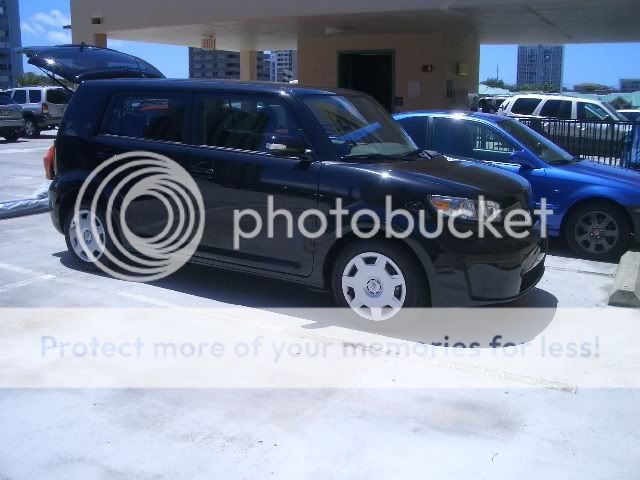
Front Before notice how high the bottom of the bumper is
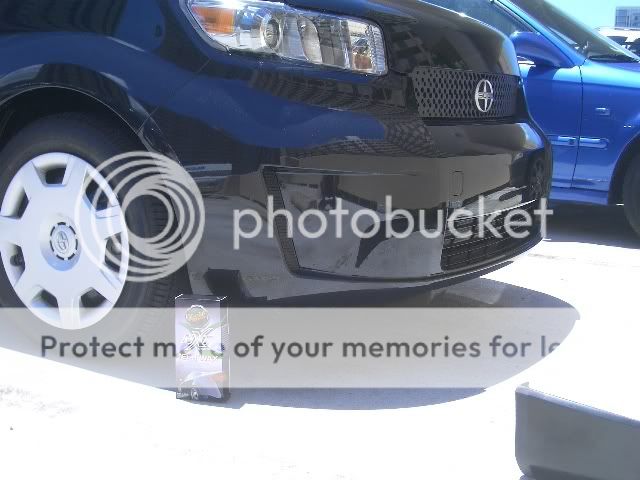
Front after
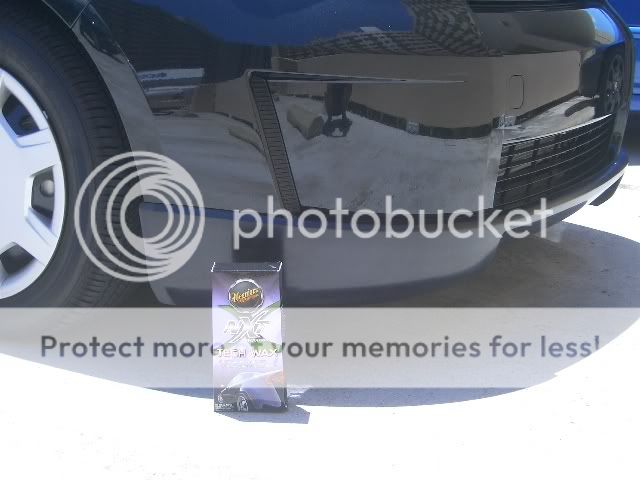
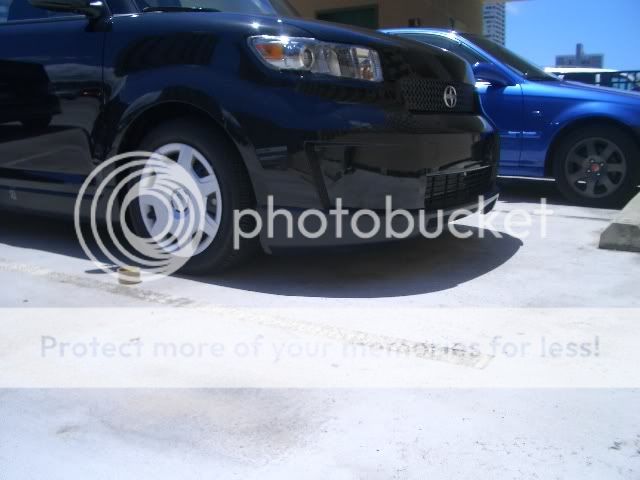
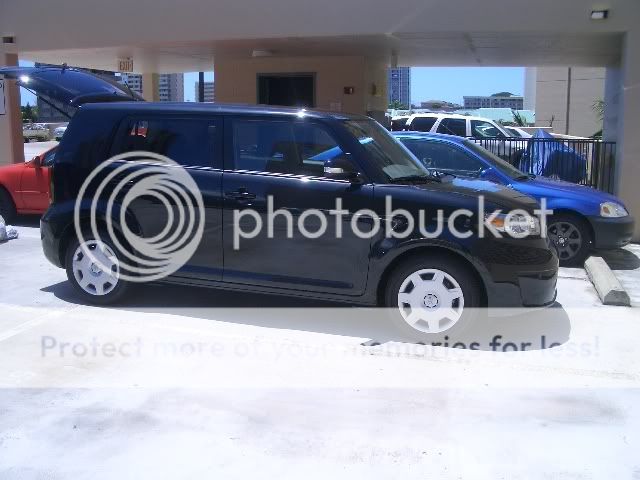
Side before ..
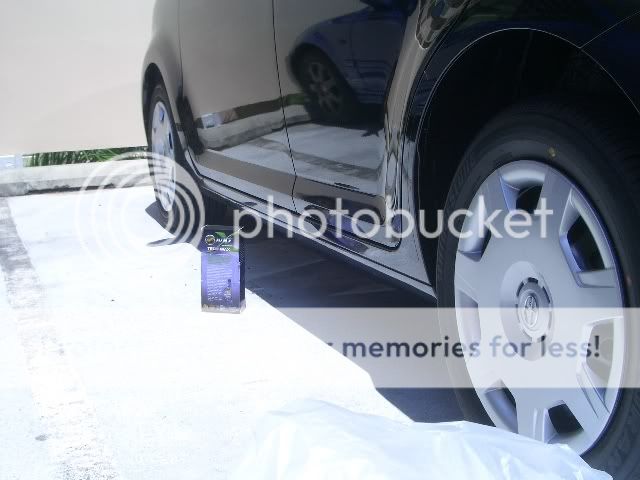
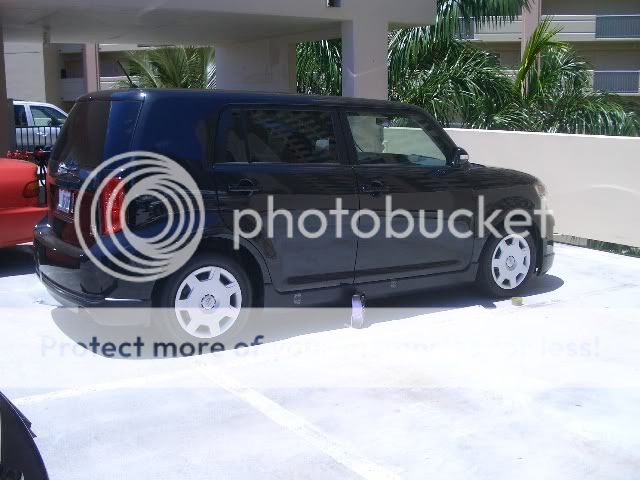
Side after
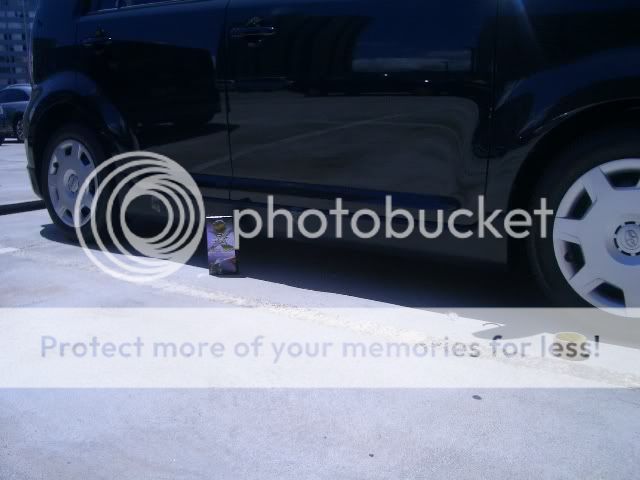
Rear Before
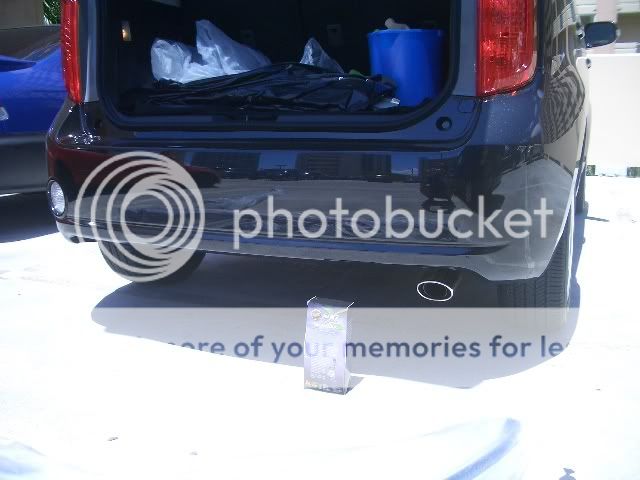
Rear After
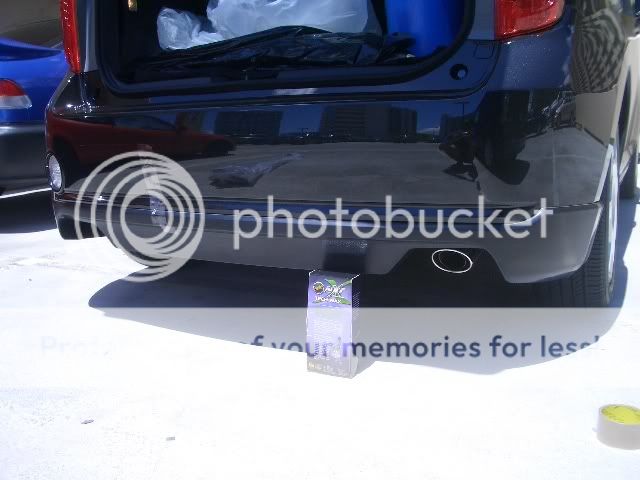
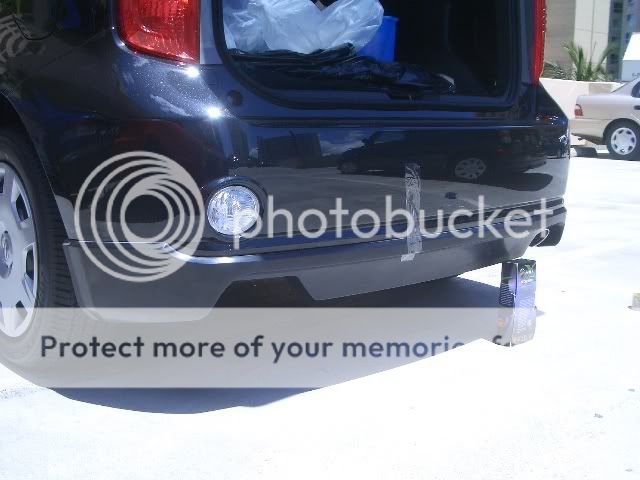
Before and After
It is pretty simple. becuase it fits well.. all you prob need a good paint shop if you cant paint it your self. this kit can prob be installed in an hour or less after the paint is done with help from a friend to line it up.
The first step is the inspect all parts and check for fitment. WHen checking item look for pin hole and what not that need to be filled before you paint.. normally if theres pin holes you can just fill it primer and black sand it out.. Note I didnt find any pin holes or flaws! how much better can this get!
The kit fit really well. it get it to stay up on the car for the back and sides just use some tape to hold it up. IT fits perfect in the front in which it just stays up
This kit does make the car stand out way more even in its stock form. Its a must have item.
Make sure it come with the limited edition Five Axis installer.. " Scared the crap out of me when i opened up the box.
Before
Front Before notice how high the bottom of the bumper is
Front after
Side before ..
Side after
Rear Before
Rear After
Before and After


Senior Member

SL Member
Joined: Jun 2006
Posts: 178
This one may have the potential to look as good or better than the 5-Axis ones, especially if it goes a different style. Looking forward to it coming to show with us on Maui! Competition just jumped to the next level for all the Scions in Hawaii. Right on Marshall!
Peace
Peace

Thread Starter
Former Sponsor
SL Member
Scion Evolution
Joined: Sep 2004
Posts: 1,896
From: Honolulu, Hawaii
Originally Posted by ciscob
If I read right. Are you saying, this kit is attach to the car, by using 3m tape?
Thread Starter
Former Sponsor
SL Member
Scion Evolution
Joined: Sep 2004
Posts: 1,896
From: Honolulu, Hawaii
PART 2 Prep and Paint.
Ok guys this is a long process and has to be done right. Due to the kit being raw plastic, there are step to be followed to get the paint to stick to the plastic. Five Axis Provides an isntuction sheet that you body shop should follow. Failure to follow the five axis instuctions or the paint manufacture instuction will result in paint not sticking to the plastic and paint wil chip or start to peal off..
THe first step is very critical.. in the process of make the kit a mold release is used and has to be removed using soap and warm water and plastic cleaner. This step is the step that counts! So do it good..
Scuff kit using 230 sand paper. Sand it good! every crack and and corner.Make sure you use a flexible sanding block
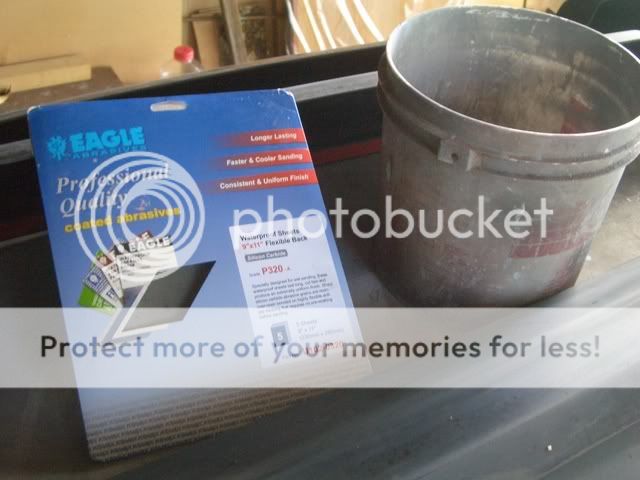
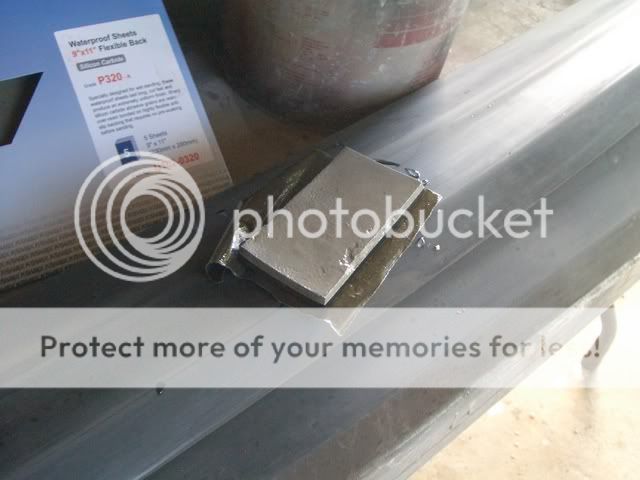
Next step is to use a scuffing pad and warm water and Dawn. This will remove most of the wax and oil.
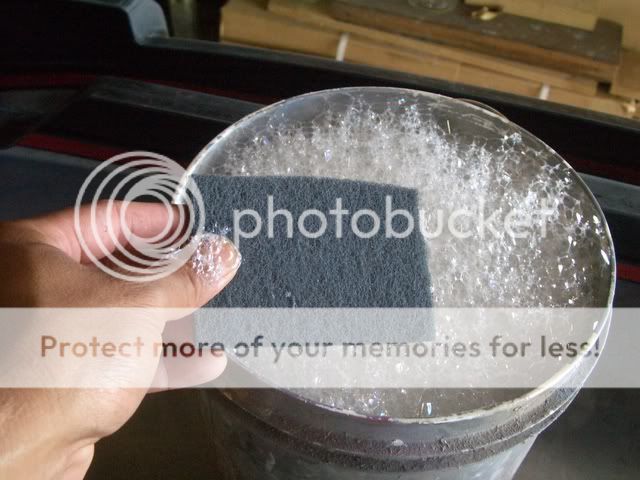
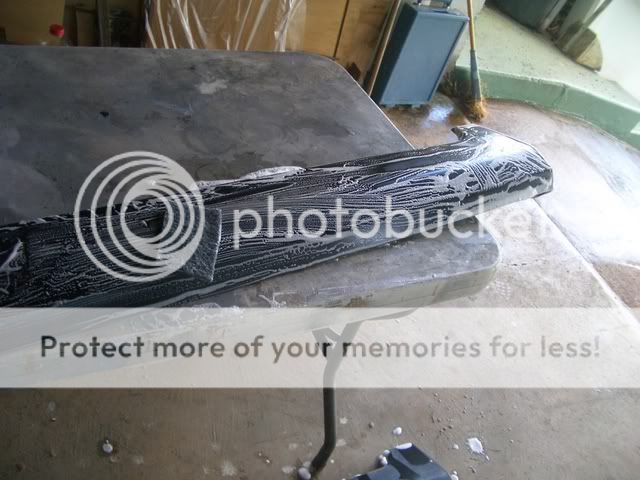
Wash and wipe dry
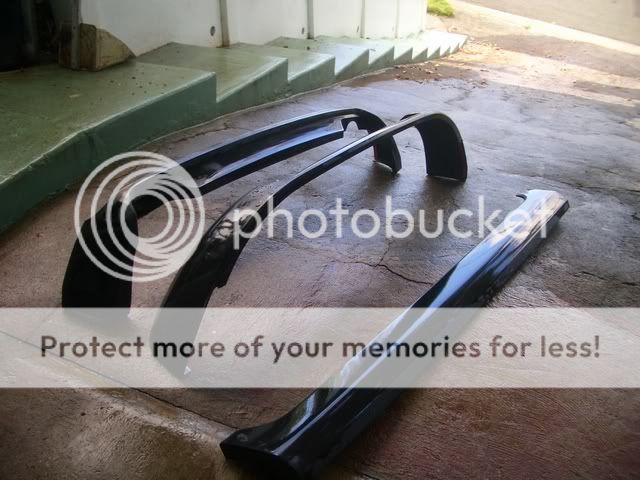
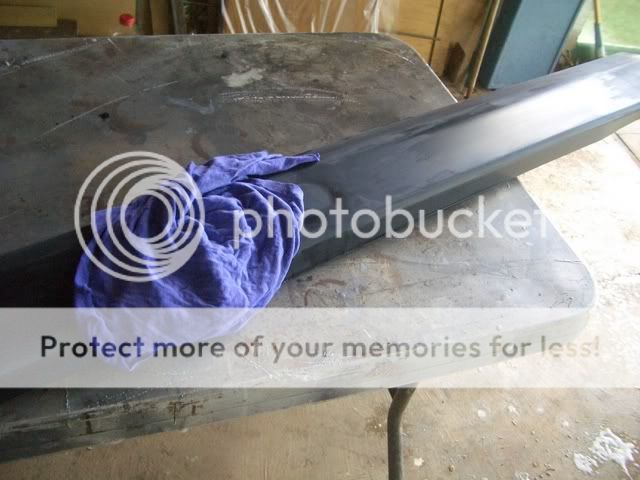
After use plastic Cleaner.. wipe entire kit inside and out using a clean cloth
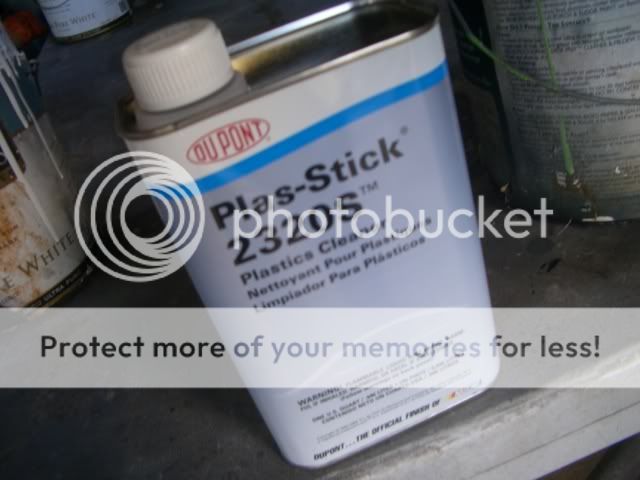
Use a tack rag to remove dust
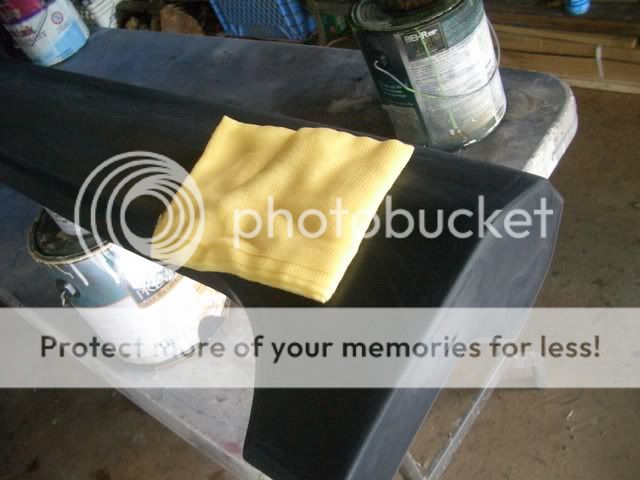
Now use a Static Wipe so that dust dont stick to the kit.
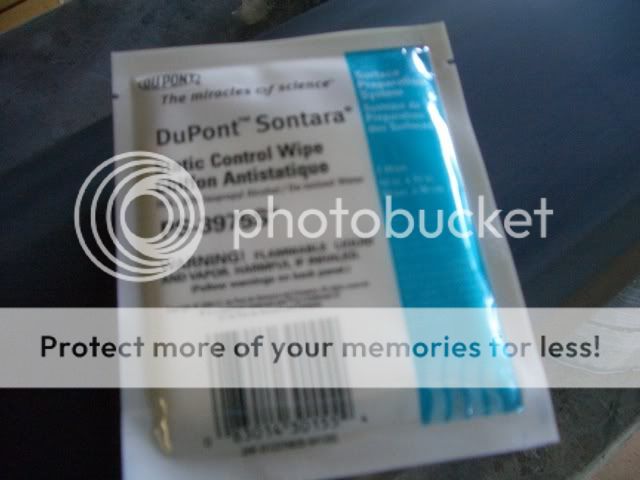
now your ready to paint.. first you spray and Adheisive Promoter Spray one wet coat and let set for 30 min.
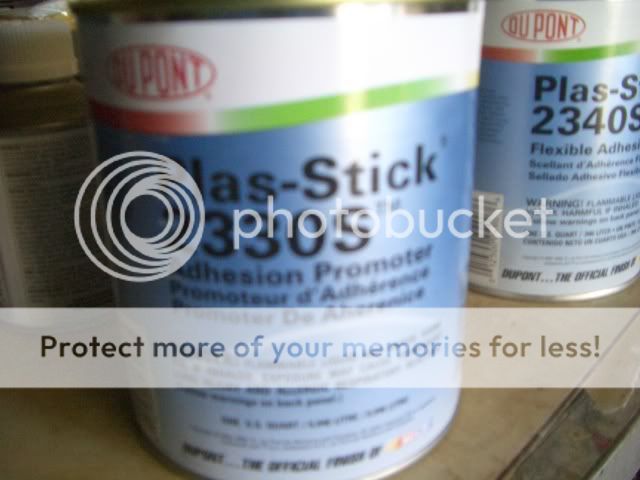
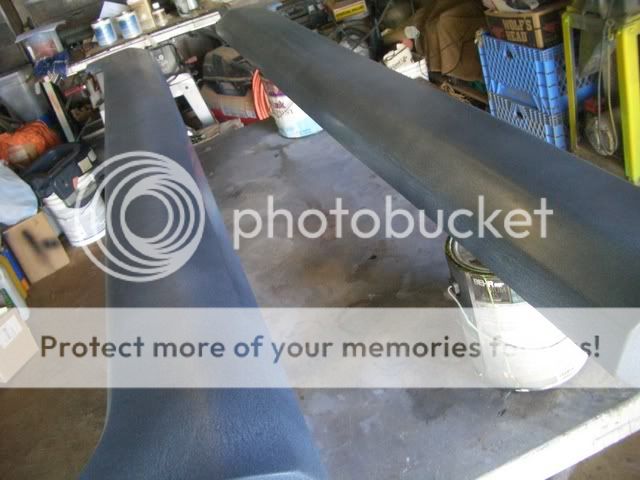

After Adheisive promoter sets. now you can primer it.. make sure to use a flex primer made for plastics. this primer takel onger to flash than normal primers.. make sure you let flash for 2 hours.
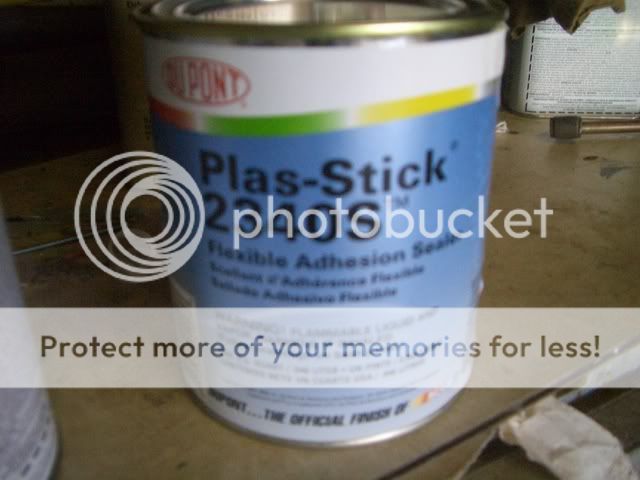
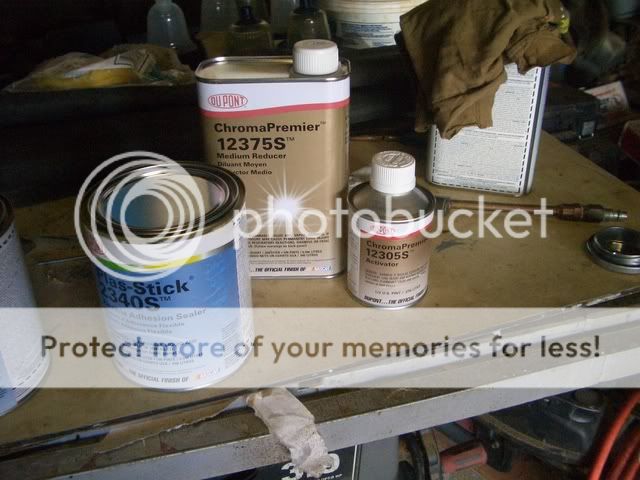
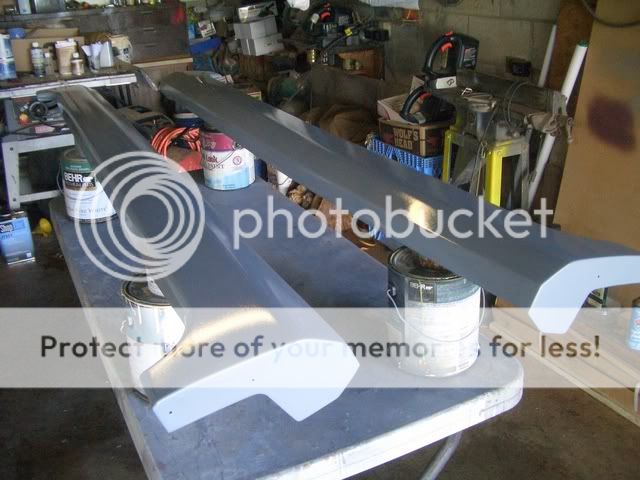
Next after 2 hours of waiting you can mix your base coat and spray it.. mkae sure to spray wll the edges good espsecially the lip that goes into the door jamb. Let flash for 10 min.
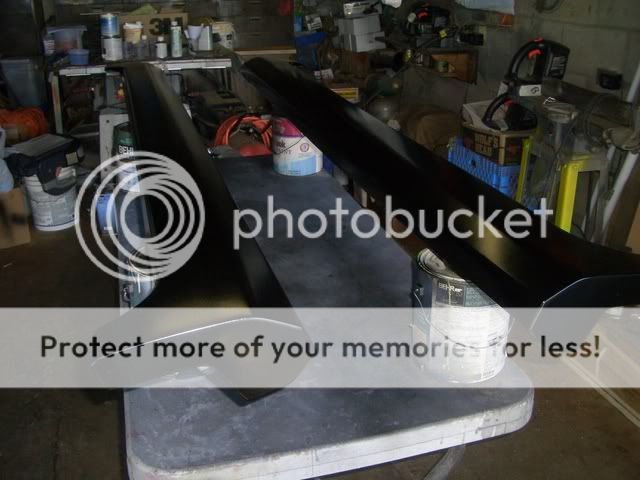
Now your ready for the clear coat this is where you have to add the flex additive. this makes the clear flex and harder to chip. I like to spray 3 coats of clear letting it flash 10 min before each coat. tihs is the part when you dont want to make runs after your done with this part let the paint dry over night.
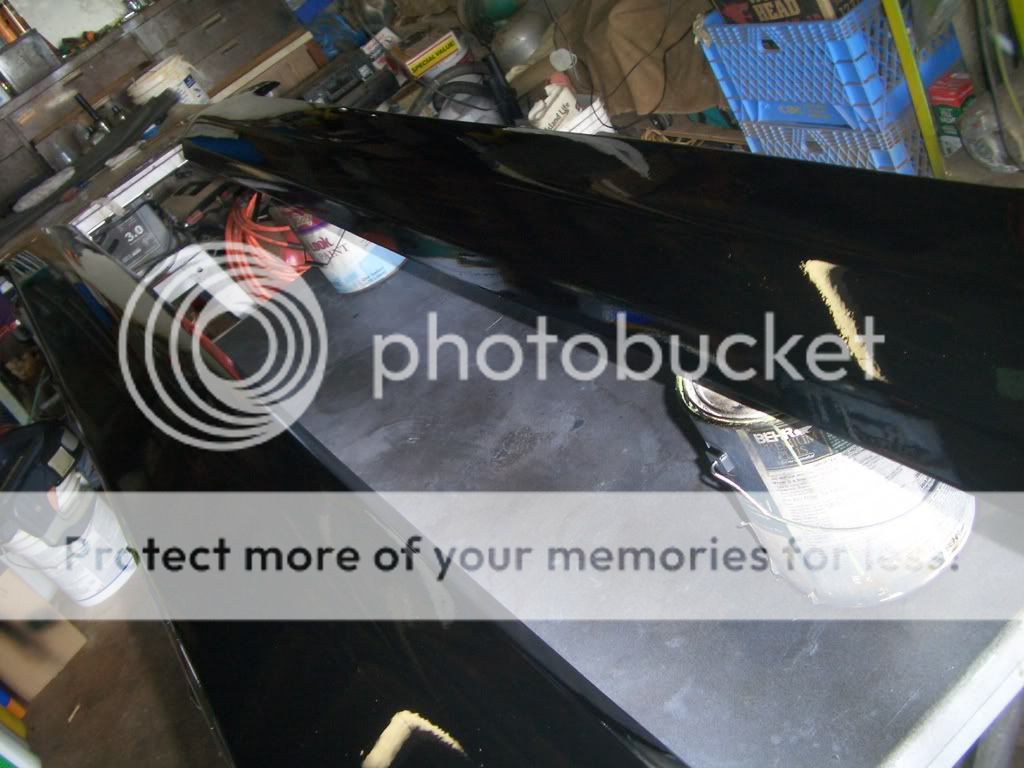
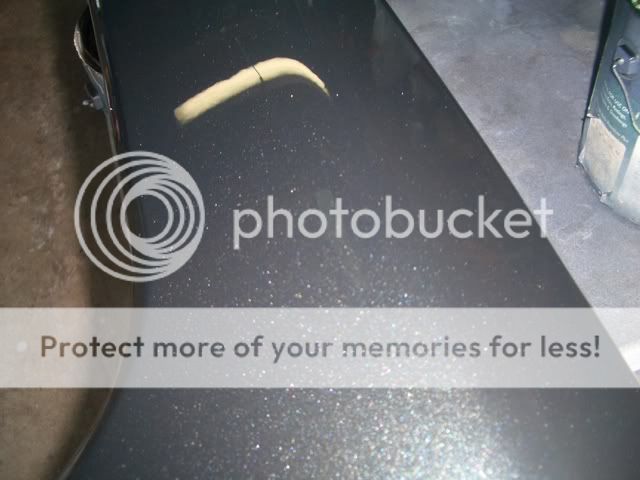
Note. Product used was all Dupont ChromaBase system.. I didnt not go into fine detail on how to mix paint nor how to spray the paint.
Cost for just the paint and no labor.. 400.00 very exspendive! but youll end up with alot of extra for you next customer..
Ok guys this is a long process and has to be done right. Due to the kit being raw plastic, there are step to be followed to get the paint to stick to the plastic. Five Axis Provides an isntuction sheet that you body shop should follow. Failure to follow the five axis instuctions or the paint manufacture instuction will result in paint not sticking to the plastic and paint wil chip or start to peal off..
THe first step is very critical.. in the process of make the kit a mold release is used and has to be removed using soap and warm water and plastic cleaner. This step is the step that counts! So do it good..
Scuff kit using 230 sand paper. Sand it good! every crack and and corner.Make sure you use a flexible sanding block
Next step is to use a scuffing pad and warm water and Dawn. This will remove most of the wax and oil.
Wash and wipe dry
After use plastic Cleaner.. wipe entire kit inside and out using a clean cloth
Use a tack rag to remove dust
Now use a Static Wipe so that dust dont stick to the kit.
now your ready to paint.. first you spray and Adheisive Promoter Spray one wet coat and let set for 30 min.
After Adheisive promoter sets. now you can primer it.. make sure to use a flex primer made for plastics. this primer takel onger to flash than normal primers.. make sure you let flash for 2 hours.
Next after 2 hours of waiting you can mix your base coat and spray it.. mkae sure to spray wll the edges good espsecially the lip that goes into the door jamb. Let flash for 10 min.
Now your ready for the clear coat this is where you have to add the flex additive. this makes the clear flex and harder to chip. I like to spray 3 coats of clear letting it flash 10 min before each coat. tihs is the part when you dont want to make runs after your done with this part let the paint dry over night.
Note. Product used was all Dupont ChromaBase system.. I didnt not go into fine detail on how to mix paint nor how to spray the paint.
Cost for just the paint and no labor.. 400.00 very exspendive! but youll end up with alot of extra for you next customer..

Senior Member
SL Member
Joined: Aug 2006
Posts: 631
Originally Posted by eight08customs
Cost for just the paint and no labor.. 400.00 very exspendive! but youll end up with alot of extra for you next customer..


Senior Member

SL Member
Scion Evolution
Joined: Mar 2004
Posts: 114
From: Huntington Beach, CA
Nice Paint Shop
Hey eight08, ilke your environmentally freindly paint shop. I hope you don't live near a preschool or something. That would explain the kids with 3 rows of teeth next door.... 
Thanks for the posts and for documenting the oh so important steps of prep. You know paint prep is everything.
scvsions, where is your front end? What are you doing to your car?
Thanks for the posts and for documenting the oh so important steps of prep. You know paint prep is everything.
scvsions, where is your front end? What are you doing to your car?
Thread Starter
Former Sponsor
SL Member
Scion Evolution
Joined: Sep 2004
Posts: 1,896
From: Honolulu, Hawaii
No problem Troy.. my paint shop is one better than our normal Grass Shack.
Just wanted to share the process with those that wonder whats involved when it comes to painting plastic parts it might clear up why some body shops charge so much to paint these kits.
Ill post up more pix wheni install the kit.. but that ill have to wait for the Drop springs and rims.. I have to bring the car to get aligned and i dont think it will fit on the rack with the lip kit on. So hopefully the next time i post it will be how to drop and install kit and rims..
Just wanted to share the process with those that wonder whats involved when it comes to painting plastic parts it might clear up why some body shops charge so much to paint these kits.
Ill post up more pix wheni install the kit.. but that ill have to wait for the Drop springs and rims.. I have to bring the car to get aligned and i dont think it will fit on the rack with the lip kit on. So hopefully the next time i post it will be how to drop and install kit and rims..
Senior Member
SL Member
Scion Evolution
Joined: Mar 2004
Posts: 114
From: Huntington Beach, CA
Supporting painted parts
Marshall, be sure to not leave the kit like that, unsupported or else you'll have 2 hammocks to sleep in your Grass Shack with... Make sure to either lay them on their face (might print though) or put a 2x4 along the length of the skirt and rest the backside on there.
Front and rear are okay if you lay them with the bottoms touching the ground.
We might be devloping a custom dual exhaust for the car soon as we get one ourselves. Keep you guys posted.
Front and rear are okay if you lay them with the bottoms touching the ground.
We might be devloping a custom dual exhaust for the car soon as we get one ourselves. Keep you guys posted.

Senior Member
SL Member
Joined: May 2005
Posts: 358
From: Northwest
How can I get my hands on one of these? is it only through a dealer? and is there two versions of the rear lip? I've seen one with one cut out for the exhaust tip and i have also seen one with two cut outs for the exhaust tip 
Thread Starter
Former Sponsor
SL Member
Scion Evolution
Joined: Sep 2004
Posts: 1,896
From: Honolulu, Hawaii
Originally Posted by evoluscion
Marshall, Ruther from SE Maui just picked up his black 08 xB today, very first one on Maui! Hopefully he might have a chance to get one of these kits too by the time you folks come over in August!
Peace
Peace
