Painted Speedo Bezel and Engine Bay Pieces HOT LAVA (*NEW*PICS)
 11-10-2009, 04:54 AM
#1
Senior Member
Wagonistas
SL Member
Thread Starter

Join Date: Mar 2005
Location: AZ
Posts: 4,080
Well yesterday I went over to Randy's house so that we could do some painting mods to the xD...Justin (Just1n) also came over to help shoot the paint since he's the paint guy...Well all of us prepped and got parts ready and Justin applied Hot Lava to the selected parts...I must say, Randy is awesome and i'm glad he was there to take apart the calipers because they turned out INCREDIBLE...His attention to detail is unbelievable...
For the rims, I have always wanted so Hot Lava accent on them and wanted to have the indented words AXIS painted Hot Lava but really wasn't sure how it would turn out...Randy asked if I had brought my touch up paint from the dealership and I told him I did...Well by using the pen tip portion of the touch up container, we both were able to fill in the indentation with Hot Lava and it turned out freaking awesome...
Also painted the stainless steel valvestems Hot Lava, rear brake drums Hot Lava, and of course the front brake calipers Hot Lava...Here is that thread https://www.scionlife.com/forums/sho...d.php?t=175544
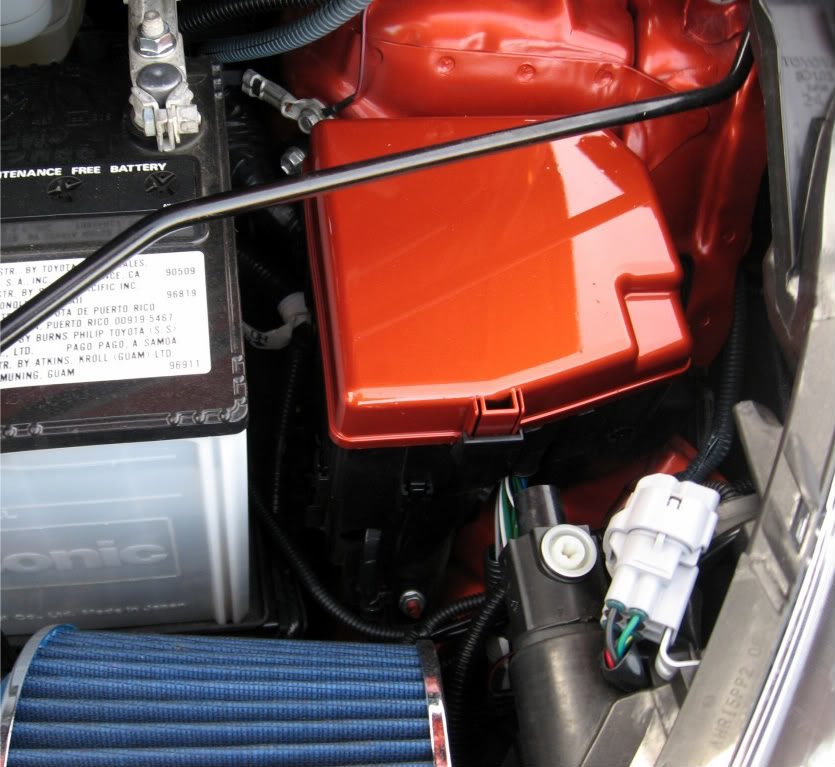
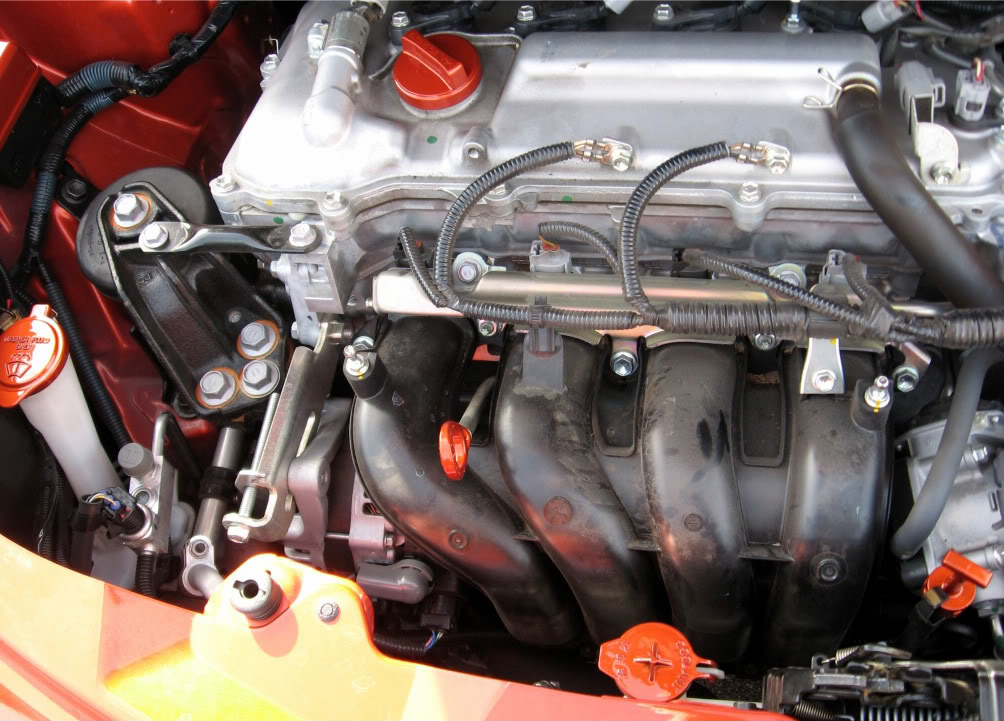
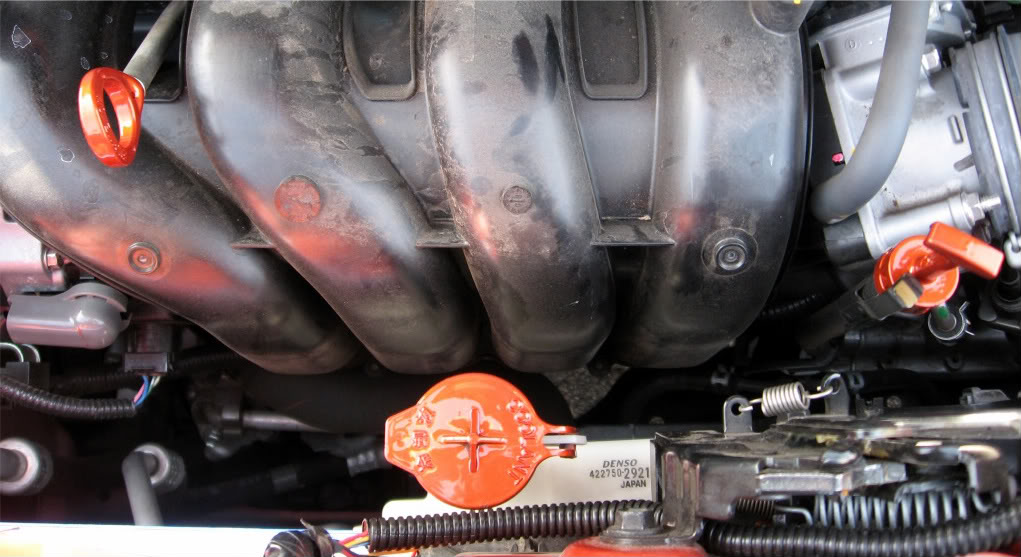
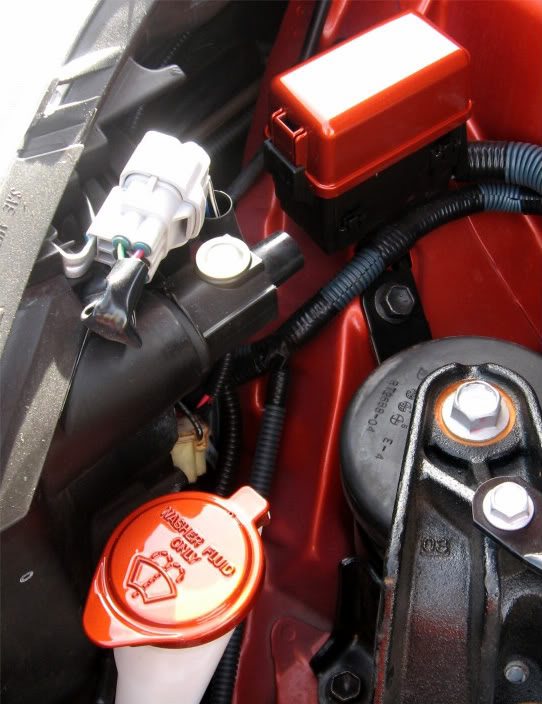
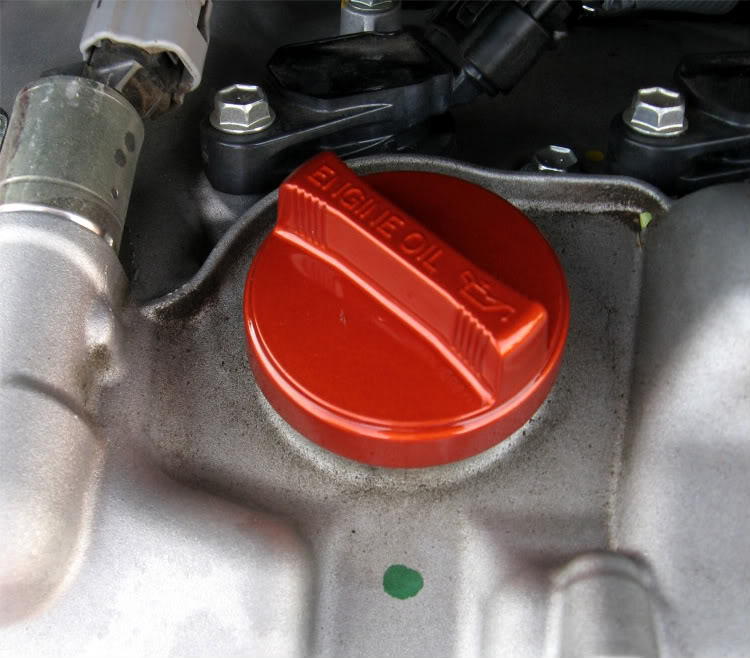
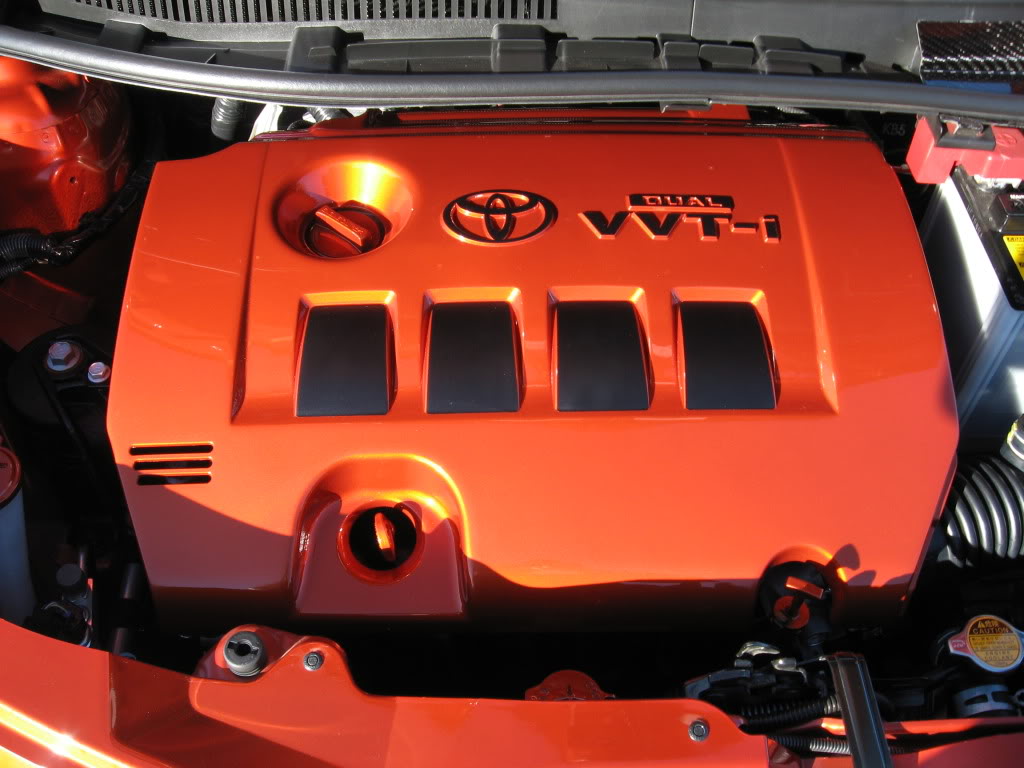
Also painted Hot Lava was engine pieces consisting of: relay cover, fuse box cover, washer fluid lid, engine oil cap, coolant lid, dipstick handle, and transmission handle...The engine cover is still being worked on...Trying to sand it smoth, it is ALOT of work and it's not finished yet...
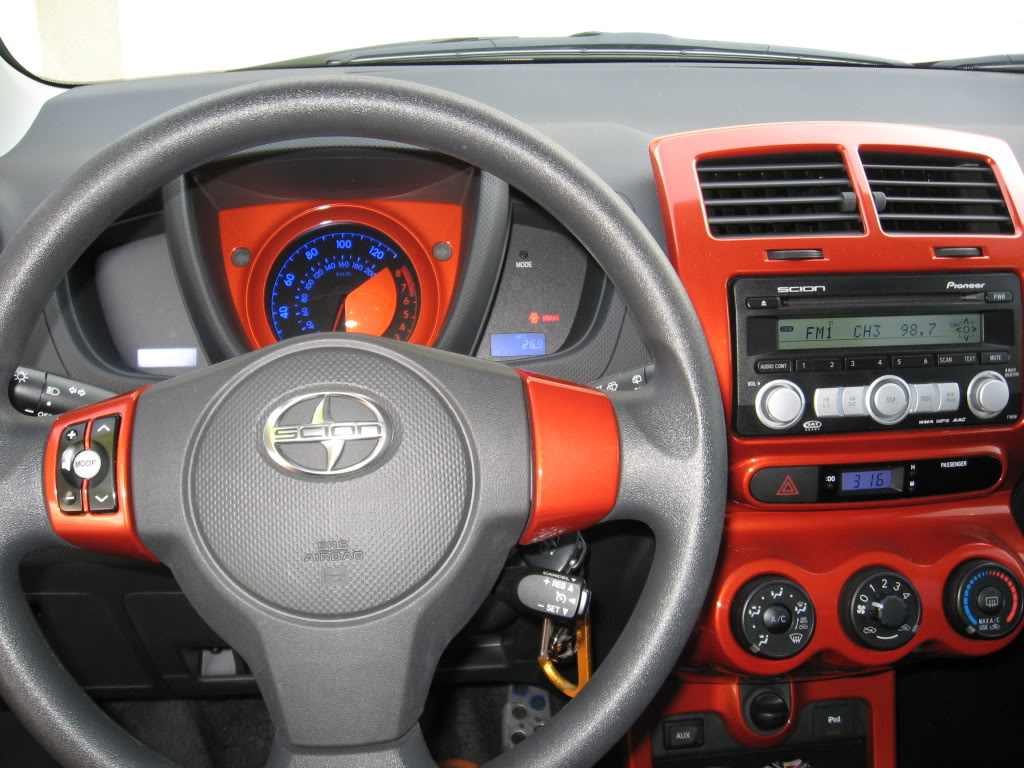
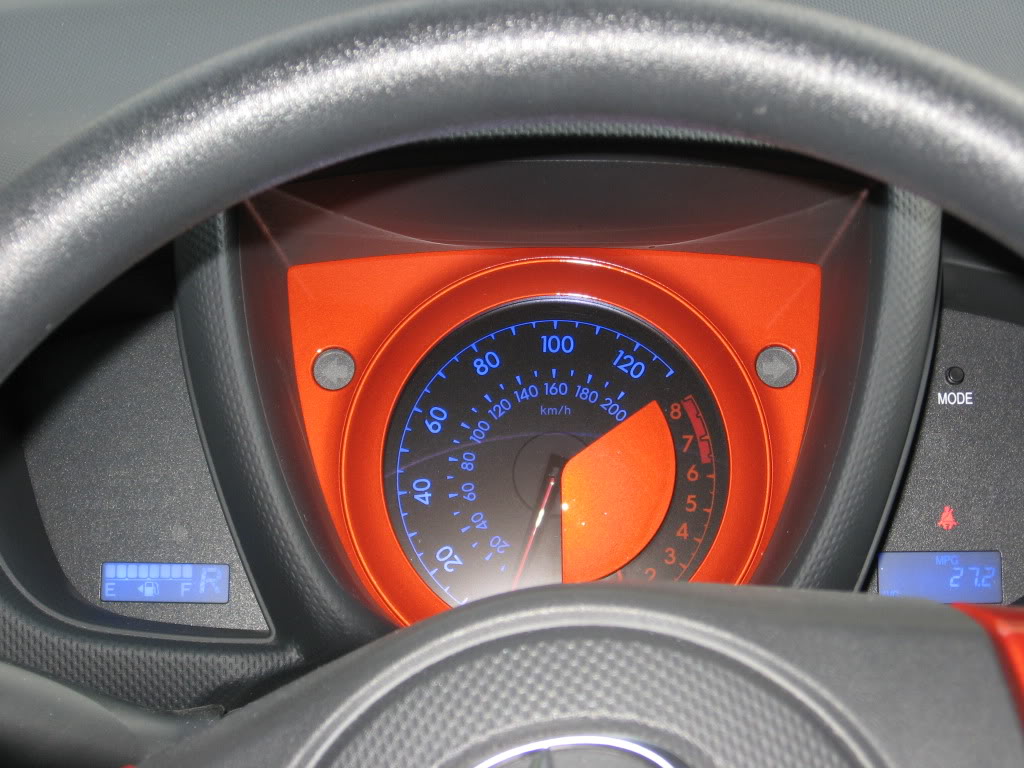
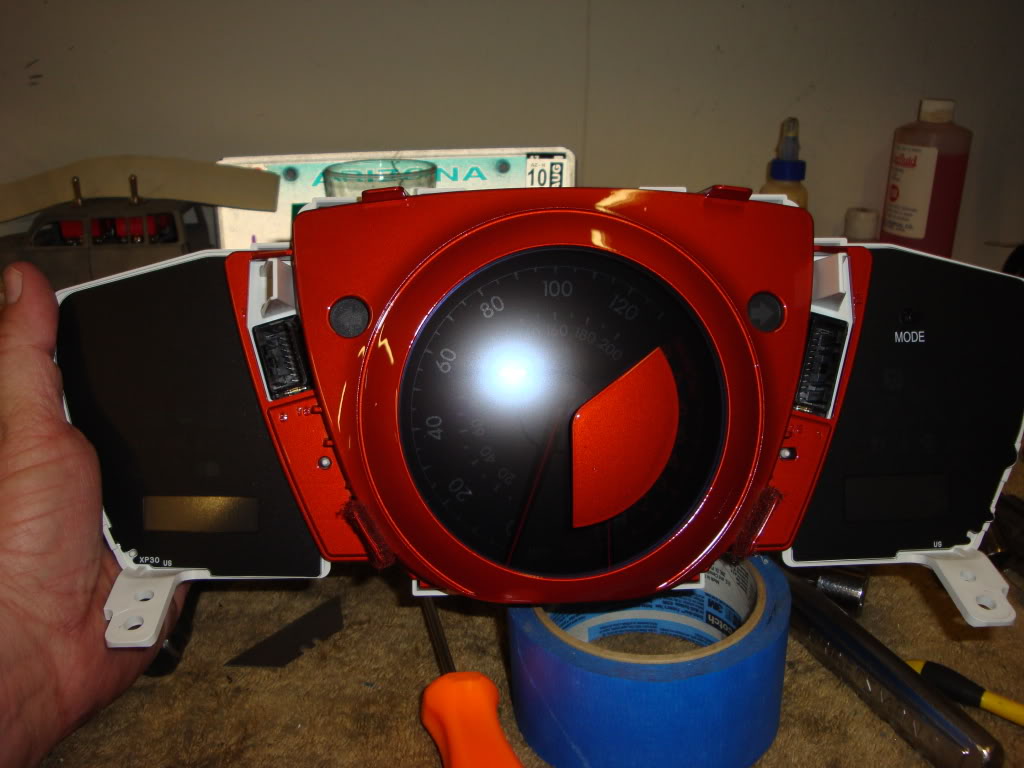
Inside the car we painted inside the speedo housing Hot Lava (the silver piece around the speedo)...
Since this is ICE and Interior, I will only show the speedo bezel and misc engine bay pieces...For the rims, brakes, and drums please check out the Wheels and Tires Forum for the pics...
I want to thank Randy and Justin for helping me with this project...Now on to the pics:
Sorry for the dirty engine bay...It was a LONG day...
For the rims, I have always wanted so Hot Lava accent on them and wanted to have the indented words AXIS painted Hot Lava but really wasn't sure how it would turn out...Randy asked if I had brought my touch up paint from the dealership and I told him I did...Well by using the pen tip portion of the touch up container, we both were able to fill in the indentation with Hot Lava and it turned out freaking awesome...
Also painted the stainless steel valvestems Hot Lava, rear brake drums Hot Lava, and of course the front brake calipers Hot Lava...Here is that thread https://www.scionlife.com/forums/sho...d.php?t=175544
Also painted Hot Lava was engine pieces consisting of: relay cover, fuse box cover, washer fluid lid, engine oil cap, coolant lid, dipstick handle, and transmission handle...The engine cover is still being worked on...Trying to sand it smoth, it is ALOT of work and it's not finished yet...
Inside the car we painted inside the speedo housing Hot Lava (the silver piece around the speedo)...
Since this is ICE and Interior, I will only show the speedo bezel and misc engine bay pieces...For the rims, brakes, and drums please check out the Wheels and Tires Forum for the pics...
I want to thank Randy and Justin for helping me with this project...Now on to the pics:
Sorry for the dirty engine bay...It was a LONG day...
Last edited by YELOSUB; 11-17-2009 at 01:10 AM.


 11-10-2009, 06:00 PM
#4
Senior Member
SL Member

Join Date: Nov 2008
Location: Minneapolis/Chicago
Posts: 349
Wait you did all of that with touch up paint? Did you have to remove any of the interior pieces for painting or did you do it while still on? Did you clear coat it? I was considering doing this but with spray paint and was wondering how to take off the thing from the tach without damaging the sticky backside and if the paint would rub off from hand sweat/wear-n-tear
Oh, and it looks AWESOME. Great job, man
Oh, and it looks AWESOME. Great job, man
11-11-2009, 03:12 AM
#5
Senior Member
Wagonistas
SL Member
Thread Starter
Join Date: Mar 2005
Location: AZ
Posts: 4,080
Wait you did all of that with touch up paint? Did you have to remove any of the interior pieces for painting or did you do it while still on? Did you clear coat it? I was considering doing this but with spray paint and was wondering how to take off the thing from the tach without damaging the sticky backside and if the paint would rub off from hand sweat/wear-n-tear
Oh, and it looks AWESOME. Great job, man
Oh, and it looks AWESOME. Great job, man
And thanks for all the positive comments...
11-12-2009, 03:12 AM
#8
Senior Member
SL Member
Join Date: Nov 2008
Location: Minneapolis/Chicago
Posts: 349
So did you take them out? Or just put up shields so you don't hit anything with overspray.
11-13-2009, 03:09 AM
#11
Senior Member
Wagonistas
SL Member
Thread Starter
Join Date: Mar 2005
Location: AZ
Posts: 4,080
11-16-2009, 10:40 PM
#12
Senior Member
Wagonistas
SL Member
Thread Starter
Join Date: Mar 2005
Location: AZ
Posts: 4,080
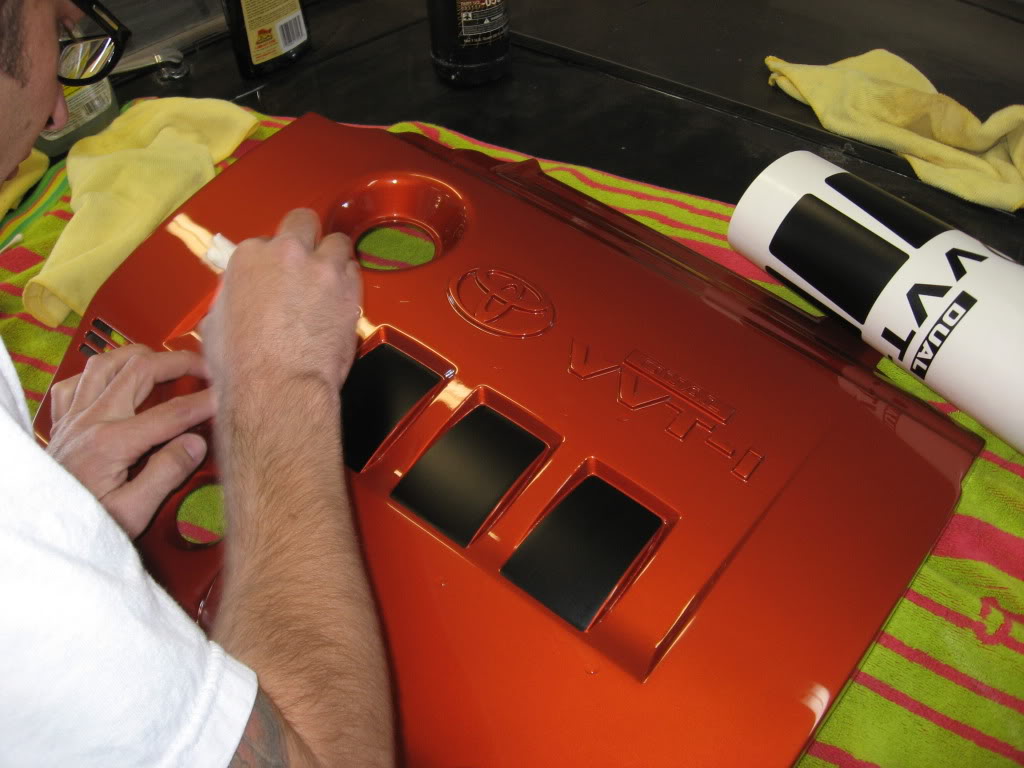
Today I went to Randy's house to pick up the engine cover that Just1n finished and dropped off the other day...Man did it turn out awesome...Thank you again Just1n...So after about an hour or so of rubbing compound, detailer spray, and waxing this baby is smooth as a baby's bottom...After Randy and I got it all cleaned up, Randy applied the flat black over lays...Man they fit PERFECT and really finish off the engine cover nicely...Anyone needing overlays for the xD engine cover, they are now available through Randode in all sorts of colors...A BIG thanks to Randy once again for all his help and for cutting the vinyl for this project...Anyways, on to the pics!
Here Randy is applying the vinyl:

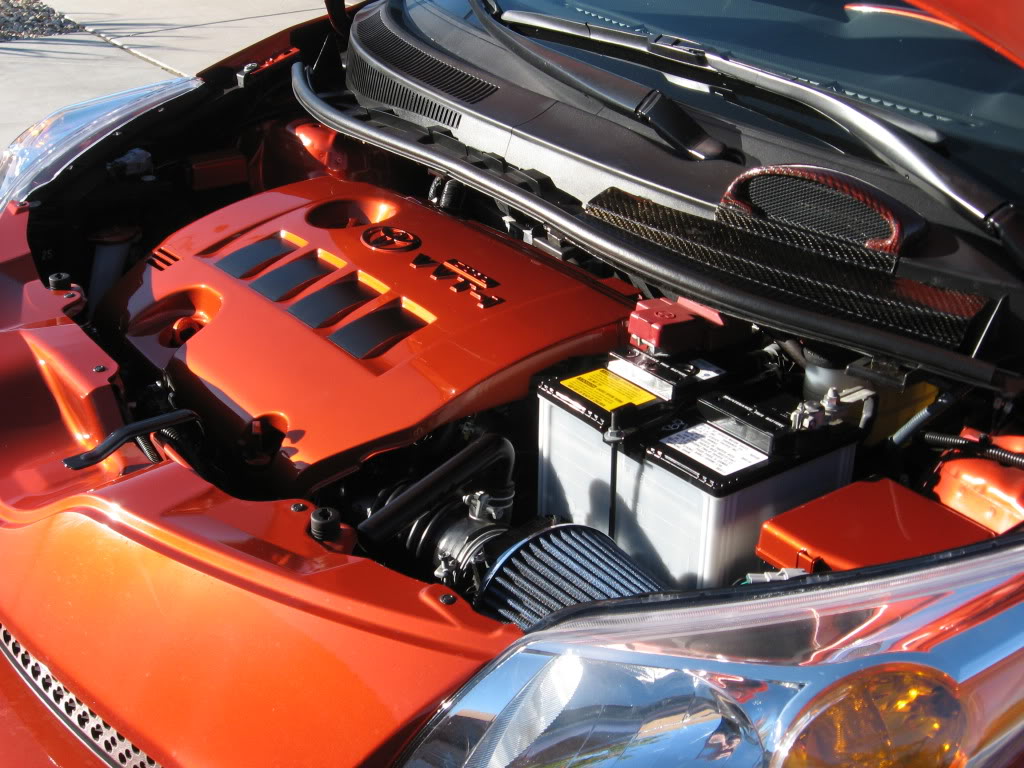
Installed:
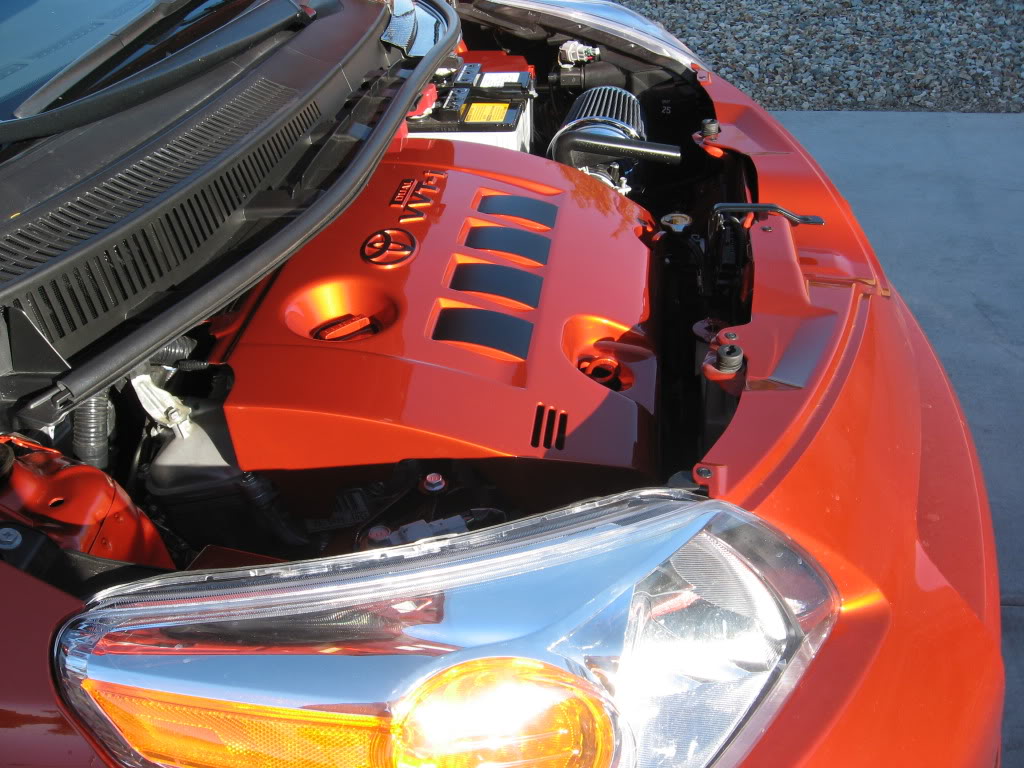
I love this shot...You can see the wiper cowl too:
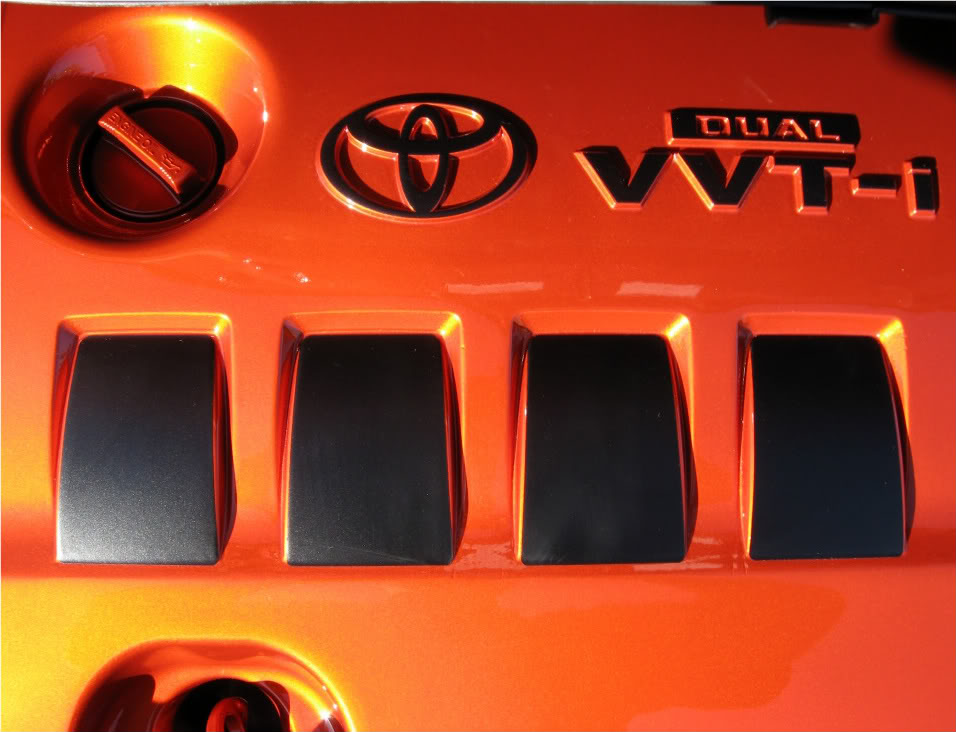
And a close up of the vinyl:
Here Randy is applying the vinyl:
Installed:
I love this shot...You can see the wiper cowl too:
And a close up of the vinyl:


 11-18-2009, 10:47 PM
#17
Senior Member
Wagonistas
SL Member
Thread Starter
Join Date: Mar 2005
Location: AZ
Posts: 4,080
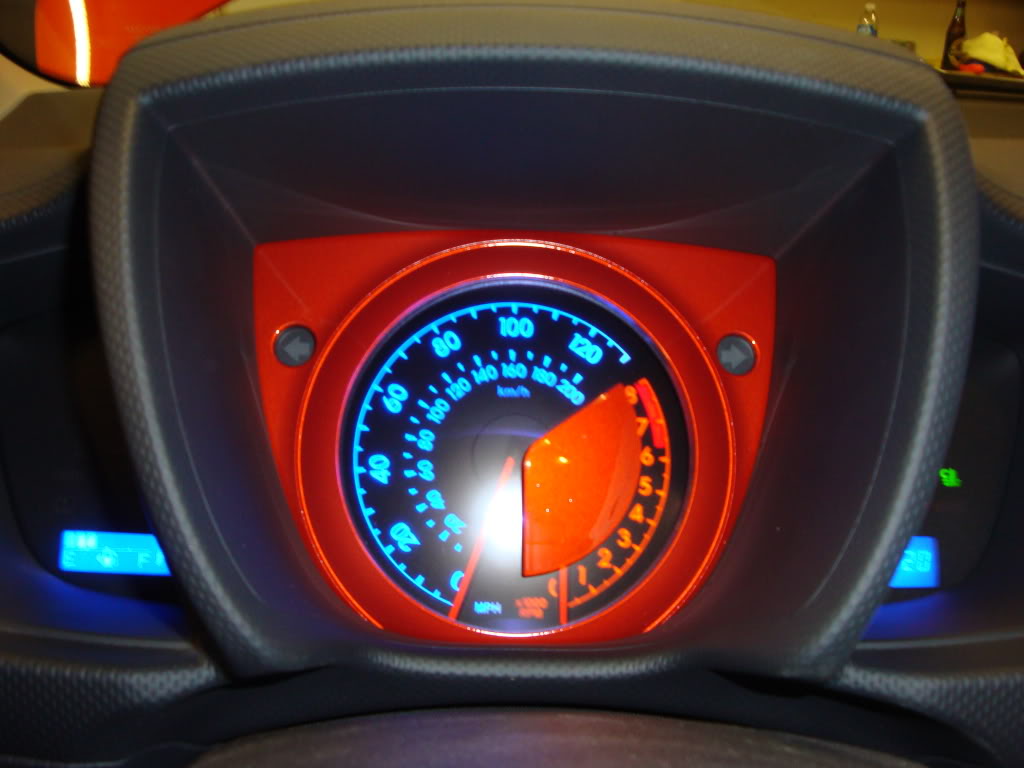
Randy swapped the LED's to blue for me  ...
...
FYI, the vinyl's should be for sale on his website tonight...He has been busy with another priject but I told him to get busy and put the vinyl's up so those of you wanting overlays can get yourself some... www.randode.com
...FYI, the vinyl's should be for sale on his website tonight...He has been busy with another priject but I told him to get busy and put the vinyl's up so those of you wanting overlays can get yourself some... www.randode.com
11-19-2009, 02:23 AM
#20
Senior Member
Wagonistas
SL Member
Thread Starter
Join Date: Mar 2005
Location: AZ
Posts: 4,080