LED Swap (Guages / HVAC)


 10-24-2006, 05:16 PM
#407
Senior Member
SL Member

Join Date: Jul 2006
Location: Central Maryland
Posts: 2,338
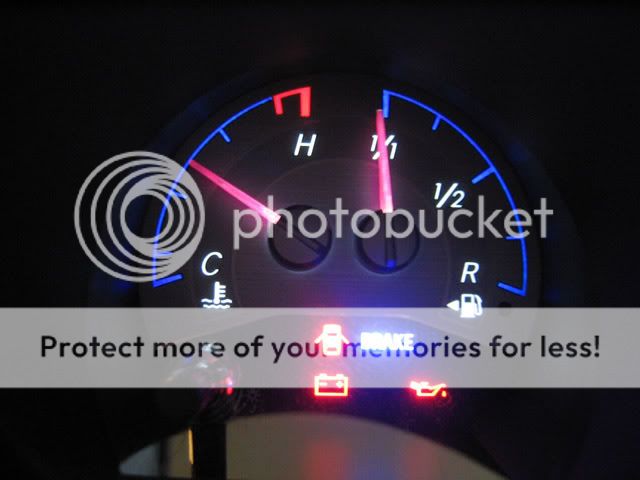
The only one that gave me a hard time was the gas gauge. It took me about 6-7 times and 3 fill ups to get it right. But, it's on and it's so easy to take the cluster out that I didn't really mind.
10-24-2006, 05:32 PM
#408
Senior Member
Scikotics
SL Member

Join Date: Nov 2004
Location: Minneapolis, MN
Posts: 9,731
You go by the bottom stop on the guage. Mark the zero point of the needle before removing. When you put them back on, start in the max position, barely push the needle on (just enough to hold it on the spindle) and turn all the way to its proper zero point. This will ensure that the spindle is at its negative stop when the needle is in position. Then push the needle the rest of the way on. If you try to line it up with max (especially on the gas gauge) it wll be off. If you follw this process on all the needles they will be dead on. After about 40 - 50 of them you get the stop points memorized  Just so you know, for the gas gauge, the zero point is just below the middle of the gas light. The temp gauge matches this. The tach and speedo are at the bottom edge of the "0" marking line on the gauge face. So they pretty much sit right on zero.

 10-29-2006, 07:21 AM
#412
Senior Member


SoCal tC Club
SL Member
Team N.V.S.
Scinergy
Scion Evolution

it's a 330 to the back.. and for the clock .... it's a 1K ohm and 560 ohm... and you connected it wrong... (+) side of first led to (+) of second.. and trace is cut..
and you forgot one more trace that you didn't show... unless you were gonna cut it in the back...?
you know this is the gauge cluster diy and not the hvac one right? post here next time...
https://www.scionlife.com/forums/viewtopic.php?t=77876
and you forgot one more trace that you didn't show... unless you were gonna cut it in the back...?
you know this is the gauge cluster diy and not the hvac one right? post here next time...
https://www.scionlife.com/forums/viewtopic.php?t=77876
12-10-2006, 07:06 PM
#415
Senior Member
Scikotics
SL Member
Join Date: Nov 2004
Location: Minneapolis, MN
Posts: 9,731
Go ahead and remove them again. Start the needle at the max position and barely press it onto the spindle, just enough to turn the spindle when you move the needle,s but no more. Spin the needle backward. You will feel the spindle hit its zero point when you do it. Keep turning back (the needle will now be spinning on the spindle. This is why you dont want it pressed on too far, you want it to be able to move after the spindle hits zero) until you hit the proper zero point for the needle, and press it the rest of the way on (but not too close to the faces). This will make sure it zeros correctly.
12-10-2006, 08:13 PM
#416
Senior Member
Scikotics
SL Member

Join Date: Jun 2005
Location: Broken Arrow, OK
Posts: 2,043
Thanks Dave I appreciate it. I haven't gotten the chance to install you new kit on the HVAC yet but I will soon. My dad worked on soldering my LEDs in this morning. Took him about 30 minutes. I serioiusly screwed my speedo needle trying to do the color change on them though. I broke the inside of the needle where it attaches to the circular hub scrubbing the needle with finger nail polish remover. I tried to superglue it back but it ended up eating the paint of the circular hub. I had to silicone the needle to the inside of the hub. I gummyed up the paint pretty badly. If anyone has an extra speedometer needle please contact me
Here are the results...
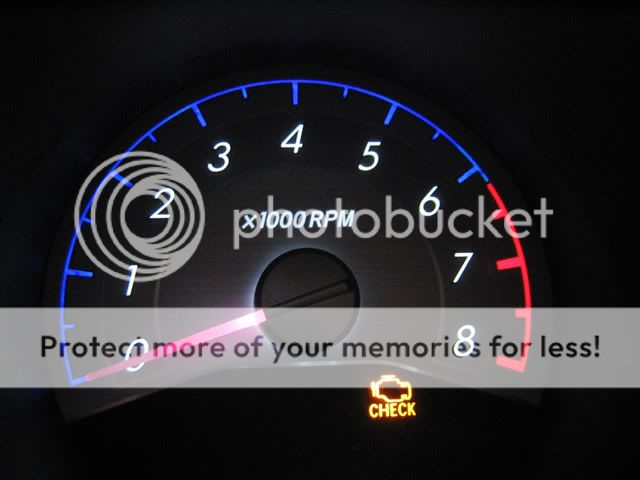
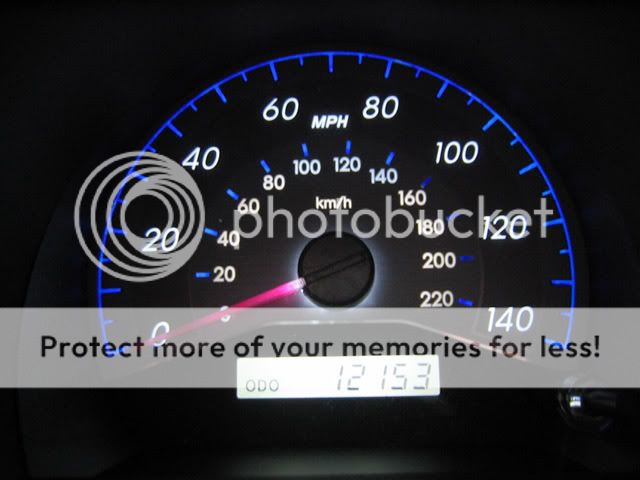


Here are the results...
 12-11-2006, 08:47 PM
#418
Senior Member
Scikotics
SL Member

Join Date: Nov 2006
Location: Indy Scikotics
Posts: 172
how did you get the numbers to read white when you did the LED swap? I've looked at all 21 pages of this post and almost all of the pics show the numbers and lines the same color. Is there some filter you have to put on the back?
12-11-2006, 08:57 PM
#419
Senior Member
SL Member

Join Date: Aug 2004
Location: Los Angeles, CA
Posts: 563
that is exactly what i want, white letters with blue lines. but i want to keep the stock orange needles since orange and blue are complementary colors. i think it will look very nice. is anyone doing this type of swap?
12-11-2006, 09:08 PM
#420
Senior Member
Strictly Scionized
SL Member

Join Date: May 2006
Location: Tustin, CA
Posts: 817
Originally Posted by fastandcurious
that is exactly what i want, white letters with blue lines. but i want to keep the stock orange needles since orange and blue are complementary colors. i think it will look very nice. is anyone doing this type of swap?