
second, third and fourth mods done this past week


Thread Starter
Member
Joined: Nov 2007
Posts: 33
From: Savannah, Ga.
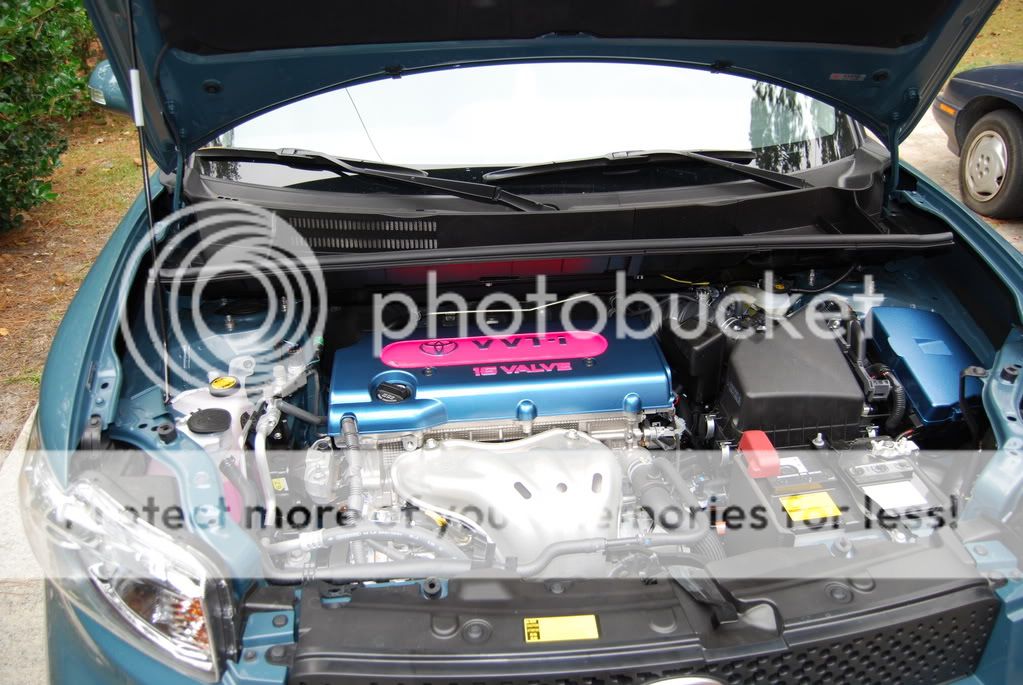
ok everybody here's the pics and step by step of the mods we've done. If you recall my first one was the engine bay...
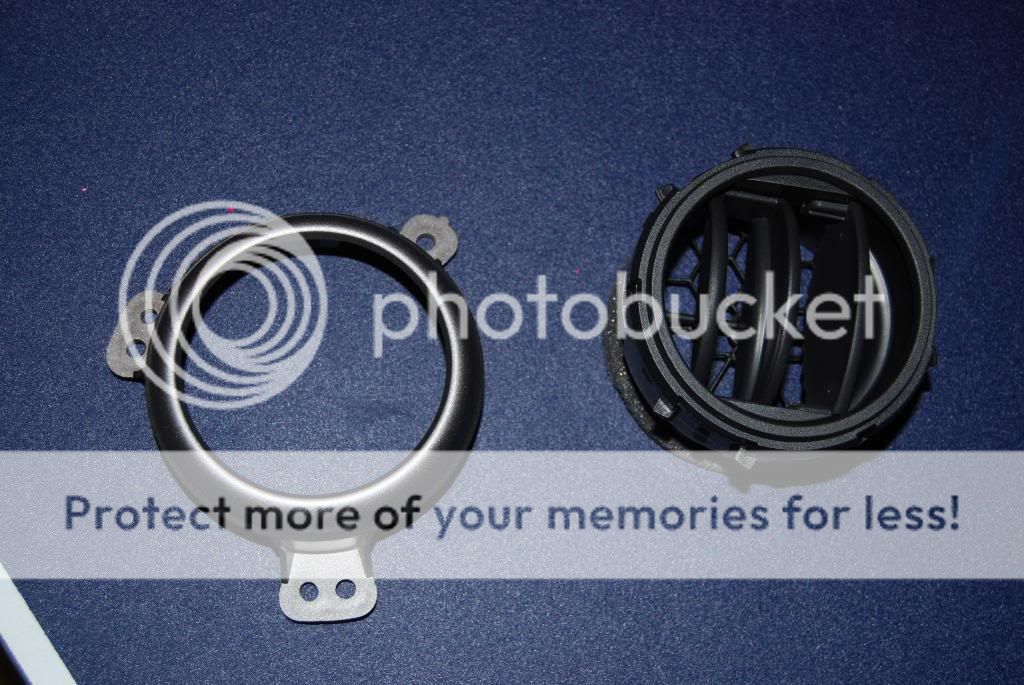
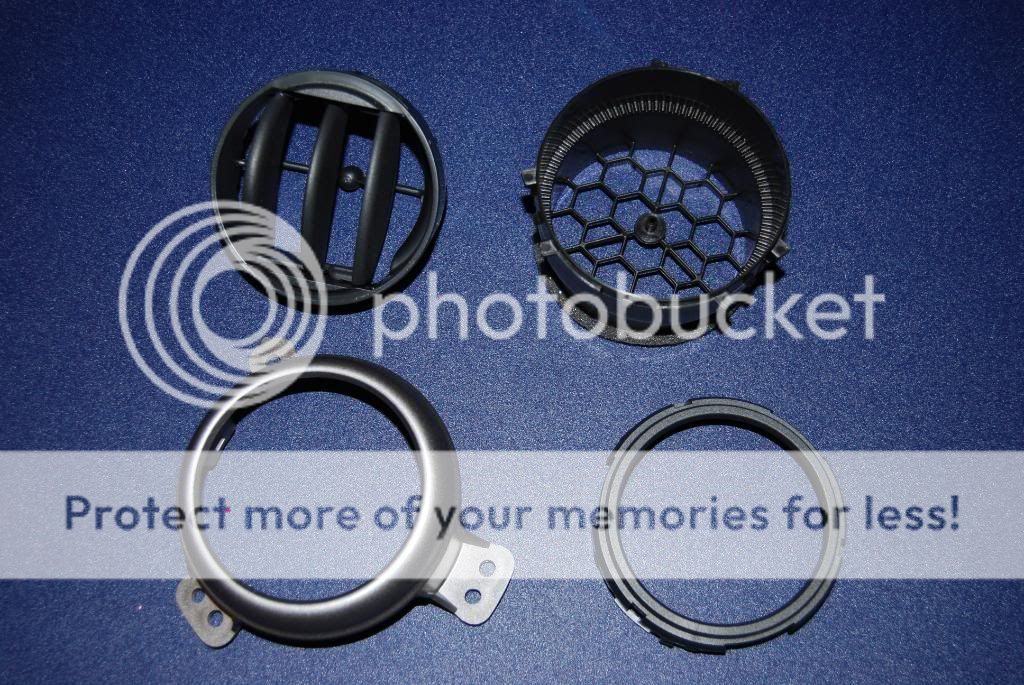
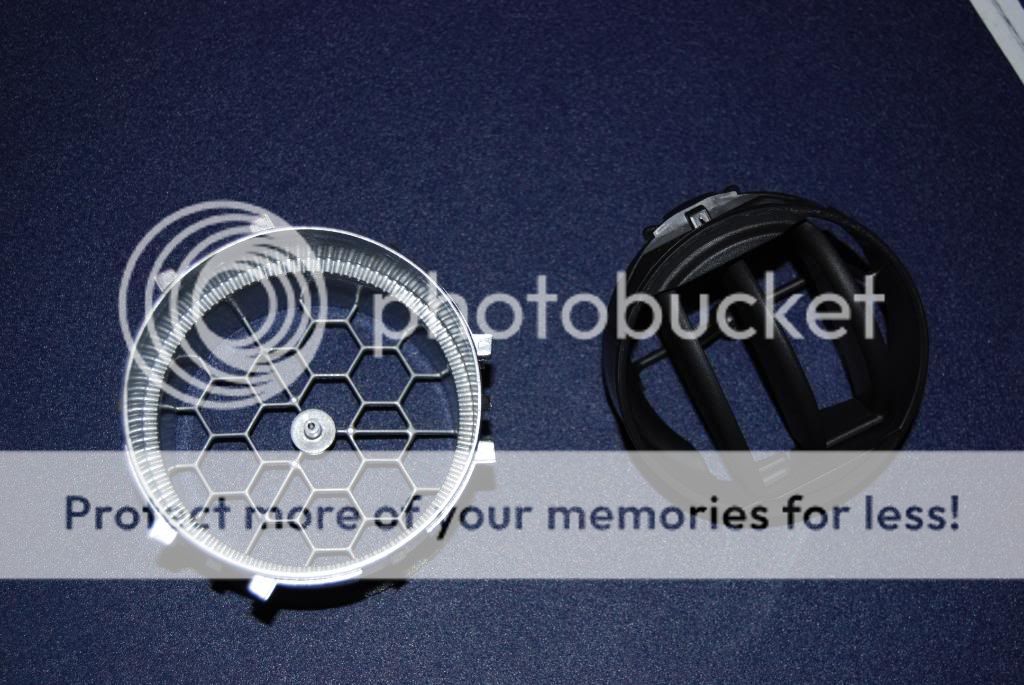
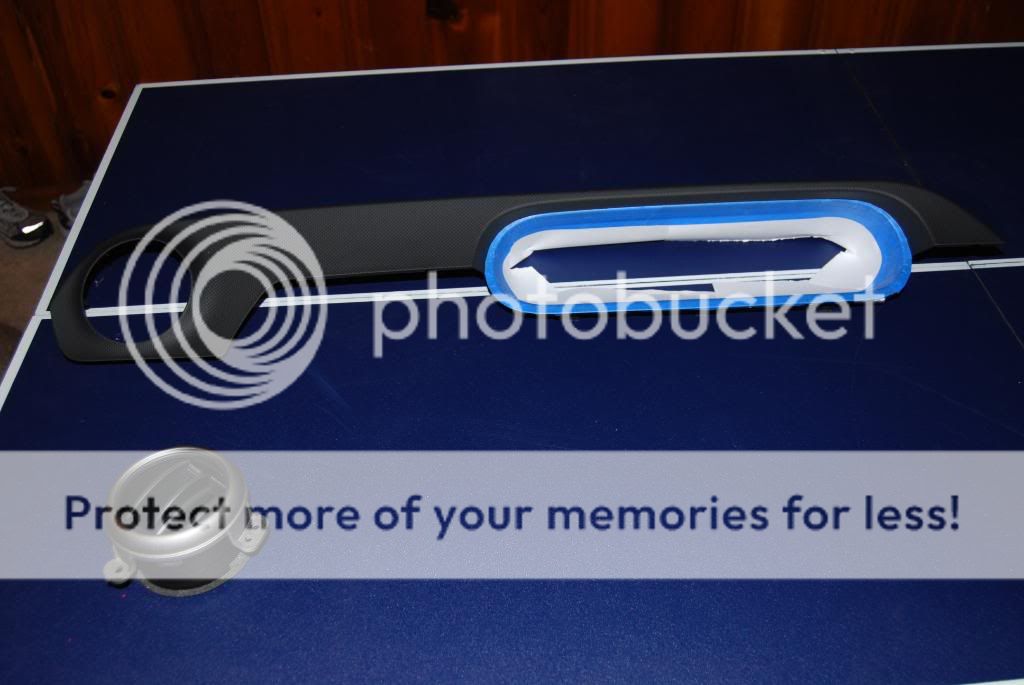
Now we've moved to the interior. To start with we did the piece around the radio.
Here are pics showing the break down of the air vent.
[/img]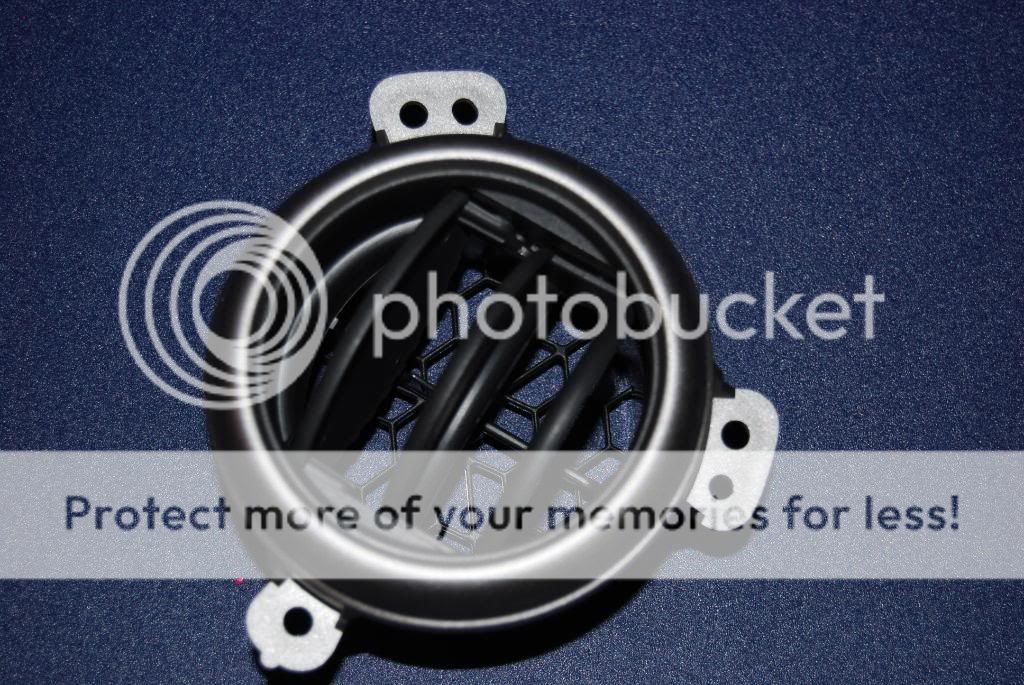 [img][/img]
 [img]
[img]
 [/img]
 [img]
[img]
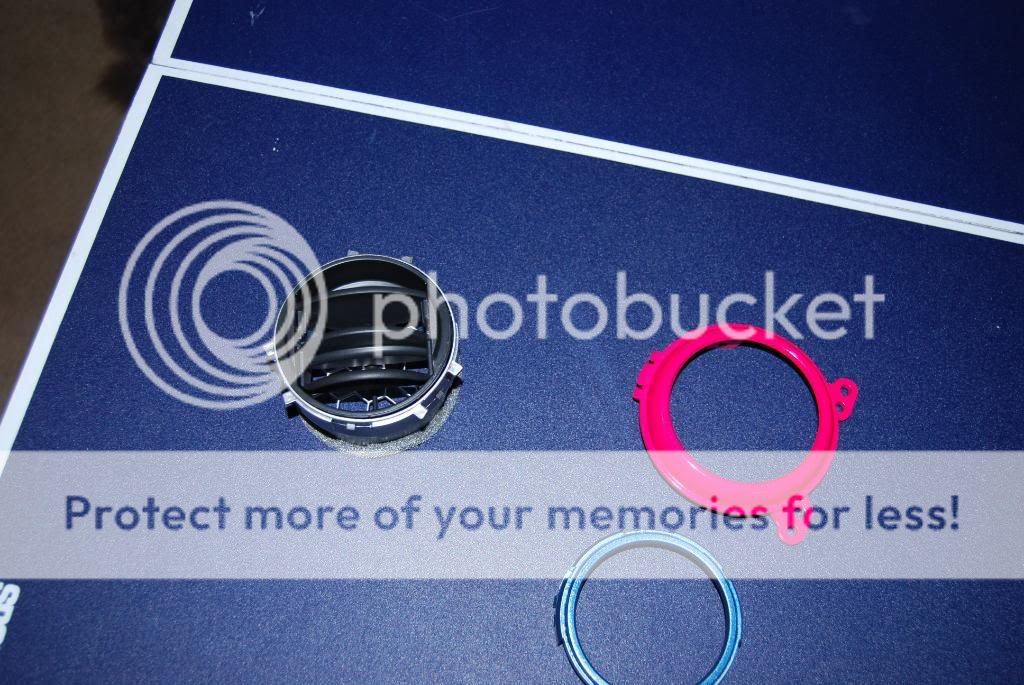
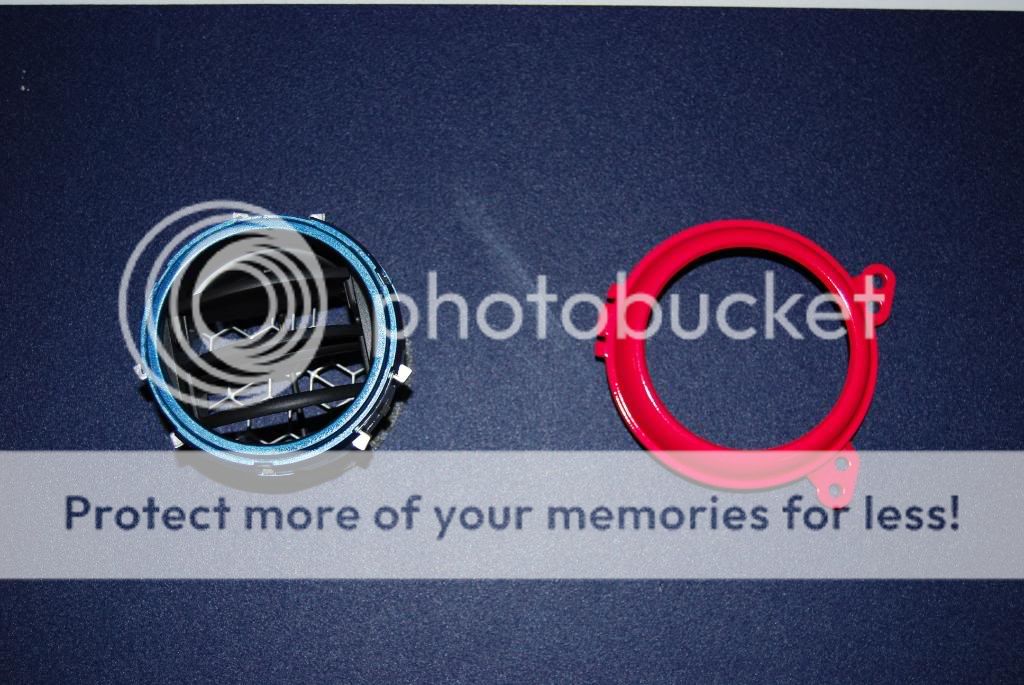
Here are the pieces painted and reassembled...
 [/img]
 [img]
[img]
 [/img]
 [img]
[img]
 [/img]
 [img]
[img]
 [/img]
 [img]
[img]
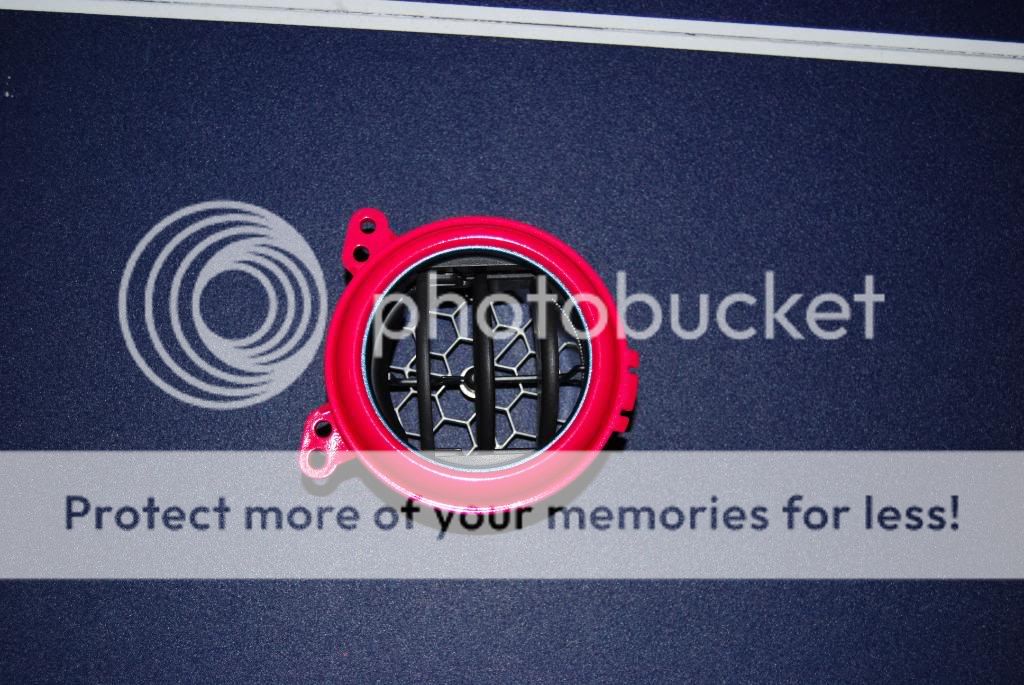
here's the finished piece before installing it back into the car
 [/img]
Now in the car
 [img]
[img]
 [/img]
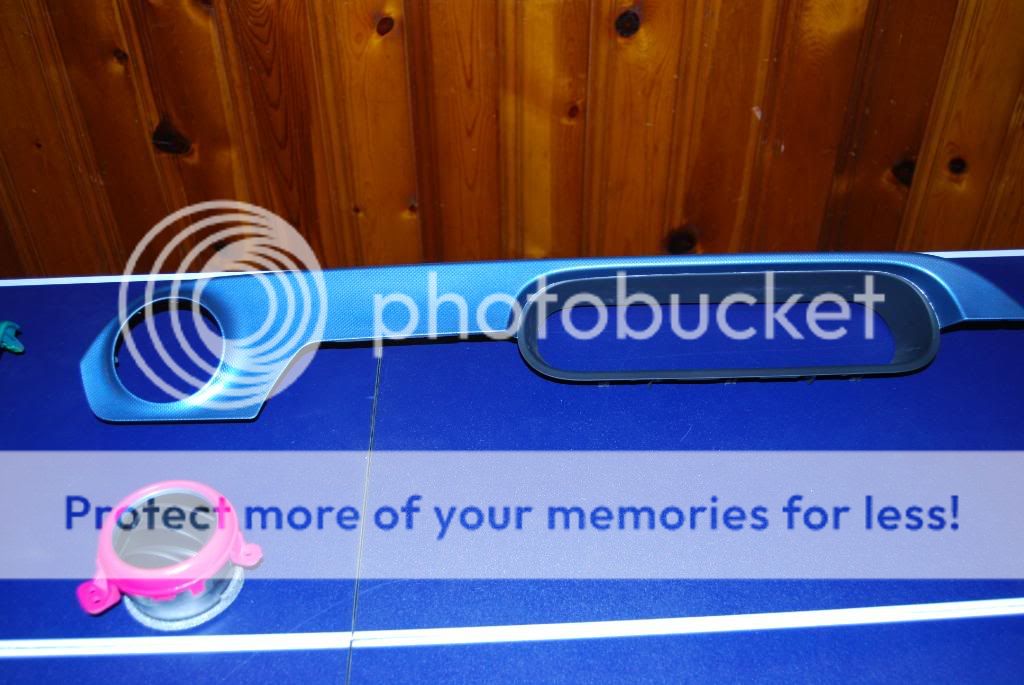
the next mod was the gauge cluster cover and the outer air vents. The next few pics are of the gauge piece taped and ready to be painted.
 [img]
[img]
 [/img]
here are pics of it partially painted and one of the air vents
 [img]
[img]
 [/img]
here it is installed and fully painted...
 [img]
[img]
here are pics of the door tweeters...didn't get step by step but they just pop out.
 [/img]
 [img]
[img]
 [/img]
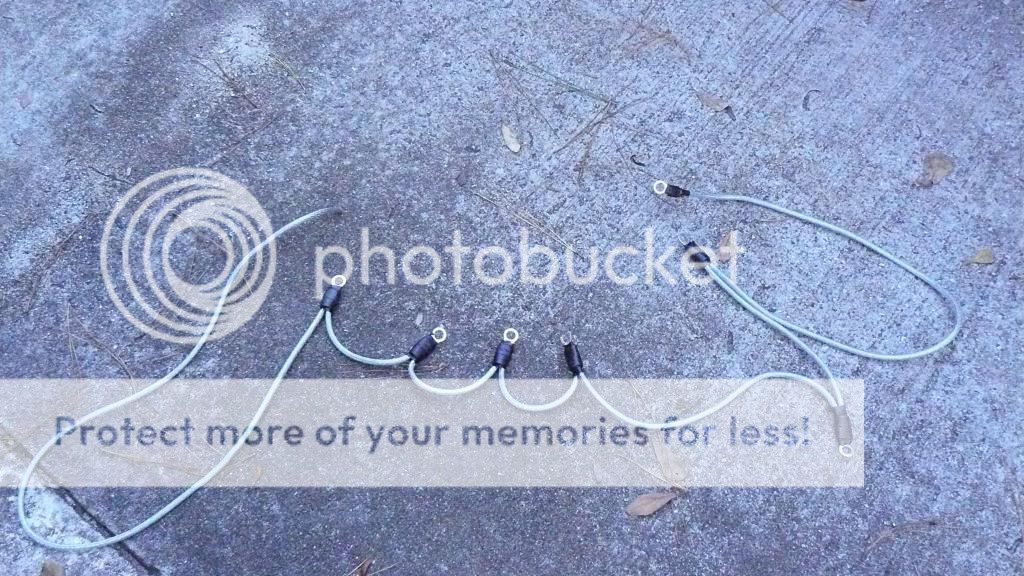
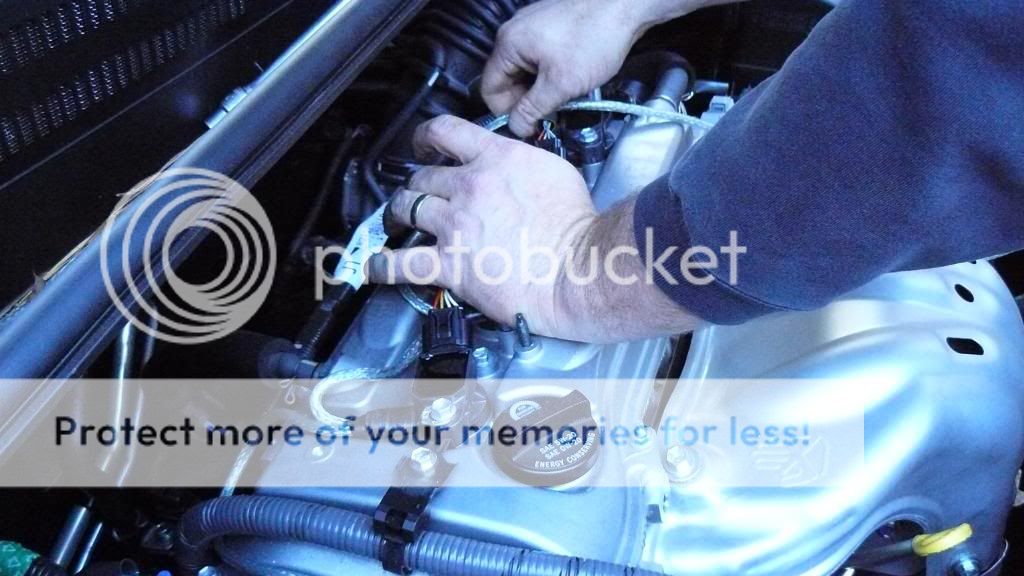
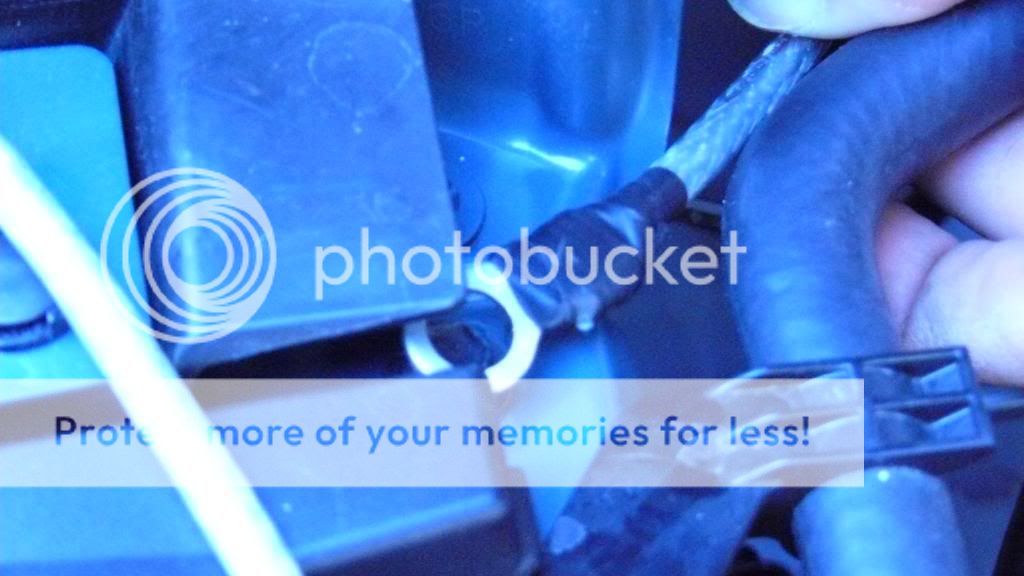
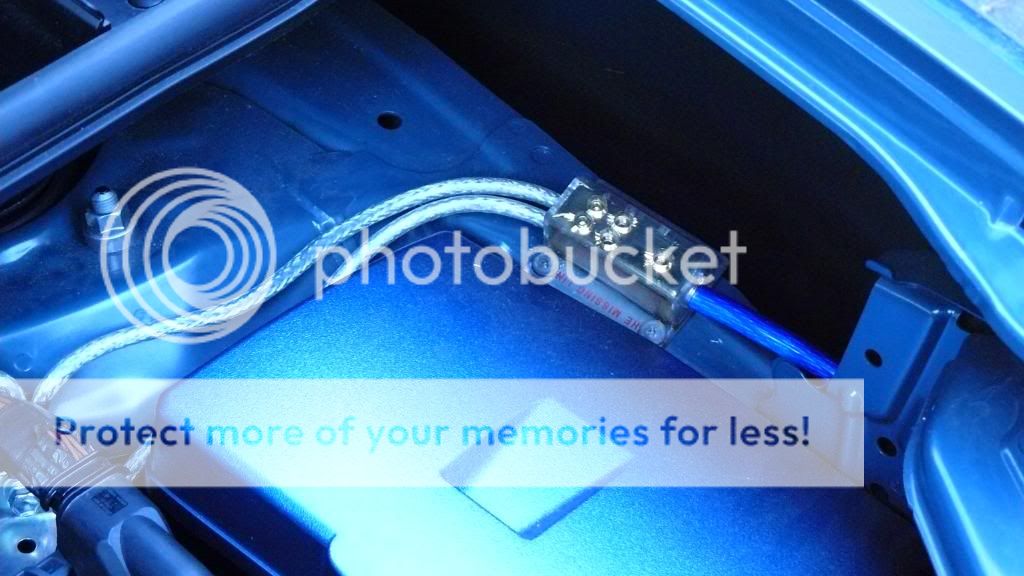
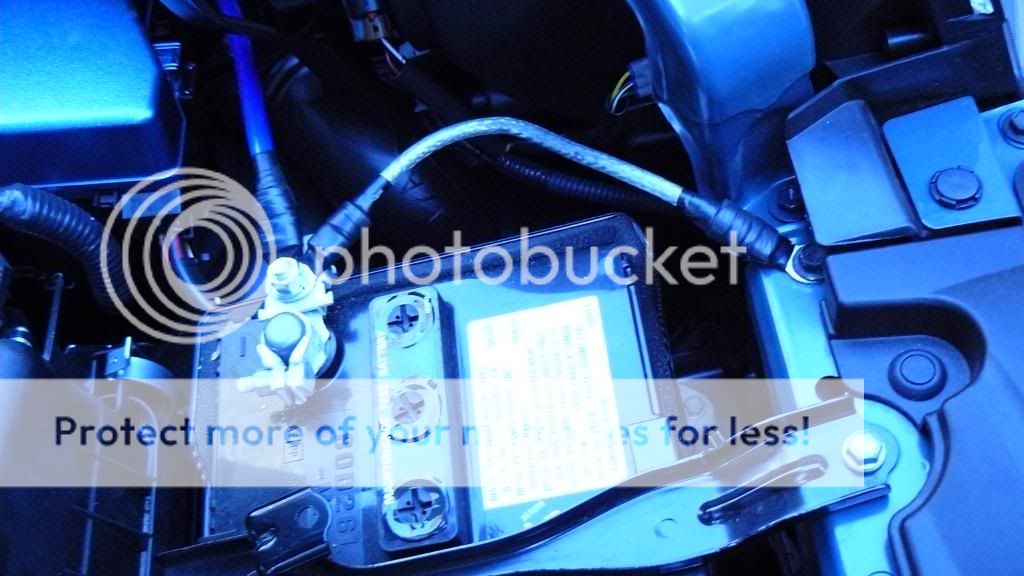
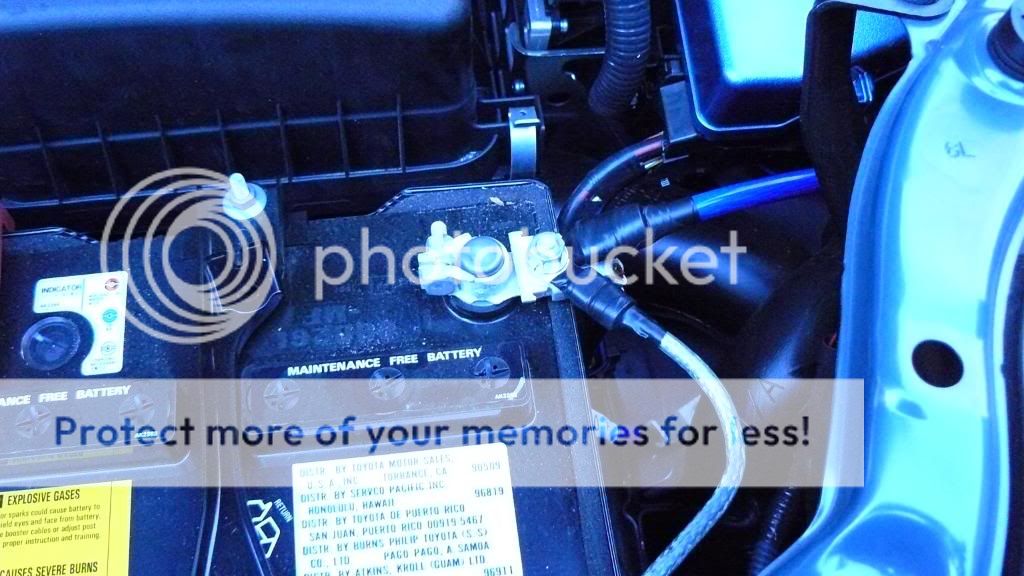
and finally the grounding kit
 [img]
[img]
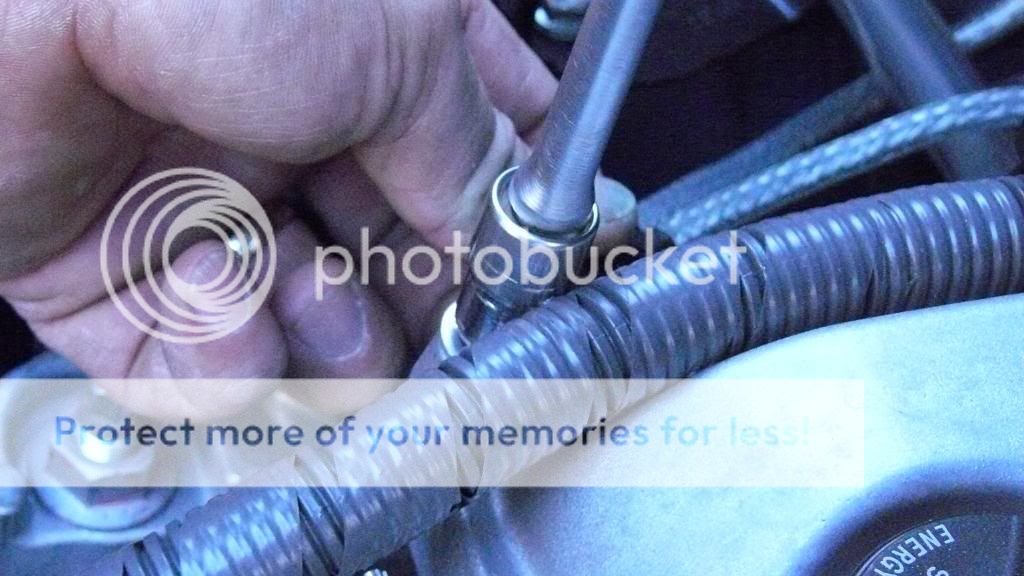
first off we mounted the wire to the passenger side shock tower. Then to the top of valve cover, then all four coil packs, also from the shock tower to the bolt on passenger side headlight in center section of the grill...
 [img][/img]
 [img]
[img]
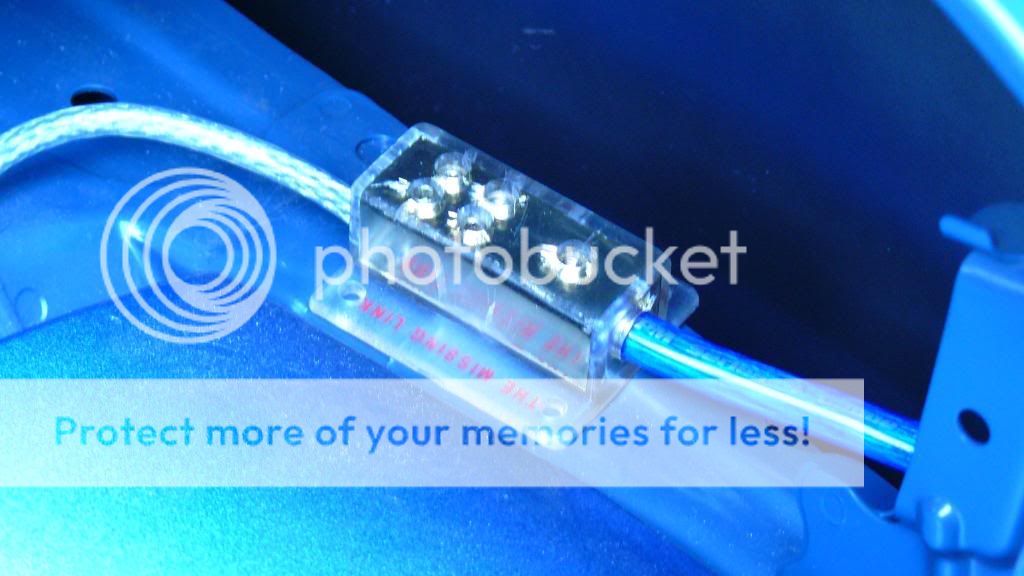
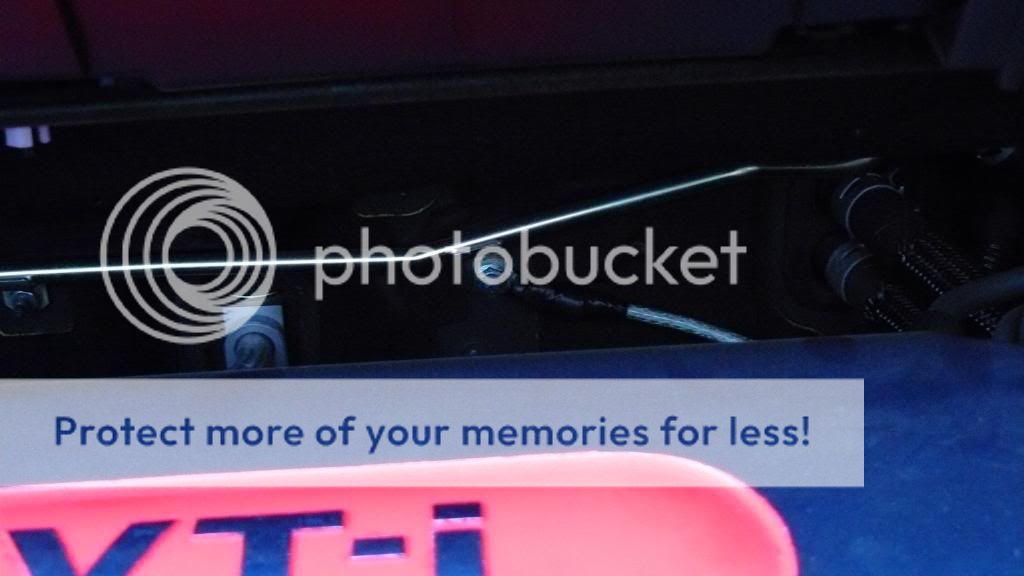
From the last coil pack we went to a grounding block. From the drivers side head light location we went to the battery negative , also from the negative to the grounding block. From the grounding block to the shock tower and from there to the fire wall.
 [/img]
 [img]
[img]
 [/img]
 [img]
[img]
 [/img]
 [img]
[img]
Hope this was helpful.... it sure was a pain in the A$$ loading all these pics. Next time we wont wait to pile up 3 or 4 mods before we post.
Any and all feed back welcome.... [/img]
Now we've moved to the interior. To start with we did the piece around the radio.
Here are pics showing the break down of the air vent.
[/img]
[img][/img][img][/img][img]Here are the pieces painted and reassembled...
[/img][img][/img][img][/img][img][/img][img]here's the finished piece before installing it back into the car
[/img]Now in the car
[img][/img]the next mod was the gauge cluster cover and the outer air vents. The next few pics are of the gauge piece taped and ready to be painted.
[img][/img]here are pics of it partially painted and one of the air vents
[img][/img]here it is installed and fully painted...
[img]here are pics of the door tweeters...didn't get step by step but they just pop out.
[/img][img][/img]and finally the grounding kit
[img]first off we mounted the wire to the passenger side shock tower. Then to the top of valve cover, then all four coil packs, also from the shock tower to the bolt on passenger side headlight in center section of the grill...
[img][/img][img]From the last coil pack we went to a grounding block. From the drivers side head light location we went to the battery negative , also from the negative to the grounding block. From the grounding block to the shock tower and from there to the fire wall.
[/img][img][/img][img][/img][img]Hope this was helpful.... it sure was a pain in the A$$ loading all these pics. Next time we wont wait to pile up 3 or 4 mods before we post.
Any and all feed back welcome.... [/img]


Junior Member
Joined: Dec 2007
Posts: 3
From: Tunica, MS
im going to try not to do anything that would take alot of work to return my car back to the stock look should I decide to sell it years down the road.
I like it though, I did something similar to the interior of my integra.
I like it though, I did something similar to the interior of my integra.


Senior Member
SL Member
Joined: Nov 2007
Posts: 852
From: Marysville, CA
ok not that this matters. but i would be willing to bet you might want these unless you already have them.
https://www.scionlife.com/forums/viewtopic.php?t=177458
by the way nice job on the mods. remembered seeing the rim and remembering someone on the forums was doing pink mods. so thought i would post you a link
https://www.scionlife.com/forums/viewtopic.php?t=177458
by the way nice job on the mods. remembered seeing the rim and remembering someone on the forums was doing pink mods. so thought i would post you a link
Thread Starter
Member
Joined: Nov 2007
Posts: 33
From: Savannah, Ga.
k not that this matters. but i would be willing to bet you might want these unless you already have them.
https://www.scionlife.com/forums/viewtopic.php?t=177458
I would love these rims if the came in hot pink instead of the baby pink... not "shocking" enough...
https://www.scionlife.com/forums/viewtopic.php?t=177458
I would love these rims if the came in hot pink instead of the baby pink... not "shocking" enough...

Those were a special edition for the tC, you'll note the specs:
The specs are:
17x8"
5x100 bolt pattern
+40mm offset
Pink w/ polished lip
But if you go to their site:
http://www.jlbmotorsports.com/rims/konig-list.html
they have a Konig Britelite listed as 17x7 @ 40 offset available in 5x114.3 bolt pattern. It's listed as Red with Machined Lip, but looks more Pink to me. Hub bore is 73.1mm, so you will need hubcentric adapters.
More power to the lady in pink! Keep those mods a comin'!
Thread Starter
Member
Joined: Nov 2007
Posts: 33
From: Savannah, Ga.
But if you go to their site:
http://www.jlbmotorsports.com/rims/konig-list.html
Too red....I'll keep looking Thanks
http://www.jlbmotorsports.com/rims/konig-list.html
Too red....I'll keep looking Thanks

Senior Member
SL Member
Joined: Jul 2007
Posts: 967
From: St Louis
Hows about this color wheels.. granted, this person suffered misfortune, but look at those wheels!! ya think, twotoastyboxes???? jh
http://www.clubxb.com/forums/f42/166...lert-viet-box/
http://www.clubxb.com/forums/f42/166...lert-viet-box/
Senior Member
SL Member
Joined: Jul 2007
Posts: 967
From: St Louis
Well all long as you're going pimp PINK.......
http://clubstlscion.com/forum/forum_...?TID=5499&PN=1
Ya may as well do your gauges too.. these pics are of a 07 Scion TC,
I think with the correct gauge face overlay & Pink LED's , yours should look great!!!
Then drop pinks into your H/VAc panel & do your P R N D S + - panel as well......
Send your H/U to Garage 151 & have them LED swap your stereo to all pink something to think about.. jh
Senior Member
SL Member
Joined: Nov 2007
Posts: 852
From: Marysville, CA
two toasted
i am willing to bet this is where they got the paint. http://www.carizzmacolors.com/paints.htm
Fuschia Pearl is the color they used on those rims ( ok so he posted the colors.
i would say get some rims and talk to a body shop about painting them. if you could prep them before hand and have the body shop do the paint and touch up.

Thread Starter
Member
Joined: Nov 2007
Posts: 33
From: Savannah, Ga.
Often improved idle and drivability are obtained as the additional grounding points equalize resistance and voltage between various ground points. It also prevent power loss and ensure top performance of your ignition and other components


Thread
Thread Starter
Forum
Replies
Last Post
cid_mcdp
Maintenance & Car Care
4
Jan 5, 2015 02:45 PM