
Convex mirror install guide for tC & 2006 xA


Thread Starter
Senior Member
SL Member
Joined: Oct 2005
Posts: 266
From: Midwest
Woah, my first tech article....
This is how to install your convex mirrors without overlaying on the stock mirrors. I have an 06 xA, but the tC share the same side mirrors.
DISCLAIMER: I AM NOT RESPONSIBLE FOR ANY DAMAGE OR INJURIES WITH THIS MOD. DO AT YOUR OWN RISK. PLEASE REMEMBER THAT WITH INSTALLING ANY AFTER MARKET ITEMS YOU RUN THE RISKS OF HURTING YOURSELF AND YOUR PARTS.
parts needed:
oven
cookie sheet
fingers (preferably not fat)
playinwithfire convex mirrors
One more disclaimer before you start. If you are superstitious, let a friend help you with installing these. You don't need 7 more years of bad luck. I'm Irish, so the luck comes naturally.
Installation time was about 10-15 minutes each side, or do both at the same time. I would recommend one at a time just in case you mess up and break a mirror.
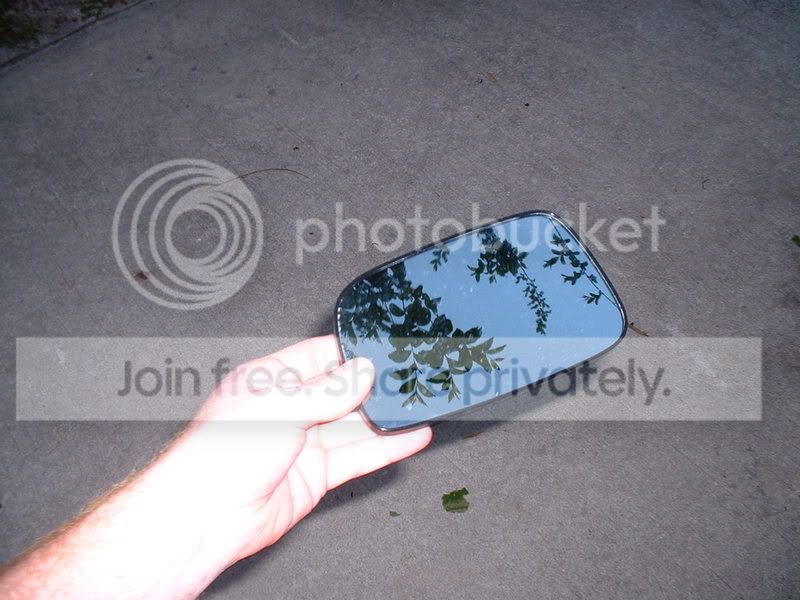
stock
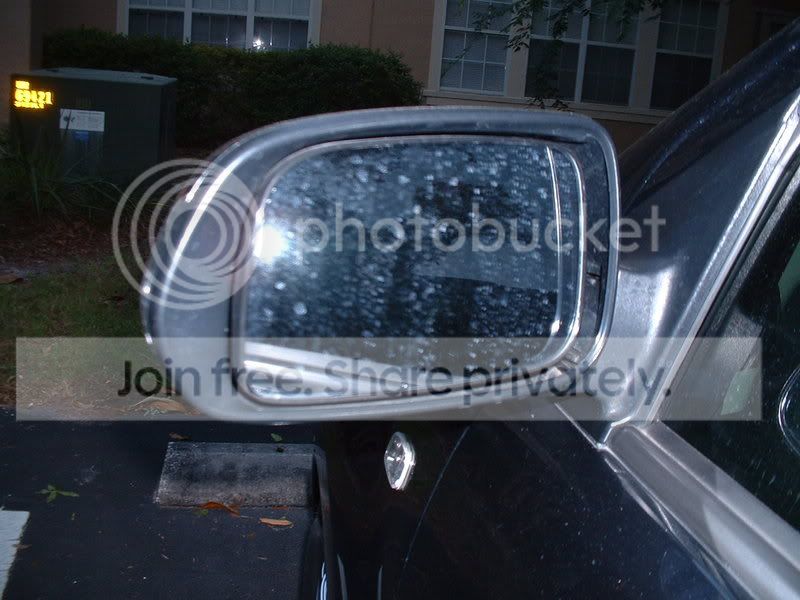
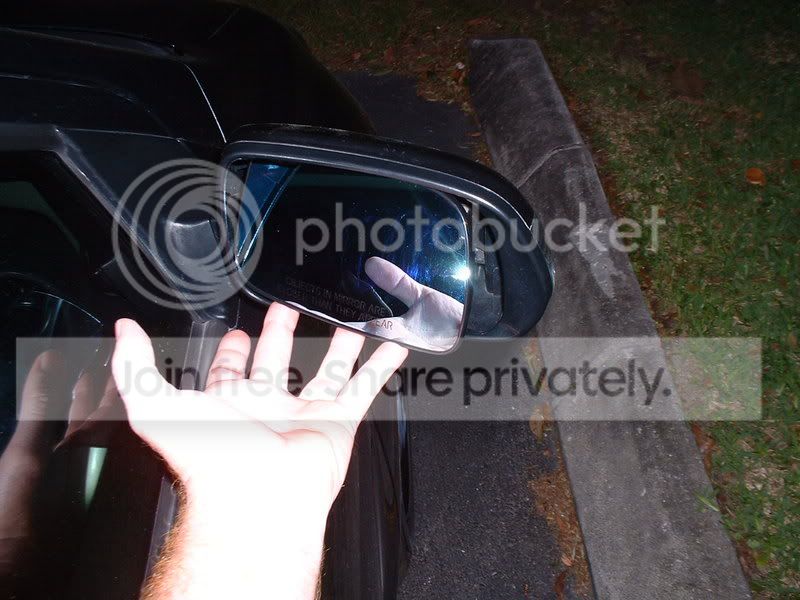
to remove the stock mirror, slip a couple fingers behind the bottom of the mirror slowly pull up until you can get them under the bottom of the mirror and lift it out like this
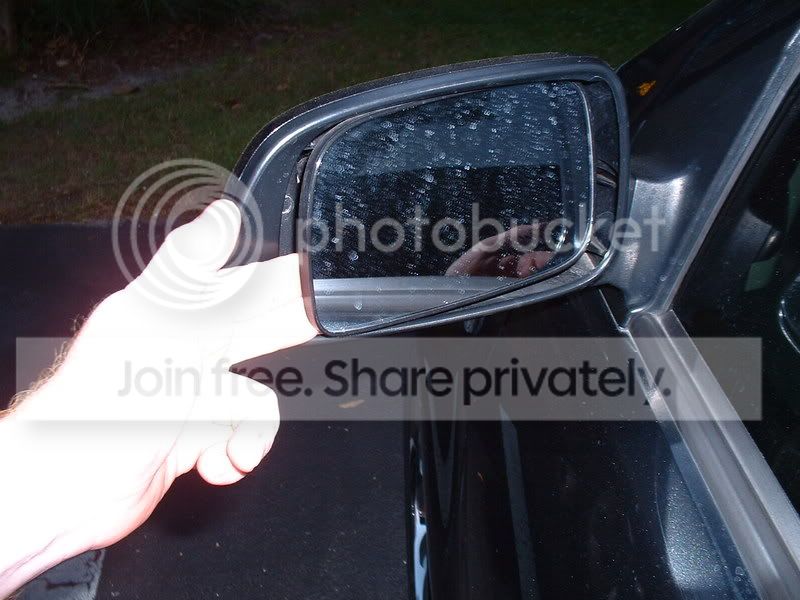
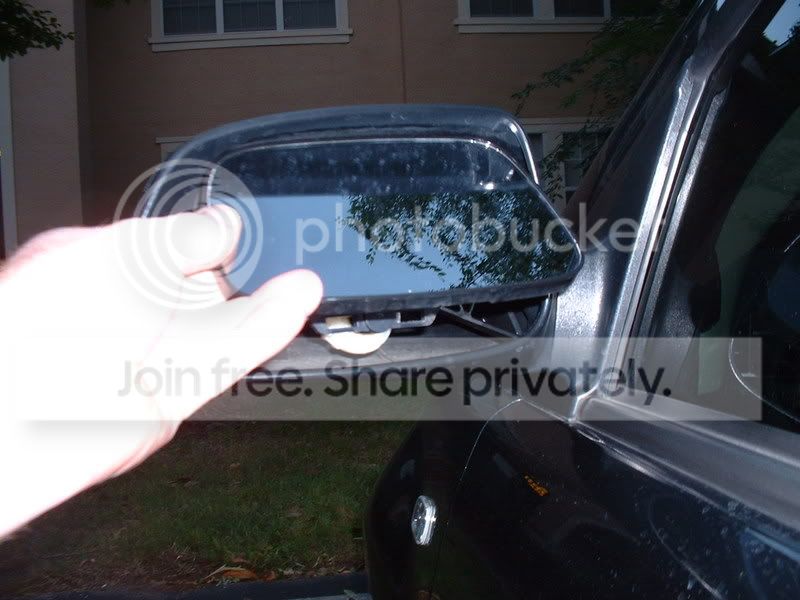
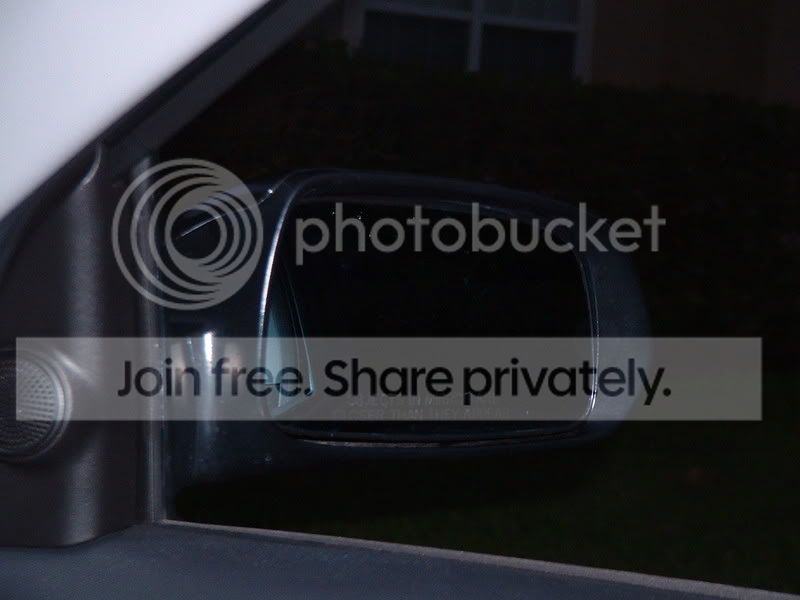
until you have this
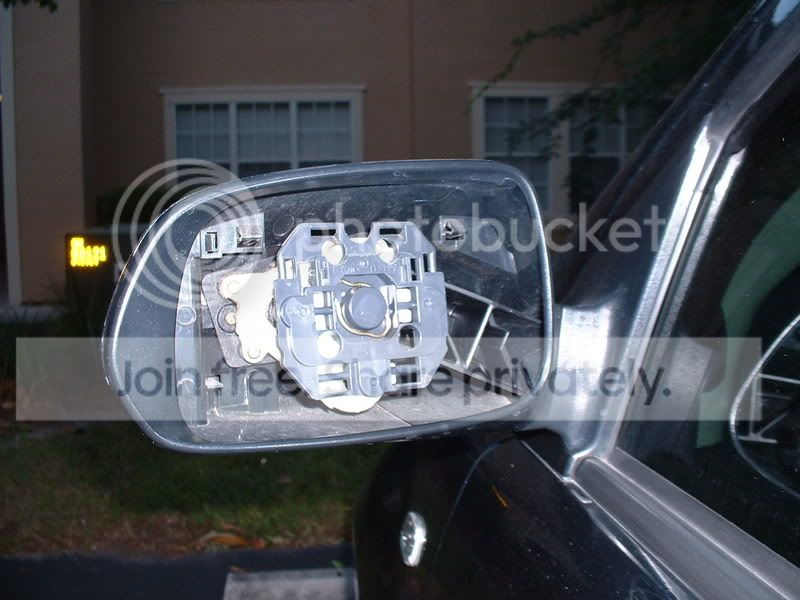
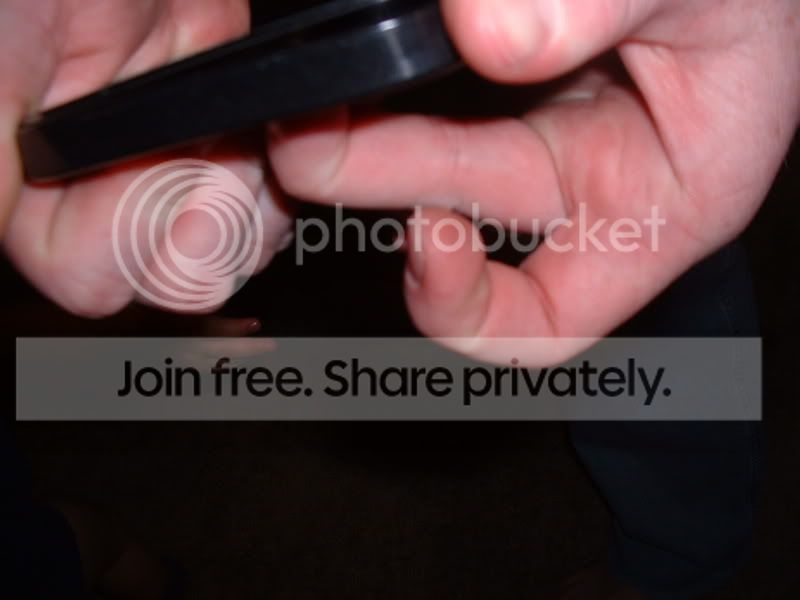
now heat up the oven to 250 degrees and place the stock mirror assembly on a cookie sheet or oven safe cooking bowl, I used an 11x8 glass bowl. heat in the oven for ~5-7 minutes. after heating the plastic will be just bearly soft enough to bend without breaking the mirror, i found it easiest to bend the fat part of the assembly at the sides.
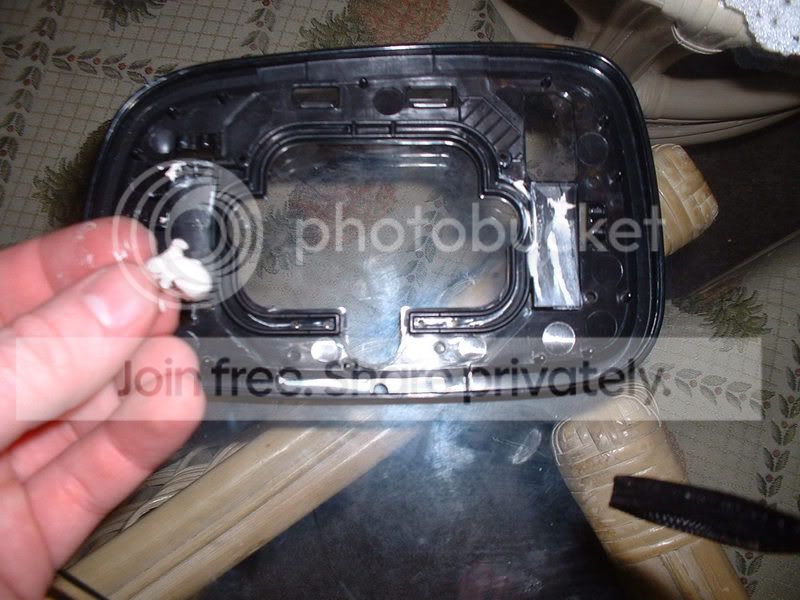
the mirror with either pop out easily or it will be in with double sided sticky backs, one of my mirrors had the sticky backs and the other did not so I got both worlds. now you should have this
now you need to do this quickly, but carefully. take off the backs to the double sided tape that was provided in the kit, I also used the 2 extra pieces of sticky backs on the bottoms of the mirrors for extra holding power. now put the new convex mirror into the now empty plastic mirror assembly.
now for the reinstallation:
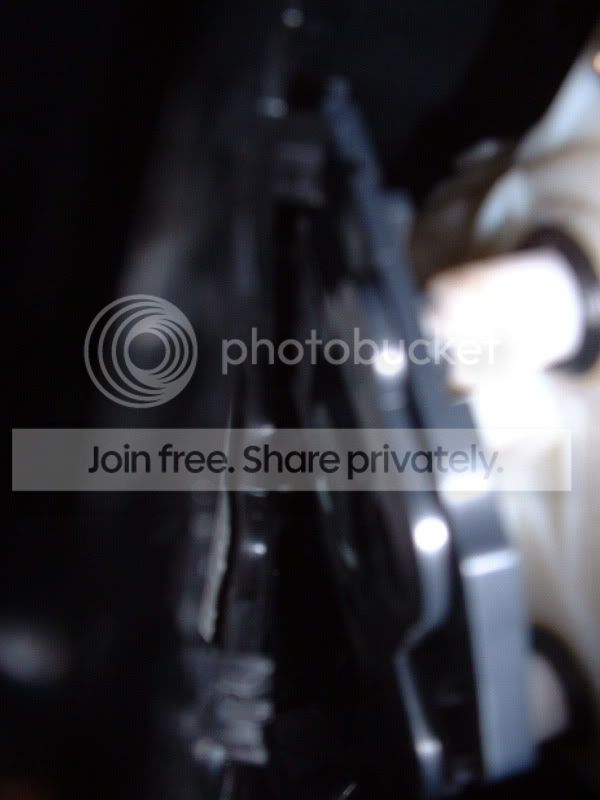
this pic is sideways, but put the mirror back in the housing top first, you should see the clips on the back of the plastic mirror assembly and should notice the notches that it slides into.
put the mirror in top first
now here is the really hard part of the install. apply enough pressure to the middle (half way) of the mirrors on the mirror side above the sticky backs until you feel the middle clips catch on the housing and then to the bottom of the mirror until you feel the bottoms clip also. PLEASE TRY NOT TO BREAK YOUR NEW MIRRORS BY USING TOO MUCH PRESSURE! the mirrors are pretty strong, so you should not need luck on your side, but you still run the risk of cracking the mirrors at the point if you are not careful.
check down the side of the mirror to make sure that all the clips are connected. you will only have about 1/2 an inch to see in this area.

now set your right
and set your left
clean mirrors, I didn't yet and...
ENJOY!!!
This is how to install your convex mirrors without overlaying on the stock mirrors. I have an 06 xA, but the tC share the same side mirrors.
DISCLAIMER: I AM NOT RESPONSIBLE FOR ANY DAMAGE OR INJURIES WITH THIS MOD. DO AT YOUR OWN RISK. PLEASE REMEMBER THAT WITH INSTALLING ANY AFTER MARKET ITEMS YOU RUN THE RISKS OF HURTING YOURSELF AND YOUR PARTS.
parts needed:
oven
cookie sheet
fingers (preferably not fat)
playinwithfire convex mirrors
One more disclaimer before you start. If you are superstitious, let a friend help you with installing these. You don't need 7 more years of bad luck. I'm Irish, so the luck comes naturally.
Installation time was about 10-15 minutes each side, or do both at the same time. I would recommend one at a time just in case you mess up and break a mirror.
stock
to remove the stock mirror, slip a couple fingers behind the bottom of the mirror slowly pull up until you can get them under the bottom of the mirror and lift it out like this
until you have this
now heat up the oven to 250 degrees and place the stock mirror assembly on a cookie sheet or oven safe cooking bowl, I used an 11x8 glass bowl. heat in the oven for ~5-7 minutes. after heating the plastic will be just bearly soft enough to bend without breaking the mirror, i found it easiest to bend the fat part of the assembly at the sides.
the mirror with either pop out easily or it will be in with double sided sticky backs, one of my mirrors had the sticky backs and the other did not so I got both worlds. now you should have this
now you need to do this quickly, but carefully. take off the backs to the double sided tape that was provided in the kit, I also used the 2 extra pieces of sticky backs on the bottoms of the mirrors for extra holding power. now put the new convex mirror into the now empty plastic mirror assembly.
now for the reinstallation:
this pic is sideways, but put the mirror back in the housing top first, you should see the clips on the back of the plastic mirror assembly and should notice the notches that it slides into.
put the mirror in top first
now here is the really hard part of the install. apply enough pressure to the middle (half way) of the mirrors on the mirror side above the sticky backs until you feel the middle clips catch on the housing and then to the bottom of the mirror until you feel the bottoms clip also. PLEASE TRY NOT TO BREAK YOUR NEW MIRRORS BY USING TOO MUCH PRESSURE! the mirrors are pretty strong, so you should not need luck on your side, but you still run the risk of cracking the mirrors at the point if you are not careful.
check down the side of the mirror to make sure that all the clips are connected. you will only have about 1/2 an inch to see in this area.
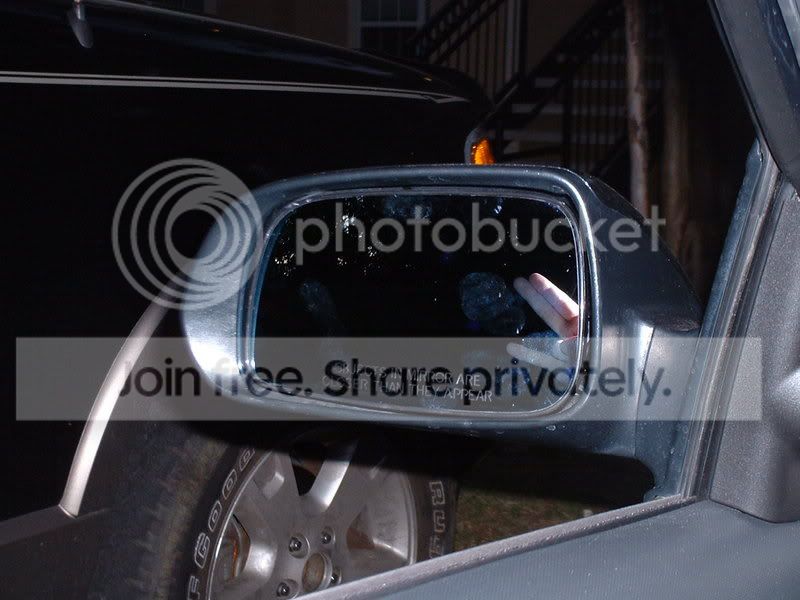
now set your right
and set your left
clean mirrors, I didn't yet and...
ENJOY!!!


Senior Member
SL Member
Joined: Oct 2005
Posts: 193
From: Alexandria, Va
Originally Posted by Saint51
nice write up, i wish i would of seen this before i slapped mine on top of the others!!!! O well i am still happy, but i will save this link for when i find more thick tape!!
-Take the mirrors out first...put the exposed mirrors back into the over
-Pray apart
-Then get some 3M tape (thank GOD i had some laying around)
-Put some fresh tape on the back
And you should be good, mine worked out just fine!


Member
SL Member
Joined: Jan 2008
Posts: 80
From: sherman
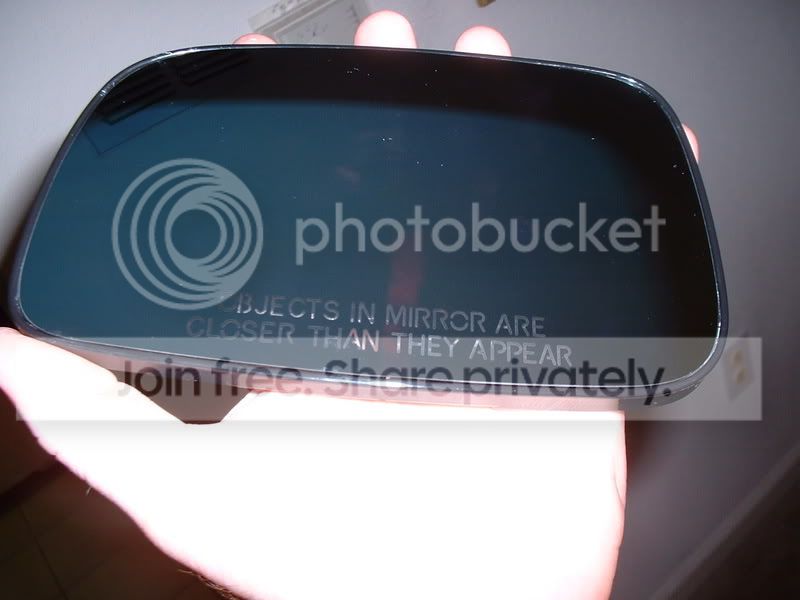
IDEA!!!! two things you can do when installing your mirrors. where is has the lettering of "objects in mirror... yada yada yada" it is clear glass so you see through it. you can either paint the back of the glass a close blue so you dont see it or a contrasting color so the letters will stand out. after seeing how easy they come out now, there is another write up on how to take the back half off while it is still on the car and i am going to see about installing a little heating element in each one and also an led to light up the text slightly =)

Senior Member
SL Member
Joined: May 2007
Posts: 219
From: Columbus, OH
does anyone else's seem to be just a hair smaller than the stock mirror? i just did mine and they seem to not tuck under the black sides on the botom like the stock ones did? i used extra sticky tape so i dont think they are going anywhere, but i was just curious... hoping the black plastic will mold to the mirror after a few... awesome mirros though
and excellent write up
and excellent write up
Thread Starter
Senior Member
SL Member
Joined: Oct 2005
Posts: 266
From: Midwest
they are about a 1/16th to an 1/8th of an inch smaller all the way around. the cure is after heating up the plastic mirror assemblies and removing the mirrors you can always crank up the heat to 300ish and let the plastic pieces sit in the oven until they get wiggly. place the new mirror into the plastic and then push the plastic over the sides and hold it in place with some masking tape. put it in the freezer for about 30 seconds to a minute and the plastic should now set around the new mirror.
BUT, if you do this you run the risk of disforming the plastic around the mirrors and most importantly disfiguring the clips on the back of the plastic and it would not fit back into the mirror housing.
all these problems can be fixed even if you warp the plastic, just get your self a butaine torch, pliers, and start heating the plastic and bending it back into place.
it is up to you. they look fine to me, night or day.
I can see my plastic mirror assembly pizza already made. No way I am gonna do this right now. Gonna wait and see how tiehrs come out. People be careful cause if you don't know what your doing or are not mindful you might have a ruined plastic mirror assembly.


Thread Starter
Senior Member
SL Member
Joined: Oct 2005
Posts: 266
From: Midwest
Originally Posted by Dispatcher138
This is harder than it looks hahhah im still trying to gget the mirror clipped at the bottom without cracking the mirror.

