
custom Alpine LED badge


Senior Member
SL Member
Scinergy
Joined: Oct 2005
Posts: 6,157
From: ScinergyCO
I don't, but i could imagine how it would be done -
use some sort of 2-Din to 1-Din conversion kit like the scosche as the bezel. dremel out the storage tray on the bottom. cut a small piece of 1/4" mirror-back plexiglass ( lexan or acrylic, whatever you call it)
drill some divets in the bottom or top edge of the acrylic to hold the LEDs, you'll get the best effect if you point the LEDs into the edge.
alternatively, you could use a single 4" cathode from oznium, if there's a color there you want to go for. this would not need to be sunk into the acrylic, just needs to line up on the edge. (the reason we sink LEDs is twofold, a- to hold them in place, b- because of the light dispersement pattern of LEDs)
for the logo, you have two options - ghetto and 'the best way'.
ghetto: get yourself some opaque translucent contact paper from a hobby shop, and cut the logo with an exacto knife, and apply it to the front surface of the mirror. it will pick up the accent color
the best way: take the plexi and a CD with the logo image to an engraving or trophy shop. have them laser etch the logo on the front of the mirror. best results come from a vector image source, rather than a bitmap ( jpg, png, gif ). if you must use a bitmap, find one that is much larger than the area you want to cover.

Senior Member

ScionERA
SL Member
Joined: Apr 2005
Posts: 3,400
From: Back in AZ!!
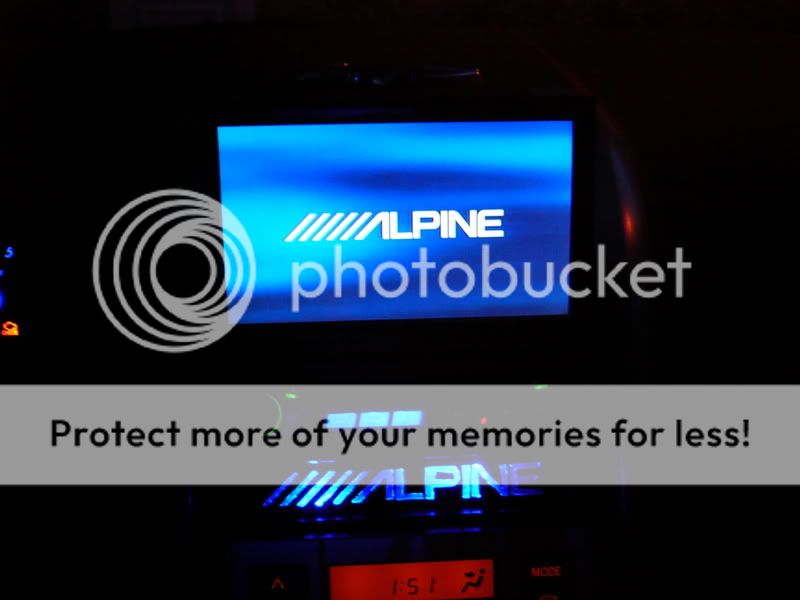
I did that a while back just as a "rough draft". You can see it looks a little rough around the edges. I just made it to see how it would look and then I never got around to making it look better. I took it out a little while ago. Maybe I will try again, someday!

Senior Member
SL Member
Scinergy
Joined: Oct 2005
Posts: 6,157
From: ScinergyCO
wow, that's cool...
if you picked up a small vinyl alpine logo from ebay, you could use follow the instructions above until you get to the logo part, and...
place the vinyl down over the face, and spray it with black, then take the vinyl off and clear it. for a really frickin sweet effect, you could then take it to an engraver, and have thin (crazy small) horizontal lines etched into the back of the mirror about 1/32" apart...


Thread
Thread Starter
Forum
Replies
Last Post
xa007xa
PPC: Engine / Drivetrain
0
Mar 31, 2015 09:24 PM
CONCRETETC
PPC: Interior / Electronics
1
Feb 9, 2015 08:05 PM