
My BlueBat Overlay Experience


Thread Starter
Senior Member
SL Member
Joined: Aug 2005
Posts: 190
From: VA
OK so here is how far I am on this project...
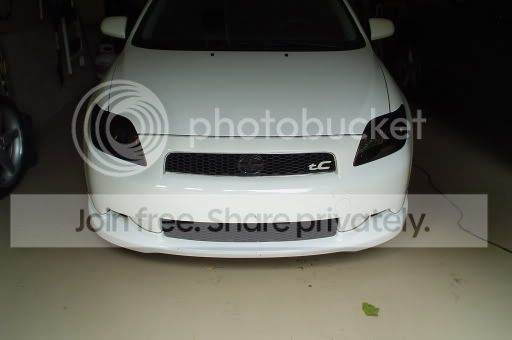
Yesterday I had about 30-45 mins free so I thought I would attempt to get the side mirror overlays on. For about 25 Mins I got no where cause its about 50 degress out and I wasn't using a dryer in the process of placement. Gave up and Applied the 3rd brake light which was cake. I only used my fingers to lay down the overlay and then a pin on some of the air bubbles.
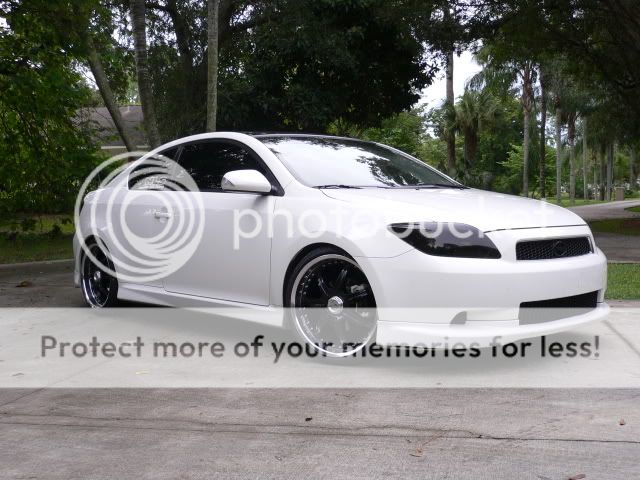
Today I sat down and tried the install w/ the aid of a hair dryer during the install process. The side views went on pretty easily and I had some excessive stretchin but then just trimmed it up... I like the look.
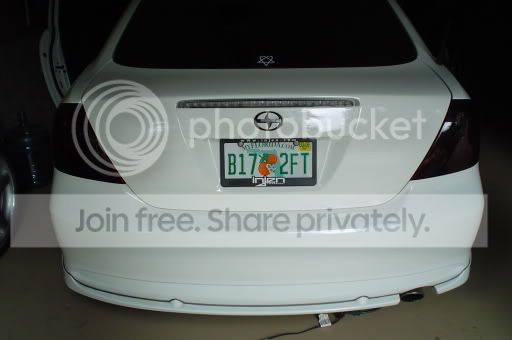
Then I thought hey why not go ahead and do up the tails.... this is when I realized the tails come in two sections and it was going to be difficult as hell to install these "perfectly". So I went on anyway with the right rear tail. I actually got on the smaller top half relativley easily but had some stretching occur where the next overlay would begin so I was like damn now I am gonna have some whack ___ dark lines... Don't worry it gets better.
So I then began with the lower portion and put down the over lay and trimmed the pieces that would obstruct, not to hard, it was even looking alright at this point. Then I started laying it out and smoothing it with the aid of a squeegee <----dunno how to spell that--- And started pulling in certain areas and it completly overstretched the interior of the over lay and when I went to smoth it out nothin but scruntched up lines and it began to look like ___. So at that point I gave up, ripped both off and now am considering if maybe it would be easier to get these custom sprayed by a specialist? That way no lines but then I may see problems from the popo..... not sure what to do at this point.
Yesterday I had about 30-45 mins free so I thought I would attempt to get the side mirror overlays on. For about 25 Mins I got no where cause its about 50 degress out and I wasn't using a dryer in the process of placement. Gave up and Applied the 3rd brake light which was cake. I only used my fingers to lay down the overlay and then a pin on some of the air bubbles.
Today I sat down and tried the install w/ the aid of a hair dryer during the install process. The side views went on pretty easily and I had some excessive stretchin but then just trimmed it up... I like the look.
Then I thought hey why not go ahead and do up the tails.... this is when I realized the tails come in two sections and it was going to be difficult as hell to install these "perfectly". So I went on anyway with the right rear tail. I actually got on the smaller top half relativley easily but had some stretching occur where the next overlay would begin so I was like damn now I am gonna have some whack ___ dark lines... Don't worry it gets better.
So I then began with the lower portion and put down the over lay and trimmed the pieces that would obstruct, not to hard, it was even looking alright at this point. Then I started laying it out and smoothing it with the aid of a squeegee <----dunno how to spell that--- And started pulling in certain areas and it completly overstretched the interior of the over lay and when I went to smoth it out nothin but scruntched up lines and it began to look like ___. So at that point I gave up, ripped both off and now am considering if maybe it would be easier to get these custom sprayed by a specialist? That way no lines but then I may see problems from the popo..... not sure what to do at this point.


Senior Member
SL Member
Joined: May 2005
Posts: 1,228
From: Irvine, CA

Senior Member
SL Member
Joined: Oct 2004
Posts: 944
From: Naples/Ft.Myers

Senior Member
SL Member
Joined: May 2005
Posts: 1,228
From: Irvine, CA
Originally Posted by Friek
dp + lucid, that is lookin real nice. How was the install and how long did it take? and how much were the tails?
Sorry it took so long to reply!

Thread
Thread Starter
Forum
Replies
Last Post
JonnyBigBoss
Scion FR-S Owner's Lounge
0
Sep 26, 2015 08:31 PM
Deltafan909
Photography & Video
0
Jul 4, 2015 04:25 PM