
New Blue Bat Eyelid Overlay!!


Senior Member

Scikotics
SL Member
Joined: Dec 2005
Posts: 582
From: Home
Originally Posted by jonathan110987
sry not liking urs too much. i like mine... and they do the same trick
i think that the overlays that color match the car look better.

Senior Member
SL Member
Joined: Jul 2003
Posts: 2,641
From: San Diego, CA
Originally Posted by fastandcurious
well, the overlays came in today and i got to it right away. an hour later, i gave up after almost destroying the driver side eyelid. i had no problem installing the tbl overlay, but i guess the curvature of the headlight made this more difficult for me. the lack of hairdryer made matters worse. but no excuses, i just plain sucked at this. therefore, i'm very sorry that the following pictures will not be as good as the final result should have been. i want to apologize to blue bat and everyone else who has been waiting patiently.
even though the eyelid looks all messed up (i ended up with all kinds of wrinkles and even ripped a hole from rubbing like a mad man), i took pictures anyways because the eyelid did what it was supposed to: the glare was reduced and the cutoff looks cleaner.
after messing up the driver side eyelid, i didn't even try to install the passenger side. so keep that in mind when viewing these pictures.
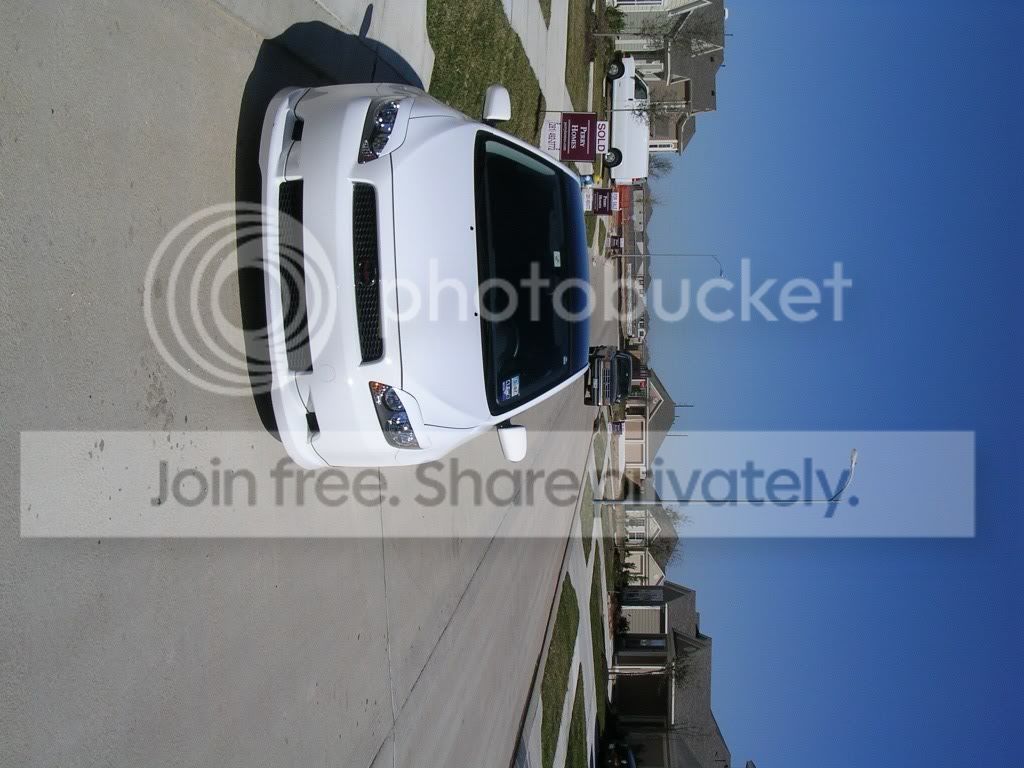
before eyelid (car about 6 feet from wall)

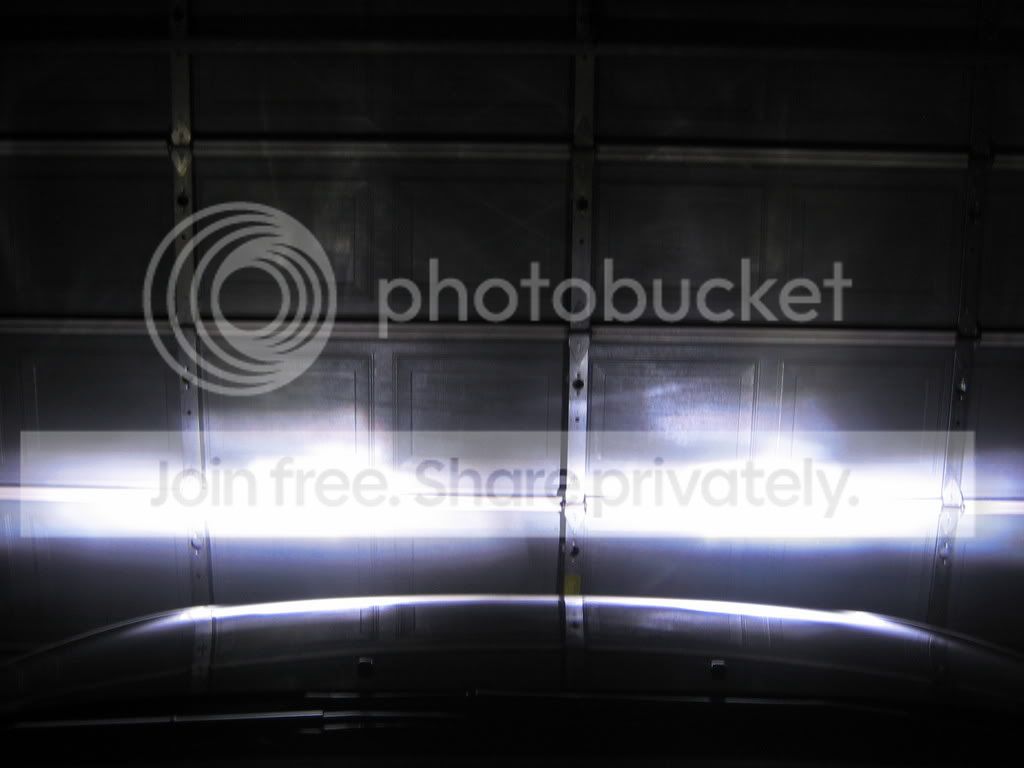
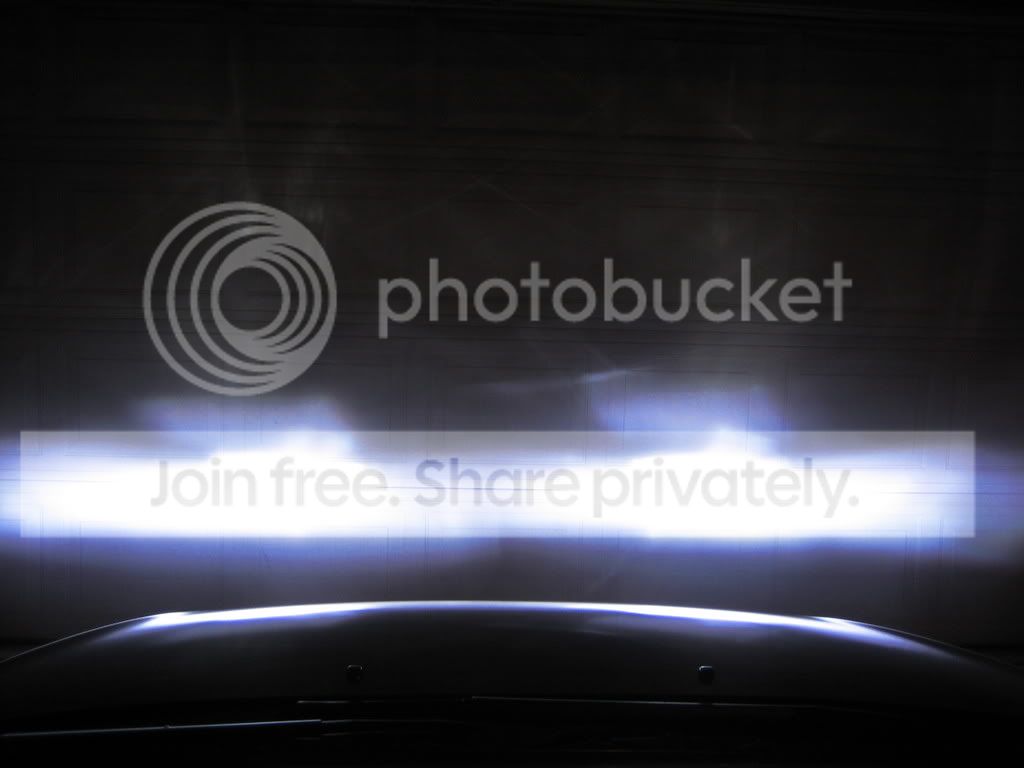
after driver side eyelid installed

you can see that the hotspot on the left side is gone. here is another picture, this time with the car about 3 feet from the wall.

the eyelid really helps to straighten out the top edge.
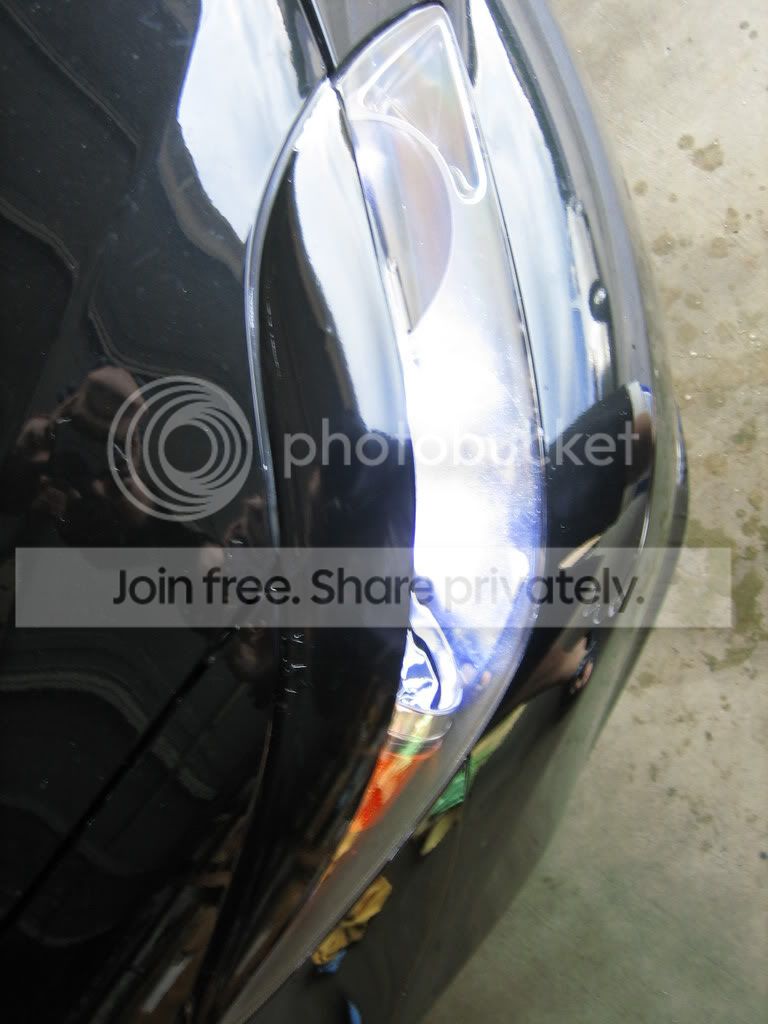
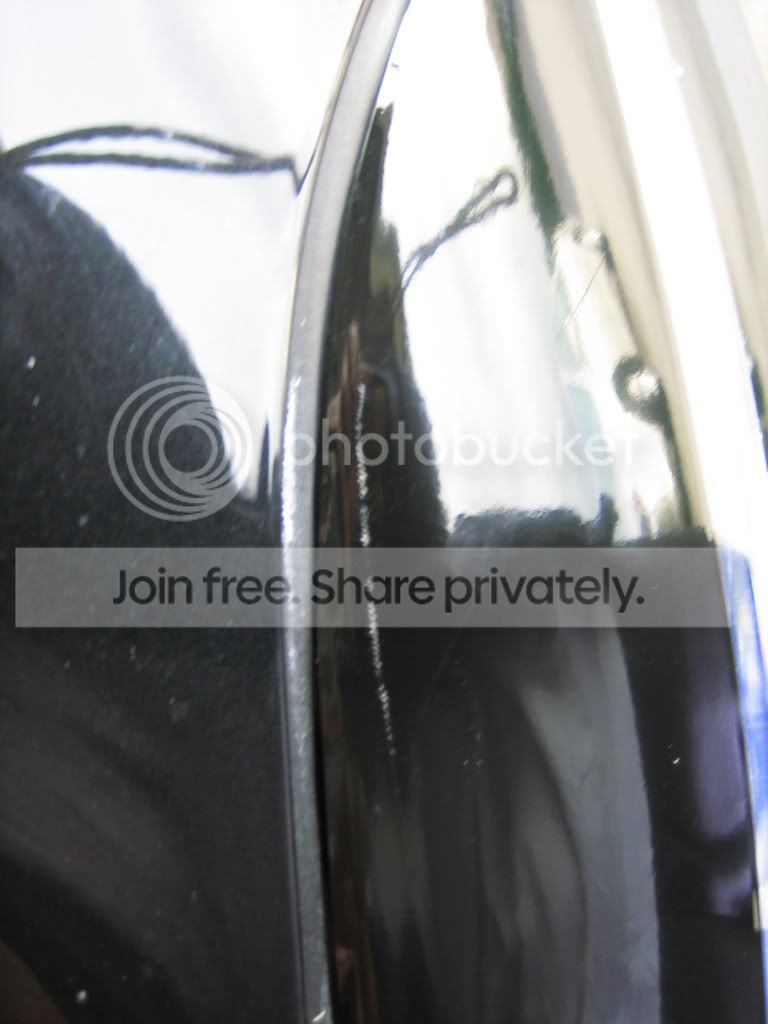
now, on to the pictures of the actual eyelid. here is a closeup that shows the wrinkles i ended up with. the flash makes the eyelid like grey. in person, it's actually a glossy black.

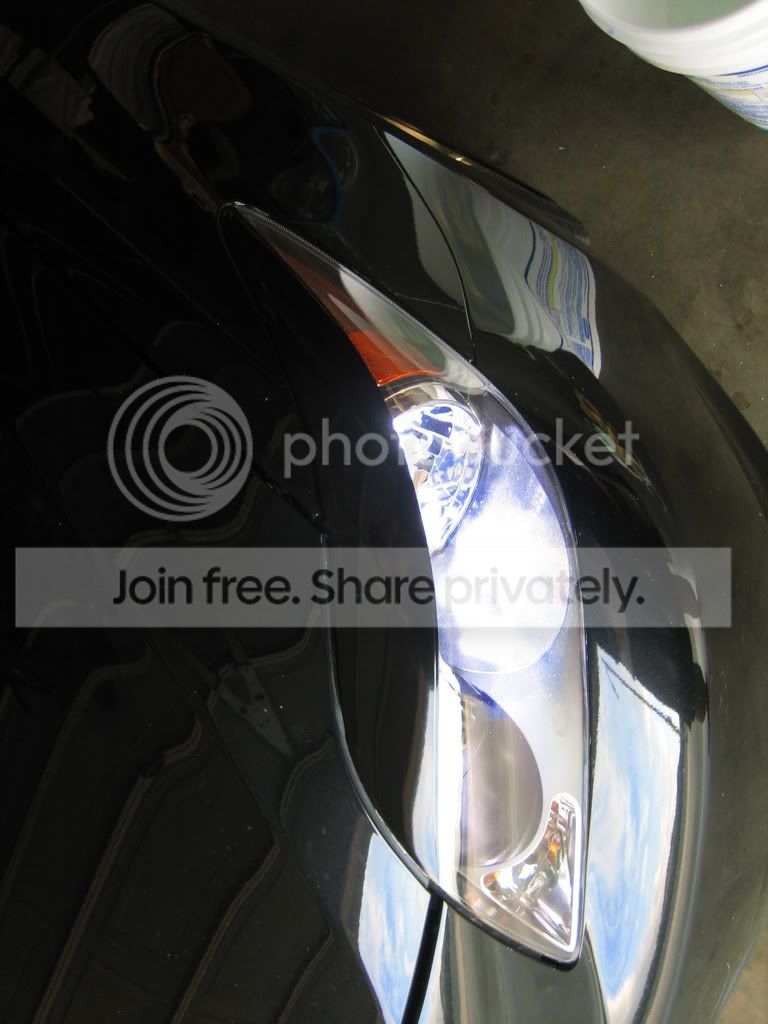
and another closeup:

you can also see that the bottom of the eyelid looks kinda jagged, but this is because i screwed up.


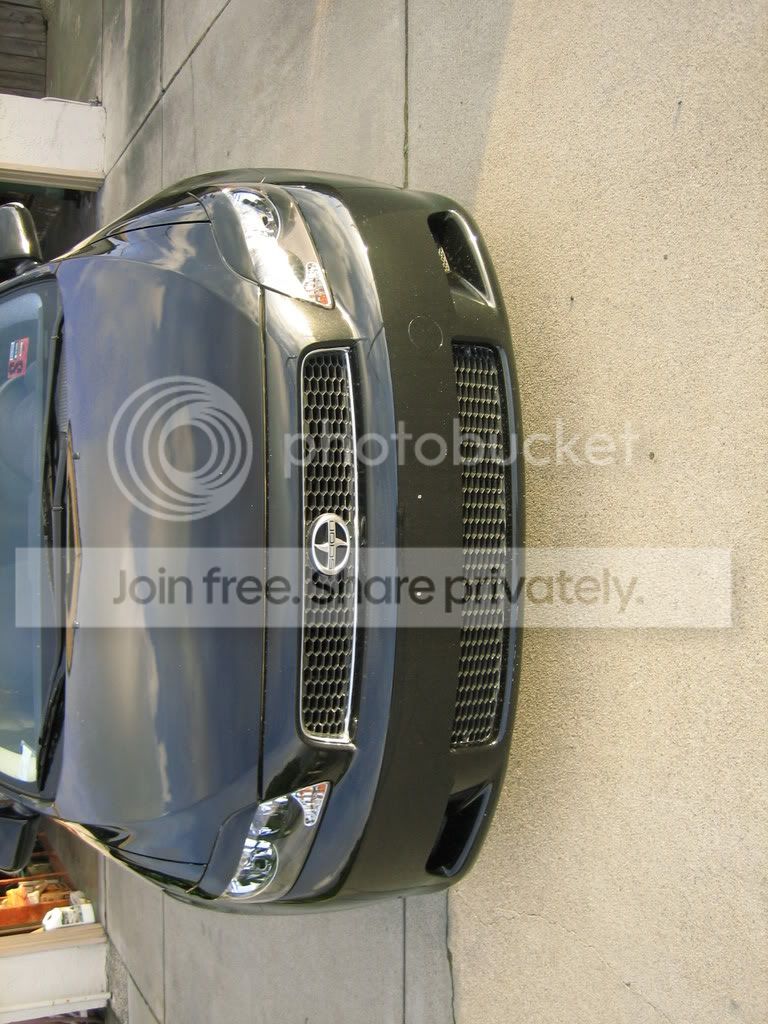
here are some side shots:


unfortunately these were the best pictures i could take. i park in a structure so the lighting/lack made it hard to take good pics.
since i didn't install the passenger side eyelid, i'm willing to mail it to anyone (as long as it's okay with blue bat) who knows how to install these things. i know that once these get installed properly they will look much much better. it'll only be the passenger side, but at least you can take pictures of it properly installed and everyone here can get a better idea. let me know if anyone is interested.
even though the eyelid looks all messed up (i ended up with all kinds of wrinkles and even ripped a hole from rubbing like a mad man), i took pictures anyways because the eyelid did what it was supposed to: the glare was reduced and the cutoff looks cleaner.
after messing up the driver side eyelid, i didn't even try to install the passenger side. so keep that in mind when viewing these pictures.
before eyelid (car about 6 feet from wall)
after driver side eyelid installed
you can see that the hotspot on the left side is gone. here is another picture, this time with the car about 3 feet from the wall.
the eyelid really helps to straighten out the top edge.
now, on to the pictures of the actual eyelid. here is a closeup that shows the wrinkles i ended up with. the flash makes the eyelid like grey. in person, it's actually a glossy black.
and another closeup:
you can also see that the bottom of the eyelid looks kinda jagged, but this is because i screwed up.
here are some side shots:
unfortunately these were the best pictures i could take. i park in a structure so the lighting/lack made it hard to take good pics.
since i didn't install the passenger side eyelid, i'm willing to mail it to anyone (as long as it's okay with blue bat) who knows how to install these things. i know that once these get installed properly they will look much much better. it'll only be the passenger side, but at least you can take pictures of it properly installed and everyone here can get a better idea. let me know if anyone is interested.
Bat�

Senior Member
1UP Crew
SL Member
Joined: Oct 2005
Posts: 658
From: Elgin, IL
Originally Posted by jonathan110987
sry not liking urs too much. i like mine... and they do the same trick
 .
.

Thread Starter
Senior Member
SL Member
Joined: Aug 2004
Posts: 563
From: Los Angeles, CA
Originally Posted by B_tC
why cant you just do it like Jonathan110987's white tc? he says it gives the same out put. besides his eye lids look meeeaaannn.....
the eyelid i failed to install more than does the trick, it's just about installing it properly. however, there is a chance it might be a tad too low. bat, perhaps the 1 1/4" measurement will be more than enough? i guess we'll have to wait and see until this other member can install them.
Thread Starter
Senior Member
SL Member
Joined: Aug 2004
Posts: 563
From: Los Angeles, CA
yeah, 1.5". so if this other member installs them properly and they still seem too low, i think 1.25" will still do the trick. if i get a chance this weekend i will go back to the "drawing board" and mess around with some electrical tape.

Member
SL Member
Joined: Sep 2005
Posts: 69
hey andrew, thanks for the great support. your support is a 5 start outta 5. however i had some trouble installing your eyelids. the installation itself was quite easy, but once the vinyls got creased it was impossible to get the crease out. i try re-dipping it into the water, and also tried to use a blow dryer, and even using a pin needle to pop the hole.
MAKE SURE YOU TAKE OUT ALL THE CREASES BEFORE SCRAPING OUT THE BUBBLES
I ALSO RECOMMEND SPREADING IT OUT GOING IN A UP AND DOWN DIRECTION, GOING FROM SIDE TO SIDE WILL LEAVE CREASE
other than that the product was ok.
this is oshot from the top (i opened my moonroof and stood there)
and here is a picture of the passanger side (indoor)
and here is a picture of the drivers side (indoor)
here is an outdoor picture
unfortunately i got a few crease on the passanger side
but the right side was perfect
hopefully i can get andrew to hook me up with just the top layer on the passanger side
before vs. after
i dont know if you can notice much difference in the cut off, but i could careless, i measured it, if i wanted to make the cut off lower, i would ave to extend the eyelid down a lot, i said about 2 fingers gap to cut it off right. so yeah any comments or advice/reccomendations, let me know![/img]

Member
SL Member
Joined: Sep 2005
Posts: 69
lol the last last pic is outside my garage, the first one is inside my garage, i think its cause inside my garge its silver, and there is metal everywhere... i dont know, and yes i did put the eyelids a little bit higher, i think its wierd to not line up with the hood. if i brought it down like the white tC then it would defintely cover the cut off point
also the last last pic was taken right before i did the post, the before pic was about 6 hours before my post.
also the last last pic was taken right before i did the post, the before pic was about 6 hours before my post.

Senior Member

SL Member
Scinergy
Joined: Jun 2006
Posts: 1,187
From: Kennesaw, GA
Originally Posted by mwuf15
seems like your eyelid was higher than what fast has with his first try.
Though, I guess it's still in the testing phase and will be fixed before production
until then I'll be watching.
Thread Starter
Senior Member
SL Member
Joined: Aug 2004
Posts: 563
From: Los Angeles, CA
tangsta35, the eyelids he sent you were longer for a reason - to cover up the glare. sounds like you basically cut off the extra length that was intentionally added and converted these to the original eyelids bat has been selling.
yes, the extra length meant they would not have lined up exactly with the hood, but that was the whole point of this test process - to see what it would have looked like so we can go from there.
I guess we're back to square one.
yes, the extra length meant they would not have lined up exactly with the hood, but that was the whole point of this test process - to see what it would have looked like so we can go from there.
I guess we're back to square one.