


Upholstering Interior (Beware 56K) Updated 3-6-06


Thread Starter
Senior Member


SL Member
Joined: Jun 2005
Posts: 430
From: Orland Park, IL
 Upholstering Interior (Beware 56K) Updated 3-6-06
Updated 3-5-06
I just wanted to post a couple pictures of the interior I helped Upholster for Mike's Car (ChicagosFinest). Still some work to be done. I can wait to do mine next weekend!
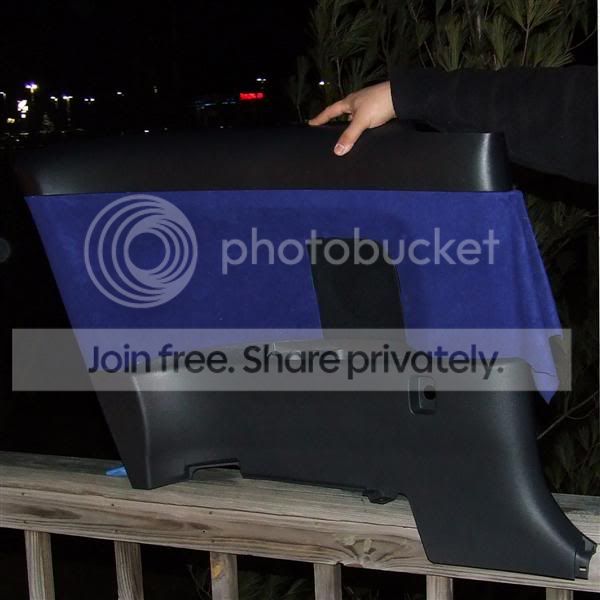

Updated 3-6-05
Here are some more picture for your enjoyment. We know people here hate all talk and no pictures... so enjoy!
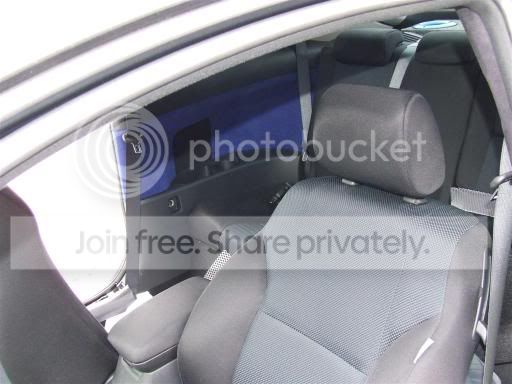
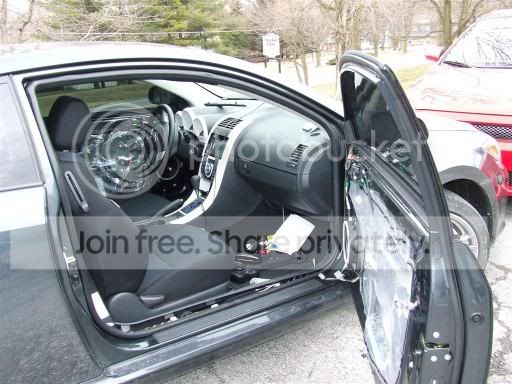
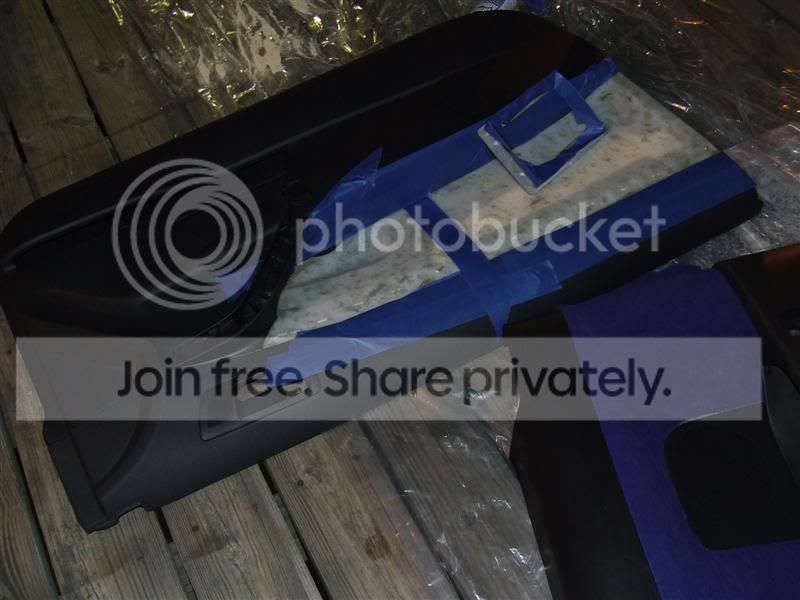
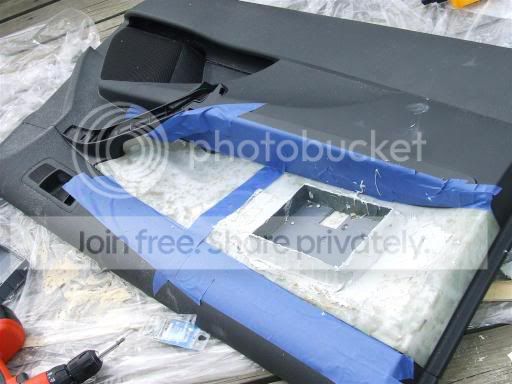
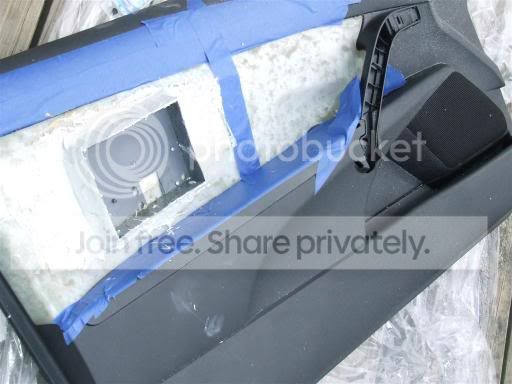
Here are some random pictures of our rides.

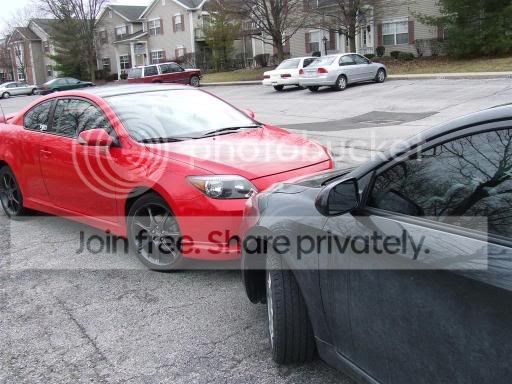
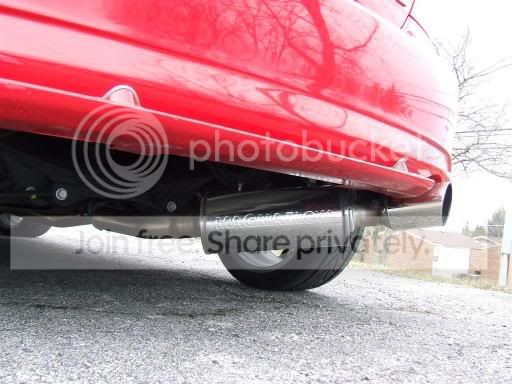
More Pictures Coming Soon!
I just wanted to post a couple pictures of the interior I helped Upholster for Mike's Car (ChicagosFinest). Still some work to be done. I can wait to do mine next weekend!
Updated 3-6-05
Here are some more picture for your enjoyment. We know people here hate all talk and no pictures... so enjoy!
Here are some random pictures of our rides.
More Pictures Coming Soon!

 hehe.
hehe.
Junior Member
Joined: Mar 2005
Posts: 11
aww man that's jus wut i'm trying to do. i jus called an upholstery company today to get a quote for some black suede. hopefully your job comes out looking good. i kno i jus want to get rid of that cheap checkered cloth material on the panels and the seats. keep us updated...
jon
jon

Senior Member
OhioScions
SL Member
Joined: Jun 2005
Posts: 553
From: Orlando
My headliner is partialy done, and so are my B-pillars. I'm waiting on some things for my A and C.. and well.. I got something special for my doors planned.
Rockbrawler was a great help and I don't think I'd made near as much progress today with out him.
Rockbrawler was a great help and I don't think I'd made near as much progress today with out him.
Thread Starter
Senior Member
SL Member
Joined: Jun 2005
Posts: 430
From: Orland Park, IL
Thanks... Well this project was a combination effort between mike and myself... We aren't completely done, but we both feel that we have a professional and OEM look! We should have more pictures of the rear panel and a special door panels tomorrow!
Stay Tuned!
Stay Tuned!

Senior Member

Scikotics
SL Member
Team N.V.S.
Scion Evolution
Joined: Jan 2005
Posts: 1,164
From: The Godfather
could someone pls pm me where they're getting the cloth? ive looked locally and online.. but i feel like im missing something...
very nice job btw - i hope your diy writeup is in the works as well
very nice job btw - i hope your diy writeup is in the works as well


Senior Member
Scikotics
SL Member
Joined: Sep 2005
Posts: 1,990
From: Orlando, FL
Originally Posted by dreams14
i kno i jus want to get rid of that cheap checkered cloth material on the panels and the seats.
jon
jon

Senior Member
SL Member
Joined: Jan 2005
Posts: 1,632
From: Central Cali
I guess this would be a good time for me and try to wrap mine like that too, since all my panels are off. I have some nice red micro-suede I picked up at my local fabric store. Good work guys, looks very clean
Junior Member
Joined: Mar 2005
Posts: 11
Originally Posted by CXT
Originally Posted by dreams14
i kno i jus want to get rid of that cheap checkered cloth material on the panels and the seats.
jon
jon
jon

Thread Starter
Senior Member
SL Member
Joined: Jun 2005
Posts: 430
From: Orland Park, IL
Update: We got the rear panels completely done and installed back in the car... The front door panels are about 75% complete... Sorry no new pictures yet... But lean forward with your head up in anticipation. We should have everything complete and new pictures within a day or two!


Senior Member
OhioScions
SL Member
Joined: Jun 2005
Posts: 553
From: Orlando
I'm guessing tuesday for the final Installed pictures. I appologise if this seems like a thread just to build anticipation because we all know how frustrating it is when members do it. I think the only surprise is the doors, but I don't want to reveal anything until we're past the point of no return. Like RB Said previously, We're highly doubting that there will be a wright up because it's simply hit or miss unless you have alot of expierence.
Like I said before RB was a great help with this stage. Soon as I'm back from FL were going to tear his apart and dos something even more unique.
Like I said before RB was a great help with this stage. Soon as I'm back from FL were going to tear his apart and dos something even more unique.


Senior Member
OhioScions
SL Member
Joined: Jun 2005
Posts: 553
From: Orlando
I'm still not done with the trim arround the monitor nor am I done with the wiring.. This was just to make iniatial fitments prior to actualy setting it in there.. I'm going to sand and repaint (least a couple more layers on the trim ring..) the wires have to be re soldered behid the screen and then the back needs to be treated.. I'll probably have them back in my car tomorrow (if not tonight..) I might not have power to the monitors for a day or so, due to wiring complications.


Senior Member
SL Member
Joined: Jan 2005
Posts: 1,632
From: Central Cali
Looking good guys. Just have one question, did you guys take off the panels that have the fabric stapled on? By this I mean only the part with the stock fabric, cuz its glued to the back. Just wanted to know what your guys technique was.