


Project "Low-La" Build Thread


Thread Starter
Member


SL Member
Joined: Dec 2008
Posts: 78
From: Greenwood, IN

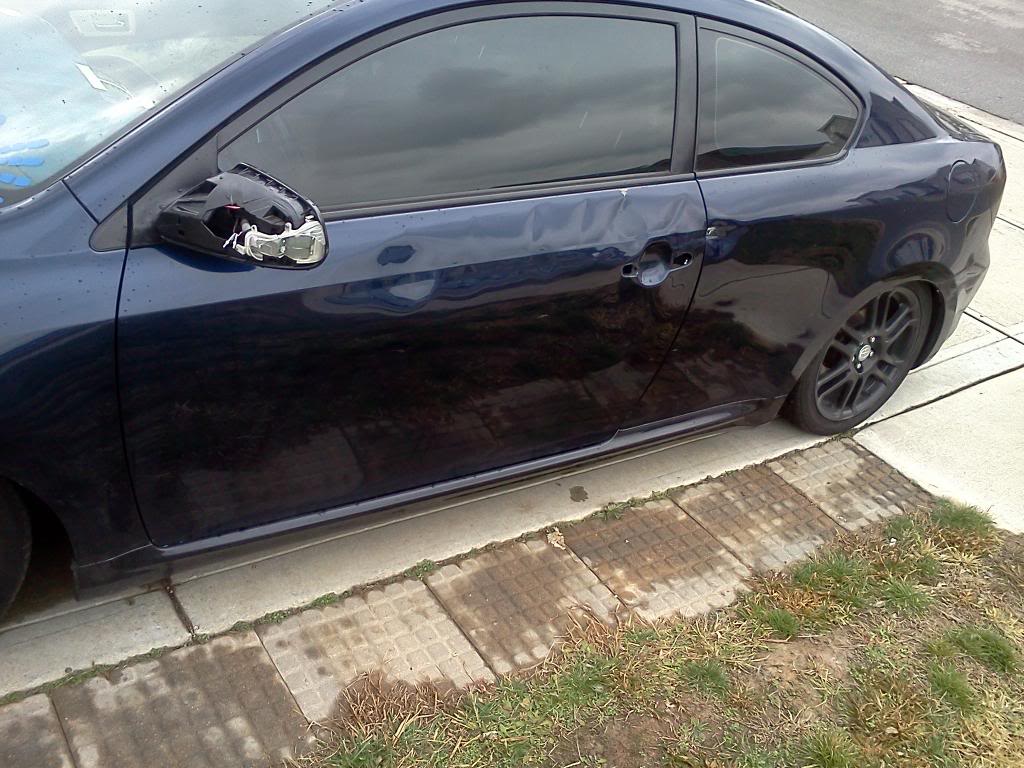
desipite my car in the hit n run incident im still staying positive! was planning on painting the car in the spring time anyway. so I just popped the dents out as much as I could with a friend n just gonna go look for a door for a good price at a junk yard n start the body work on it
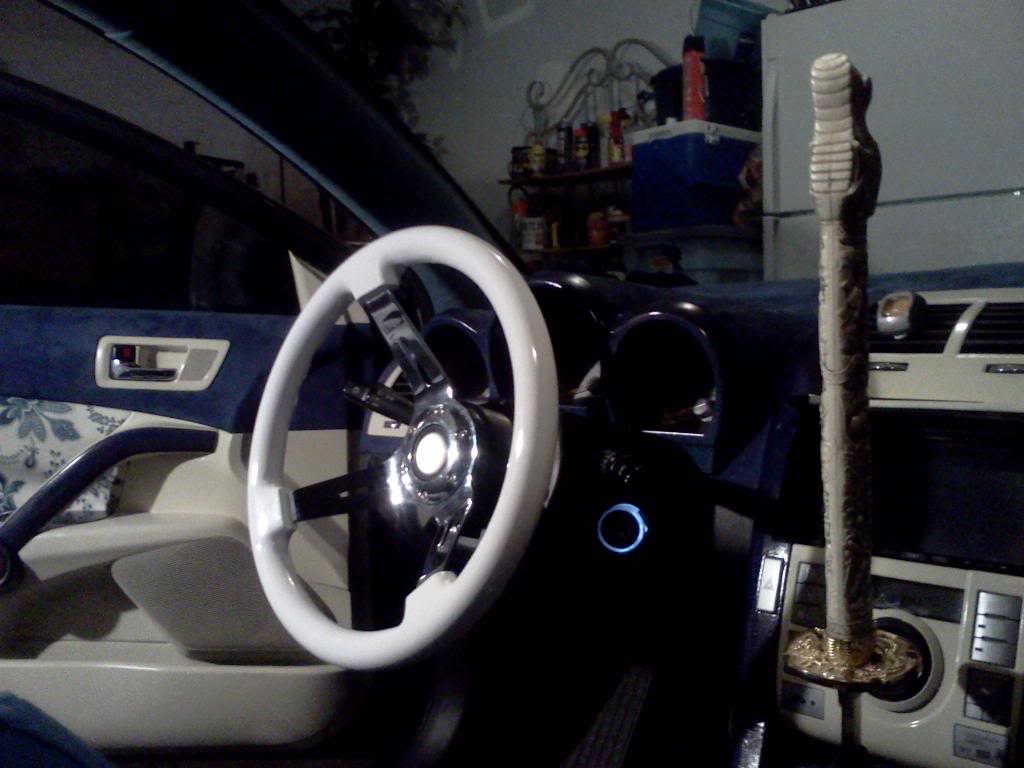
but just thought I post my new shift **** for a lil luagh
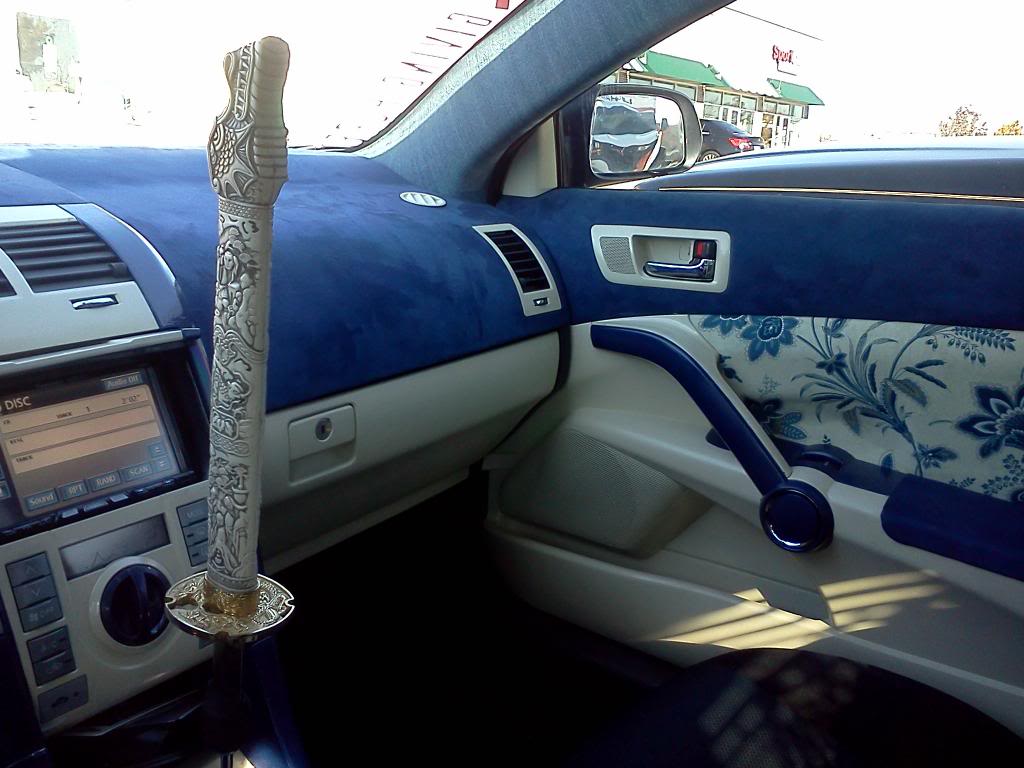
but just thought I post my new shift **** for a lil luagh

Thread Starter
Member
SL Member
Joined: Dec 2008
Posts: 78
From: Greenwood, IN
so ive wanted a shift boot for awhile to cover up that plastic piece for awhile but wanted something that would fit with my theme n idea I have for my car.
so after awhile I decided to take a shot at making my own shift boot. i tried it earlier this year and it was horrible becuase I was trying to get that triangular shape and i got it alright but just didnt fit right an I didnt have the metal piece for the collar to make it look the best way I could.
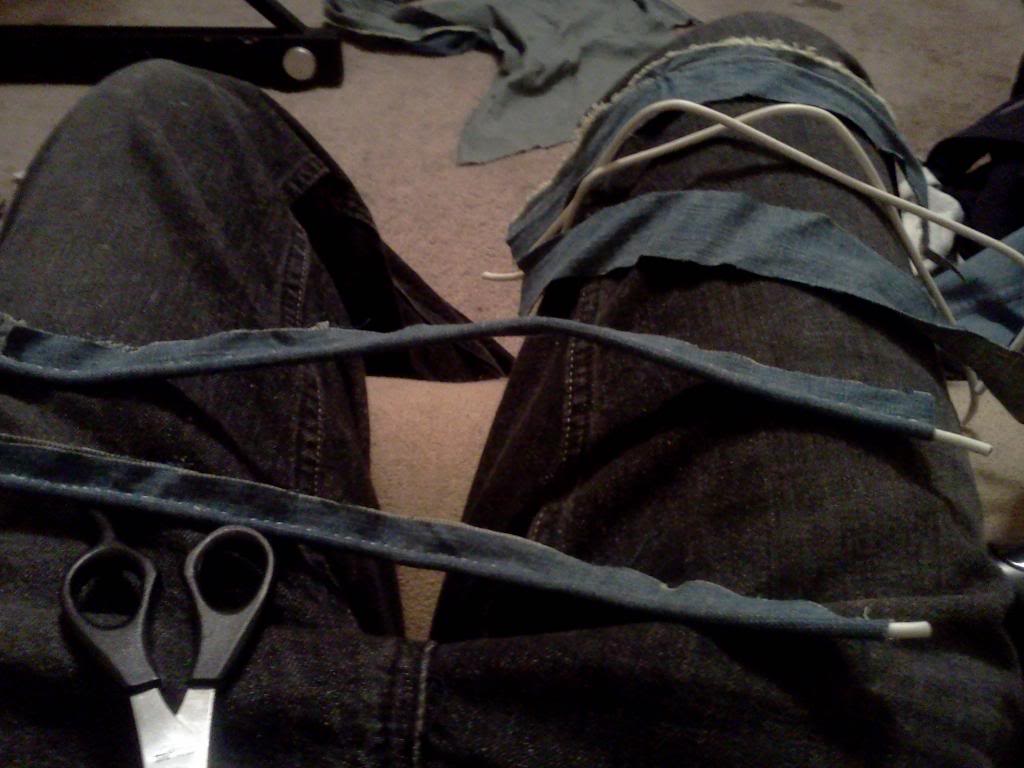
So months later I took a stab at it again this week an went after a shift boot like ive seen in other car builds using a crown royal bag with the draw strings. and figured if I took my time i could make something similar to the effect I wanted.
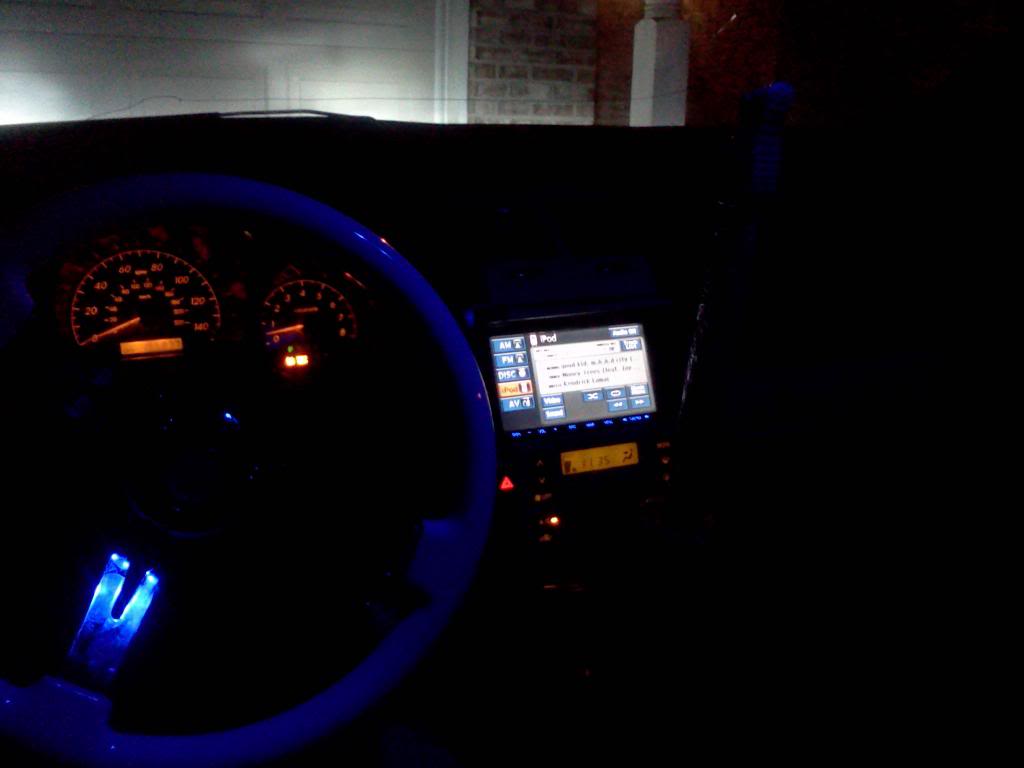
so in short heres some pics of my shift boot I made to bring my sword shift **** more in tune with the car.
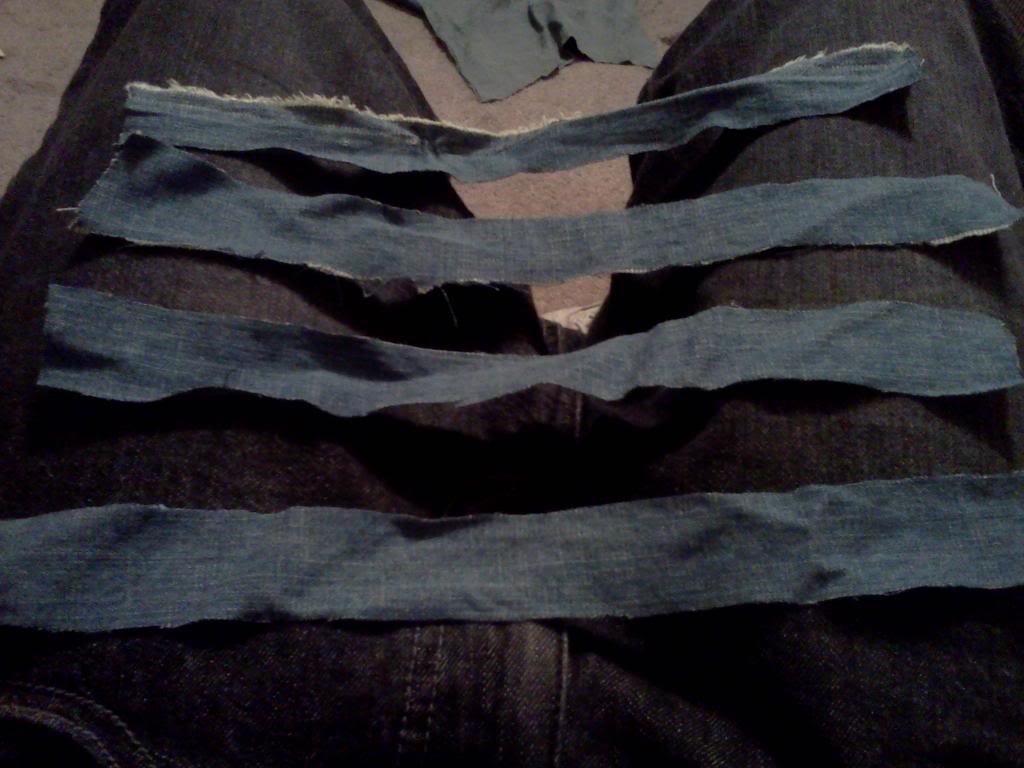
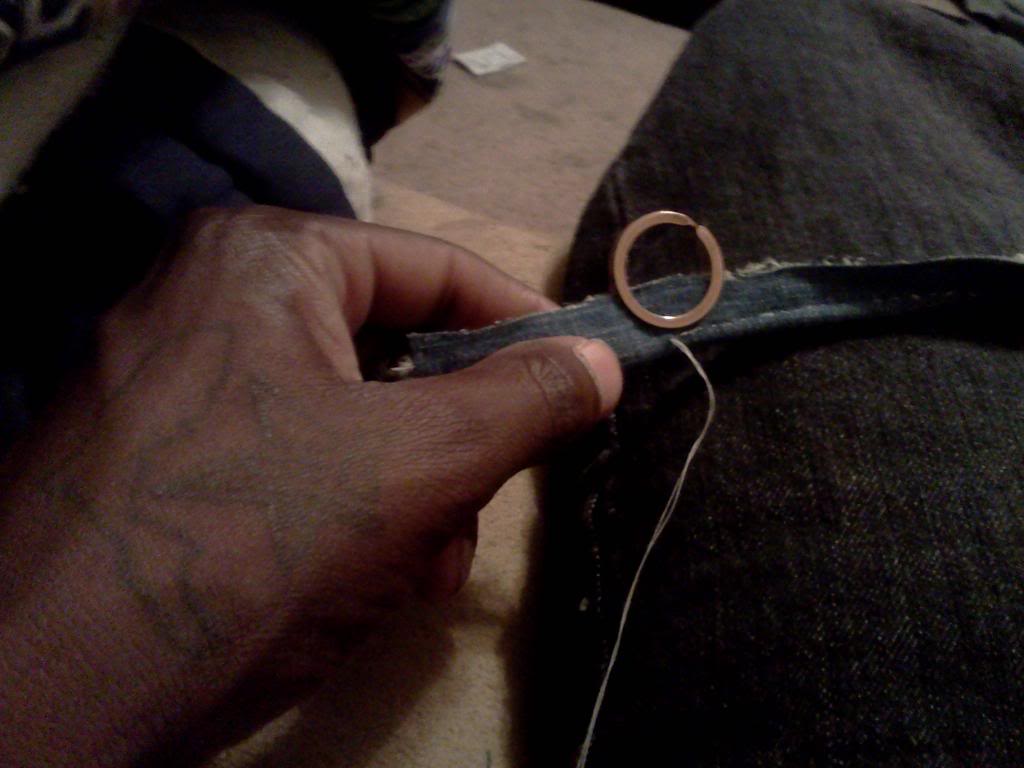
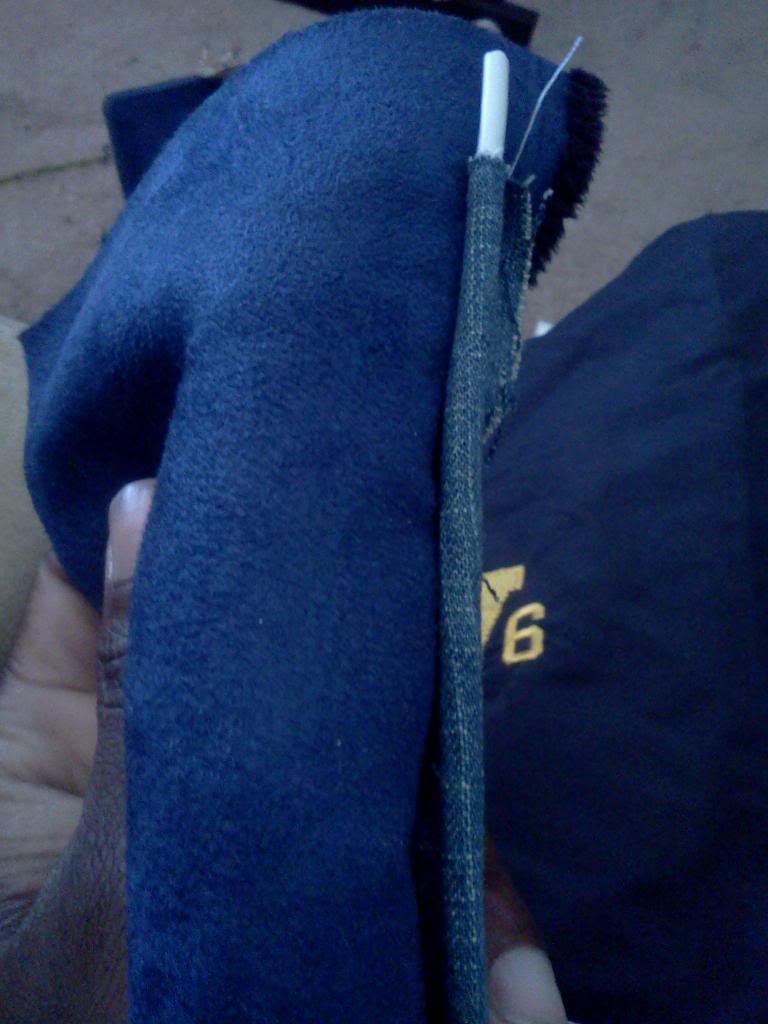
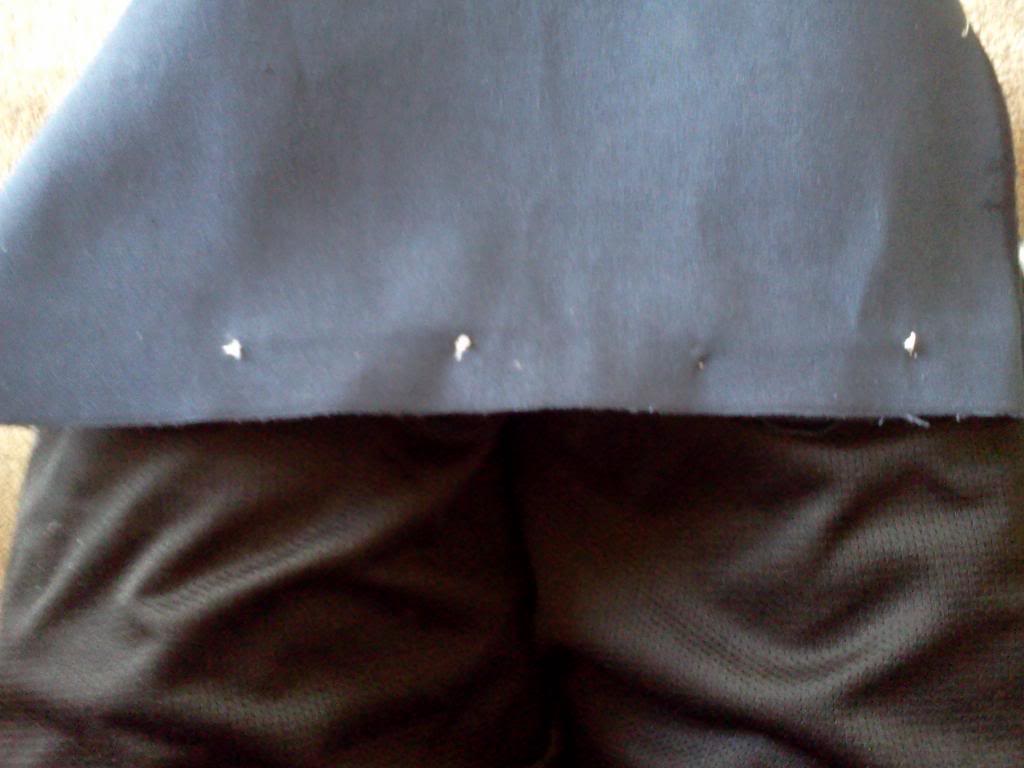
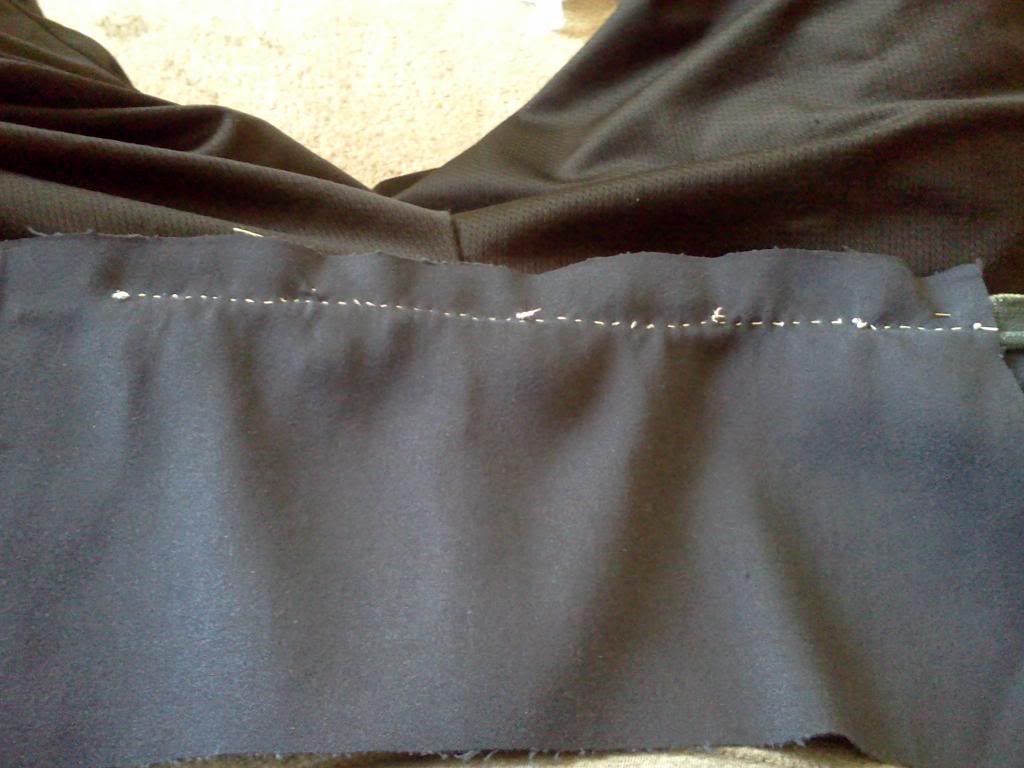
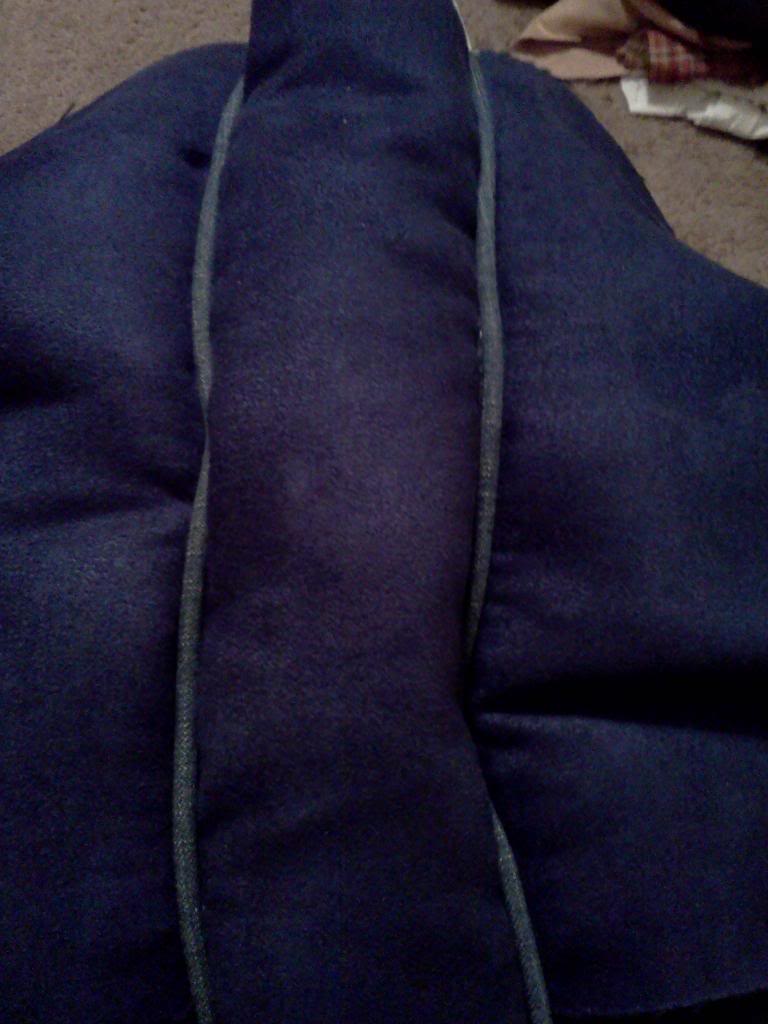
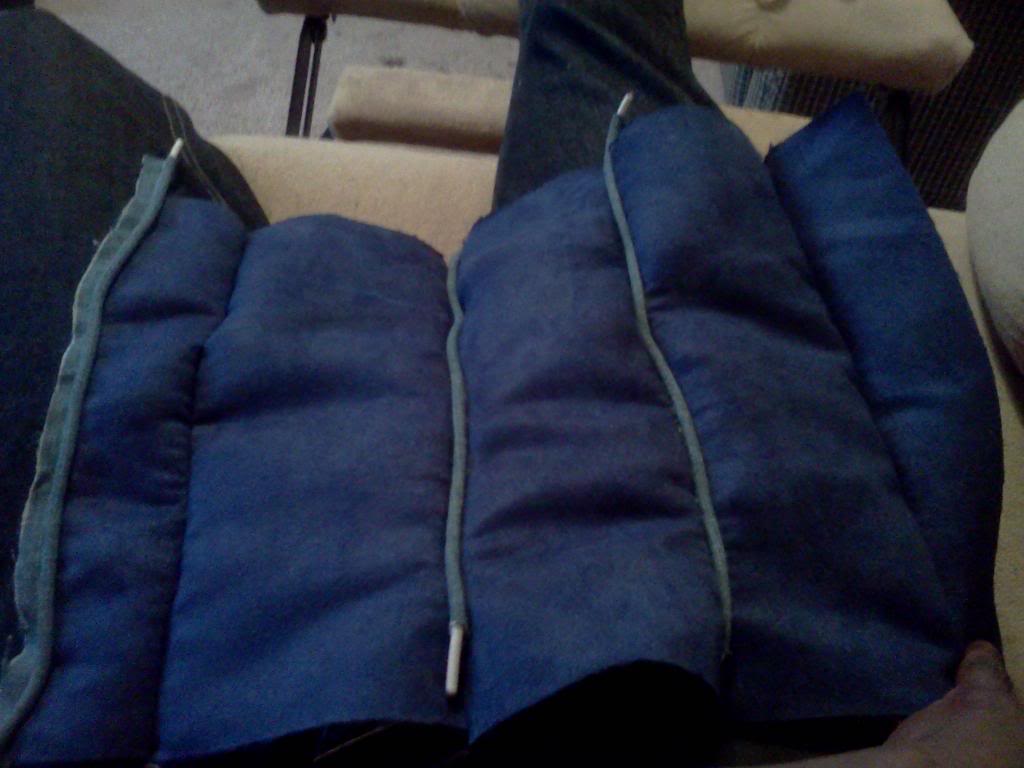
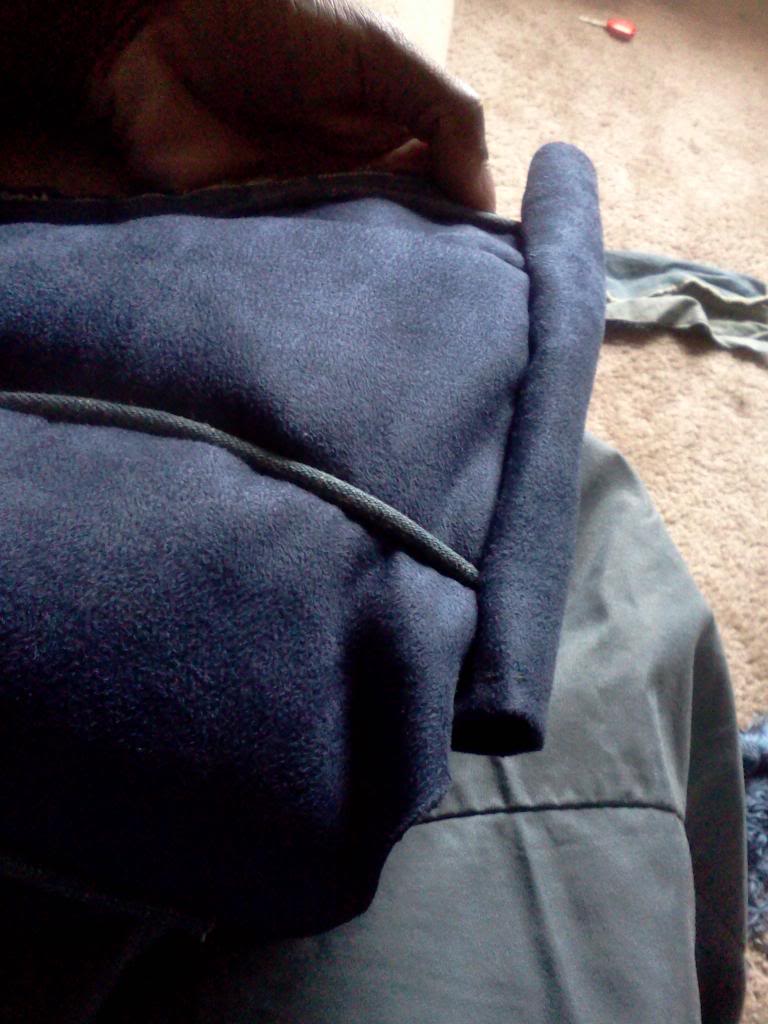
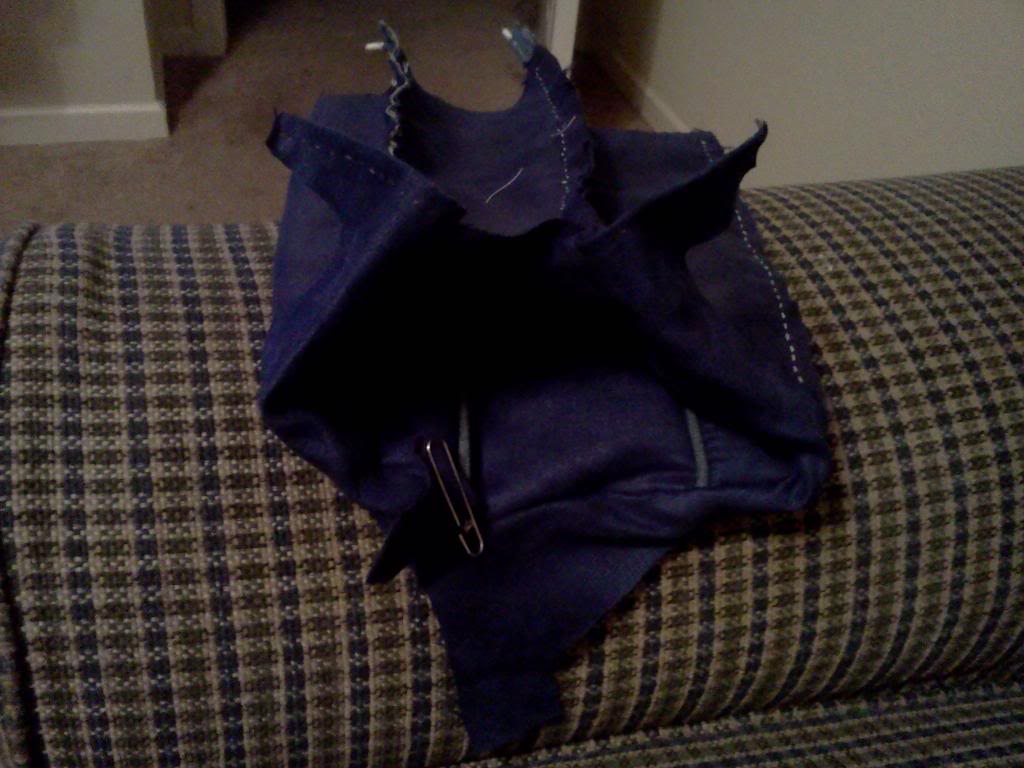
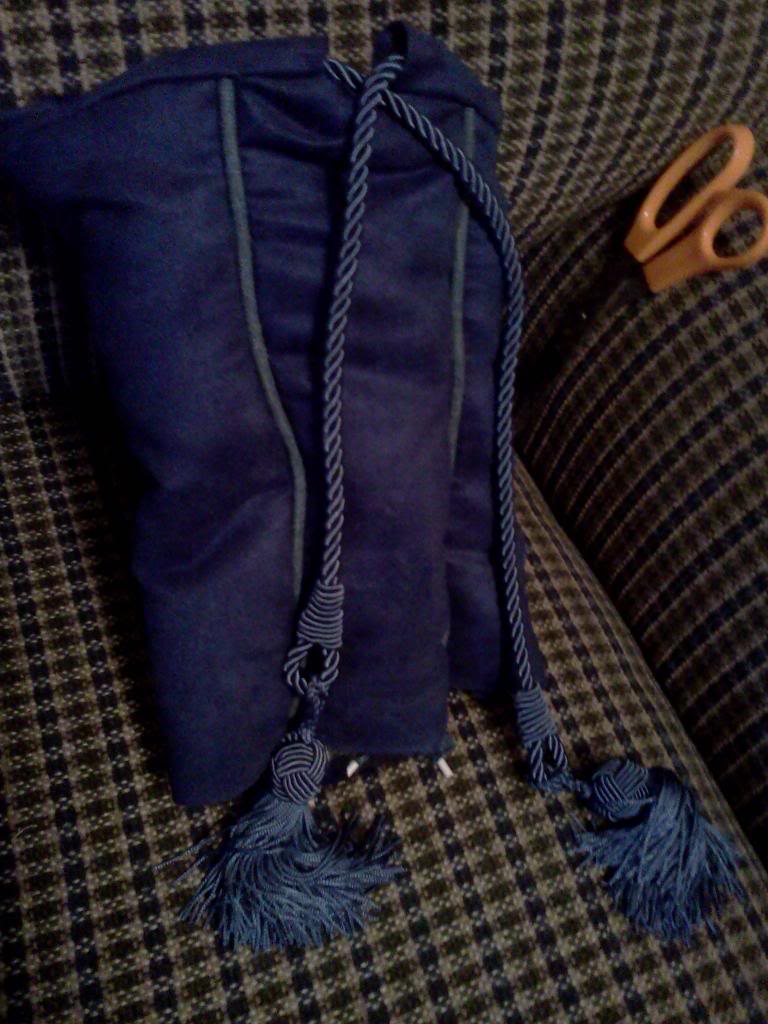
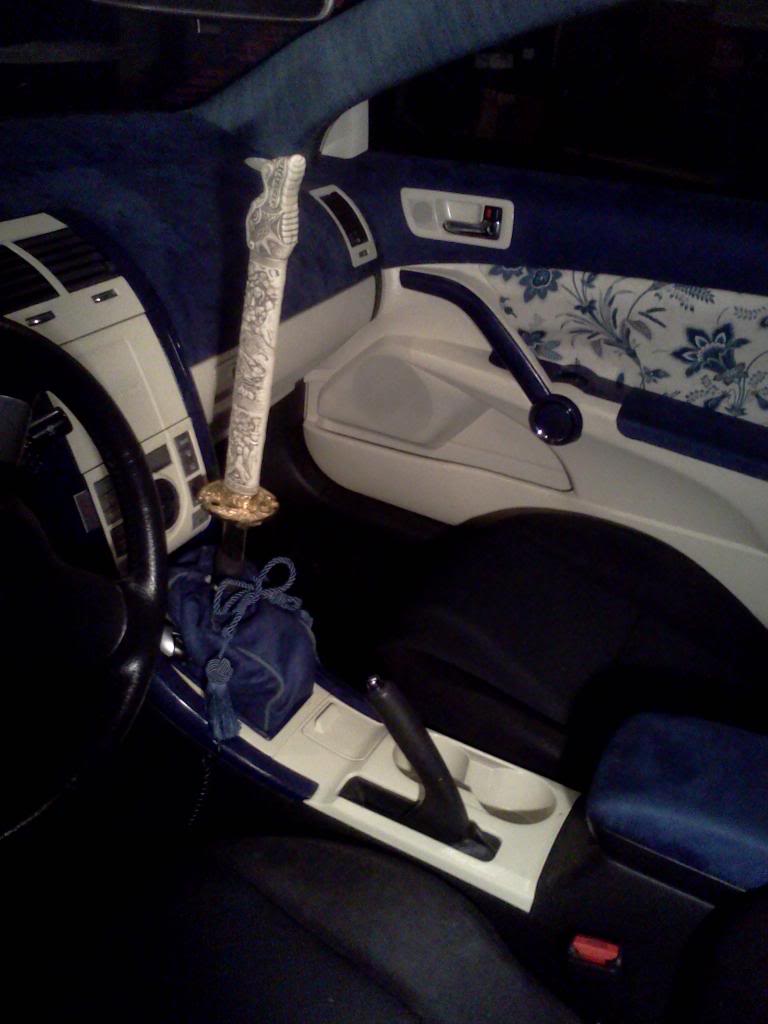
so after awhile I decided to take a shot at making my own shift boot. i tried it earlier this year and it was horrible becuase I was trying to get that triangular shape and i got it alright but just didnt fit right an I didnt have the metal piece for the collar to make it look the best way I could.
So months later I took a stab at it again this week an went after a shift boot like ive seen in other car builds using a crown royal bag with the draw strings. and figured if I took my time i could make something similar to the effect I wanted.
so in short heres some pics of my shift boot I made to bring my sword shift **** more in tune with the car.


Former Sponsor

SL Member
Joined: Feb 2004
Posts: 1,853
From: Montreal


Thread Starter
Member
SL Member
Joined: Dec 2008
Posts: 78
From: Greenwood, IN
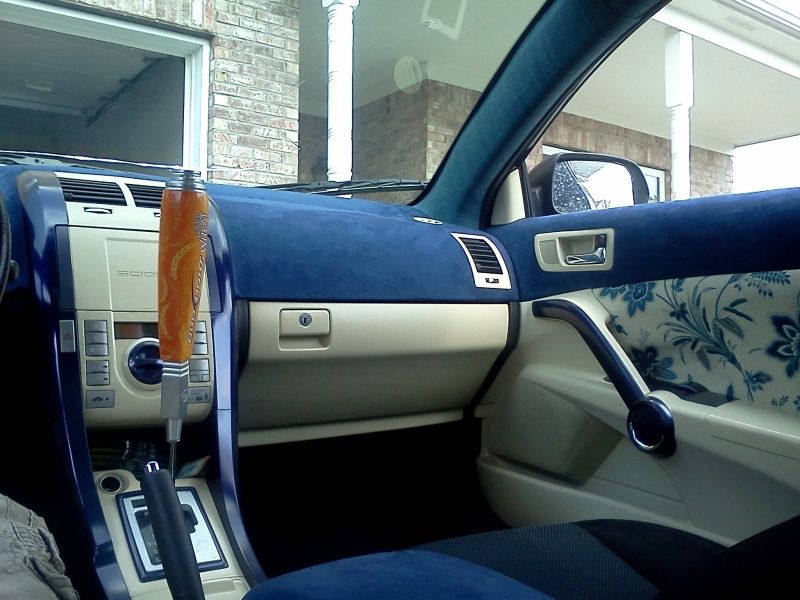
as far as painting the plastic its all in your prep work as with anything when painting stuff so you'll have to scuff it up a bit or sand it down. and before painting make sure you wipe whatever your painting down with some alcohol to get the moisture from your hands n like finger prints off before painting because it will show.
But as far as paint I just got some spray paint that was paint specific for plastic at like menards or lowes or home depot or whatever. But also make sure u get and adhesion promoter to put on before u paint the pieces whatever color u choose n some duplicolor clear coat to protect the paint.
but if your like painting the panels like where I painted them tan I used semi gloss clear becuase I didnt want it shinny n I also primered the pieces before painting as well
but anyways fam hope that helps a lil to get u started.
But as far as paint I just got some spray paint that was paint specific for plastic at like menards or lowes or home depot or whatever. But also make sure u get and adhesion promoter to put on before u paint the pieces whatever color u choose n some duplicolor clear coat to protect the paint.
but if your like painting the panels like where I painted them tan I used semi gloss clear becuase I didnt want it shinny n I also primered the pieces before painting as well
but anyways fam hope that helps a lil to get u started.



Thread Starter
Member
SL Member
Joined: Dec 2008
Posts: 78
From: Greenwood, IN
hugeeee update!!
Sooo first off hows is everybody!? ive been hella busy over here and just wanted to share an update on my car project but anywho heres some progress of the build.
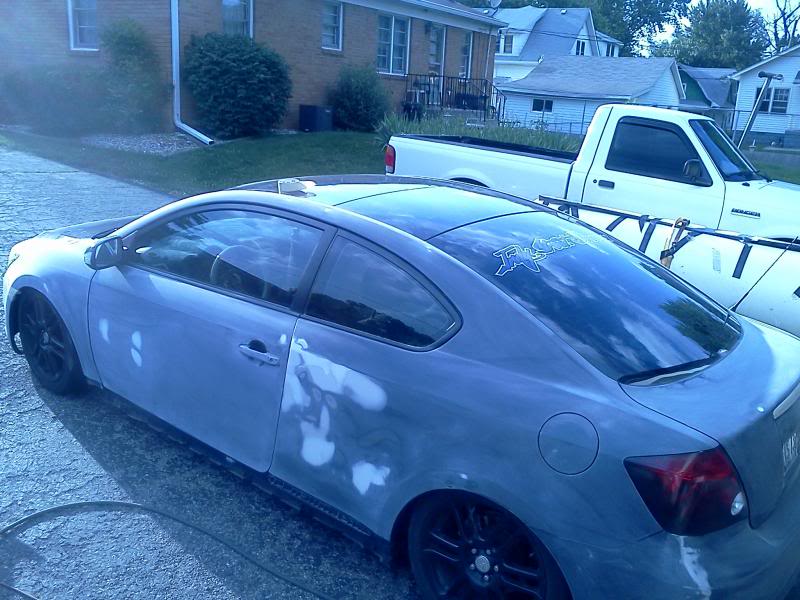
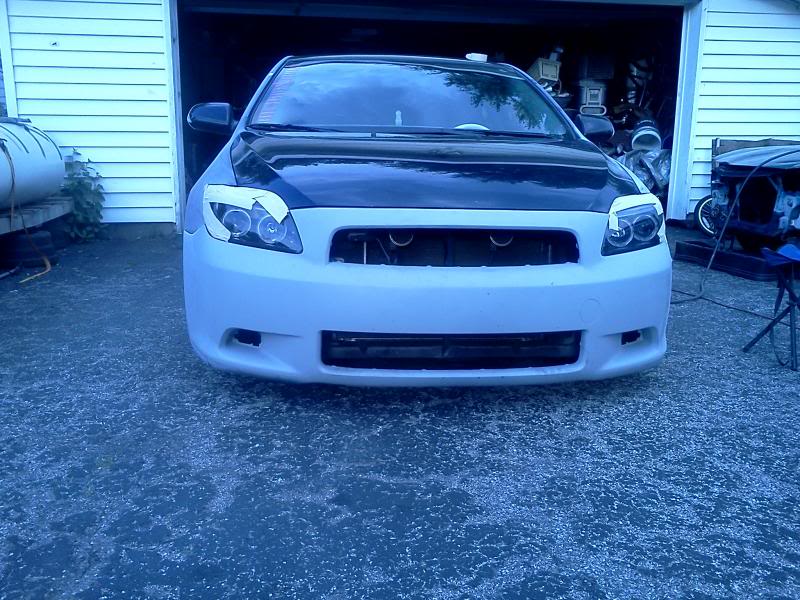
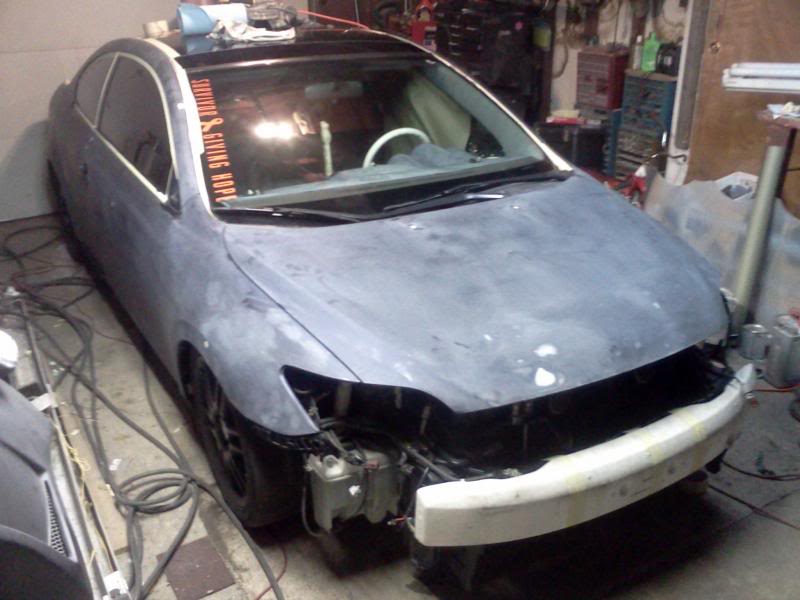
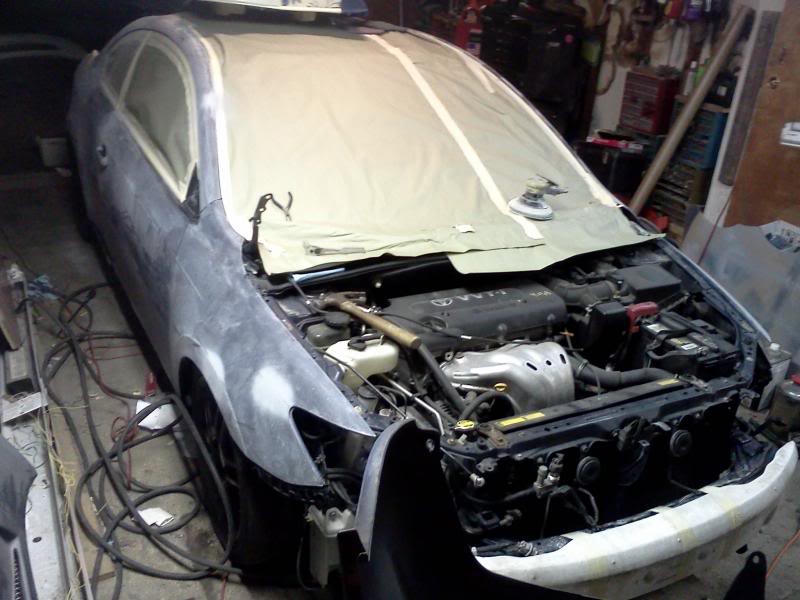
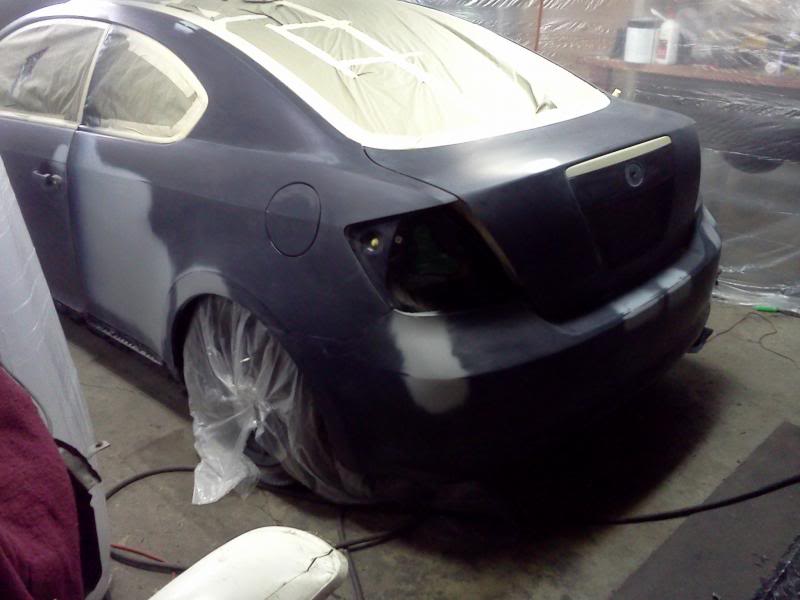
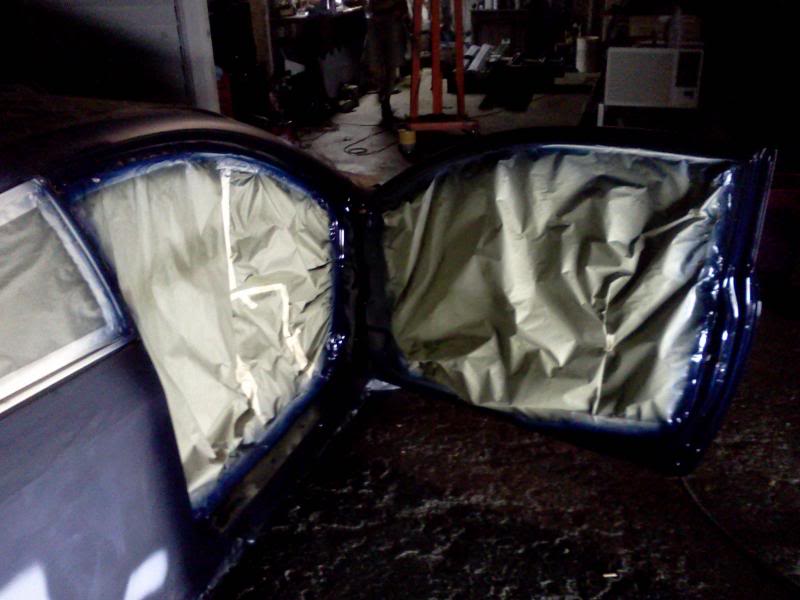
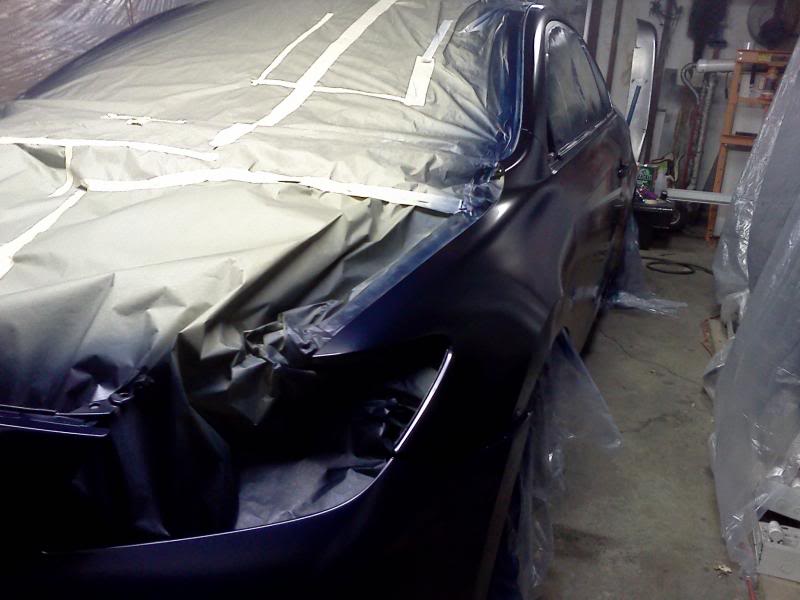
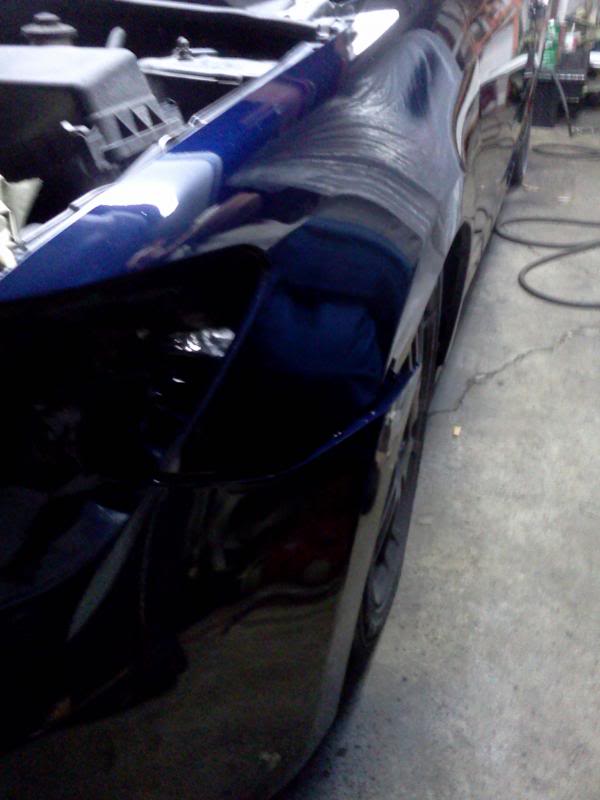
Ive gotten the body work str8 on the car after my hit n run incident with help from my homie with the body work and gettin prep n painted to get it back in shape and lemme tell ya mann thats were long nights and alot of frustrations smh.
But in the end im very please with my first bodywork/paint job attempt. I had an issue with my wheel I pre order from this company msr wheels and waited 2 and half months and never recieved my custom rears I ordered becuase the wrong specs where sent and it was just to much of a hassle and a headache and i just wanted to have my wheels for import alliance this weekend in kentucky.
but none the less I did score some rare wheels maybe not as agressive as my orginal set up was gonna be at a 17x9.5 n the front an 17x11's in the rear but im actually more happy with these wheels to be honest so in the end it was a blessing n it all worked out.
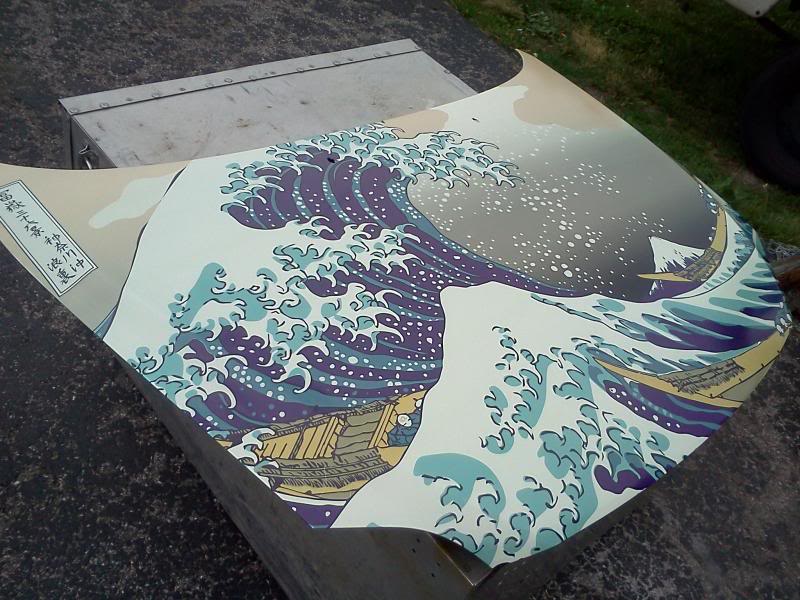
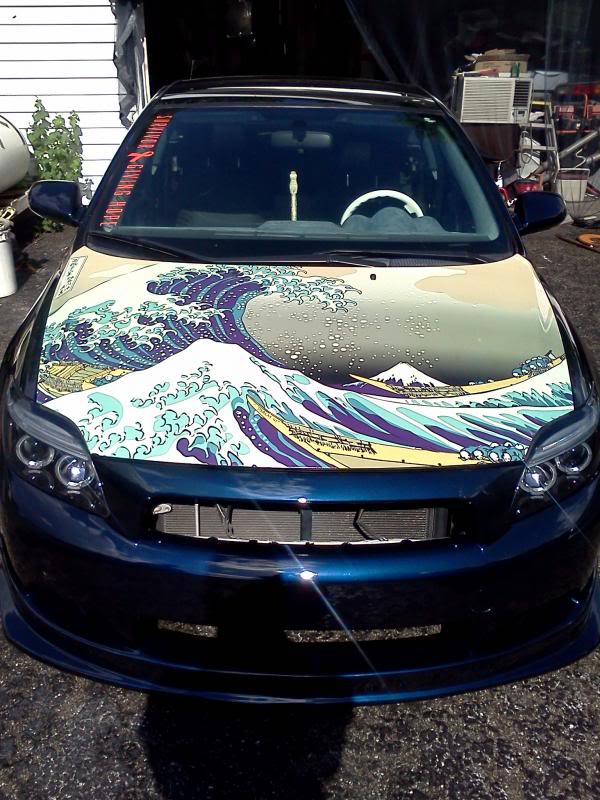
but anywho enough talk an here some pics of the last few months of what ive been up too. so hope u guys enjoy! just wanted to do something different an be me an have fun modding plain n simple!
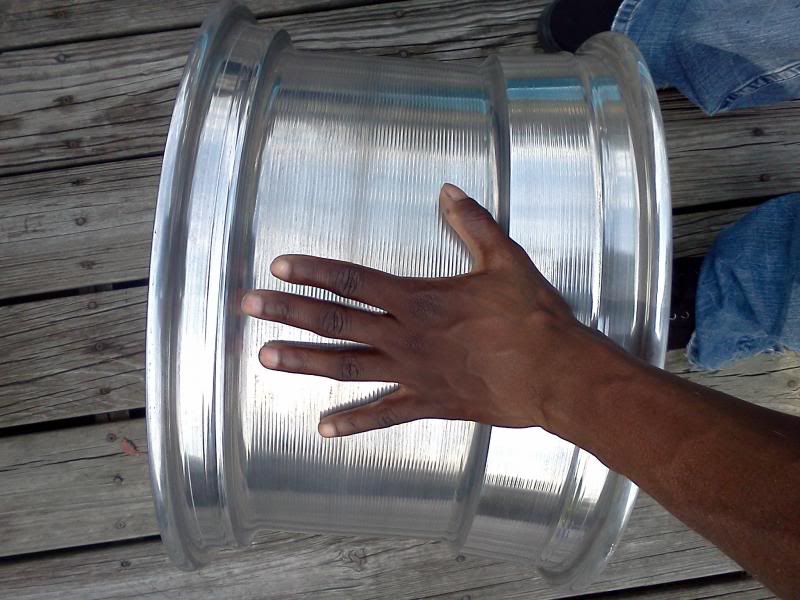
the 11's that were wrong specs just a pic to see the size
and these pics are the wheels I sent back they were the fronts but I just took a pic to see how it look mounted on one side
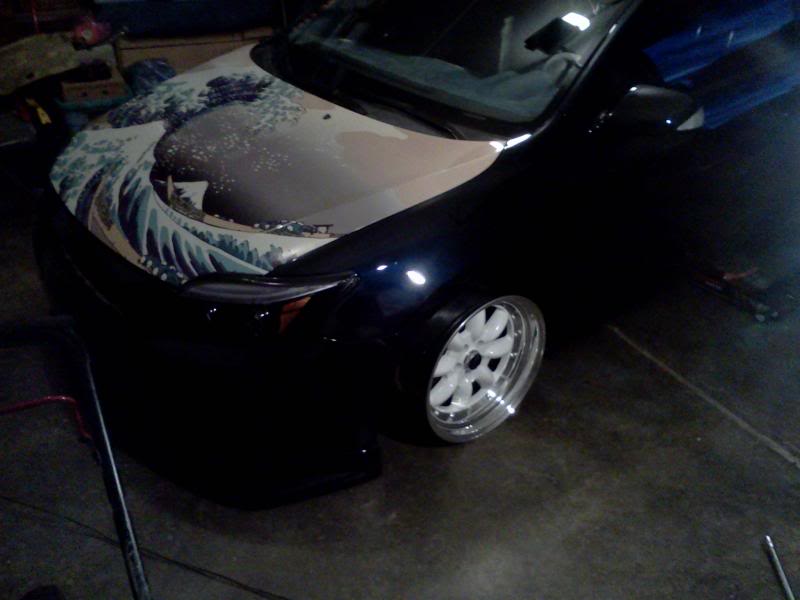
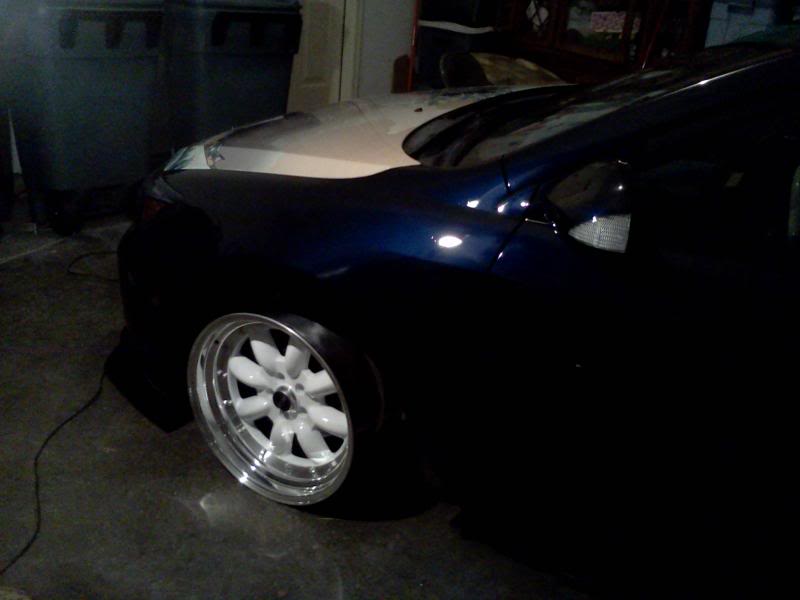
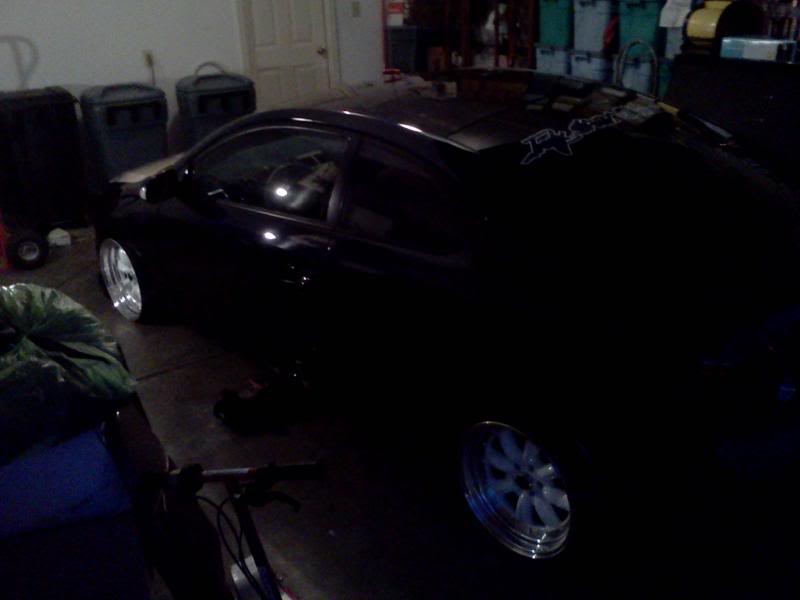
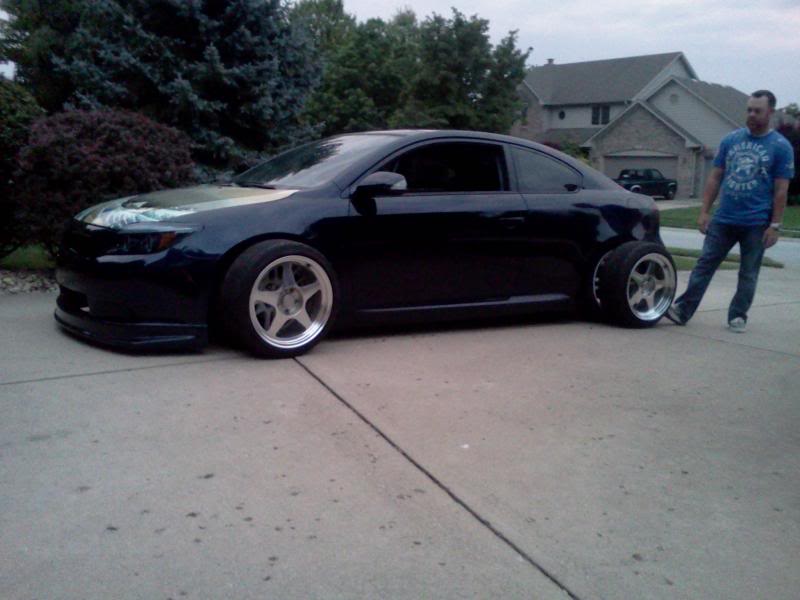
and heres a final pic of my car now im running some Desmond Regamasters that I scored for and awesome deal from a local buddy of mines

Sooo first off hows is everybody!? ive been hella busy over here and just wanted to share an update on my car project but anywho heres some progress of the build.
Ive gotten the body work str8 on the car after my hit n run incident with help from my homie with the body work and gettin prep n painted to get it back in shape and lemme tell ya mann thats were long nights and alot of frustrations smh.
But in the end im very please with my first bodywork/paint job attempt. I had an issue with my wheel I pre order from this company msr wheels and waited 2 and half months and never recieved my custom rears I ordered becuase the wrong specs where sent and it was just to much of a hassle and a headache and i just wanted to have my wheels for import alliance this weekend in kentucky.
but none the less I did score some rare wheels maybe not as agressive as my orginal set up was gonna be at a 17x9.5 n the front an 17x11's in the rear but im actually more happy with these wheels to be honest so in the end it was a blessing n it all worked out.
but anywho enough talk an here some pics of the last few months of what ive been up too. so hope u guys enjoy! just wanted to do something different an be me an have fun modding plain n simple!


the 11's that were wrong specs just a pic to see the size

and these pics are the wheels I sent back they were the fronts but I just took a pic to see how it look mounted on one side


and heres a final pic of my car now im running some Desmond Regamasters that I scored for and awesome deal from a local buddy of mines


