


Plasti Dip eye lids


Thread Starter
Senior Member

SL Member
Joined: Jun 2012
Posts: 630
From: PA
 Plasti Dip eye lids
Made some eye lids with Plasti Dip. I like the way it looks, I think it flows fairly well with the black pillars. Only cost me 6 bucks for Plasti Dip can and some of my time.
Sorry for the low picture quality. I left my camera back home, only thing I have at school is my phone.
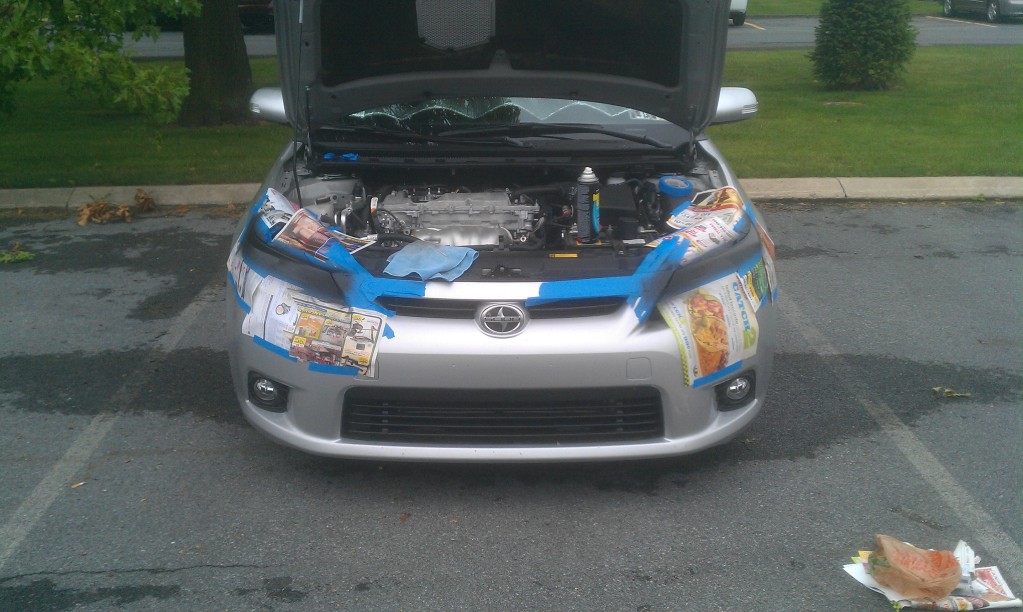

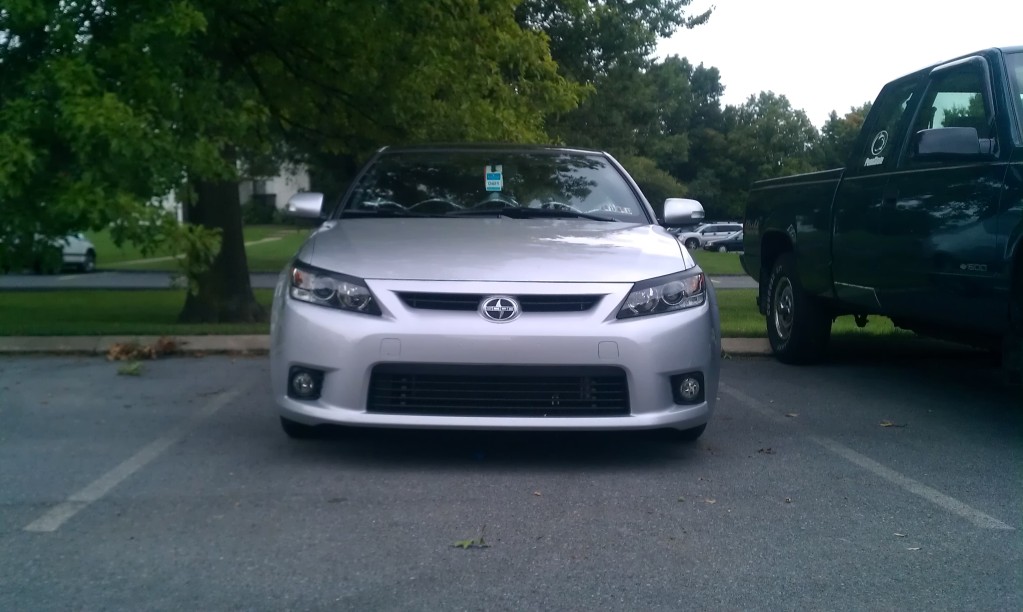
Sorry for the low picture quality. I left my camera back home, only thing I have at school is my phone.


Will this hold up to the heat?
I have a black car so I will consider this.. Thanks for taking the initiative and just doing it!
Does this stuff literally just come off if you dont like it?
Scotch Painters Tape should really considering sponsoring this section lol!
I have a black car so I will consider this.. Thanks for taking the initiative and just doing it!
Does this stuff literally just come off if you dont like it?
Scotch Painters Tape should really considering sponsoring this section lol!
Thread Starter
Senior Member
SL Member
Joined: Jun 2012
Posts: 630
From: PA
This stuff should hold up to heat. People use this stuff to paint their wheels. And yes, it does peel right off, literally. I messed up on the drivers side, so I just peeled it off and reprayed.

it will hold up in the heat also have a black tc have had this on for about 3 months with no issue heres my write up https://www.scionlife.com/forums/sho...d.php?t=215664
Thread Starter
Senior Member
SL Member
Joined: Jun 2012
Posts: 630
From: PA
it will hold up in the heat also have a black tc have had this on for about 3 months with no issue heres my write up https://www.scionlife.com/forums/sho...d.php?t=215664



Thread Starter
Senior Member
SL Member
Joined: Jun 2012
Posts: 630
From: PA
Can you get some head on shots of your car? I am thinking about painting the lower portion of the bumper black, but not sure how it looks on silver.
P.S. Doesn't look like you did that big of an eye lid.
P.S. Doesn't look like you did that big of an eye lid.

Member
Joined: Mar 2011
Posts: 40
From: Edinburg, Texas
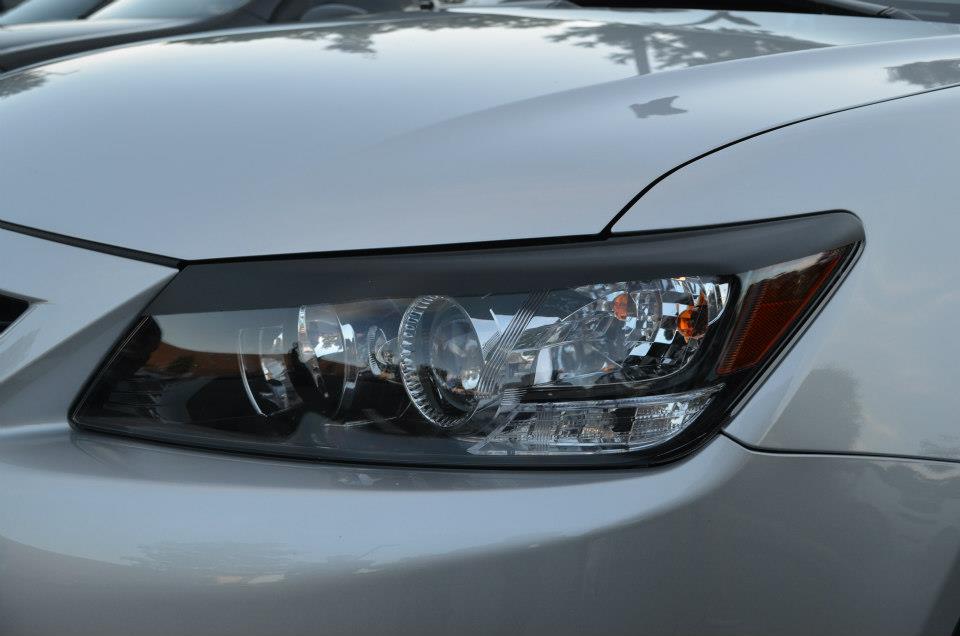
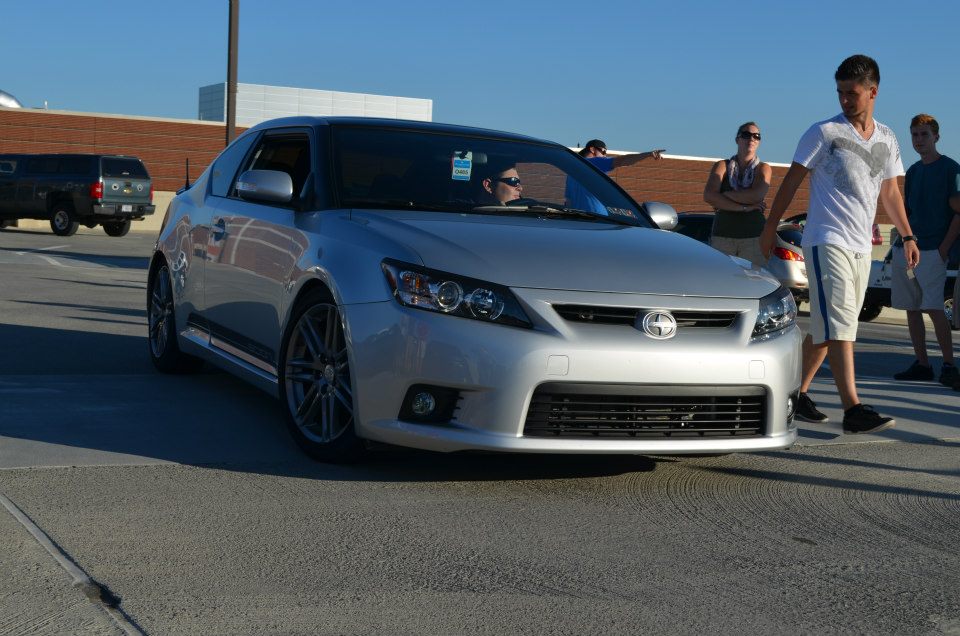
Painting the lower portion of the bumper on the Silver tC's looks GREAT! I'm very pleased with how it looks. I even blacked out the lower portion of the rear bumper as well. So far, I'm liking the look. As for the eyelids, I didn't want to over do it. However, the pictures don't do it justice either. I'll post some close up headshots later today. The sun really didn't help and neither did my sucky camera..
Member
Joined: Mar 2011
Posts: 40
From: Edinburg, Texas
Here it is. This is what it looks like without the sun with a higher quality camera.

Uploaded with ImageShack.us

Uploaded with ImageShack.us

Uploaded with ImageShack.us
Just a preview of what the rear looks like

Uploaded with ImageShack.us

Uploaded with ImageShack.us

Uploaded with ImageShack.us

Uploaded with ImageShack.us
Just a preview of what the rear looks like

Uploaded with ImageShack.us
Thread Starter
Senior Member
SL Member
Joined: Jun 2012
Posts: 630
From: PA
That does look good, I may have to do my bumpers now haha.
And Status, not very hard to get them both even, just takes some patience. I taped off one side until I was satisfied with the area that would be painted, then I eyeballed the otherside to be the same. Step back away from the car, redo, etc. Took me 5 tries to get them pretty much equal.
And Status, not very hard to get them both even, just takes some patience. I taped off one side until I was satisfied with the area that would be painted, then I eyeballed the otherside to be the same. Step back away from the car, redo, etc. Took me 5 tries to get them pretty much equal.
Member
Joined: Mar 2011
Posts: 40
From: Edinburg, Texas
Same here. It took me two tries on both sides. I actually used black electrical tape to perfect the lines since the tape is pretty flexible and easy for turns especially the part of headlight that bulges out a bit. Then I just taped up the rest of the front end with newspaper and masking tape and sprayed away.
Thread Starter
Senior Member
SL Member
Joined: Jun 2012
Posts: 630
From: PA
Same here. It took me two tries on both sides. I actually used black electrical tape to perfect the lines since the tape is pretty flexible and easy for turns especially the part of headlight that bulges out a bit. Then I just taped up the rest of the front end with newspaper and masking tape and sprayed away.

Member
Joined: Mar 2011
Posts: 40
From: Edinburg, Texas
 . Good thing its removable