
Painted emblems and dash


Thread Starter
Member
Joined: Oct 2010
Posts: 38
Painted my emblems and dash during Thanksgiving break
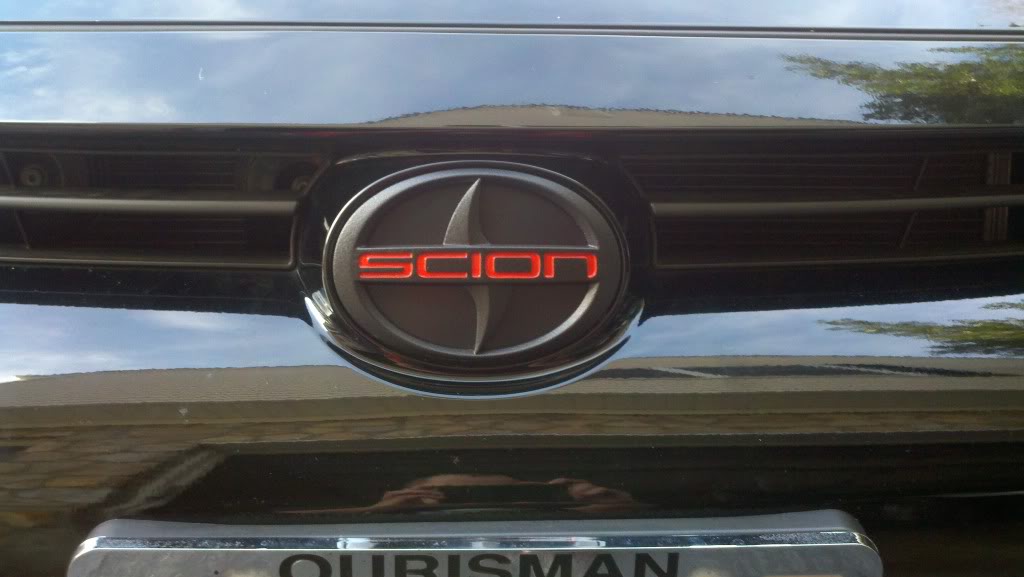
Front Emblem
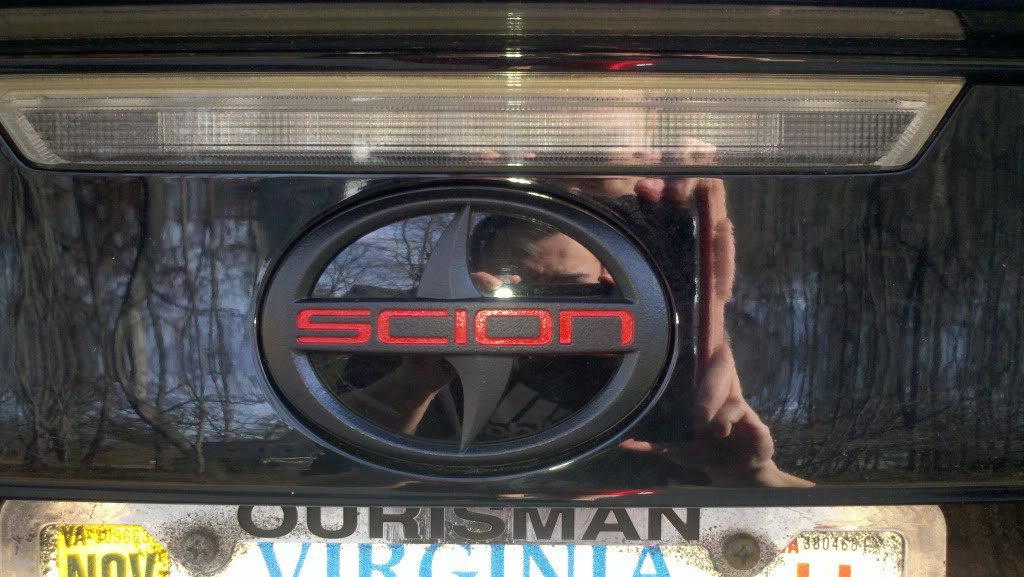
Back Emblem
I know black and red is played out but I've always liked the combination.
Pics are crappy, they were taken with the cell phone.
Front Emblem
Back Emblem
I know black and red is played out but I've always liked the combination.
Pics are crappy, they were taken with the cell phone.


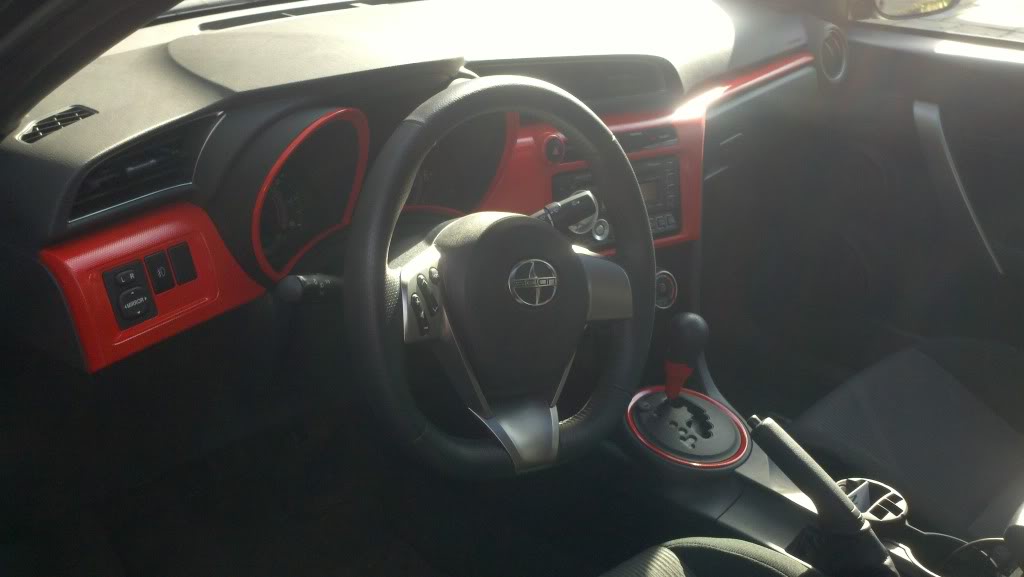
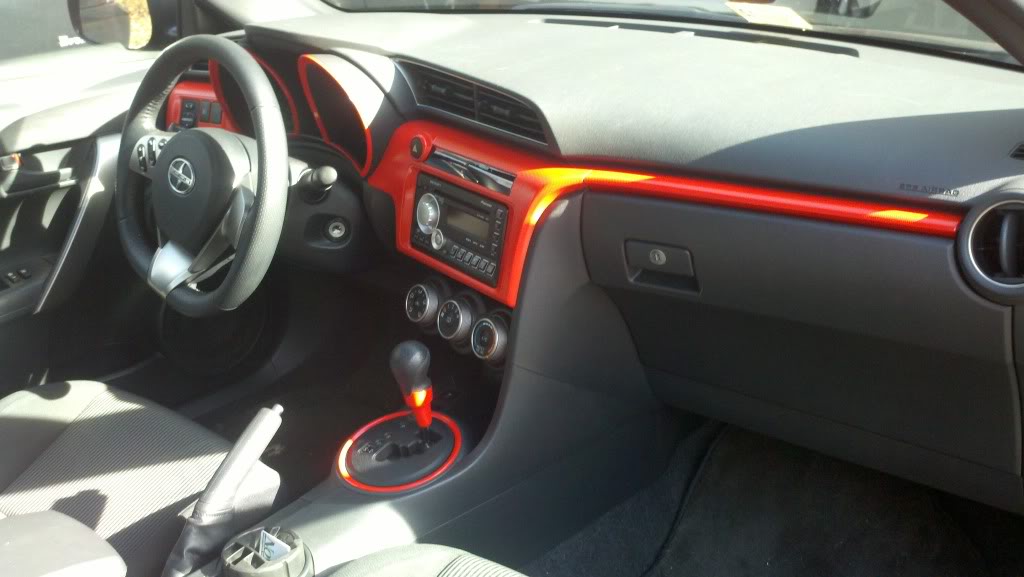
The painted interior plastics are a little too ricey for my taste, but that's def the best painted emblem job i've seen yet! Care to give us a few tips? I want to do mine the exact same but gold in the middle instead of red


Thread Starter
Member
Joined: Oct 2010
Posts: 38
The way i painted it is going to sound weird but you can obviously see the results from it. Instead of using a brush of any kind, I used a toothpick and model paint. Toothpick, because it was the only thing in my house that i knew could fit in the letter spaces. I dabbed the paint onto each letter and did 3-4 coats each. Letting it dry for a day, i went back and clear coated with model clear coat using the same method.
Dang that's really interesting, I've never heard of it being done that way! I don't think I have enough toothpick skill to do that without getting big globs all over  but congratz! Job well done


Thread Starter
Member
Joined: Oct 2010
Posts: 38
only parts i sanded were the smooth area on the head unit dash peice, the ring on the shifter, and the trim on the on the gauges or whatever you call that thing. Being that the other pieces had some texture to it already, i didnt bother sanding those pieces.
Though i shouldve, i did not use any primer. I kinda just winged it hoping it would come out decent, which in my opinion it did.
Though i shouldve, i did not use any primer. I kinda just winged it hoping it would come out decent, which in my opinion it did.


Senior Member
SL Member
Joined: Jun 2011
Posts: 752
From: Houston, TX
Are you talking about the piece above the glove box? If so, just open the glove box, get your finger nails in there and pull straight to the rear. Be sure you remove the piece around the radio first!

