
Project "Machine" **NOW TURBO!!!!**


Senior Member
SL Member
Joined: Dec 2008
Posts: 1,788
From: Houston, TX
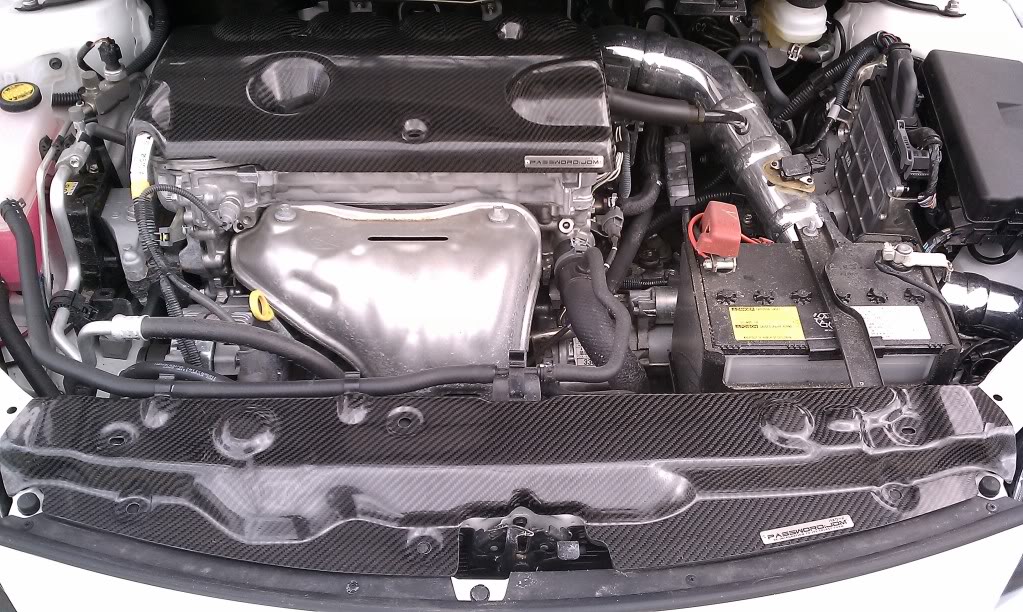
I tried to do it with my C12 stuff and it was a lot easier to just do it myself and save the hassle. I dumped a can of crystal clear polyurethane on top of it and it made the pieces feel more solid. If you rattle can the stuff make sure you get a urethane clear or else it will cause you problems down the road


Thread Starter
Senior Member

SL Member
Team ScioNRG
Joined: Jan 2009
Posts: 2,406
From: Wellesley, MA
^^^No clips and no screws, you will need to remove the rear garnish and the front radiator cooling panel so you can push the emblems out from the back side. Other than that, they are held on by double sided sticky tape.


Thread Starter
Senior Member
SL Member
Team ScioNRG
Joined: Jan 2009
Posts: 2,406
From: Wellesley, MA

Thread Starter
Senior Member
SL Member
Team ScioNRG
Joined: Jan 2009
Posts: 2,406
From: Wellesley, MA
Avatar is a photoshop, The actual bumper is in the shop getting prep and paint work done. I should be getting it back soon. Although if you look back through this thread there are some pics of when I was working on the bumper.


Thread Starter
Senior Member
SL Member
Team ScioNRG
Joined: Jan 2009
Posts: 2,406
From: Wellesley, MA
Lol, you don't even know. During the xD build, she bought the carbon fiber hood, carbon fiber dash kit, carbon fiber B-pillars, and even helped on the subwoofer/amp design and build, plus she actively helps with DT9 Designs. She helps so much and supports me so much that I decided to give her the project xD to daily drive. Last week she said she wants to pick up a new set of wheels and wants to sticker bomb the front lip. 
Anyway, back on topic, I have the ebrake boot and arm rest cover installed and am headed out right now to grab staples to do the shift boot pics will be up tonight.
Anyway, back on topic, I have the ebrake boot and arm rest cover installed and am headed out right now to grab staples to do the shift boot
pics will be up tonight.