


How To: Install Aux Lights behind lower grill.


Thread Starter
Member

SL Member
Joined: May 2005
Posts: 67
 How To: Install Aux Lights behind lower grill.
Alright so I've seen that quite a few people have installed aux, or fog lights behind their lower grill. But with no how-to, so for those who are looking to see how to do it I whipped this up.
Remember I am not responsible for any damage to your vehicle. Remember to take all precautions when working on your ride. and please DISCONNECT YOUR BATTERY! you are doing electrical work after all.
I am installing these:
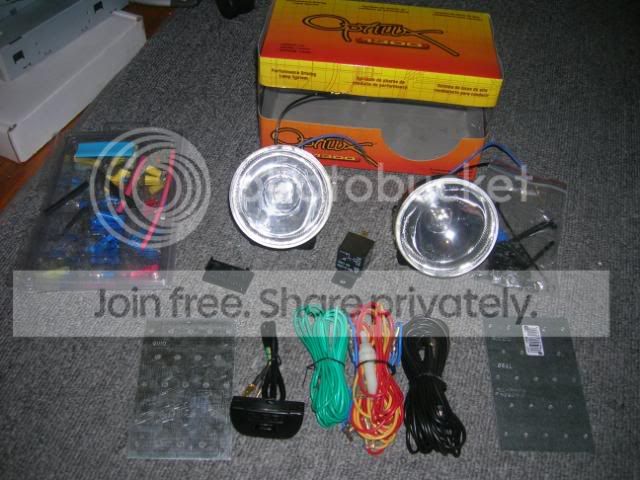
In the photo is also what was included with the lights (Bosch style relay SPST, wire, switch) I have included my own equipment for the install with the metal plates w/ sheet metal screws, the wiring connectors, and the blank switch spot from my dash. I would also suggest a power drill w/ bits, and a socket set.
Start by first removing your bumper:
use a 10mm socket wrench. There are bolts everywhere so you've got to make sure you've got them all
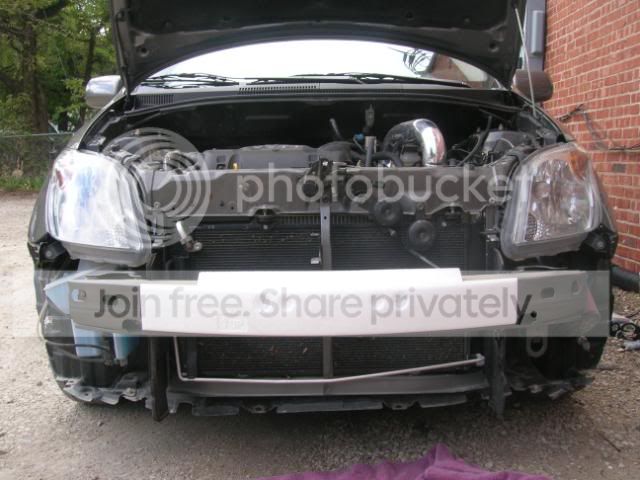
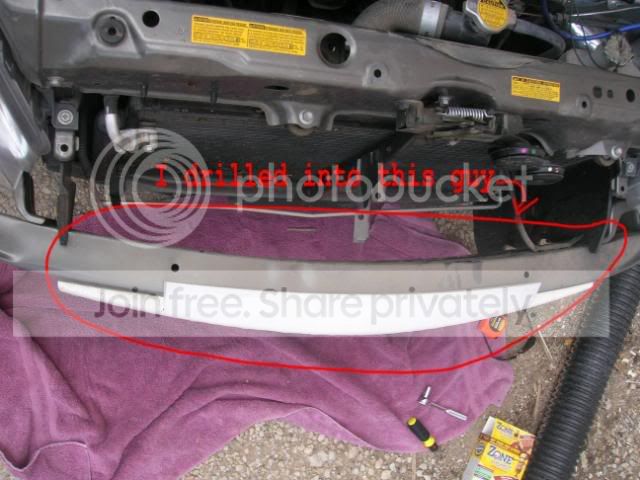
I am using this part of my bumper for the mounting: show outlined in red
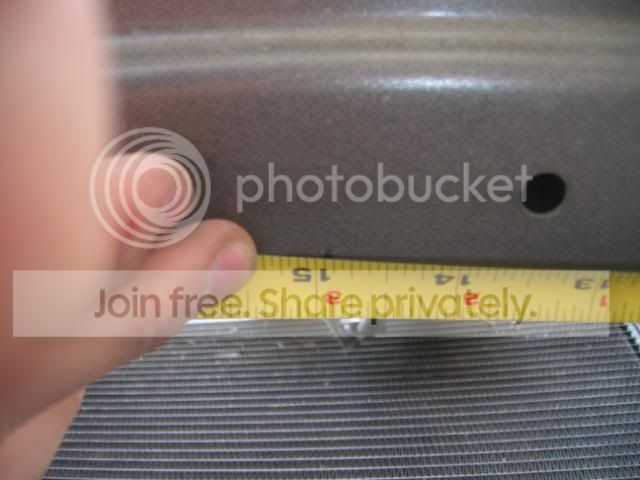
Measure the distance from the edge and make a mark on the metal where your lights center will be. (for my lights it was around 15" and 15/16)
Take the metal plates and use the center line you marked to determine where to your holes need to be drilled. Tap the holes. screw in to frame.
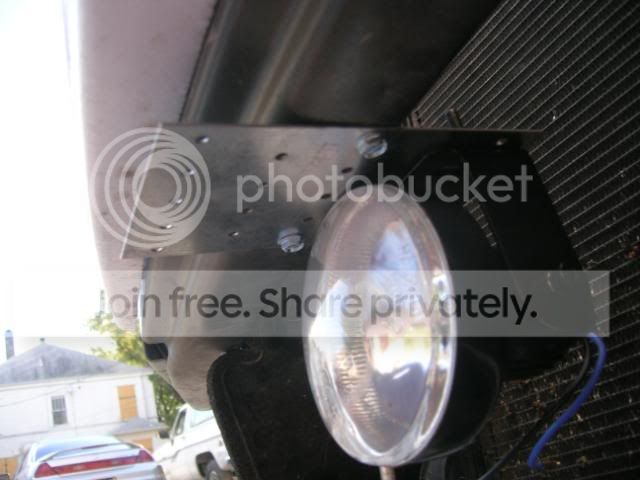
as you can see my lights came with brackets for mounting and bolts for them. If yours do not I would suggest fab'ing them yourself or finding a way to bolt them in.
Repeat previous step for the other side and mount.
On to wiring.
If you have after market lights then they probably came with a diagram. If you have Scion Fog Lights just plug-em in and go.
But for everyone else this is what I did.
Your Lights will have 2 wires POWER and GROUND.
Your ground can be grounded to any where on the frame that can rate as ground with a multi-meter. I found 2 bolts on both sides of my radiator that worked...so I used those. if you aren't sure check with at multi-meter. I wrapped my power connectors in red electrical tape so they don't accidentally slam in to something metal and kill my car. (shown below)
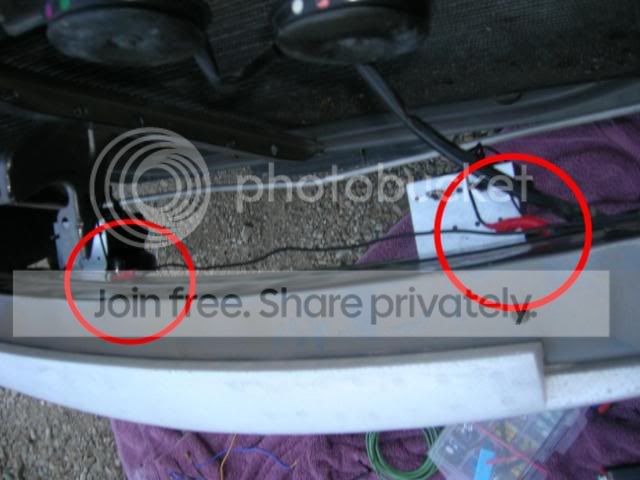
Next is power. On your Relay go to the 87 spot and plug it in. (if you have alot of excess wire you might want to trim it up, thats what I did)
On your relay you should have 3 terminals left. 85 should go to ground, and 30 should go to your + battery terminal.
your last terminal (86) goes to your switch in your cabin area. Plug it in and be done with it. After you mount it somewhere in your bay.
I epoxy'd my relay onto my strut tower by my engine fuse box. That baby ain't going no where.
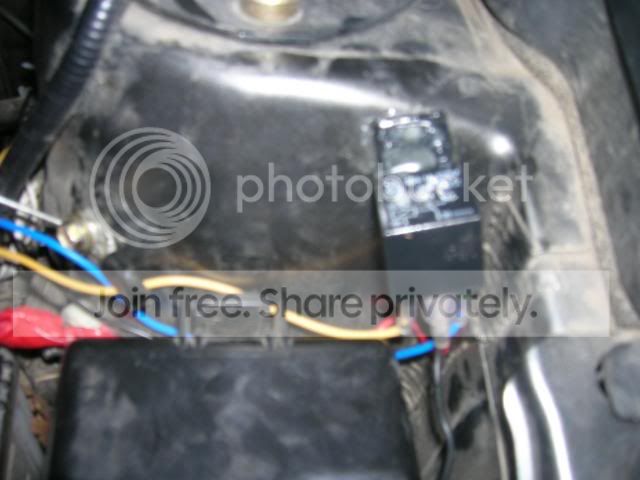
Time to make these babies work at the push of a button. (or wire into fuses)
I wired mine into my cigarette lighter socket wire so I could turn them on at any time instead of with my driving lights or high-beams. As shown in the photo below (for all of you playing at home with your xA Electrical Manual ready) I tapped the GREY WIRE in the 6 spot on the 1N relay plug at the interior fuse box. and if you have the electrical manual but have no idea what I'm talking you might want to have someone help you on this part. (tap shown in red)
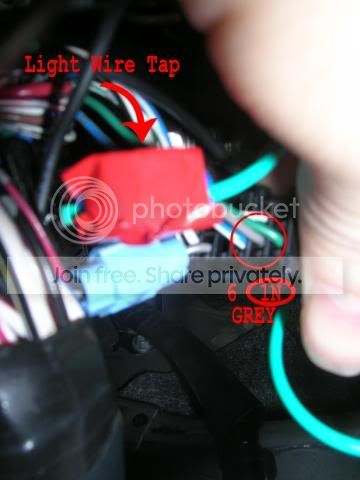
Test your wiring. Plug everything in and try it out
On your switch it should have 3 plugs: one ground, one to the wire tap, one to the relay. Depending on your switch, is where you plug them in.
TEST
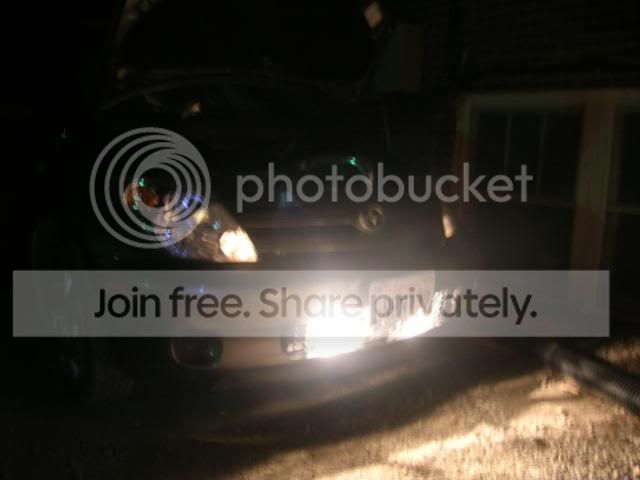
SHE LIVES!! MWAAAHAHAHAHA!
now tiddy everything up and BAM! your done.
and you can even mod the switch they gave you to work in the blank I mentioned way at the top.
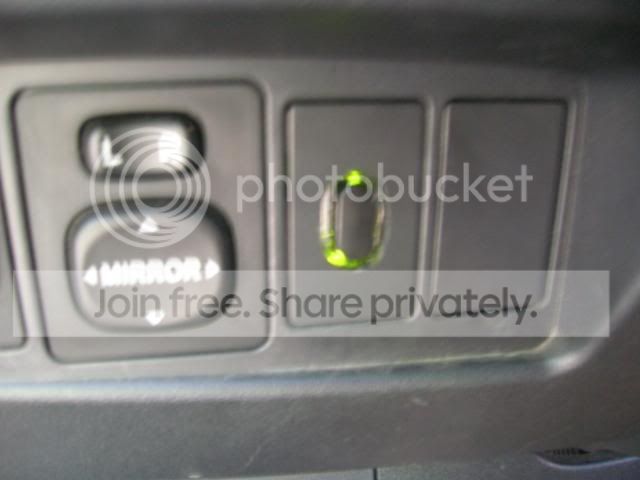
Lights On.
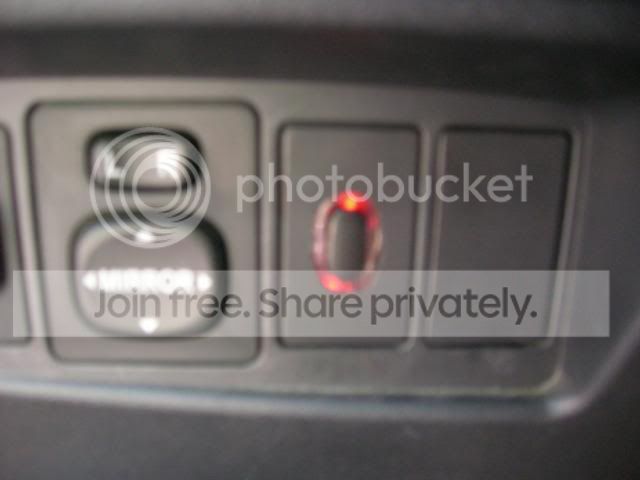
Lights Off.
Good Luck
Remember I am not responsible for any damage to your vehicle. Remember to take all precautions when working on your ride. and please DISCONNECT YOUR BATTERY! you are doing electrical work after all.
I am installing these:
In the photo is also what was included with the lights (Bosch style relay SPST, wire, switch) I have included my own equipment for the install with the metal plates w/ sheet metal screws, the wiring connectors, and the blank switch spot from my dash. I would also suggest a power drill w/ bits, and a socket set.
Start by first removing your bumper:
use a 10mm socket wrench. There are bolts everywhere so you've got to make sure you've got them all
I am using this part of my bumper for the mounting: show outlined in red
Measure the distance from the edge and make a mark on the metal where your lights center will be. (for my lights it was around 15" and 15/16)
Take the metal plates and use the center line you marked to determine where to your holes need to be drilled. Tap the holes. screw in to frame.
as you can see my lights came with brackets for mounting and bolts for them. If yours do not I would suggest fab'ing them yourself or finding a way to bolt them in.
Repeat previous step for the other side and mount.
On to wiring.
If you have after market lights then they probably came with a diagram. If you have Scion Fog Lights just plug-em in and go.
But for everyone else this is what I did.
Your Lights will have 2 wires POWER and GROUND.
Your ground can be grounded to any where on the frame that can rate as ground with a multi-meter. I found 2 bolts on both sides of my radiator that worked...so I used those. if you aren't sure check with at multi-meter. I wrapped my power connectors in red electrical tape so they don't accidentally slam in to something metal and kill my car. (shown below)
Next is power. On your Relay go to the 87 spot and plug it in. (if you have alot of excess wire you might want to trim it up, thats what I did)
On your relay you should have 3 terminals left. 85 should go to ground, and 30 should go to your + battery terminal.
your last terminal (86) goes to your switch in your cabin area. Plug it in and be done with it. After you mount it somewhere in your bay.
I epoxy'd my relay onto my strut tower by my engine fuse box. That baby ain't going no where.
Time to make these babies work at the push of a button. (or wire into fuses)
I wired mine into my cigarette lighter socket wire so I could turn them on at any time instead of with my driving lights or high-beams. As shown in the photo below (for all of you playing at home with your xA Electrical Manual ready) I tapped the GREY WIRE in the 6 spot on the 1N relay plug at the interior fuse box. and if you have the electrical manual but have no idea what I'm talking you might want to have someone help you on this part. (tap shown in red)
Test your wiring. Plug everything in and try it out
On your switch it should have 3 plugs: one ground, one to the wire tap, one to the relay. Depending on your switch, is where you plug them in.
TEST
SHE LIVES!! MWAAAHAHAHAHA!
now tiddy everything up and BAM! your done.
and you can even mod the switch they gave you to work in the blank I mentioned way at the top.
Lights On.
Lights Off.
Good Luck


Thread
Thread Starter
Forum
Replies
Last Post
hampton1100
Scion tC 2G Drivetrain & Power
6
May 28, 2015 07:32 AM
randode
Scion xA/xB 1st-Gen ICE & Interior
44
Jun 29, 2004 04:19 PM
