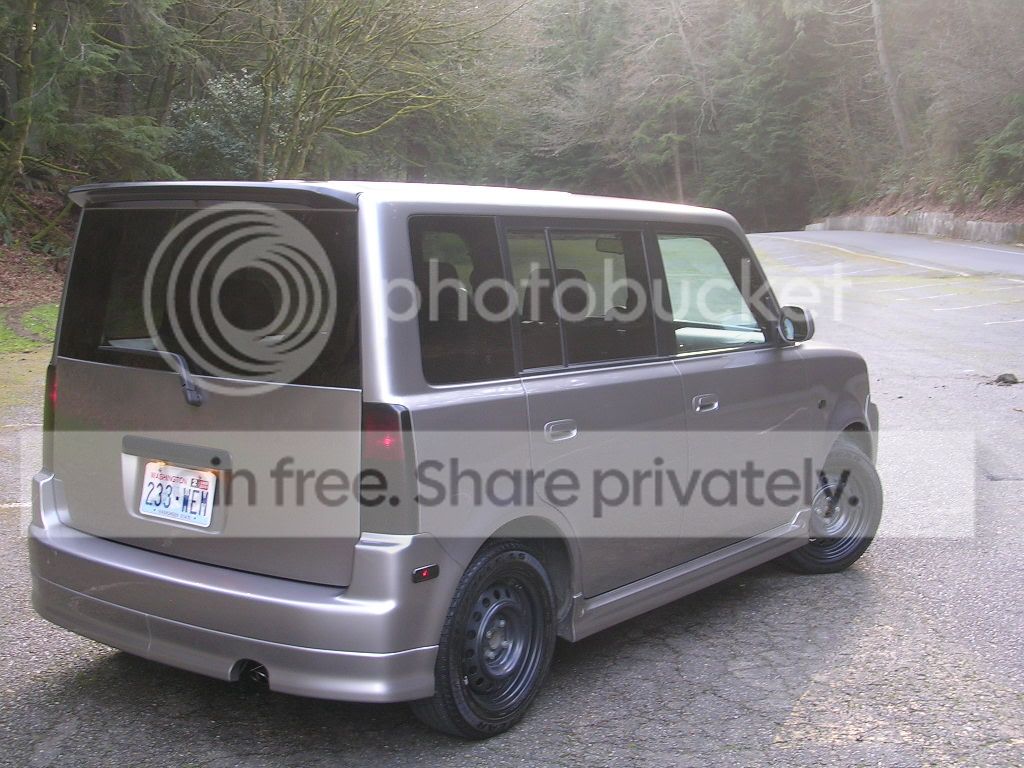
finaly, some freakin mods! *NEW PICS BOTTUM OF PAGE 2!!*


Thread Starter
Senior Member
SL Member
Joined: Nov 2006
Posts: 1,414
From: Tacoma, WA
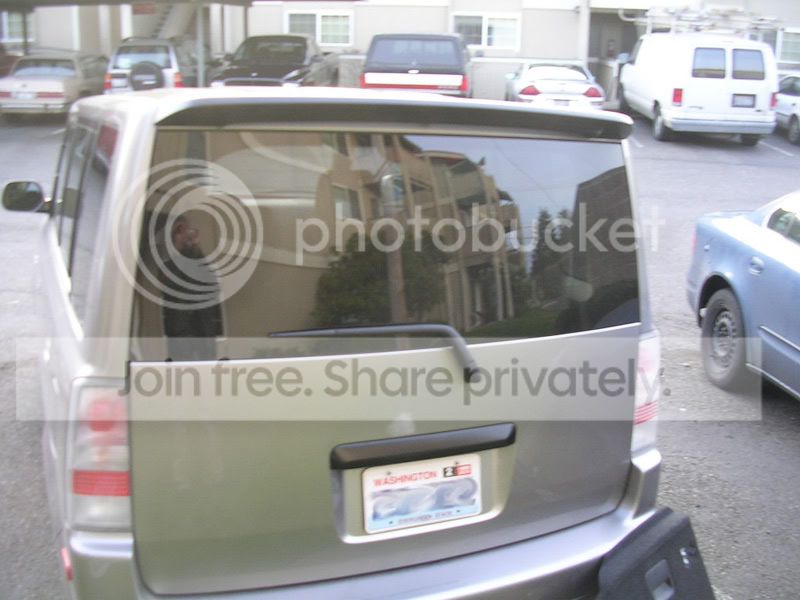
ok, next, i'm doing the rear hatch handle cover.
think i'm either going to hold on the door handles for a while until it warms up a bit or just not do them, but i'm more on just waiting.
tomorrow i'll have all pics up of how to get this piece off. mind you, i ripped the crap out of that interior panel piece thats on the inside of the hatch, i really don't care cause i'm going to replace it with that brushed aluminum replacement... once i find it again that is, havn't been able to find it in a while.

Thread Starter
Senior Member
SL Member
Joined: Nov 2006
Posts: 1,414
From: Tacoma, WA
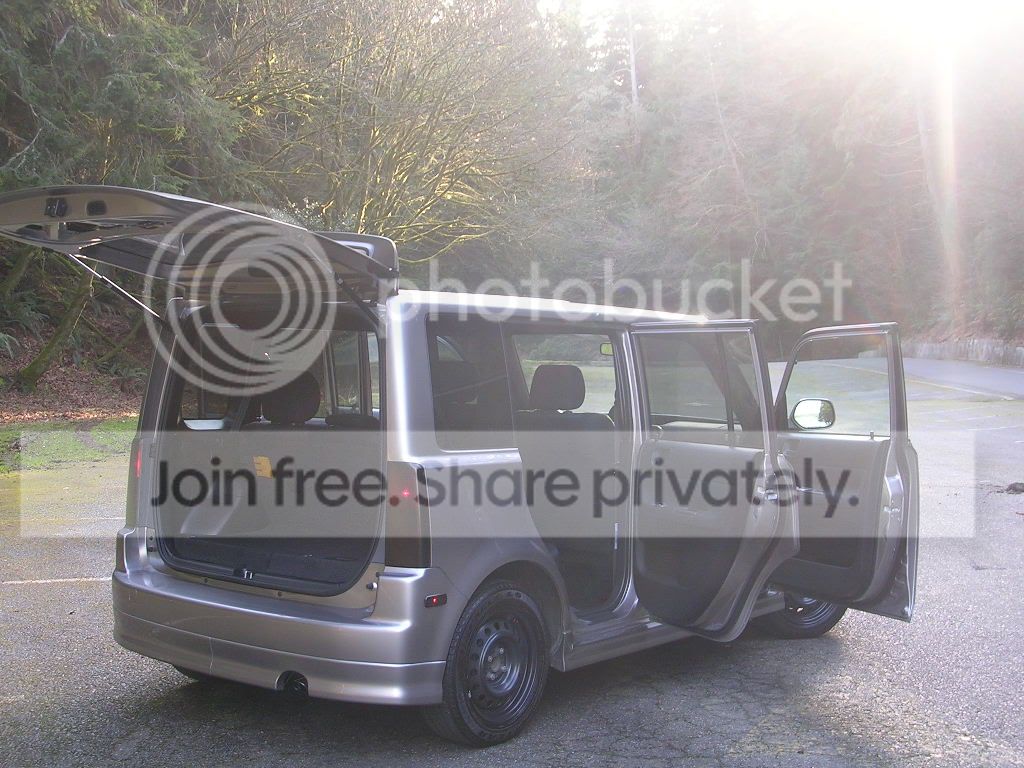
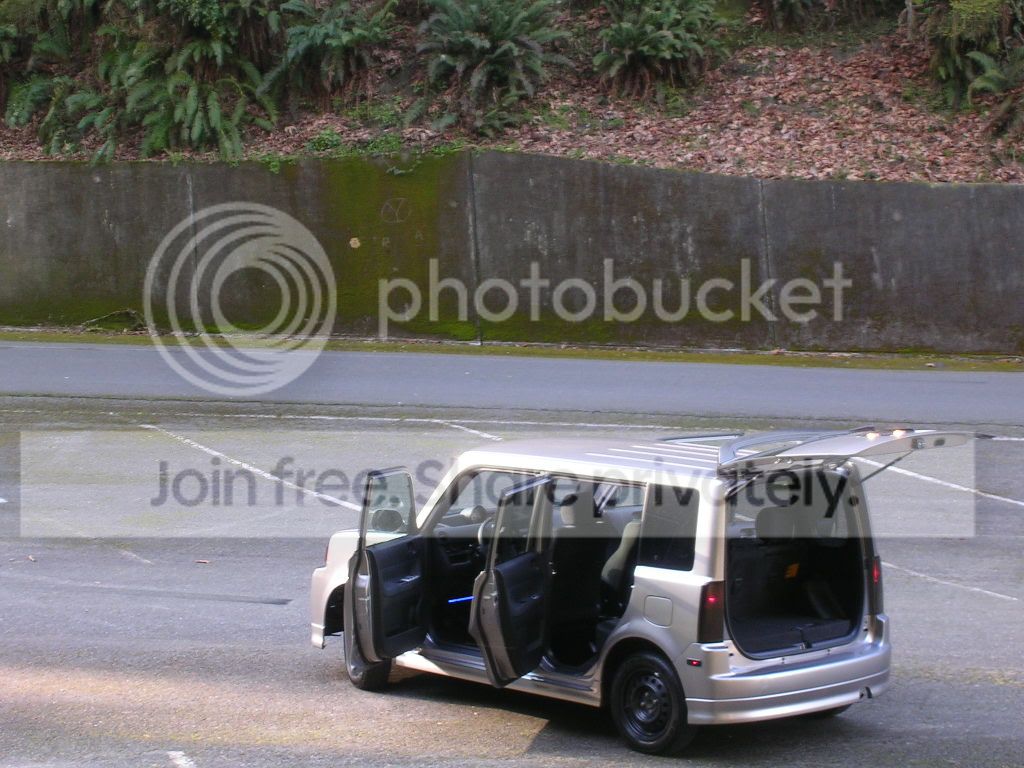
Bah! forgot to do the step by step, i started on another project at the same time and got distracted but here's the finished product:
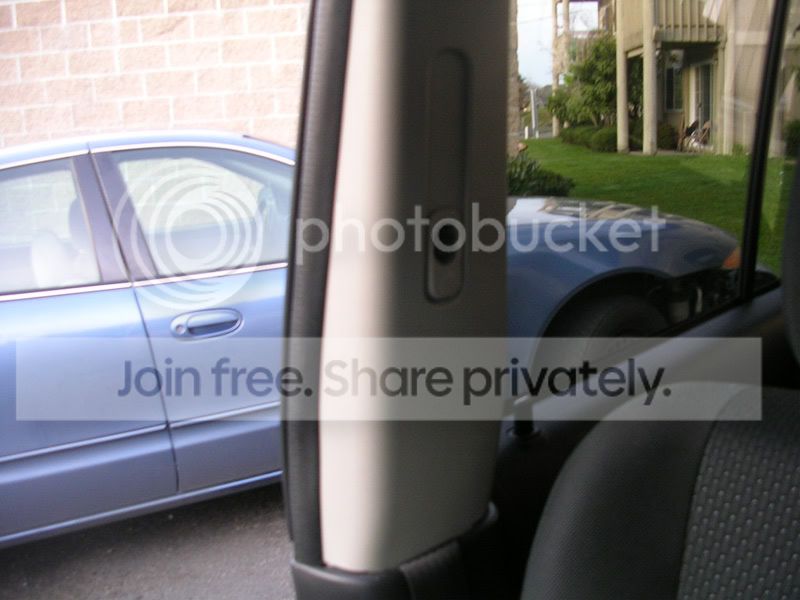
the next project is some interior painting. another "i've always wanted to do this" project. painting the off-white pillar panels and "oh-____" handels black to match the rest of the interior.
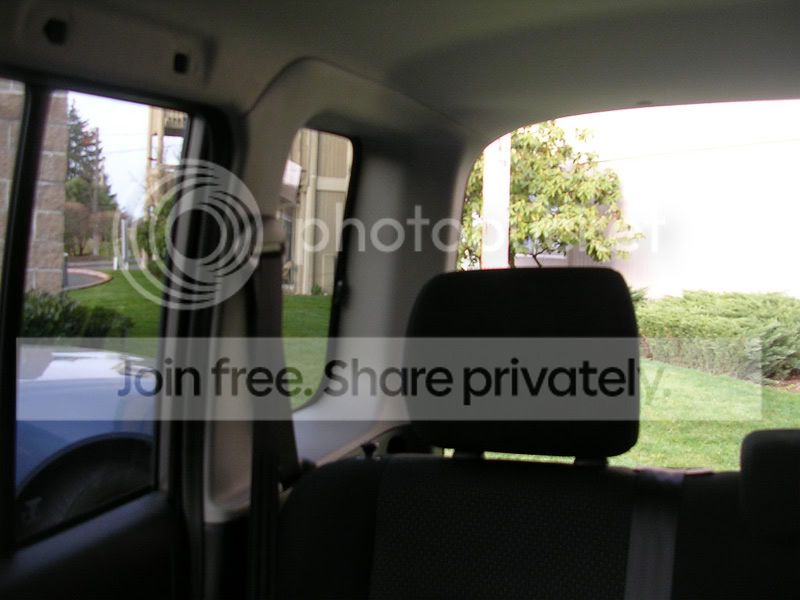
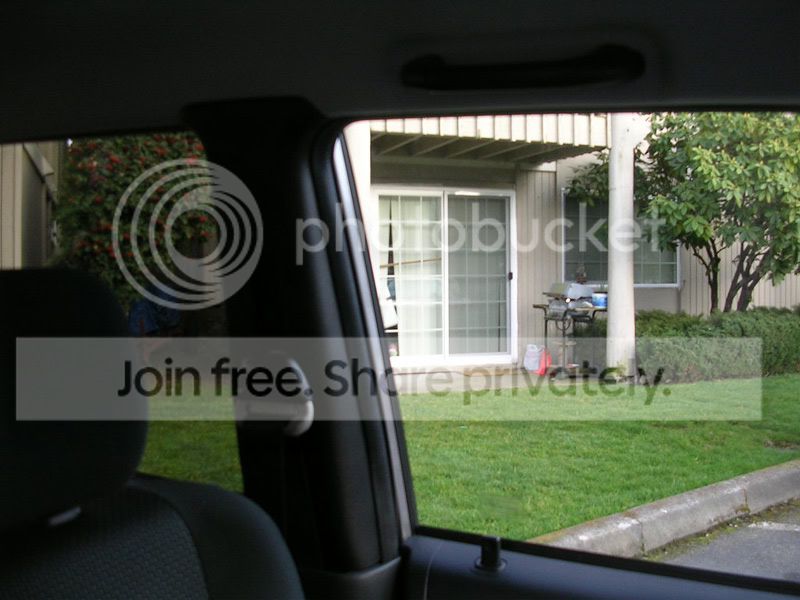
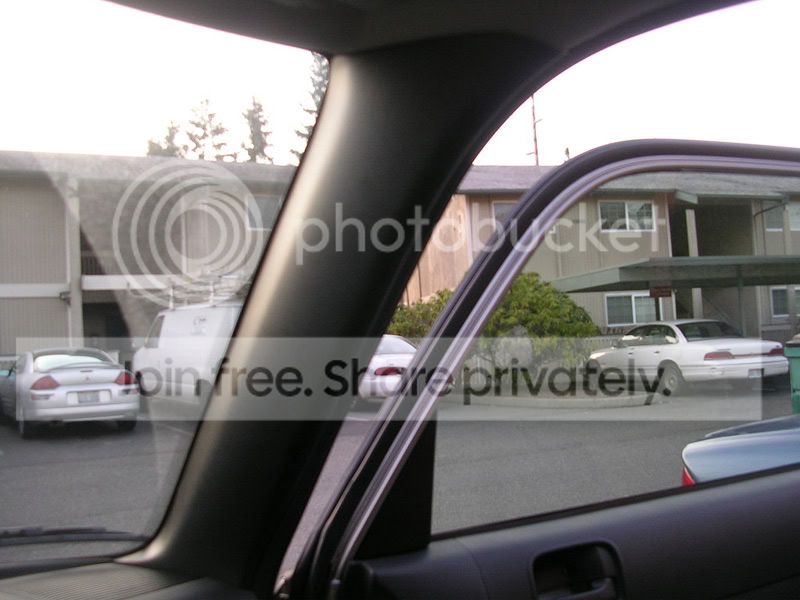
because i'm still in the middle of working on the project and will pick back up tomorrow. i only have one BEFORE and AFTER comparison, the rest are finished product. again, camera sucks now days and there's not much light left outside at the moment.
BEFORE:
AFTER:
and ofcourse, the paint used for the exterior mods is completely different to the paint used for the interior mods. Black Lacquers and clear coats vs. plastic enamal based.
the next project is some interior painting. another "i've always wanted to do this" project. painting the off-white pillar panels and "oh-____" handels black to match the rest of the interior.
because i'm still in the middle of working on the project and will pick back up tomorrow. i only have one BEFORE and AFTER comparison, the rest are finished product. again, camera sucks now days and there's not much light left outside at the moment.
BEFORE:
AFTER:
and ofcourse, the paint used for the exterior mods is completely different to the paint used for the interior mods. Black Lacquers and clear coats vs. plastic enamal based.
Thread Starter
Senior Member
SL Member
Joined: Nov 2006
Posts: 1,414
From: Tacoma, WA
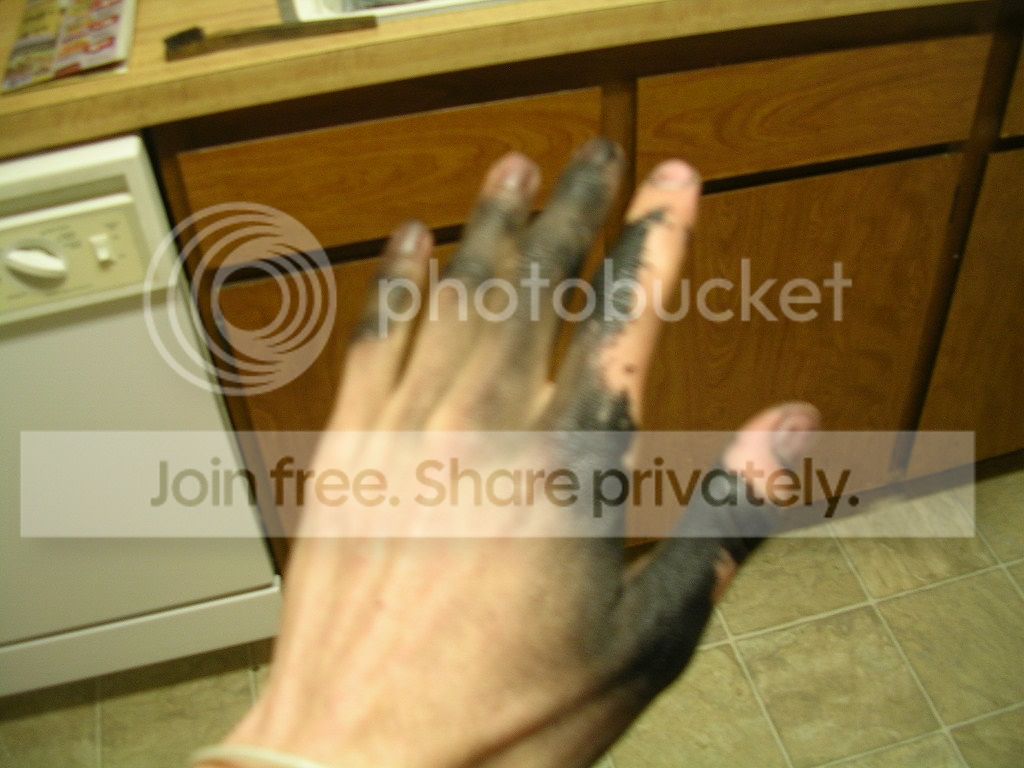
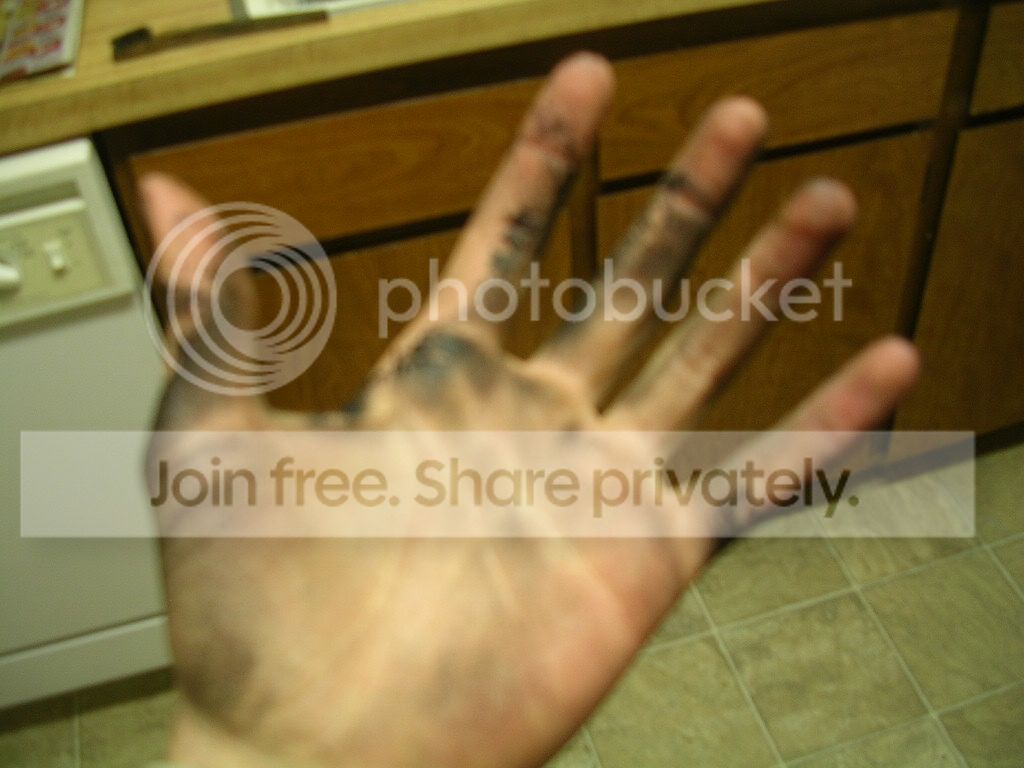
i used an enamle plastic based paint but now after i have finished. i HIGHLY suggest NOT using this type of paint. stuff's lituraly chipping off with a flick of the finger.
how-ever, i'm going to try using the lacqure and the clear coat i used on the exterior peices, it turned out with the same black finish that of what came out on the interior peices, diffrence is, the lacqure and clear coat is ALOT stronger and an hoping it will do as good of a job on the inside as it did on the outside.
i used... multi-color i think is the brand name for the exterior pant? the same brand for the interior paint but again, highly recommend agenst using it and just stick with the same paint both outside of the car and inside.
for the outside, you'll need 2 cans of flat black lacqure and 2 cans of exterior car clear coat. for the inside, 3 cans of black lacqure and 2 cans of clear coat will take care of all the pillar paneling, oh-____ handles, centeral rear view mirror, seat belt harness covers *around the bolt points, the plastic that comes off easely*, and dome light. you can also try the lacqure black with slight enamel finish so you can go around having to use clear coat, but i still recommend the clear coat.
my strategy of doing this *because it's still cold here*, spray enough without having run marks and then use a heat gun or hair dryer to do a "quick cure" process because it's still around 40-60 degrees here. paint needs atleast 70 degree air to dry or "cure" atleast to the touch so i turned to basic chemistry *what happens when you super heat something and then super cool?*. heat gun/ hair dryer process evaporates some of the moisture out of the paint while the ambient air hardens the paint for atleast a cure to the touch for workability, clear coat wont be as easy though. also, the clear coat will take atleast a day or two to dry completely for secure use so i suggest pulling your panels and expect to be driving around without those panels for about a week.
also, before you put your A-pillars back in, you'll want to get a faberic type of adhiecive backed padding on the edges of the dash board that rubbs on the A-pillars to protect agenst rubbing on the paint and potential paint chipping.
make sure to get the paint around the edges on your paneling too, so that theres a good solid black *or whatever color you choose to use* without any faded spots.
as for your headliner, theres fabric paints you can use to do simular jobs and costs ALOT less. wouldn't have to worry about scratched paint or fade marks, faberic paint goes on and stays on.
Thread Starter
Senior Member
SL Member
Joined: Nov 2006
Posts: 1,414
From: Tacoma, WA
Bah! Dupli-color is the brand, sorry.
next couple days, i'll be getting some VHT black night-shade to smoke out the tail-lights and if i've got enough left, then if i have enough left over, i'll get more lacqure and clear coat and redo the interior.
next couple days, i'll be getting some VHT black night-shade to smoke out the tail-lights and if i've got enough left, then if i have enough left over, i'll get more lacqure and clear coat and redo the interior.
Thread Starter
Senior Member
SL Member
Joined: Nov 2006
Posts: 1,414
From: Tacoma, WA
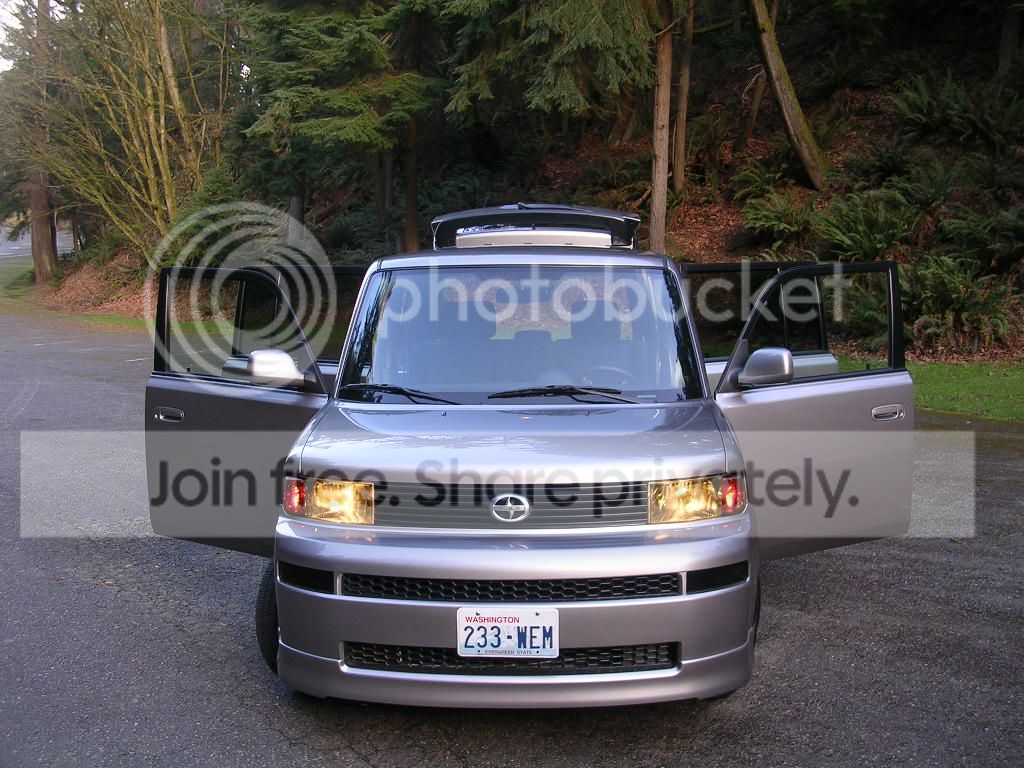
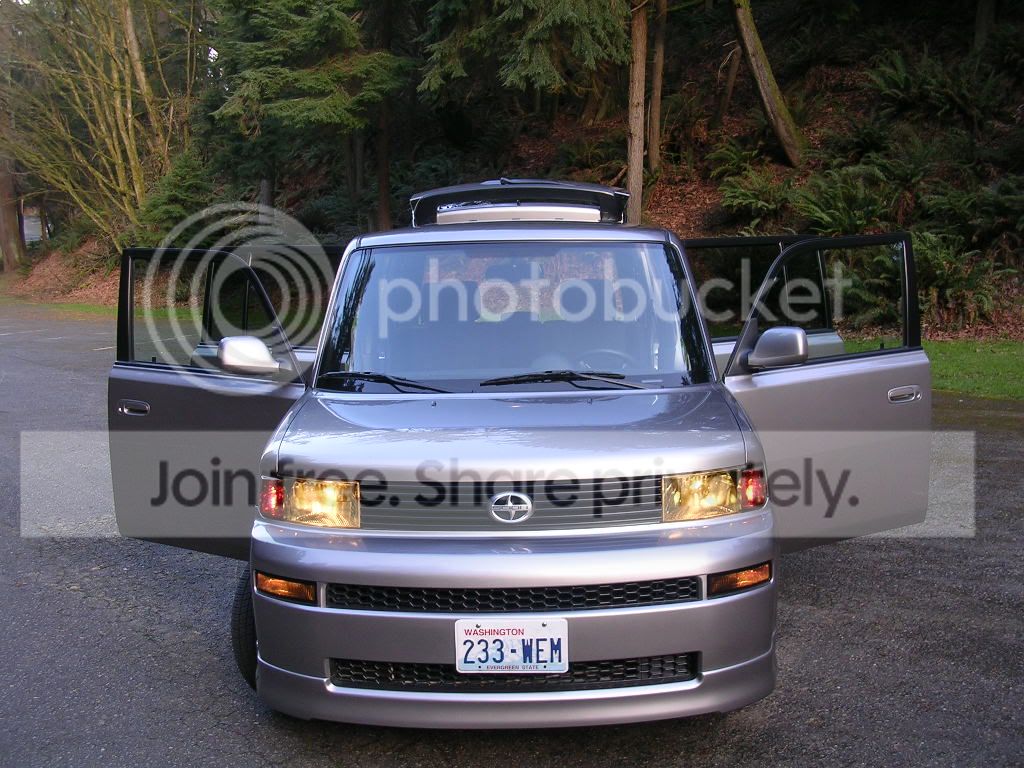
k, so i've smoked out the tail-lights, rear side markers, front side markers and fog lights. also i put a little smoke-age on the headlights too. looks freakin sick... if it's not raining tomorrow, i'll go and get some shots of it.

Senior Member
SL Member
Joined: Oct 2005
Posts: 172
Originally Posted by Winter
k, so i've smoked out the tail-lights, rear side markers, front side markers and fog lights. also i put a little smoke-age on the headlights too. looks freakin sick... if it's not raining tomorrow, i'll go and get some shots of it.
i did all that a few weeks ago except for the headlights (but i considered it) and just my luck it rained that night and the paint didn't cure properly so now i get to do it all over again.
how do your headlights look?
Thread Starter
Senior Member
SL Member
Joined: Nov 2006
Posts: 1,414
From: Tacoma, WA
oh it looks sick! officialy, my xB is known now as "the ghost" through my freinds hahaha.
good tip, after each coat, use a heat gun or hair dryer on what your are painting/tinting for about a minute or two. this does a quick cure process and wont run on you.
for example, i did my fog lights and front side markers at the same time, blacked them the F**k out within about a 20-30 minute period AND i installed them IN the rain... no running, paint is perfectly fine and cured. heat-gun or hair-dryer is your best freind.

Thread Starter
Senior Member
SL Member
Joined: Nov 2006
Posts: 1,414
From: Tacoma, WA
sorry for the delays, the rain isn't helping so i'm taking advantage of this time by taking what interior peices need to be worked on and using a covered area to do my work. but slowly finishing the list...
list:
black out interior
black out front grill *check*
black out tails *check*
black out sidemarkers *check*
tint headlights *check*
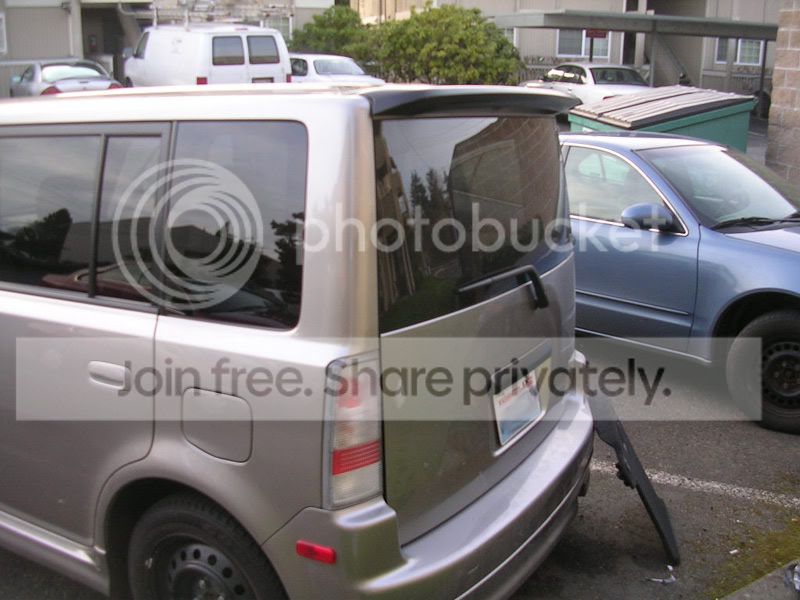
black out spoiler *check*
black out hatch handle cover *check*
because of the rain, it's delaying pictures but as soon as it clears up i'll get some shots.
list:
black out interior
black out front grill *check*
black out tails *check*
black out sidemarkers *check*
tint headlights *check*
black out spoiler *check*
black out hatch handle cover *check*
because of the rain, it's delaying pictures but as soon as it clears up i'll get some shots.

Thread Starter
Senior Member
SL Member
Joined: Nov 2006
Posts: 1,414
From: Tacoma, WA
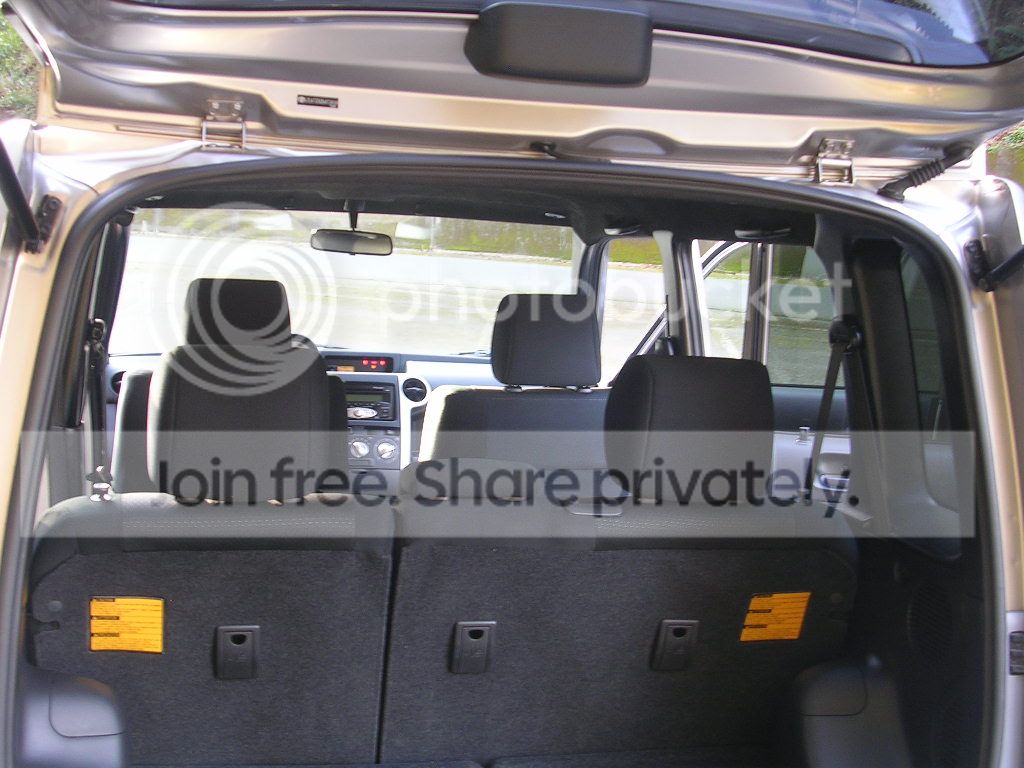
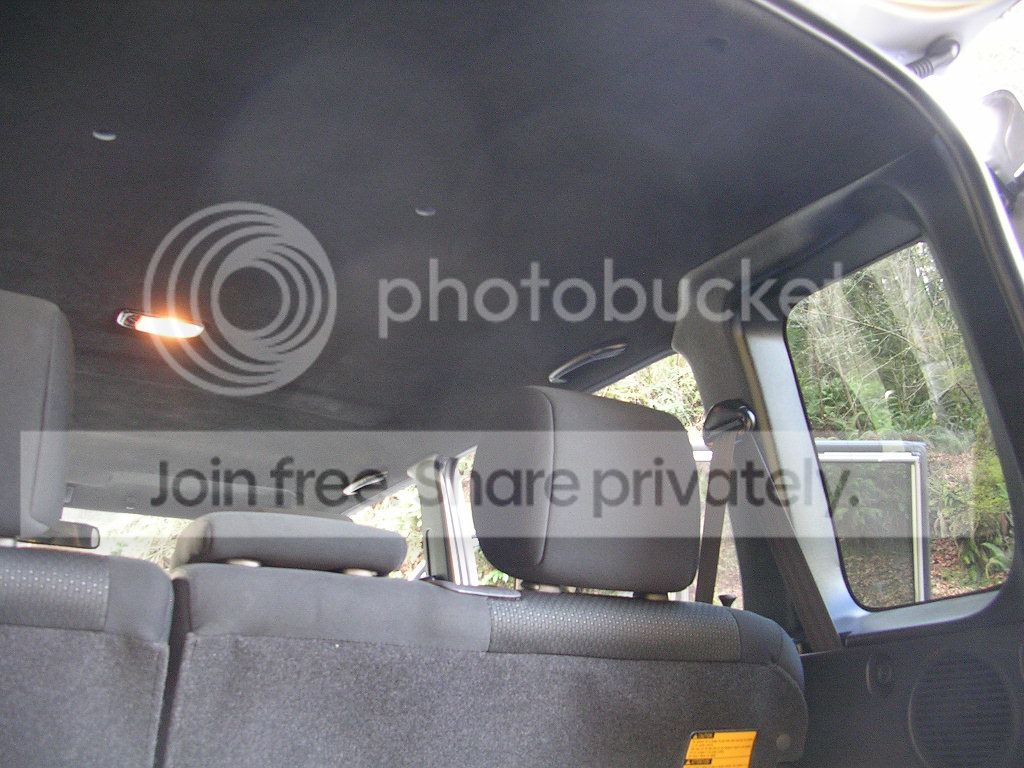
sponge painting it actualy. re-wrapping is nice, but seems weak in a way to me. glue comes off over time and faberic stretches. this is like having bed-liner coating on your headliner, makes it real tough. it's sitting at the moment about... 80% done. once what i've done is dry to the touch, i'll turn the head liner onto it's other side and do the rest and then after that i will reinstall it in about 3-4 days.
Thread Starter
Senior Member
SL Member
Joined: Nov 2006
Posts: 1,414
From: Tacoma, WA
Holy crap! head liner was dry enough to install and let alone. put it in, got the dome light in, the clips and all that... dome light comes on, can't see the headliner, just a big ceiling of nothing'ness i LOVE it! next i gota pull the seat belt housing out, do the seat belt clips and then recoat the panels and seat belt bracket shells and then i'll be ready to install those back in. can't wait, it's looking REAL good.
problem i see at this moment... cause of the condition of my camera, i'm not sure if it'll be able to make out all the individual parts when it's all finished haha
the downside to what i've done all togethere... i smoked the center brake light a bit... well ALOT, it's darker then the actualy tail lights BUT, because of that, i'll have to get a new center brake light later just to get a new lens for when i tint all my windows to 25%. the center brake light will be too dark and i'll have the men in blue after me on that... otherwise, for now, you can't even tell i have a center brake light unless i hit the brake. you CAN'T see it, even when TRYING to look at it through the glass up close, you CAN'T see it... and it's STILL the brightest when the brakes are hit