
08 xB Spring Install - Lots-O-Pics


Thread Starter
Joined: Sep 2005
Posts: 3,703
From: Houston, TX
What�s up everyone? Well it came time to lower another Scion this past weekend and it just so happened to be mine���Finally! So out of all the times I have done this, I never once took the time to snap some pics and create a walk through of how to do it. Well, I had plenty of time to this weekend and took plenty of pics so I could make it possible for the DIY�ers. This is no way an actual set of instructions to follow by and if you set out to lower your vehicle..Dont point your finger at me when you screw up! 
Lets just call this a simple guide!
So let�s begin!
Make - Scion
Model - xB
Year - 2008
Lowering Spring of Choice
Tanabe DF210�s
Drop
Front - 1.7�
Rear - 2.1
Estimated time of Install
1.5 hours
Tools needed
14mm wrench
14mm Socket 3/8 drive
3/8 Drive ratchet
Air Compressor
Air Impact gun
17mm Impact Socket
19mm Impact Socket
22mm Impact Socket
Flat Head Screwdriver
Jack
Jack Stands
1 Pair of Spring Compressors
12 pack of favorite cold beverage......I chose some LoneStars....
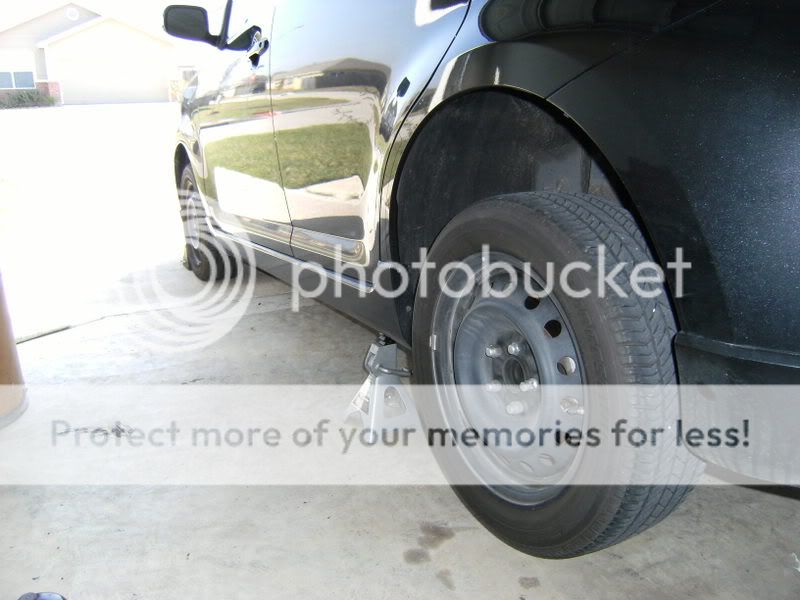
I chose to start with the rear of the xB first. This way I was able to still drive up my driveway with out damaging my front lip.
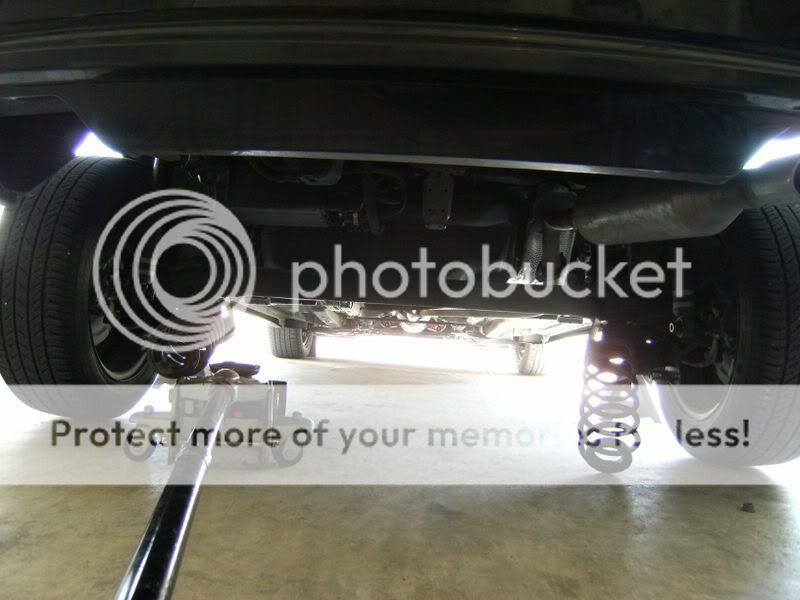
So with the xB backed up into the garage.
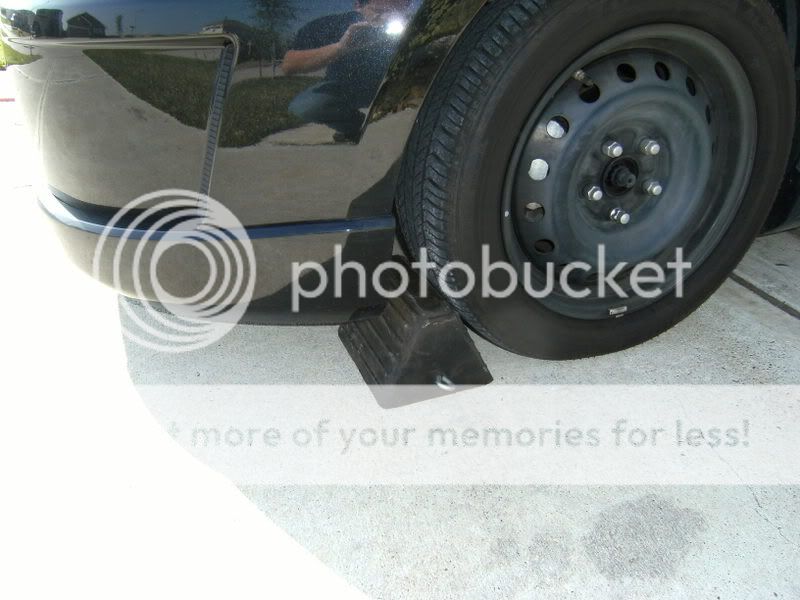
Jack up the car, place jack stands on the pinch welds underneath the car and I place a wheel block in front of the front tires to secure the car from moving.
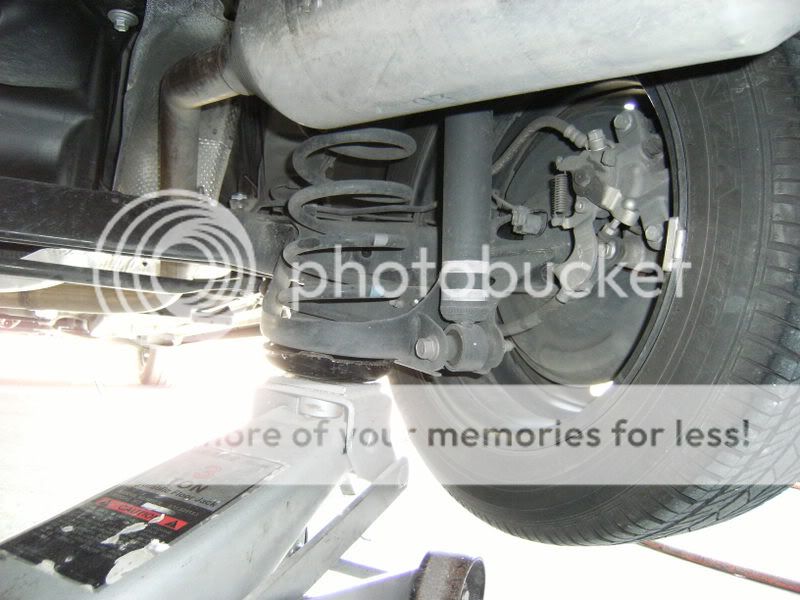
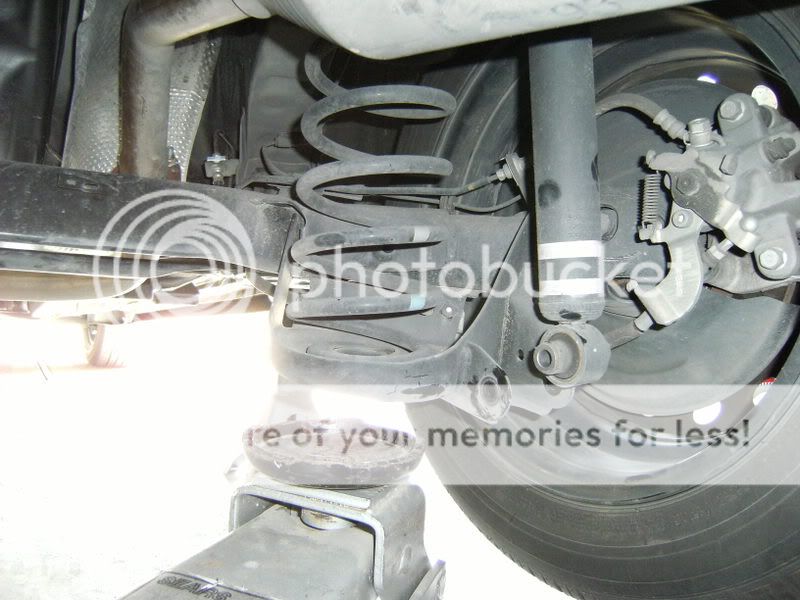
Once the car was secured, I could then begin working on the rear suspension.
I began on the passenger�s side first.
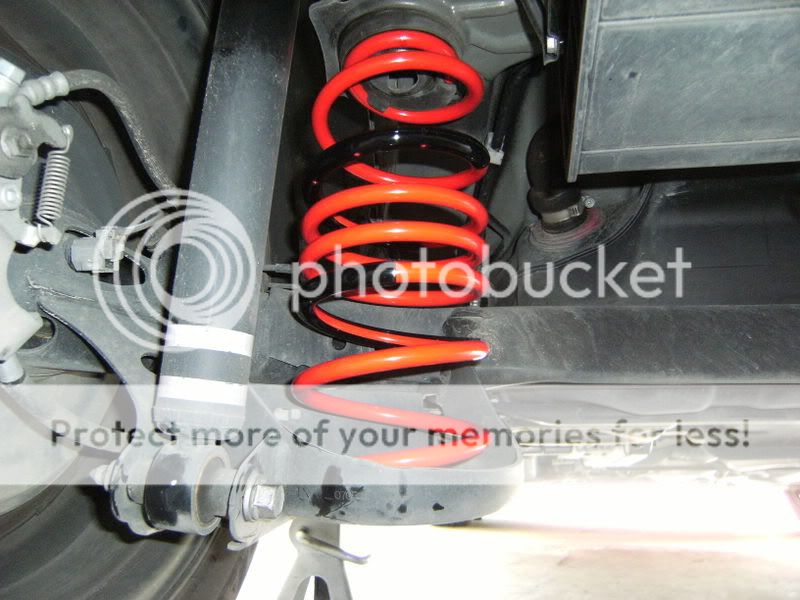
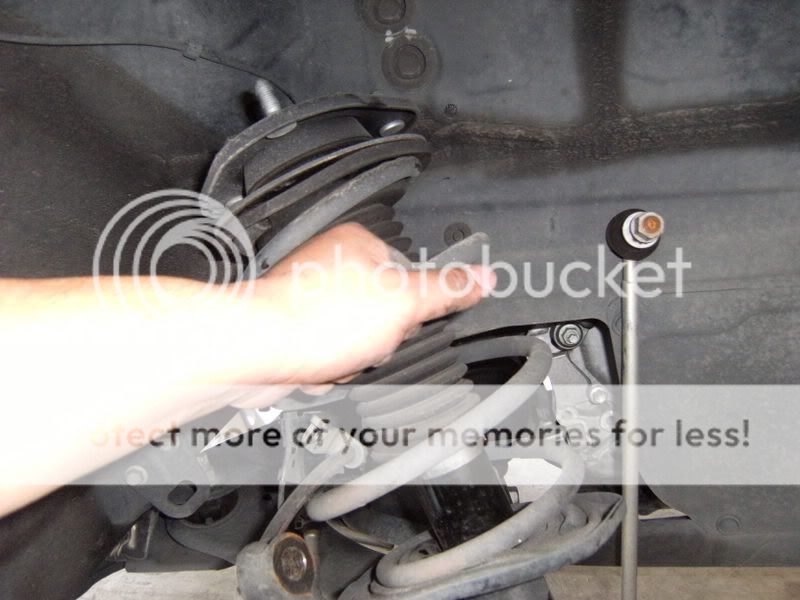
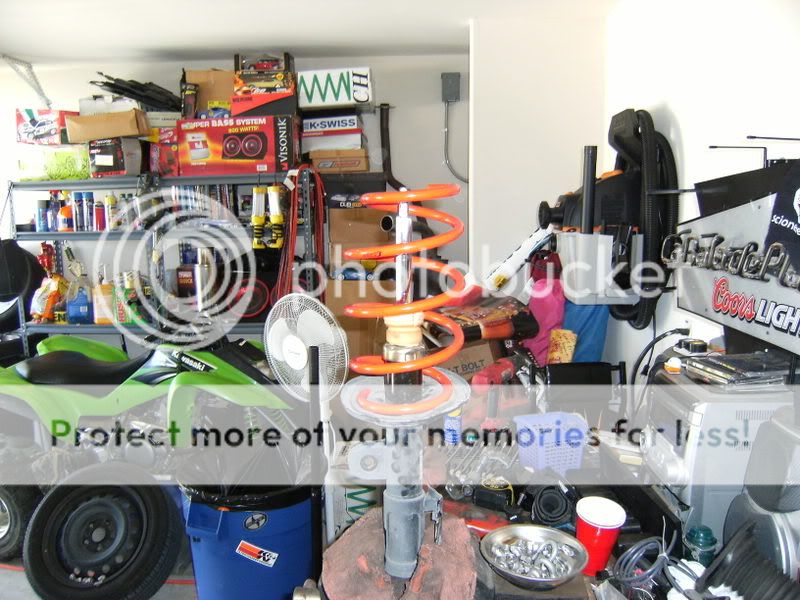
Locate the spring cup and begin to use the jack to compress the spring. This will allow you to take the tension off of the shock.
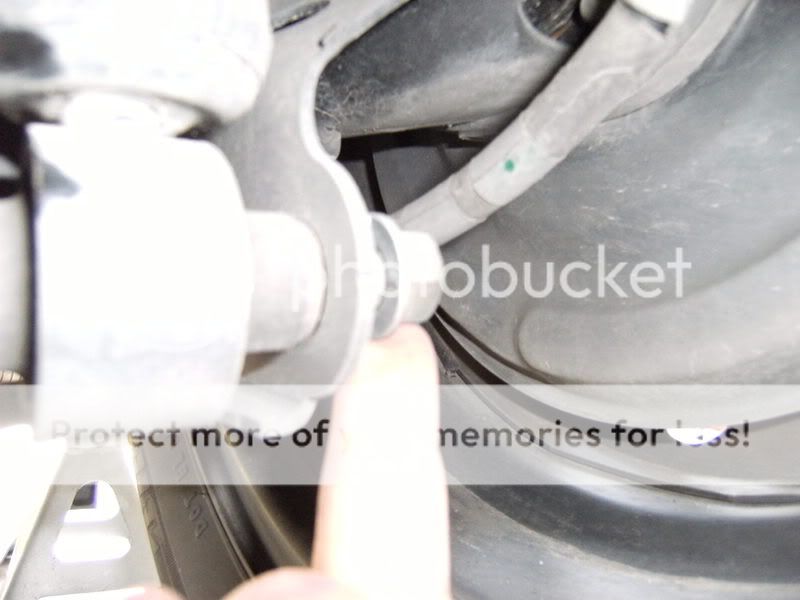
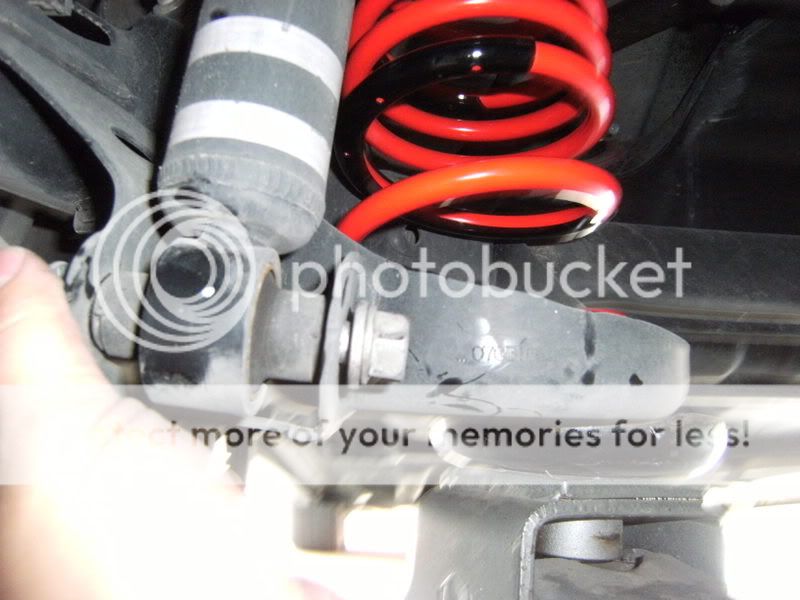
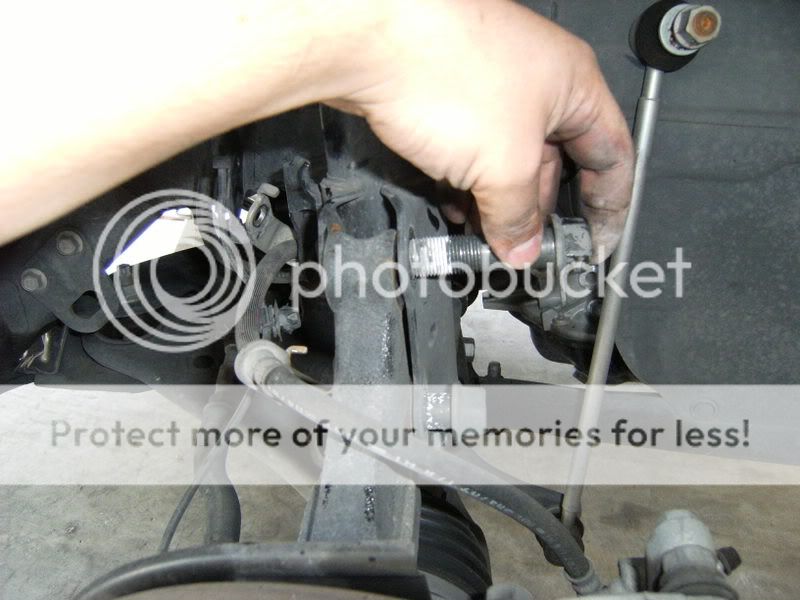
Locate the mounting bolt on the lower part of the shock.
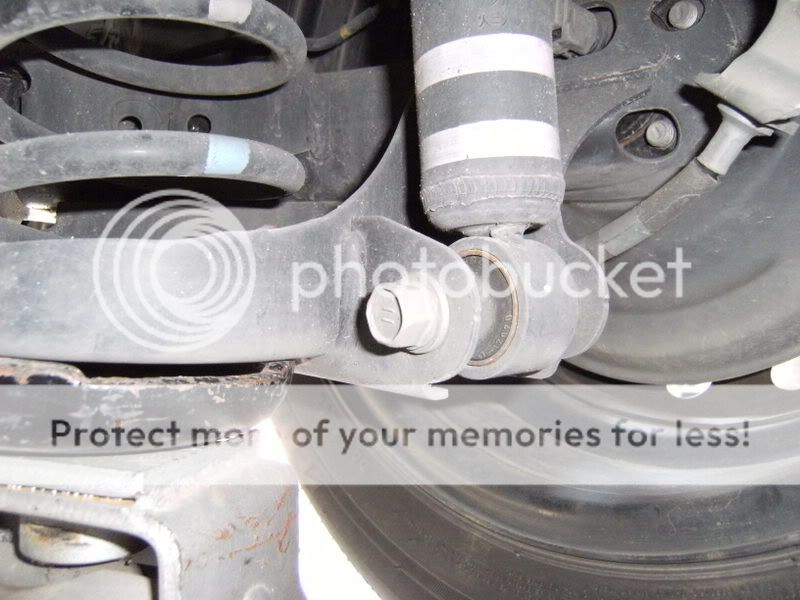
With the jack still compressing the spring, I used the impact gun and a 17mm socket to remove the shock mounting bolt.
Retain all hardware! Nut and Bolt

Once the bolt was removed the shock can freely move out of its mounting position.
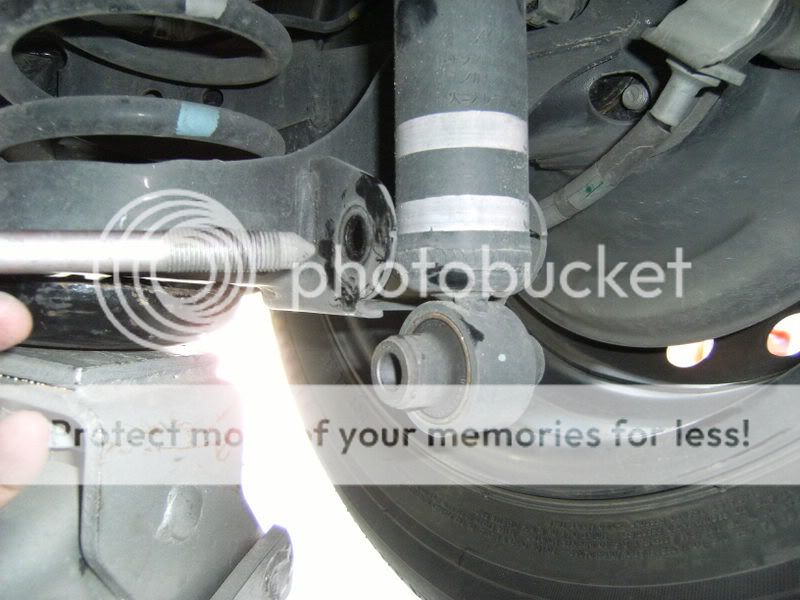
Next, Very slowly let the jack down releasing the tension on the spring.
Perform the same steps on the driver�s side, but once both shocks are removed, the torsion bar will lower down allowing both springs to be easily removed.
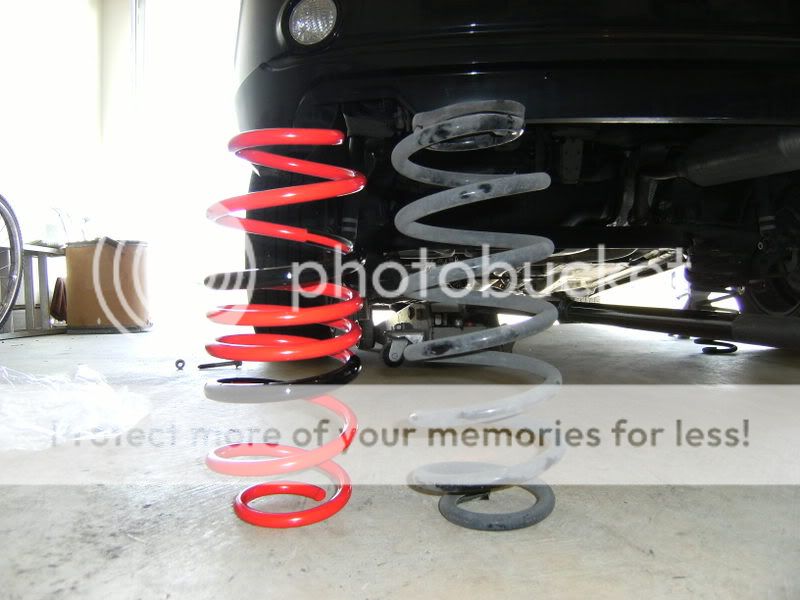
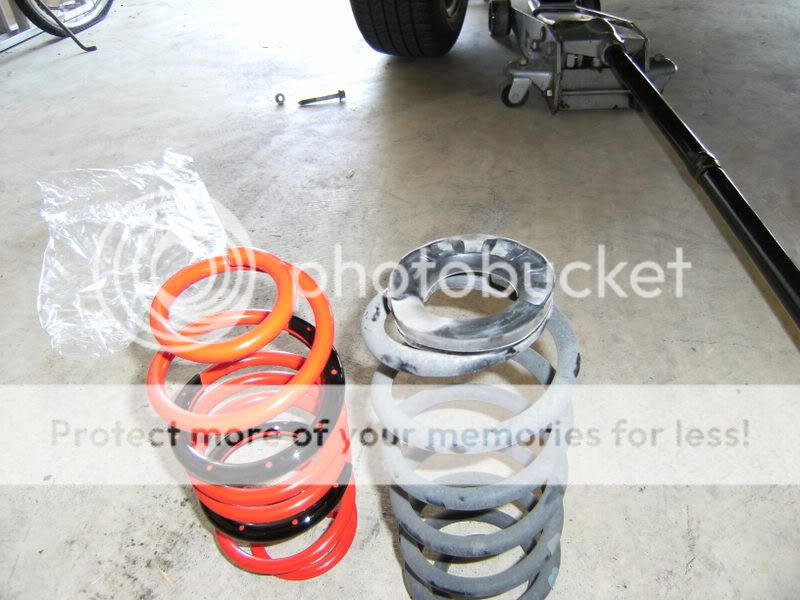
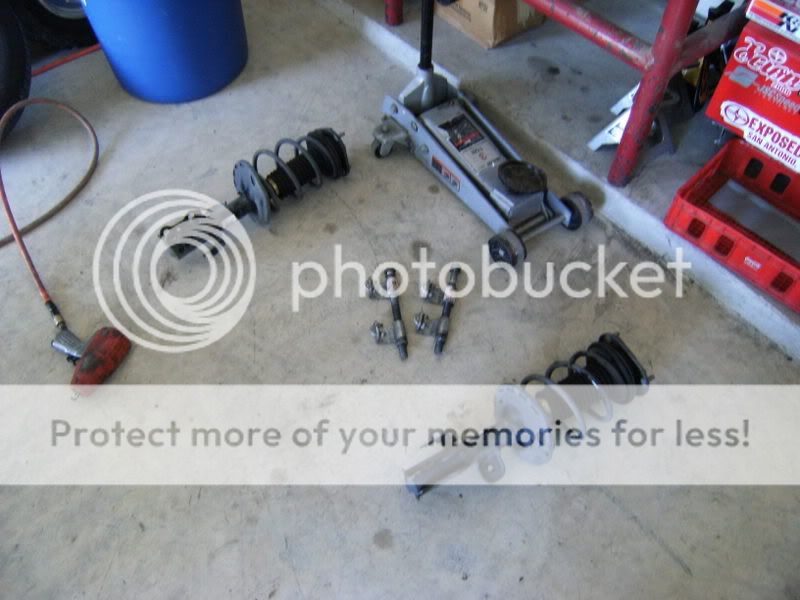
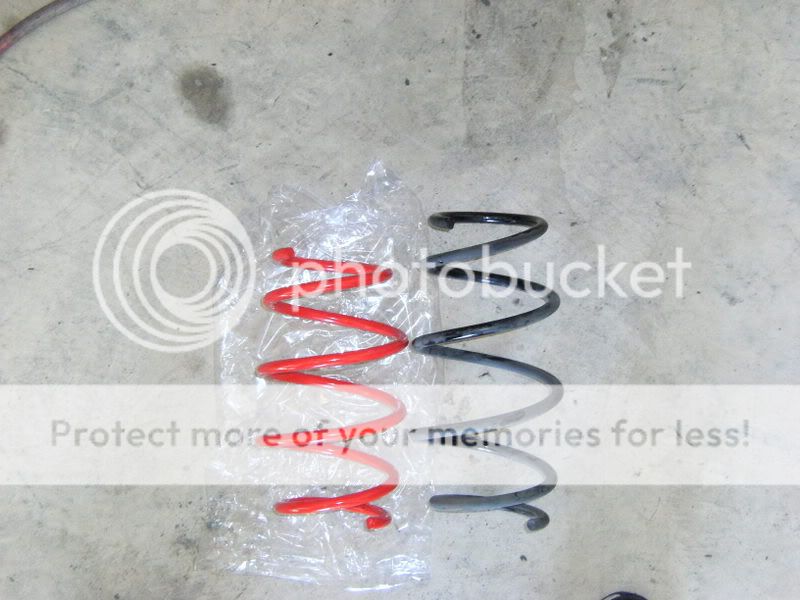
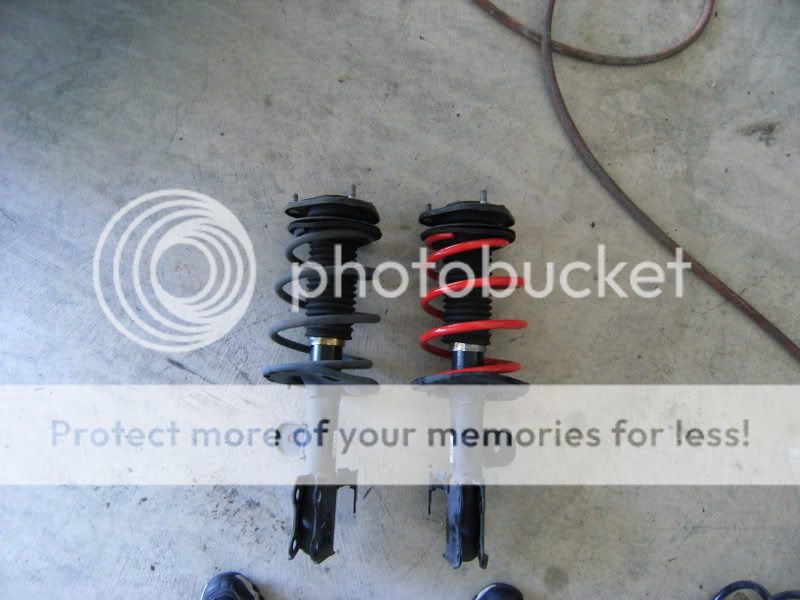
Side by side comparison of the stock spring vs the Tanabe DF210�s
Once you remove the springs, you will retain the top and bottom rubber mounts from the stock springs. Transfer the rubber mounts to your new springs
Next, install the new springs in reverse of disassembly.
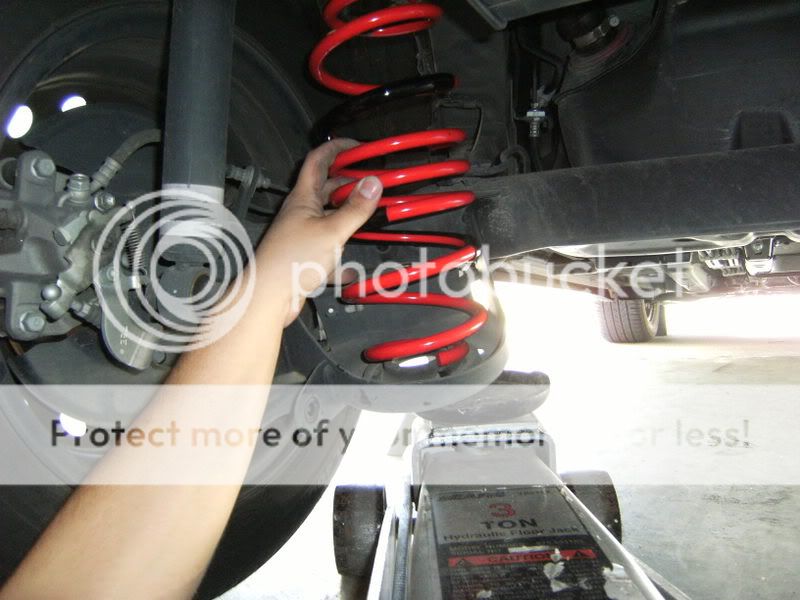
Place the new spring in the correct seated position and take the jack and begin to compress the spring in the cup.
Once you have it compressed into place, slide the shock back into its mounting position and slide the mounting bolt back through the hole. Secure the nut on the bolt and slowly lower the jack.
Repeat the same steps for the other side.
Once both springs have been installed, then tighten down the lower shock mounting nut and bolt to proper torque specs�.I just hit them pretty hard with the Impact�..but that�s me
Once you are all tightened up, you can then remove the jack stands and don�t forget about your wheel block in the front! Cause I almost did when my lip kit started flexin
Now for the front
First, jack up the car again and place jack stands on the pinch welds underneath the car. Make sure your parking break is on before you jack up the front of the car. I play it extra safe and placed my wheel block behind the rear tire.
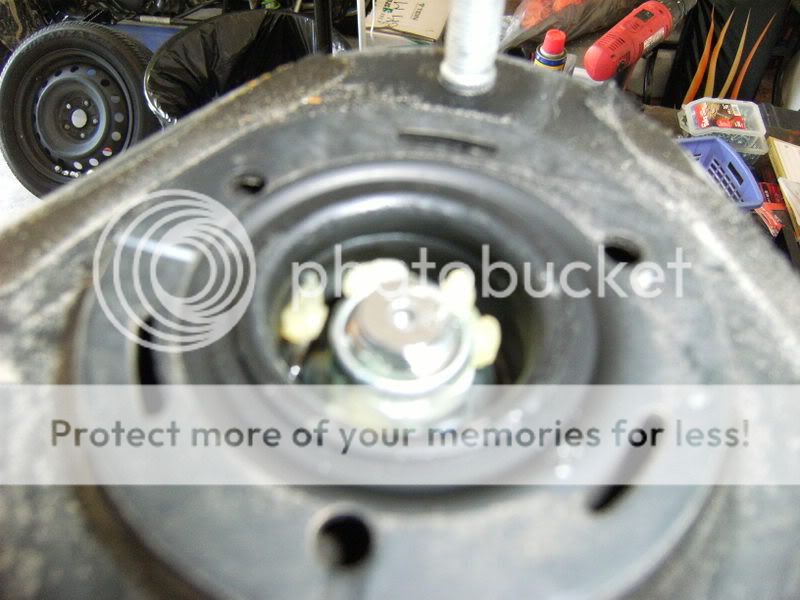
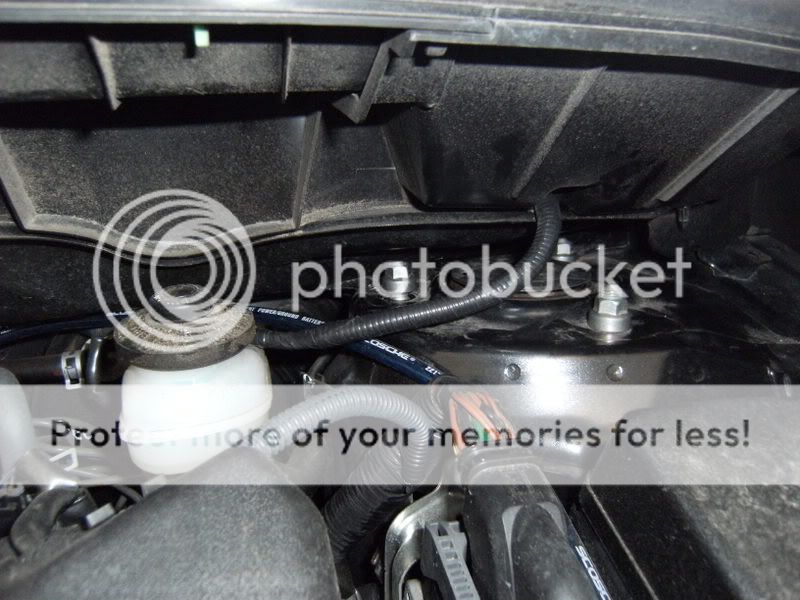
With the car jacked up. Remove the front wheels and tires. Pop the hood and locate the top strut mounts.
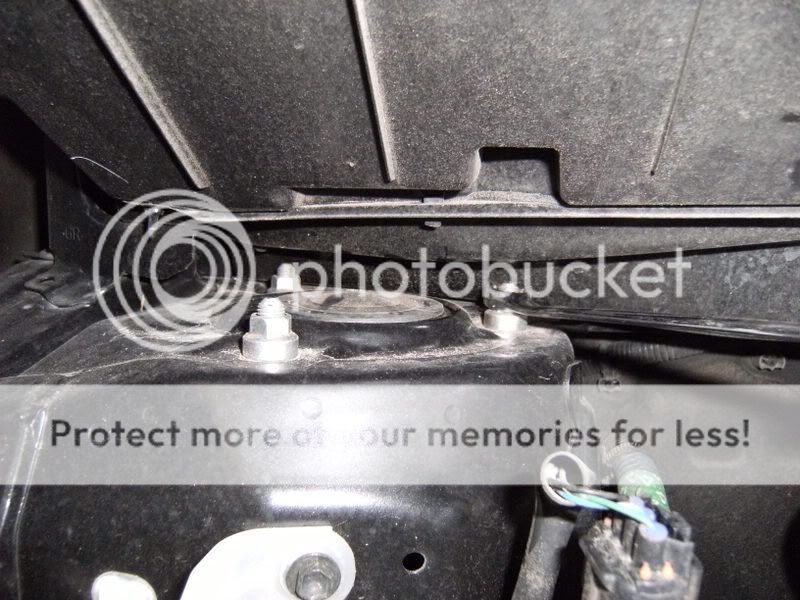
Some will opt to remove the wiper cowl to gain easy access to the rear mounting nut, but I was able to get to it with no problems.
With a 14mm wrench, break the nuts loose. DO NOT COMPLETELY REMOVE!
Now, to begin disassembling the front suspension!
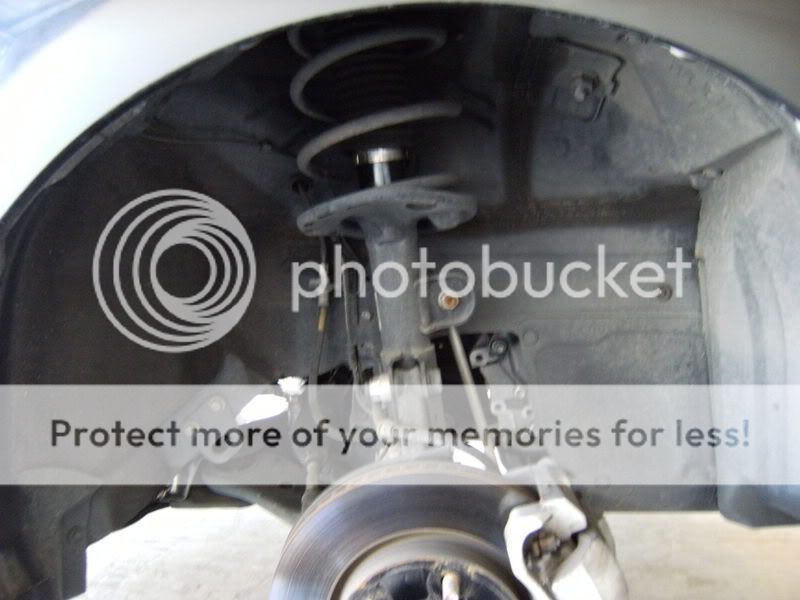
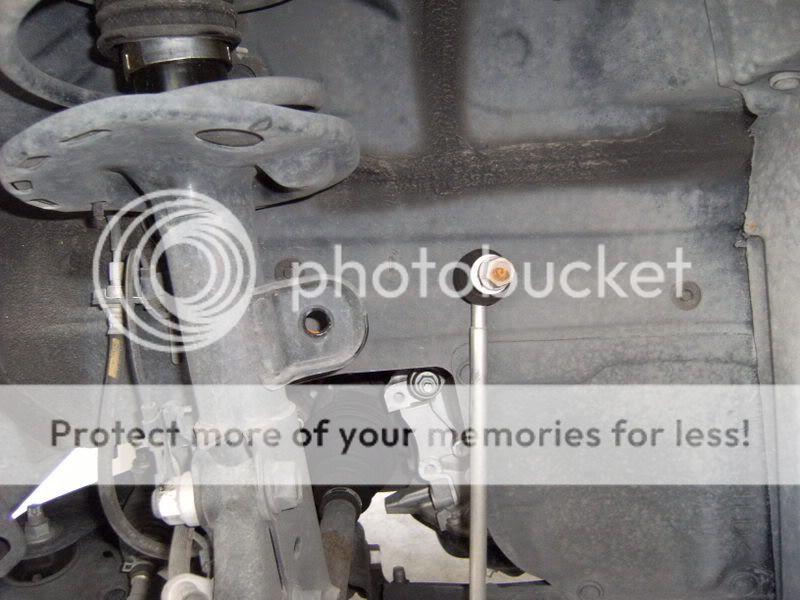
Locate the sway bar end link connected to the strut. Use a 17mm impact socket and impact to remove the nut.

Remove sway bar end link and retain the nut for reinstallation.
Next, locate the mounting hardware for the ABS and brake lines on the strut
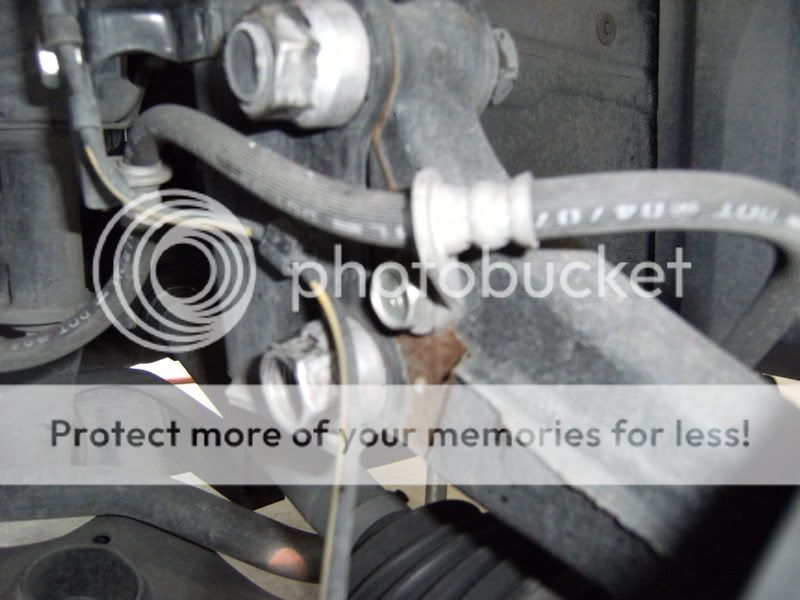
Use a 14mm ratchet and socket to remove the bolts holding the brackets for the ABS and brake lines
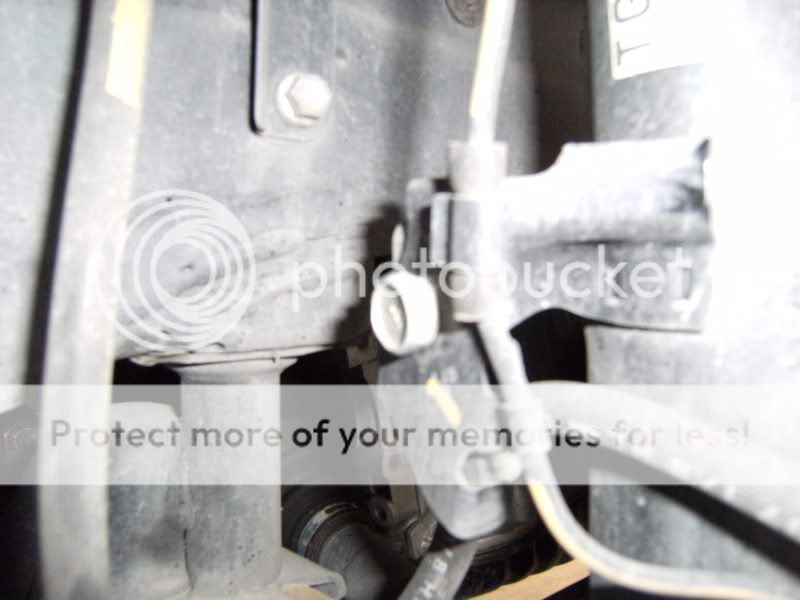
Very gently, Use a small flat head screwdriver to pry the plastic clip holding the ABS line.
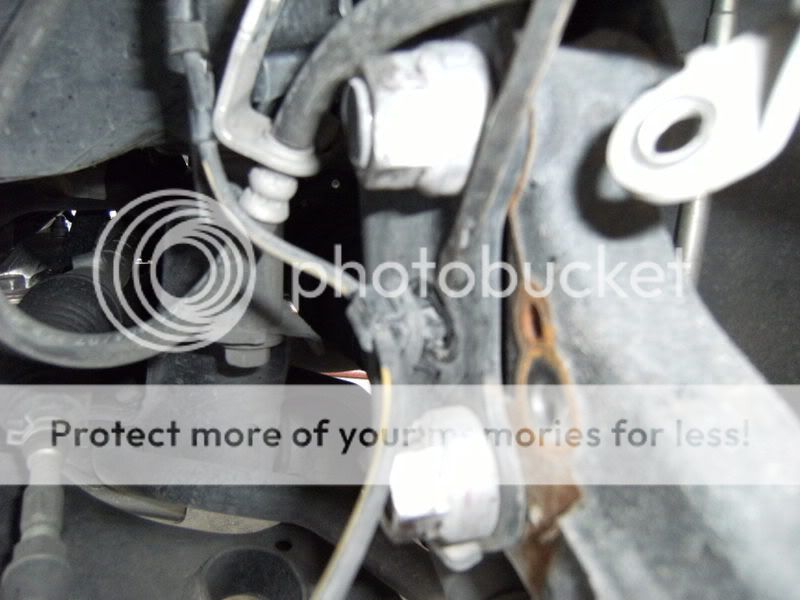
Move all lines out of the way.
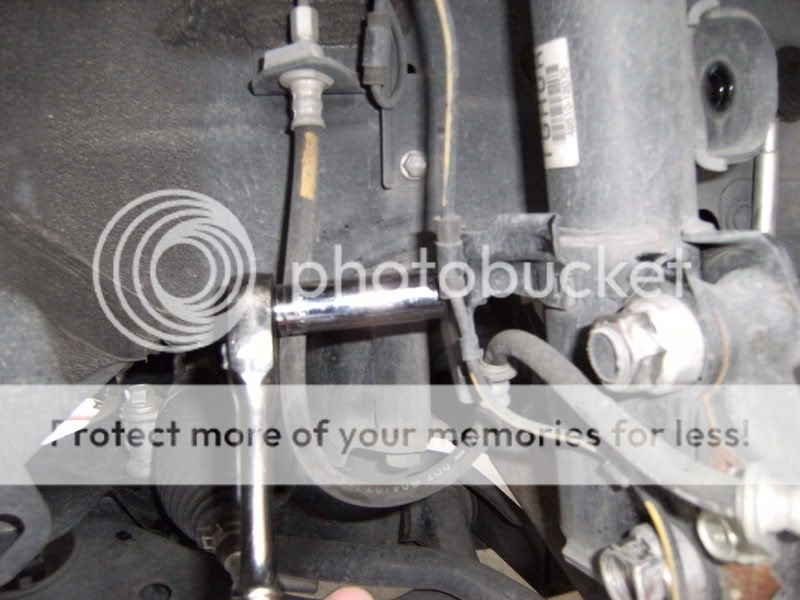
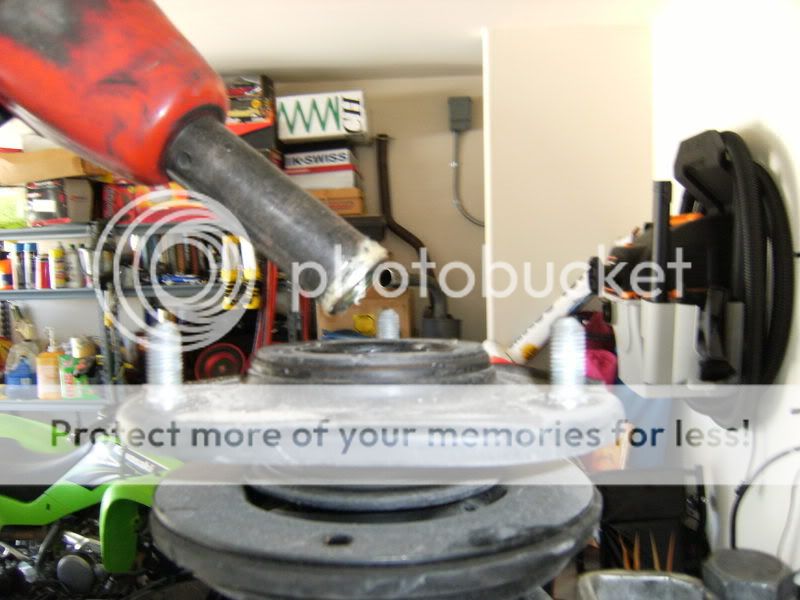
Next use a 22mm impact socket and impact gun to remove the 2 main lower mounting bolts on the strut.

Next return back to the top strut mounts and remove the 3 nuts up top with the 14mm wrench.
Then Remove complete strut assembly.
Repeat the steps for other side
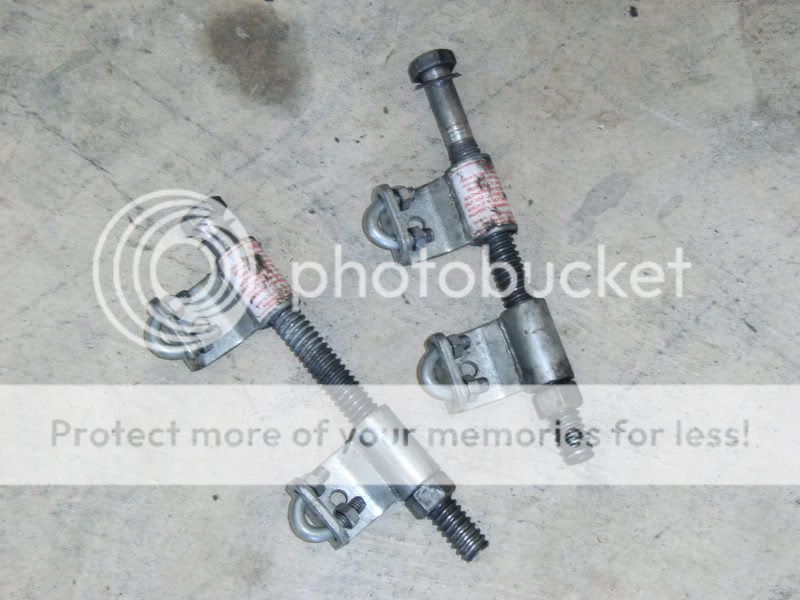
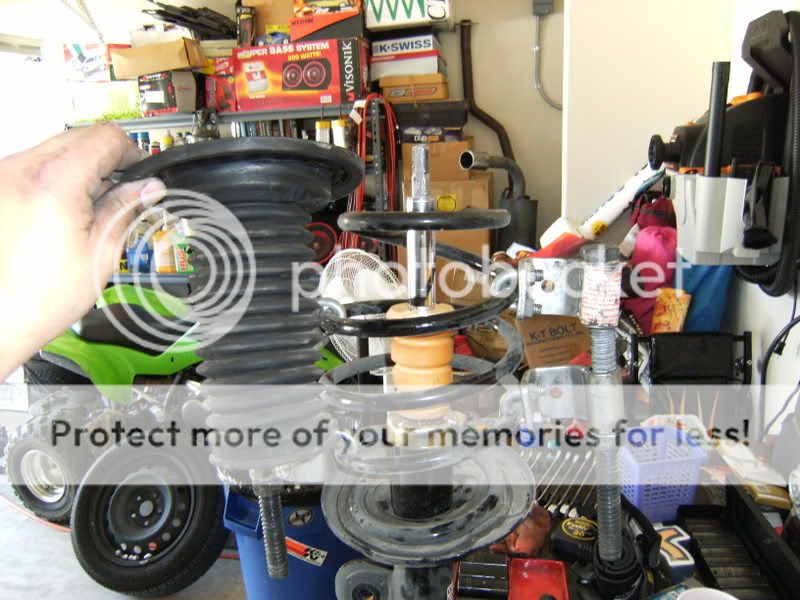
Now you will need a pair of spring compressors. I purchased these from Northern Tool for about 30 bucks. But should be able to rent a similar pair at your nearest AutoZone
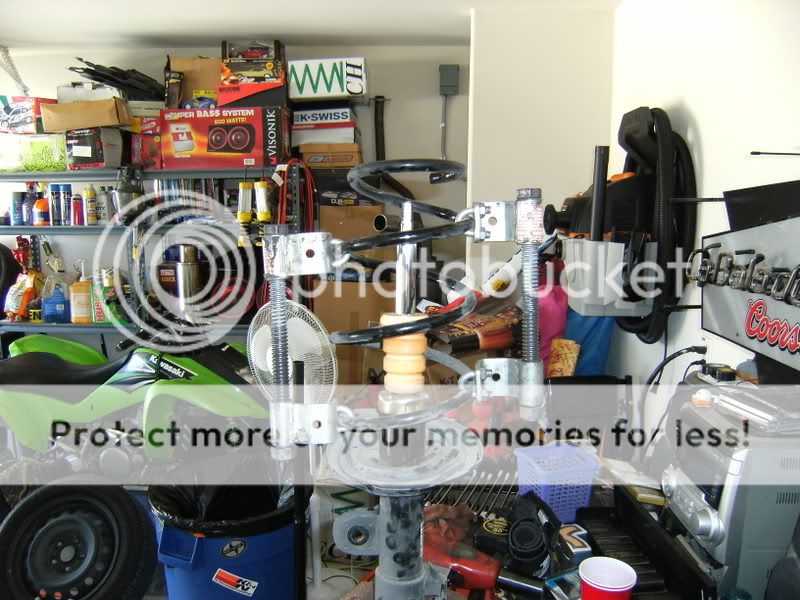
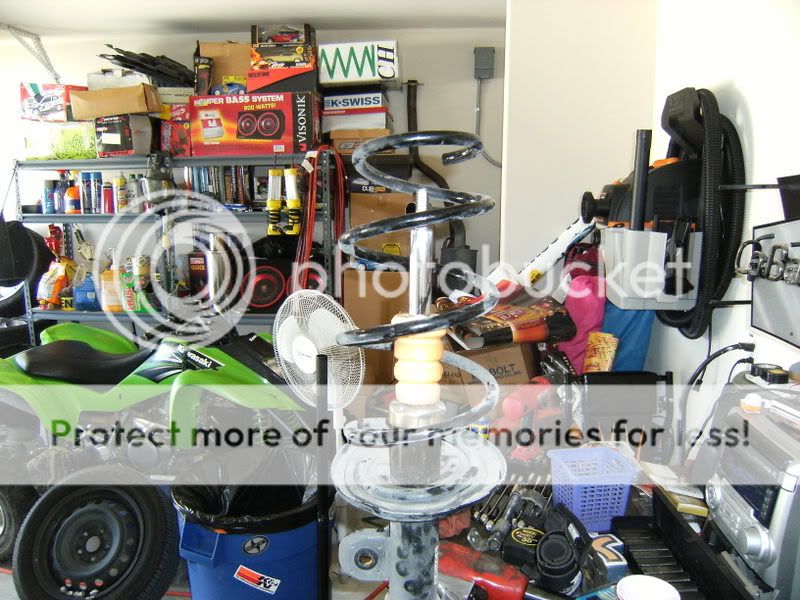
Next, Place strut assembly in a vice (if you do not have a vice, you can do this on the floor but much easier with a vice)

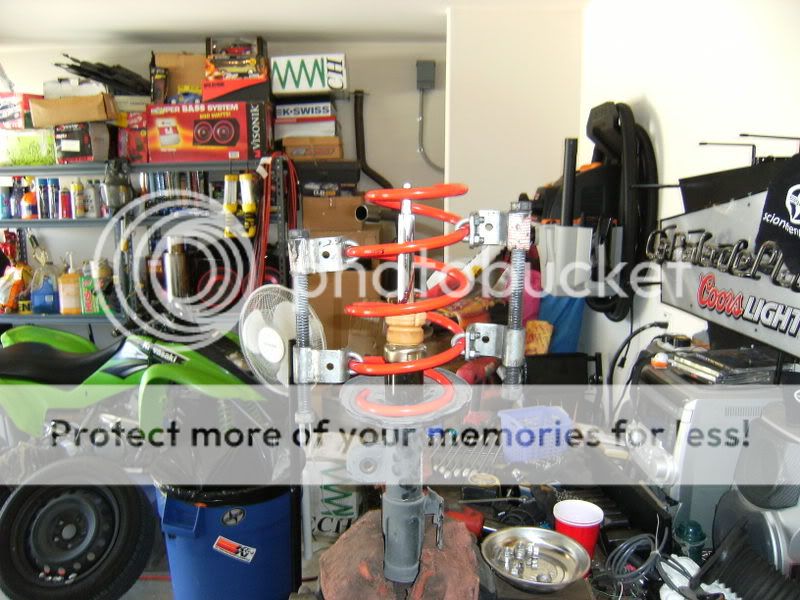
Place spring compressors on spring across from each other, allowing them as much room to compress the spring. In other words, don�t put the compressors on the first 2 coils.
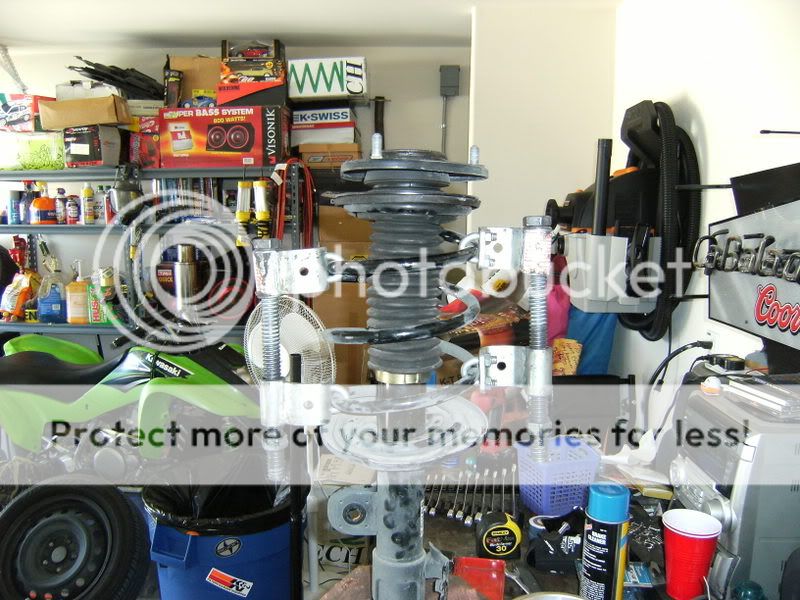
Begin compressing the spring
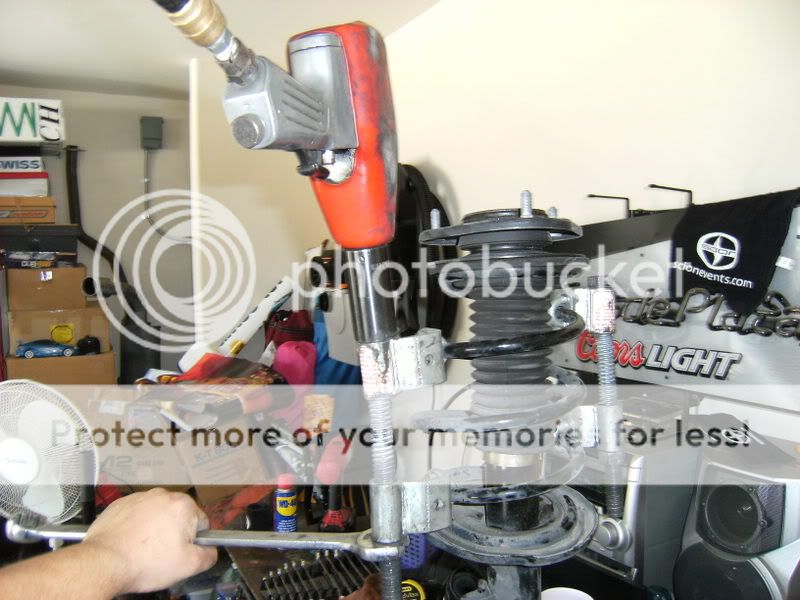
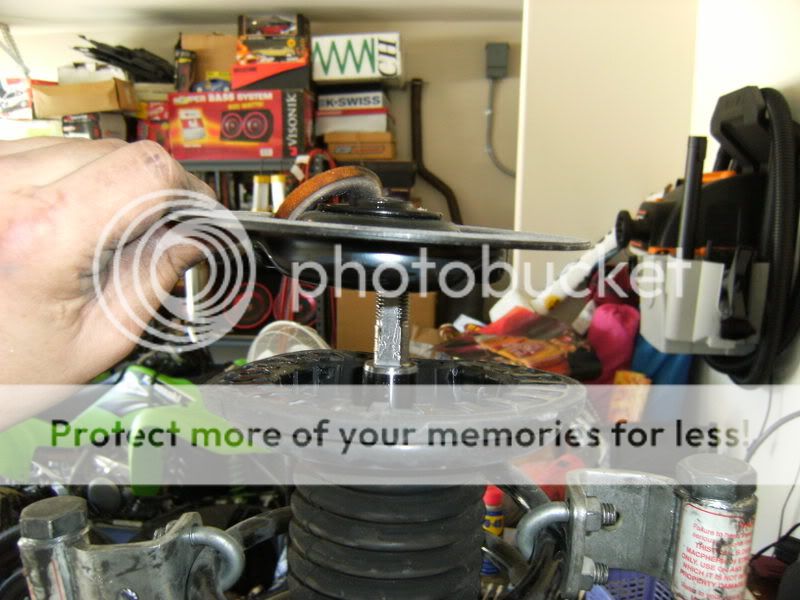
Be sure to compress the spring enough to remove the tension off of the top mount.
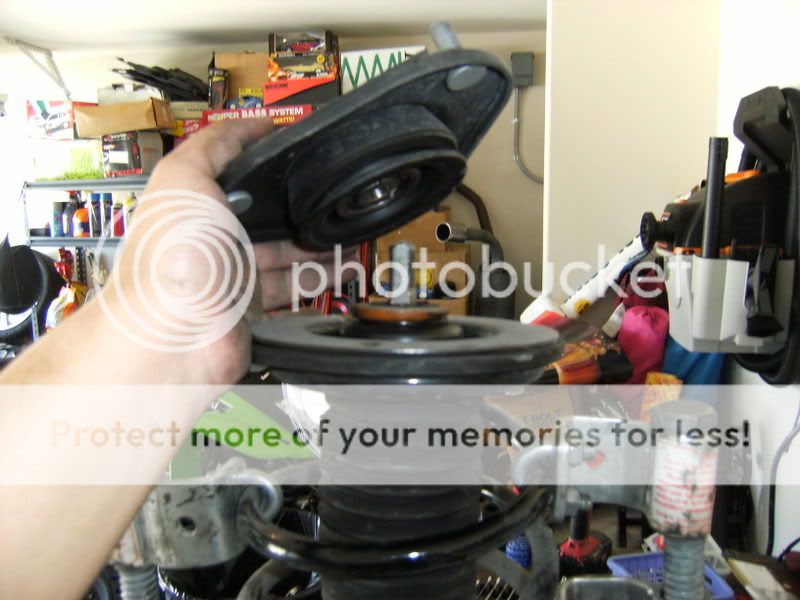
Remove the rubber grommet located on top of the strut mount to access the struts nut
Remove the nut with a 19mm impact Socket and Impact gun.
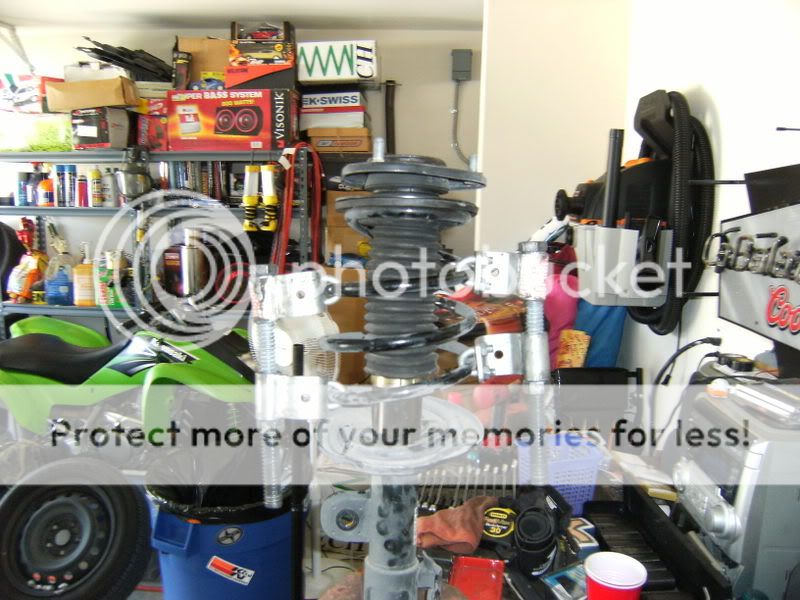
Begin disassembling the strut spring assembly.
Begin to loosen the spring compressors until the spring is fully expanded.
Remove Spring Compressors
Side by side of Front Stock Spring and Tanabe DF210
Depending on how low of a drop you perform, will depend on how much of your bump stop will need to be shaved off if needed.
With the Tanabe DF210�s I cut them in half.

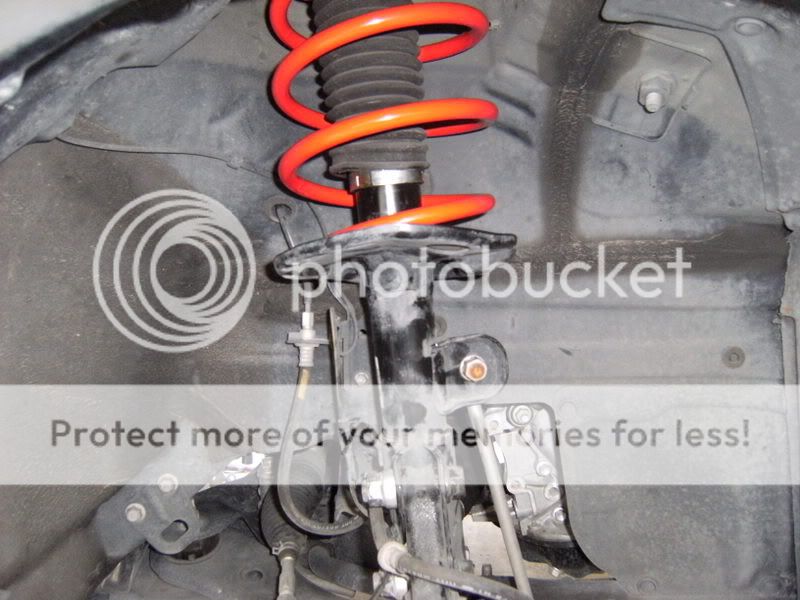
Place new spring on Strut
Place spring compressors on new spring and begin to compress them
Compress them enough to allow the mounting assembly to be installed

Now reverse disassembly, tighten Strut nut and remove spring compressors.
Perform same steps on the second strut.
Reinstall the struts with the top mount nuts first. Do not tighten just yet
Reinstall the lower 22mm bolts; Reinstall all ABS and Brake lines, Reinstall Sway bar end link. Tighten all to torque specs�I use hand tight and impact tight. :p
Put wheels and tires back on, remove jack stands and sit car flat on the ground.
Now you will tighten the strut top mounts.
Make sure everything is tight and sit back and enjoy the drop.
Before Drop without FIVE Axis kit

Before Drop with FIVE Axis Kit
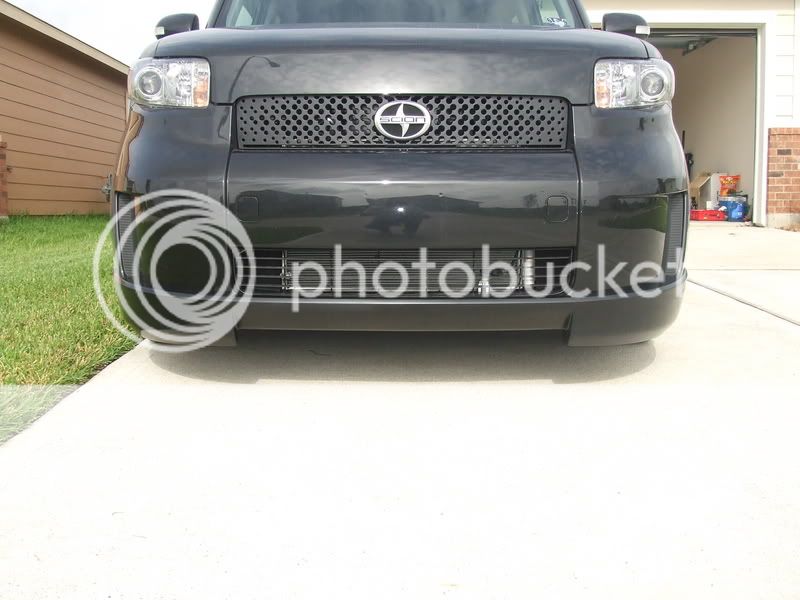


After With Tanabe DF210 Drop


Lets just call this a simple guide!
So let�s begin!
Make - Scion
Model - xB
Year - 2008
Lowering Spring of Choice
Tanabe DF210�s
Drop
Front - 1.7�
Rear - 2.1
Estimated time of Install
1.5 hours
Tools needed
14mm wrench
14mm Socket 3/8 drive
3/8 Drive ratchet
Air Compressor
Air Impact gun
17mm Impact Socket
19mm Impact Socket
22mm Impact Socket
Flat Head Screwdriver
Jack
Jack Stands
1 Pair of Spring Compressors
12 pack of favorite cold beverage......I chose some LoneStars....
I chose to start with the rear of the xB first. This way I was able to still drive up my driveway with out damaging my front lip.
So with the xB backed up into the garage.
Jack up the car, place jack stands on the pinch welds underneath the car and I place a wheel block in front of the front tires to secure the car from moving.
Once the car was secured, I could then begin working on the rear suspension.
I began on the passenger�s side first.
Locate the spring cup and begin to use the jack to compress the spring. This will allow you to take the tension off of the shock.
Locate the mounting bolt on the lower part of the shock.
With the jack still compressing the spring, I used the impact gun and a 17mm socket to remove the shock mounting bolt.
Retain all hardware! Nut and Bolt
Once the bolt was removed the shock can freely move out of its mounting position.
Next, Very slowly let the jack down releasing the tension on the spring.
Perform the same steps on the driver�s side, but once both shocks are removed, the torsion bar will lower down allowing both springs to be easily removed.
Side by side comparison of the stock spring vs the Tanabe DF210�s
Once you remove the springs, you will retain the top and bottom rubber mounts from the stock springs. Transfer the rubber mounts to your new springs
Next, install the new springs in reverse of disassembly.
Place the new spring in the correct seated position and take the jack and begin to compress the spring in the cup.
Once you have it compressed into place, slide the shock back into its mounting position and slide the mounting bolt back through the hole. Secure the nut on the bolt and slowly lower the jack.
Repeat the same steps for the other side.
Once both springs have been installed, then tighten down the lower shock mounting nut and bolt to proper torque specs�.I just hit them pretty hard with the Impact�..but that�s me
Once you are all tightened up, you can then remove the jack stands and don�t forget about your wheel block in the front! Cause I almost did when my lip kit started flexin
Now for the front
First, jack up the car again and place jack stands on the pinch welds underneath the car. Make sure your parking break is on before you jack up the front of the car. I play it extra safe and placed my wheel block behind the rear tire.
With the car jacked up. Remove the front wheels and tires. Pop the hood and locate the top strut mounts.
Some will opt to remove the wiper cowl to gain easy access to the rear mounting nut, but I was able to get to it with no problems.
With a 14mm wrench, break the nuts loose. DO NOT COMPLETELY REMOVE!
Now, to begin disassembling the front suspension!
Locate the sway bar end link connected to the strut. Use a 17mm impact socket and impact to remove the nut.
Remove sway bar end link and retain the nut for reinstallation.
Next, locate the mounting hardware for the ABS and brake lines on the strut
Use a 14mm ratchet and socket to remove the bolts holding the brackets for the ABS and brake lines
Very gently, Use a small flat head screwdriver to pry the plastic clip holding the ABS line.
Move all lines out of the way.
Next use a 22mm impact socket and impact gun to remove the 2 main lower mounting bolts on the strut.
Next return back to the top strut mounts and remove the 3 nuts up top with the 14mm wrench.
Then Remove complete strut assembly.
Repeat the steps for other side
Now you will need a pair of spring compressors. I purchased these from Northern Tool for about 30 bucks. But should be able to rent a similar pair at your nearest AutoZone
Next, Place strut assembly in a vice (if you do not have a vice, you can do this on the floor but much easier with a vice)
Place spring compressors on spring across from each other, allowing them as much room to compress the spring. In other words, don�t put the compressors on the first 2 coils.
Begin compressing the spring
Be sure to compress the spring enough to remove the tension off of the top mount.
Remove the rubber grommet located on top of the strut mount to access the struts nut
Remove the nut with a 19mm impact Socket and Impact gun.
Begin disassembling the strut spring assembly.
Begin to loosen the spring compressors until the spring is fully expanded.
Remove Spring Compressors
Side by side of Front Stock Spring and Tanabe DF210
Depending on how low of a drop you perform, will depend on how much of your bump stop will need to be shaved off if needed.
With the Tanabe DF210�s I cut them in half.
Place new spring on Strut
Place spring compressors on new spring and begin to compress them
Compress them enough to allow the mounting assembly to be installed
Now reverse disassembly, tighten Strut nut and remove spring compressors.
Perform same steps on the second strut.
Reinstall the struts with the top mount nuts first. Do not tighten just yet
Reinstall the lower 22mm bolts; Reinstall all ABS and Brake lines, Reinstall Sway bar end link. Tighten all to torque specs�I use hand tight and impact tight. :p
Put wheels and tires back on, remove jack stands and sit car flat on the ground.
Now you will tighten the strut top mounts.
Make sure everything is tight and sit back and enjoy the drop.
Before Drop without FIVE Axis kit
Before Drop with FIVE Axis Kit
After With Tanabe DF210 Drop


Joined: Mar 2007
Posts: 16,638
From: Parsippany, NJ
Awesome work! Now go out and get an alignment, even if it looks good, usually you'll have some camber, unless you don't care about those tires and plan on getting rims soon . Then get the alignment after the rims.
Btw, awesome taste in shoes and ATV's .
.
Btw, awesome taste in shoes and ATV's

Senior Member

SL Member
Joined: Jul 2005
Posts: 1,099
From: ...Lost Somewhere in Time
Ed knows his stuff! Don't worry about that. He's lowered more Scions in Houston than most shops! 
Looks VERY good! Bravo! ...Makin' me jealous. I've been thinking of dropping mine on the DF210s, too.
I really dig it!
Great write-up, BTW!
Sticky?
Looks VERY good! Bravo! ...Makin' me jealous. I've been thinking of dropping mine on the DF210s, too.
I really dig it!
Great write-up, BTW!
Sticky?
Thread Starter
Joined: Sep 2005
Posts: 3,703
From: Houston, TX
Originally Posted by CarbonXe
Awesome work! Now go out and get an alignment, even if it looks good, usually you'll have some camber, unless you don't care about those tires and plan on getting rims soon . Then get the alignment after the rims.
Btw, awesome taste in shoes and ATV's .
Btw, awesome taste in shoes and ATV's
I didnt realize I had that much crap in my garage.......Atleast I fit A car and my quad...thats all that matters.

Joined: Mar 2007
Posts: 16,638
From: Parsippany, NJ
Originally Posted by tCTaco
Originally Posted by CarbonXe
Awesome work! Now go out and get an alignment, even if it looks good, usually you'll have some camber, unless you don't care about those tires and plan on getting rims soon . Then get the alignment after the rims.
Btw, awesome taste in shoes and ATV's .
Btw, awesome taste in shoes and ATV's
I didnt realize I had that much crap in my garage.......Atleast I fit A car and my quad...thats all that matters.
And I used the same excuse to buy my rims.
Thread Starter
Joined: Sep 2005
Posts: 3,703
From: Houston, TX
Originally Posted by Tmas
Hey that looks sexy...
Still worried about it being too low? lol. Getting my springs hopefully within the next week :D
Still worried about it being too low? lol. Getting my springs hopefully within the next week :D

Senior Member
Team XcelsiA
Team Sushi
SL Member
Joined: Dec 2005
Posts: 1,476
From: Baldwin Park
little suggestion for future installs on the 08's on the rear when you are putting the bolts back put the in the other direction it will help for incase later you want to install a rear sway bar you will not need to take the bolts out just take of the nut and install sway and put the nut back on

Senior Member
SL Member
Joined: Sep 2007
Posts: 1,303
From: Millbrae|SF|SJSU, CA
brave to have the lip kit and the DF! ive been scraping the front a bit cause of my retarded driveway at work...
someone sticky this! i was looking for something like this when i installed mine a while back.
we should also sticky those two strut/sway install threads...
someone sticky this! i was looking for something like this when i installed mine a while back.
we should also sticky those two strut/sway install threads...

Thread Starter
Joined: Sep 2005
Posts: 3,703
From: Houston, TX
Originally Posted by miketf1
brave to have the lip kit and the DF! ive been scraping the front a bit cause of my retarded driveway at work...
someone sticky this! i was looking for something like this when i installed mine a while back.
we should also sticky those two strut/sway install threads...
someone sticky this! i was looking for something like this when i installed mine a while back.
we should also sticky those two strut/sway install threads...
If a Mod wants to sticky then go for it.


Member
SL Member
Joined: Sep 2007
Posts: 94
From: South Carolina
Great job! Good info and very helpful.
I purchased the TANABE NF210 Springs and I installed the rears. I want to install the front springs soon... I was thinking maybe I can do it myself, but I never done it before.
Can one person install the front springs alone? Is this a one person or two person�s job?
Your suggestions are greatly appreciated!
Thanks!