
Shifter Cable Bushings (Dr Isotope)


So I know some people (including myself) were confused about how to install Doc I's cable bushings as he sends four while other companies include only two. I decided just to have at it and see if I could figure it out, and it turned out to be quite simple so I threw together a little DIY :-)
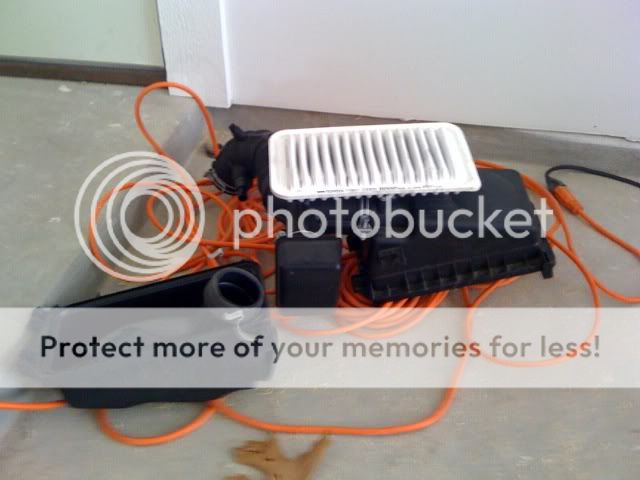
So start out by taking out the upper intake box and upper pipe. I decided that as long as I was going to take some of my stock intake out, I might as well take out the whole thing and throw on the CAI that has been sitting in my room since X-mas:
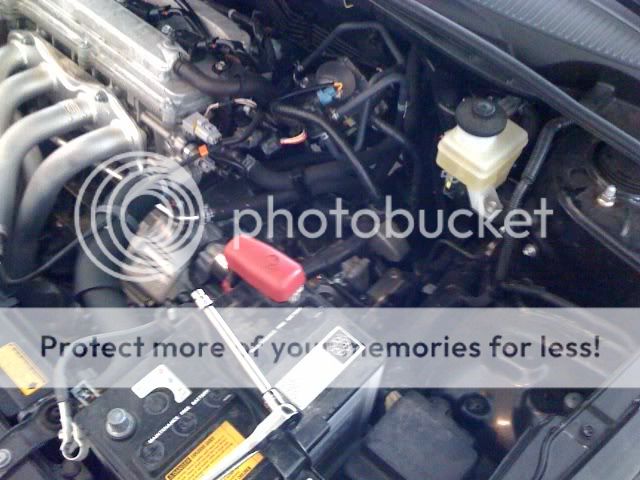
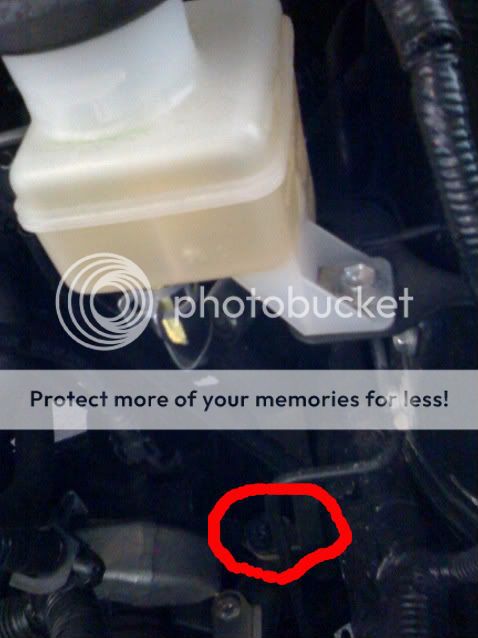
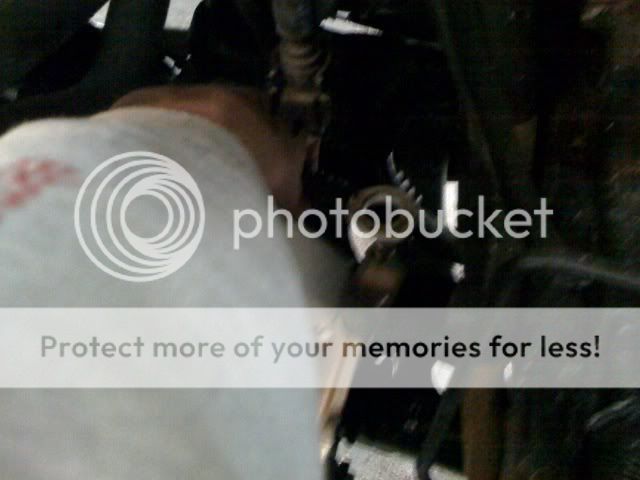
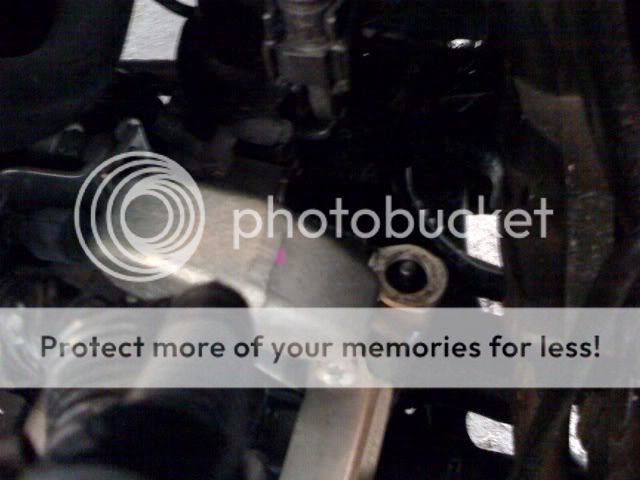
Alright now locate the two shifter end links, they are close to eachother and the most visible one is below the brake fluid tank:
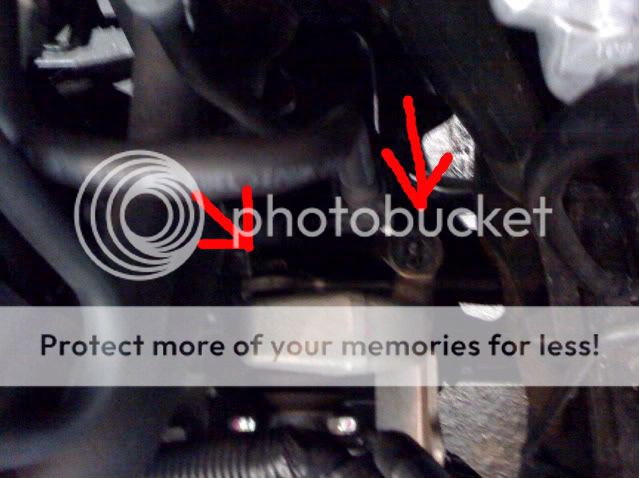
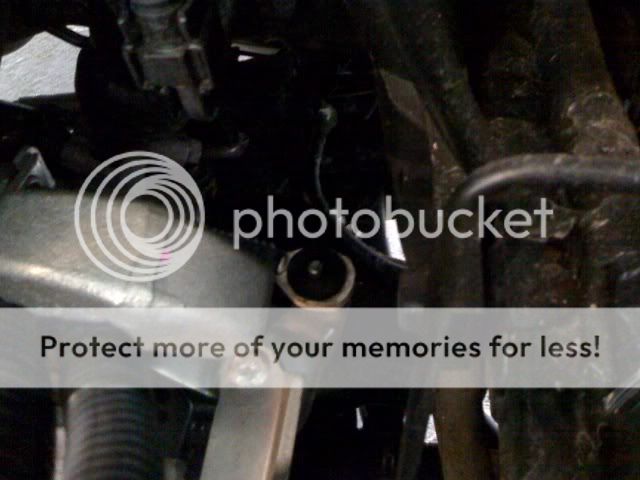
The other one is kind of hidden behind a part of the transmission assembly so just look around where the arrows are pointing:
Okay now pull the lock pin out of the first one and put it somewhere safe because you'll be reusing it:

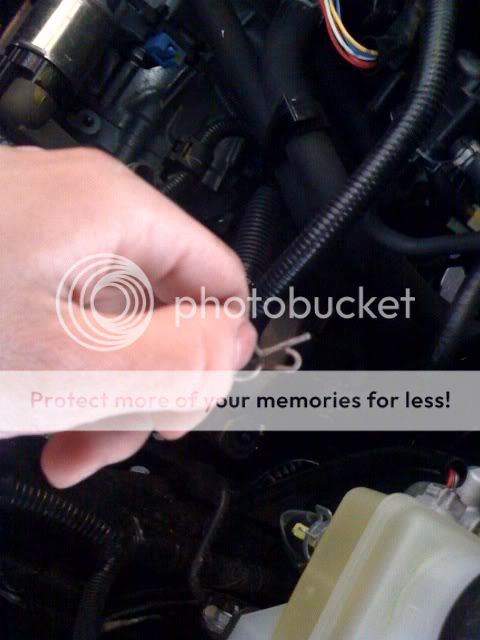
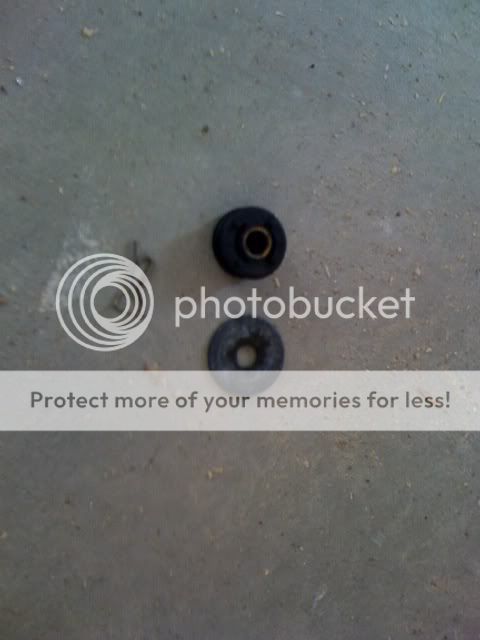
lift the endlink off the stud and push the stock rubber bushing out, and make sure not to drop the washer:

you should have this:
now go ahead and repeat the process for the other one:


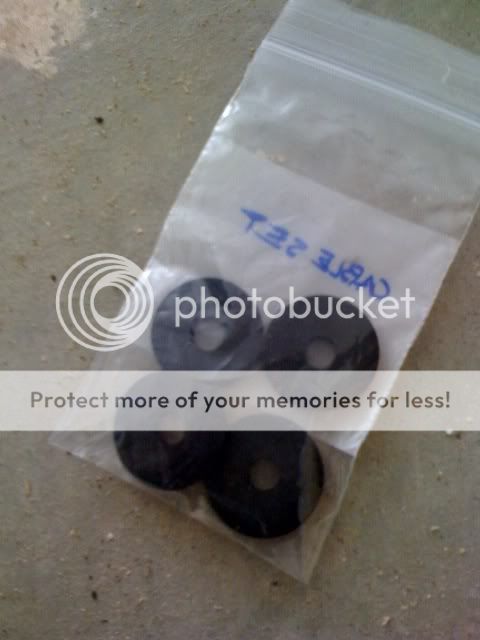
grab your new delrin bushings :-)
mmm
Okay so I'll show you now how you are to assemble the bushings in the holes of each end link. What you do is sandwich them together with the ring of the endlink holding the narrow parts of both bushings. Heres how you are going to stack them:


okay so go to the first stud and place one of the bushings on it with the narrow side up:
then place the end link on top:
now the other bushing:
and secure it with the lock pin

repeat the process on the other link (sorry don't have as many pictures for the second link, but it shouldn't be hard to figure out):

Anyways get in your car and make sure you can get into every gear

put your intake back together (or in mycase install the CAI) and test out your new cable bushings :-)
Okay so I hope this helps anyone who is confused out. These bushings go great with the Doc's gearswitcher. The shifter moves into gears more smoothly and affirmatively. There is also less slop, they definatly complete the gearswitcher package.
So start out by taking out the upper intake box and upper pipe. I decided that as long as I was going to take some of my stock intake out, I might as well take out the whole thing and throw on the CAI that has been sitting in my room since X-mas:
Alright now locate the two shifter end links, they are close to eachother and the most visible one is below the brake fluid tank:
The other one is kind of hidden behind a part of the transmission assembly so just look around where the arrows are pointing:
Okay now pull the lock pin out of the first one and put it somewhere safe because you'll be reusing it:
lift the endlink off the stud and push the stock rubber bushing out, and make sure not to drop the washer:
you should have this:
now go ahead and repeat the process for the other one:
grab your new delrin bushings :-)
mmm
Okay so I'll show you now how you are to assemble the bushings in the holes of each end link. What you do is sandwich them together with the ring of the endlink holding the narrow parts of both bushings. Heres how you are going to stack them:
okay so go to the first stud and place one of the bushings on it with the narrow side up:
then place the end link on top:
now the other bushing:
and secure it with the lock pin
repeat the process on the other link (sorry don't have as many pictures for the second link, but it shouldn't be hard to figure out):
Anyways get in your car and make sure you can get into every gear
put your intake back together (or in mycase install the CAI) and test out your new cable bushings :-)
Okay so I hope this helps anyone who is confused out. These bushings go great with the Doc's gearswitcher. The shifter moves into gears more smoothly and affirmatively. There is also less slop, they definatly complete the gearswitcher package.


Originally Posted by Ace83
there's a write up on this i believe but good FYI.. to add, dropping the pins in the engine is a no no
Oh and Bmcclure, are you having trouble plugging the MAF back in or sticking the pvc valve thing into the bracket?


yeah, its a bit smoother but moreover the real difference is that as Ace said its crisper. Its hard to accuratly explain, I suppose "more precise" sums it up pretty well.


Member
Joined: Mar 2008
Posts: 42
From: LA area - Hacienda Hts
yeah the shifts are definitely a bit more precise. Just installed my NST cable bushings two days ago and a skunk2 weighted shift **** at 440 grams. It makes my TWM stage II shortshifter more precise and easier to shift! A lot more fun to drive now.

thats right, do not reuse the metal washer. I actually tried to cram one on to the one of the links because it felt loose with just Doc Is bushings and I almost lost the loc pin for doing so.

Originally Posted by huslindan
i have the twm ones i am gunna put them on tomorrow but the thing is one peice is it the same you think ?