
Headlight Blackout DIY


Thread Starter
Senior Member
AlphaSquad
SL Member
SL Member
Joined: Oct 2007
Posts: 173
From: Rancho Cucamonga
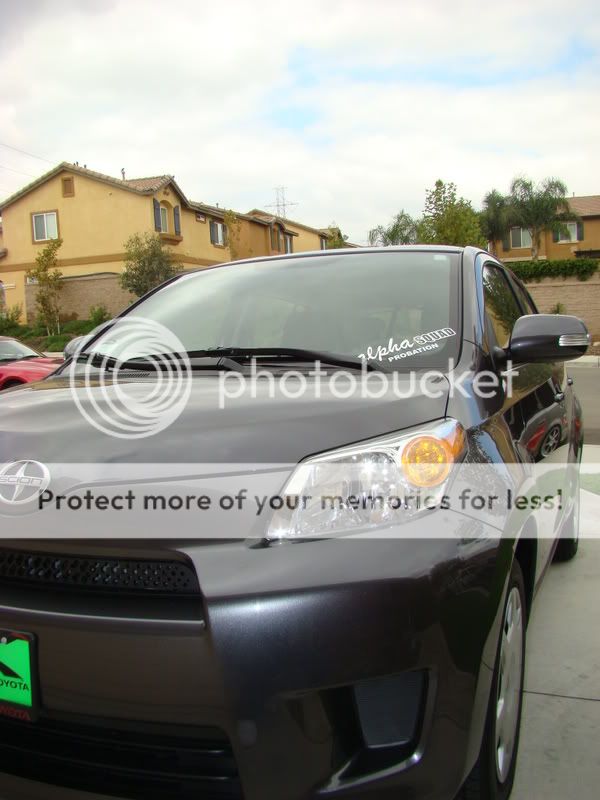
The other day my friend and I took apart my headlights to black them out. And this is what we ended up with.
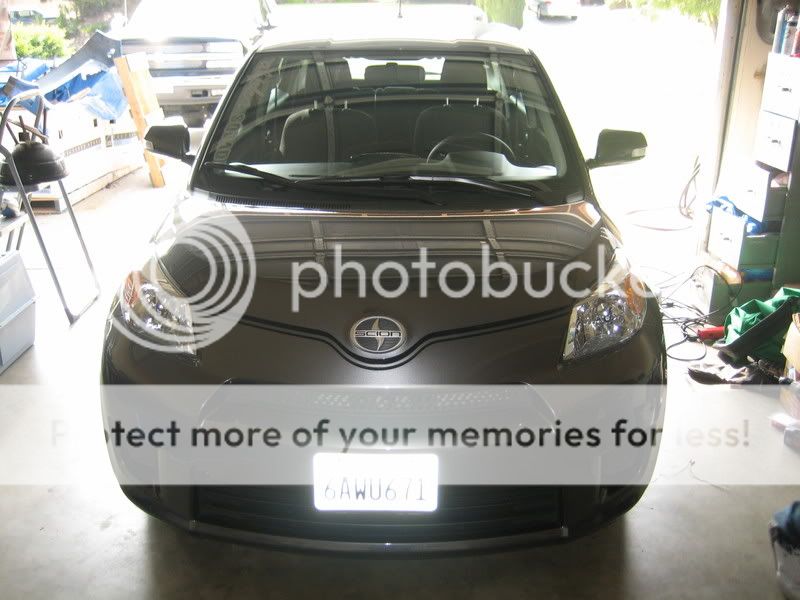
The xD stock
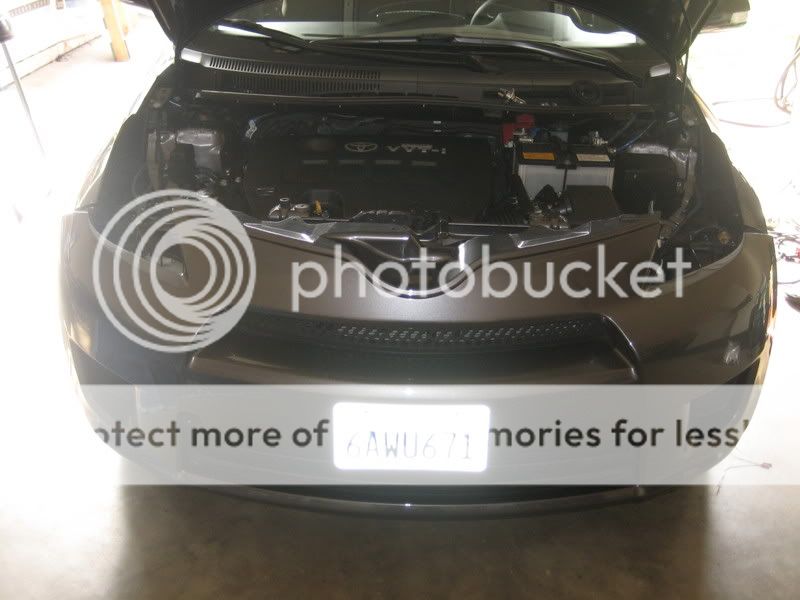
We took off the front bumper.
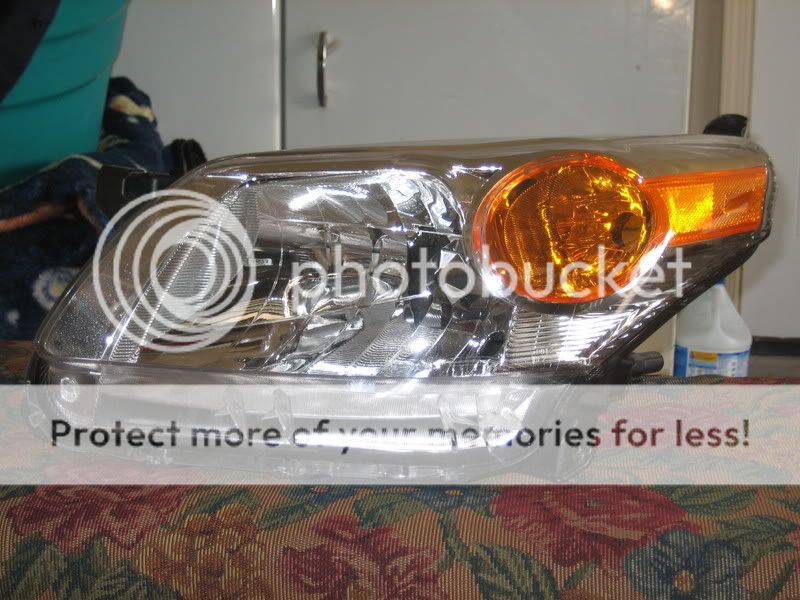
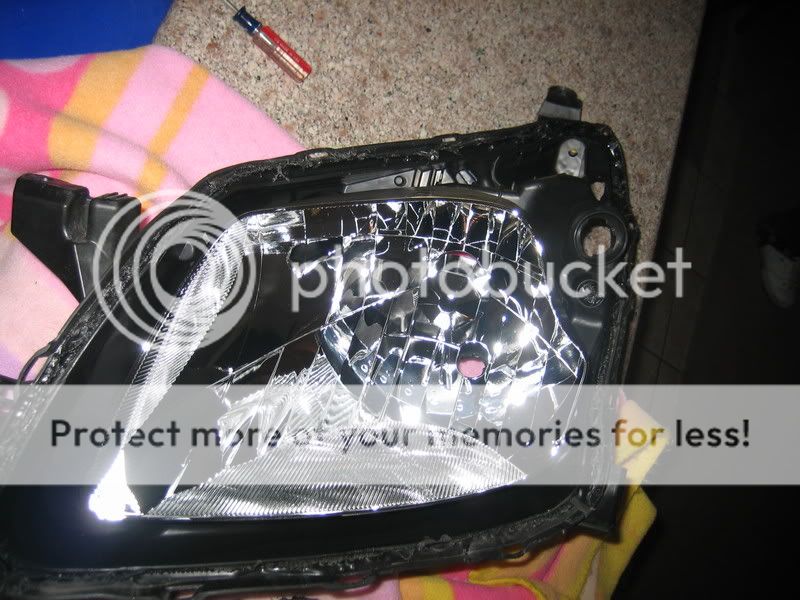
Headlight off xD
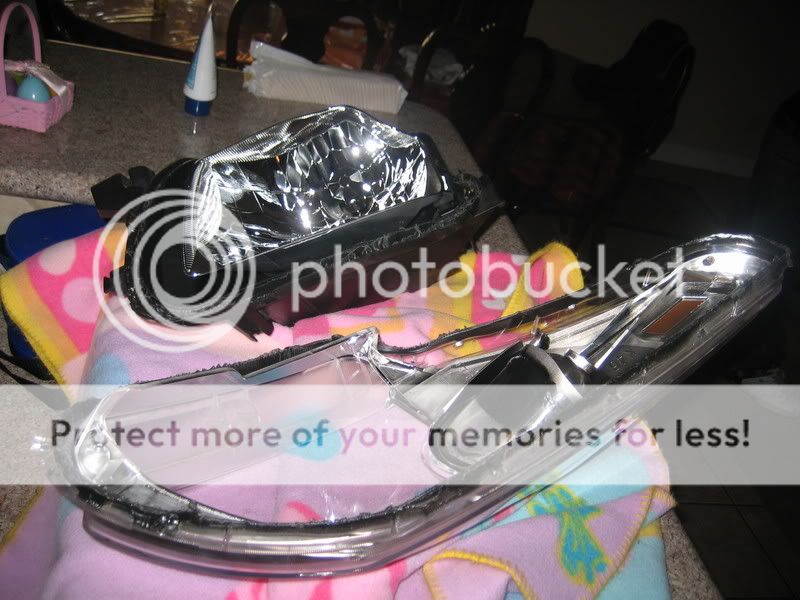
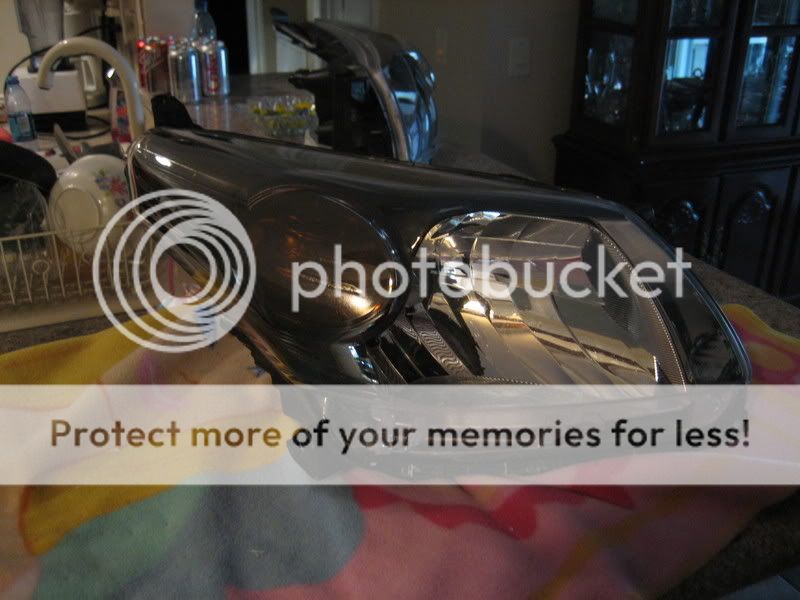
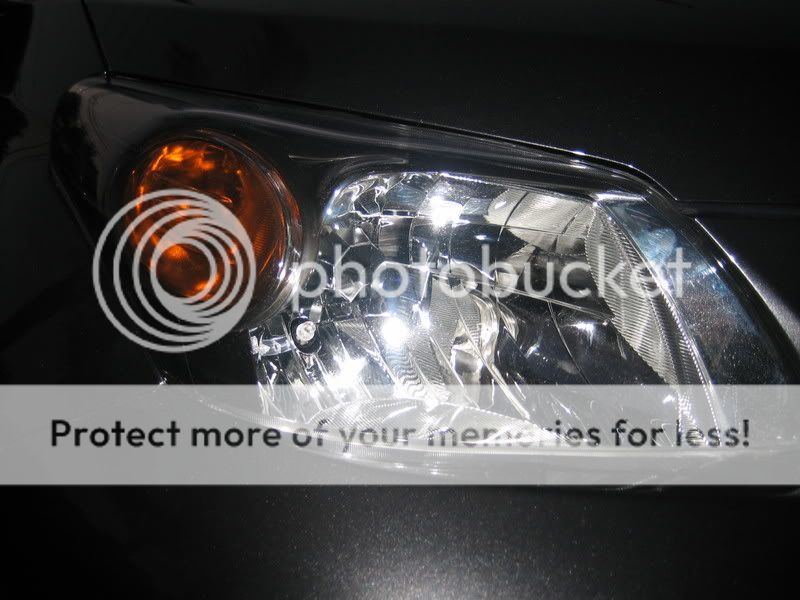
Headlight taken apart.
Shot of the headlight
Shot of the lens
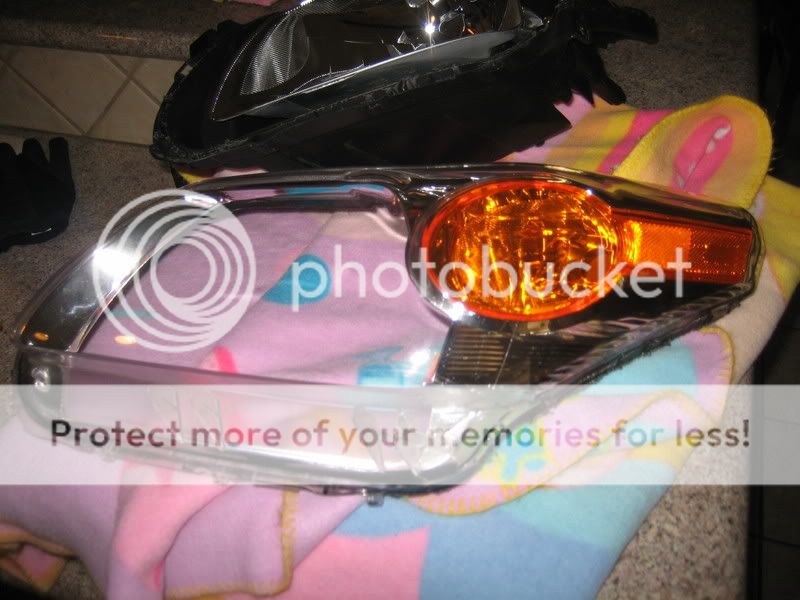
Lens taken apart
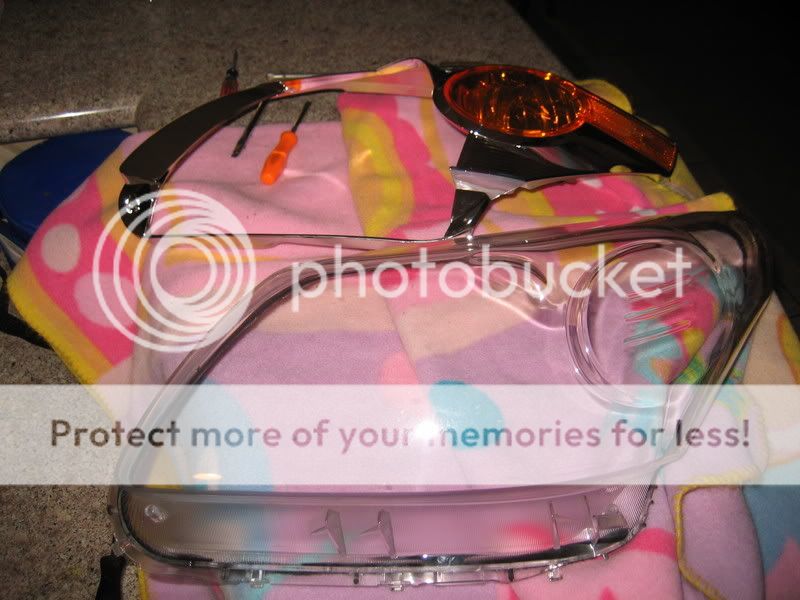
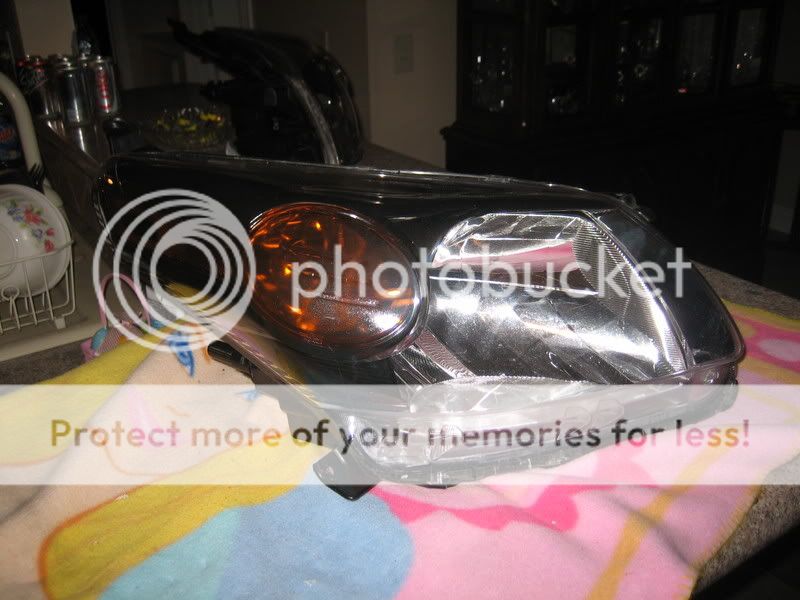
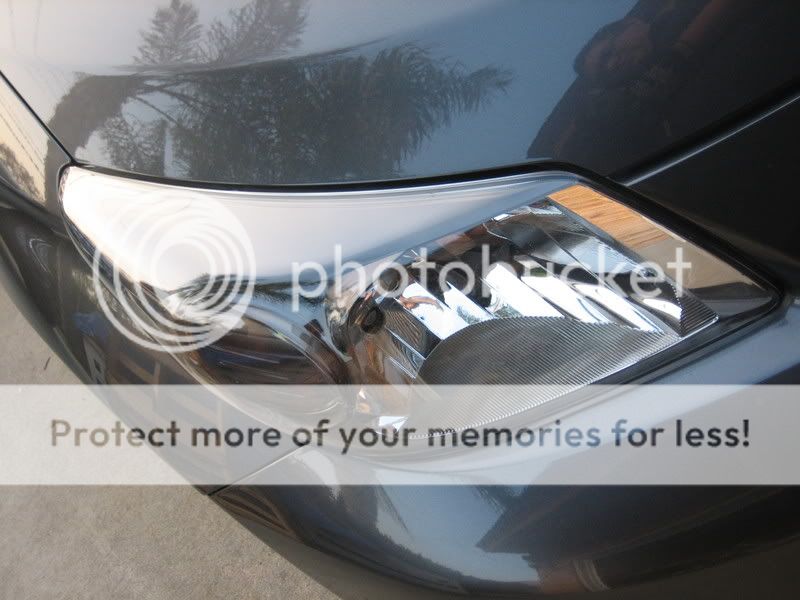
What we did was just paint the top of the headlight.
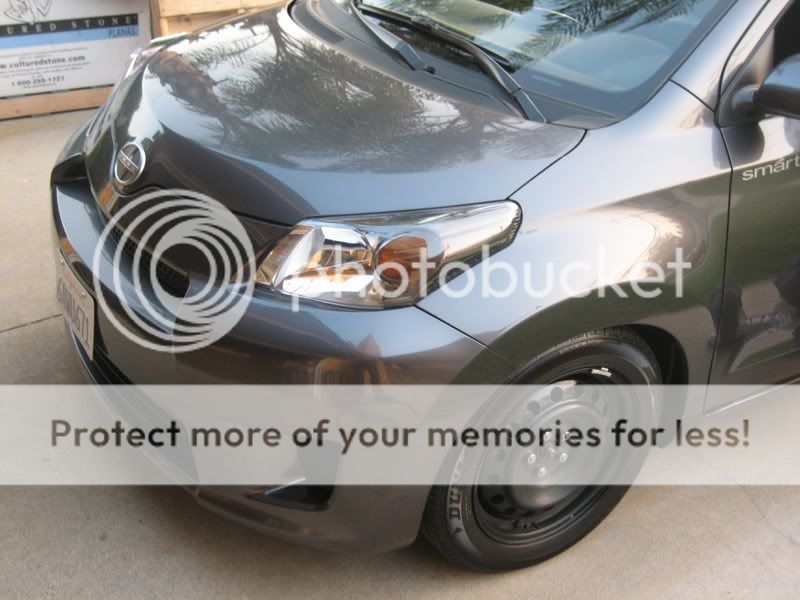
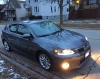
On the car
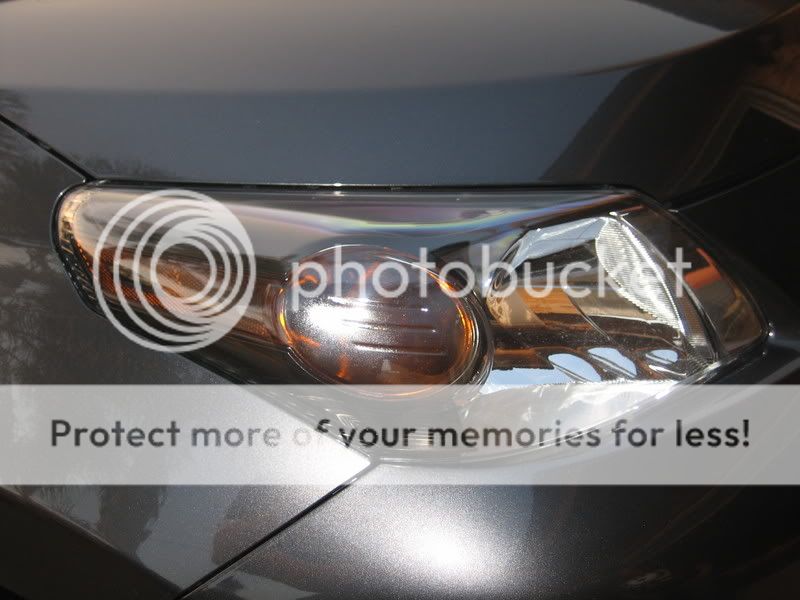
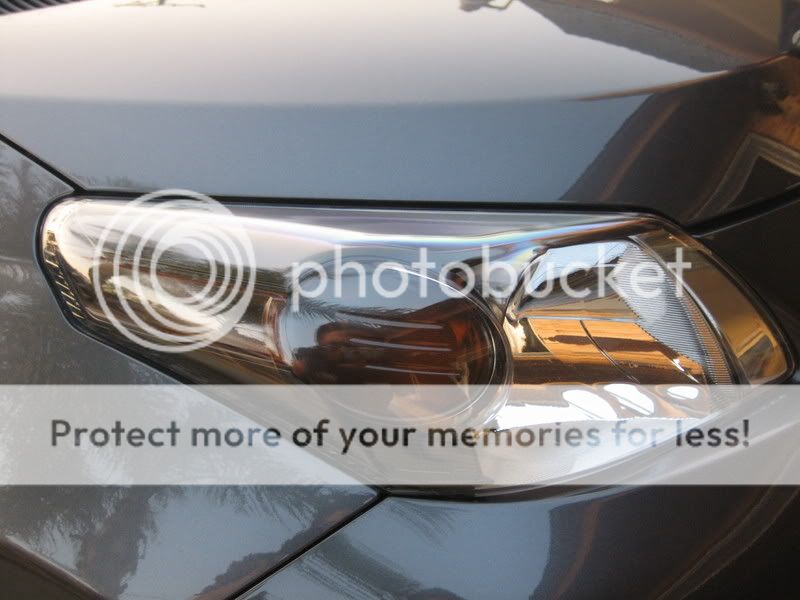
Lights on
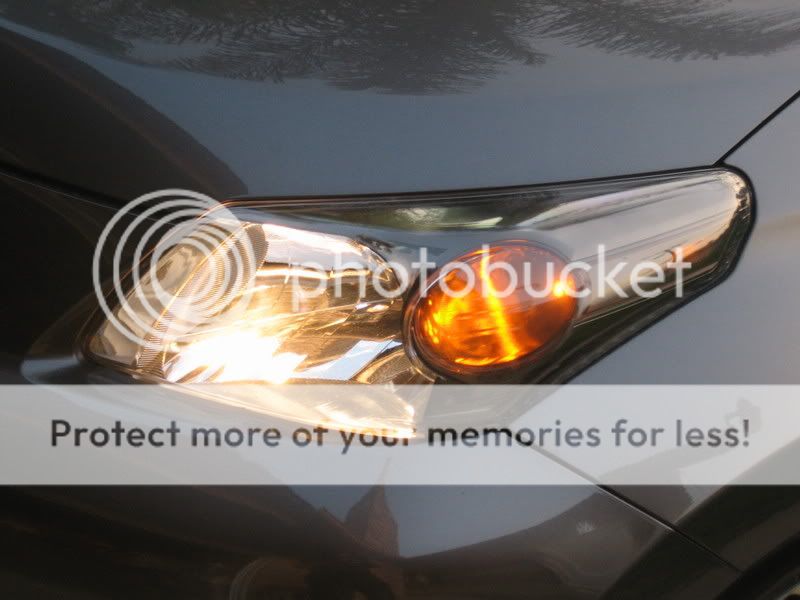
Stock pic
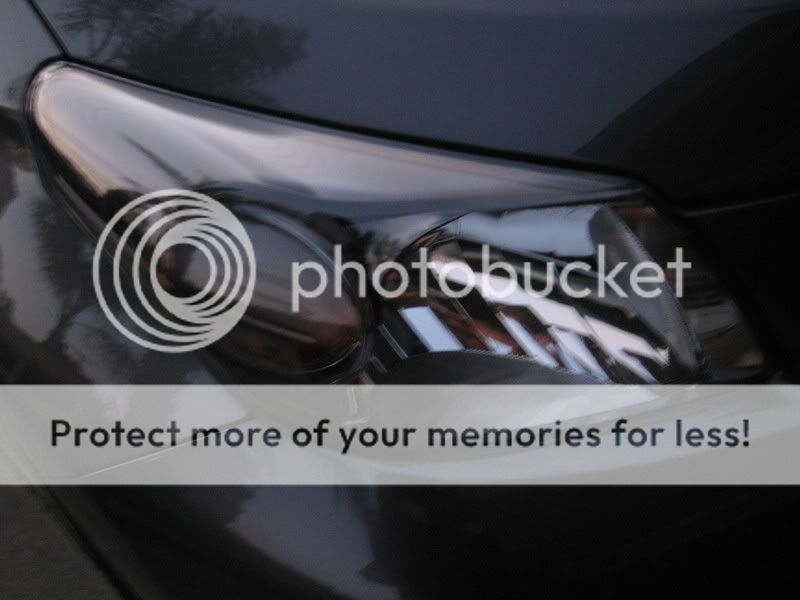
Blackouted pic
Well I hope you like it. If you have any question I know you will just ask
The xD stock
We took off the front bumper.
Headlight off xD
Headlight taken apart.
Shot of the headlight
Shot of the lens
Lens taken apart
What we did was just paint the top of the headlight.
On the car
Lights on
Stock pic
Blackouted pic
Well I hope you like it. If you have any question I know you will just ask


Senior Member
SL Member
Joined: Aug 2006
Posts: 394
Originally Posted by ChelsDS
Oh hey you did it! How hard is it to crack those puppies open? I've looked at mine to do something similiar (you know my idea) but it looks tough.
It looks good man, nice work. If anything I wish it were darker though.
I love the xD


Senior Member
SL Member
Joined: Aug 2007
Posts: 3,504
From: SoCal
Oh I know they're baked open, just that they look much harder to crack open than say xB1 and some of the tCs.
As far as removing the bumper on the front, zoltiz wrote up a DIY on installing the LED fogs and he explains how to get the bumper off in there.
As far as removing the bumper on the front, zoltiz wrote up a DIY on installing the LED fogs and he explains how to get the bumper off in there.

Senior Member
SL Member
Joined: Mar 2008
Posts: 1,091
From: SE, PA
Originally Posted by burstaneurysm
Not bad, although, I would've removed the amber (if that's possible on the D)

Thread Starter
Senior Member
AlphaSquad
SL Member
SL Member
Joined: Oct 2007
Posts: 173
From: Rancho Cucamonga
I didn't fully black them out because I was trynig to get them dark enough to kind of match the paint. We used some semi black smoked spray paint from the local hobbie shop, two full cans. It took a lil bit t to mask off and to dry, but it came out just the way that I wanted them too. 400 degrees F for about 8 to 9 mins to take them apart and then 4 mins at the same temp to put them back together. I hope you all can do this with your own style and color and if you have any questiosn please hit me up.
Senior Member
Fail, INC
SL Member
Joined: Oct 2006
Posts: 11,312
From: Forest Park, IL
Originally Posted by tmrepp
Originally Posted by burstaneurysm
Not bad, although, I would've removed the amber (if that's possible on the D)

Senior Member
SL Member
Joined: Apr 2008
Posts: 957
Looks nice! I have done this in the past on a Lancer... not sure how different the xD is, but the high temps of the oven made me nervous, so i baked them at 250 for about 7 min, and was able to pull them apart just fine.
Thread Starter
Senior Member
AlphaSquad
SL Member
SL Member
Joined: Oct 2007
Posts: 173
From: Rancho Cucamonga
I know the issue with the reflector, but my car is going to be a cop attention grabber once my kit gets put on at 9am Monday and then my wheels and exhaust this week or two and I didn't want to give them another reason to mess with me, you can still see the reflector and being that I didn't completly black them out, you get a little glare from the reflector and the glossy smoked paint on the reflector.... so the cops should leave it alone. But thats the route that I decided to go.


Thread Starter
Senior Member
AlphaSquad
SL Member
SL Member
Joined: Oct 2007
Posts: 173
From: Rancho Cucamonga
A better question is why Shrek has a Barbie blanket when he has no sisters...if it was mine I could atleast say that I have a 10 year old sister, but he has no excuse...lol

Member
Scion Evolution
Joined: May 2008
Posts: 33
Originally Posted by burstaneurysm
Originally Posted by tmrepp
Originally Posted by burstaneurysm
Not bad, although, I would've removed the amber (if that's possible on the D)