
tC -> FR-S.....and I am back!


Thread Starter
Senior Member

SL Member
Joined: Mar 2011
Posts: 2,102
From: Nashua, NH


Thread Starter
Senior Member
SL Member
Joined: Mar 2011
Posts: 2,102
From: Nashua, NH
haha stock wheels arent open enough  but with nissan rays it looks awesome!
i weighed the new ones, but haven weighed the old ones yet
i weighed the new ones, but haven weighed the old ones yet
Thread Starter
Senior Member
SL Member
Joined: Mar 2011
Posts: 2,102
From: Nashua, NH
and now, treasure chest of DIYs!
1. taking off the wheel
2. How to take off the caliper
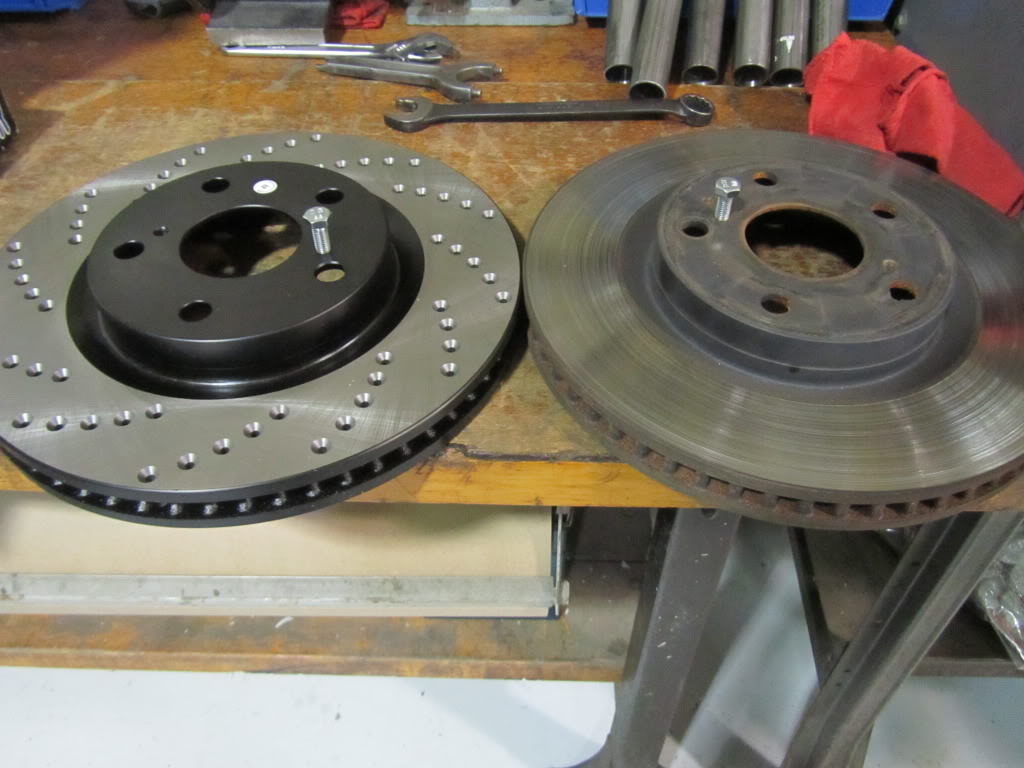
3. How to take off the Rotor
4. How to remove the studs
5. how to pull/install new studs
6. how to prep new rotors
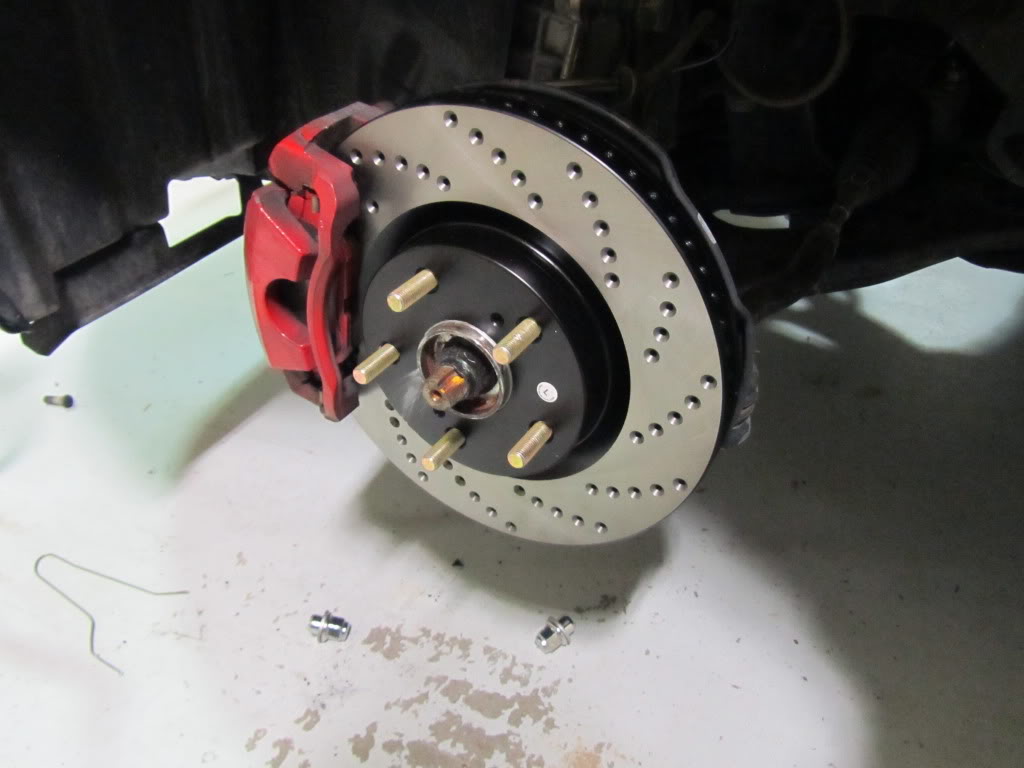
7. how to replace the calipers
2. How to take off the caliper
3. How to take off the Rotor
4. How to remove the studs
5. how to pull/install new studs
6. how to prep new rotors
7. how to replace the calipers
Thread Starter
Senior Member
SL Member
Joined: Mar 2011
Posts: 2,102
From: Nashua, NH

Senior Member
SL Member
Joined: Sep 2011
Posts: 732
From: Washington, DC
Thread Starter
Senior Member
SL Member
Joined: Mar 2011
Posts: 2,102
From: Nashua, NH


Member
SL Member
Joined: Jun 2011
Posts: 83
Gah! I hate my voice! Oh well I did have a sore throat, haha, I'm the one in the first video.
A few notes:
Part 2: Notice we didn't need to even remove the brake pads since we weren't changing them. If you pull the bracket off straight they can stay nestled into it; less to fiddle with when you put it back together.
Part 4: We used a dead-blow hammer, which isn't as bouncy as a rubber mallet, and also preferred over a steel hammer because it can't damage things easily and causes less shock.
Part 5: "But first we need to secure this... So it doesn't... ____." I suggest using a wrench you rarely use in case this method bends it slightly, we used a 13mm because they're not used on our Japanese cars. You don't have to use a wrench, it was just an easy option, and remember don't do both sides at once because you can't brace it like this. Using a washer between the nut and stud is highly recommended since we ran into an issue with one of them where the nut and stud actually started to weld to each other from friction--also be sure not to use power tool because the likelihood of that it much greater!
Part 6: It's also advisable to use brake cleaner on the braking surface because rotors often come with a thin layer of oil to prevent rust. These ones didn't seem to, but brake cleaner wasn't available to us at the time either. I'm told this is critical so as not to contaminate the brake pads, but other sources have said if it's just a small amount it'll get burnt off.
Part 7: I found the torque specs for the front brakes. They're from the first gen but the hardware looks identical. Caliper bolts 25 fl-lbs, bracket bolts 79 ft-lbs.
By the way, official lug nut torque spec is 76 ft-lbs.
Thread Starter
Senior Member
SL Member
Joined: Mar 2011
Posts: 2,102
From: Nashua, NH
