
View Poll Results: Is this thread helpful?


Voters: 22. You may not vote on this poll
TYC Tail light Install


Thread Starter
Senior Member
Lehigh Valley Scions
SL Member
Joined: Jan 2007
Posts: 7,031
From: Lehigh Valley, PA
I did this install last night and i thought i would just try out writing an install on them because i didnt see one on here and the pictures on the directions are very unclear. This is my first right up so ill do my best.
Tools Needed:
-10MM Deep Socket
-Socket Wrench
-Adjustable Wrench
-Phillips Screw Driver
-Flathead Screw Driver
1. VEHICLE PREPARATION
(a) Open Rear Hatch
(b) Apply vehicle protection to rear bumper (Blanket etc.)
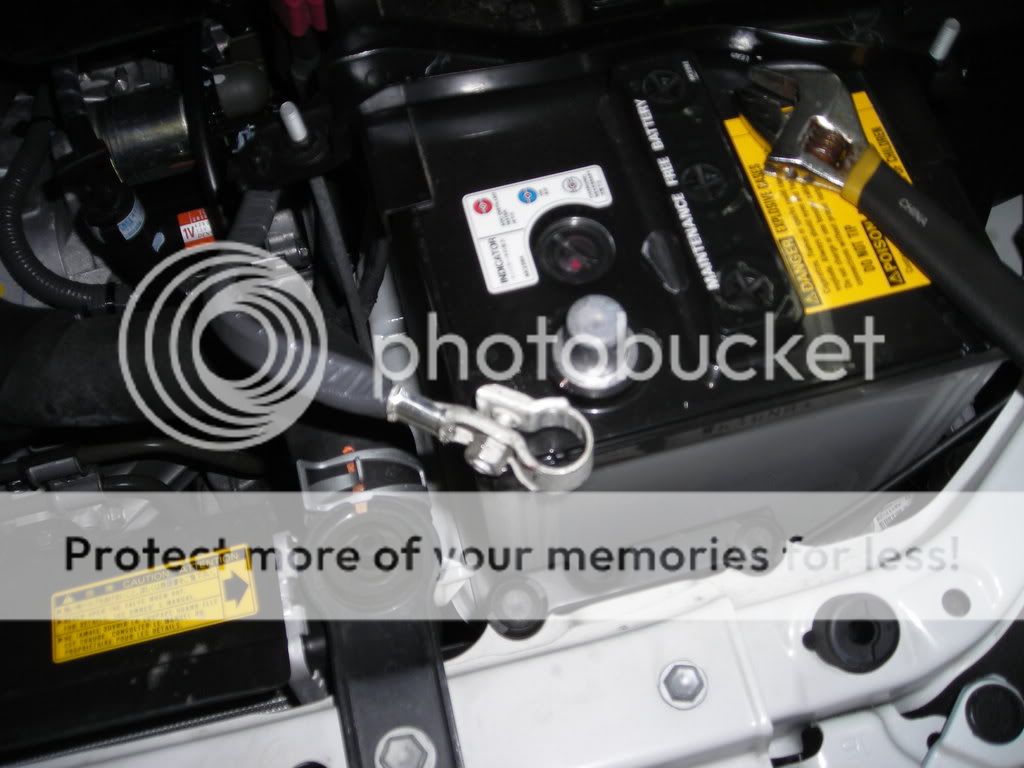
(c) Remove battery negative terminal:

2. LOOSEN BUMPER
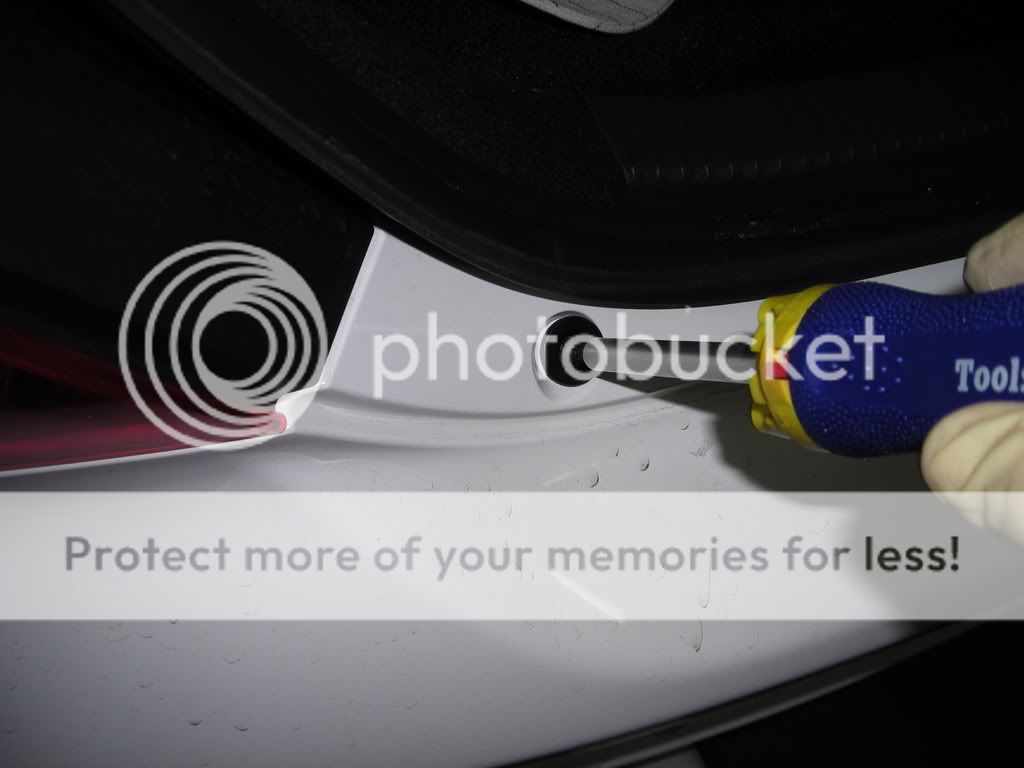
(a) Starting with either side of the vehicle remove the screw in the hatch opening:
(b) Remove the bolt from the wheel well:

(c) Remove the push fastner from the bottom of the bumper near the wheel well ( These things are hard to get out, I pryed mine out of there with a flat head screw driver):

(d) Pull outward on the side of the bumper to realease:

(e) Repeat steps (a) through (e) on the oposite side of the vehicle
3. REMOVE TAILIGHT:
(a) Starting with either side of the vehicle, remove the tail light access cover in the hatch by pressing on the release tab:

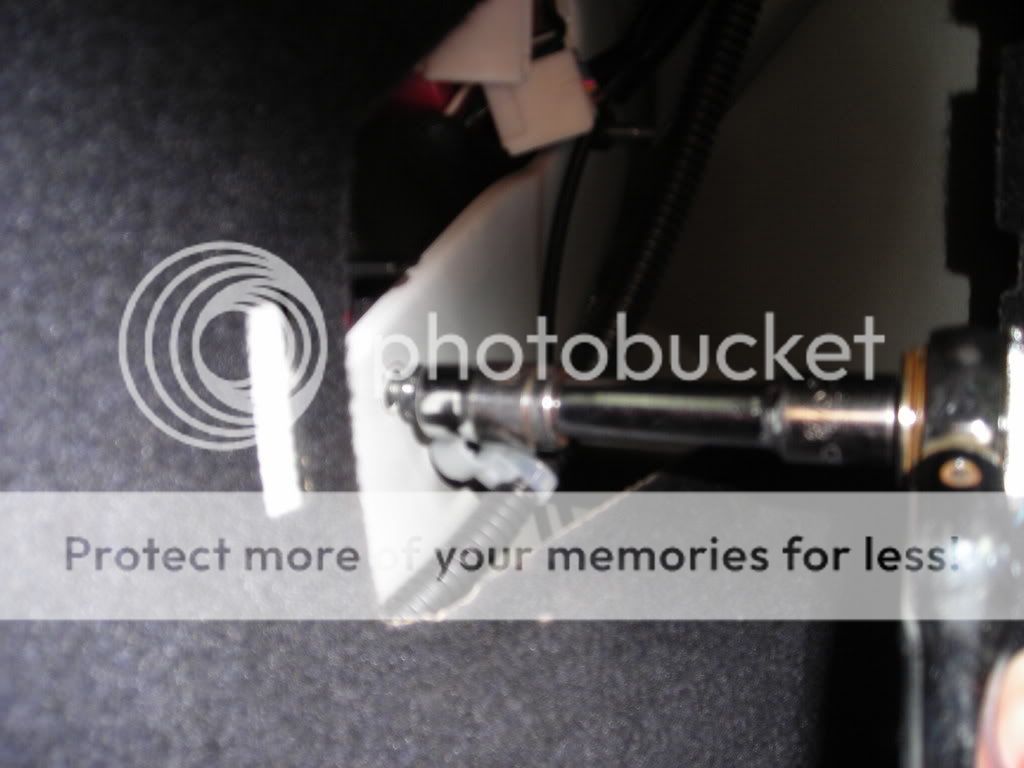
(b) Release the wire harness mount from the mounting stud by pulling staight back on the mount:

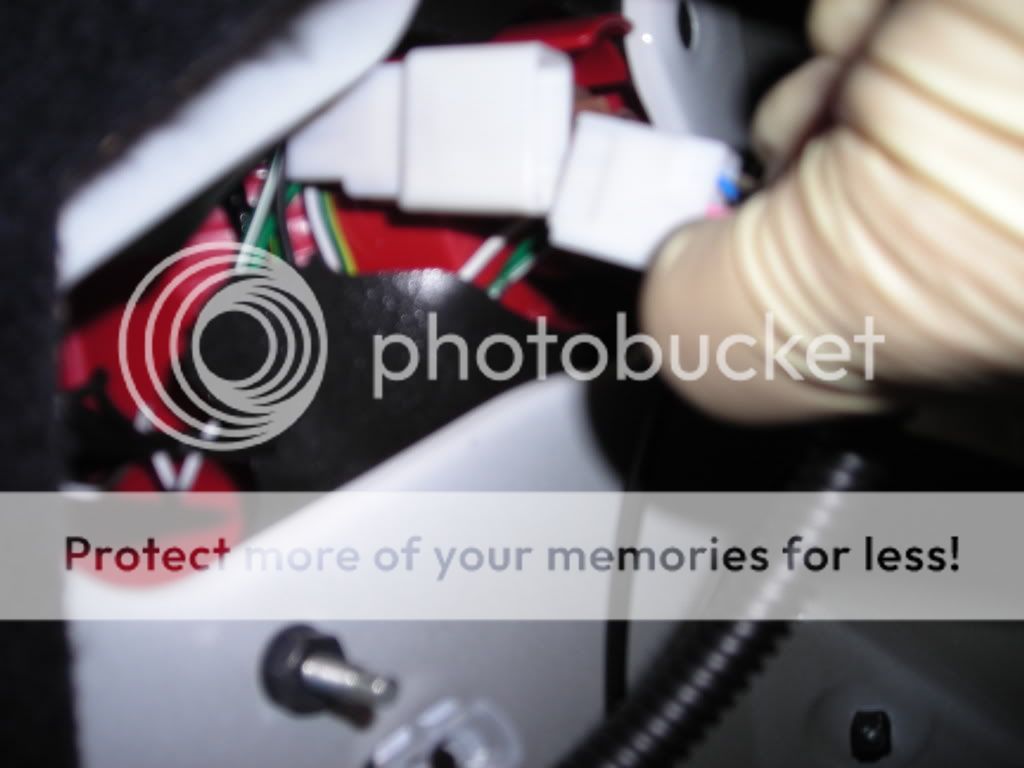
(c) Unplug the tail light connector:
(1) The tail light connector is located directly on the back of the tail light.
(2) The release tab is located close to the lamp housing. (Flashlight is a good help on locating this.)
(3) Press down on the release tab.
(4) On the driver side the release tab is located on the bottom of the connector. On the passenger side it's located on the top of the connector.
(d) Remove the (3) mounting nuts with a 10mm socket wrench. (The mounting nut on the top is very long so if you dont have a deep enough socket to reach it use a 10mm wrench. Also in order to reach the top mounting nut you will have to bend the trunk liner.)
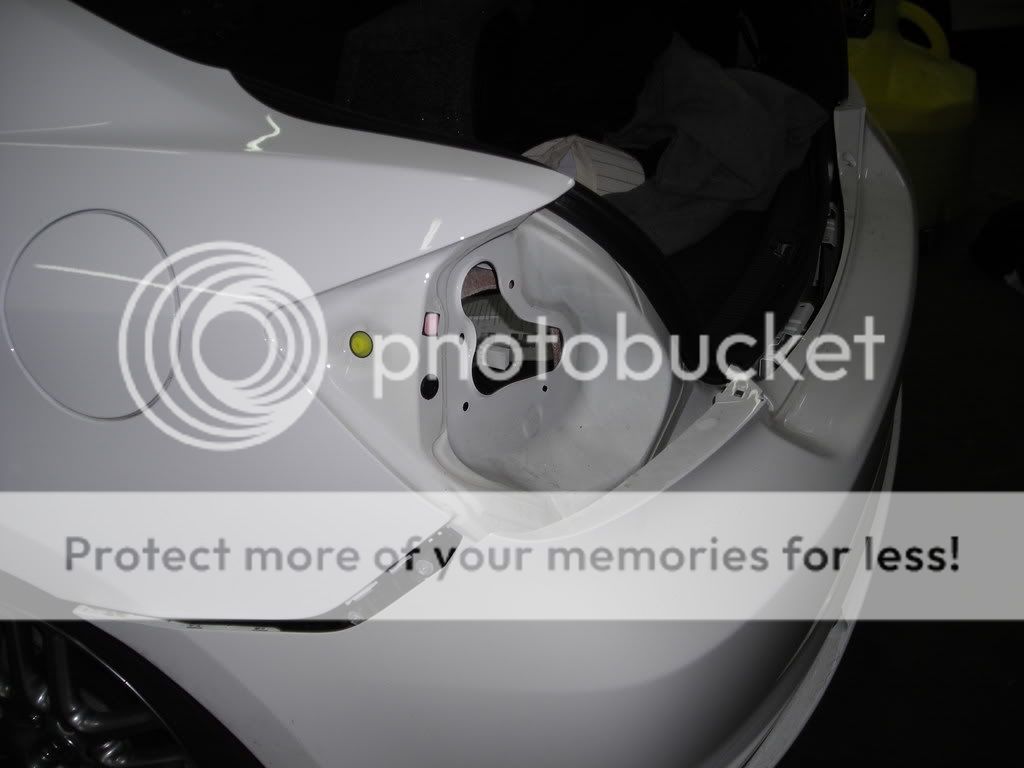
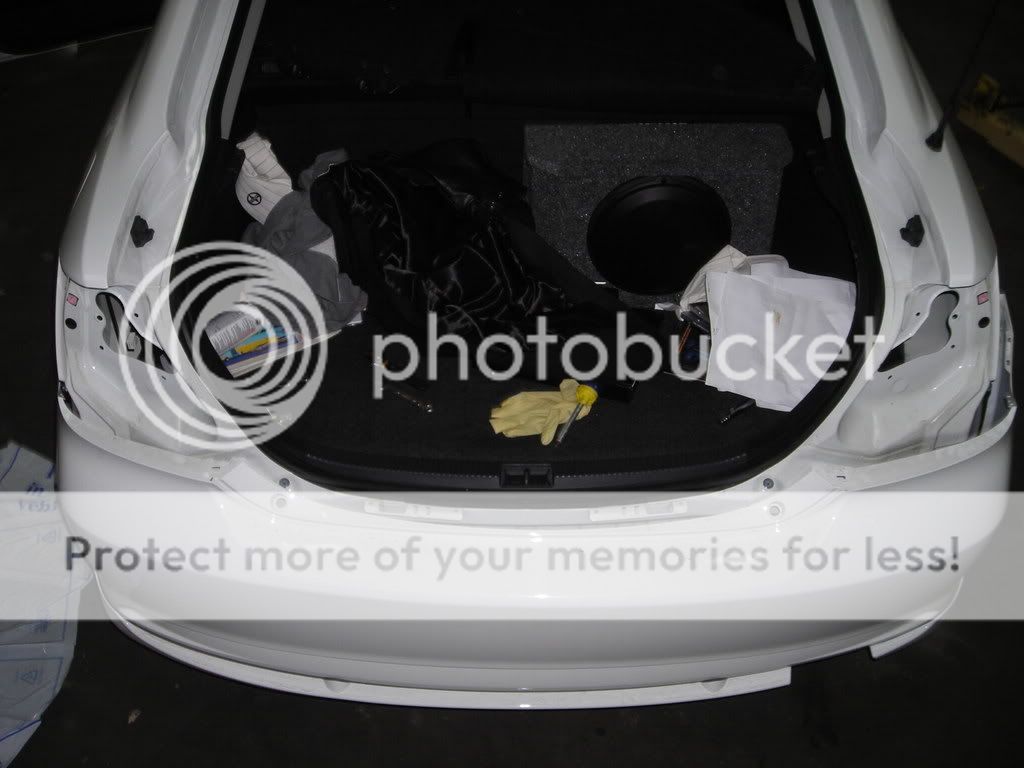
(e) Remove the tail light assembly by pulling straight back:

(f) Release the tail light from the bumper and remove:
(g) Repeat steps (a) through (d) on the opposite side.
-This is what the back of your tC should look like now:
4. INSTALL TAIL LIGHTS
(a) Make sure the wire harness has been pulled back through hole to ensure the wires are no pinched between the light and sheet metal.
(b) Pull back a little on the bumper to gain clearance and insert the tail light into the cavity.
(c) Align the tail light mounting studs through the holes and push the light foward into the cavity.
(1) Make sure you align the side fastner (its the yellow rubber thing on the side of the tail light cavity) as you push foward. (The tail light will lock into place)
(d) Align the bumper to the alignment tab on the light. (Its the black piece on the bottom of the light)
(e) Push the bumper forward

(f)Align the bumper side tabs with the slots and press to engage
(g) Torque the mounting nuts to 36 lbf-in (30 lbf-in min / 37 lbf-in max)

(h) Repeat steps (a) through (g) for the opposite side
(i) Re-Install the (2) upper bumper screws:
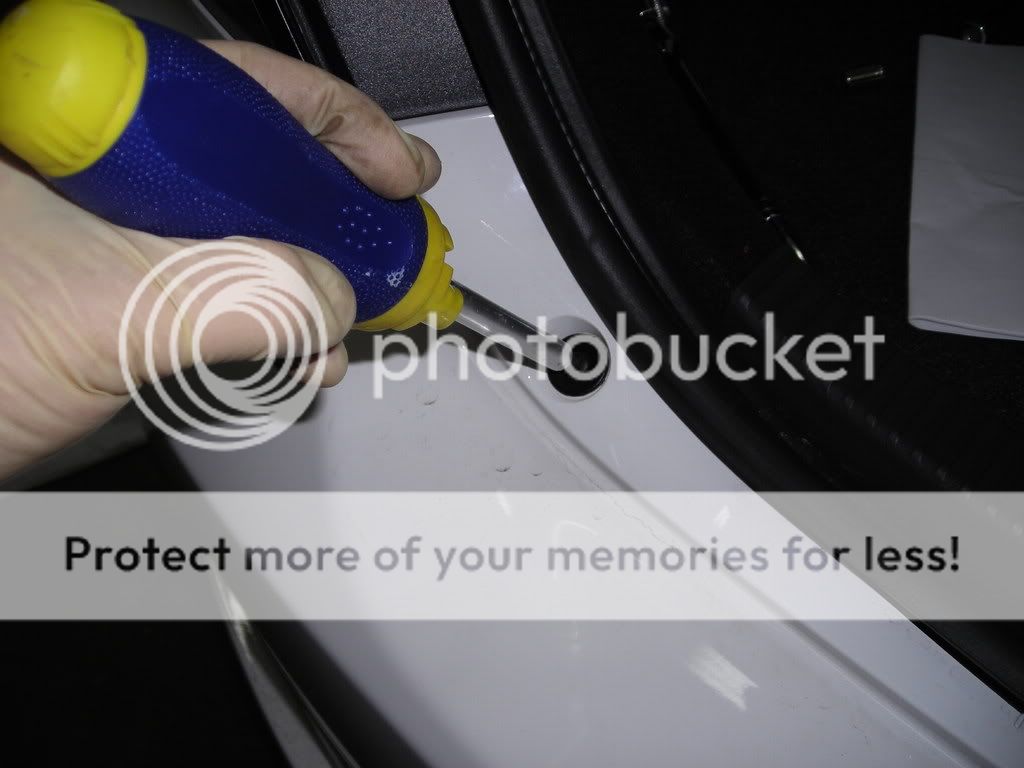
And the (2) wheel well screws:

(j) Re-Install the (2) lower push fastners on the bottom of the bumper:
(k) Connect the taillight connector to the vehicle connector:
(l) Re-Install the wire harness mount onto the mounting stud:
(m) Re-Install the acess cover:
(n) Repeat steps (h) through (m) on the opposite side of the vehicle.
5. Re-Connect the negative battery terminal:
6. Make sure all lights are functioning:
-Brake Light
-Turn Signal
-Reverse Lights
-Tail/Park Light
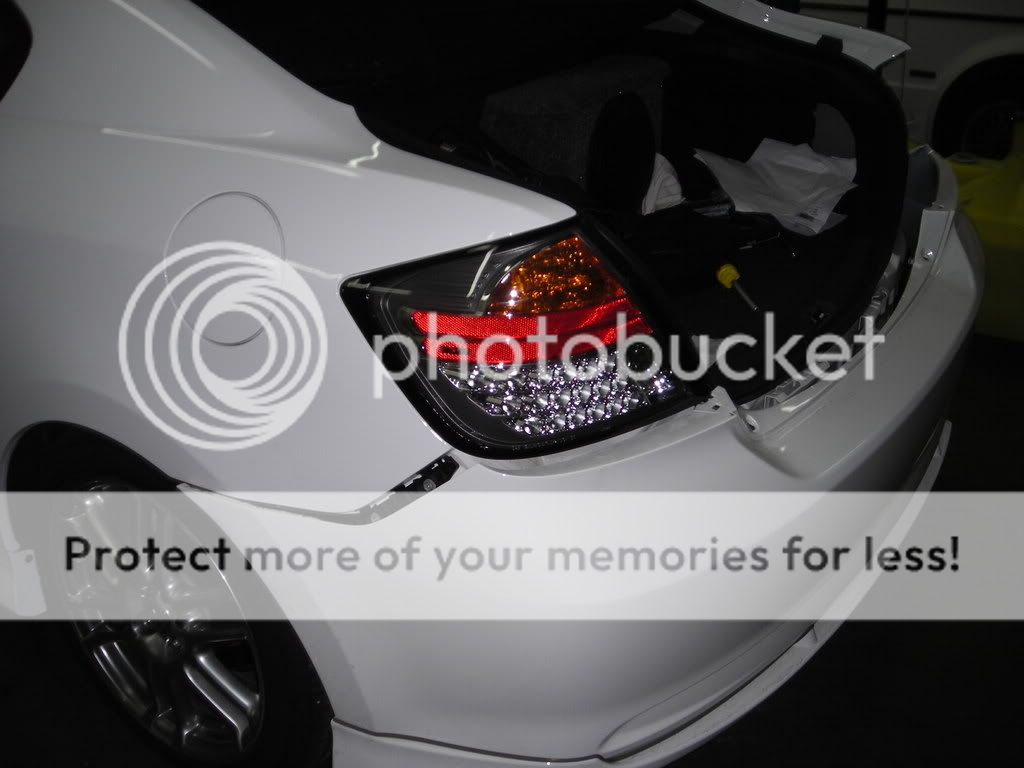
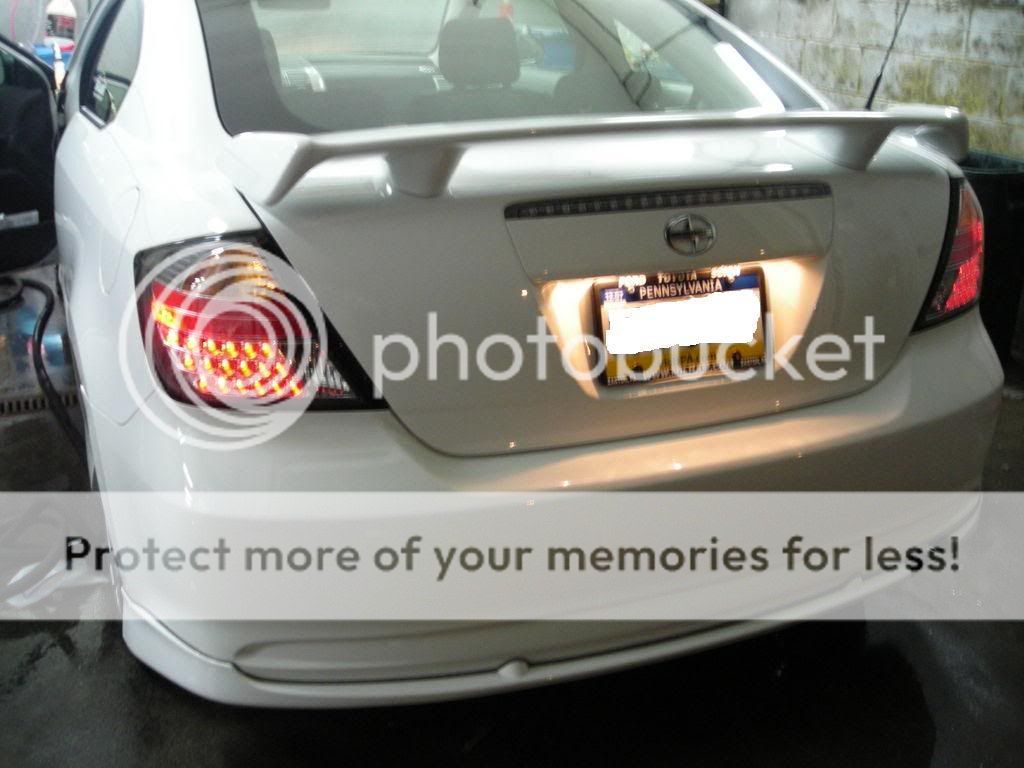
7.The finished product!
*If any of the lamps do not function properly check the connector for full engagement.
*I am not responsible if anyone makes a mistake. If you have any questions please post them below or PM me. Thank you!
Tools Needed:
-10MM Deep Socket
-Socket Wrench
-Adjustable Wrench
-Phillips Screw Driver
-Flathead Screw Driver
1. VEHICLE PREPARATION
(a) Open Rear Hatch
(b) Apply vehicle protection to rear bumper (Blanket etc.)
(c) Remove battery negative terminal:
2. LOOSEN BUMPER
(a) Starting with either side of the vehicle remove the screw in the hatch opening:
(b) Remove the bolt from the wheel well:
(c) Remove the push fastner from the bottom of the bumper near the wheel well ( These things are hard to get out, I pryed mine out of there with a flat head screw driver):
(d) Pull outward on the side of the bumper to realease:
(e) Repeat steps (a) through (e) on the oposite side of the vehicle
3. REMOVE TAILIGHT:
(a) Starting with either side of the vehicle, remove the tail light access cover in the hatch by pressing on the release tab:
(b) Release the wire harness mount from the mounting stud by pulling staight back on the mount:
(c) Unplug the tail light connector:
(1) The tail light connector is located directly on the back of the tail light.
(2) The release tab is located close to the lamp housing. (Flashlight is a good help on locating this.)
(3) Press down on the release tab.
(4) On the driver side the release tab is located on the bottom of the connector. On the passenger side it's located on the top of the connector.
(d) Remove the (3) mounting nuts with a 10mm socket wrench. (The mounting nut on the top is very long so if you dont have a deep enough socket to reach it use a 10mm wrench. Also in order to reach the top mounting nut you will have to bend the trunk liner.)
(e) Remove the tail light assembly by pulling straight back:
(f) Release the tail light from the bumper and remove:
(g) Repeat steps (a) through (d) on the opposite side.
-This is what the back of your tC should look like now:
4. INSTALL TAIL LIGHTS
(a) Make sure the wire harness has been pulled back through hole to ensure the wires are no pinched between the light and sheet metal.
(b) Pull back a little on the bumper to gain clearance and insert the tail light into the cavity.
(c) Align the tail light mounting studs through the holes and push the light foward into the cavity.
(1) Make sure you align the side fastner (its the yellow rubber thing on the side of the tail light cavity) as you push foward. (The tail light will lock into place)
(d) Align the bumper to the alignment tab on the light. (Its the black piece on the bottom of the light)
(e) Push the bumper forward
(f)Align the bumper side tabs with the slots and press to engage
(g) Torque the mounting nuts to 36 lbf-in (30 lbf-in min / 37 lbf-in max)
(h) Repeat steps (a) through (g) for the opposite side
(i) Re-Install the (2) upper bumper screws:
And the (2) wheel well screws:
(j) Re-Install the (2) lower push fastners on the bottom of the bumper:
(k) Connect the taillight connector to the vehicle connector:
(l) Re-Install the wire harness mount onto the mounting stud:
(m) Re-Install the acess cover:
(n) Repeat steps (h) through (m) on the opposite side of the vehicle.
5. Re-Connect the negative battery terminal:
6. Make sure all lights are functioning:
-Brake Light
-Turn Signal
-Reverse Lights
-Tail/Park Light
7.The finished product!
*If any of the lamps do not function properly check the connector for full engagement.
*I am not responsible if anyone makes a mistake. If you have any questions please post them below or PM me. Thank you!

Senior Member
SL Member
Scion Evolution
Scion Evolution
Joined: Mar 2007
Posts: 609
From: HoCo, MD
Some of the pictures are a little blurry and hard to understand what you are focusing on. Also, is it entirely neccesary to "loosen" the bumper in order to install rear lights? Otherwise, a pretty decent tutorial.


Thread Starter
Senior Member
Lehigh Valley Scions
SL Member
Joined: Jan 2007
Posts: 7,031
From: Lehigh Valley, PA
Originally Posted by mdMiketC
Some of the pictures are a little blurry and hard to understand what you are focusing on. Also, is it entirely neccesary to "loosen" the bumper in order to install rear lights? Otherwise, a pretty decent tutorial.


Senior Member
SL Member
Joined: Mar 2006
Posts: 101
From: Orlando, Floriduh
Nice write up! On your step C, removal of the push pins, I highly recommend using a small precision-style screwdriver and a door panel tool. Insert the small screwdriver in one of the notches at the base of the push pin and carefully pry the pin up, work your way around then use the door panel tool to pry the push pin body out. A door panel tool is one of the best tools you could ever have in your toolbox. It looks like a bent large bladed flathead screwdriver with a cutout notch. It makes removing things like this a snap, plus it wont destroy the piece like pliers can.
Thread Starter
Senior Member
Lehigh Valley Scions
SL Member
Joined: Jan 2007
Posts: 7,031
From: Lehigh Valley, PA
Thank you very much everybody i appreciate the comments and info very much 
Hey vince i havent met u yet but if you go down to the applebees meeting i should be down sometime soon its just been hard for me to get down there cause of my second job...and since you so close if u ever need any help let me know..
Hey vince i havent met u yet but if you go down to the applebees meeting i should be down sometime soon its just been hard for me to get down there cause of my second job...and since you so close if u ever need any help let me know..


It's on the bottom of the bumper - but I've swapped tails multiple times, never took those out.
Here's the actual instructions;
http://www.trdsparks.com/install/00016-21550inst.pdf
Here's the actual instructions;
http://www.trdsparks.com/install/00016-21550inst.pdf
So yes, I followed the TRD instructions. I manage to get most of the bolts/clips off if not all but I don't have an easy way to remove the bumper. Btw, I have a rear lip that made everything a pita. Do you have any tips on how to pull and tug the bumper off? And do I need to remove the entire bumper?
What are you trying to do? Just swap tails? Then no, you don't need to remove the bumper completely. By removing the two screws on the top by the trunk, and the bolt in each wheel well, you can pull the bumper back and down enough to swap the tails. The bumper snaps into a bracket between the tail light and the wheel well; you have to pull it out of the brackets, after the two top screws and bolts are removed.
All of the plastic fasteners on the car are pretty much the same - on the front bumper / radiator support, on the splash shields under the engine, etc. There are several different types and sizes, but all work the same - you pop up the center piece, and then the entire fastener can be pulled out.
To put them back in, you leave the center piece popped out, and insert the fastener into the bumper - then push the center piece in. This expands the fastener, and that's what keeps it in place.
Yea im just swapping tails. Im having trouble pulling the bumper off the clips because I didn't know exactly what direction to pull or how hard to pull. Almost seems like im going to break the something. And for the middle of the bumper, did you remove the rubber seal? Or did you just push down?
Just got it out and I installed the tails...this was a lot harder than I thought. Its also a bit hard to put back everything. The bumper doesnt fit fully flush with the tails. I wonder if this is normal.


Thread
Thread Starter
Forum
Replies
Last Post
xBSciontist
Scion xB 1st-Gen Aero & Exterior
6
Jun 18, 2019 03:06 PM
TheTripleC
PPC: Vehicles
1
Jan 4, 2015 06:46 PM
mrbadass03
Scion xB 1st-Gen Owners Lounge
24
Apr 21, 2004 02:17 AM