When you click on links to various merchants on this site and make a purchase, this can result in this site earning a commission. Affiliate programs and affiliations include, but are not limited to, the eBay Partner Network.
Hi all, this is my first real write up and how-to, so it probably won't be very good, but drop any questions below and I'll attempt to answer them.
First of all- this was my first retrofit, and I had a friend help that has retrofitted before. The whole process took a little over a full day- one day to break the headlights open and install all the parts, and then another few hours to reinstall the headlights and deal with wiring.
Another note- My tC was purchased with a rebuilt title because it was damaged on the left and front, and the passenger side headlight was damaged as well. So my passenger side headlight is 'DEPO' branded which actually made things much more difficult, so you should have less trouble if you have OEM parts.
Parts list- all parts were purchased from The Retrofit Source, they were a bit difficult to deal with and did mess up some stuff, but they were extremely busy since I placed my orders around black Friday time.
Morimoto mini D2S 5.0 rx-350 retroquick kit
Morimoto D2S 50w 4800k bulbs and 50w ballast kit
Profile Pivot 80mm Halo kit
Profile Pivot 18" LED strip Harness HD Relay 9005/9006/9012/H10
Retrorubber butyl glue
90mm rubber housing cap (hasn't shipped yet so not sure if this is going to work but it should)
1st step is to remove the headlights from the car- I don't really have any pictures or guides on this but basically remove the bumper (there is a guide in the forums-not very hard) and the unplug all the connectors from the headlights and then take out the three bolts holding each of the headlights in. If you have trouble in the first step then I do not recommend this DIY because it is fairly advanced, with that said, moving on.
2nd step is to open up the headlights, this is done by baking the headlights in the oven for a few minutes to loosen up the Permaseal (yes, Permaseal it sucks) and then prying the front lens off the rest of the housing. I had a lot of trouble with this part, and spent several hours on it because my Depo headlight used some different glue that was impossible to work with, but again if you have all OEM parts my OEM headlight only took an hour and a half to open and then remove all the Permaseal from it. It is difficult to pry the lens off, but you basically have to stick prying tools in the channels and pry it out, you will damage the plastic a bit, but you can reform it when it is hot, and the new seal will fill in the imperfections. Also, be sure to take out the screws before prying, and after heating the headlight up.
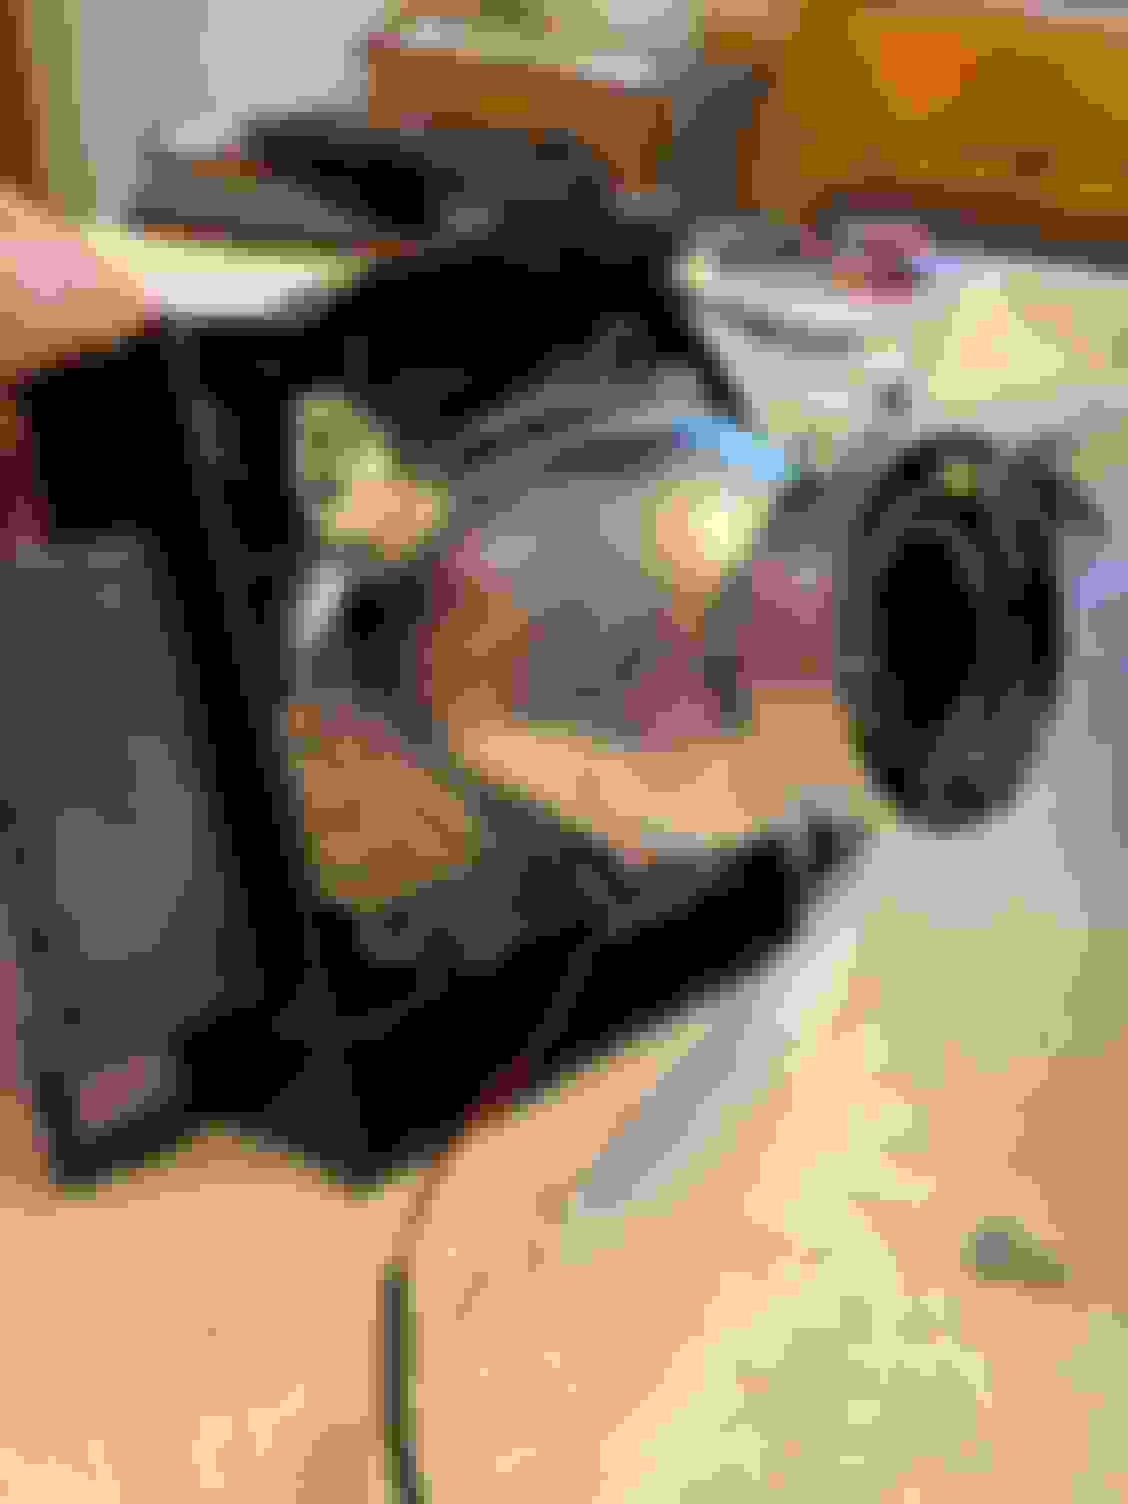
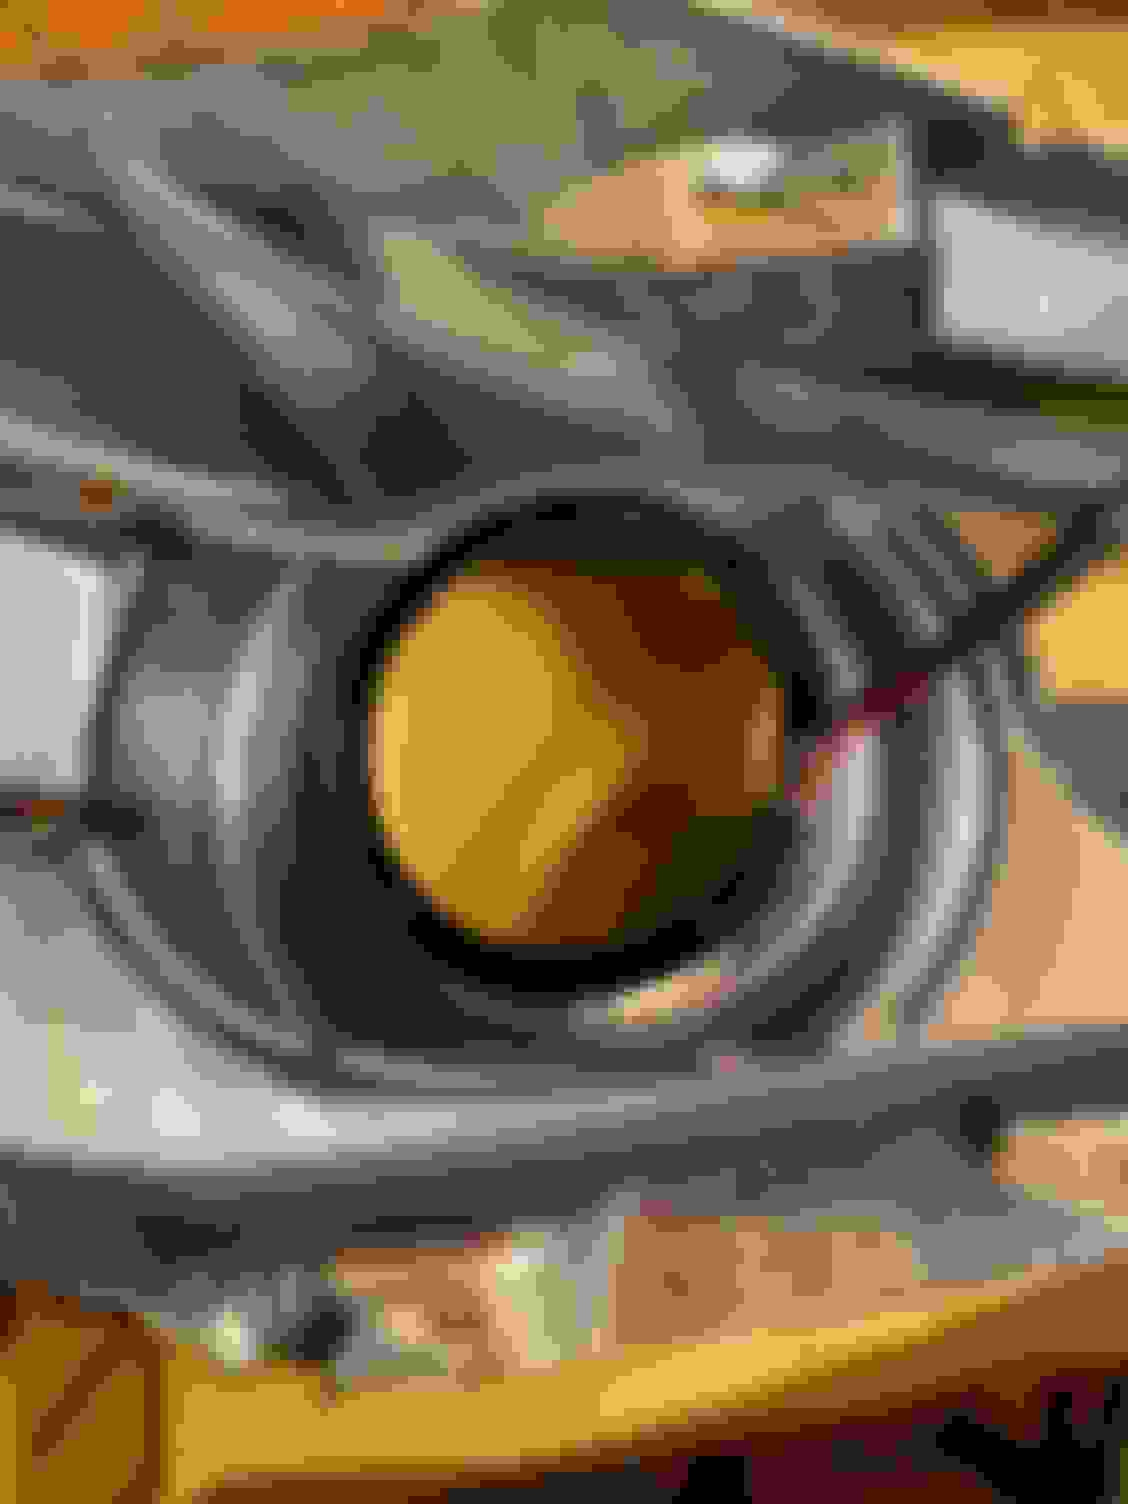
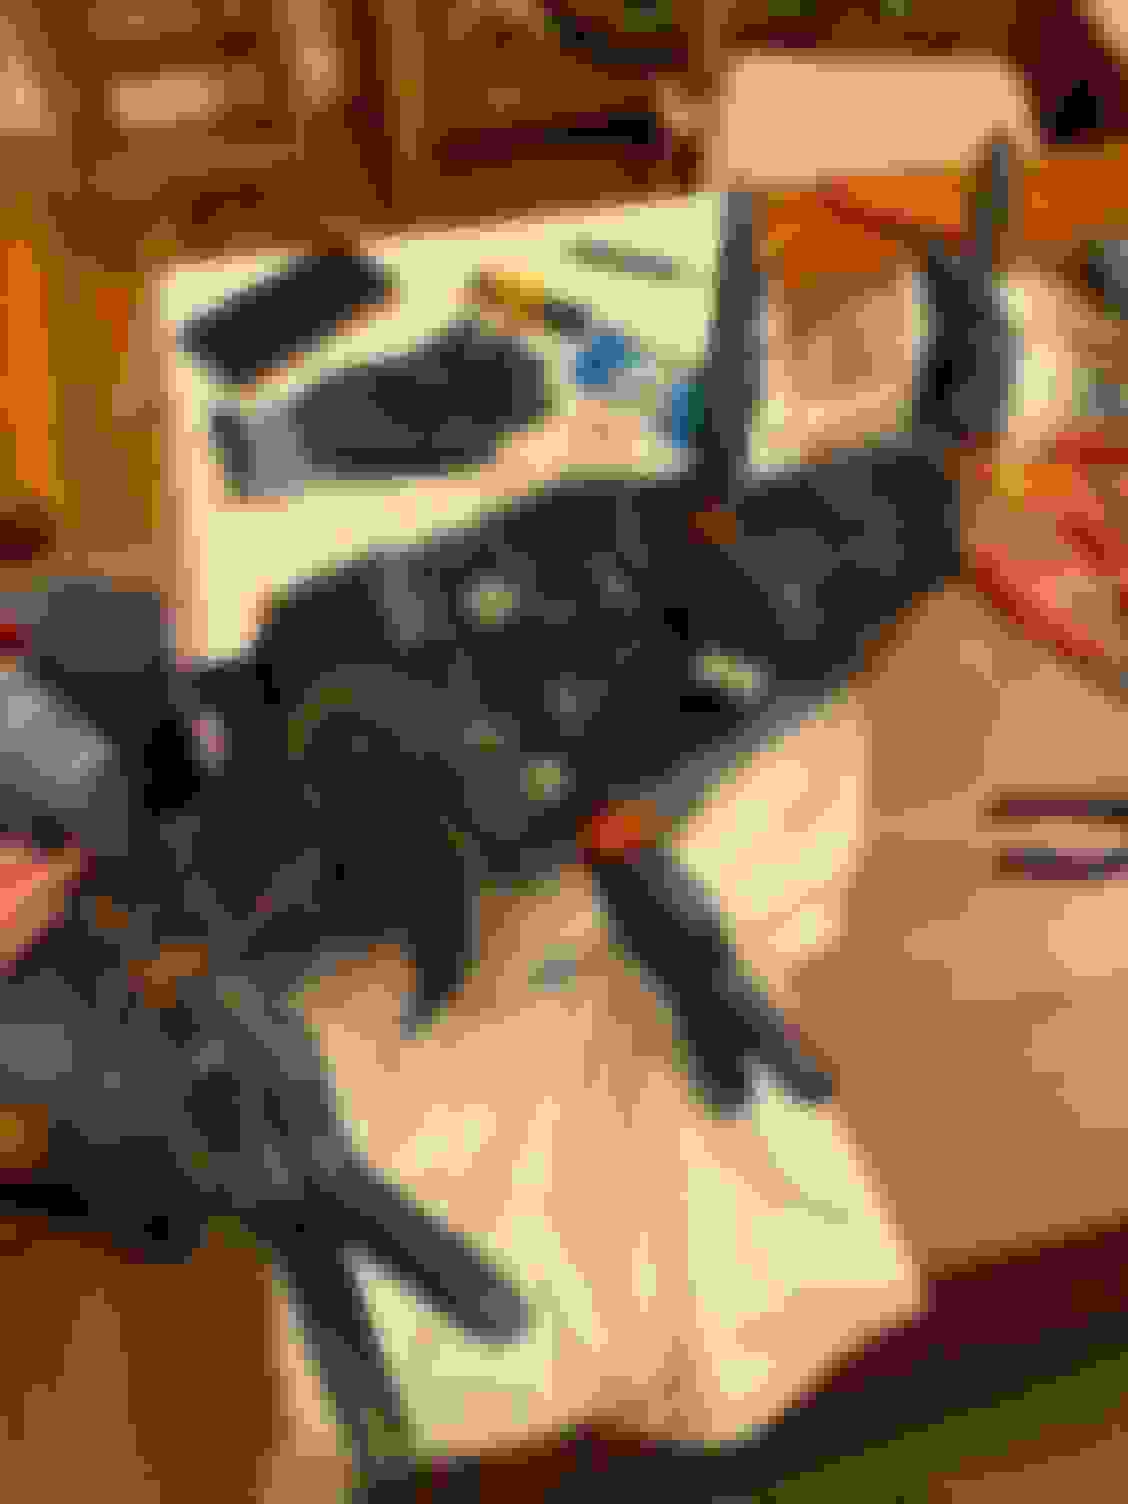
3rd step is to mount the new projectors. This is the second hardest part of the job, after opening up the headlights. The retroquick mounts are designed to fit the projectors perfectly, but the tolerances were a bit off so the adapter brackets were bending a bit, but they were fine besides that. The adapter bracket adapts the new projector to RX350 mounting holes, which are very similar to the mounting holes of our cars. All that needed to be done on the OEM headlight was to Dremel out the bottom holes a bit so that the holes would line up. For the Depo headlight, it was much more difficult because a lot of the plastic had to be cut away for the projector to fit. The projector mounting bracket is held in with three clips that are attached to screws so that they can be adjusted. Press the clips in and pull on the bracket and it should pop out fairly easily. Then do a test fit of the new projectors to see how much you have to cut out. Dremel out the holes slowly and keep test fitting it- remember you can always take out more material, but you can't add it back. Once the new projectors fit nicely I used two of the OEM bolts and two of the supplied bolts to bolt the projector to the bracket. Make sure you connect the new projectors to the OEM solenoid wire (so that your high beams work) I had to cut the OEM wires and solder the wires coming off the new projector.
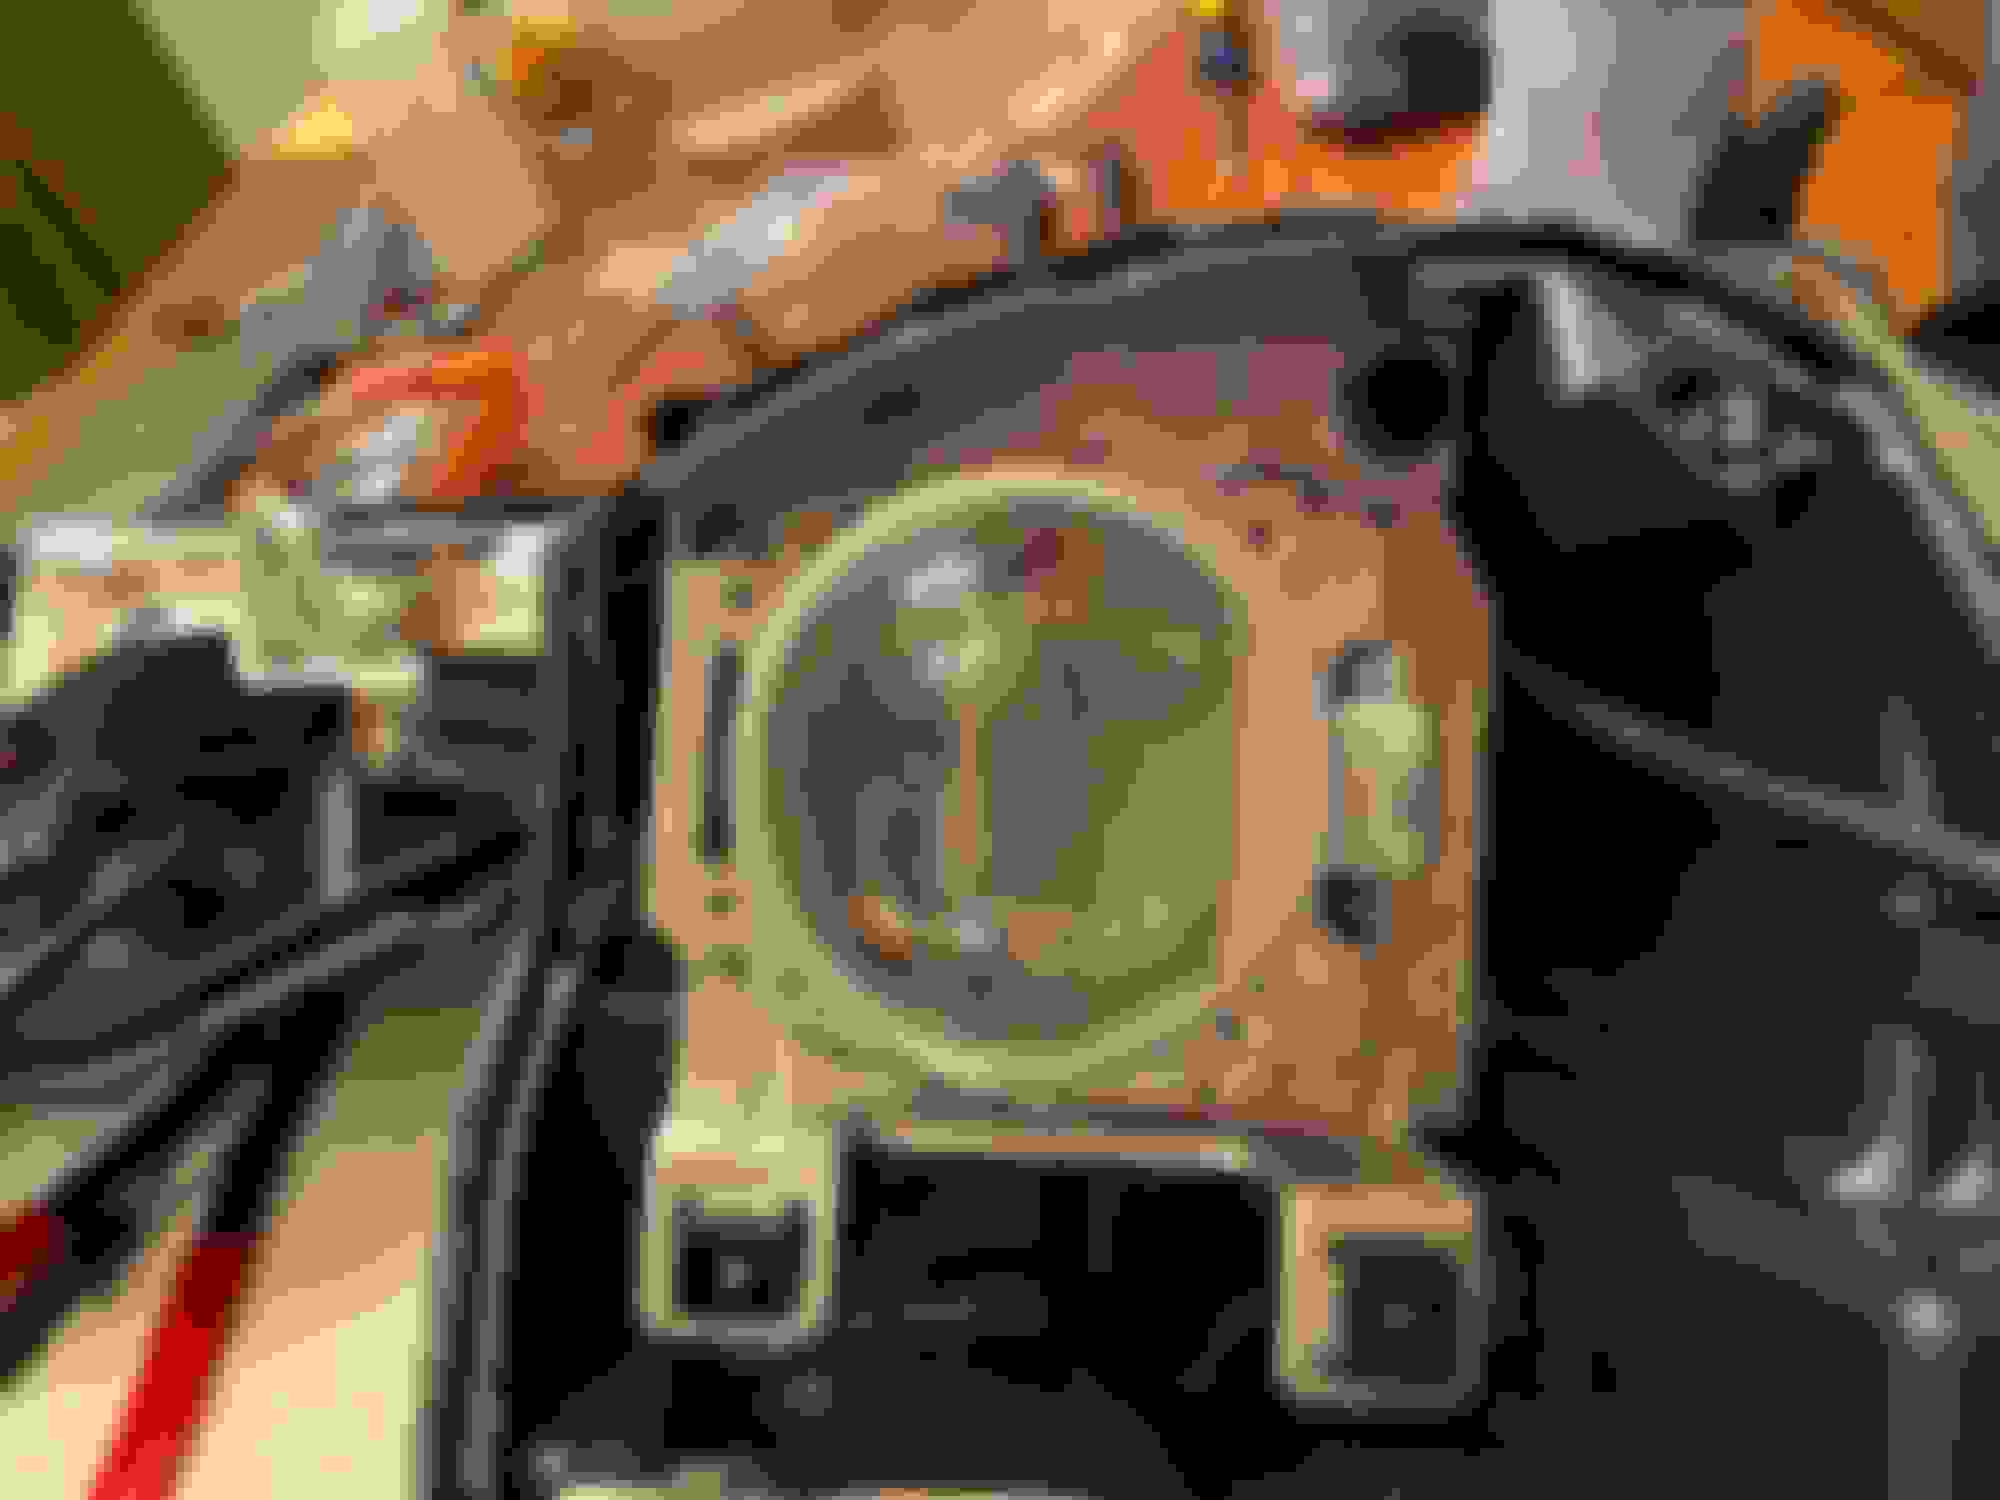
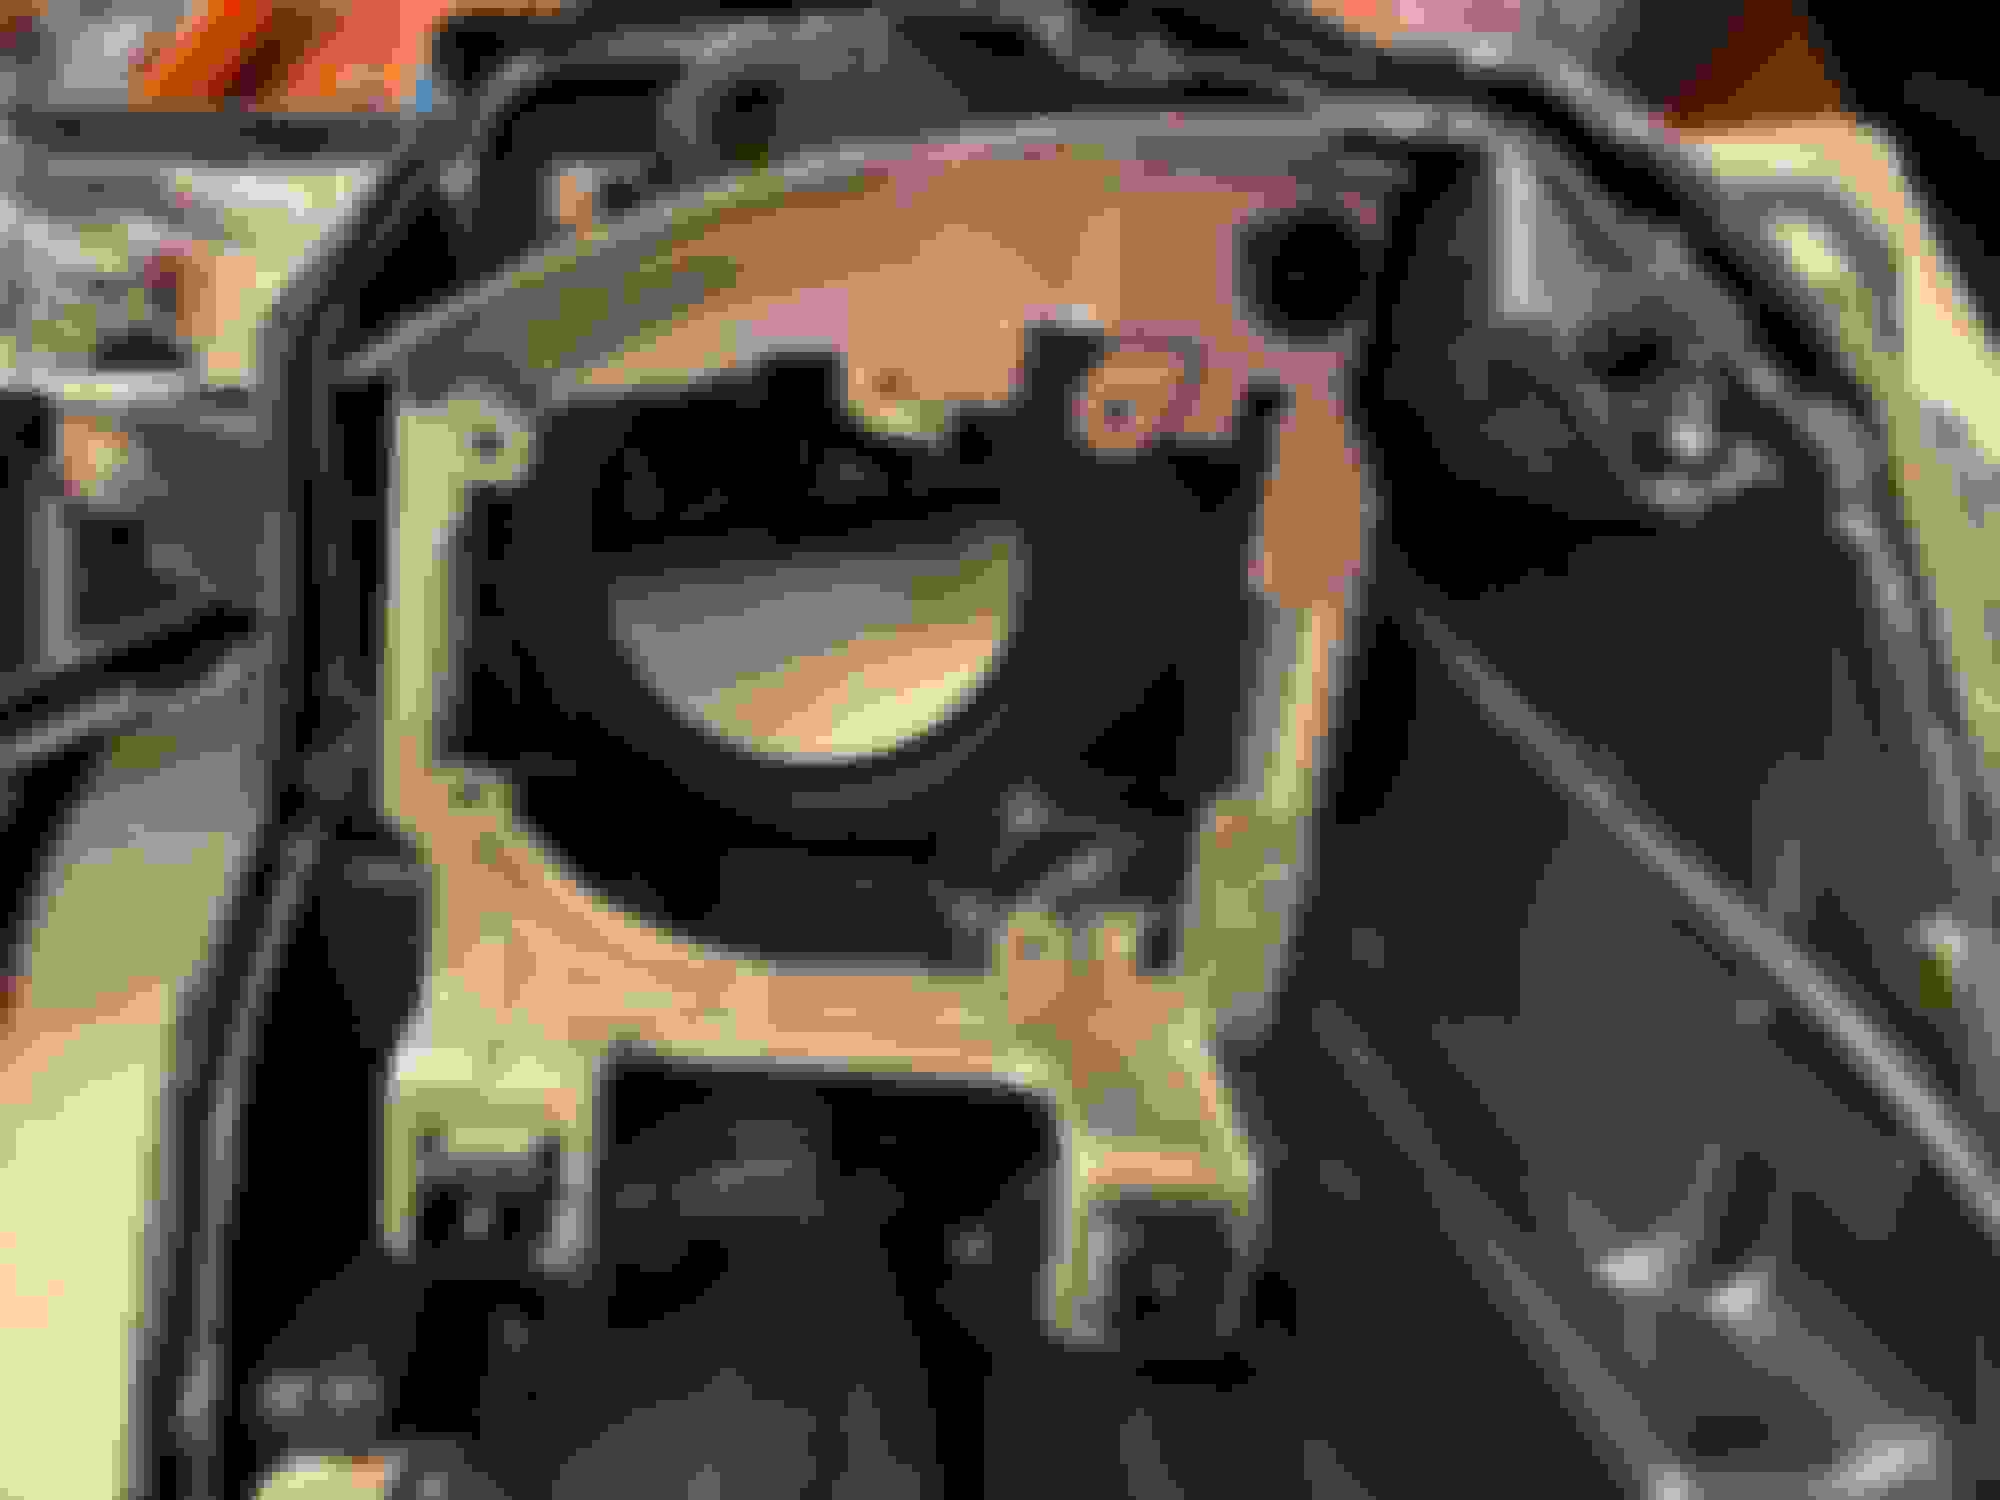
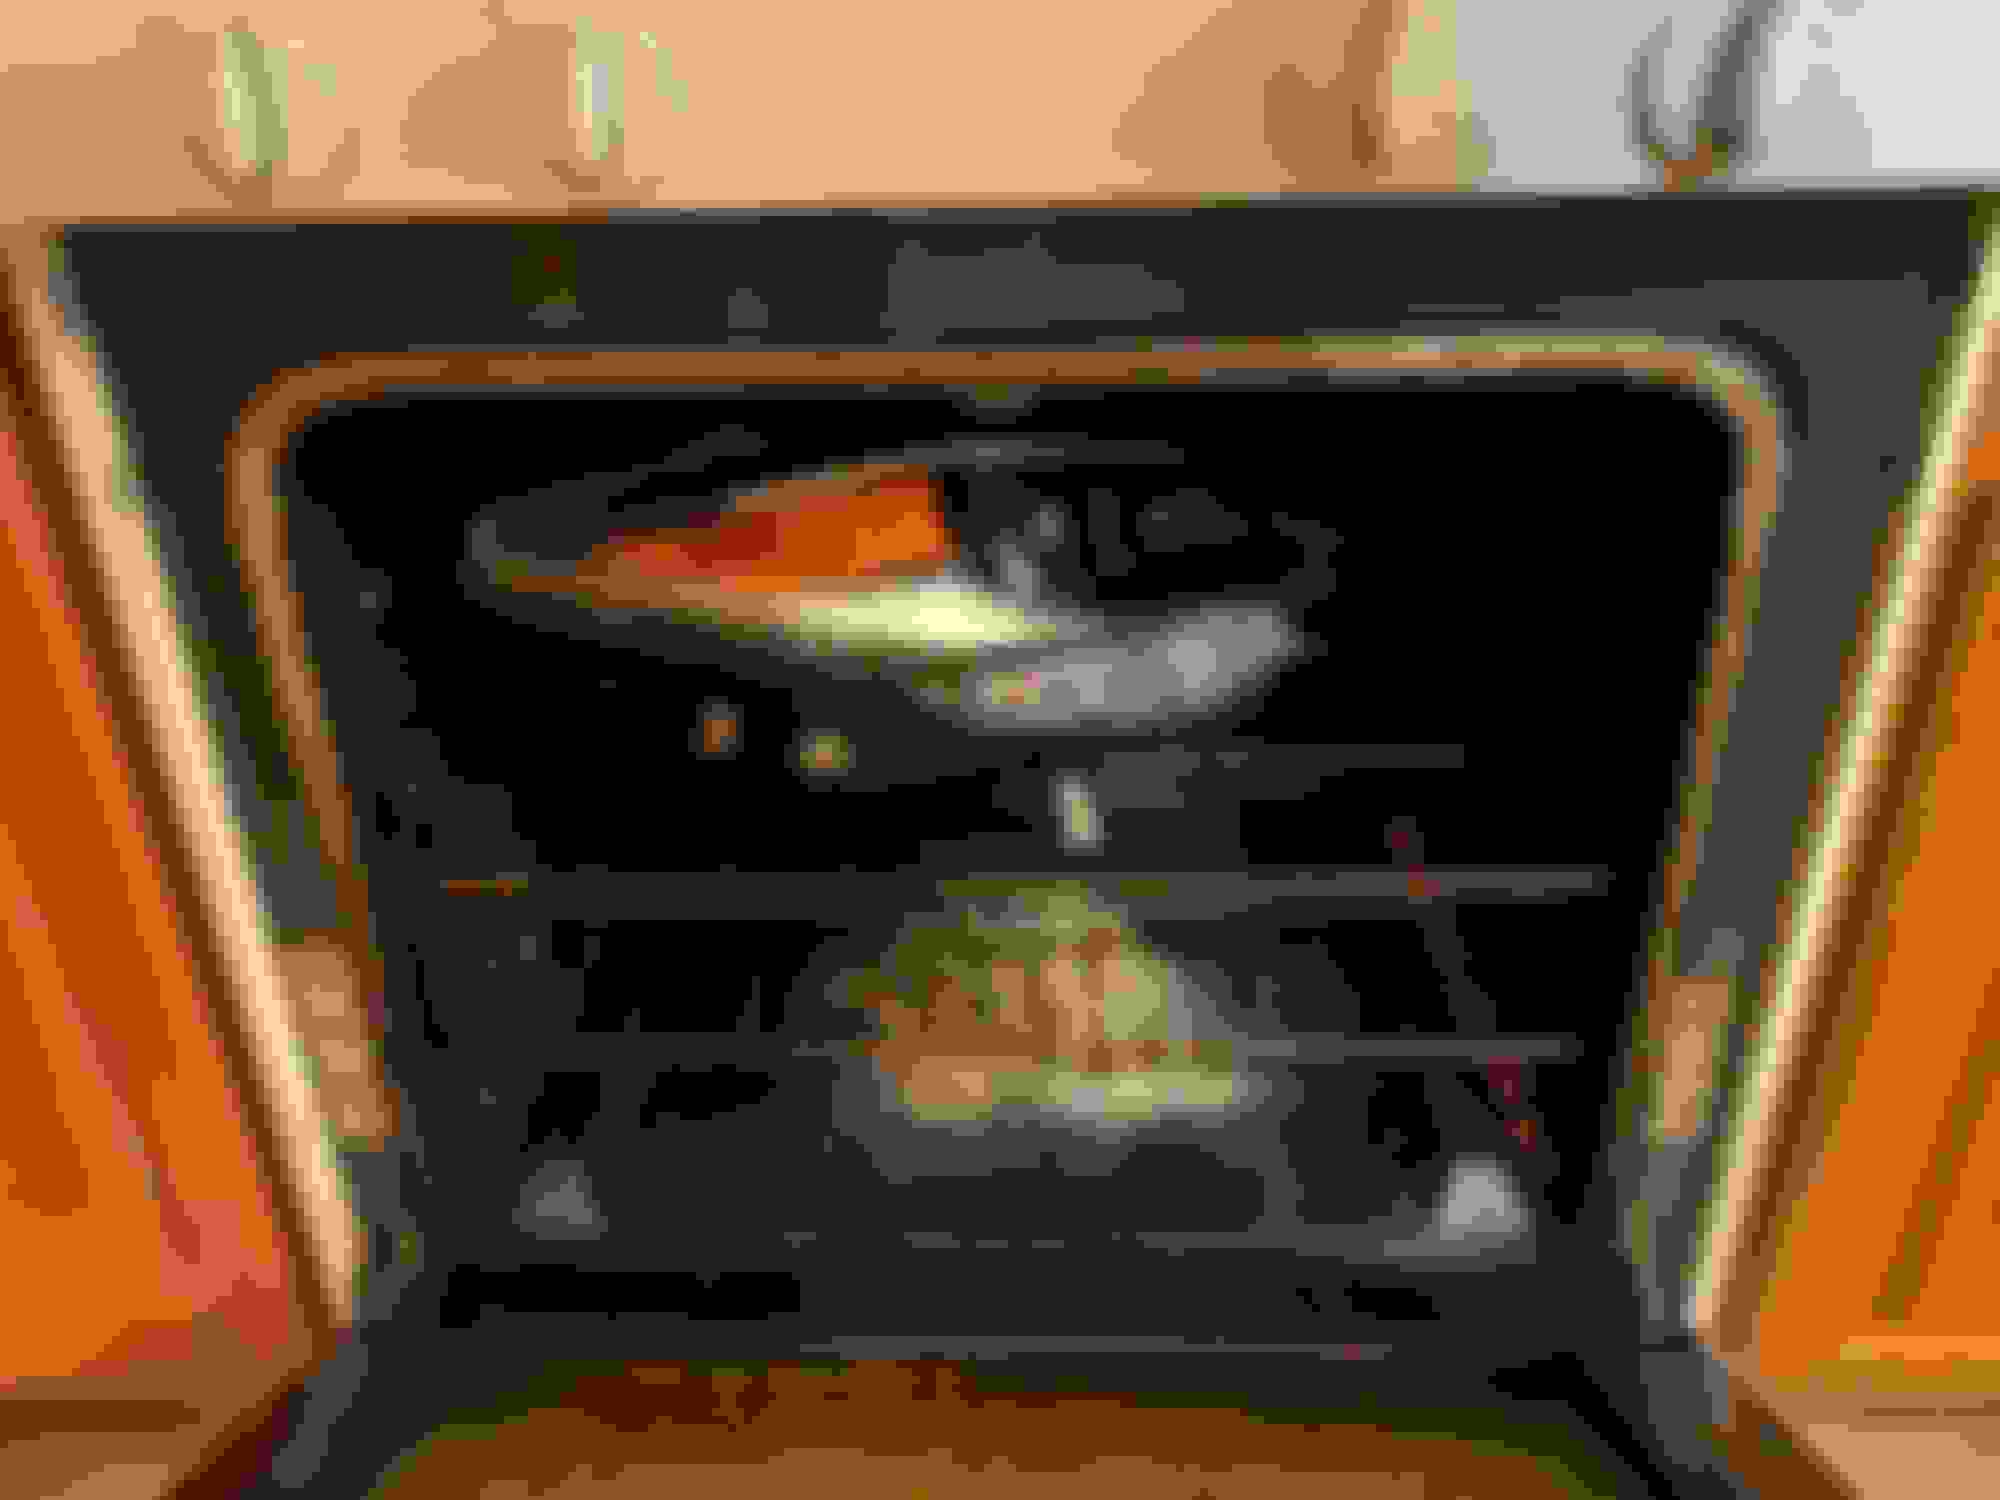
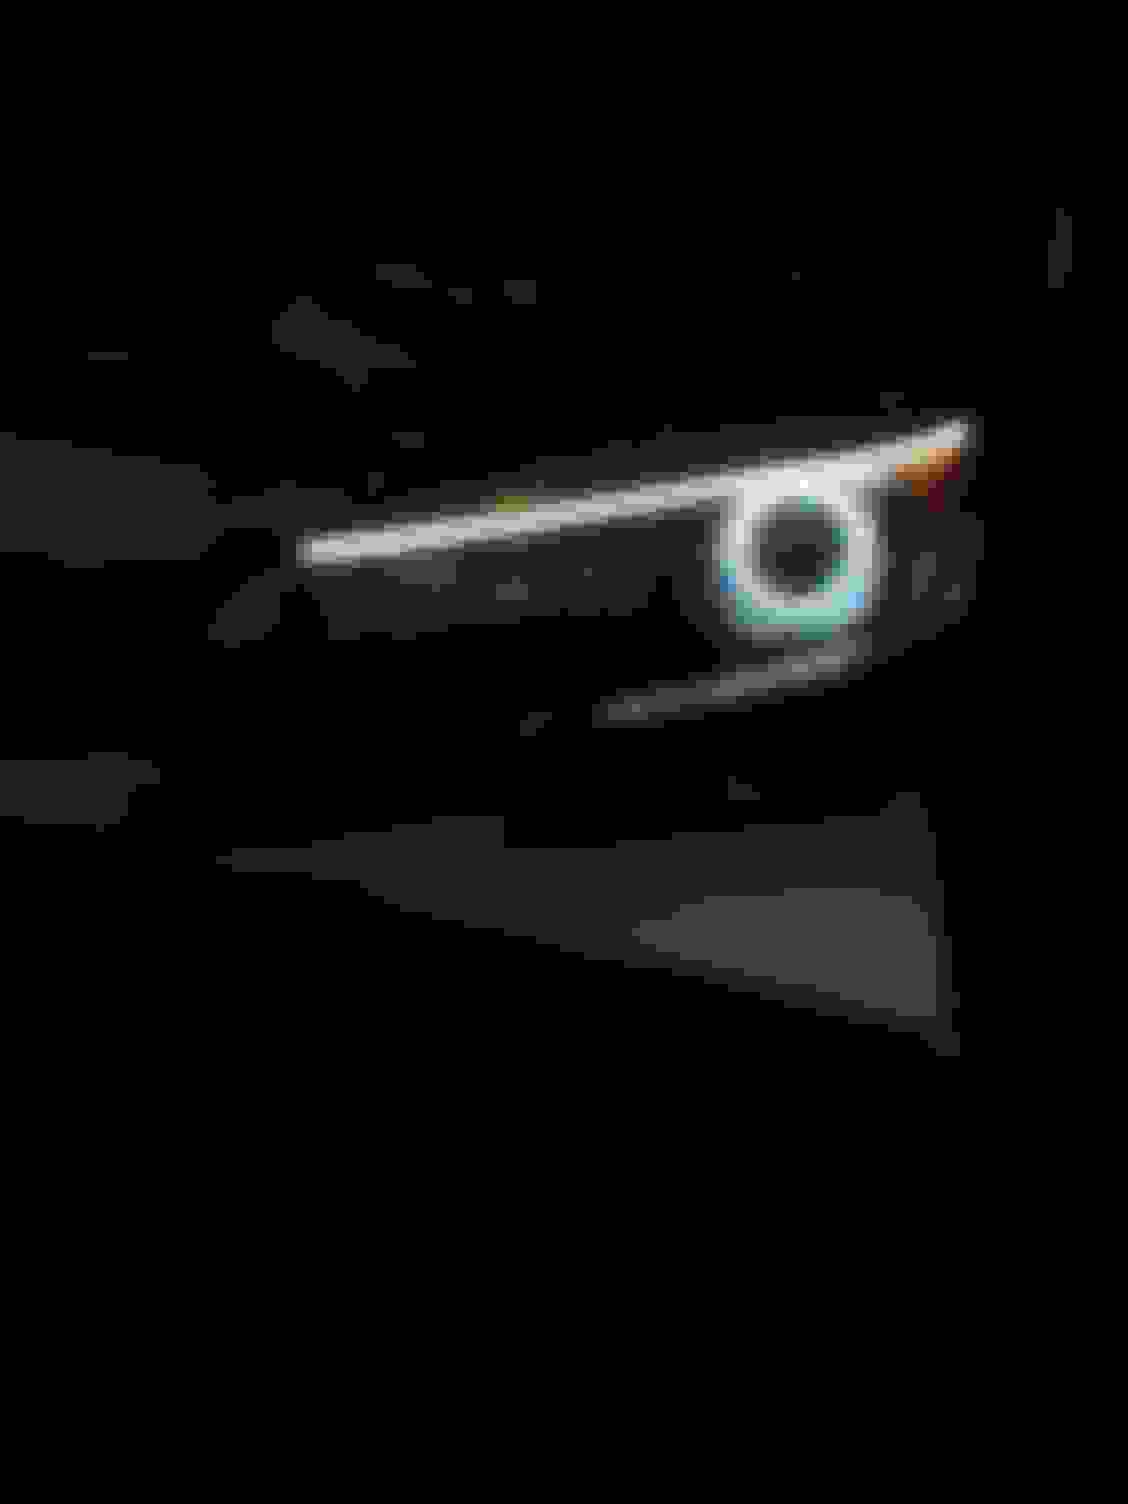
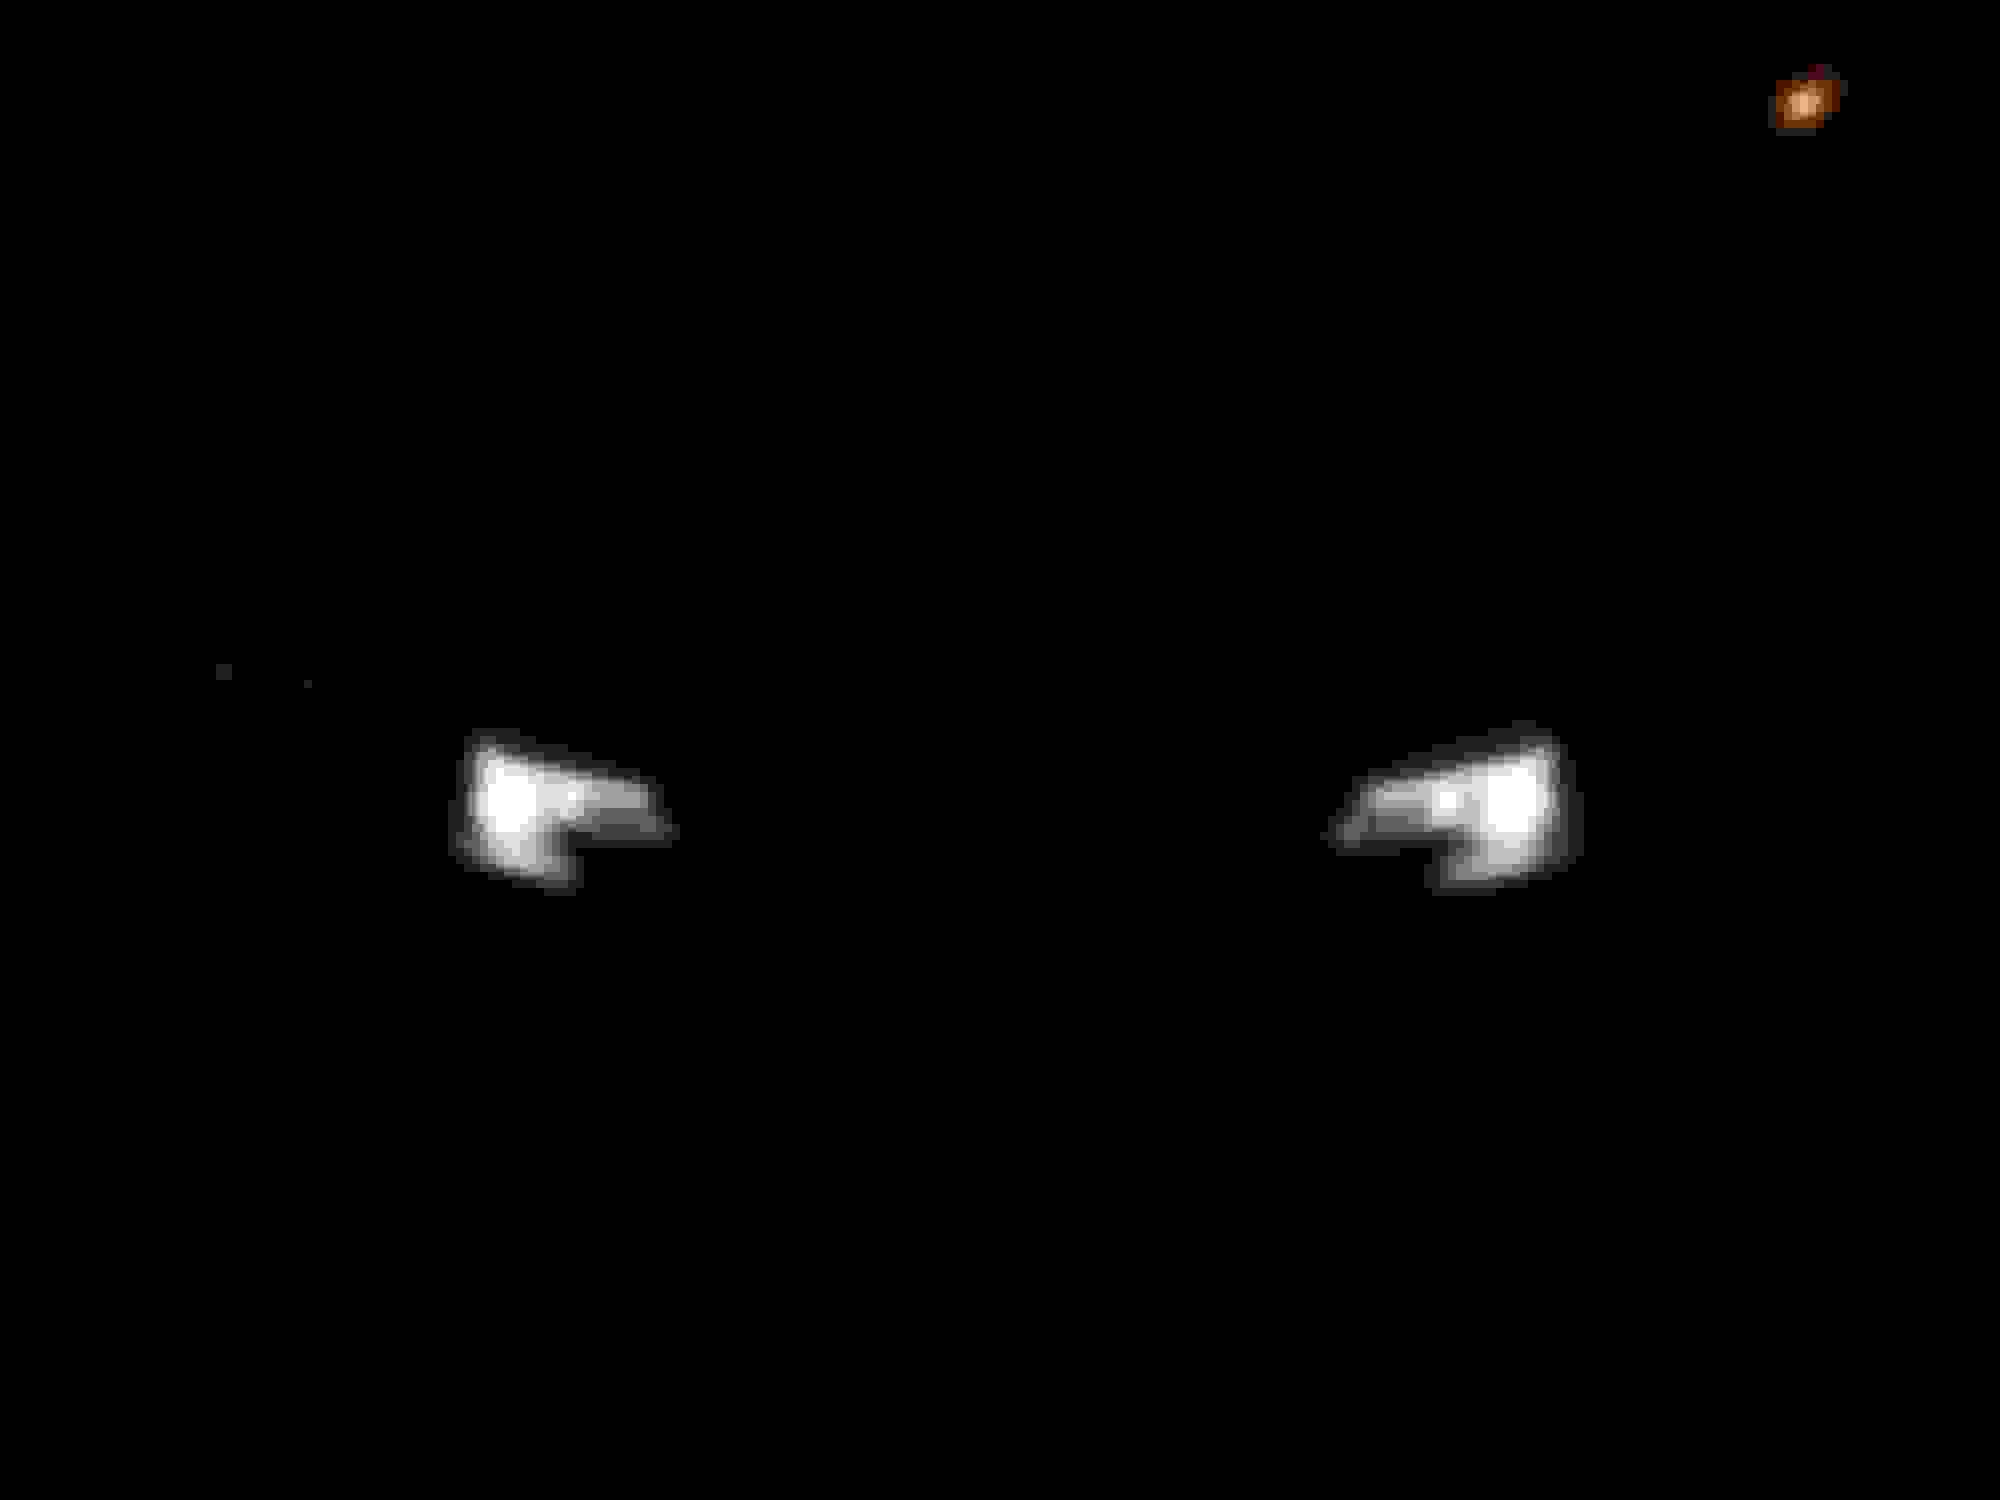
4th step is to mount the Halos and LED strips. The front beauty cover is where these will mount to. First take the cover off of the lens by removing the screws holding it to the lens. The halo mounts to the back of the hole where the projector sticks through, and the LED strip mounts to the edge that runs across the top of the front of the cover. See pictures for details it is hard to explain. The halo was supposed to come with thin mounting wire, but it did not, and I already had JB Weld, so I used that to glue it to the back of the cover. Make sure that the halo is centered and looks good from the front, then glue it and hold it for about 5 min. The led strip is mounted with the sticky tape that is pre-applied to the strip, so just stick it on where you want it- as you can see the strip is not long enough to run the full length of the headlight edge, so I went front to back and I think it looks good. Attach the cover back to the lens with the screws. It is a good idea to test the alignment of the projector by putting the headlight back in the car and making sure that the beam is perfectly horizontal, and not pointed horribly high or low.
5th step is to put the headlights back together. Do this by applying the retrorubber butyl to the channel where the Permaseal was, then heating it in the oven, then pressing the lens back onto the housing. Make sure that you route the led wires through the hole in the back of the headlight, I had to connect the driver for the 18' LED strip, and it is hanging out of the back of the headlight. The driver for the halo can be connected, just make sure everything is available because you don't want to have the open the headlights back up. Also make sure that the inside of the headlight is perfectly clean. DO NOT use chemicals to clean any chrome areas because it will remove the coating. You can use some type of solution on the clear lens, but I just used my breath and a soft cloth to clean my fingerprints off the shiny black and chrome parts. Apply the retrorubber butyl to the channel, then press the lens cover on a bit, and stick it in the oven for however long it says on the back of the package. Pull the headlight out and then press it all together and reclip everything and put the screws back in. It is a good idea to use clamps to ensure that it sits correctly and makes a good seal.
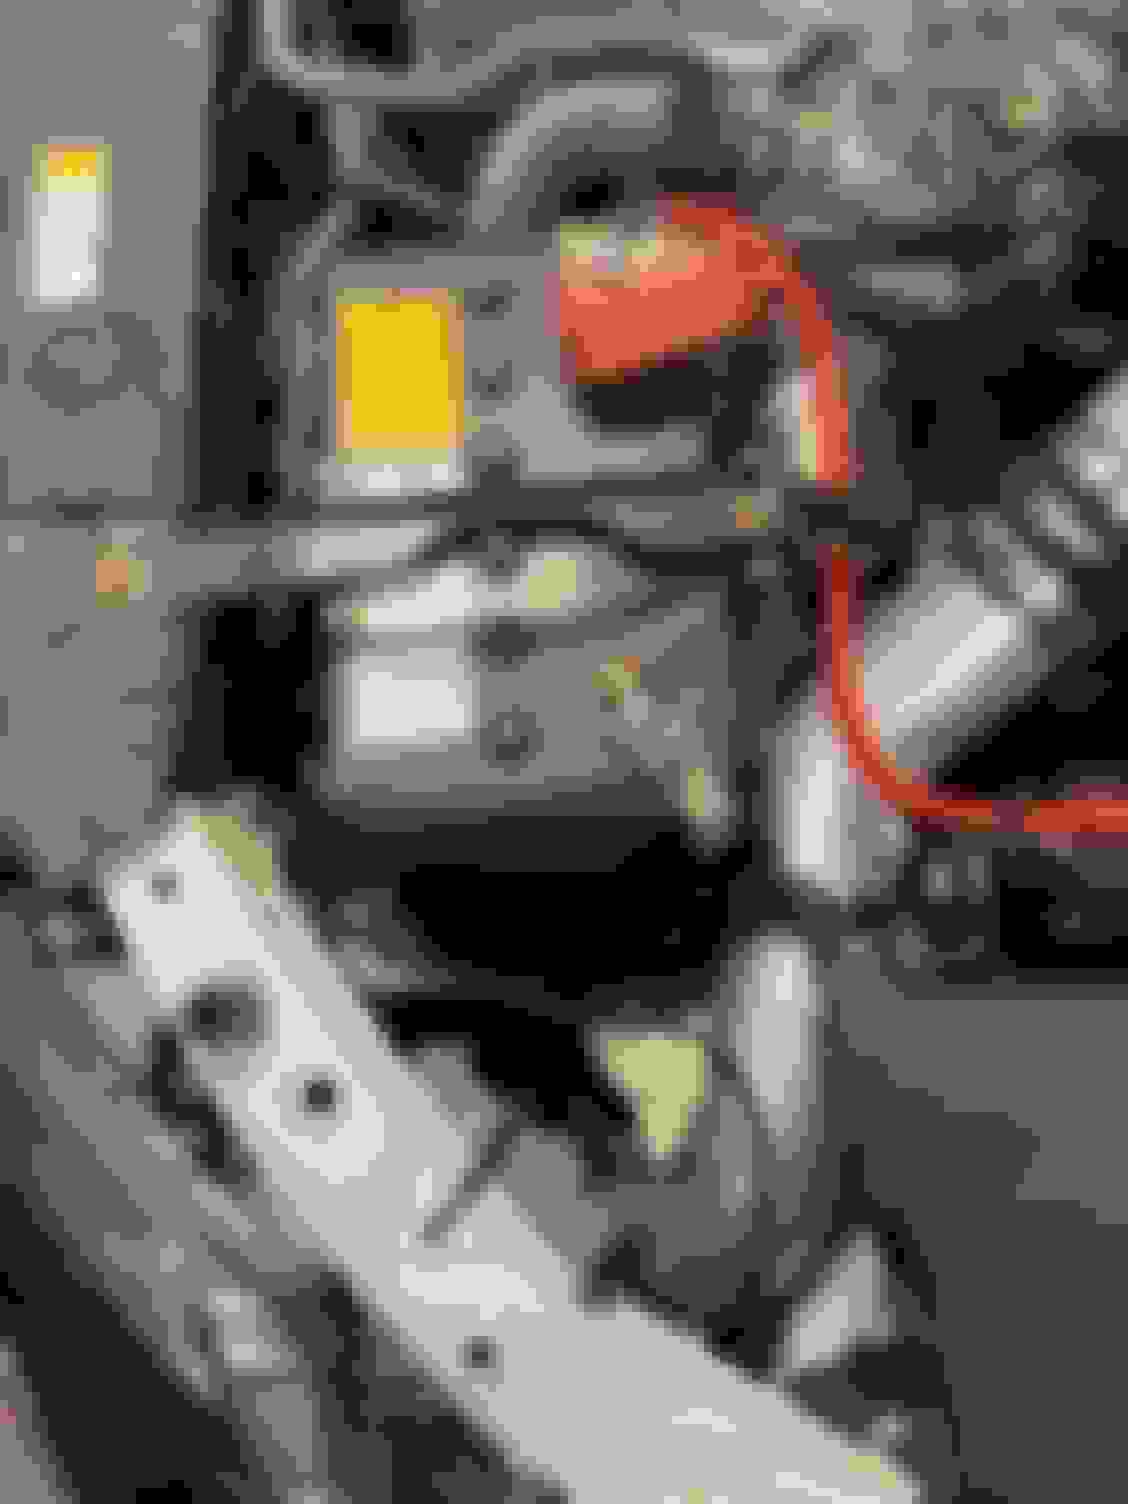
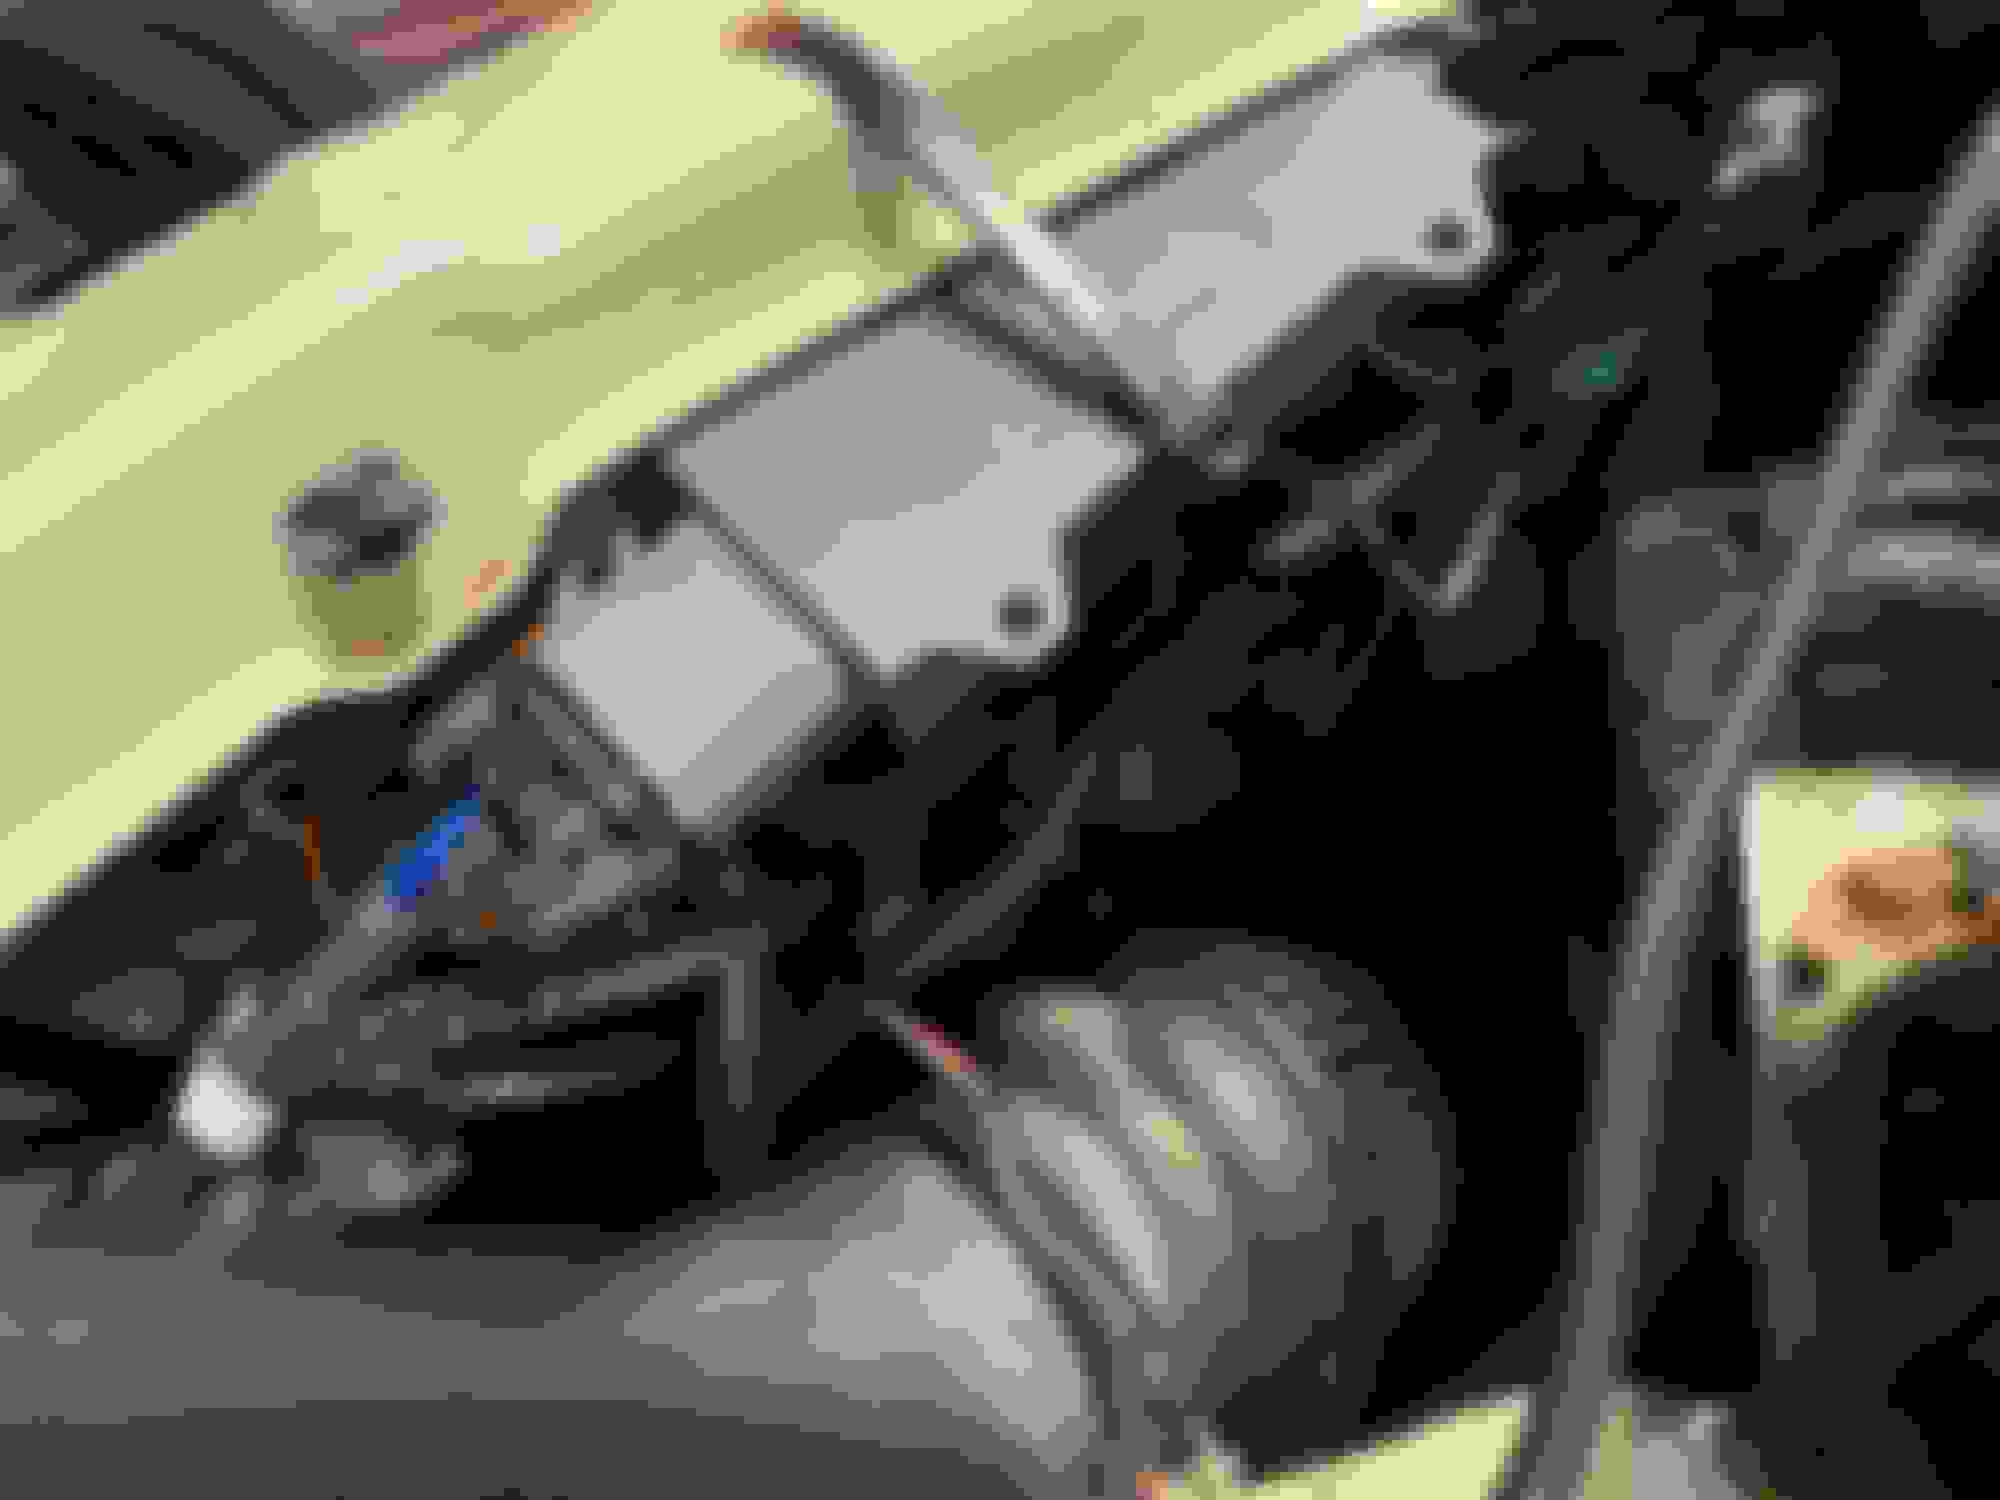
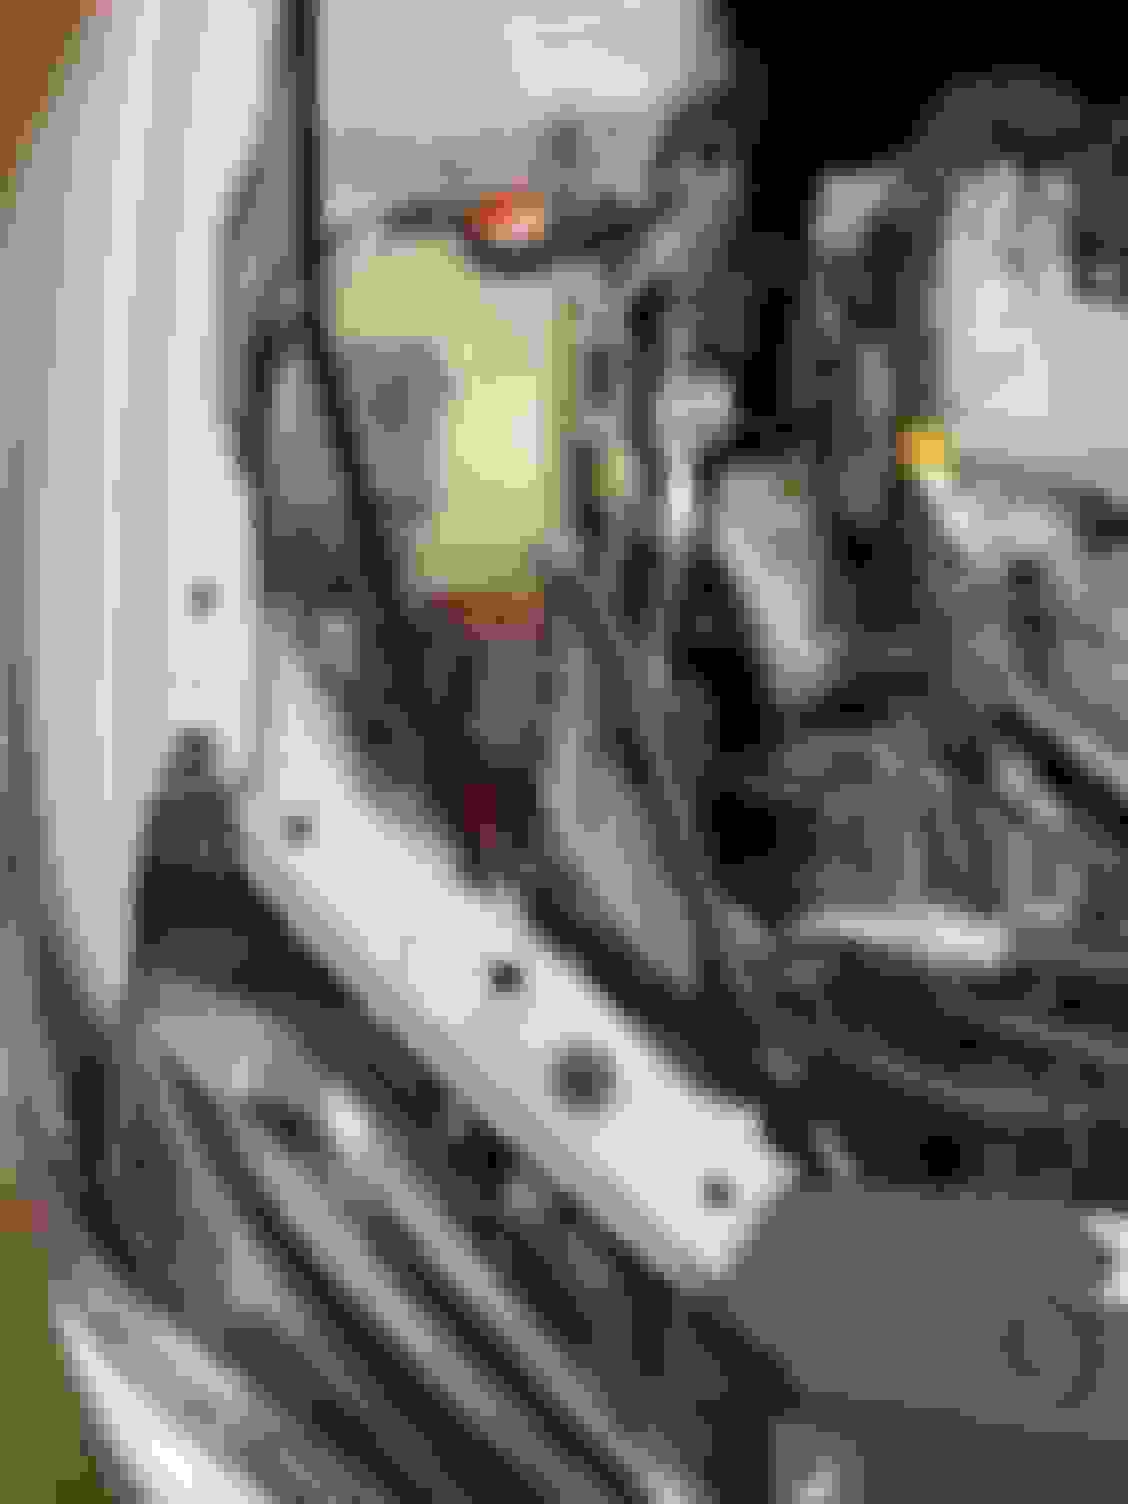
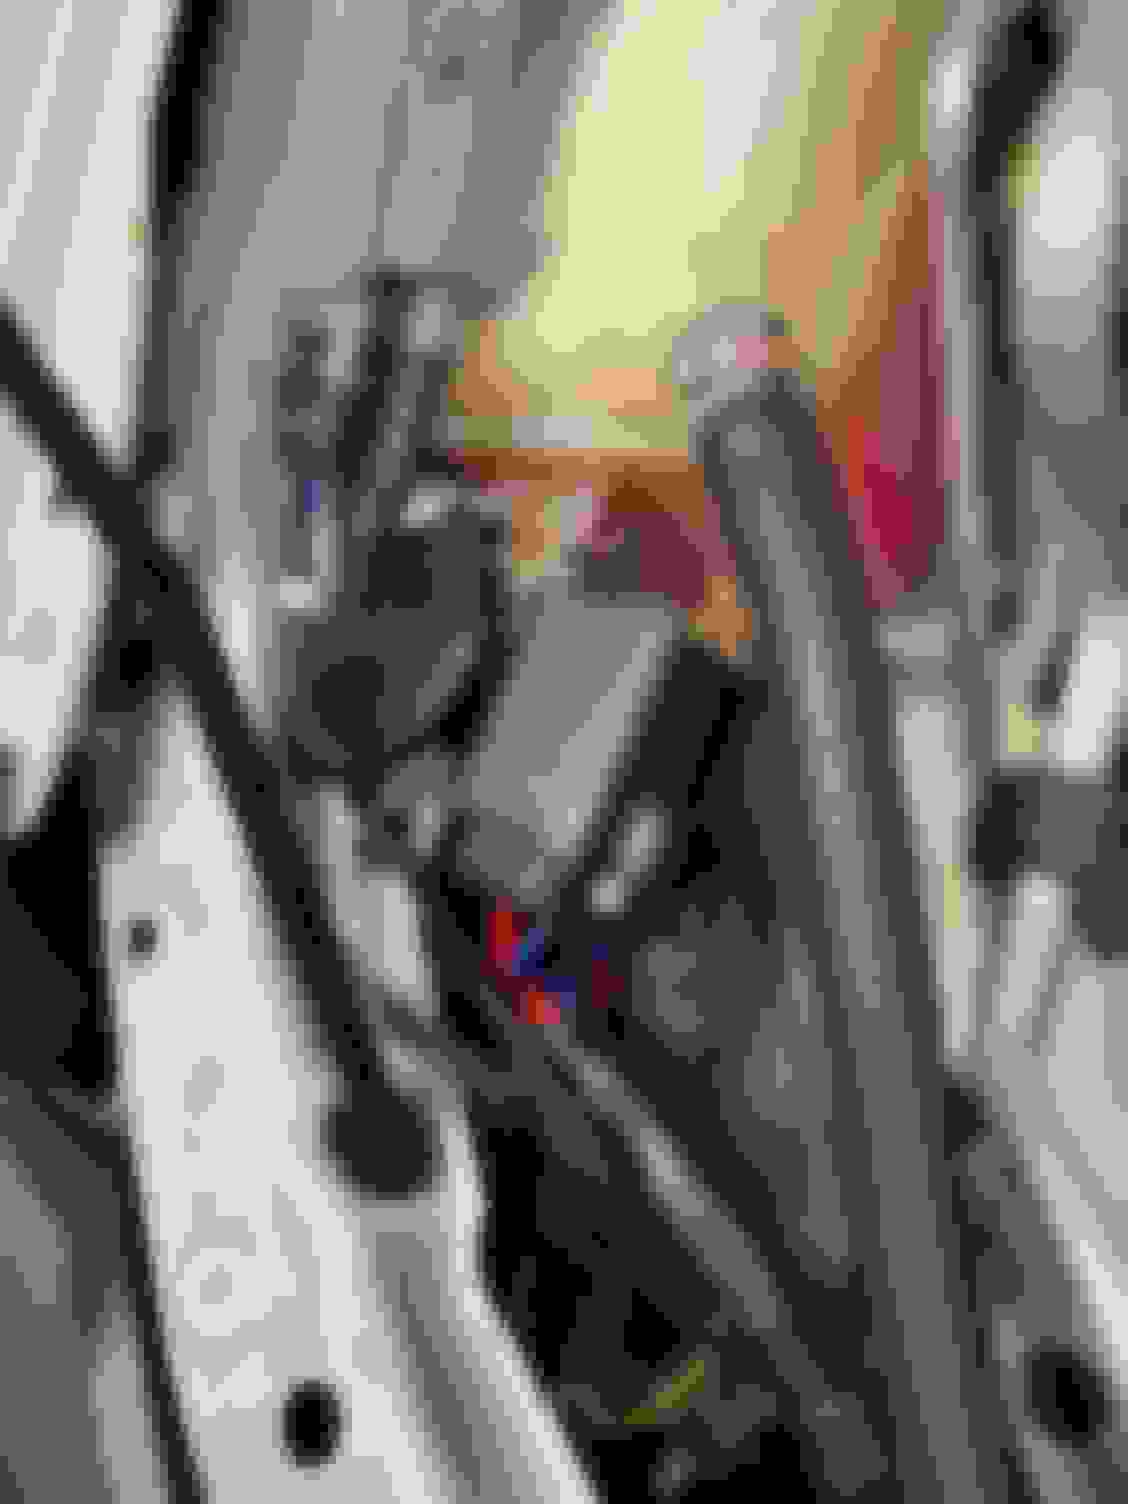
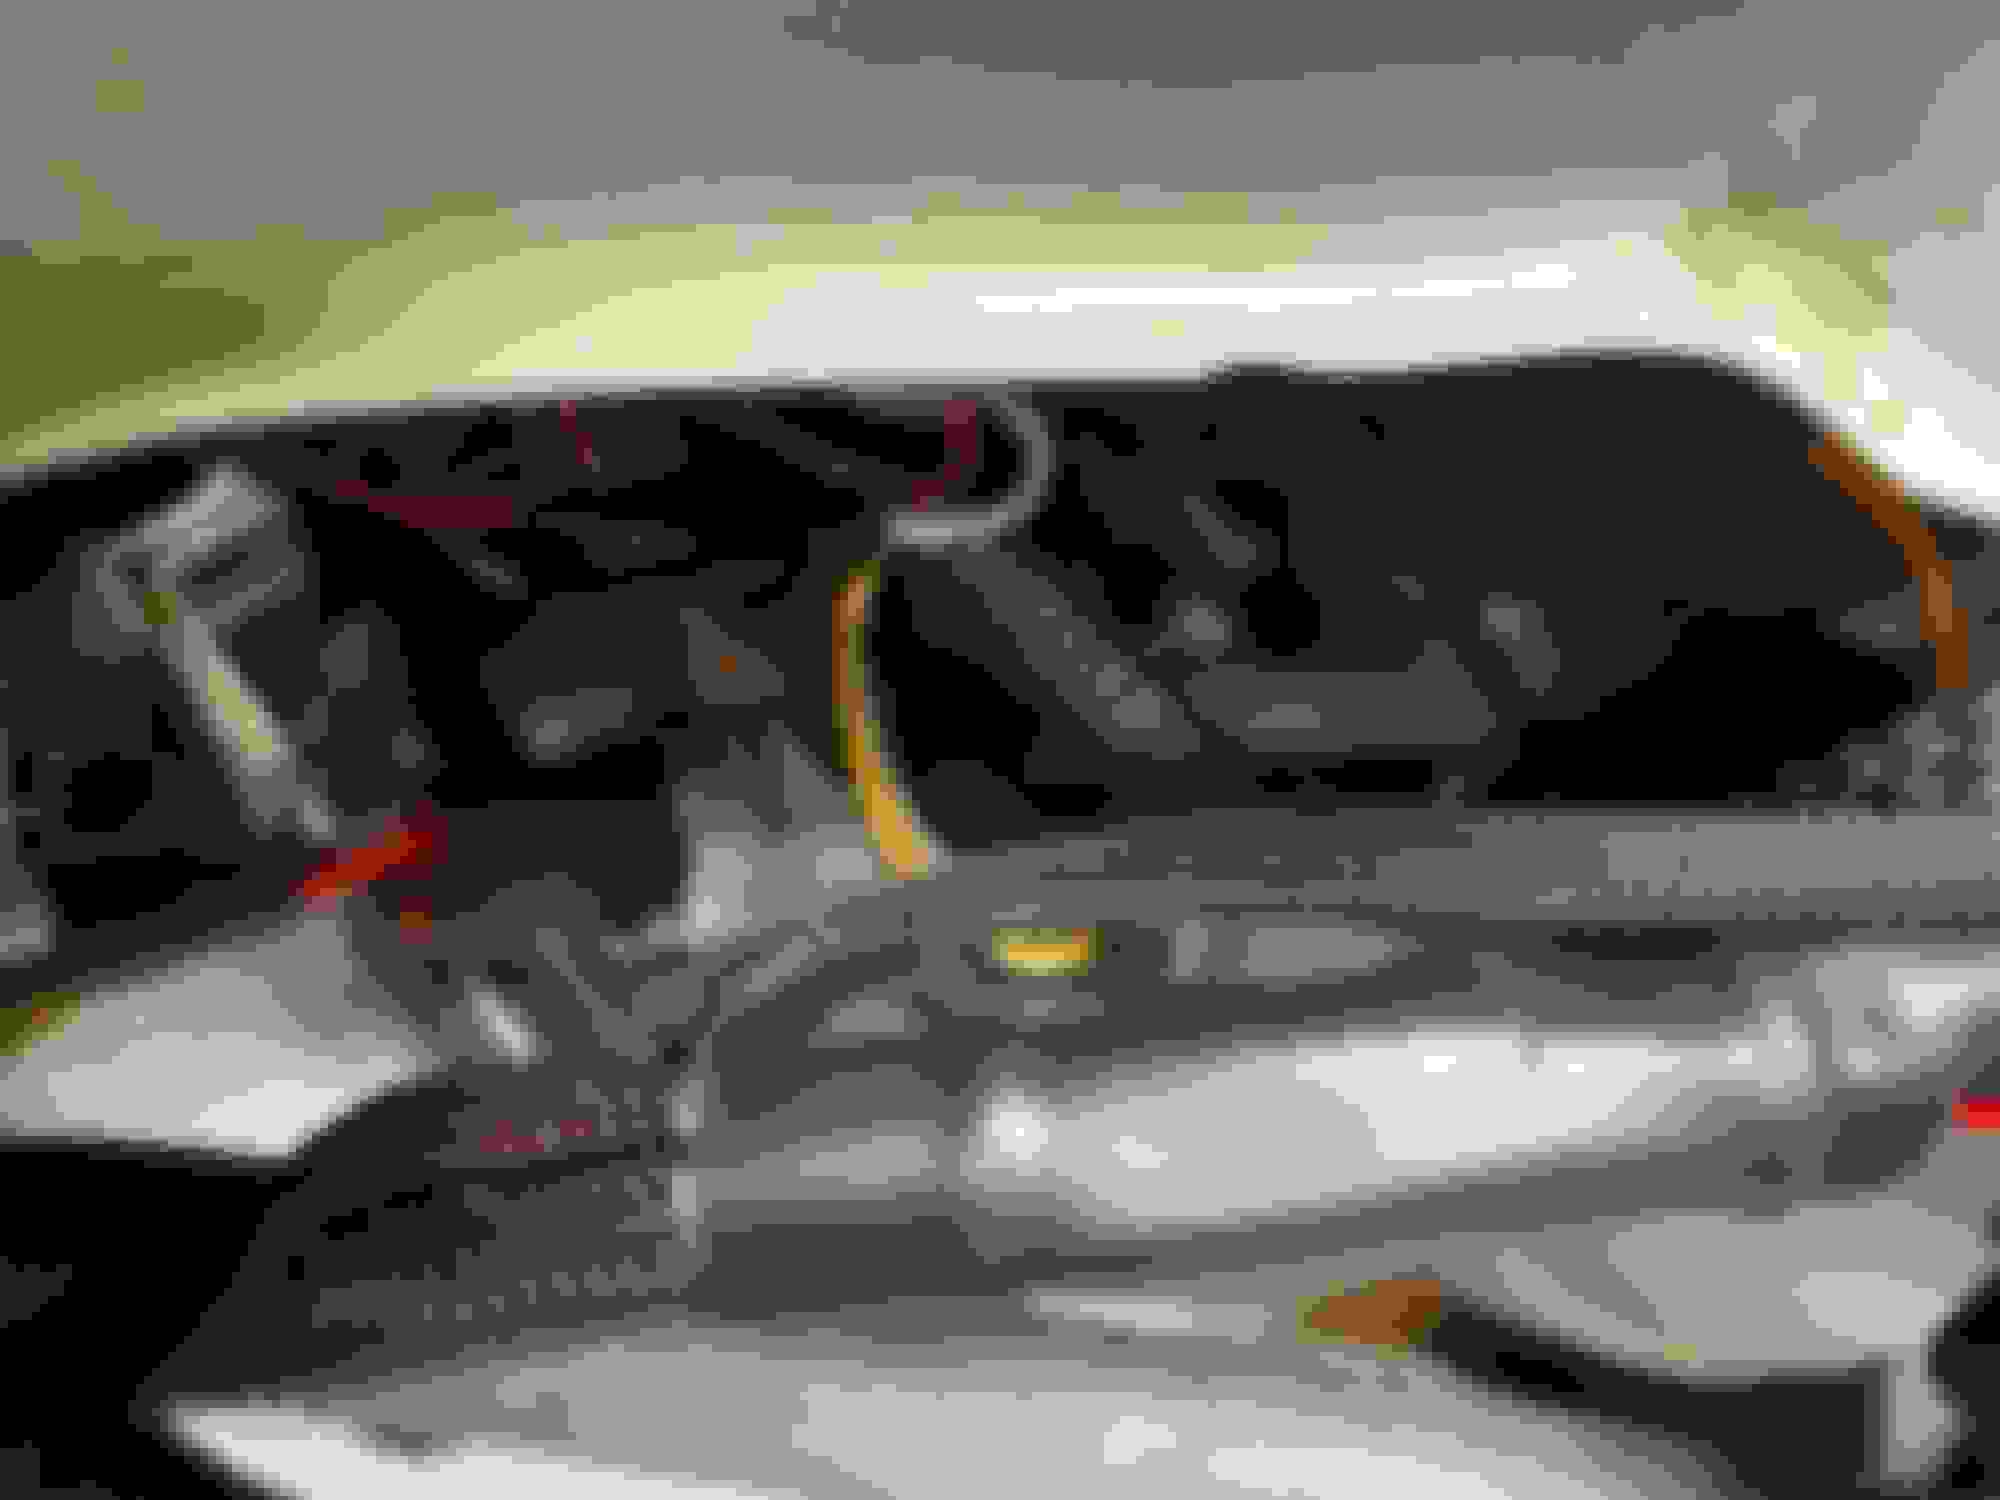
6th step is to put the headlights back in and deal with the wiring. When putting the bumper back on don't forget to reconnect your led marker lights and fog lights if you have them. The wiring harness has to be attached to the battery for power, one OEM headlight connector to know when to turn on, and the ballasts. I found that the harness was very short and it was difficult to find a good place to mount everything. Just make sure wherever you put everything that it is secure and able to withstand WOT and 5g's around a corner lol. For the LEDs I wanted them to be on whenever I came near the car similar to the interior lights, and then stay on as daytime running lights, but I did not want to deal with the wiring so I wired them to the marker light that is right next to the projector. I also wanted them to function as turn signals, so I tapped into the hot of the turn signals as well. I bought some 20awg wire from Lowes and went from the two hot wires, two ground wires, and two turn signal wires down to 1 for each, then tapped into the turn signal using the included tapper, and I stripped some bare wire on the marker lights so that they would come on whenever I turned the marker lights on. You can wire the LEDs however you want, you may not want them to function as turn signals, you may only want the 18' strip to function as a turn signal. Whatever you want to do- make sure that you test that it works and doesn't create hyperflash.
Comment from me- my headlights were not aligned correctly, and I am still messing with the adjustments so that I am not blinding oncoming traffic. It is very important that you get your adjustment right so that you do not blind people, because these are EXTREMELY bright, the brightest headlights I've ever seen so it will actually blind oncoming traffic. I also didn't install the rubber housing cap yet because TRS said I didn't need one, but I do, so it is being shipped currently and will update if something doesn't work out correctly.
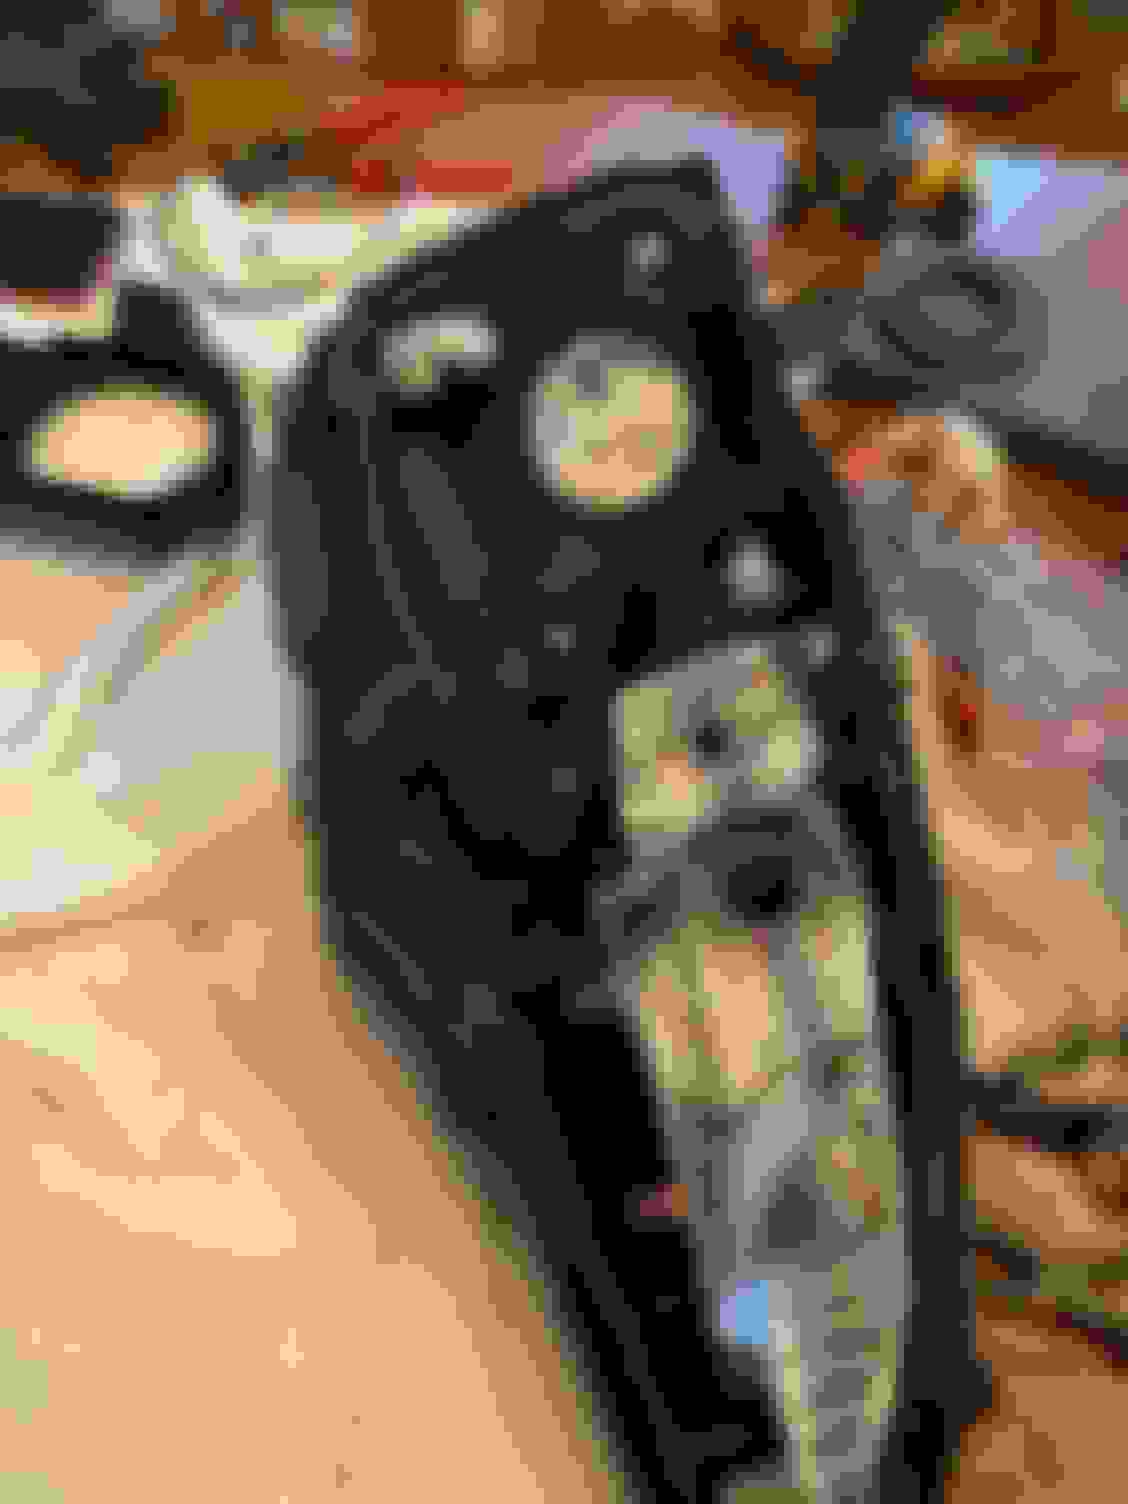
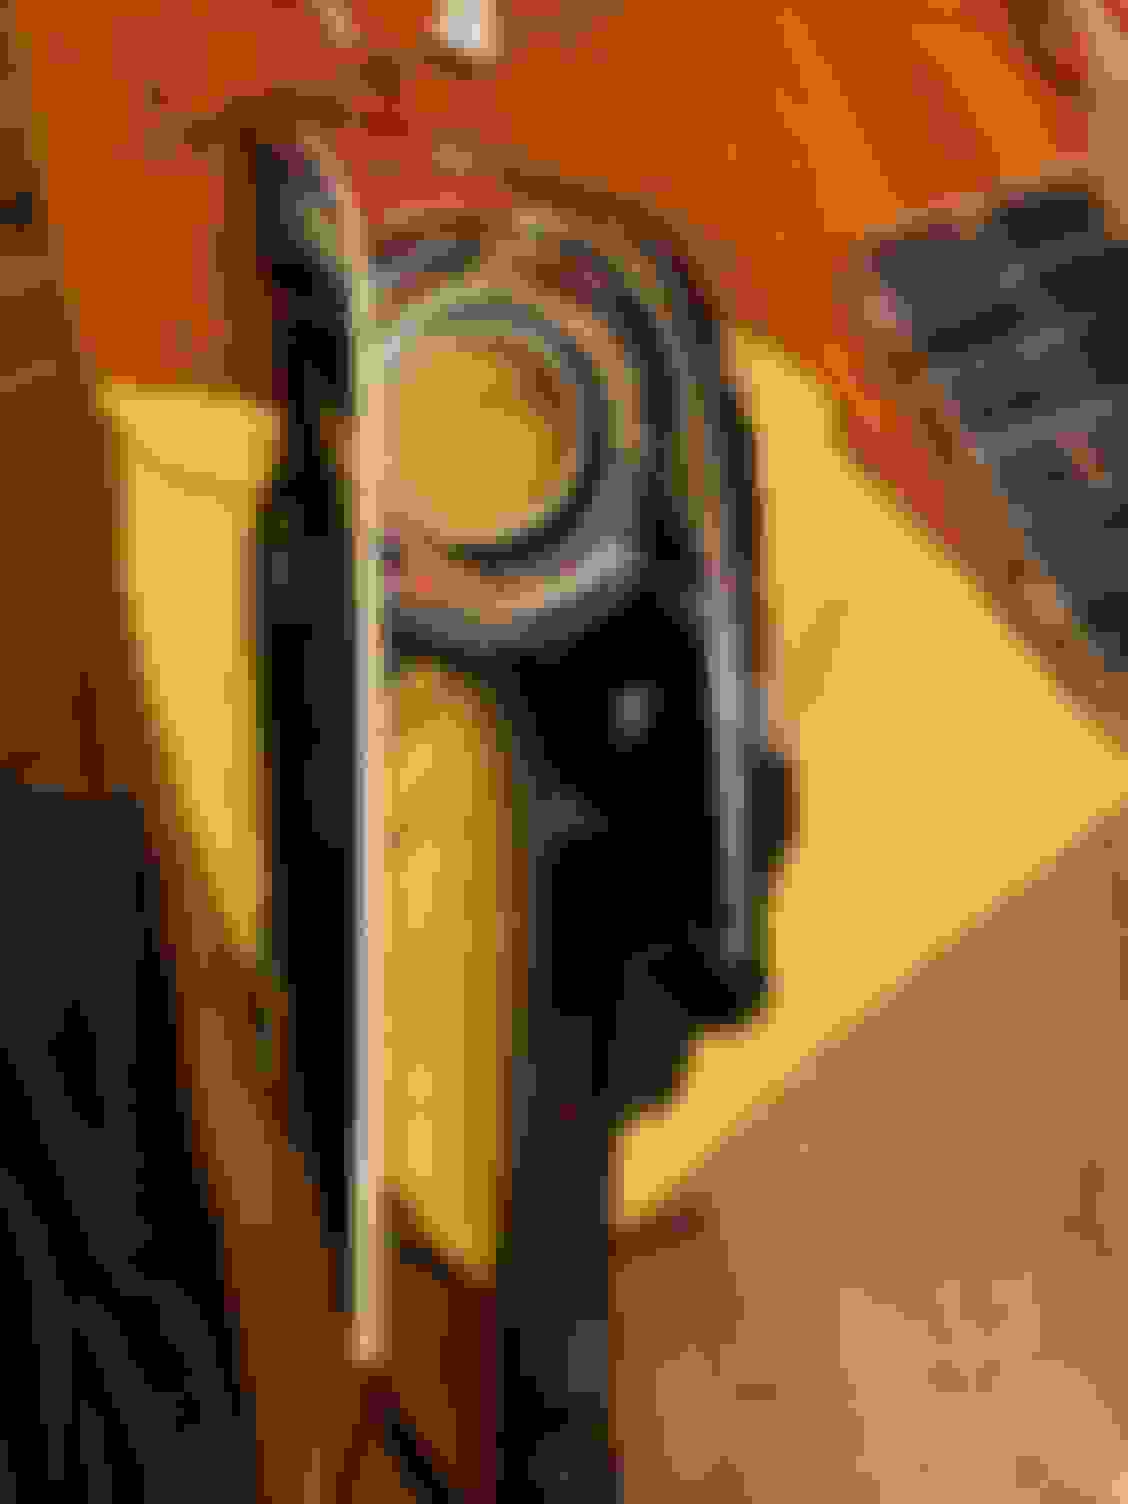
Depo headlight taken apart
Depo Projector on mounting bracket
New Projector on Depo bracket
OEM Projector on OEM bracket (how yours should look)
Projector taken out of OEM bracket
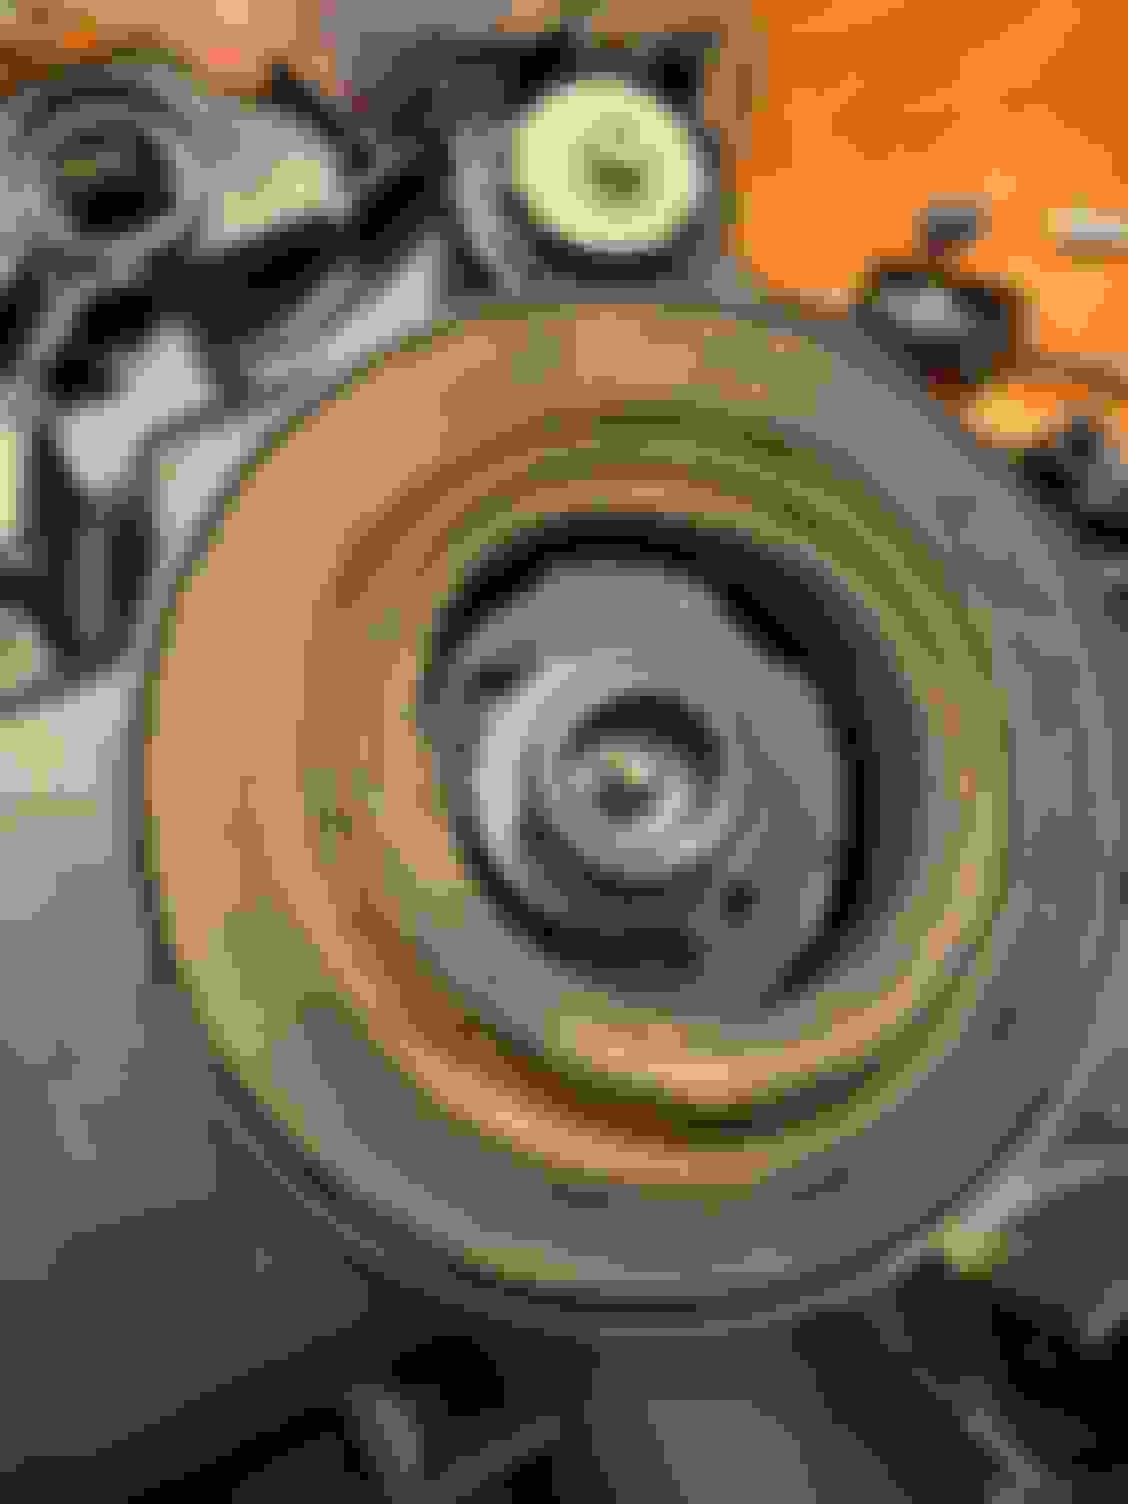
The 'beauty cover' with LED strip and Halo installed
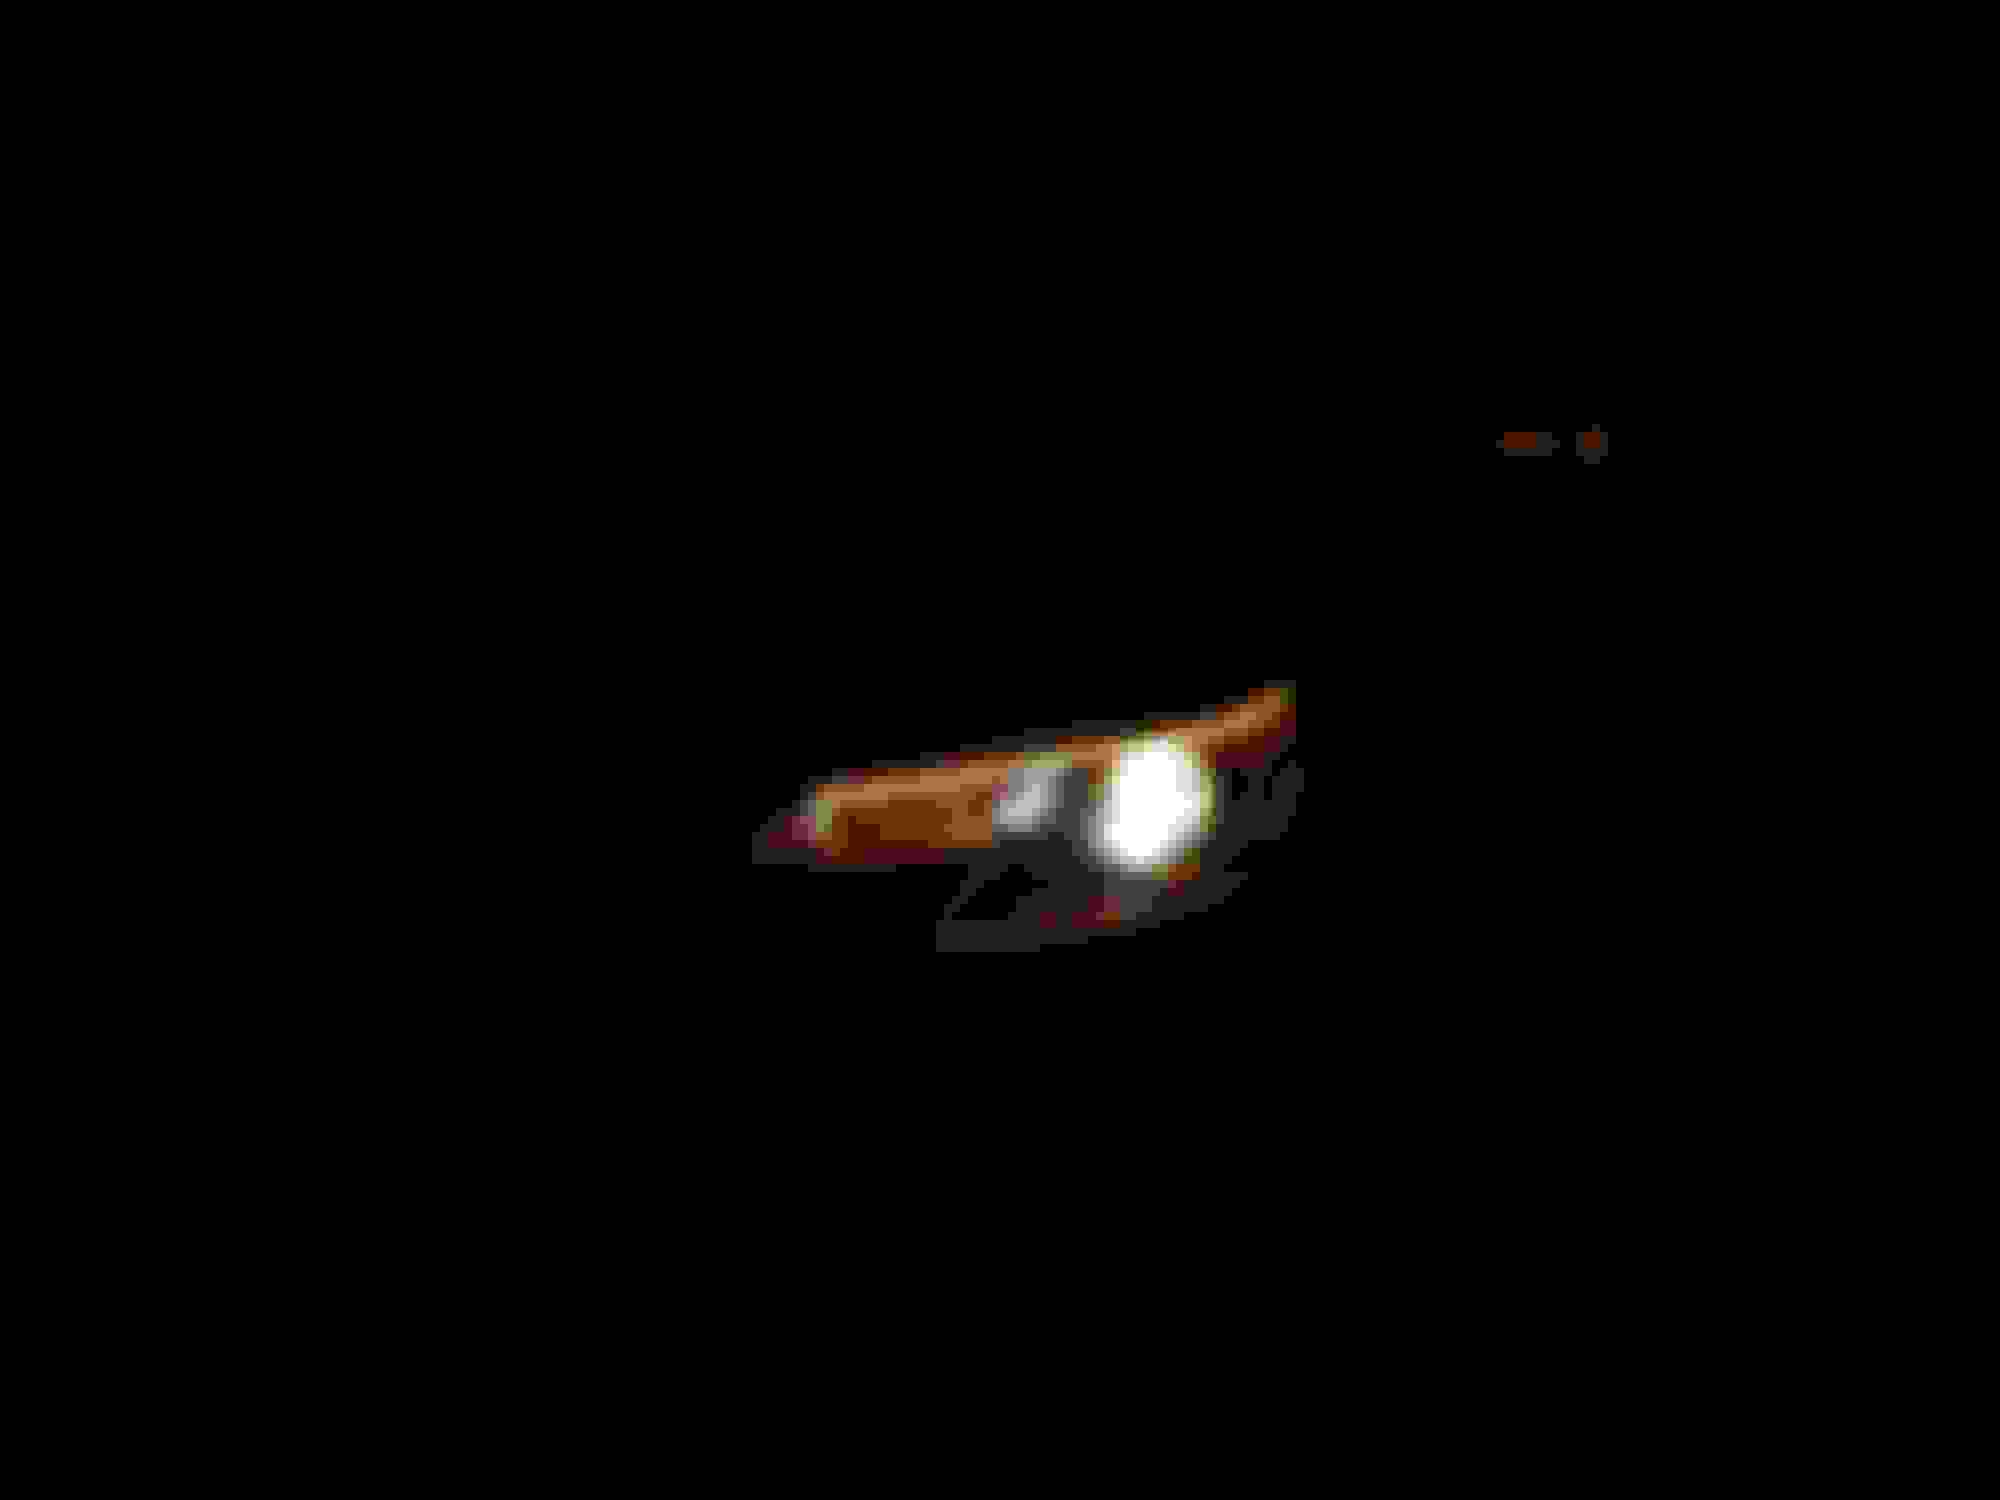
Halo mounting
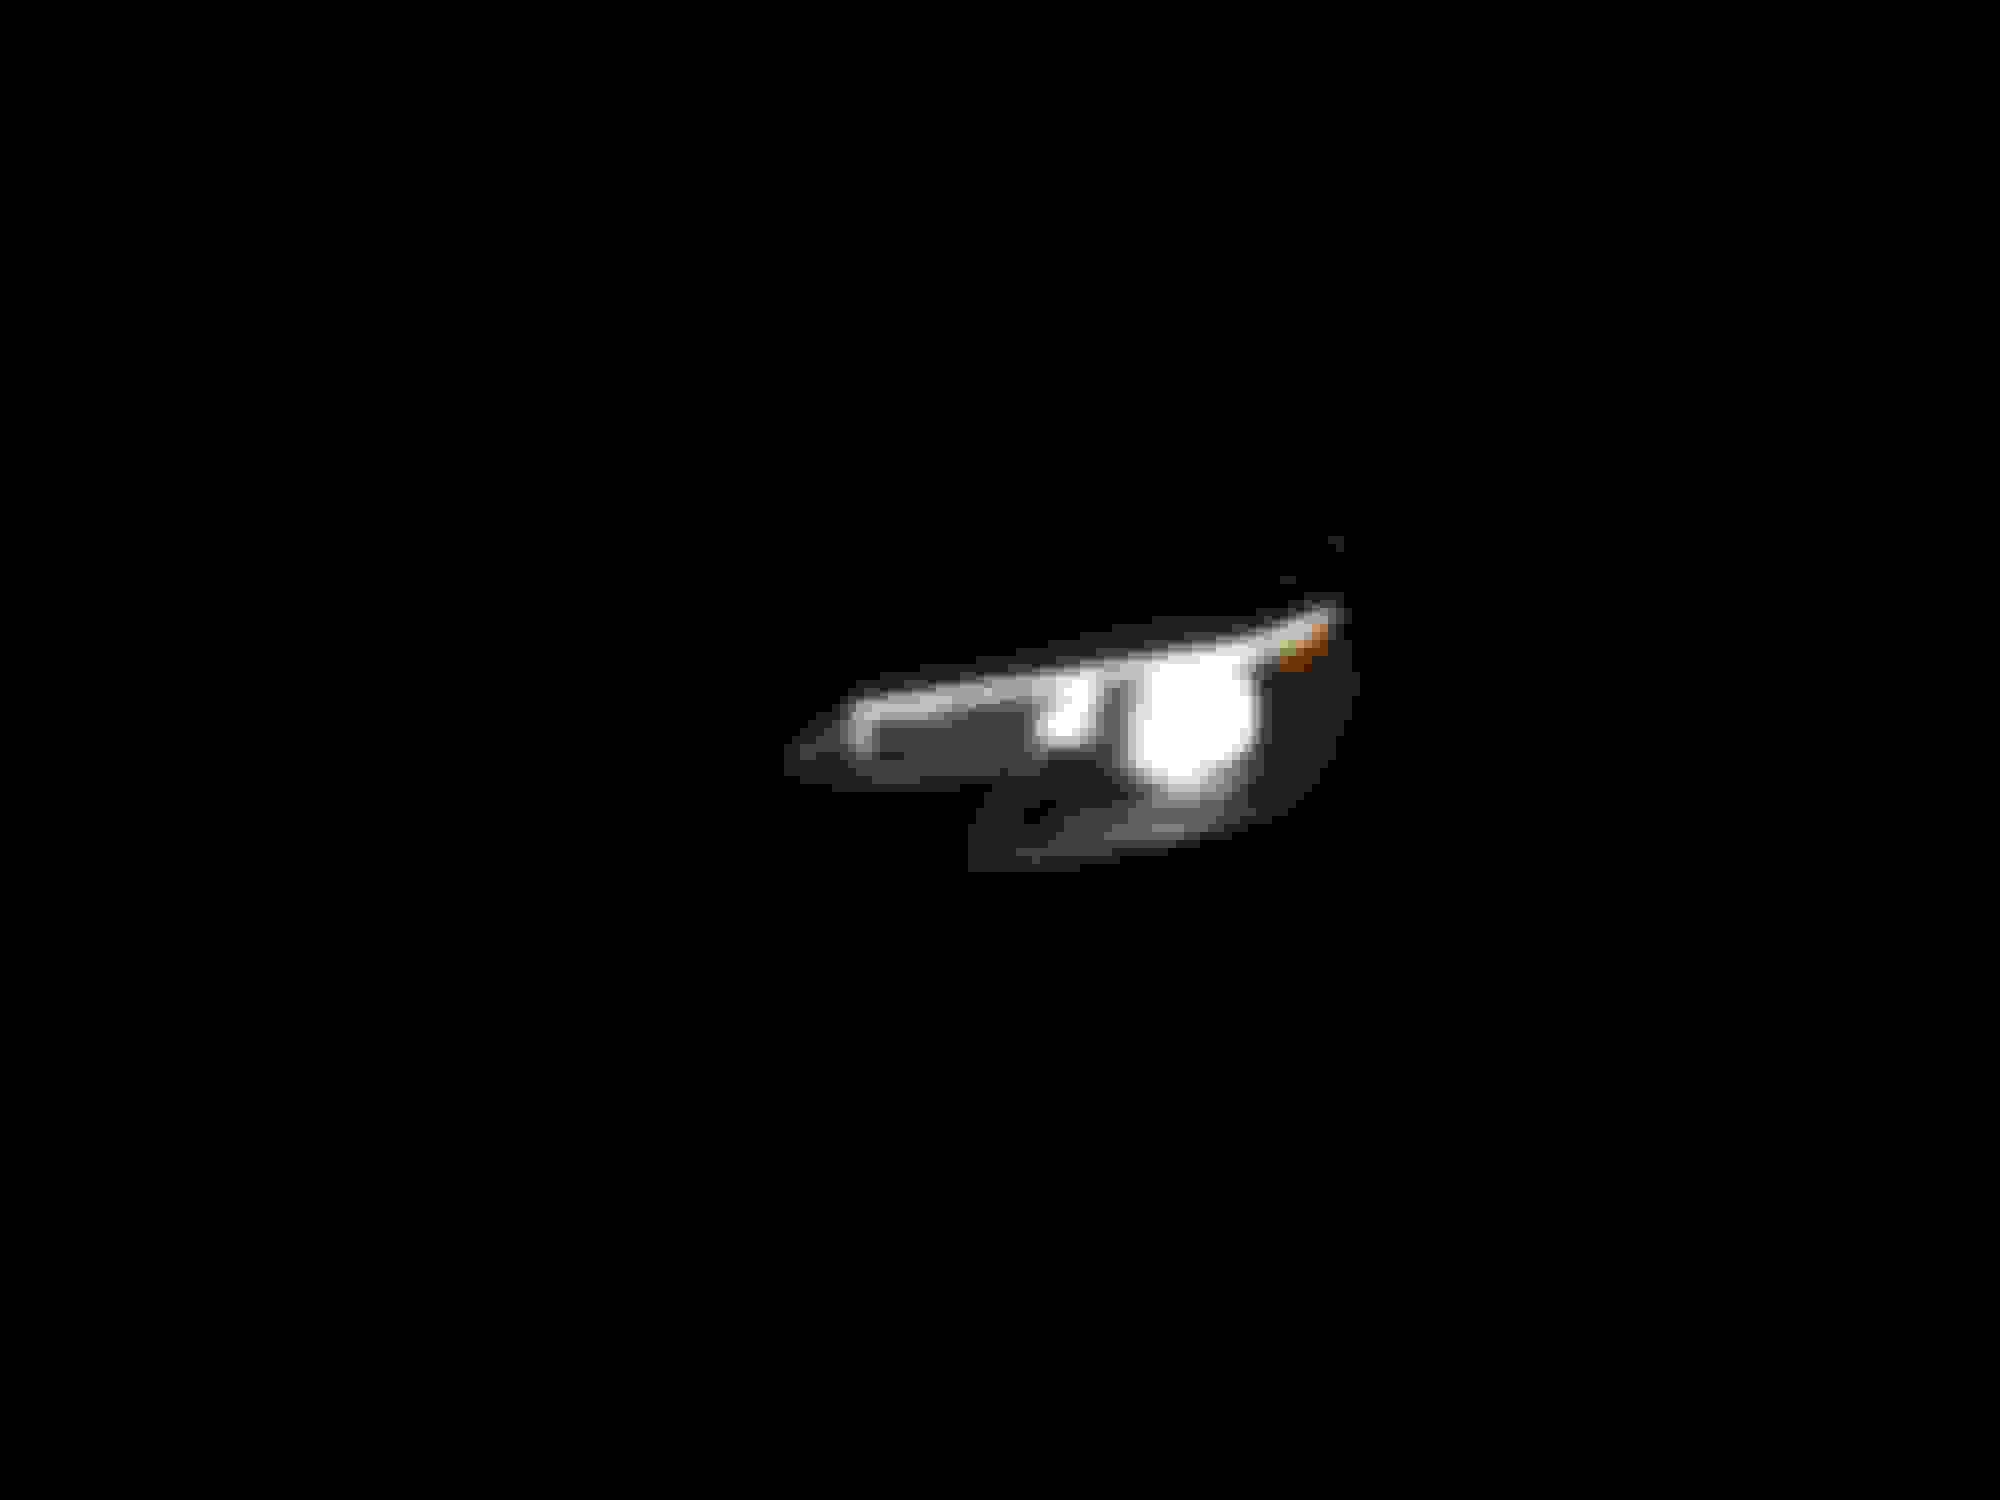
Cover back in the lens
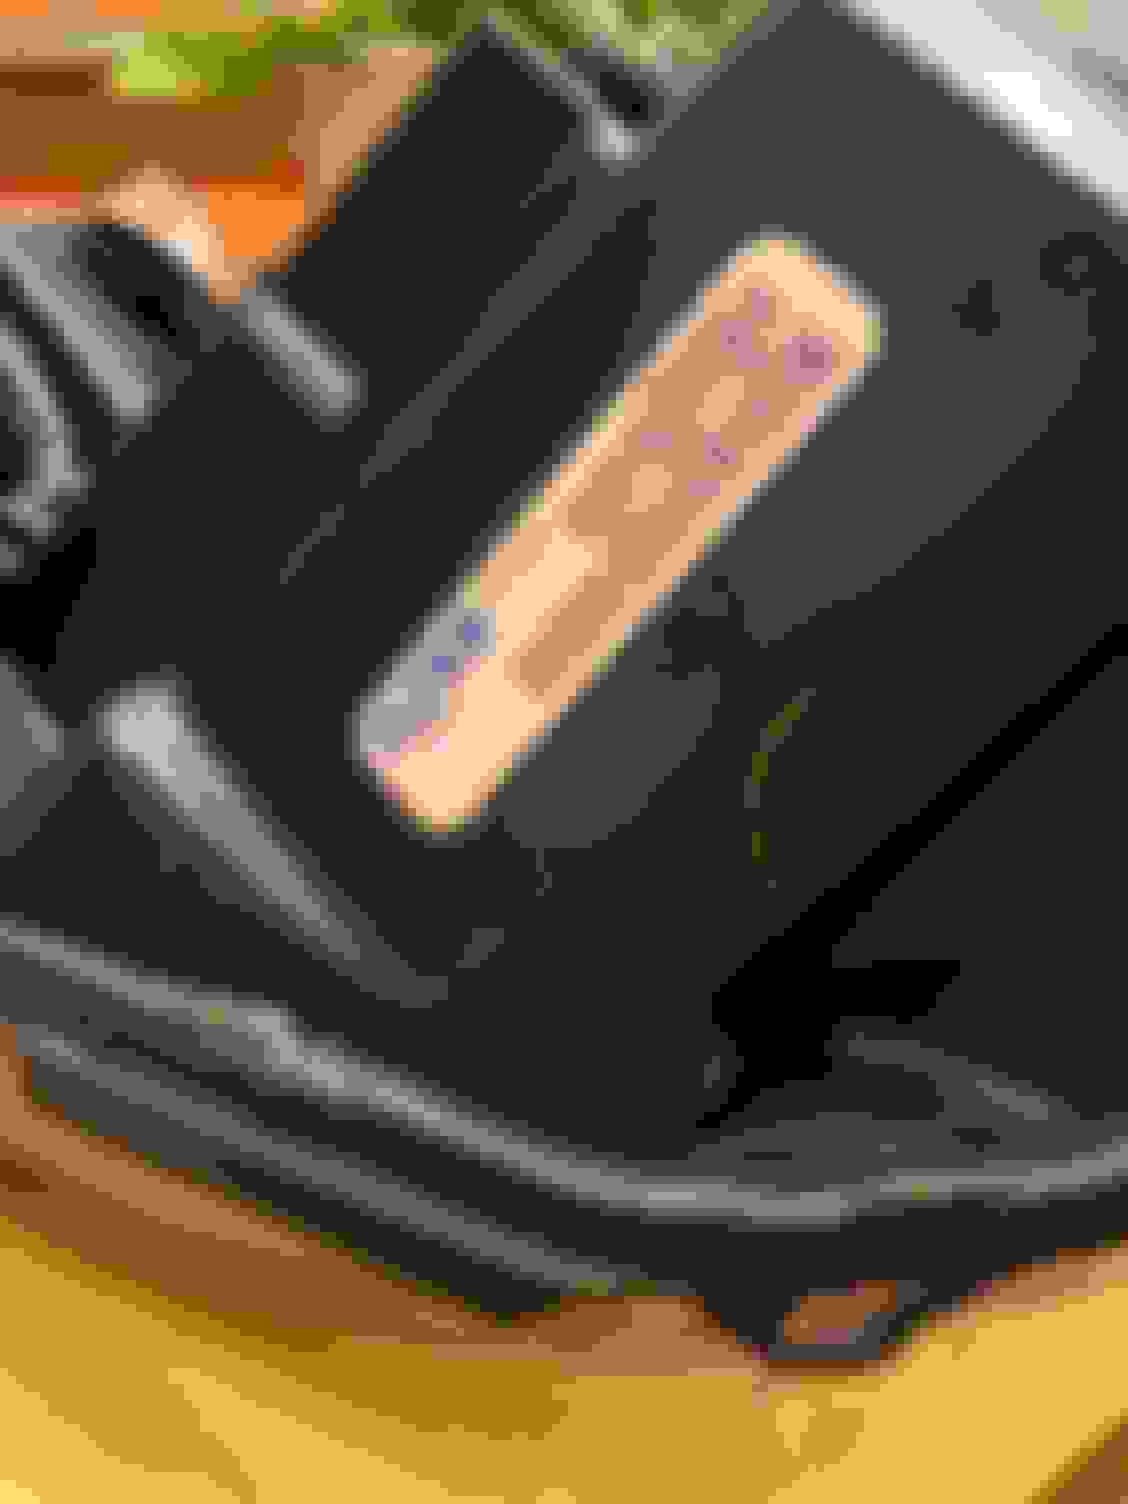
Things not to buy, also I poked a hole through the soft plastic and had to seal it back up with JB Weld.
So, I think that's it. Drop a comment if you liked it or if I missed anything or with any questions. I also have a full audio setup using the stock 2016 head unit if anyone wants a write up on that.
Damn that's a good deal on OEM housings if you find anymore send it my way.
In the photos I was not on level ground that is why it looks crooked, in another photo earlier up you can see that they are level.
I would honestly recommend this over the RX350, that is what I was considering at first (and actually placed an order for them) but then they seemed to be sold out everywhere unless people were asking a ridiculous price for them. These Morimoto projectors are supposedly better- based off of a few videos online,
and if you purchase the bracket they are basically the exact same amount of work to install, besides cutting and soldering the two wires for high beam. I think I paid around 160 for the projectors, but then you need the whole D2s bulb and ballast kit too, so.... Good luck man let me know if you have any other questions.
I was finally able to 3D Print some headlight housing seals for the car, and got them adjusted correctly, and got my replacement parts after the 1st harness blew. It has been a pain, but I am enjoying some of the brightest headlights you can get.
If anyone wants the .stl or .sldprt file for the housing I designed just let me know, and I can also give you the exact O-Rings that I am using.
If you do not have access to a 3D Printer or don't want to deal with that then I would even be willing to print them out for you and get the correct O-Rings and send it to you for a small fee.
Good luck to anyone trying this retrofit!
____
Great guide hoping to do the same soon. One thing I'm confused about is how do you adjust the projectors? Do the stock headlight adjustment screws still work?
Yep the stock adjustments still work, but you may need to add spacers for them to work correctly(because new projectors are different design and output). I believe I was able to get it to work without any spacers. Definitely need to adjust them though as not to blind others!
I finally got most of what I needed to get started! As far as the LED strip goes, was it bright enough to use as the only turn signal during the daytime?
Yes from what I remember the LED strip was very bright and probably about the same brightness as oem turn signals. You should be fine. It's a bit of a pain to wire them to function as turn signals without messing up the resistance of the system and making sure they still flash at the correct interval.
Sorry, I can't seem to find the .stl file. Once I had a good print, I just went to ace hardware and picked out an oring that worked well. I remember choosing a fairly thick one. If you have no way to create the design I might be able to do it for you if you send me the measurements needed.