Finished my glovebox! (DIY)


Member
SL Member
Joined: Jan 2004
Posts: 65
From: nw florida
Originally Posted by Opr8r
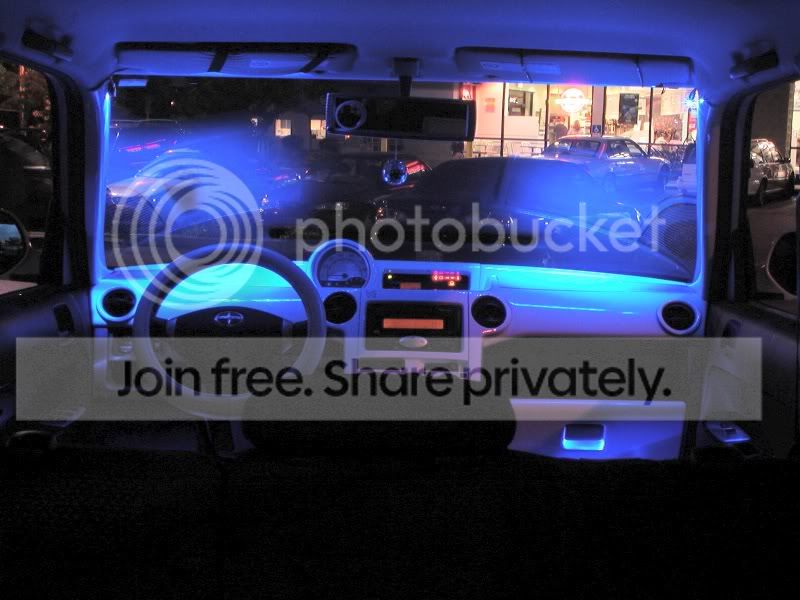
Although it may be harder to tell from this pic, the A pillars have the same smooth/glossy finish as the glovebox.

Peace,
m@
Peace,
m@
nice mods i mught have to try it when i get mine!!!
chad
Junior Member
Scion Evolution
Joined: Feb 2004
Posts: 23
From: Manteca Ca.
Bro i give you mad props. I like it. You should consider posting a full set of steps to us mod freeks. Hey it be coo if you emailed me some of the pics and steps. Good job bro
money
money


Senior Member
SL Member
Joined: Dec 2003
Posts: 293
From: S.W. FL
As for keeping it clean the one thing that drives me nuts on my xB is the interior plastic texture... i rub my hand on it and it leaves marks.. the dash, door pannels... anywhere with that texture.. so I have to assume a smooth painted surface would be a hell of a lot easyer to clean.. M@ now only thing I see not done now is that large chunk of a dash there... so when ya pullin it out?? and maybe door pannels? I realy like the idea of a smooth automotive type of finnish on the interior parts takes me back to the days of all metal dash cars where ther were painted metal to match the exterior.. I have been toying with the idea od a Black sand Pearl interior... All the plastic... door pannels, dash, center console.. a pillars, rear interor surronds.. mad props to M@ for this how to do..
Thread Starter
Senior Member
SL Member
sIcKsCiOnS
sIcKsCiOnS
Joined: Aug 2003
Posts: 339
From: Mtn. View, CA
Originally Posted by silkywilson
M@ now only thing I see not done now is that large chunk of a dash there... so when ya pullin it out?? and maybe door pannels? I realy like the idea of a smooth automotive type of finnish on the interior parts takes me back to the days of all metal dash cars where ther were painted metal to match the exterior.. I have been toying with the idea od a Black sand Pearl interior... All the plastic... door pannels, dash, center console.. a pillars, rear interor surronds.. mad props to M@ for this how to do..
Peace,
m@


Senior Member
SL Member
sIcKsCiOnS
Joined: Jan 2004
Posts: 363
From: Southern Indiana
Question: Do you have to buy painting equipment? Like spray gun type stuff? Or is the paint you are describing sold in aerosol form? hehe... I have NEVER tried anything like this before, but would REALLY like to try it and get comfortable with doing things like this... Is this something that a complete novice can do? I have the patience, just no experience in this type of thing.. Thanks

Senior Member
SL Member
Team ScioNRG
Joined: Jan 2004
Posts: 437
From: Wilmington, NC
you can do it with a spray can but it may take more coats and more sanding than if you use the spray gun. you may want to try something easier with the can b/f using your stock dash b/c if you mess up that could be an expensice mistake. although the worse that could happen is that you would have runs and have to resand it to fix the run.


Junior Member
Joined: Jul 2004
Posts: 13
From: Everett, WA
keeping it clean would be easy. Since you put a clear coat over it, you could wax it! haha.
Thats a good thing you put the flex additive in there. sometimes people just sand, primer, paint, and clear. Its also good that you put in the plastic adhesion material on.
Looks really nice. My bro is putting a deposit in today to get his xB. I'm gonna show him all the tech articles on this site. I can't wait to graduate school in Sept. to just help him, it will be fun, I kinda wanna get one for myself if I don't save up for an Audi.
Good work! And get more pics if you can! :D